Home>Furniture & Design>Bathroom Accessories>How To Clean Out Bath Toys
Bathroom Accessories
How To Clean Out Bath Toys
Modified: October 18, 2024
Learn how to effectively clean and sanitize bath toys to ensure a hygienic environment in your bathroom. Discover essential tips for maintaining bathroom accessories.
(Many of the links in this article redirect to a specific reviewed product. Your purchase of these products through affiliate links helps to generate commission for Storables.com, at no extra cost. Learn more)
Introduction
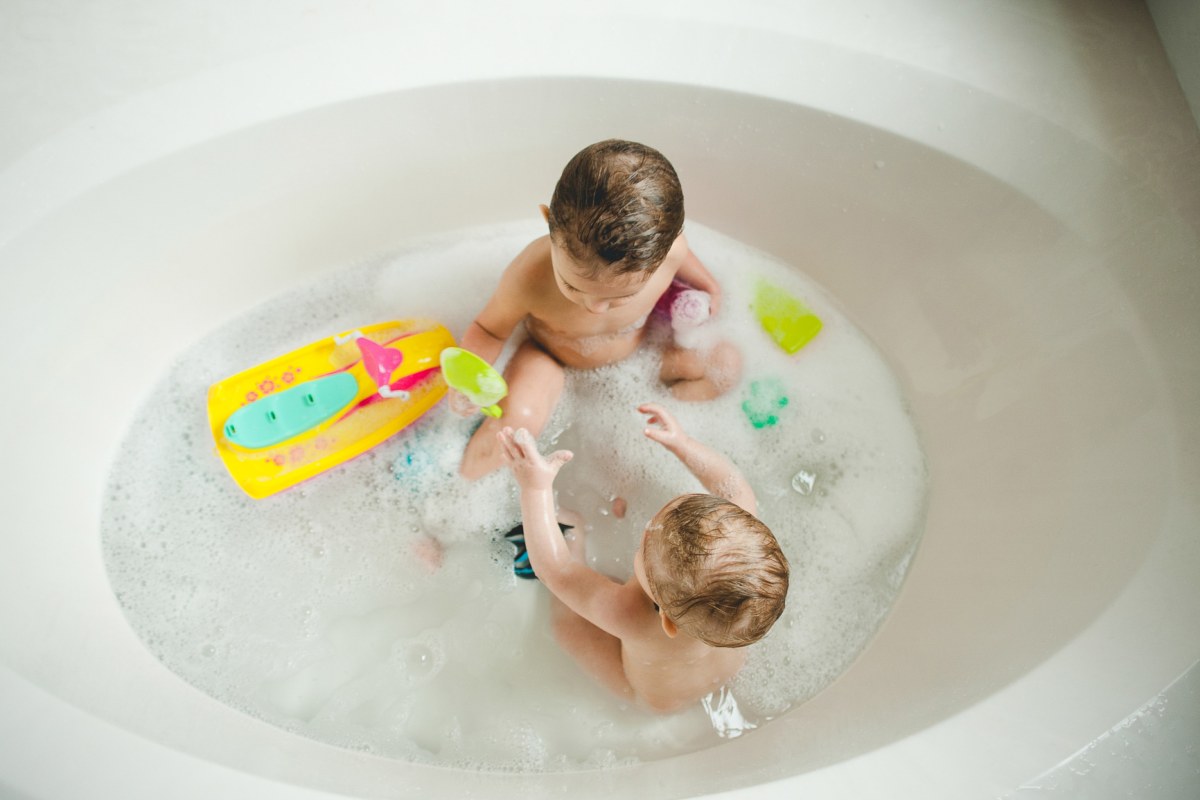
Bath time is a fun and essential part of a child's daily routine, and bath toys play a significant role in making this experience enjoyable. However, over time, bath toys can accumulate dirt, grime, and even mold, posing potential health risks to children. Therefore, it's crucial to regularly clean and maintain these toys to ensure a safe and hygienic bathing environment for your little ones.
In this comprehensive guide, we will walk you through the step-by-step process of effectively cleaning out bath toys. Whether you're dealing with rubber ducks, plastic boats, or squishy sea creatures, these cleaning methods will help you restore your child's bath toys to their pristine condition, free from any lurking germs or mold.
By following these simple yet effective cleaning techniques, you can ensure that your child's bath toys remain safe, clean, and ready for many more enjoyable bath time adventures. So, let's dive into the process of rejuvenating those beloved bath toys and maintaining a hygienic environment for your little ones.
Key Takeaways:
- Keep bath toys clean to prevent mold and bacteria. Gather, soak, scrub, rinse, and dry the toys regularly to ensure a safe and hygienic bathing environment for kids.
- Store bath toys properly in breathable organizers to promote airflow and prevent mold growth. Regular cleaning and maintenance extend the lifespan of the toys for many enjoyable bath times.
Read more: How To Clean Mold Out Of Bath Toys
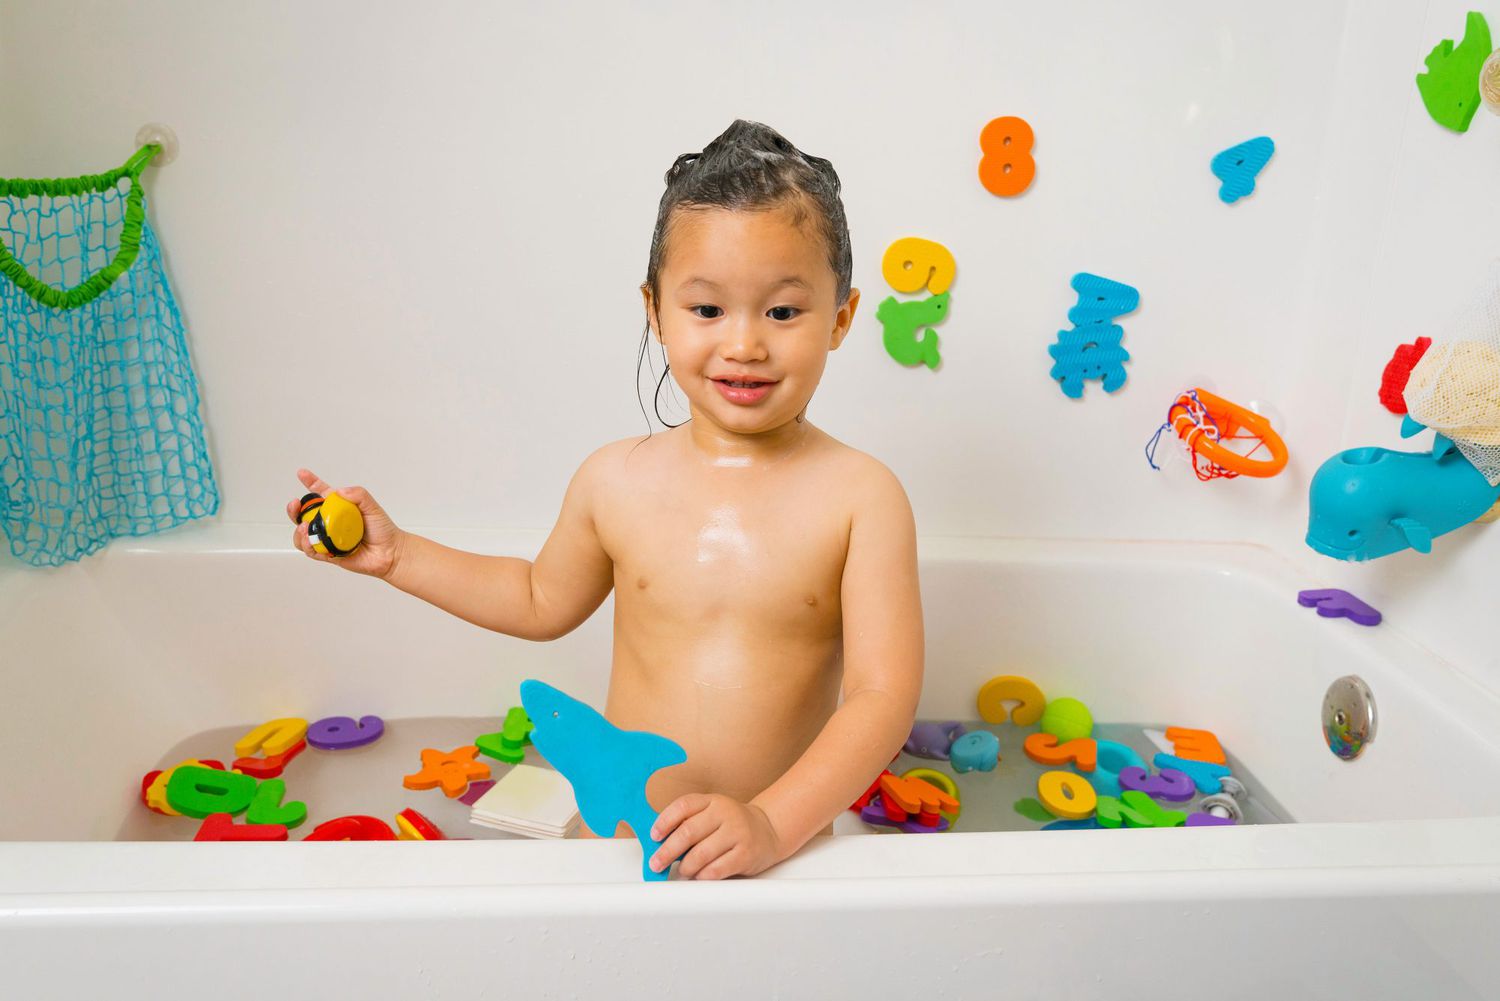
Step 1: Gather the bath toys
Before embarking on the cleaning process, the first step is to gather all the bath toys scattered around the tub or bathroom. It's not uncommon for bath toys to find their way into various nooks and crannies, so be sure to check under the bath mat, inside storage baskets, and even behind the toilet. Once you've rounded up all the toys, it's time to assess their condition and identify any visible dirt, grime, or mold.
Separate the toys based on their material composition. This step is crucial because different materials require different cleaning methods. For instance, rubber ducks and other squeezable toys may have accumulated water inside, potentially leading to mold growth. Plastic toys, on the other hand, might have visible dirt or soap scum. By categorizing the toys based on their material, you can tailor the cleaning approach to suit each type, ensuring a thorough and effective cleaning process.
As you gather the bath toys, take note of any signs of mold or mildew. Inspect the toys closely, paying attention to crevices, openings, and any areas where water may have seeped in. This careful examination will help you identify any potential mold hotspots and ensure that no contaminated toys are overlooked during the cleaning process.
Once you've gathered all the bath toys and assessed their condition, you're ready to move on to the next step: soaking the toys in a cleaning solution.
Step 2: Soak the toys in a cleaning solution
After gathering the bath toys and assessing their condition, the next crucial step in the cleaning process is to soak the toys in a suitable cleaning solution. This step is essential for effectively removing dirt, grime, and any potential mold or mildew that may have accumulated on the toys.
To create a gentle yet effective cleaning solution, start by filling a basin or sink with warm water. Ensure that the water is not too hot, as excessive heat can damage certain types of bath toys, especially those made of rubber or plastic. Once the basin is filled with warm water, it's time to add a cleaning agent to create a mild yet powerful cleaning solution.
One of the most commonly used and effective cleaning agents for bath toys is white vinegar. Vinegar is renowned for its natural cleaning properties and its ability to dissolve mineral deposits, soap scum, and even mold. To create the cleaning solution, add a generous amount of white vinegar to the warm water in the basin. The exact ratio can vary based on the quantity of water and the number of toys being cleaned, but a general guideline is to use approximately one part vinegar to two parts water.
If you prefer a scented cleaning solution, you can add a few drops of essential oil, such as tea tree oil or lavender oil, to the mixture. Not only will this infuse a pleasant aroma into the cleaning solution, but certain essential oils also possess natural antibacterial and antifungal properties, further enhancing the cleaning power of the solution.
Once the cleaning solution is prepared, carefully place the bath toys into the basin, ensuring that each toy is fully submerged. Allow the toys to soak in the cleaning solution for at least 15 to 20 minutes. This soaking period is crucial as it allows the cleaning solution to penetrate into the crevices and openings of the toys, effectively loosening and dissolving any accumulated dirt, grime, or mold.
While the toys are soaking, gently agitate the water to ensure that the cleaning solution reaches all parts of the toys. You may also use a soft-bristled brush to lightly scrub the surfaces of the toys, especially if they have visible dirt or stubborn stains. However, be mindful of the toy materials and avoid using abrasive brushes that could scratch or damage the toys.
After the soaking period, remove the toys from the cleaning solution and proceed to the next step: scrubbing the toys to ensure a thorough cleaning process.
Step 3: Scrub the toys
After the bath toys have soaked in the cleaning solution, it's time to proceed with the crucial step of scrubbing them to ensure a thorough cleaning process. This step is essential for dislodging any remaining dirt, grime, or mold that may be clinging to the surfaces of the toys.
Begin by inspecting each toy after it has been soaked, paying close attention to any areas that still appear dirty or have visible mold or mildew. For toys with intricate designs or small crevices, use a soft-bristled brush or an old toothbrush to gently scrub the surfaces. Ensure that the brush reaches into all the nooks and crannies of the toys, effectively dislodging any stubborn dirt or mold buildup.
For rubber or squeezable toys that may have accumulated water inside, gently squeeze and shake the toys to expel any trapped water and dislodge any potential mold growth. Pay special attention to the toy's openings and ensure that they are thoroughly cleaned and rinsed to prevent any residual mold or mildew.
In cases where the toys exhibit stubborn stains or persistent mold, consider applying a paste made of baking soda and water to the affected areas. Baking soda is renowned for its mild abrasive properties, making it effective for gently scrubbing away tough stains and mold without damaging the toy's surface. Apply the paste to the stained or moldy areas, then use a soft brush to gently scrub the affected areas before rinsing the toys thoroughly.
Throughout the scrubbing process, it's important to be gentle yet thorough, ensuring that all surfaces of the toys are adequately cleaned. Pay close attention to details such as eyes, mouths, and any small openings where mold or dirt may accumulate. Additionally, be mindful of the material composition of each toy and adjust the scrubbing intensity accordingly to avoid causing damage.
Once the toys have been thoroughly scrubbed and any visible dirt, grime, or mold has been removed, it's time to proceed to the next step: rinsing and drying the toys to complete the cleaning process.
By following these detailed scrubbing techniques, you can effectively restore the bath toys to a clean and hygienic state, ensuring that they are safe for your child to enjoy during bath time.
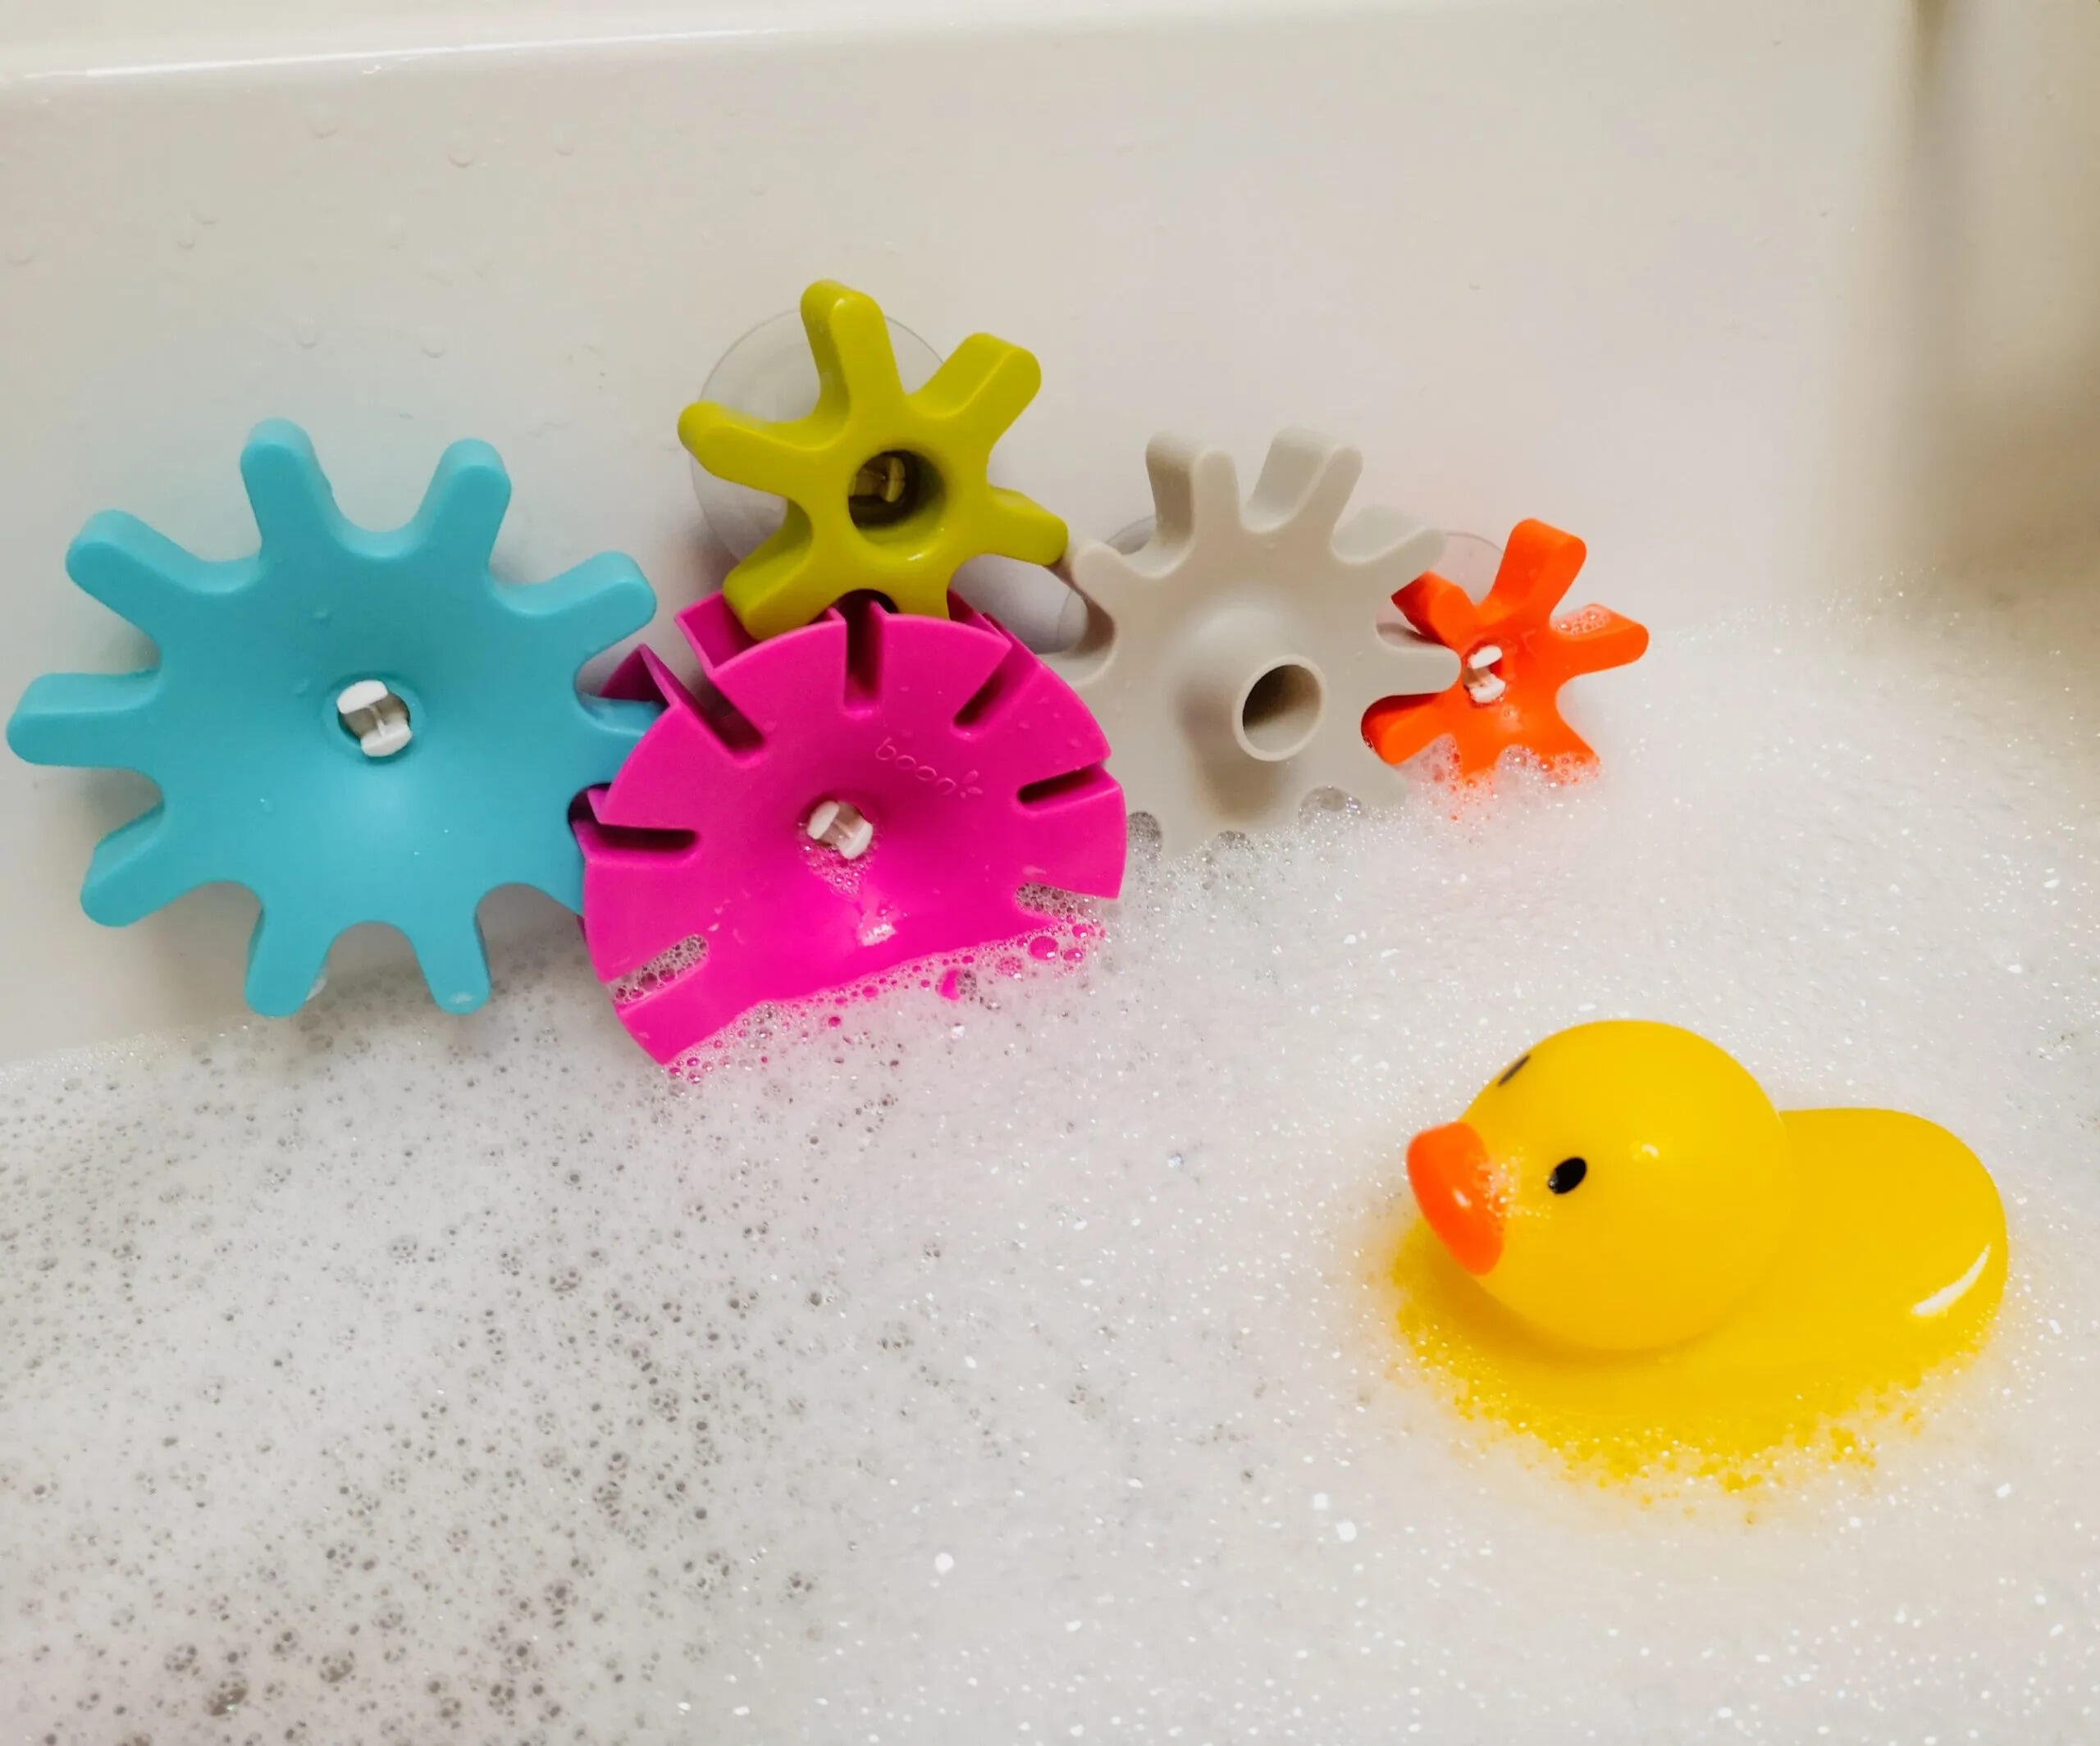
Soak bath toys in a solution of equal parts water and white vinegar for 10-15 minutes to kill mold and mildew. Then scrub with a brush and rinse thoroughly.
Step 4: Rinse and dry the toys
After the bath toys have been thoroughly scrubbed and any visible dirt, grime, or mold has been removed, the next crucial step is to rinse and dry the toys to complete the cleaning process. Proper rinsing and drying are essential to ensure that the toys are free from any residual cleaning solution and moisture, thereby preventing the potential for mold regrowth and maintaining their pristine condition.
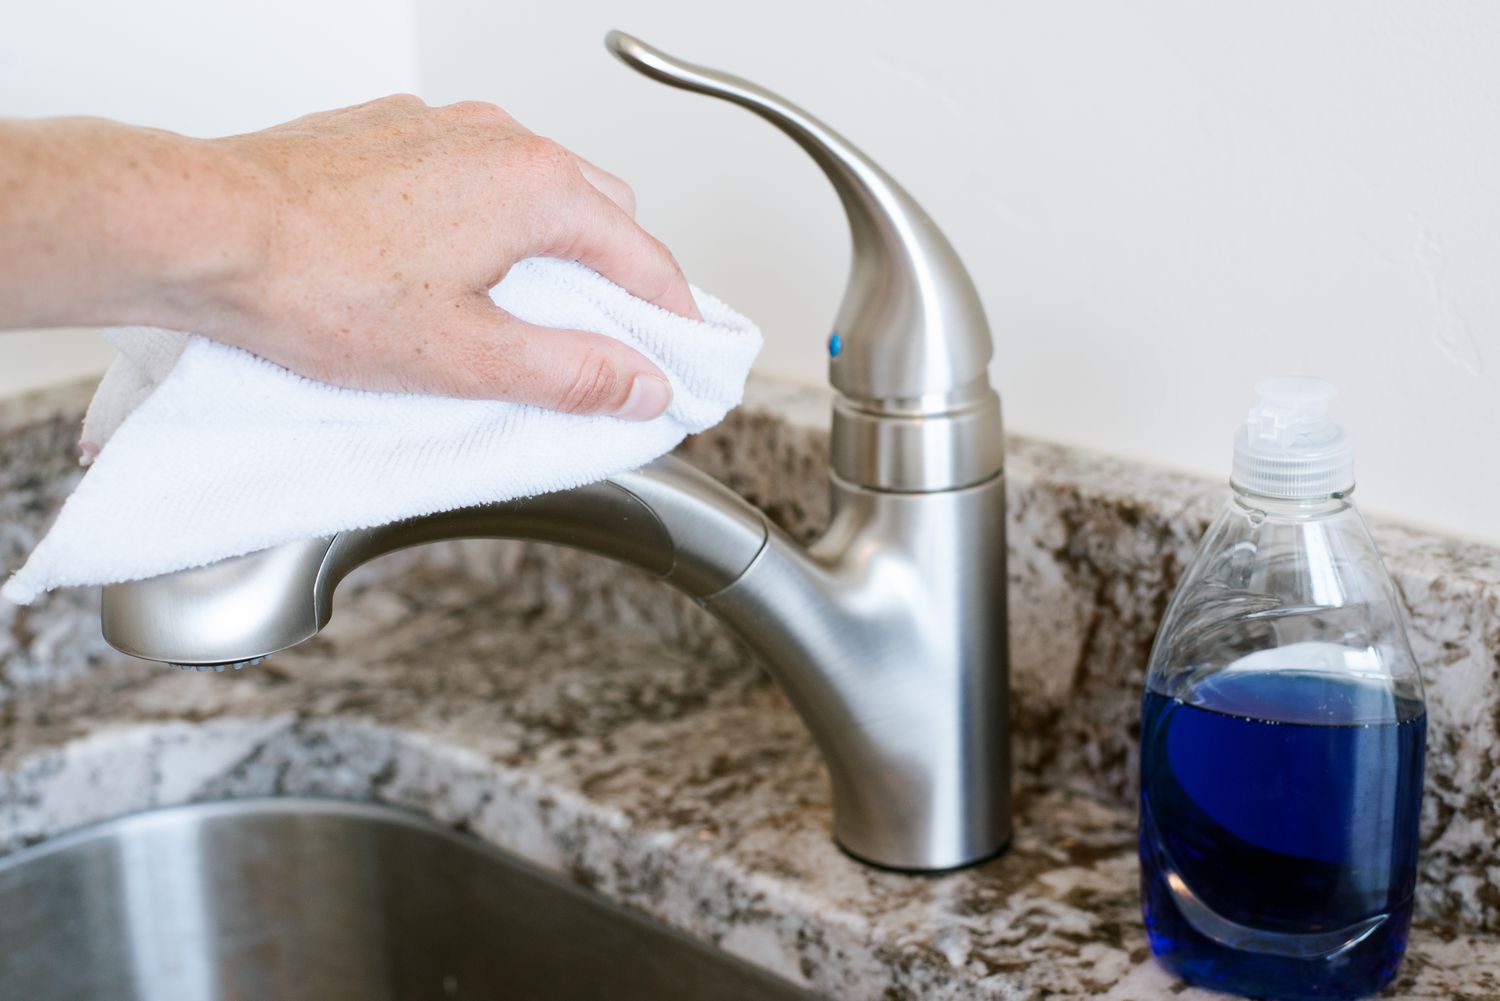
Begin by rinsing the toys under running water, ensuring that all traces of the cleaning solution are thoroughly washed away. Pay close attention to intricate areas and small openings, such as squeaker holes or drainage slits, to ensure that no cleaning solution or residue is left behind. For toys with multiple components, such as detachable parts or movable features, ensure that each part is rinsed meticulously to guarantee a comprehensive cleaning process.
Once the toys have been rinsed, it's time to address the crucial step of drying them effectively. Start by gently shaking each toy to remove any excess water trapped inside or on the surface. For toys with internal cavities, such as rubber ducks or squirting toys, consider squeezing them to expel any remaining water. Following this, use a clean, dry towel to pat the toys dry, absorbing any lingering moisture and ensuring that they are completely dry to the touch.
To facilitate thorough drying, allow the bath toys to air dry in a well-ventilated area, preferably out of direct sunlight. Ensure that the toys are placed on a clean and dry surface, such as a drying rack or towel, to prevent any potential recontamination from contact with unclean surfaces. Proper air circulation is essential to aid in the evaporation of any residual moisture, thereby preventing the development of mold or mildew.
For toys with intricate designs or internal components, such as squeeze toys or toys with moving parts, consider allowing them to air dry with their openings facing downward to facilitate the drainage of any remaining water. This precaution helps prevent the accumulation of moisture within the toys, reducing the risk of mold growth and ensuring that the toys are thoroughly dried from all angles.
By following these meticulous rinsing and drying techniques, you can effectively complete the cleaning process, ensuring that the bath toys are free from any residual cleaning solution and moisture. This meticulous approach not only safeguards the toys against potential mold or mildew but also ensures that they are ready for safe and enjoyable use during your child's next bath time adventure.
Read more: How To Clean Squirty Bath Toys
Step 5: Store the toys properly
Proper storage of bath toys is essential for maintaining their cleanliness and prolonging their lifespan. After completing the cleaning process, it's crucial to store the toys in a manner that minimizes the risk of mold or bacterial growth and ensures easy access for future use.
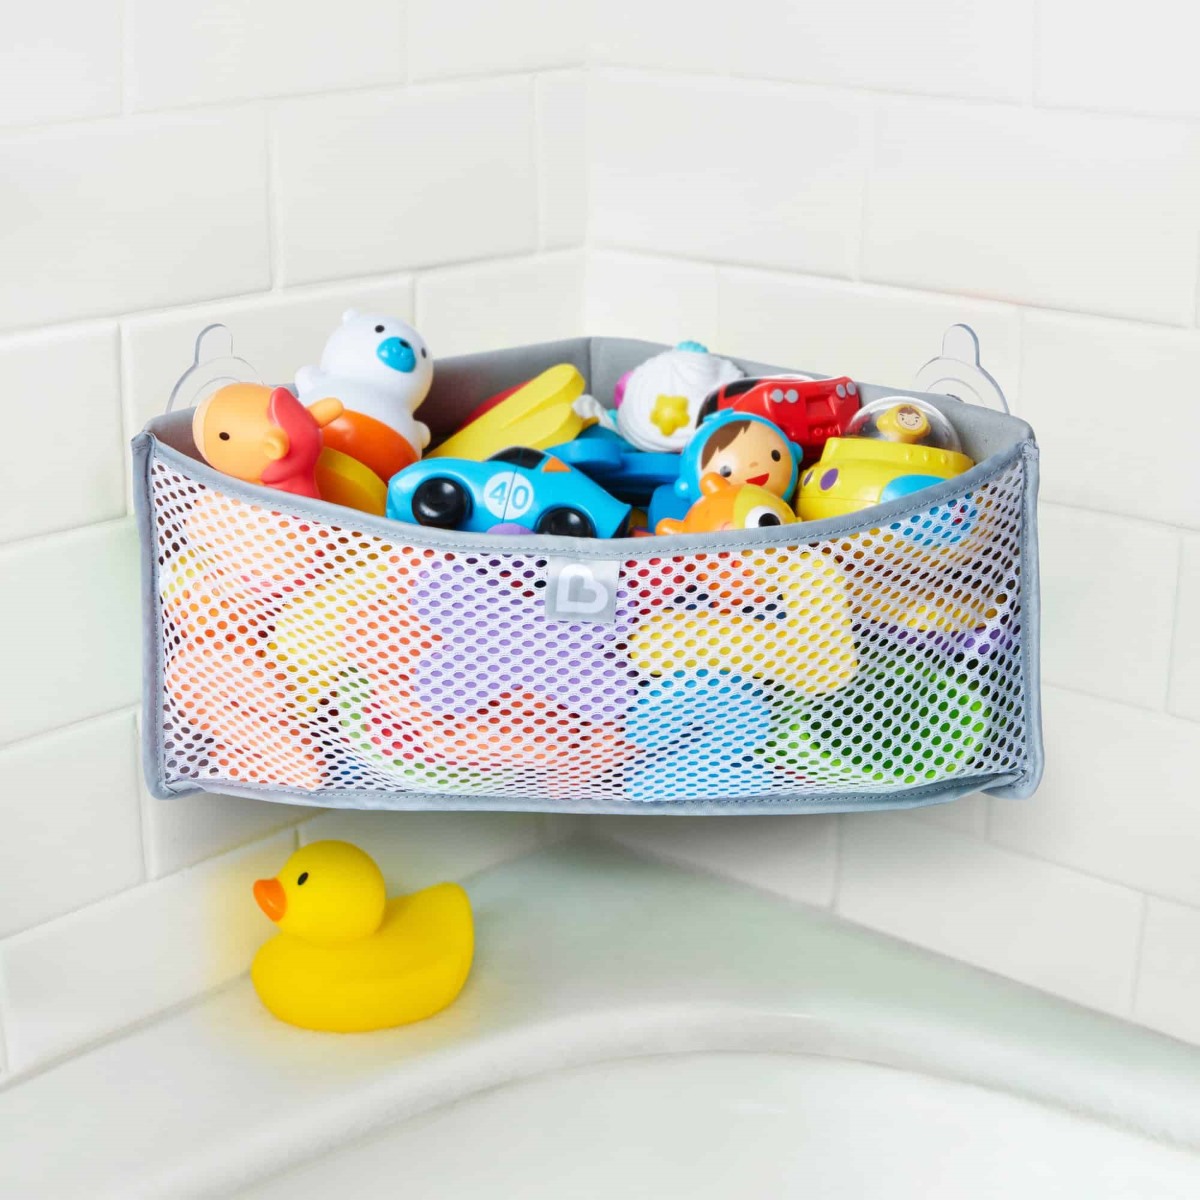
One effective storage solution for bath toys is a breathable mesh or net organizer that can be attached to the bathroom wall or shower tiles. These organizers allow the toys to air dry thoroughly after use, preventing the accumulation of moisture that can lead to mold growth. Additionally, the mesh or net design promotes airflow, further aiding in the drying process and reducing the risk of bacterial proliferation.
Another popular storage option is a drainable caddy or basket with multiple compartments, providing designated spaces for different types of bath toys. These caddies typically feature drainage holes or slits to allow water to escape, preventing the buildup of stagnant water that can foster mold and mildew. By organizing the toys in a caddy, it becomes easier to keep track of them and ensure that they are thoroughly dried and ready for the next bath time.
For families with limited space, a hanging storage system that utilizes the shower curtain rod or hooks can be a practical solution. These hanging organizers keep the toys elevated and allow for efficient drainage, reducing the likelihood of water pooling and promoting thorough drying. Additionally, they help declutter the bath area, keeping the toys within reach while maintaining a tidy and organized bathroom space.
It's important to periodically inspect the storage containers or organizers to ensure that they remain clean and free from mold or mildew. Regular cleaning of the storage solutions, using mild soap and water, can help prevent the transfer of contaminants back onto the bath toys, maintaining a hygienic storage environment.
By implementing these proper storage practices, you can safeguard the cleanliness and hygiene of the bath toys, ensuring that they remain safe for your child's use and prolonging their durability for many enjoyable bath times to come.
Conclusion
In conclusion, maintaining clean and hygienic bath toys is essential for ensuring a safe and enjoyable bathing experience for children. By following the step-by-step cleaning process outlined in this guide, you can effectively rejuvenate bath toys, removing dirt, grime, and potential mold or mildew buildup. From gathering the toys and soaking them in a gentle cleaning solution to thorough scrubbing, rinsing, and proper storage, each step plays a crucial role in preserving the cleanliness and safety of the toys.
Regular cleaning and maintenance of bath toys not only contribute to a healthier bathing environment but also extend the lifespan of the toys, allowing children to continue enjoying their favorite bath time companions. The use of natural cleaning agents such as white vinegar and essential oils ensures that the cleaning process is gentle yet effective, without the use of harsh chemicals that may pose risks to children.
Furthermore, the meticulous rinsing and drying techniques, coupled with proper storage solutions, help prevent the recontamination of bath toys and minimize the risk of mold or bacterial growth. By implementing these practices, you can instill good hygiene habits in children and promote a clean and organized bathroom environment.
It's important to remember that while bath toys bring joy and entertainment to children during bath time, they also require regular attention to ensure that they remain safe and hygienic. By incorporating the cleaning and maintenance of bath toys into your regular household routine, you can provide a clean and healthy bathing environment for your little ones, promoting their well-being and enjoyment.
In essence, the process of cleaning out bath toys is not only about removing visible dirt and grime but also about safeguarding the health and safety of children. By following the guidelines outlined in this comprehensive guide, you can take proactive steps to maintain clean and hygienic bath toys, fostering a positive and nurturing environment for your child's bath time adventures.
Frequently Asked Questions about How To Clean Out Bath Toys
Was this page helpful?
At Storables.com, we guarantee accurate and reliable information. Our content, validated by Expert Board Contributors, is crafted following stringent Editorial Policies. We're committed to providing you with well-researched, expert-backed insights for all your informational needs.


0 thoughts on “How To Clean Out Bath Toys”