Home>Renovation & DIY>Home Renovation Guides>How To Repair Eaves On A House
Home Renovation Guides
How To Repair Eaves On A House
Modified: May 6, 2024
Learn how to repair eaves on a house with our comprehensive home renovation guide. Get expert tips and step-by-step instructions for a successful eaves repair.
(Many of the links in this article redirect to a specific reviewed product. Your purchase of these products through affiliate links helps to generate commission for Storables.com, at no extra cost. Learn more)
Introduction
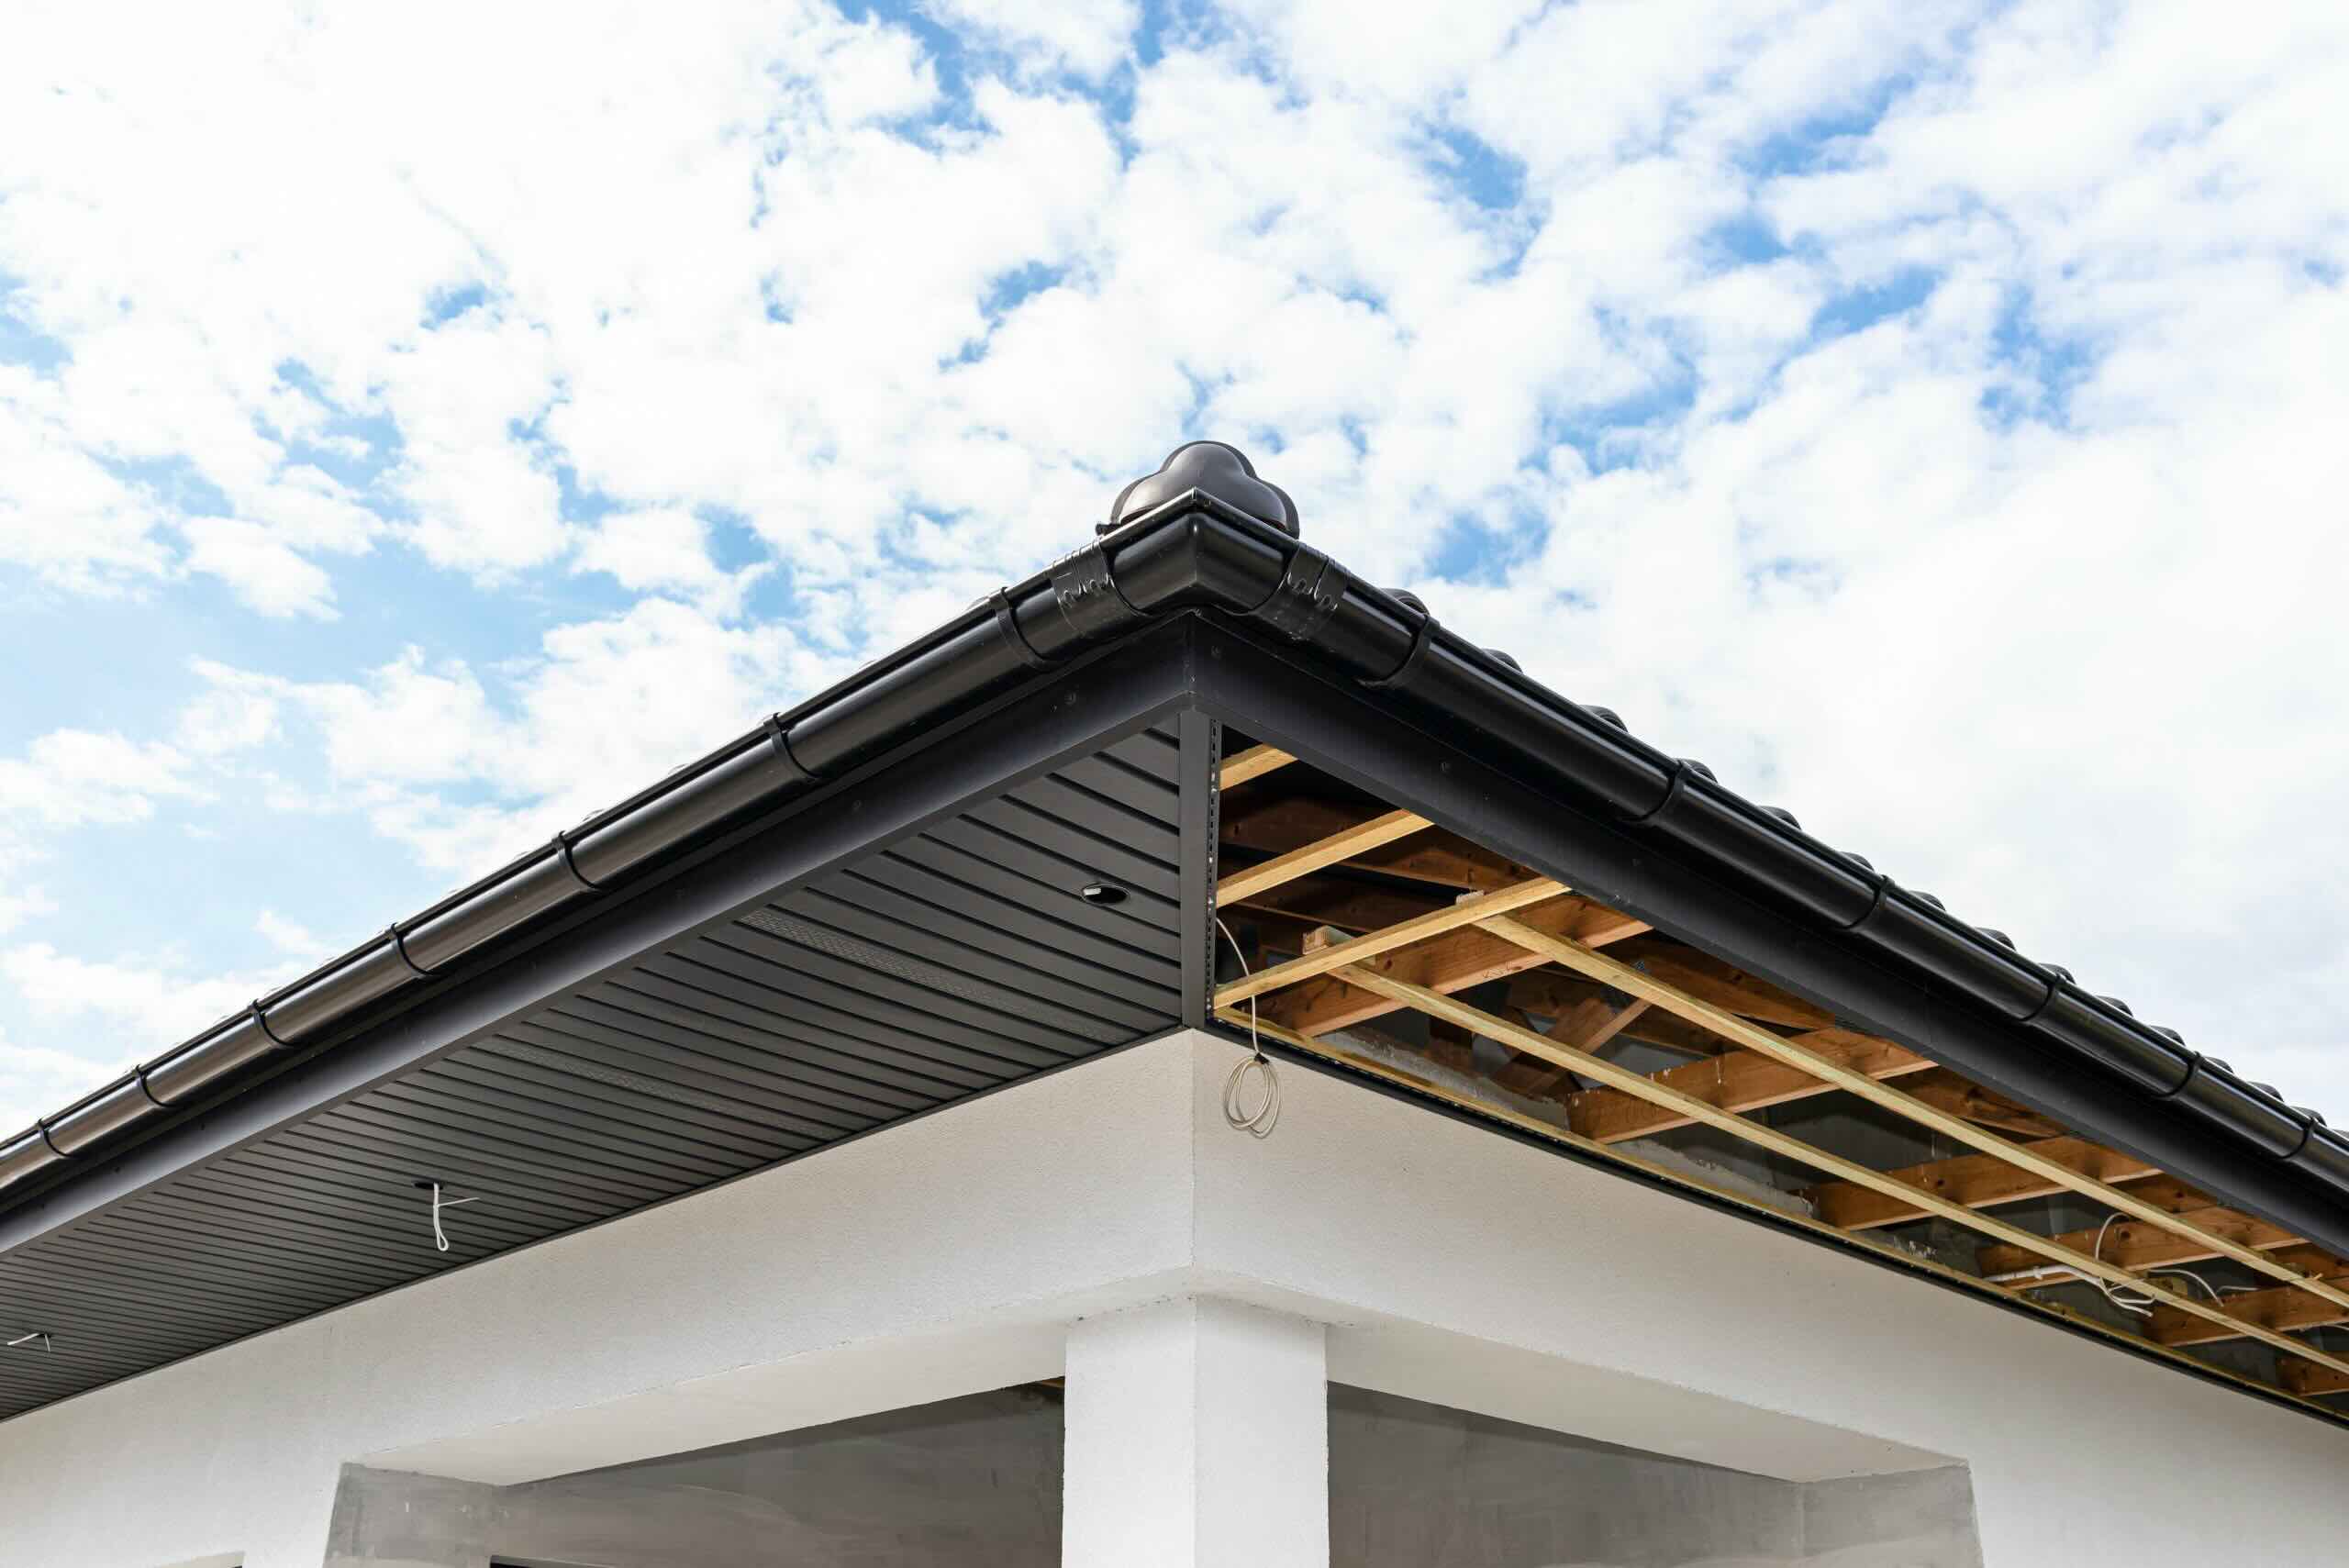
Repairing the eaves of a house is a crucial aspect of home maintenance that not only enhances the aesthetic appeal but also ensures the structural integrity of the property. The eaves, also known as the roof overhang, play a vital role in protecting the exterior walls and foundation from water damage, thereby safeguarding the overall stability of the house. Over time, eaves can deteriorate due to exposure to the elements, leading to issues such as rot, peeling paint, and compromised functionality. Addressing these issues promptly is essential to prevent further damage and maintain the value of the property.
In this comprehensive guide, we will delve into the step-by-step process of repairing eaves on a house, providing valuable insights and practical tips to help homeowners tackle this essential home renovation project. From assessing the extent of the damage to gathering the necessary materials and tools, and from removing the damaged eaves to repairing or replacing them, we will cover every aspect of the repair process. Additionally, we will explore the crucial steps of painting and adding finishing touches to ensure that the repaired eaves seamlessly blend with the overall aesthetics of the house.
Whether you are a seasoned DIY enthusiast or a homeowner looking to understand the intricacies of eaves repair before engaging a professional, this guide is designed to equip you with the knowledge and confidence to address eaves-related issues effectively. By following the expert advice and detailed instructions provided in this guide, you can embark on the journey of restoring the eaves of your house, thereby enhancing its curb appeal and ensuring long-term structural resilience.
Join us as we embark on this insightful journey, unraveling the art and science of repairing eaves on a house, and empowering homeowners to take proactive steps in preserving the beauty and functionality of their cherished abode.
Key Takeaways:
- Assessing the Damage
Before repairing eaves, visually inspect for rot, pest infestation, and paint condition. Document findings to plan the repair process effectively and ensure a successful eaves repair project. - Repairing or Replacing Eaves
After removing damaged eaves, repair minor imperfections with wood filler and paint. For severe damage, replace components with accurate measurements and secure them in place for long-term stability.
Read more: What Are The Eaves Of A House?
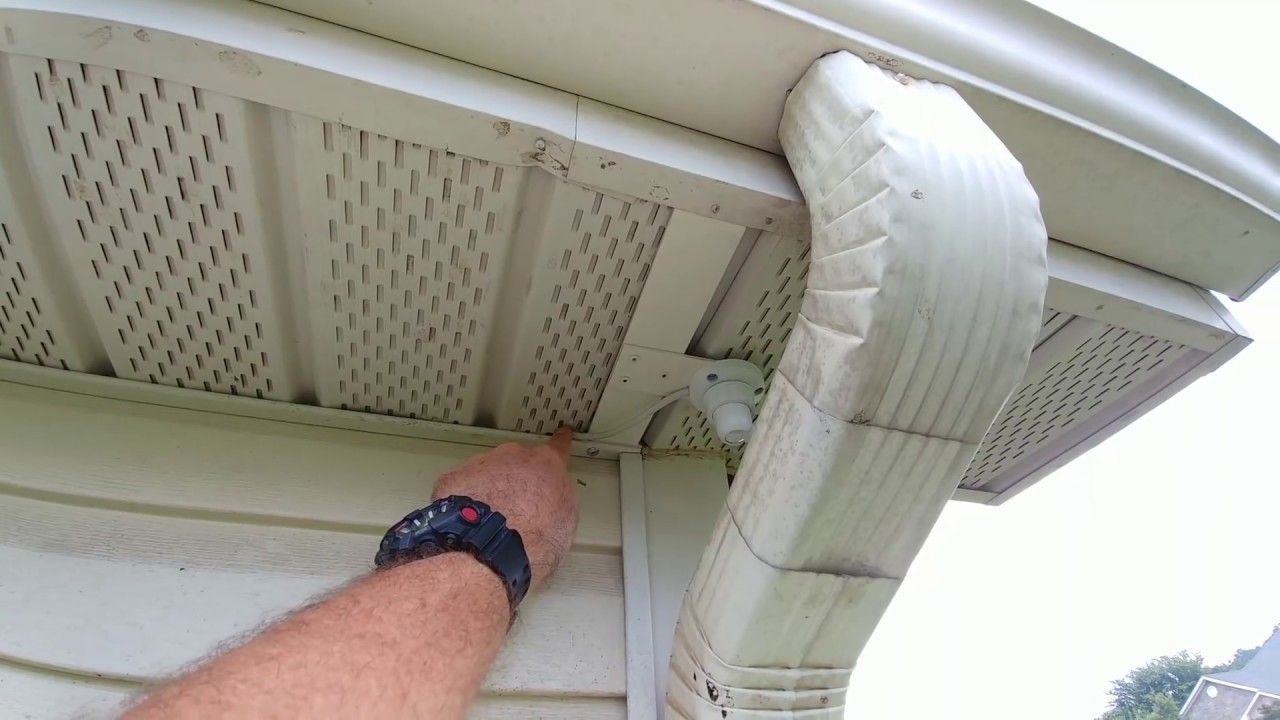
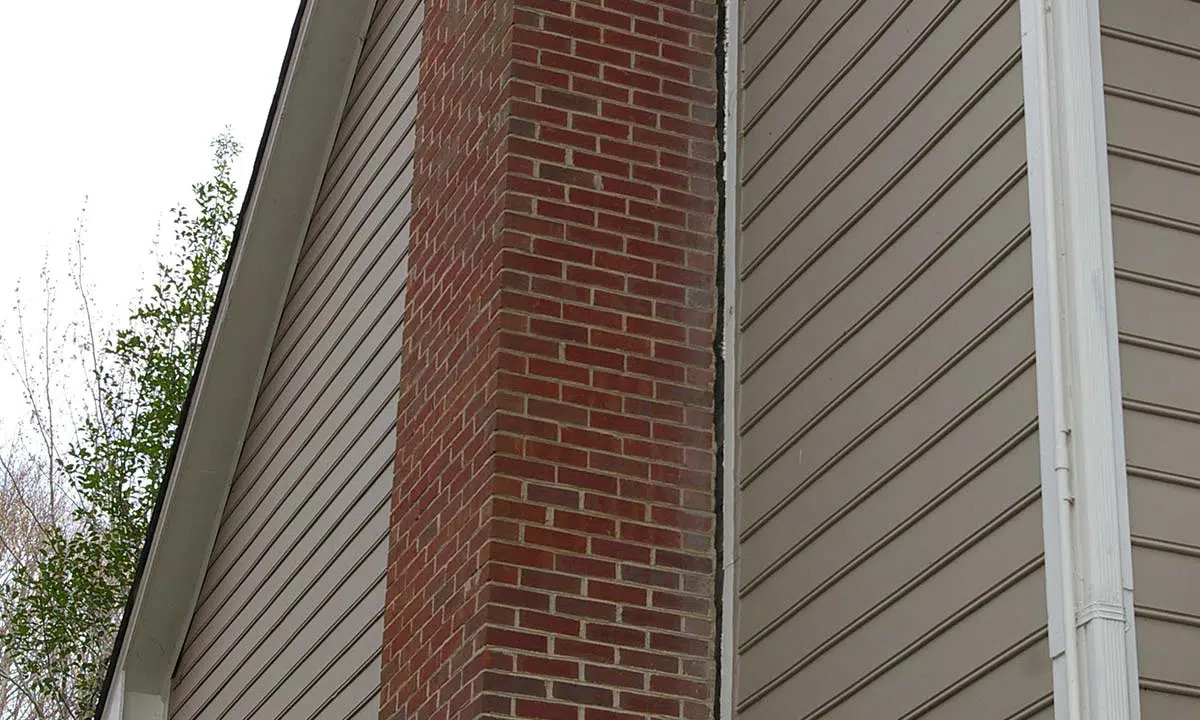
Assessing the Damage
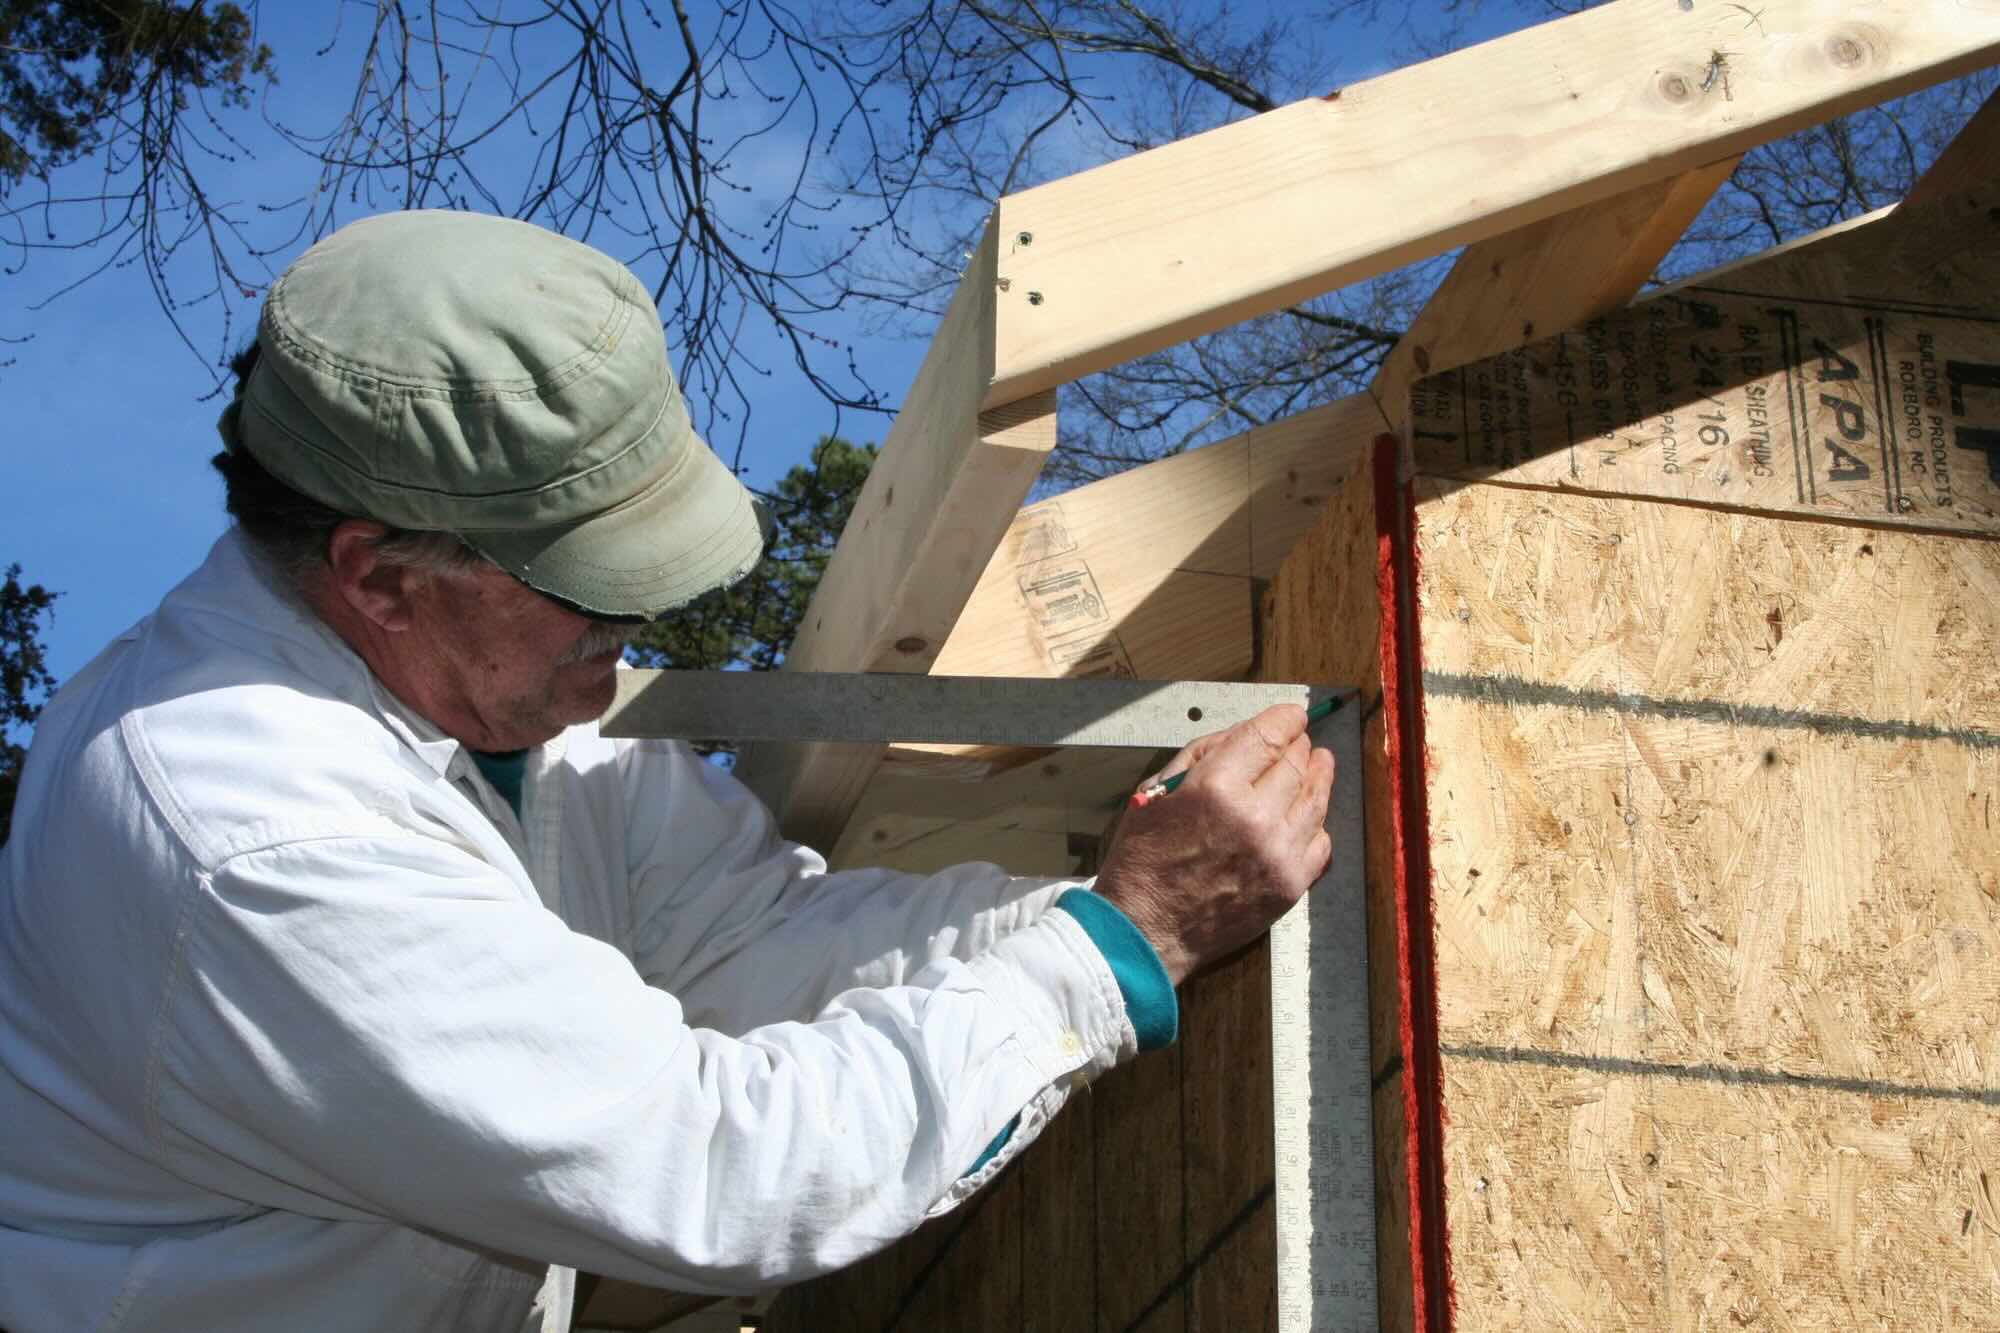
Before embarking on the repair of eaves on a house, it is crucial to conduct a thorough assessment of the extent of damage. This initial step is essential in determining the scope of the repair project and identifying the specific areas that require attention. Here's a detailed overview of the assessment process:
-
Visual Inspection: Begin by visually examining the eaves from all angles, both from ground level and using a ladder to access higher areas. Look for signs of damage such as rot, peeling paint, cracks, or water stains. Pay close attention to areas where the eaves meet the roof and the exterior walls, as these are common trouble spots.
-
Probe for Rot: Use a screwdriver or a similar tool to gently probe the eaves, especially in areas where you suspect rot. Soft or spongy wood indicates the presence of rot and may require more extensive repairs.
-
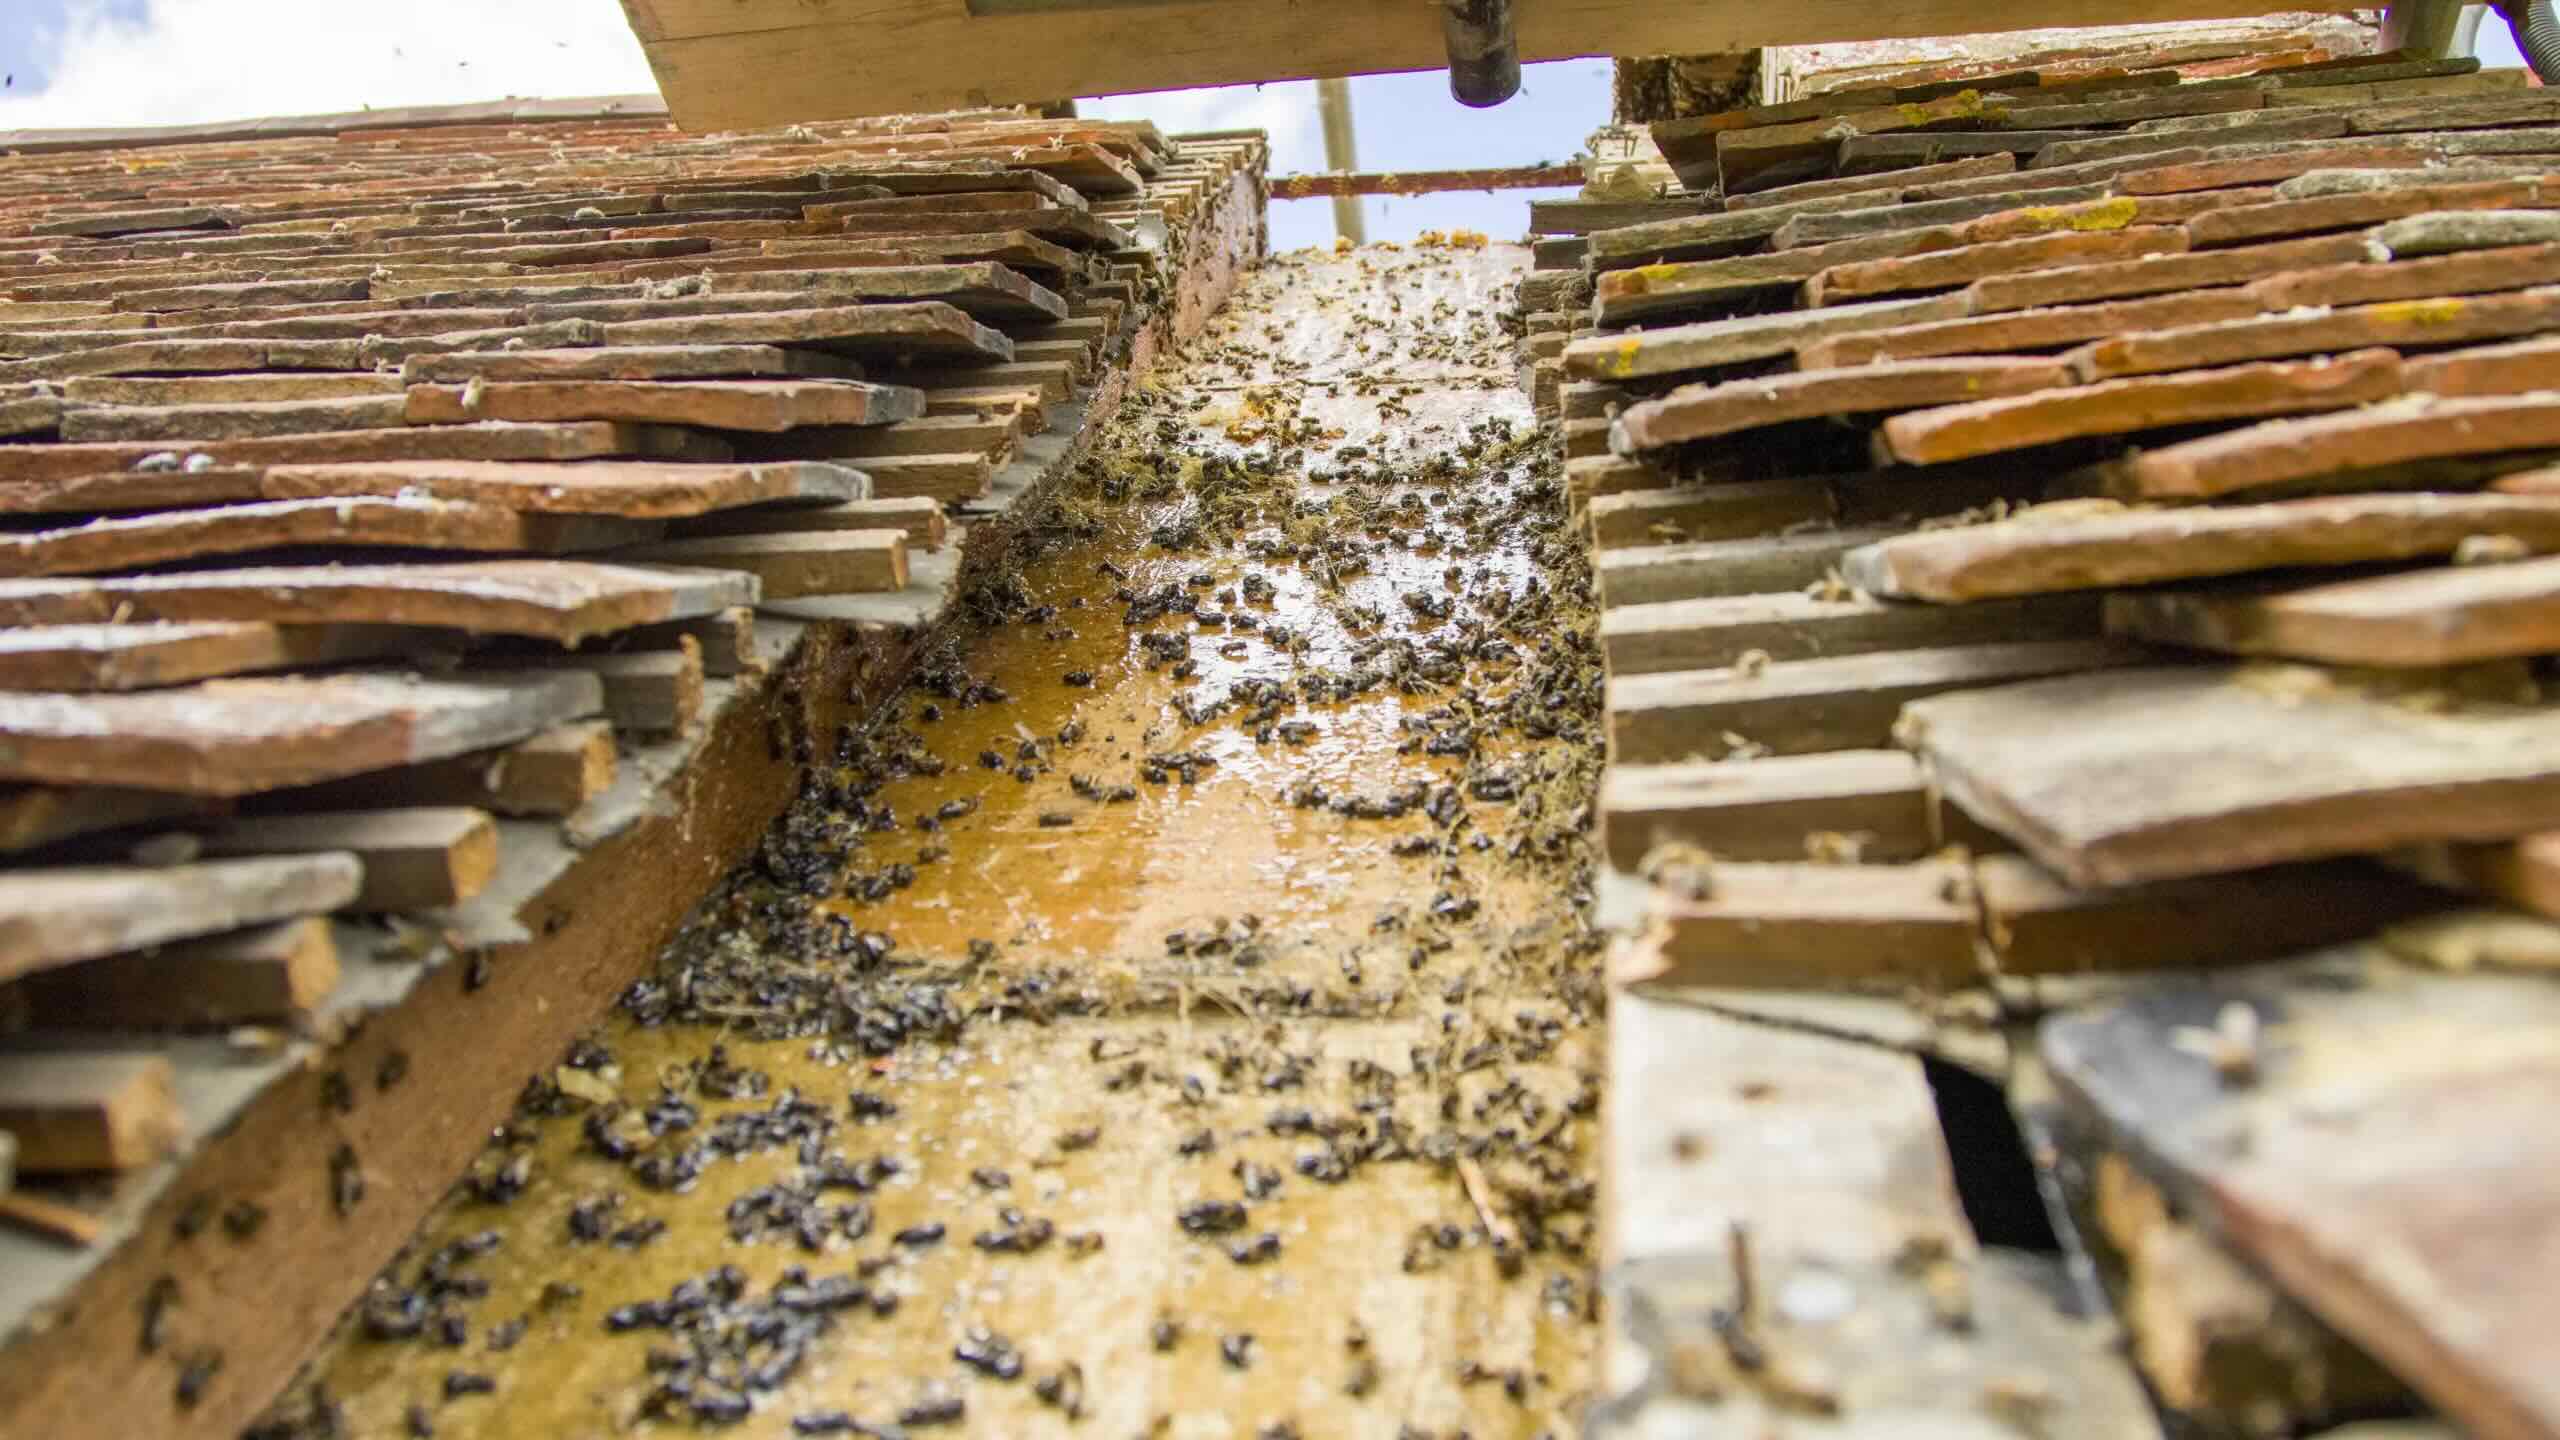
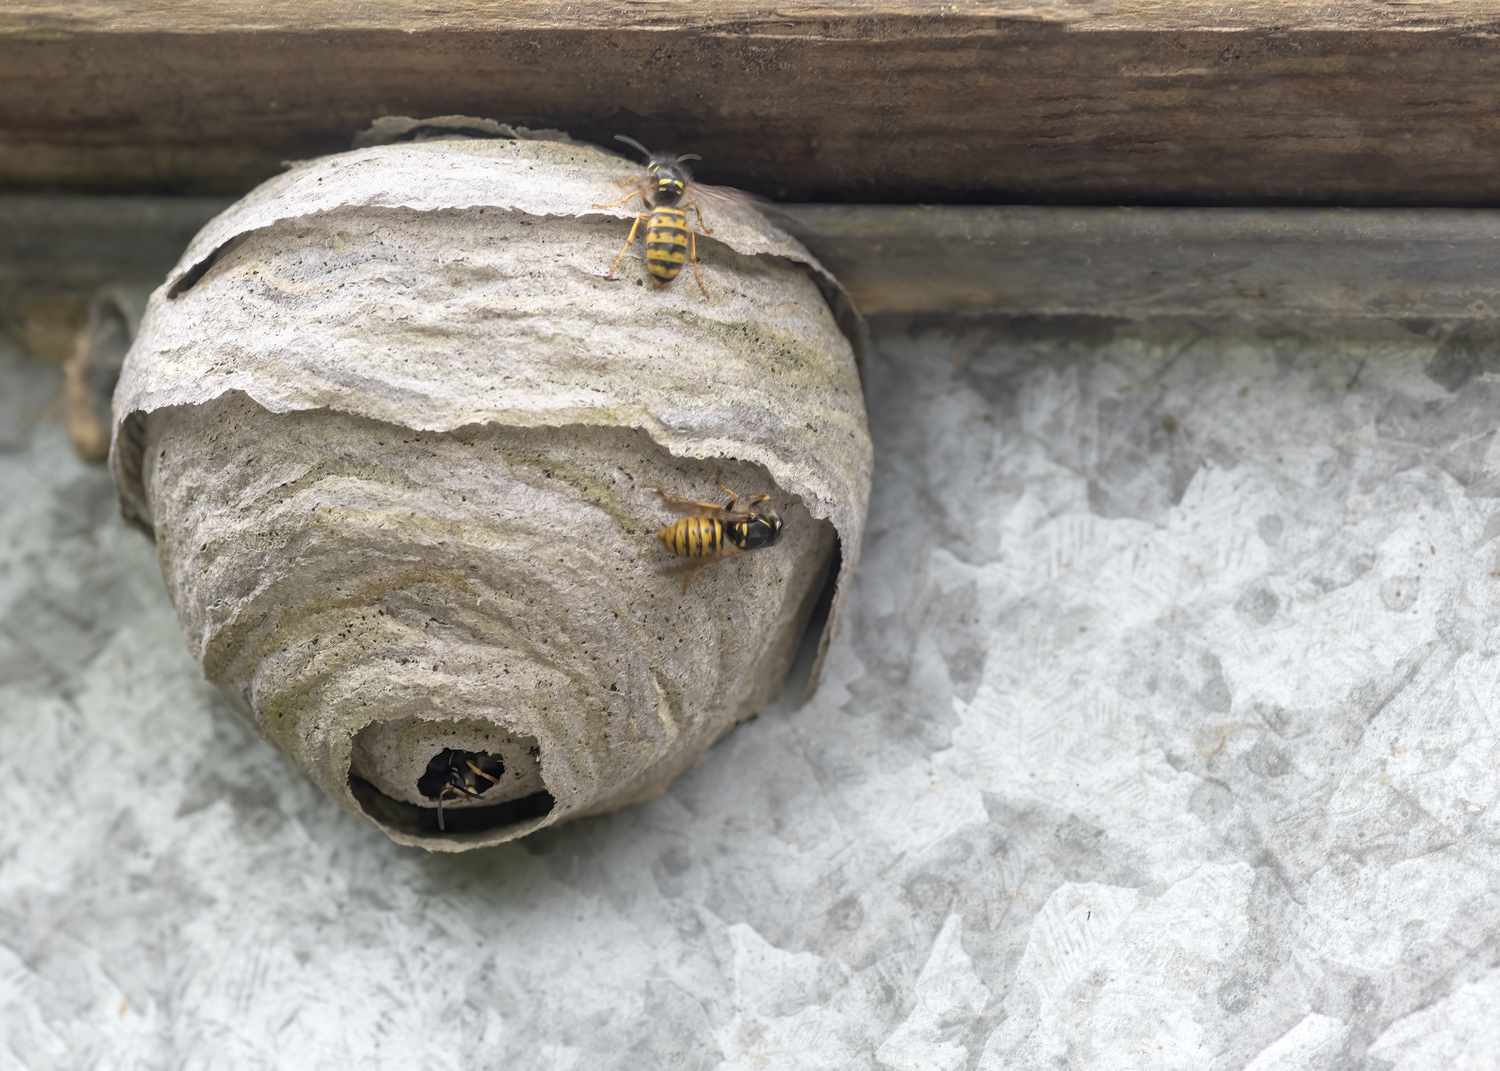
Check for Pest Infestation: Inspect the eaves for any signs of pest infestation, such as insect damage or nesting. Look for small holes, sawdust, or insect activity, which may indicate the presence of pests.
-
Assess Paint Condition: Evaluate the condition of the paint on the eaves. Peeling, flaking, or discolored paint may not only affect the aesthetics but also indicate underlying issues such as moisture damage.
-
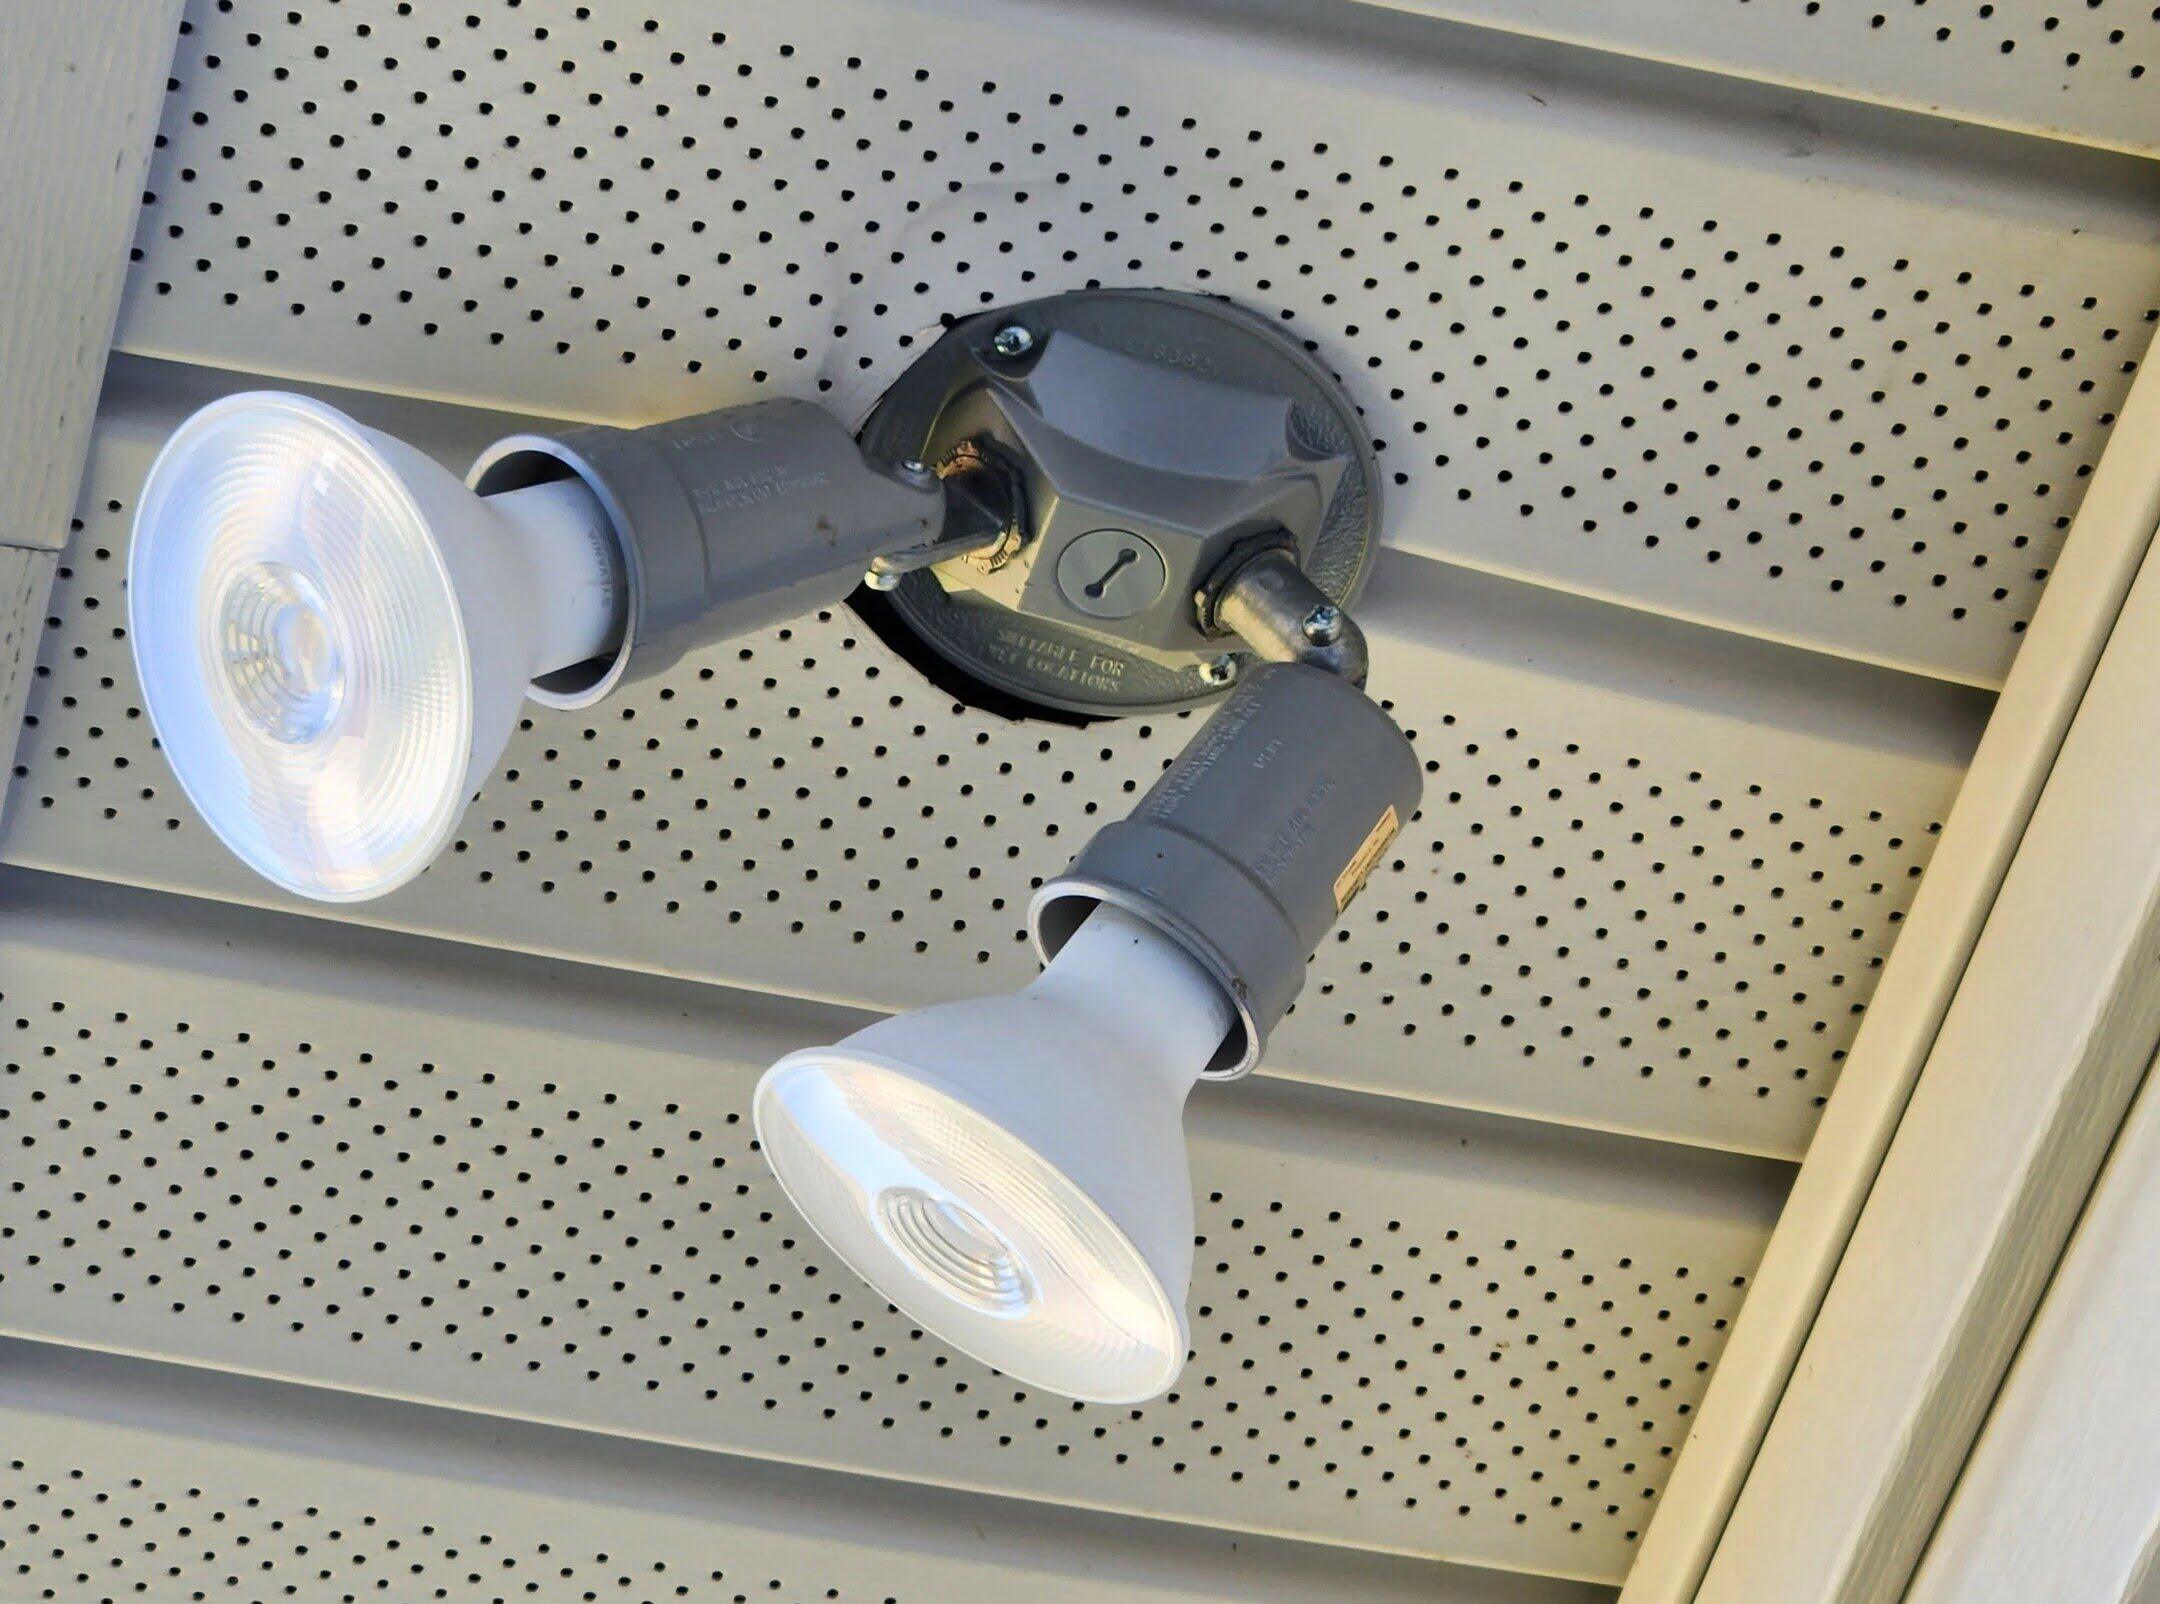
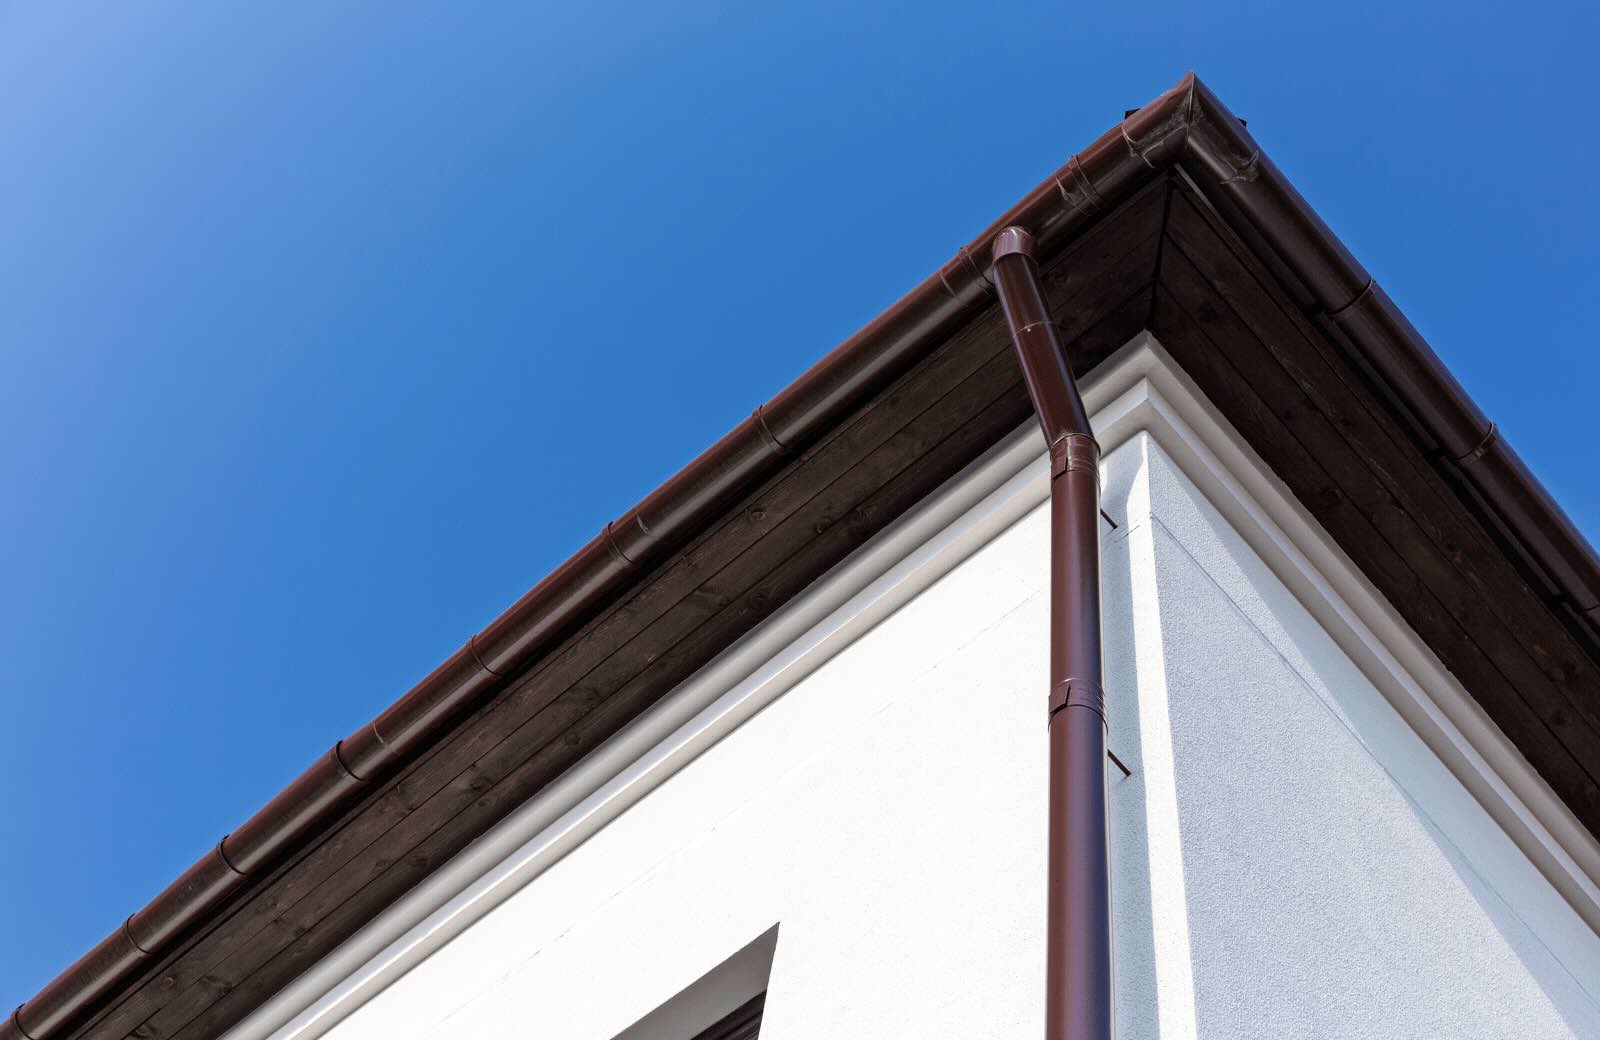
Examine Gutters and Downspouts: Assess the condition of the gutters and downspouts attached to the eaves. Clogged or damaged gutters can lead to water overflow, causing damage to the eaves and the surrounding areas.
-
Document the Findings: Take photographs of the damaged areas and make detailed notes of the observed issues. This documentation will serve as a reference point and aid in planning the repair process.
By meticulously assessing the damage to the eaves, homeowners can gain a comprehensive understanding of the repair requirements and formulate a strategic plan to address the identified issues effectively. This proactive approach sets the stage for a successful eaves repair project, ensuring that the subsequent steps are tailored to the specific needs of the house and its eaves.
Gathering Materials and Tools
Gathering the necessary materials and tools is a crucial preparatory step before commencing the repair of eaves on a house. Having the right supplies at hand ensures a smooth and efficient repair process, allowing homeowners to address the identified issues effectively. Here's a comprehensive list of materials and tools required for repairing eaves:
Materials:
-
Replacement Eaves Components: Depending on the extent of damage, homeowners may need to acquire replacement eaves components such as fascia boards, soffits, and trim pieces. It's essential to measure the dimensions accurately to ensure a precise fit.
-
Wood Preservative or Primer: To protect the repaired or replaced eaves from future damage, a high-quality wood preservative or primer is essential. This helps in safeguarding the wood against moisture, rot, and pests.
-
Exterior-Grade Wood Filler: For repairing minor cracks, holes, or imperfections in the eaves, an exterior-grade wood filler is indispensable. Choose a durable filler that can withstand outdoor conditions.
-
Paint and Primer: Selecting an exterior-grade paint and primer in the desired color is essential for finishing the repaired eaves. Ensure that the paint is suitable for outdoor use and provides long-lasting protection.
-
Fasteners and Nails: Stock up on appropriate fasteners and nails for securing the eaves components in place. Stainless steel or galvanized fasteners are recommended for their corrosion resistance.
-
Safety Equipment: Prioritize safety by acquiring essential safety equipment such as gloves, safety goggles, and a sturdy ladder. These items are vital for protecting oneself during the repair process.
Tools:
-
Circular Saw or Miter Saw: A reliable circular saw or miter saw is essential for cutting replacement eaves components to the required dimensions with precision.
-
Pry Bar and Hammer: These tools are indispensable for carefully removing damaged eaves components without causing additional harm to the surrounding areas.
-
Caulking Gun: A caulking gun, along with high-quality exterior caulk, is necessary for sealing gaps and joints in the eaves, preventing water infiltration.
-
Paintbrushes and Rollers: To apply wood preservative, primer, paint, and wood filler, homeowners will need a selection of paintbrushes and rollers suitable for exterior applications.
-
Measuring Tape and Level: Accurate measurements and alignment are crucial in eaves repair. A measuring tape and level aid in ensuring precision during the installation of replacement components.
-
Safety Harness: When working at heights, a safety harness provides an additional layer of protection, especially when accessing elevated areas of the eaves.
By gathering these materials and tools in advance, homeowners can streamline the repair process and minimize interruptions. With a well-equipped arsenal at their disposal, they can proceed with confidence, knowing that they have everything needed to restore the eaves of their house to their former glory.
Read more: How To Paint The Eaves Of A House
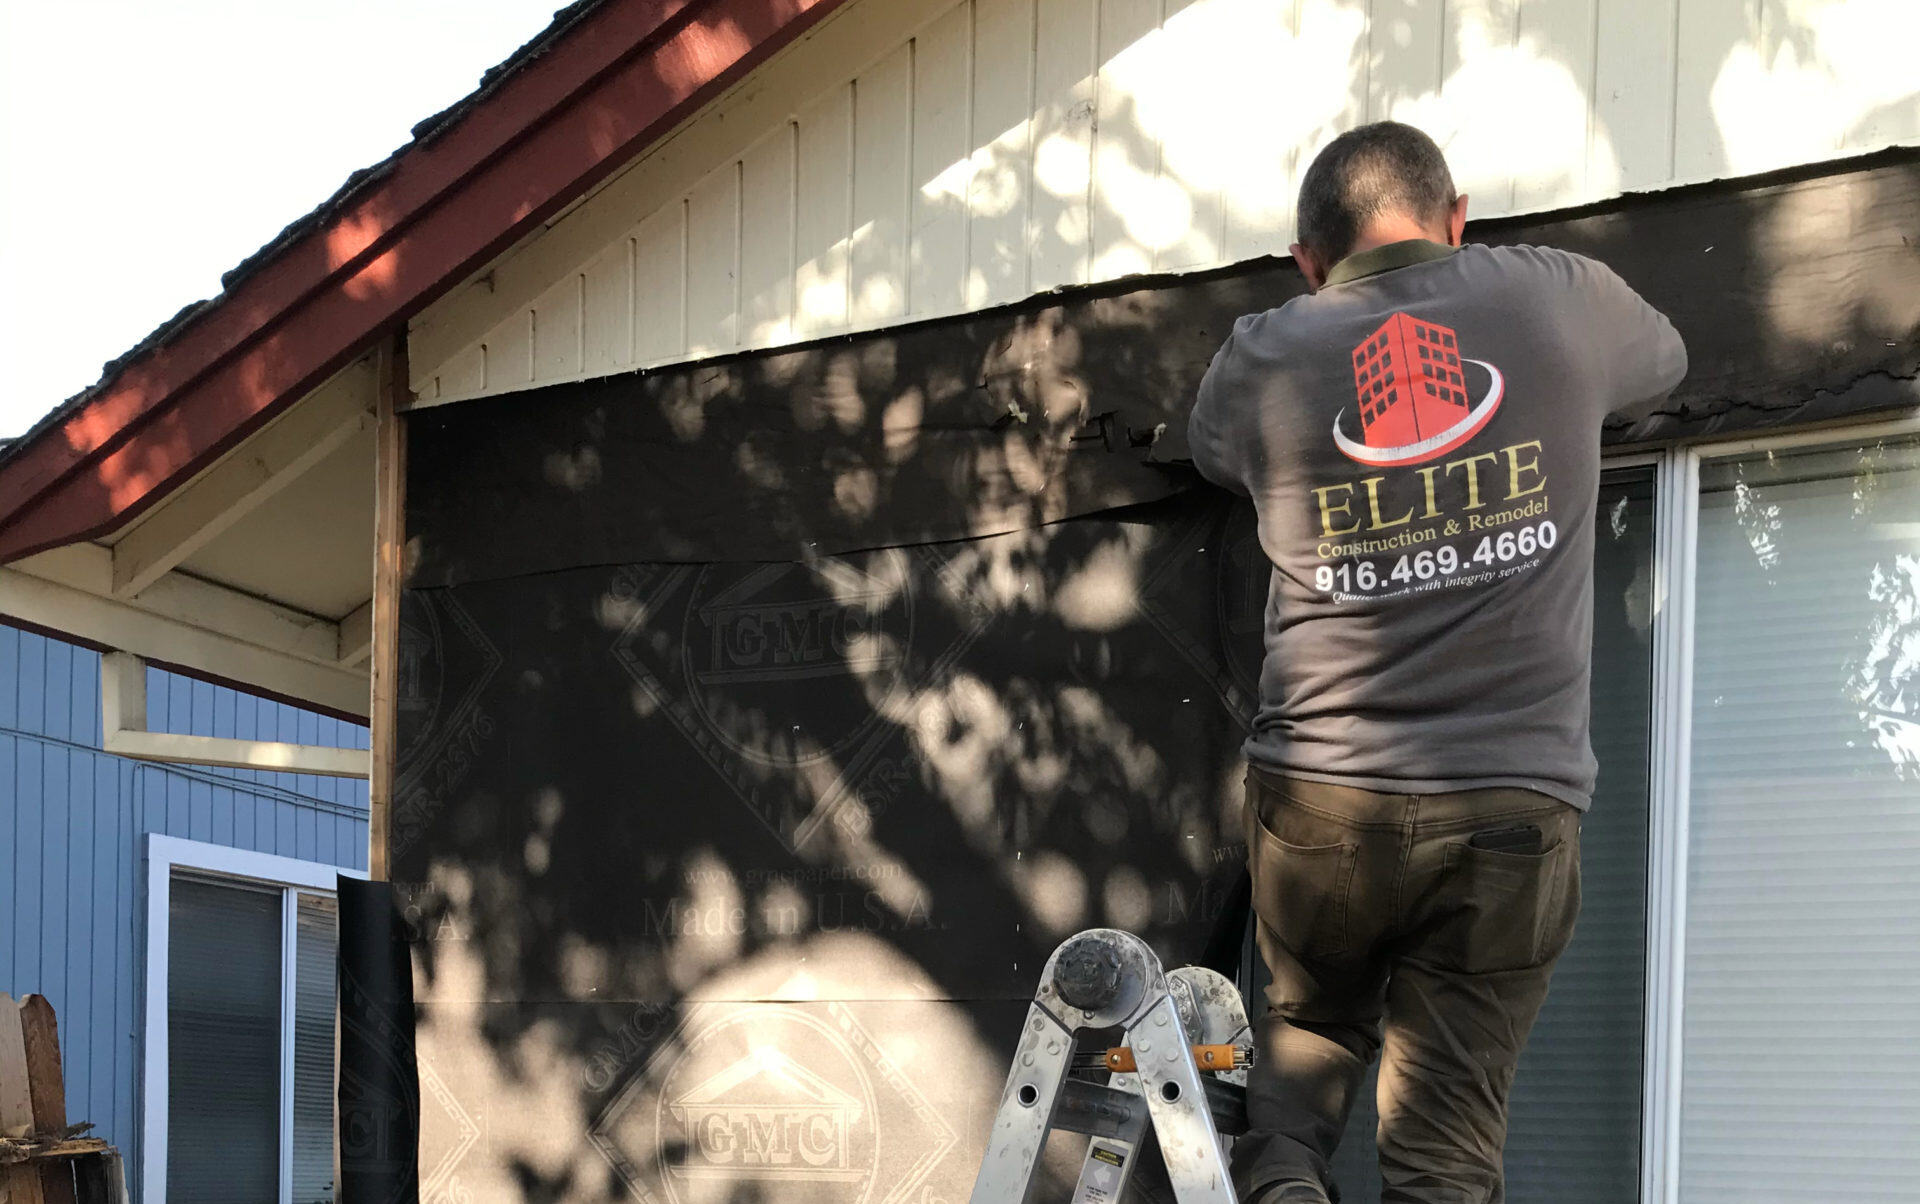
Removing Damaged Eaves
Removing damaged eaves is a critical phase in the repair process, requiring precision and care to ensure the seamless extraction of compromised components. Here's a detailed breakdown of the steps involved in removing damaged eaves:
-
Safety Precautions: Before commencing the removal process, prioritize safety by donning appropriate protective gear, including gloves, safety goggles, and, if working at heights, a safety harness. Secure the ladder on stable ground and ensure it is positioned at the correct angle to provide safe access to the eaves.
-
Assessing Attachment Points: Identify the attachment points of the damaged eaves components, including fascia boards, soffits, and trim pieces. Use a pry bar and hammer to carefully detach any fasteners or nails securing the eaves to the underlying structure. Exercise caution to avoid causing damage to the adjacent areas.
-
Gradual Disassembly: Begin the disassembly process by starting at one end of the damaged eaves. Use the pry bar to gently separate the eaves from the adjoining components, working methodically to avoid unnecessary strain on the surrounding areas. Take care to preserve any salvageable sections that can be reused or serve as templates for replacement.
-
Inspecting Substrate and Support Structures: As the damaged eaves are removed, inspect the underlying substrate and support structures for any signs of deterioration or pest infestation. Address any identified issues promptly to ensure a solid foundation for the subsequent installation of replacement components.
-
Disposal of Damaged Materials: Safely dispose of the removed damaged eaves components in accordance with local regulations. Consider recycling salvageable materials where feasible, contributing to environmental sustainability and minimizing waste.
-
Cleaning and Preparation: Once the damaged eaves have been successfully removed, take the opportunity to clean the exposed areas and prepare them for the installation of replacement components. Clear away debris, inspect for any hidden damage, and ensure that the substrate is free from obstructions.
By following these meticulous steps, homeowners can effectively remove damaged eaves, setting the stage for the subsequent phase of repairing or replacing the eaves components. This methodical approach ensures that the repair process unfolds smoothly, laying the groundwork for the restoration of the eaves to their optimal condition.
Repairing or Replacing Eaves
Once the damaged eaves have been carefully removed, homeowners are poised to embark on the pivotal phase of repairing or replacing the compromised components. This phase demands a meticulous approach, with the goal of restoring the functionality and visual appeal of the eaves. Here's a comprehensive overview of the steps involved in repairing or replacing eaves:
Repairing Damaged Eaves
-
Assessing the Extent of Damage: Begin by evaluating the condition of the removed eaves components. Identify areas with minor damage, such as small cracks or surface imperfections, which can be effectively addressed through repair rather than complete replacement.
-
Wood Filler Application: For minor cracks and imperfections, apply an exterior-grade wood filler using a putty knife. Ensure that the filler is evenly spread and leveled to seamlessly integrate with the surrounding surfaces. Once dried, sand the filled areas to achieve a smooth finish.
-
Priming the Repaired Areas: After the wood filler has been sanded and the surface is clean, apply a suitable primer to the repaired sections. This primes the surface for the application of paint, while also providing an additional layer of protection against moisture and environmental elements.
-
Painting the Repaired Eaves: Select a high-quality exterior-grade paint that matches the existing color of the eaves. Apply the paint evenly to the repaired areas, blending it with the surrounding surfaces for a cohesive appearance. Multiple coats may be necessary to achieve the desired finish and durability.
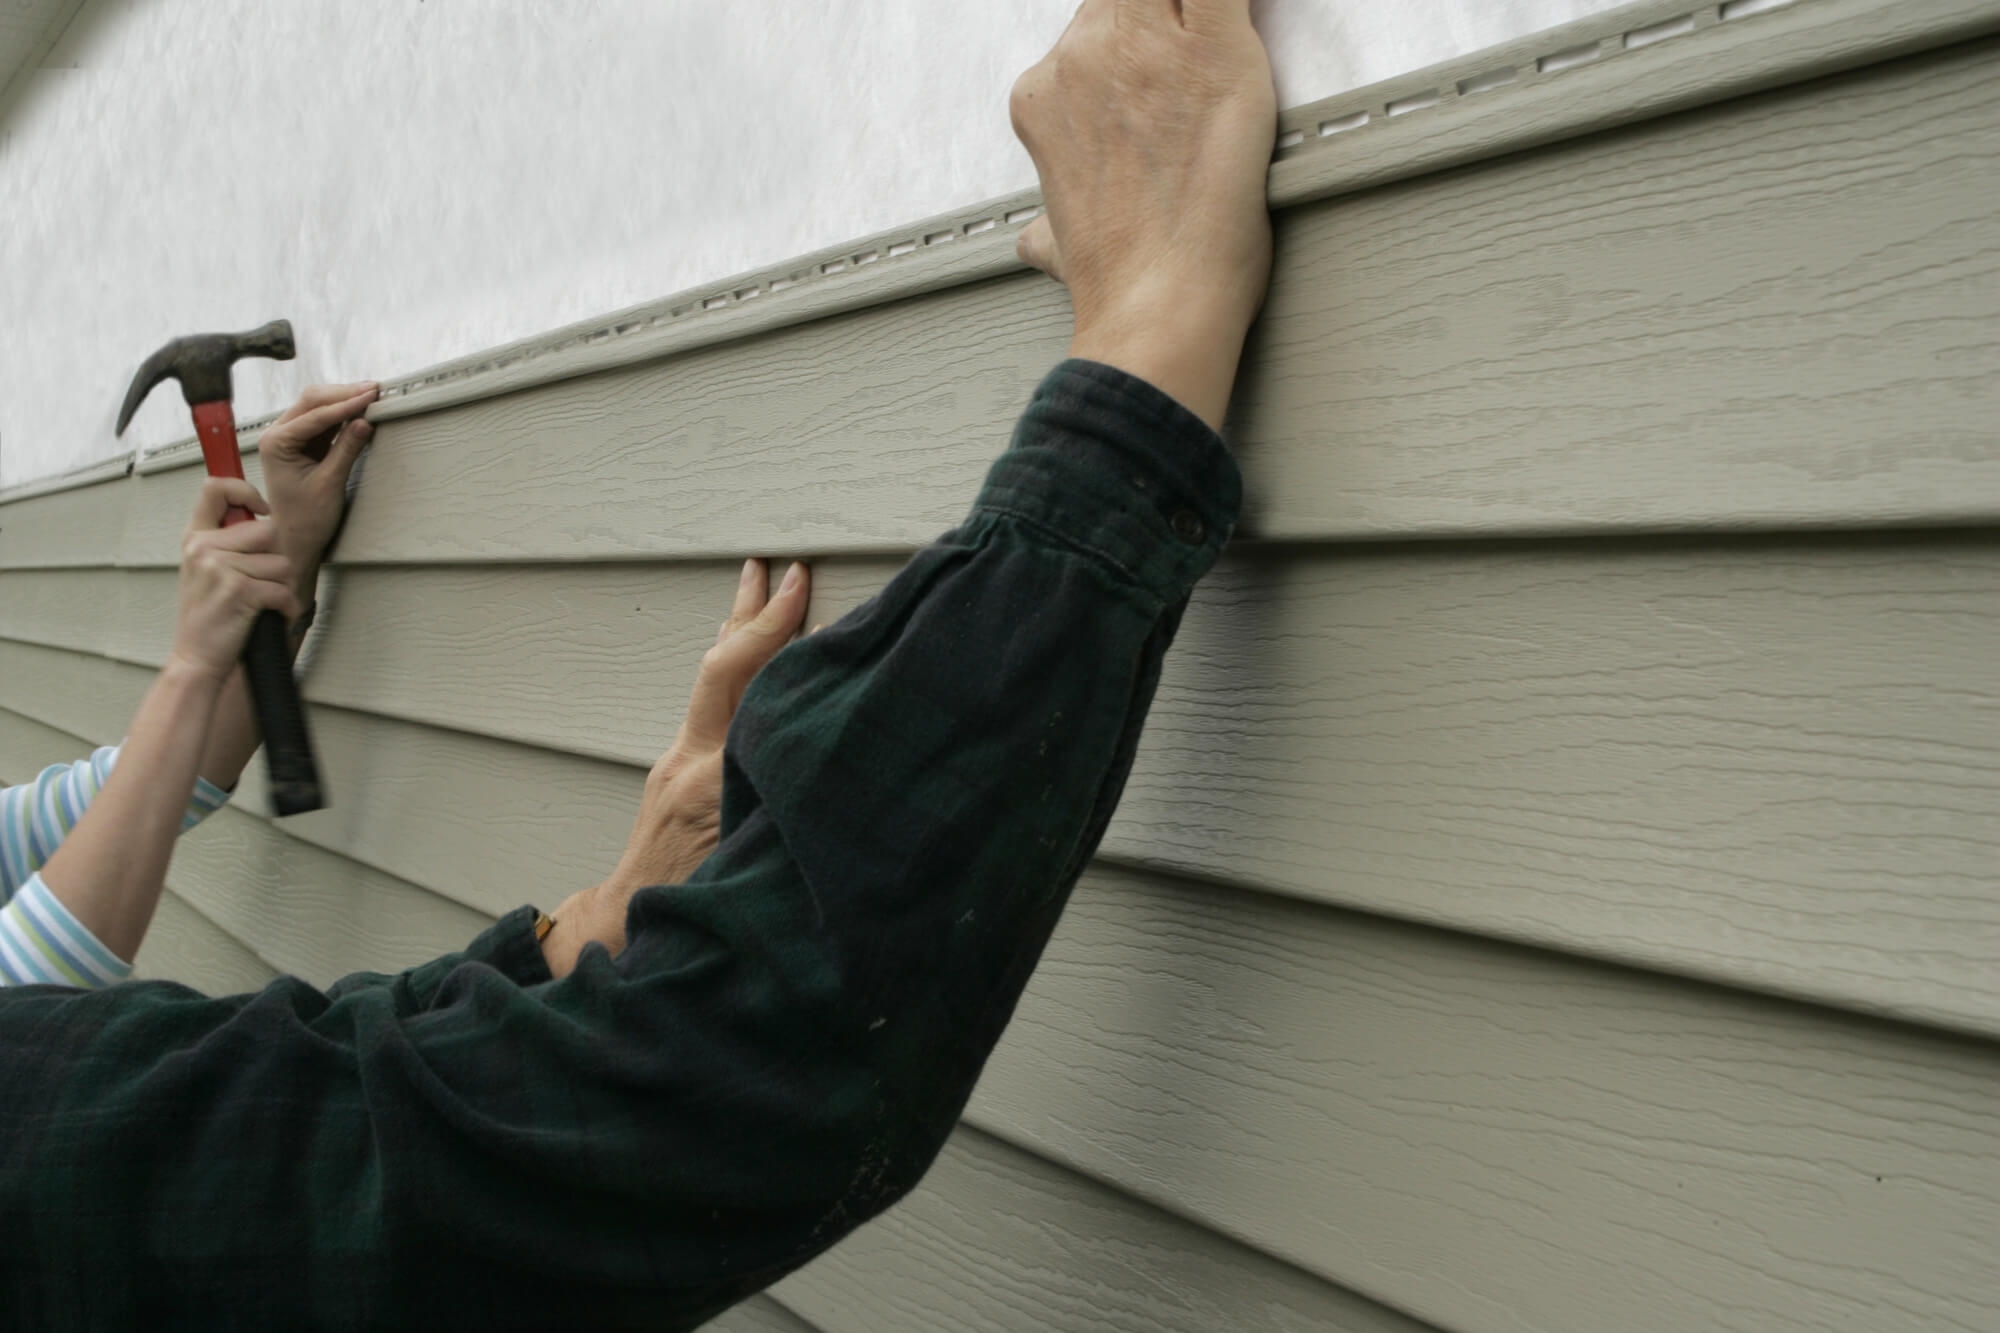
Replacing Damaged Eaves Components
-
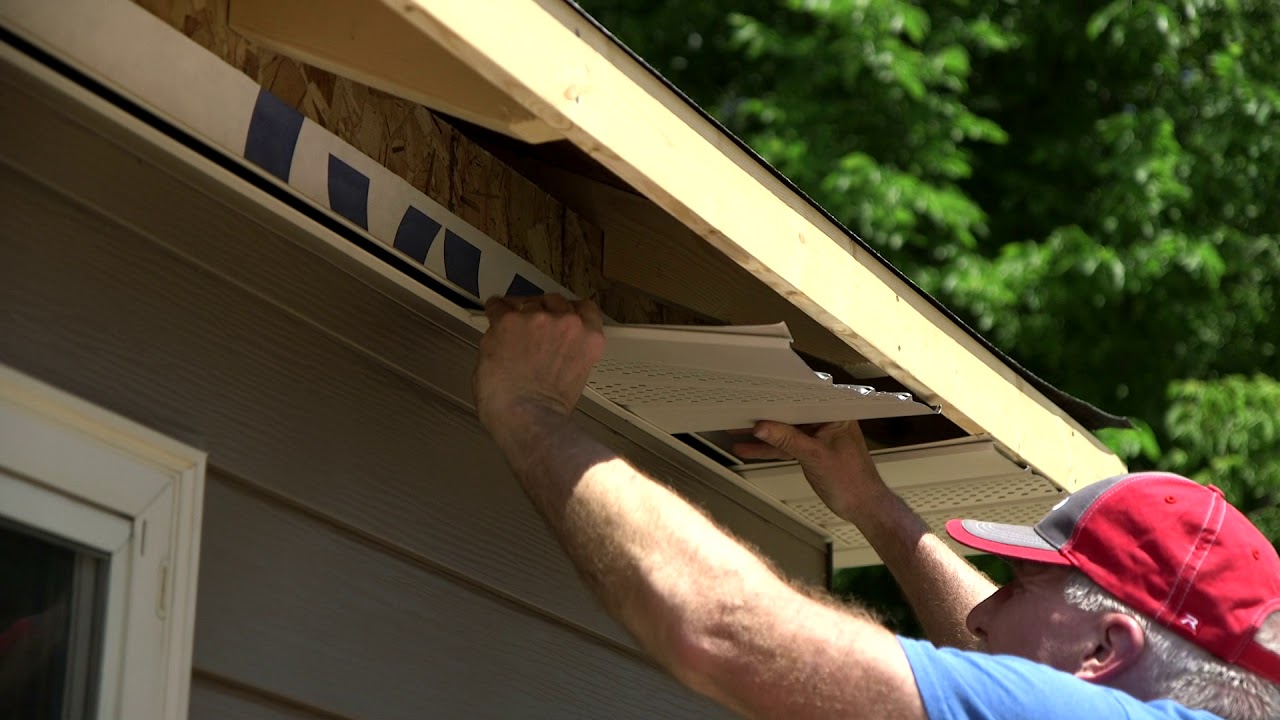
Accurate Measurements and Cutting: When replacing severely damaged eaves components, precise measurements are crucial. Use a tape measure to determine the dimensions of the replacement pieces, and carefully cut them to the required size using a circular saw or miter saw.
-
Securing Replacement Components: Position the replacement components, such as fascia boards and soffits, ensuring a snug fit and proper alignment. Secure them in place using appropriate fasteners, such as stainless steel or galvanized nails, to ensure long-term stability.
-
Sealing Joints and Gaps: Use a caulking gun to seal any joints or gaps between the newly installed components and the existing structure. This step is essential for preventing water infiltration and enhancing the overall weather resistance of the eaves.
-
Applying Wood Preservative and Paint: Prior to completing the replacement process, apply a high-quality wood preservative to the newly installed components. This safeguards the wood against moisture, rot, and pest damage. Subsequently, apply exterior-grade paint to achieve a uniform appearance and long-lasting protection.
By meticulously following these steps, homeowners can effectively repair or replace damaged eaves, restoring their functionality and visual appeal. This proactive approach ensures that the eaves are fortified against environmental elements, contributing to the long-term resilience and aesthetic charm of the house.
Read more: How To Clean The Eaves Of A House
Painting and Finishing Touches
After the repair or replacement of damaged eaves components, the painting and finishing touches play a pivotal role in enhancing the overall aesthetics and durability of the eaves. This phase involves meticulous attention to detail and the application of high-quality materials to ensure a seamless integration with the existing exterior of the house.
Surface Preparation
Before commencing the painting process, it is essential to prepare the surfaces of the repaired or replaced eaves. Begin by inspecting the areas to be painted, ensuring that they are clean, dry, and free from any dust or debris. Sand the surfaces lightly to promote adhesion and create a smooth foundation for the paint application. Additionally, inspect the surrounding areas to safeguard against any potential overspray or paint splatter, taking necessary precautions to protect adjacent surfaces.
Selection of Exterior-Grade Paint
Choosing the right type of paint is paramount in achieving a durable and visually appealing finish for the eaves. Opt for a high-quality exterior-grade paint that is specifically formulated for outdoor use and is designed to withstand varying weather conditions. Consider the existing color scheme of the house to ensure that the chosen paint complements the overall aesthetic.
Application of Primer
Applying a suitable primer to the prepared surfaces is a crucial preparatory step before painting. The primer not only enhances the adhesion of the paint but also provides an additional layer of protection for the eaves. Select a primer that is compatible with the chosen paint and is designed to seal and protect the underlying surfaces from moisture and environmental elements.
Read more: What Is An Eave On A Roof
Methodical Painting Process
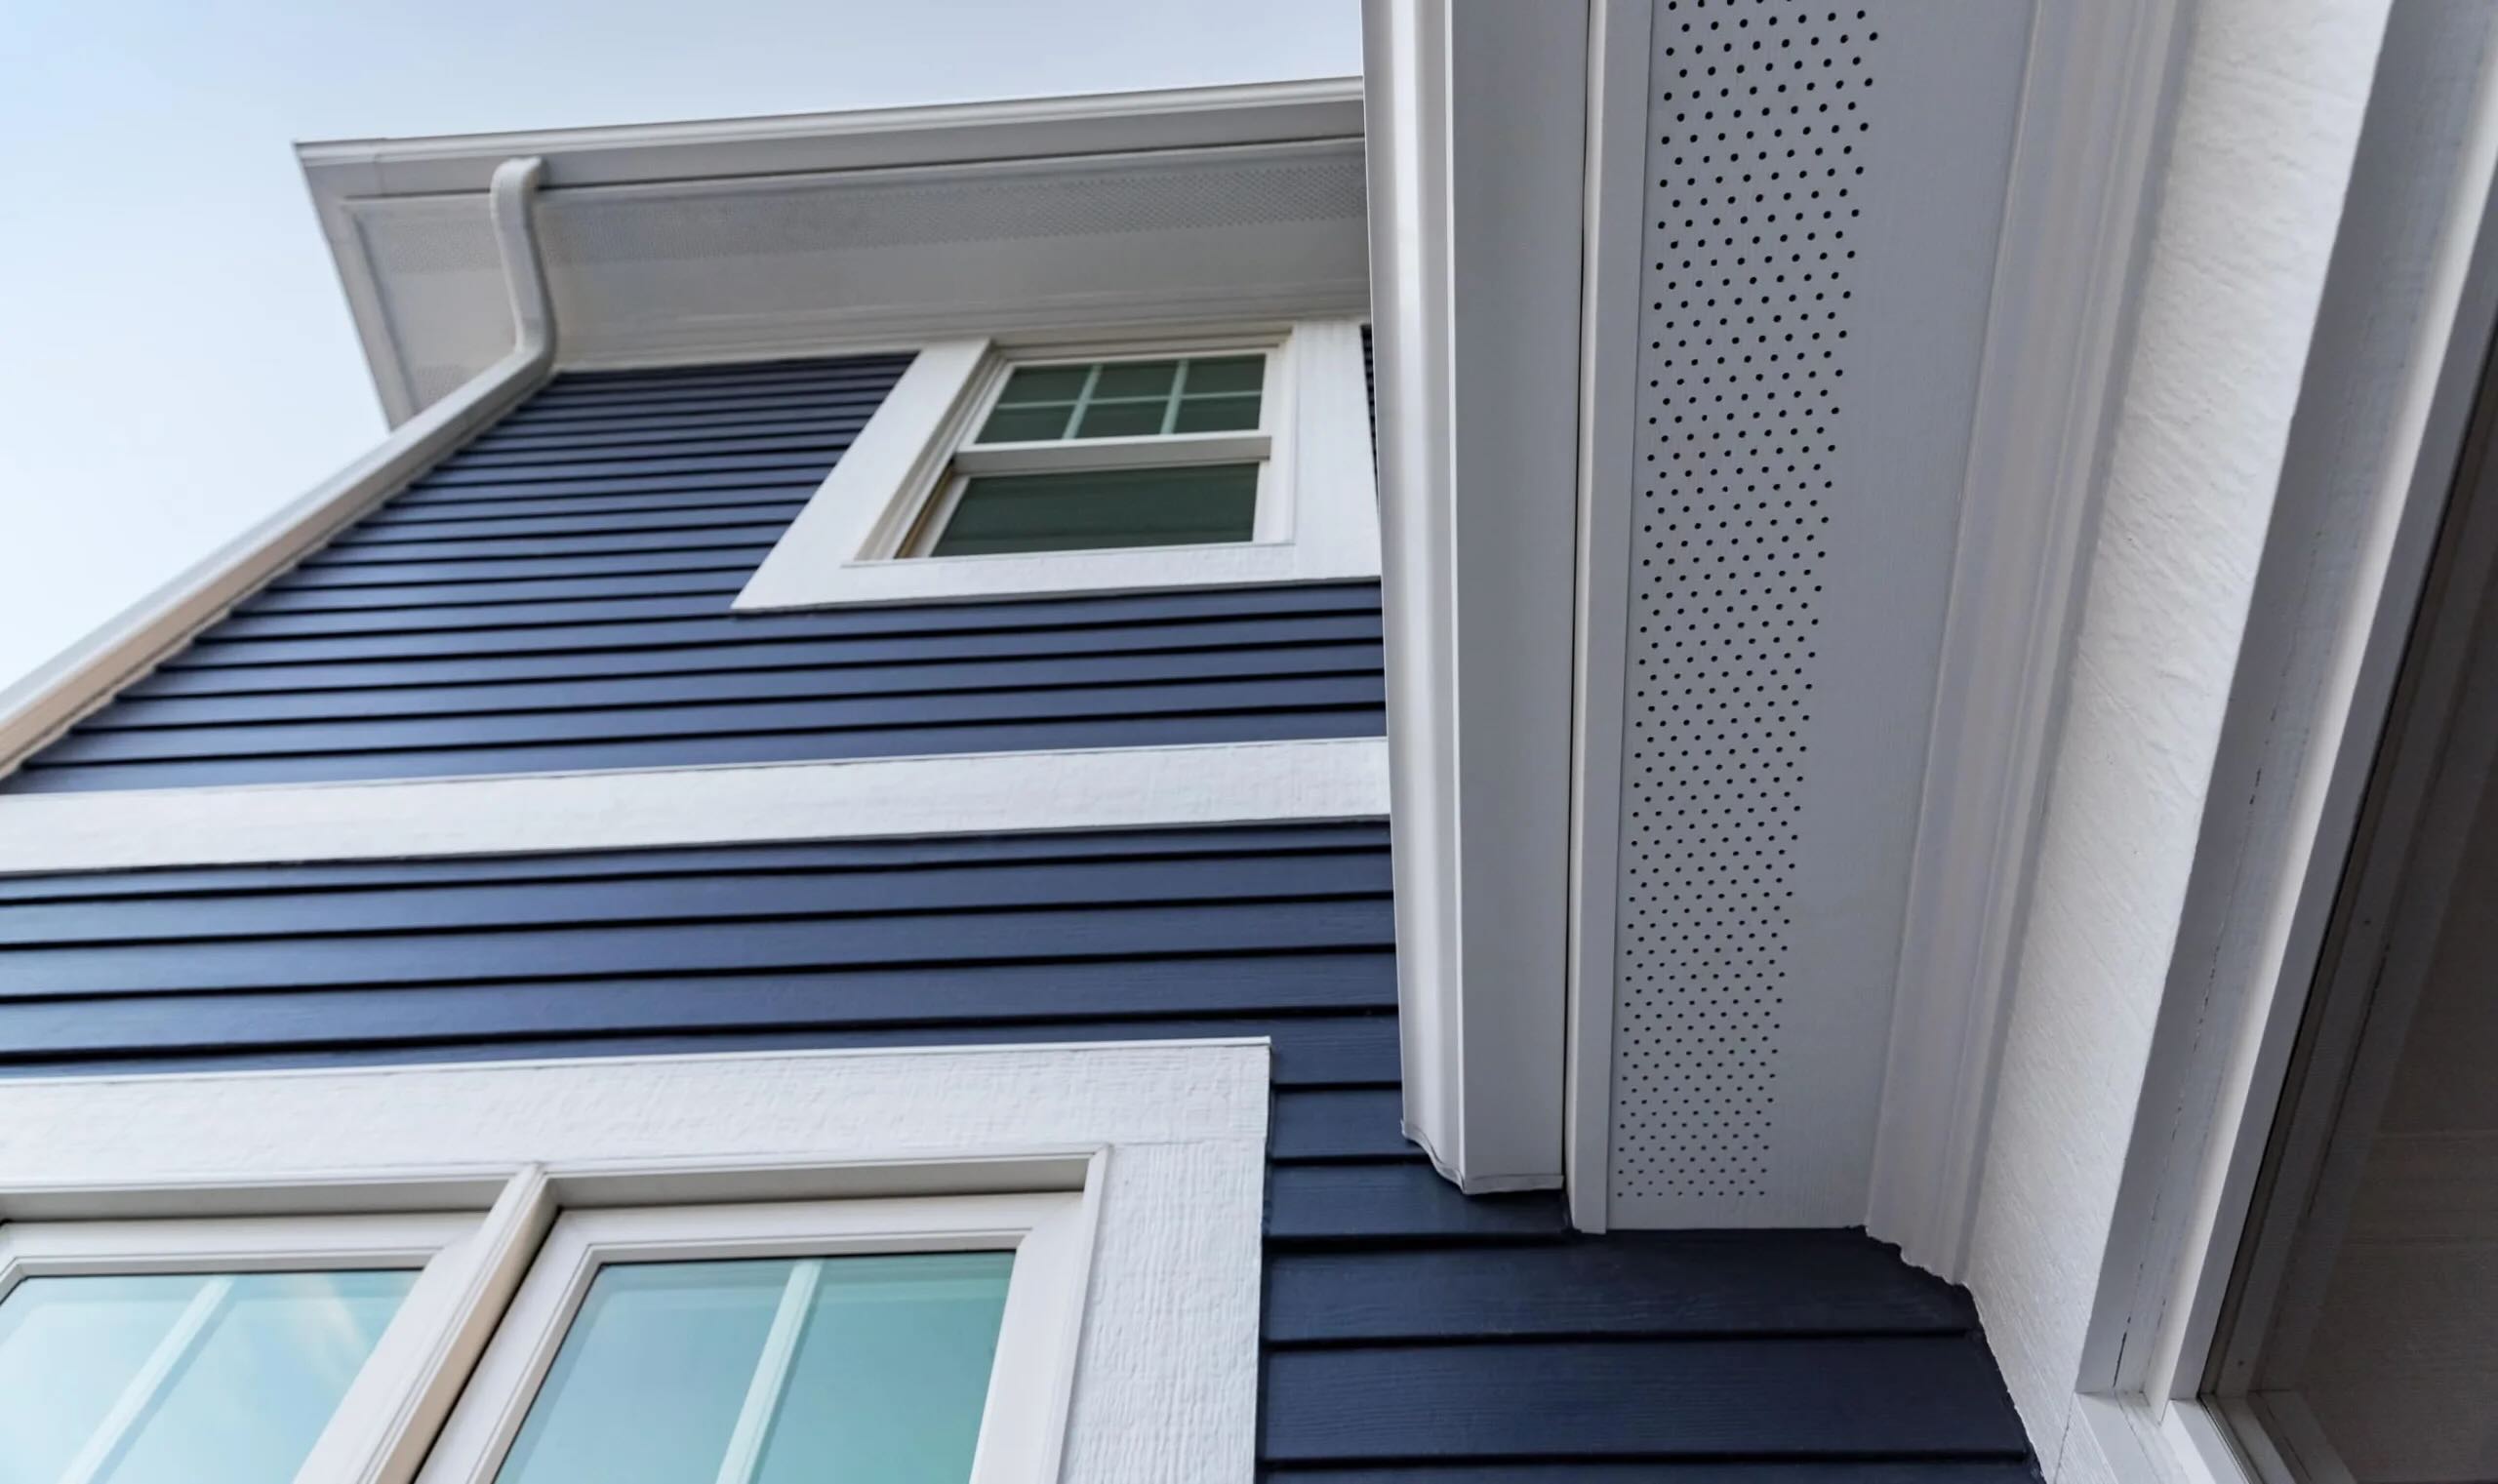
When applying the paint to the eaves, adopt a methodical approach to ensure even coverage and a professional finish. Use high-quality paintbrushes or rollers designed for exterior applications, selecting the appropriate tools based on the size and intricacy of the eaves' surfaces. Apply the paint evenly, working in consistent strokes to achieve a uniform appearance. Multiple coats may be necessary to achieve the desired color depth and durability, allowing sufficient drying time between each coat.
Finishing Touches
Once the paint has been applied and allowed to dry thoroughly, inspect the eaves for any touch-up areas or imperfections. Address any inconsistencies with additional paint as needed, ensuring a seamless transition between the repaired or replaced sections and the existing eaves. Additionally, consider adding decorative elements or trim pieces to further enhance the visual appeal of the eaves, contributing to the overall charm of the house's exterior.
By meticulously executing the painting and finishing touches, homeowners can elevate the eaves' appearance while fortifying them against environmental elements. This attention to detail not only enhances the curb appeal of the house but also contributes to the long-term protection and preservation of the eaves, ensuring that they remain a source of pride and admiration for years to come.
Conclusion
In conclusion, the repair of eaves on a house is a fundamental aspect of home maintenance that encompasses both functionality and aesthetics. By embarking on the journey of eaves repair, homeowners demonstrate a proactive commitment to preserving the structural integrity and visual appeal of their cherished abode. The comprehensive process of assessing the damage, gathering materials and tools, removing damaged eaves, repairing or replacing components, and applying finishing touches encapsulates a holistic approach to eaves restoration.
Through the meticulous assessment of the extent of damage, homeowners gain valuable insights into the specific repair requirements, enabling them to formulate a strategic plan tailored to the unique needs of their eaves. This proactive approach sets the stage for a successful repair project, ensuring that subsequent steps are executed with precision and purpose.
The gathering of materials and tools serves as a preparatory phase that equips homeowners with the necessary resources to navigate the repair process seamlessly. By ensuring that they have the right supplies at hand, homeowners can proceed with confidence, knowing that they are well-prepared to address the identified issues effectively.
The careful removal of damaged eaves and the subsequent repair or replacement of components represent pivotal phases in the restoration journey. This meticulous approach not only restores the functionality of the eaves but also fortifies them against environmental elements, contributing to the long-term resilience of the house.
The painting and finishing touches serve as the crowning glory of the eaves repair process, elevating the visual appeal of the house's exterior while providing a durable protective layer. This attention to detail ensures that the repaired or replaced eaves seamlessly integrate with the existing aesthetic, enhancing the overall charm of the property.
In essence, the repair of eaves on a house transcends mere renovation; it embodies a commitment to safeguarding the structural integrity and enhancing the beauty of the home. By following the expert advice and detailed instructions provided in this guide, homeowners are empowered to embark on the journey of restoring their eaves, thereby ensuring that their abode remains a symbol of pride and resilience for years to come.
Now that you've got a handle on fixing eaves, why stop there? Mastering home repairs can save you money and add value to your living space. Our next guide walks you through essential fixes that every homeowner should know. Whether you're dealing with a leaky faucet or a creaky floorboard, our detailed instructions will help you tackle these projects with confidence. Keep your home in tip-top shape and impress visitors with your DIY skills.
Frequently Asked Questions about How To Repair Eaves On A House
Was this page helpful?
At Storables.com, we guarantee accurate and reliable information. Our content, validated by Expert Board Contributors, is crafted following stringent Editorial Policies. We're committed to providing you with well-researched, expert-backed insights for all your informational needs.
0 thoughts on “How To Repair Eaves On A House”