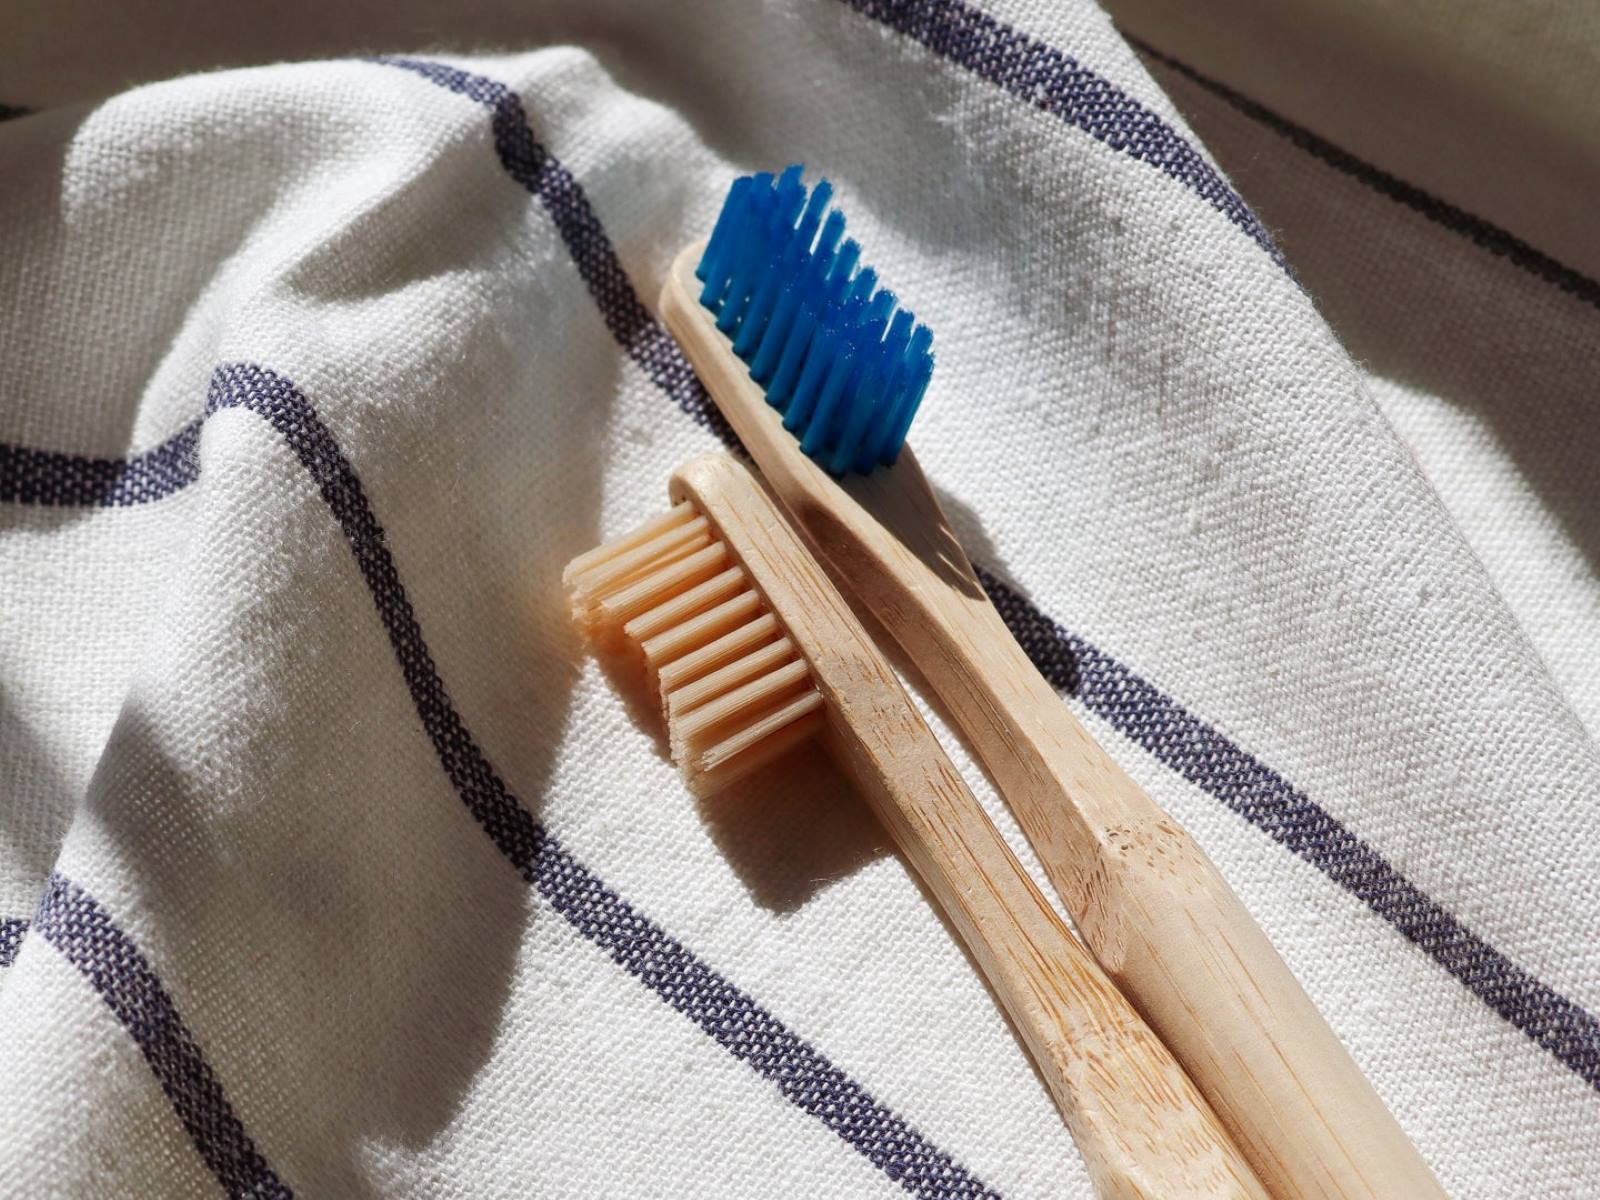
Home>Furniture & Design>Bathroom Accessories>How To Clean A Toothbrush After Being Sick
Bathroom Accessories
How To Clean A Toothbrush After Being Sick
Modified: April 22, 2024
Learn how to properly clean your toothbrush after being sick to prevent the spread of germs in your bathroom. Keep your bathroom accessories clean and hygienic.
(Many of the links in this article redirect to a specific reviewed product. Your purchase of these products through affiliate links helps to generate commission for Storables.com, at no extra cost. Learn more)
Introduction
Maintaining good oral hygiene is essential for overall health, and one of the primary tools for achieving this is the toothbrush. However, when illness strikes, it's crucial to take extra precautions to prevent the spread of germs and bacteria. Whether you've been battling a cold, the flu, or any other contagious illness, it's important to clean your toothbrush thoroughly to avoid reinfection and maintain a healthy oral care routine.
When we're sick, our toothbrushes can become a breeding ground for bacteria and viruses, potentially leading to reinfection or the spread of illness to others. Therefore, knowing how to effectively clean a toothbrush after being sick is vital for safeguarding both personal and public health.
In the following steps, we'll explore various methods for thoroughly cleaning a toothbrush after illness, ensuring that it's free from harmful pathogens and safe to use once you've recovered. From rinsing and soaking in antibacterial mouthwash to boiling and using hydrogen peroxide, these techniques will help you maintain a hygienic toothbrush and minimize the risk of reinfection.
By following these steps, you can rest assured that your toothbrush is clean and safe to use, allowing you to focus on recovering without the worry of reintroducing harmful bacteria into your system. Let's delve into the detailed process of effectively cleaning a toothbrush after being sick, ensuring that your oral hygiene remains a top priority during illness and beyond.
Key Takeaways:
- Keep your toothbrush clean after being sick by rinsing, soaking in antibacterial mouthwash, boiling, and using hydrogen peroxide. Consider replacing it if the illness was severe or highly contagious to ensure optimal oral hygiene.
- Thoroughly clean and disinfect your toothbrush after illness to minimize the risk of reinfection. Replace it if the illness was severe or prolonged, and prioritize oral hygiene for overall wellness.
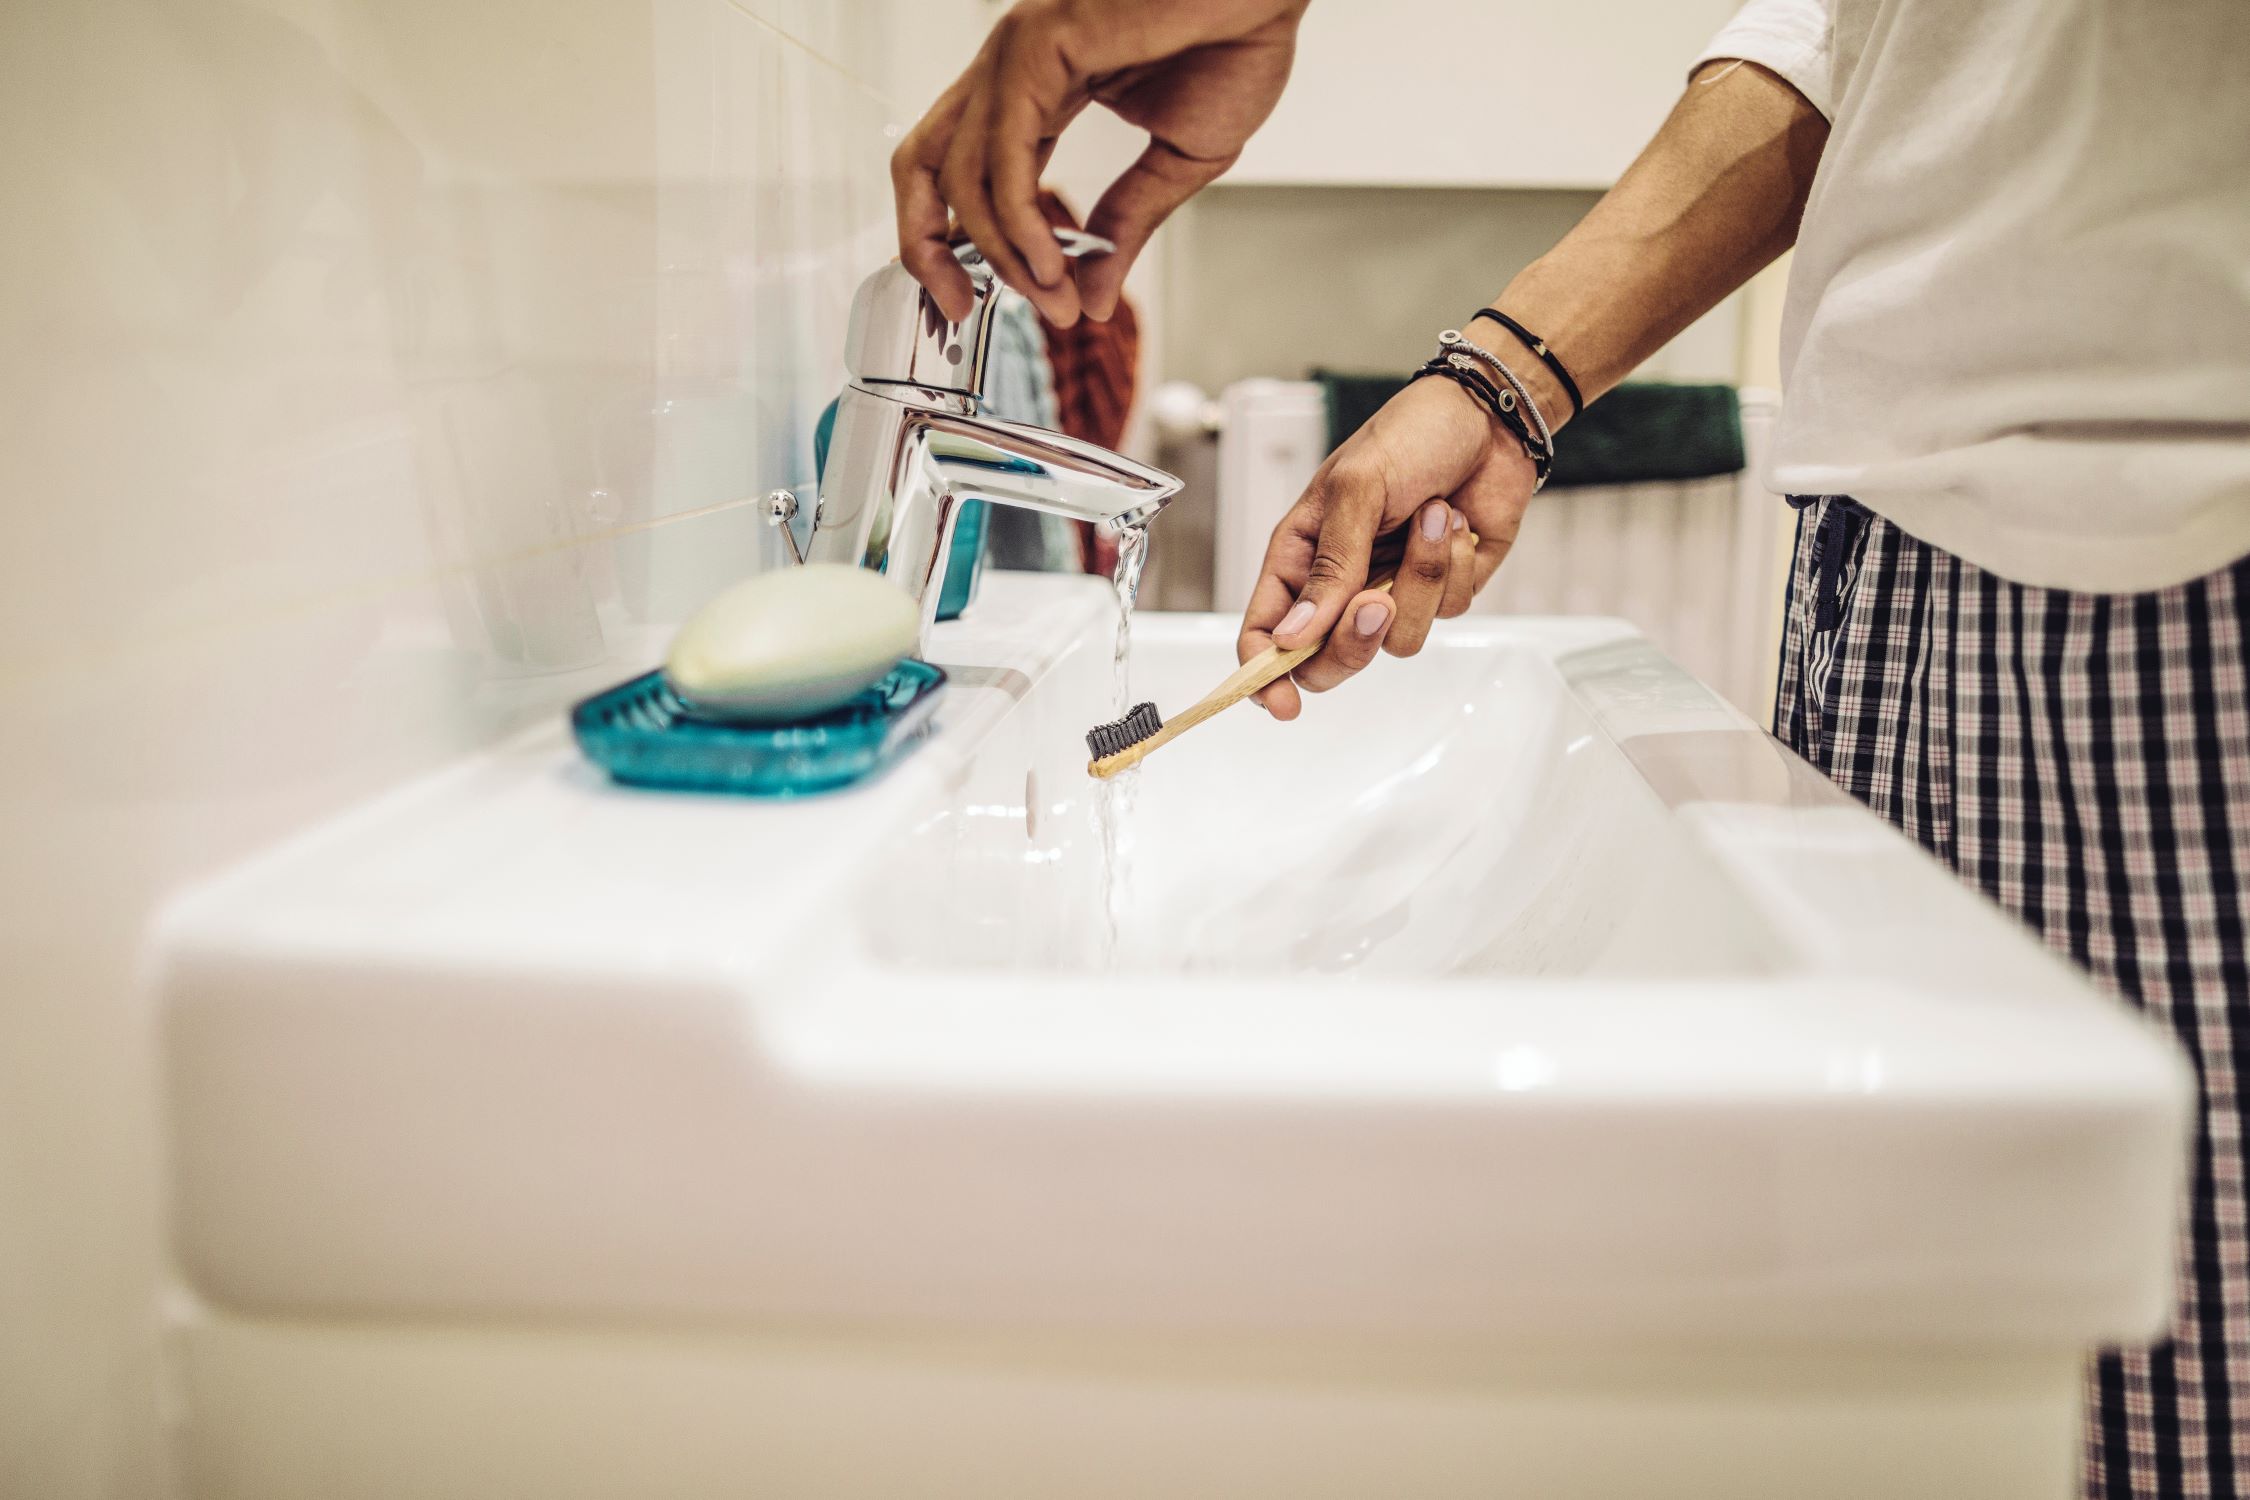
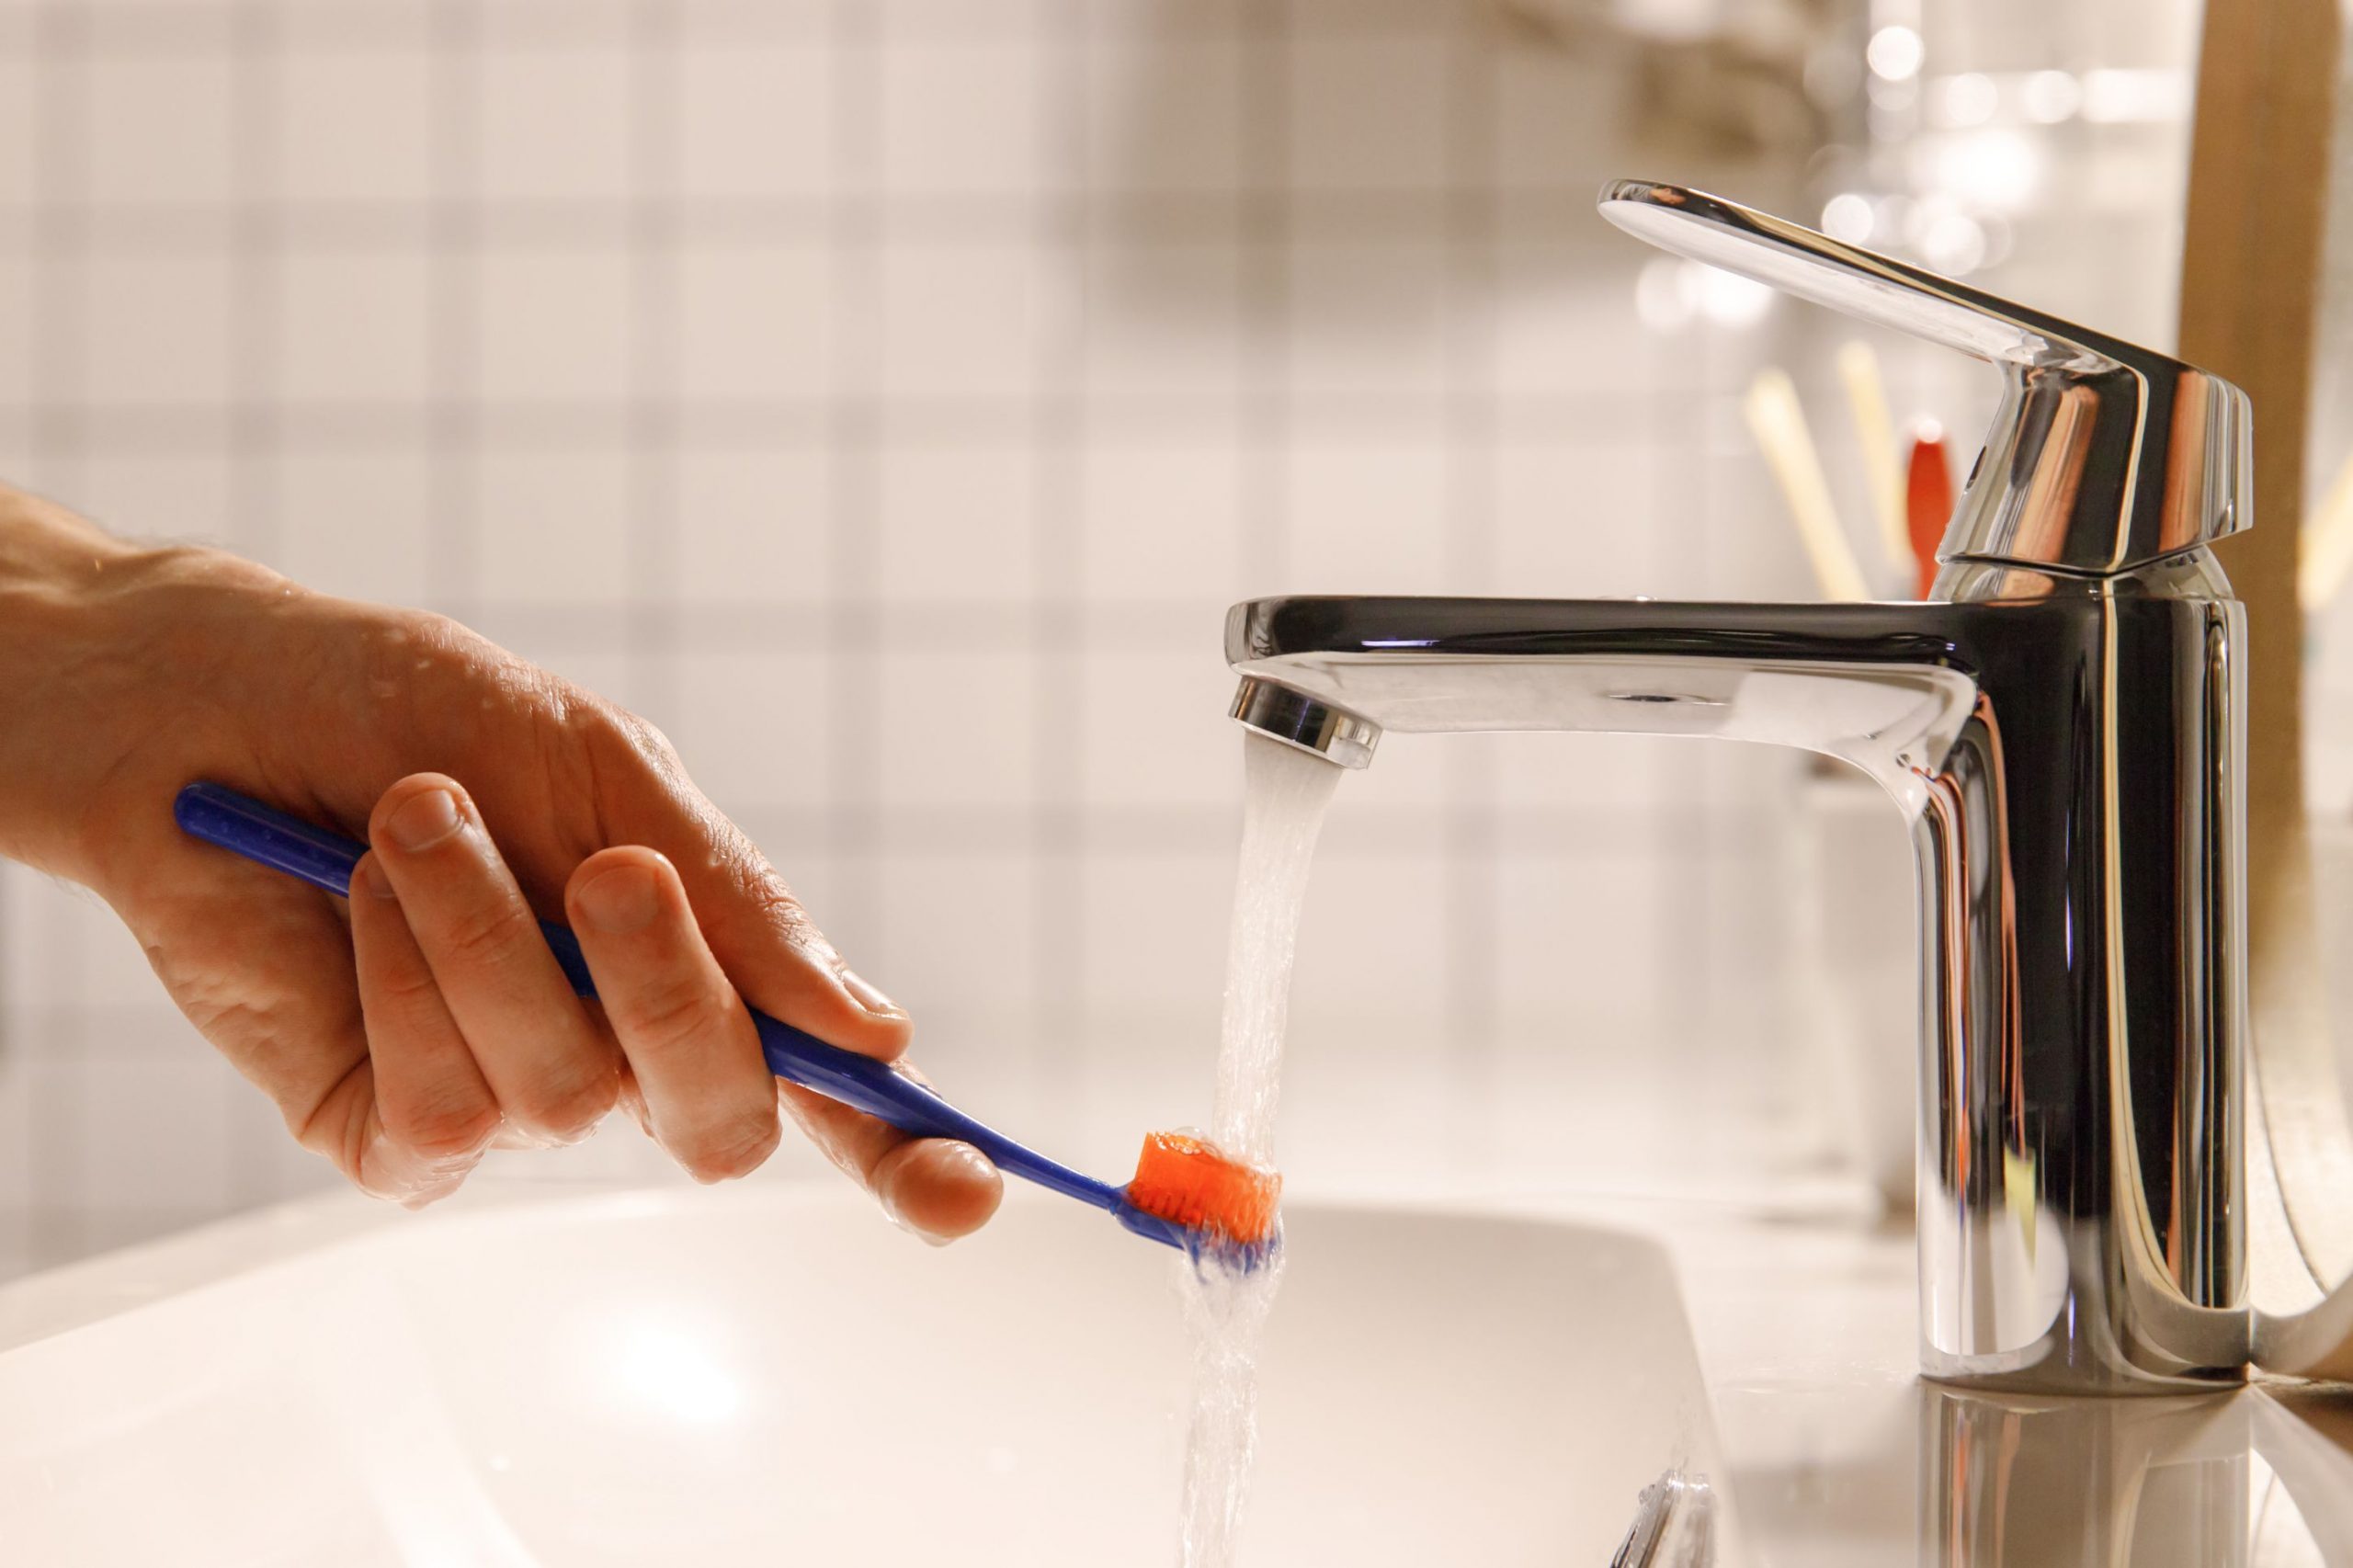
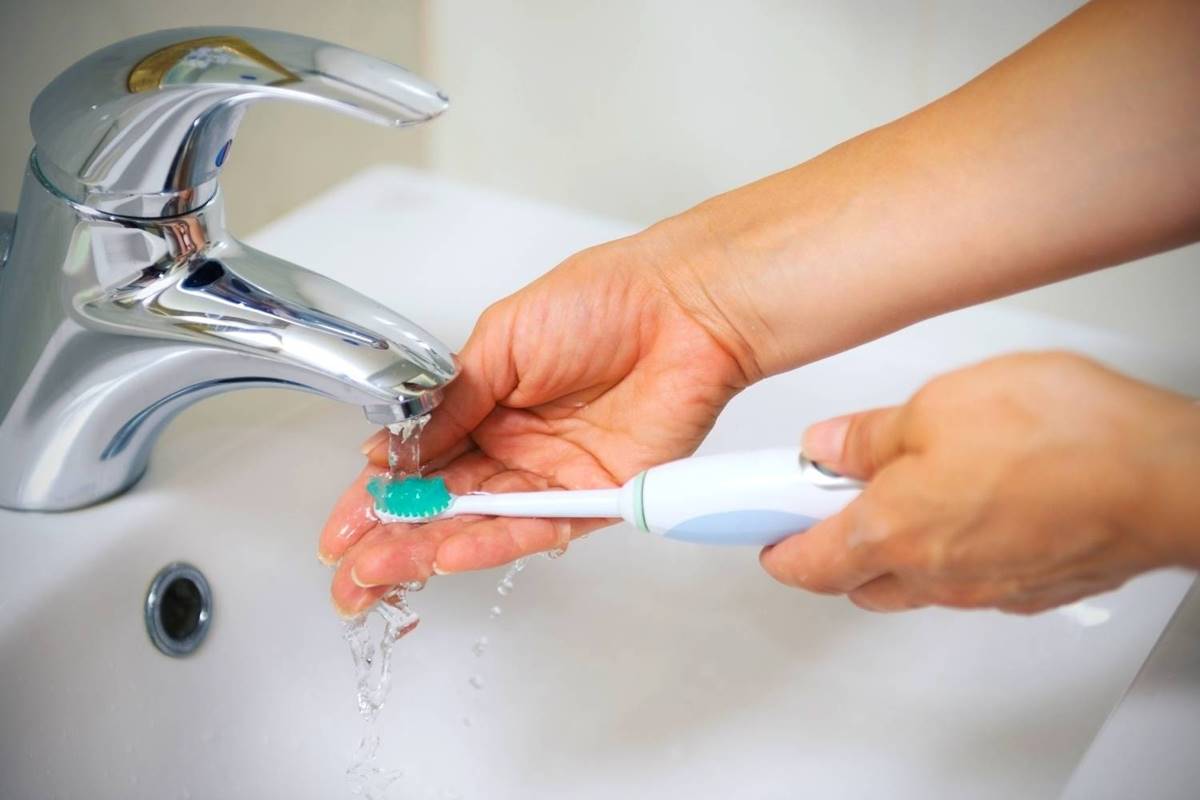
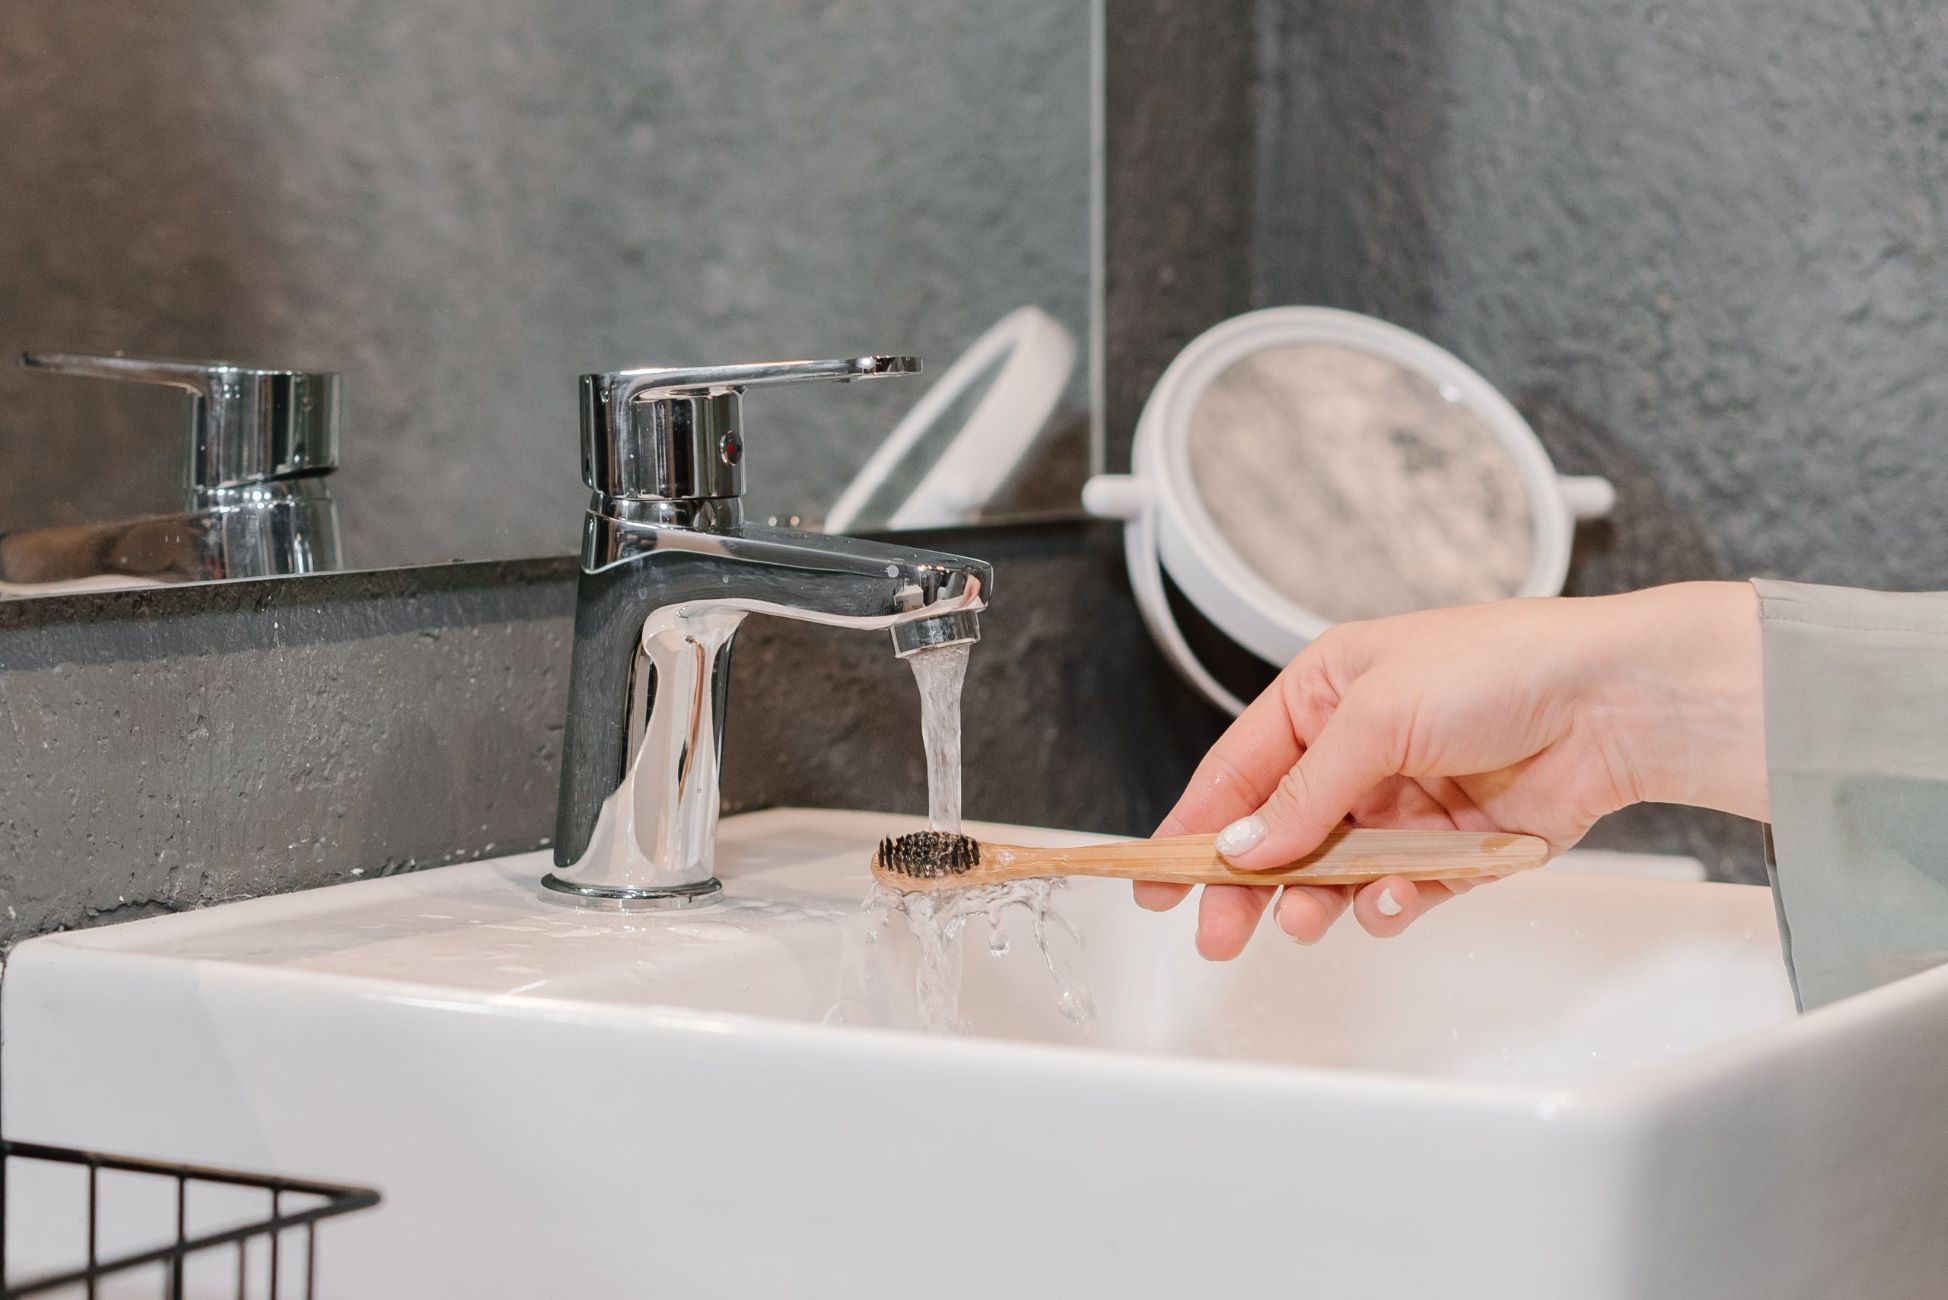
Step 1: Rinse the toothbrush
Rinsing your toothbrush is the first crucial step in effectively cleaning it after being sick. This simple yet essential process helps remove any lingering debris, toothpaste, and potentially harmful microorganisms from the bristles. To ensure thorough cleaning, follow these steps:
-
Thoroughly rinse the bristles: Hold the toothbrush under running water and gently rub the bristles with your fingers to dislodge any remaining toothpaste or particles. Ensure that water reaches all parts of the bristles to wash away any residual germs.
-
Use warm water: Warm water can help loosen debris and bacteria more effectively than cold water. The gentle heat can aid in dislodging any remaining particles, providing a more thorough clean.
-
Inspect the toothbrush: Take a moment to inspect the toothbrush for any visible residue or discoloration. If you notice any stubborn buildup, you may consider using a gentle, natural bristle brush to carefully scrub the bristles and remove any remaining debris.
Rinsing your toothbrush effectively sets the stage for subsequent cleaning methods, ensuring that the bristles are free from surface contaminants and ready for further disinfection. By incorporating this simple yet vital step into your post-illness toothbrush cleaning routine, you can take proactive measures to maintain oral hygiene and minimize the risk of reinfection.
Step 2: Soak in antibacterial mouthwash
Soaking your toothbrush in antibacterial mouthwash is an effective method to further disinfect and sanitize the bristles, ensuring that any remaining germs are eliminated. This simple yet powerful step can significantly reduce the microbial load on the toothbrush, promoting a clean and hygienic oral care tool. Here's how to effectively soak your toothbrush in antibacterial mouthwash:
-
Select an antibacterial mouthwash: Choose an antibacterial mouthwash that contains ingredients known for their germ-fighting properties, such as cetylpyridinium chloride or essential oils like tea tree oil. These active ingredients can help target and eliminate a wide range of bacteria, fungi, and viruses that may be present on the toothbrush.
-
Pour enough mouthwash to submerge the bristles: In a clean container or glass, pour enough antibacterial mouthwash to fully submerge the bristles of the toothbrush. Ensure that the entire head of the toothbrush is immersed in the mouthwash, allowing the antibacterial properties to penetrate and disinfect the bristles thoroughly.
-
Soak for an appropriate duration: Allow the toothbrush to soak in the antibacterial mouthwash for at least 15-30 minutes. This duration provides ample time for the active ingredients in the mouthwash to effectively target and neutralize any remaining germs on the bristles, promoting a deep and thorough clean.
-
Gently agitate the toothbrush: Periodically agitate the toothbrush in the mouthwash solution to ensure that the antibacterial properties reach all parts of the bristles. Gently swishing the toothbrush in the mouthwash can help dislodge any trapped debris and allow the active ingredients to penetrate more effectively.
-
Rinse the toothbrush after soaking: After the soaking period, remove the toothbrush from the mouthwash solution and thoroughly rinse it under running water. Ensure that all traces of the mouthwash are washed away, leaving behind clean and refreshed bristles that are free from residual mouthwash.
By incorporating the step of soaking the toothbrush in antibacterial mouthwash into your post-illness cleaning routine, you can enhance the disinfection process and promote a hygienic oral care tool. This method complements rinsing and sets the stage for further cleaning steps, contributing to a comprehensive approach to maintaining a clean toothbrush after being sick.
Step 3: Boil the toothbrush
Boiling the toothbrush is a highly effective method for sterilizing and disinfecting the bristles, providing an additional layer of protection against lingering germs and bacteria. This straightforward yet powerful technique harnesses the cleansing power of heat to eliminate potentially harmful microorganisms, ensuring that the toothbrush is thoroughly sanitized. Here's a detailed look at the process of boiling the toothbrush to promote optimal hygiene:
-
Prepare a pot of water: Fill a clean pot with enough water to fully submerge the toothbrush. It's essential to use a pot that is designated for this purpose and has not been previously used for cooking or food preparation to avoid cross-contamination.
-
Bring the water to a rolling boil: Place the pot of water on the stove and heat it until it reaches a rolling boil. The high temperature of boiling water is effective in killing a wide range of microorganisms, making it an ideal method for disinfection.
-
Submerge the toothbrush: Once the water reaches a vigorous boil, carefully place the toothbrush into the pot, ensuring that the bristles are fully immersed. Use tongs or a utensil to handle the toothbrush and avoid direct contact with the boiling water.
-
Boil for 3-5 minutes: Allow the toothbrush to boil in the water for 3-5 minutes, ensuring that it receives ample exposure to the high heat. This duration is sufficient to effectively sterilize the bristles and eliminate any remaining germs, providing a deep and thorough clean.
-
Remove and cool the toothbrush: After the boiling period, carefully remove the toothbrush from the pot using tongs and place it on a clean surface to cool. Allow the toothbrush to air dry naturally, ensuring that it is free from excess moisture before its next use.
Boiling the toothbrush serves as a potent method for disinfection, harnessing the power of heat to eliminate germs and promote a hygienic oral care tool. This technique, when combined with other cleaning methods, contributes to a comprehensive approach to maintaining a clean toothbrush after being sick. By incorporating the step of boiling into your post-illness cleaning routine, you can enhance the overall disinfection process and ensure that your toothbrush is free from harmful pathogens, providing peace of mind as you focus on recovery.
Rinse the toothbrush thoroughly with hot water and then soak it in antibacterial mouthwash for a few minutes. Make sure to replace the toothbrush after being sick to prevent re-infection.
Step 4: Use hydrogen peroxide
Utilizing hydrogen peroxide as a cleaning agent for your toothbrush can provide an additional layer of disinfection, effectively targeting and neutralizing harmful microorganisms that may persist after illness. Hydrogen peroxide is renowned for its potent antimicrobial properties, making it a valuable tool for promoting a hygienic toothbrush. Here's a detailed exploration of the process of using hydrogen peroxide to enhance the cleanliness of your toothbrush:
-
Select a 3% hydrogen peroxide solution: Choose a 3% hydrogen peroxide solution, which is commonly available at pharmacies and grocery stores. This concentration is suitable for oral care applications and provides effective antimicrobial action while being safe for use on toothbrushes.
-
Pour hydrogen peroxide into a clean container: In a clean cup or container, pour enough 3% hydrogen peroxide to submerge the bristles of the toothbrush. Ensure that the entire head of the toothbrush is immersed in the hydrogen peroxide solution, allowing the antimicrobial properties to target and neutralize any remaining germs effectively.
-
Soak the toothbrush for 10-15 minutes: Allow the toothbrush to soak in the hydrogen peroxide solution for 10-15 minutes. This duration provides ample time for the hydrogen peroxide to penetrate and disinfect the bristles thoroughly, targeting any lingering microorganisms and promoting a deep and comprehensive clean.
-
Gently agitate the toothbrush in the solution: Periodically agitate the toothbrush in the hydrogen peroxide solution to ensure that the antimicrobial properties reach all parts of the bristles. Gently swishing the toothbrush in the solution can help dislodge any trapped debris and allow the hydrogen peroxide to penetrate more effectively.
-
Rinse the toothbrush thoroughly: After the soaking period, remove the toothbrush from the hydrogen peroxide solution and thoroughly rinse it under running water. It's essential to ensure that all traces of the hydrogen peroxide are washed away, leaving behind clean and refreshed bristles that are free from residual solution.
Incorporating the use of hydrogen peroxide into your post-illness toothbrush cleaning routine can significantly enhance the disinfection process, providing an added layer of protection against harmful microorganisms. This method complements other cleaning techniques and contributes to a comprehensive approach to maintaining a clean toothbrush after being sick. By following these steps, you can ensure that your toothbrush is thoroughly sanitized and safe to use, promoting optimal oral hygiene as you focus on recovery.
Read more: How To Disinfect Toothbrush After Strep
Step 5: Replace the toothbrush
After undergoing an illness, particularly one that is contagious or severe, it is advisable to consider replacing your toothbrush to maintain optimal oral hygiene and minimize the risk of reinfection. While thorough cleaning and disinfection methods can significantly reduce the microbial load on a toothbrush, certain circumstances warrant the replacement of the toothbrush to ensure a fresh start and minimize the potential for lingering pathogens.
When determining whether to replace your toothbrush after being sick, consider the following factors:
-
Severity of the Illness: If you have been battling a highly contagious illness, such as the flu or a viral infection, it is prudent to err on the side of caution and opt for a new toothbrush. Severe illnesses can lead to a higher concentration of pathogens on the bristles, making it challenging to completely eradicate them through cleaning alone.
-
Duration of Illness: The length of your illness can also influence the decision to replace your toothbrush. Prolonged illnesses may result in a buildup of germs on the bristles, potentially compromising the effectiveness of cleaning and disinfection methods.
-
Presence of Immunocompromised Individuals: If there are immunocompromised individuals in your household, such as elderly family members or individuals with underlying health conditions, replacing your toothbrush can serve as an additional precaution to protect their well-being.
-
Visible Wear and Tear: Assess the condition of your toothbrush. If the bristles are frayed, worn, or showing signs of damage, it may be an opportune time to replace it regardless of illness. Worn bristles are less effective at cleaning teeth and may harbor a higher microbial load.
When replacing your toothbrush, select a new one with soft, nylon bristles and a comfortable grip to facilitate effective brushing. Additionally, consider opting for a toothbrush with a tongue cleaner or other specialized features to enhance your oral care routine.
By replacing your toothbrush after being sick, you can embrace a fresh start in your oral care regimen, ensuring that you minimize the potential for reinfection and maintain optimal hygiene. This proactive step complements the thorough cleaning and disinfection methods employed, providing peace of mind as you focus on recovery and overall well-being.
Conclusion
Maintaining a clean toothbrush after being sick is a crucial aspect of post-illness hygiene, and the methods outlined in this guide provide a comprehensive approach to safeguarding oral health. By following the steps of rinsing, soaking in antibacterial mouthwash, boiling, and using hydrogen peroxide, individuals can effectively disinfect their toothbrushes and minimize the risk of reinfection or the spread of illness to others.
The act of rinsing the toothbrush under warm water and inspecting it for any residual debris sets the stage for subsequent cleaning methods, ensuring that the bristles are free from surface contaminants. Soaking the toothbrush in antibacterial mouthwash harnesses the germ-fighting properties of active ingredients, providing an additional layer of disinfection. Boiling the toothbrush in water serves as a potent method for sterilization, leveraging the cleansing power of heat to eliminate harmful microorganisms effectively. The use of hydrogen peroxide further enhances the disinfection process, targeting and neutralizing lingering germs to promote optimal oral hygiene.
While these cleaning methods are instrumental in maintaining a hygienic toothbrush, the decision to replace the toothbrush after illness, particularly in the context of severe or highly contagious illnesses, is a proactive step to ensure a fresh start in oral care. Considering factors such as the severity and duration of the illness, as well as the presence of immunocompromised individuals, can guide individuals in making an informed decision regarding the replacement of their toothbrush.
By embracing a holistic approach to post-illness toothbrush hygiene, individuals can prioritize their well-being and that of others, minimizing the potential for reinfection and promoting a clean and healthy oral care routine. The proactive measures outlined in this guide empower individuals to take charge of their oral hygiene, fostering a sense of confidence and well-being as they focus on recovery and overall health.
Incorporating these cleaning and replacement guidelines into post-illness routines can serve as a proactive step in maintaining a hygienic toothbrush, contributing to overall wellness and peace of mind. With a renewed focus on oral hygiene, individuals can navigate the post-illness period with the assurance that their toothbrush is thoroughly sanitized and conducive to optimal oral health.
Frequently Asked Questions about How To Clean A Toothbrush After Being Sick
Was this page helpful?
At Storables.com, we guarantee accurate and reliable information. Our content, validated by Expert Board Contributors, is crafted following stringent Editorial Policies. We're committed to providing you with well-researched, expert-backed insights for all your informational needs.


0 thoughts on “How To Clean A Toothbrush After Being Sick”