Home>Furniture & Design>Bathroom Accessories>How To Clean Shoes With A Toothbrush
Bathroom Accessories
How To Clean Shoes With A Toothbrush
Modified: August 24, 2024
Learn how to effectively clean your shoes using a toothbrush and common bathroom accessories. Keep your footwear looking fresh and new with these simple tips.
(Many of the links in this article redirect to a specific reviewed product. Your purchase of these products through affiliate links helps to generate commission for Storables.com, at no extra cost. Learn more)
Introduction
Cleaning your shoes with a toothbrush may seem like a peculiar idea, but it can be a remarkably effective way to restore their original luster. Whether you're dealing with stubborn stains, dirt, or grime, a toothbrush can provide the precision and gentle scrubbing power needed to rejuvenate your footwear. This method is particularly useful for delicate materials such as suede, canvas, or mesh, where traditional cleaning techniques may be too harsh.
By following a few simple steps and using the right cleaning solution, you can breathe new life into your favorite pair of shoes. Not only does this approach save you money on professional cleaning services, but it also allows you to take a hands-on approach to caring for your footwear. With a bit of patience and the right technique, you can achieve impressive results and extend the lifespan of your shoes.
In the following guide, we will walk you through the process of cleaning your shoes with a toothbrush, providing detailed instructions and tips to help you achieve the best possible outcome. From gathering the necessary materials to applying the cleaning solution and scrubbing away dirt and stains, each step is designed to help you restore your shoes to their former glory. So, grab your toothbrush and let's get started on revitalizing your footwear!
Key Takeaways:
- Revitalize your shoes with a toothbrush and the right cleaning solution. Save money and take pride in restoring your footwear to its former glory. It’s a fun and eco-friendly way to care for your shoes!
- Take a hands-on approach to shoe maintenance. With patience and precision, a toothbrush can delicately lift off dirt and stains, extending the lifespan of your favorite pair of shoes.
Read more: How To Make High Heels Non-Slip
Step 1: Gather Your Materials
Before embarking on the shoe-cleaning journey, it's essential to gather the necessary materials to ensure a thorough and effective cleaning process. Here's what you'll need:
-
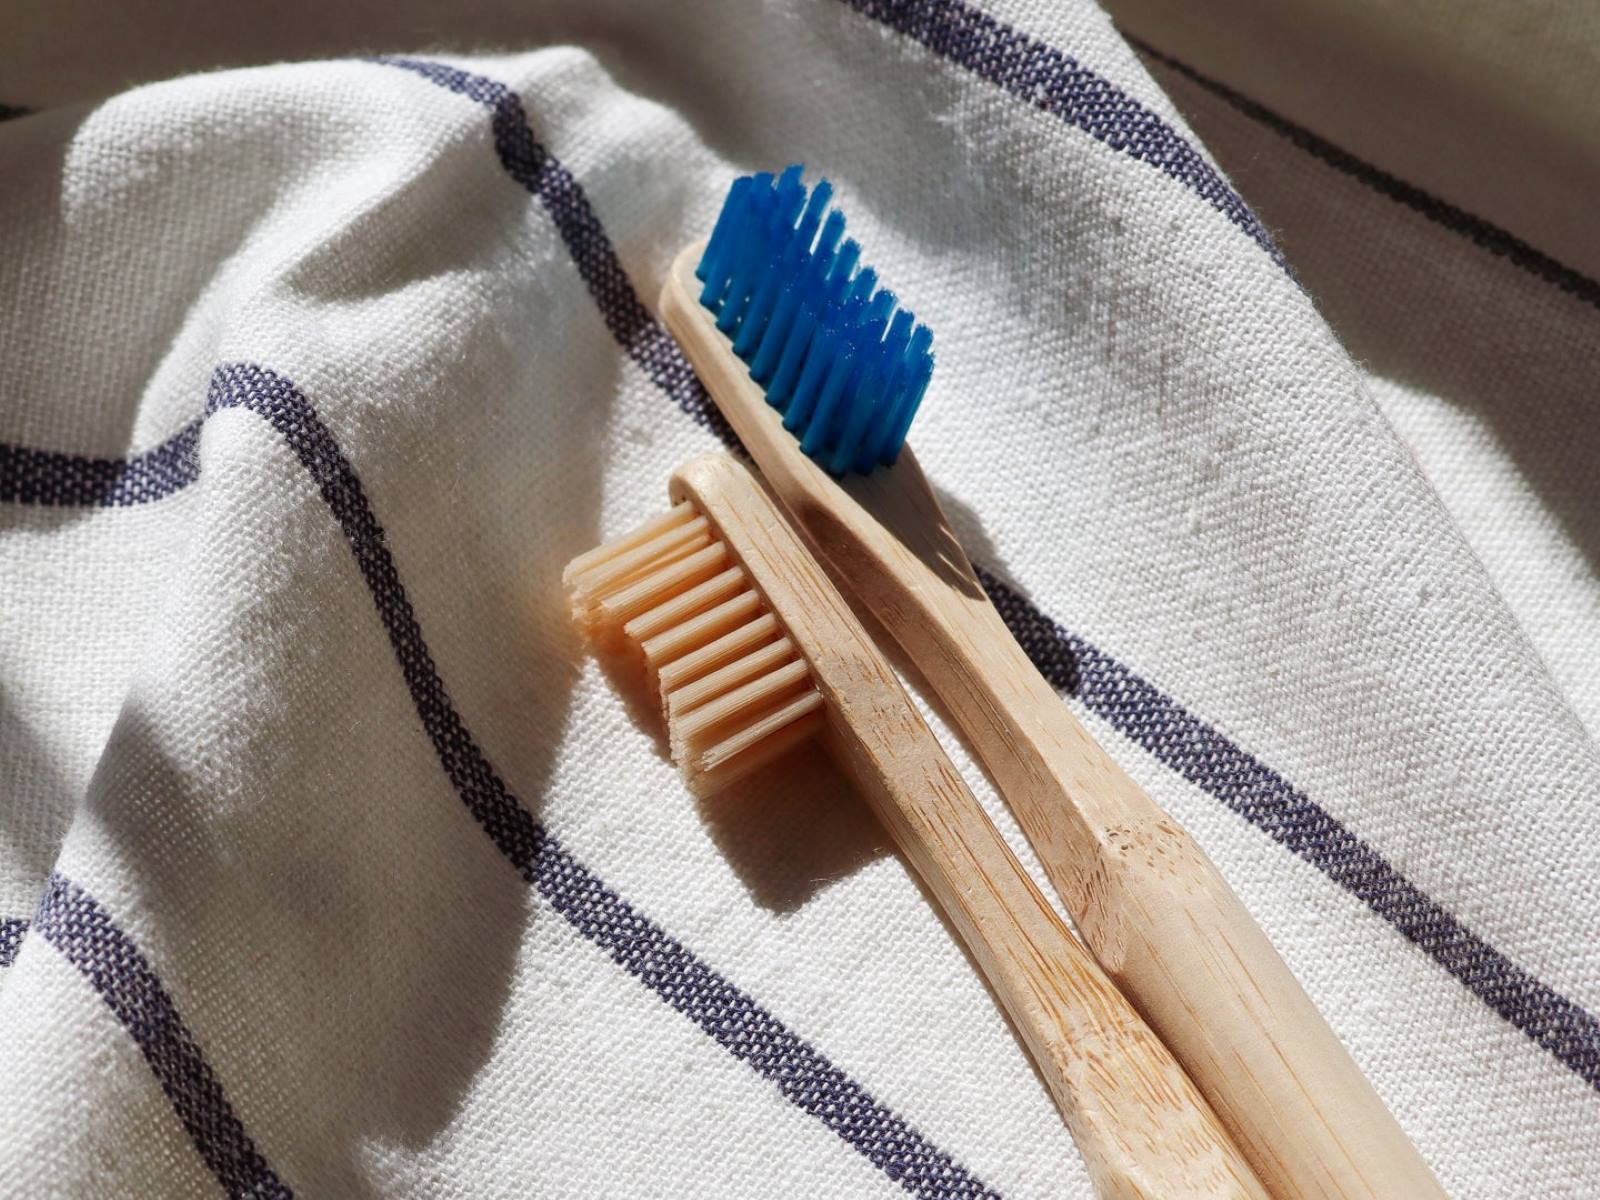
Toothbrush: Opt for a soft-bristled toothbrush to prevent any damage to the shoe's material. The gentle bristles will help dislodge dirt and stains without causing abrasions.
-
Cleaning Solution: Depending on the material of your shoes, you'll need an appropriate cleaning solution. For leather shoes, a mild soap or specialized leather cleaner is suitable. For canvas or mesh shoes, a mixture of mild detergent and water can be used. Additionally, for suede shoes, a suede brush or eraser may be required.
-
Water: Have a small bowl or container of water ready for diluting the cleaning solution and rinsing the toothbrush during the cleaning process.
-
Clean Cloth: Keep a soft, clean cloth on hand for drying the shoes after cleaning.
-
Optional: Protective Gloves: If you're using a strong cleaning solution or dealing with particularly stubborn stains, wearing protective gloves can prevent skin irritation.
-
Ventilated Area: Choose a well-ventilated space to carry out the cleaning process, as some cleaning solutions may have strong odors.
By ensuring that you have all these materials at your disposal, you'll be well-prepared to tackle the cleaning process effectively and efficiently. With the right tools in hand, you can proceed to the next step with confidence, knowing that you have everything you need to restore your shoes to their pristine condition.
Step 2: Remove Dirt and Debris
Once you have gathered all the necessary materials, it's time to begin the shoe cleaning process by removing dirt and debris from the surface. This step is crucial as it sets the foundation for the subsequent cleaning stages, allowing the cleaning solution to penetrate more effectively and deliver optimal results.
Start by gently tapping the shoes together or using a soft-bristled brush to loosen and dislodge any loose dirt or debris. This preliminary action helps prevent the dirt from being ground further into the material during the cleaning process.
Next, use the soft-bristled toothbrush to carefully brush away any remaining dirt and debris from the shoes. Work in small, circular motions, paying close attention to seams, crevices, and textured areas where dirt tends to accumulate. For suede shoes, a specialized suede brush or eraser can be used to gently lift off dirt and restore the nap of the material.
If the shoes have stubborn or ingrained dirt, a slightly dampened cloth can be used to blot the affected areas before brushing. Avoid saturating the shoes with water, especially for materials that are sensitive to moisture, such as suede or canvas.
By taking the time to thoroughly remove dirt and debris from the shoes, you are preparing the surface for the subsequent cleaning steps, ensuring that the cleaning solution can work its magic without interference from surface grime. This meticulous approach sets the stage for a more effective and satisfying cleaning experience, allowing you to achieve remarkable results in the following steps.
With the dirt and debris successfully removed, you can proceed to the next stage of the cleaning process, ready to apply the appropriate cleaning solution and restore your shoes to their former glory.
Step 3: Apply Cleaning Solution
With the shoes now free of dirt and debris, it's time to apply the appropriate cleaning solution to tackle any remaining stains or discoloration. The type of cleaning solution you use will depend on the material of your shoes. For leather shoes, a mild soap or specialized leather cleaner is suitable, while canvas or mesh shoes can be cleaned with a mixture of mild detergent and water. Suede shoes may require a specialized suede cleaner or brush.
Before applying the cleaning solution, it's essential to perform a patch test on a small, inconspicuous area of the shoe to ensure that the solution does not cause any adverse effects, such as discoloration or damage to the material. Once the suitability of the cleaning solution is confirmed, proceed with the following steps:
-
Dilute the Solution: If using a concentrated cleaning solution, dilute it with water according to the manufacturer's instructions. This helps prevent the solution from being too harsh on the material and allows for a more controlled application.
-
Apply the Solution: Using a clean, soft cloth or sponge, apply a small amount of the diluted cleaning solution to the affected areas of the shoes. Work in gentle, circular motions, focusing on stains or soiled areas. For suede shoes, use a specialized suede brush or eraser to apply the solution and gently work it into the material.
-
Avoid Saturation: Be mindful not to oversaturate the shoes with the cleaning solution, especially for materials that are sensitive to moisture. A little solution goes a long way, and excessive moisture can potentially damage the material or alter its appearance.
-
Allow for Absorption: After applying the cleaning solution, allow it to sit on the shoes for a few minutes to penetrate and lift any remaining stains or dirt. This dwell time enhances the effectiveness of the cleaning process, making it easier to remove stubborn marks during the scrubbing stage.
By carefully applying the appropriate cleaning solution to your shoes, you are taking a proactive step towards restoring their cleanliness and appearance. This targeted approach ensures that the cleaning solution can work its magic, preparing the shoes for the next crucial step: scrubbing away dirt and stains with a toothbrush.
With the cleaning solution applied, you are now ready to proceed to the next stage of the cleaning process, where the gentle yet effective scrubbing action of the toothbrush will help revitalize your shoes.
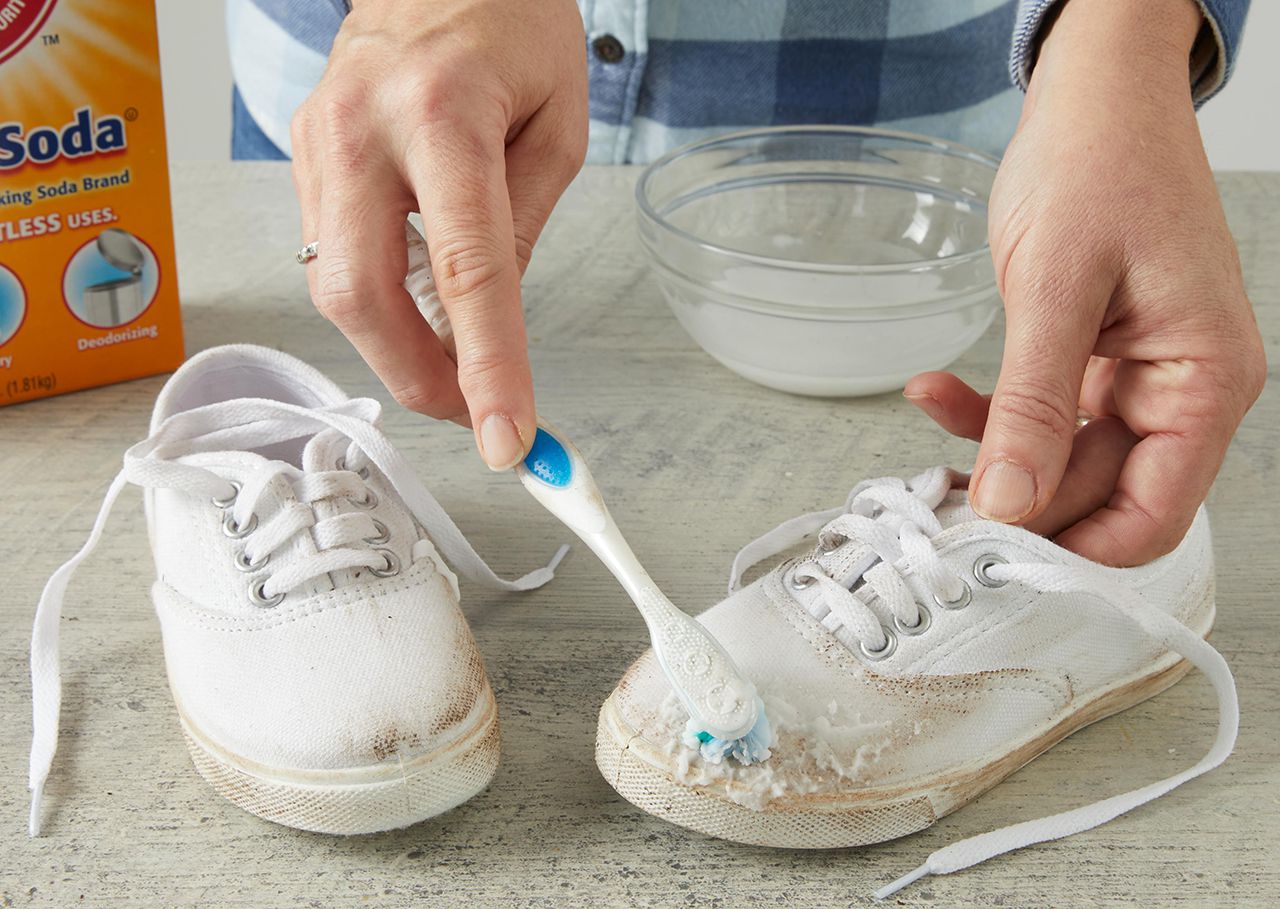
Step 4: Scrub with Toothbrush
With the cleaning solution applied and given time to work its magic, it's time to bring out the toothbrush and embark on the crucial step of scrubbing away dirt and stains. The gentle yet precise bristles of the toothbrush provide the perfect tool for targeting specific areas and delicately lifting off any remaining grime. Here's how to effectively scrub your shoes with a toothbrush:
-
Focused Scrubbing: Begin by dipping the soft-bristled toothbrush into the diluted cleaning solution. Gently shake off any excess liquid to avoid oversaturation. Then, using small, circular motions, carefully scrub the areas of the shoes that require attention. Pay close attention to stains, soiled areas, and any textured or hard-to-reach spots where dirt may be lodged.
-
Adjust Pressure: While scrubbing, it's important to vary the pressure applied based on the material of the shoes. For delicate materials such as suede or mesh, use a light touch to avoid damaging the surface. In contrast, leather shoes may withstand slightly more pressure, allowing for more vigorous scrubbing to tackle stubborn stains.
-
Precision and Patience: Take a meticulous approach, focusing on one small area at a time. This precision ensures that each section receives thorough attention, maximizing the effectiveness of the cleaning process. Exercise patience, especially when dealing with persistent stains, as gradual and persistent scrubbing often yields the best results.
-
Rinse and Repeat: Periodically rinse the toothbrush in clean water to remove loosened dirt and excess cleaning solution. This prevents the transferred grime from being reapplied to the shoes during scrubbing. Additionally, assess the progress as you go along, repeating the scrubbing process as needed until the desired level of cleanliness is achieved.
-
Addressing Tough Stains: For particularly stubborn stains, a bit of extra care may be required. In such cases, gently increase the pressure and focus on the affected area, allowing the bristles of the toothbrush to work the cleaning solution into the stain. Avoid aggressive scrubbing, as this can potentially damage the material.
By methodically scrubbing your shoes with a toothbrush, you are harnessing the precision and gentle yet effective cleaning power of this humble tool. This hands-on approach allows you to target specific areas with precision, ensuring that even the most stubborn stains are addressed without compromising the integrity of the shoe's material.
With the scrubbing stage completed, you are now ready to proceed to the final step of the cleaning process: rinsing the shoes and allowing them to dry, bringing you one step closer to reveling in the revitalized appearance of your footwear.
Use a toothbrush and mild soap to scrub the surface of the shoes, focusing on any stains or dirt. Rinse with water and let them air dry. Avoid using harsh chemicals or excessive water.
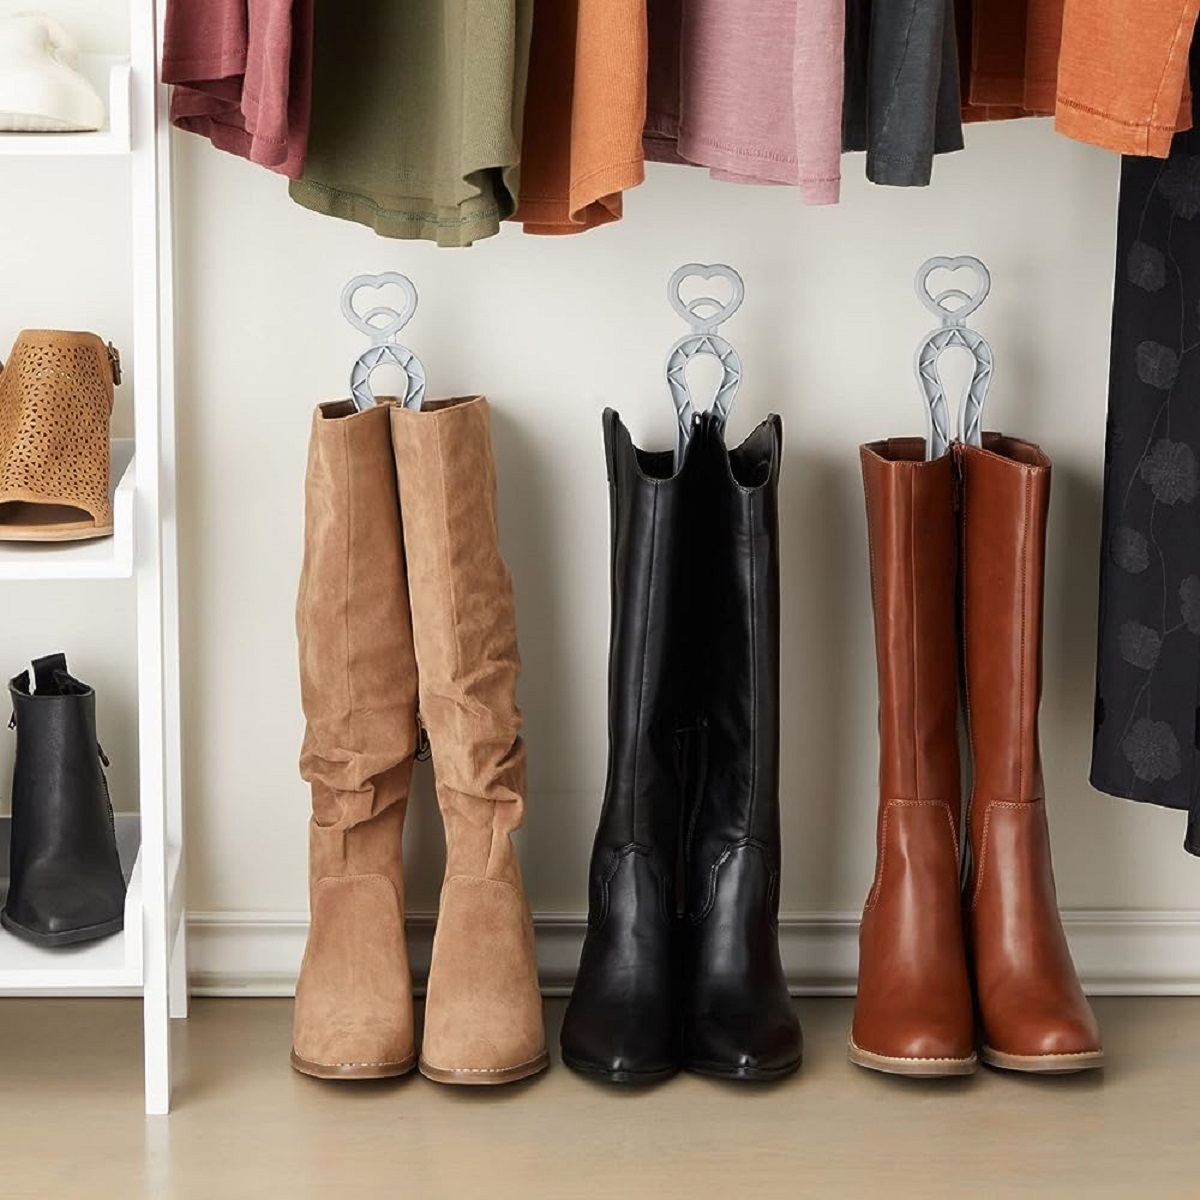
Read more: How To Store Thigh High Boots
Step 5: Rinse and Dry
After the meticulous scrubbing process, it's crucial to thoroughly rinse the shoes to remove any residual cleaning solution and loosened dirt. This step ensures that the shoes are left clean, refreshed, and free from any lingering cleaning agents. Following the rinsing, proper drying techniques are essential to prevent damage and maintain the integrity of the shoes.
Rinsing the Shoes
Begin by using a clean, damp cloth or sponge to gently wipe away the cleaning solution from the surface of the shoes. Take care to remove all traces of the solution, paying particular attention to seams, crevices, and textured areas where residue may accumulate. For suede shoes, a specialized suede brush or eraser can be used to gently lift off any remaining cleaning solution and dirt.
Next, fill a clean container with lukewarm water and use it to rinse the shoes. Dip a soft cloth or sponge into the water and carefully wipe down the entire surface of the shoes. This thorough rinsing helps ensure that all traces of the cleaning solution are effectively removed, leaving the shoes clean and ready for the drying process.
Drying Techniques
Once the shoes have been rinsed, it's time to focus on the drying process. Proper drying is essential to prevent moisture-related damage and maintain the shape and quality of the shoes. Here are some effective drying techniques to consider:
-
Air Drying: Place the shoes in a well-ventilated area, away from direct sunlight and heat sources. Allow them to air dry naturally, ensuring that they are positioned in a way that allows air to circulate around and within the shoes. Stuffing the shoes with crumpled paper towels or a shoe tree can help maintain their shape and absorb excess moisture.
-
Avoid Heat: Refrain from using direct heat sources such as hairdryers or radiators to speed up the drying process. Excessive heat can cause the material to dry too quickly, potentially leading to shrinkage, cracking, or damage to certain shoe components.
-
Patience: Depending on the material and the extent of moisture, the drying process may take some time. Exercise patience and allow the shoes to dry at their own pace, periodically replacing the absorbent material inside the shoes as needed.
By following these rinsing and drying techniques, you can ensure that your shoes are thoroughly cleansed and carefully dried, ready to be worn with pride once again. With the cleaning process complete, you can admire the revitalized appearance of your footwear, knowing that you've taken a hands-on approach to preserving and enhancing their condition.
Conclusion
In conclusion, the process of cleaning your shoes with a toothbrush is a rewarding and effective method for rejuvenating your footwear. By following the step-by-step guide outlined in this article, you have learned how to utilize simple yet powerful techniques to restore the cleanliness and appearance of your shoes. From gathering the necessary materials to meticulously scrubbing away dirt and stains, each stage of the cleaning process has been designed to help you achieve remarkable results.
Cleaning your shoes with a toothbrush not only saves you money on professional cleaning services but also allows you to take a hands-on approach to caring for your footwear. The precision and gentle scrubbing power of a toothbrush make it an ideal tool for targeting specific areas and delicately lifting off dirt and stains, particularly on delicate materials such as suede, canvas, or mesh.
By investing a little time and effort, you have the opportunity to extend the lifespan of your favorite pair of shoes, ensuring that they continue to look their best for years to come. Additionally, this method offers a sustainable and eco-friendly approach to shoe maintenance, as it reduces the need for harsh chemical cleaners and prolongs the usability of your footwear.
As you revel in the revitalized appearance of your shoes, take pride in the fact that you have taken proactive steps to care for your belongings and preserve their quality. The satisfaction of witnessing the transformation of your shoes from dull and soiled to clean and refreshed is a testament to the effectiveness of this cleaning method.
So, the next time you notice your shoes looking a little worse for wear, remember that a toothbrush and the right cleaning solution can work wonders. Embrace the process as an opportunity to engage in mindful maintenance, and enjoy the sense of accomplishment that comes with restoring your shoes to their former glory.
With the knowledge and techniques gained from this guide, you are well-equipped to tackle shoe cleaning with confidence and precision, ensuring that your footwear remains a source of pride and confidence in every step you take.
Frequently Asked Questions about How To Clean Shoes With A Toothbrush
Was this page helpful?
At Storables.com, we guarantee accurate and reliable information. Our content, validated by Expert Board Contributors, is crafted following stringent Editorial Policies. We're committed to providing you with well-researched, expert-backed insights for all your informational needs.
0 thoughts on “How To Clean Shoes With A Toothbrush”