Home>Furniture & Design>Bathroom Accessories>How To Clean A Toothbrush That Fell On The Floor
Bathroom Accessories
How To Clean A Toothbrush That Fell On The Floor
Modified: August 19, 2024
Learn how to effectively clean a toothbrush that has fallen on the bathroom floor. Keep your bathroom accessories hygienic and safe with these simple tips.
(Many of the links in this article redirect to a specific reviewed product. Your purchase of these products through affiliate links helps to generate commission for Storables.com, at no extra cost. Learn more)
Introduction
We've all been there – the dreaded moment when your toothbrush slips from your hand and lands on the bathroom floor. It's a situation that can leave you feeling a bit squeamish, especially considering the potential for germs and bacteria lurking on the floor. However, fear not! There are simple and effective steps you can take to ensure that your toothbrush is clean and safe to use after its unexpected tumble.
In this guide, we'll walk you through the process of cleaning a toothbrush that has fallen on the floor. By following these steps, you can rest assured that your toothbrush will be free from any lingering contaminants, allowing you to maintain good oral hygiene without worry. So, let's dive in and learn how to properly clean and disinfect a toothbrush that has had an unfortunate encounter with the bathroom floor.
Key Takeaways:
- Keep your toothbrush clean by rinsing it under running water to remove visible debris and inspecting for damage. Disinfect it using mouthwash, hydrogen peroxide, or vinegar, and ensure it’s thoroughly dried to prevent bacteria growth.
- Accidents happen, but you can restore your toothbrush to a clean state by following simple steps. Rinse, disinfect, and thoroughly dry it to ensure it’s safe to use and maintain good oral hygiene.
Read more: How To Clean A Floor
Step 1: Rinse the toothbrush
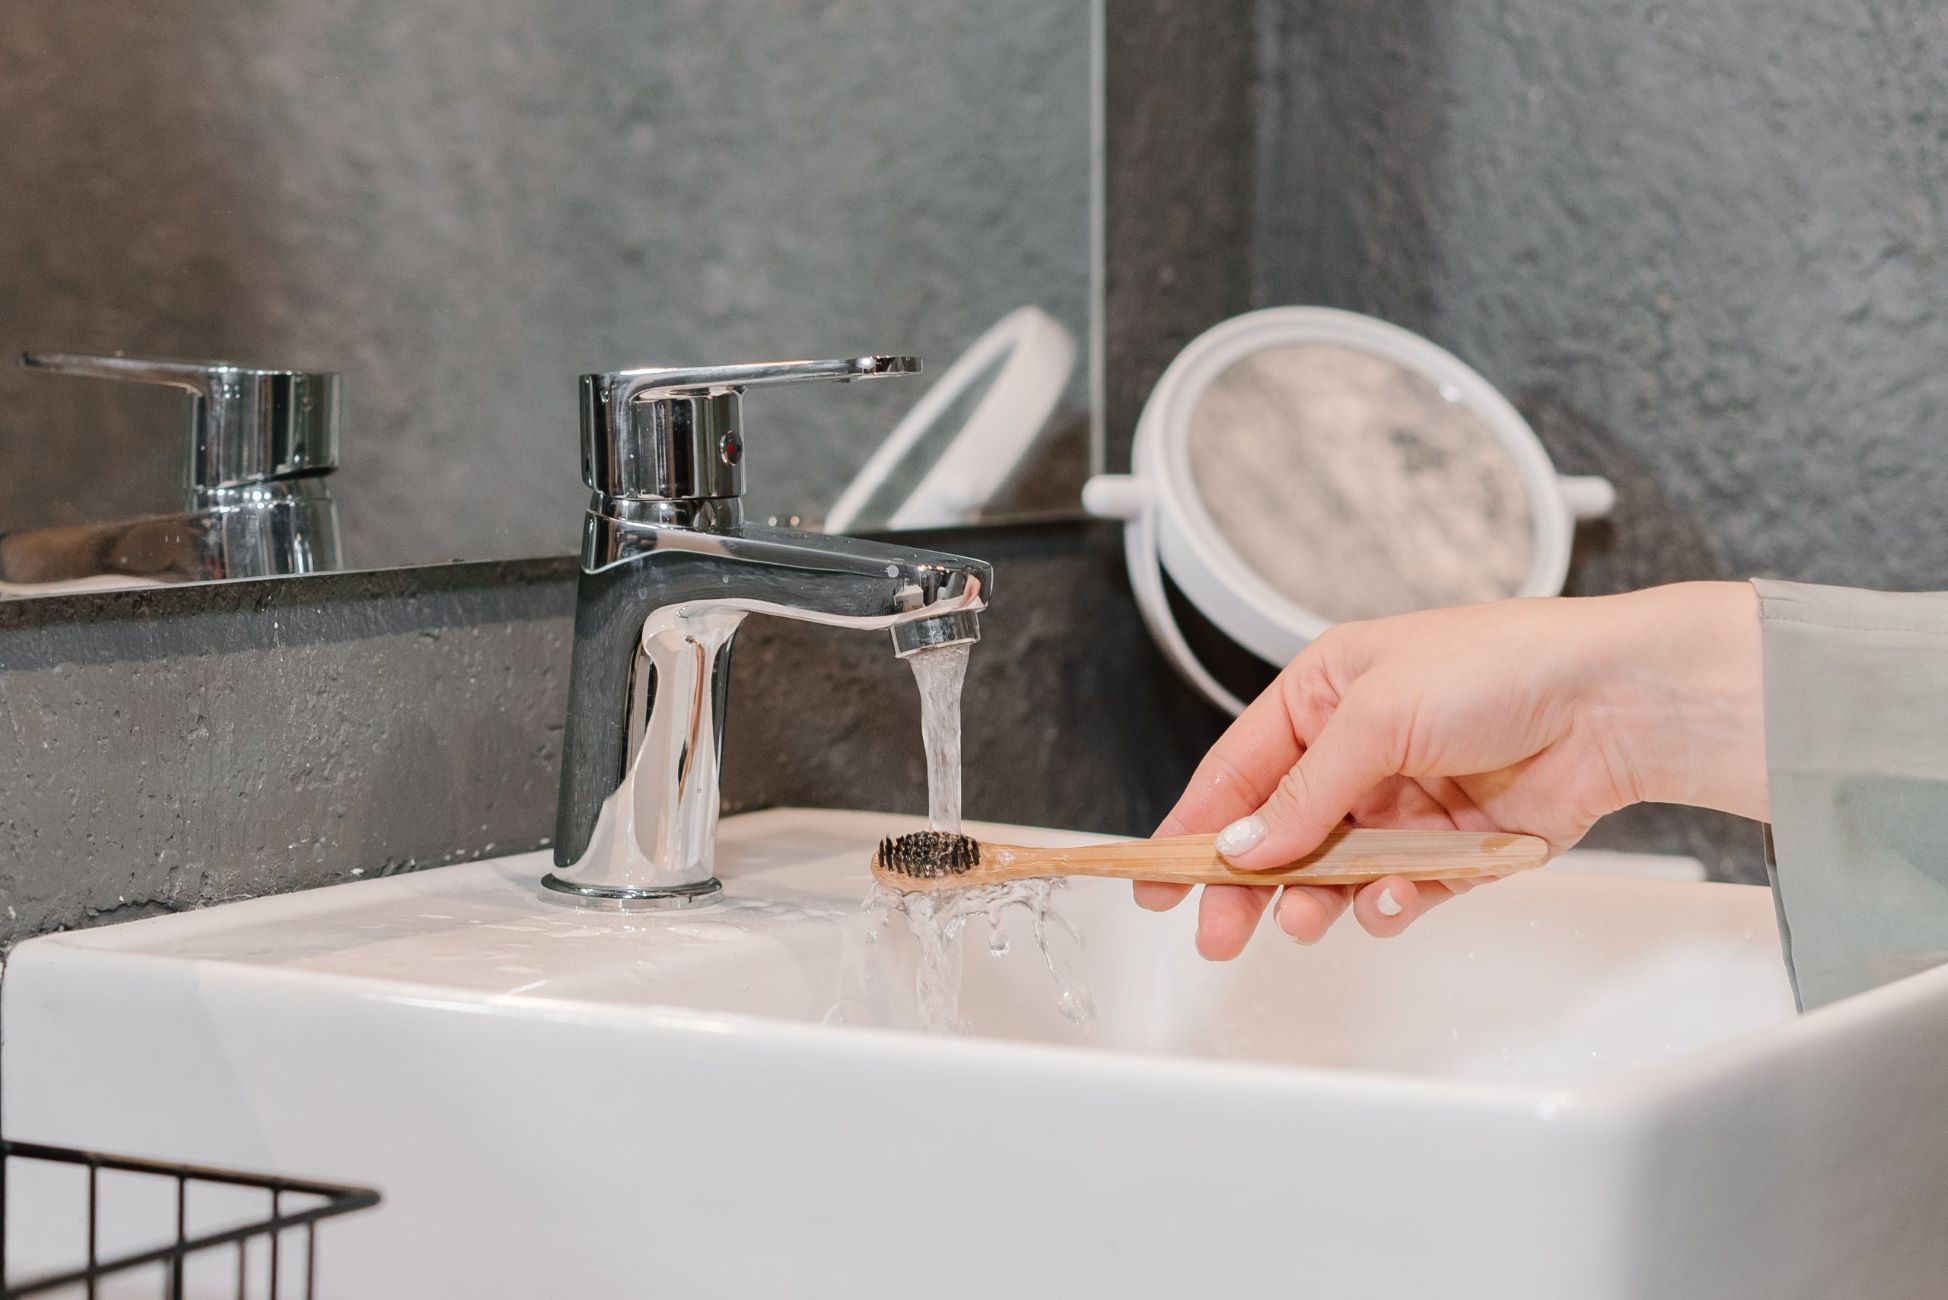
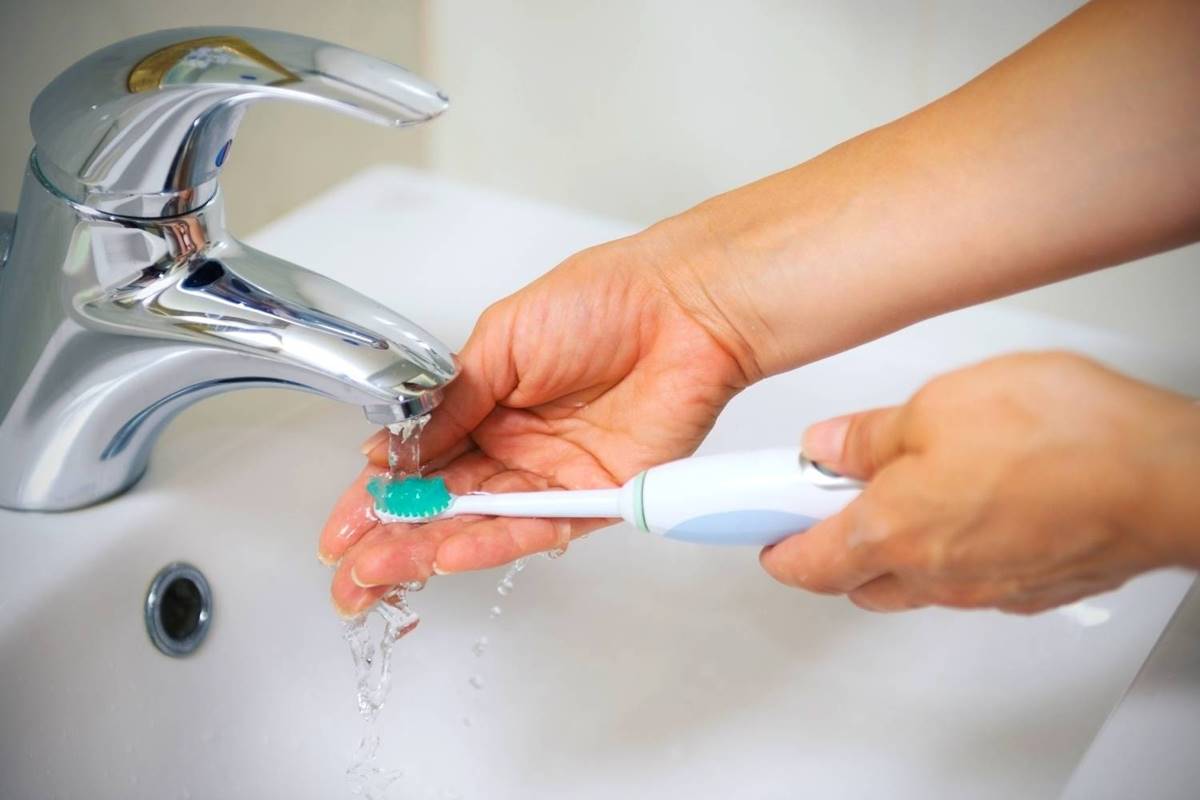
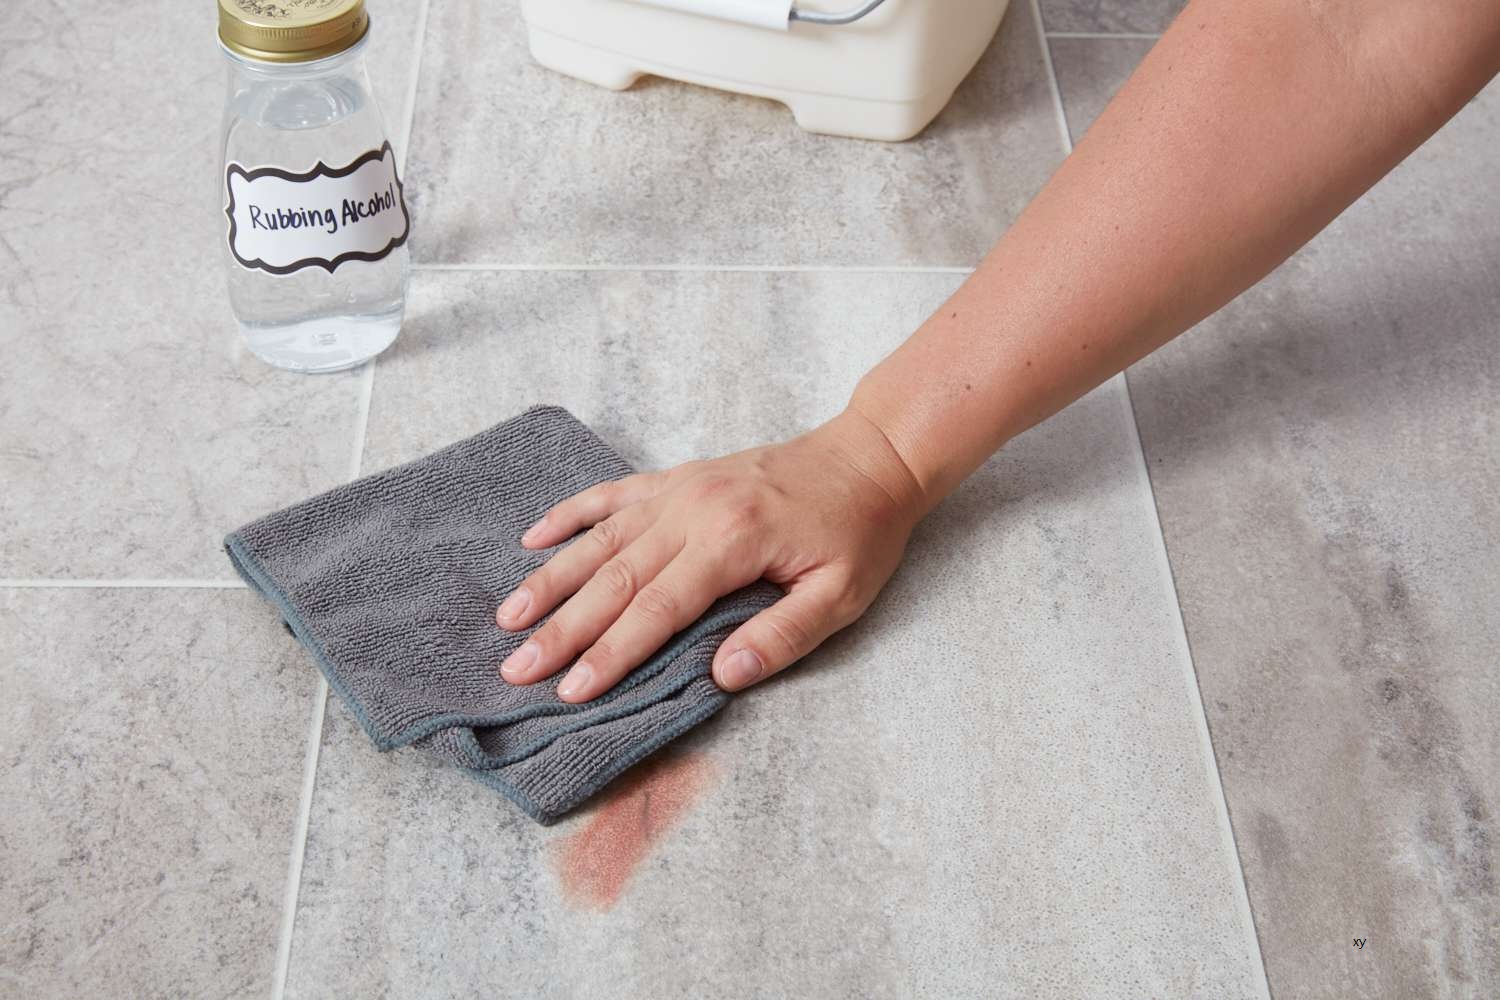
The first step in cleaning a toothbrush that has fallen on the floor is to thoroughly rinse it under running water. This simple yet crucial step helps to remove any visible debris, dirt, or dust that may have accumulated on the bristles during its brief encounter with the floor.
To begin, hold the toothbrush under the faucet and allow lukewarm water to flow over the bristles. Use your fingers to gently massage the bristles, ensuring that any particles or foreign matter are dislodged and washed away. It's important to pay close attention to the base of the bristles, where debris can often become trapped.
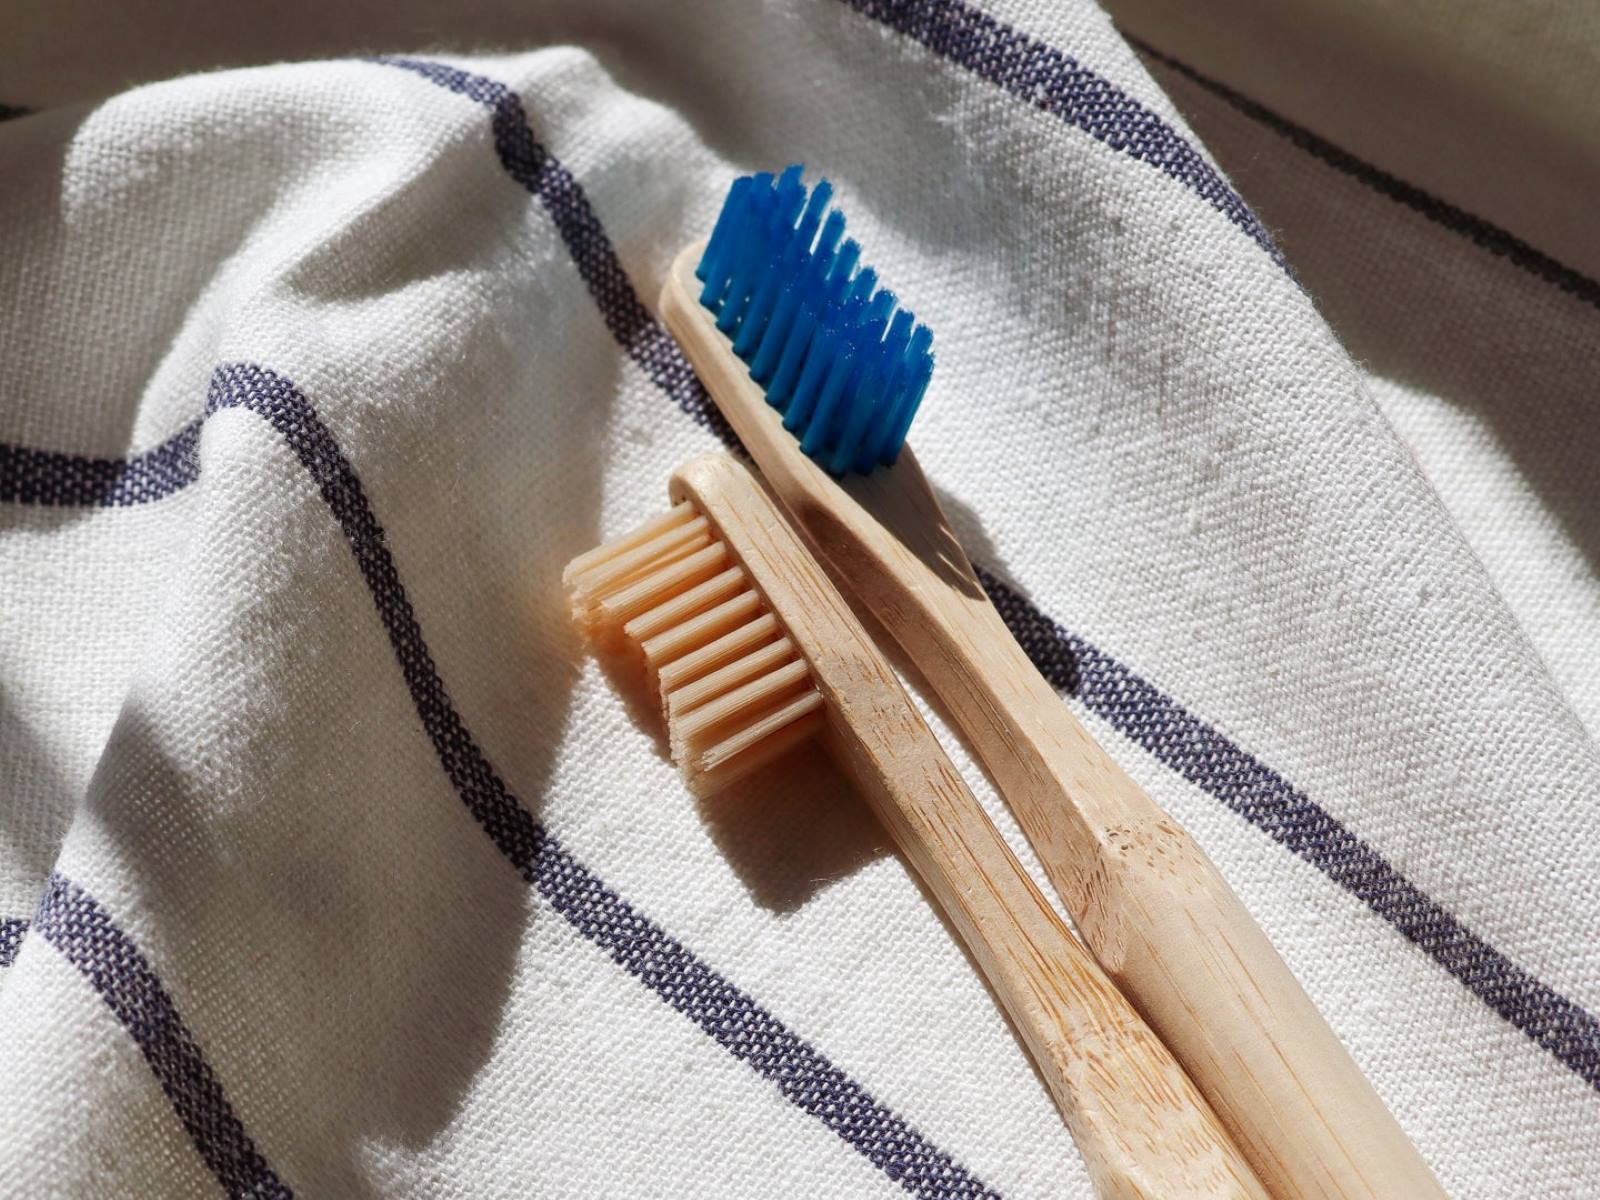
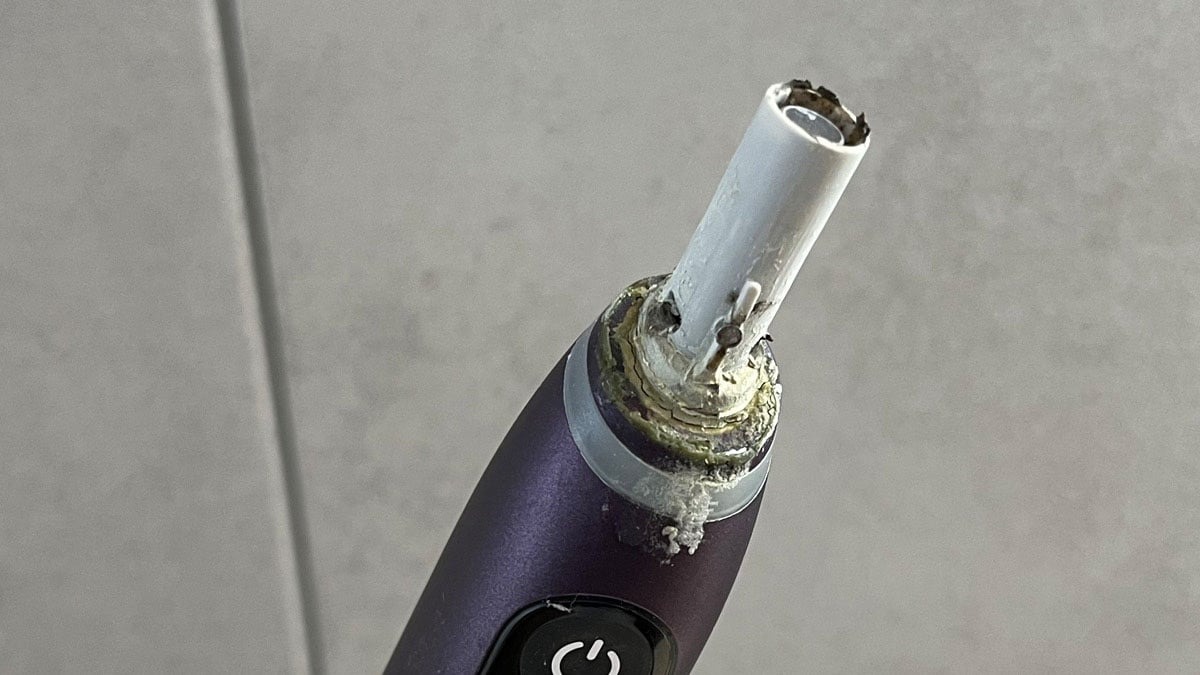
As you rinse the toothbrush, take care to inspect the bristles for any signs of damage or distortion. If the bristles appear bent, frayed, or otherwise compromised, it may be a sign that the toothbrush needs to be replaced. Maintaining the integrity of the bristles is essential for effective oral hygiene, as damaged bristles may not clean the teeth and gums as thoroughly as they should.
Once you have thoroughly rinsed the toothbrush, shake off any excess water and inspect it to ensure that it is free from visible debris. At this stage, the goal is to remove any surface-level contaminants and prepare the toothbrush for the next steps in the cleaning process.
By taking the time to rinse the toothbrush under running water, you can effectively eliminate visible dirt and debris, setting the stage for the subsequent steps in the cleaning process. This simple yet important step lays the foundation for ensuring that your toothbrush is thoroughly cleaned and ready for use once again.
Step 2: Disinfect the toothbrush
After thoroughly rinsing the toothbrush, the next crucial step is to disinfect it to eliminate any lingering germs or bacteria that may have been transferred from the bathroom floor. Disinfection is essential for ensuring that your toothbrush is safe to use and free from harmful pathogens that could potentially compromise your oral health.
One effective method for disinfecting a toothbrush is to use an antibacterial mouthwash. Simply fill a clean cup or glass with enough mouthwash to submerge the bristles of the toothbrush. Place the toothbrush head-down in the mouthwash, ensuring that the bristles are completely immersed. Allow the toothbrush to soak in the mouthwash for at least 15 minutes to ensure thorough disinfection.
Alternatively, you can use hydrogen peroxide as a disinfecting agent for your toothbrush. Fill a small cup or container with hydrogen peroxide and submerge the bristles of the toothbrush. Allow the toothbrush to soak for approximately 10 minutes, ensuring that the hydrogen peroxide reaches all parts of the bristles. Hydrogen peroxide is known for its antimicrobial properties, making it an effective agent for killing germs and bacteria on the toothbrush.
Another popular method for disinfecting a toothbrush is to use a solution of water and white vinegar. Mix equal parts of water and white vinegar in a clean container and submerge the toothbrush in the solution. Allow the toothbrush to soak for at least 30 minutes to ensure thorough disinfection. White vinegar is known for its natural disinfecting properties, making it a safe and effective option for cleaning and sanitizing household items, including toothbrushes.
Once the toothbrush has finished soaking in the disinfecting solution, remove it and thoroughly rinse it under running water to remove any residual mouthwash, hydrogen peroxide, or vinegar. Shake off any excess water and inspect the toothbrush to ensure that it is clean and free from any lingering disinfectant.
By taking the time to disinfect your toothbrush after it has fallen on the floor, you can effectively eliminate any potential germs or bacteria, ensuring that your toothbrush is safe to use and promoting good oral hygiene. This simple yet important step is essential for maintaining the cleanliness and safety of your toothbrush, allowing you to continue your oral care routine with confidence.
After a toothbrush falls on the floor, rinse it thoroughly with hot water and then soak it in a solution of 1 part vinegar to 2 parts water for 30 minutes to disinfect it. Rinse again before using.
Step 3: Dry the toothbrush
After the toothbrush has been thoroughly rinsed and disinfected, the final step in the cleaning process is to ensure that it is properly dried before being stored or used again. Drying the toothbrush effectively removes any remaining moisture, which can help prevent the growth of bacteria and mold on the bristles.
To begin the drying process, gently shake the toothbrush to remove any excess water that may be clinging to the bristles. It's important to do this over the sink to prevent water from splattering onto surrounding surfaces. Once you have shaken off the excess water, use a clean paper towel to carefully blot the bristles, absorbing any remaining moisture. Be gentle to avoid damaging the bristles, and ensure that the paper towel does not leave behind any lint or residue.
Next, it's essential to allow the toothbrush to air dry completely. Find a well-ventilated area in the bathroom where the toothbrush can air out undisturbed. Position the toothbrush upright in a toothbrush holder or a cup with the bristles facing upward. This allows air to circulate around the bristles, promoting thorough drying. It's important to avoid storing the toothbrush in a closed container or a travel case while it is still damp, as this can create a humid environment conducive to bacterial growth.
If you're concerned about airborne contaminants in the bathroom, consider placing the toothbrush in a separate room to dry, such as a bedroom or another area with good air circulation. Additionally, ensure that the toothbrush is not in close proximity to the toilet or any areas where it may come into contact with splashes of water.
Depending on the humidity levels in your home, the toothbrush should be allowed to air dry for at least several hours, if not overnight, to ensure that it is completely free from moisture. Once the bristles are dry to the touch and there is no lingering dampness, the toothbrush is ready to be stored or used for your oral care routine.
By taking the time to thoroughly dry the toothbrush after cleaning, you can help prevent the growth of bacteria and mold, ensuring that your toothbrush remains clean and hygienic between uses. This final step is essential for maintaining the overall cleanliness and effectiveness of your toothbrush, allowing you to continue practicing good oral hygiene with confidence.
Conclusion
In conclusion, knowing how to properly clean a toothbrush that has fallen on the floor is essential for maintaining good oral hygiene and ensuring the safety of your dental care routine. By following the simple yet effective steps outlined in this guide, you can confidently address the aftermath of a toothbrush mishap and restore your toothbrush to a clean and hygienic state.
Rinsing the toothbrush under running water serves as the initial line of defense, effectively removing visible debris and preparing the toothbrush for the subsequent cleaning steps. Thoroughly inspecting the bristles during this process allows you to assess the overall condition of the toothbrush and determine if it requires replacement.
Disinfecting the toothbrush is a critical step in eliminating any potential germs or bacteria that may have been transferred from the bathroom floor. Whether using antibacterial mouthwash, hydrogen peroxide, or a water and white vinegar solution, the disinfection process ensures that your toothbrush is safe to use and free from harmful pathogens.
Drying the toothbrush completes the cleaning process, effectively removing any remaining moisture and preventing the growth of bacteria and mold on the bristles. Properly air-drying the toothbrush in a well-ventilated area ensures that it is ready for storage or immediate use in your oral care routine.
By incorporating these steps into your toothbrush cleaning routine, you can confidently address the aftermath of a toothbrush mishap and maintain the cleanliness and effectiveness of your toothbrush. This proactive approach not only promotes good oral hygiene but also provides peace of mind, knowing that your toothbrush is free from potential contaminants.
Remember, accidents happen, and a toothbrush falling on the floor is a common occurrence. However, with the knowledge and tools to properly clean and disinfect your toothbrush, you can navigate these situations with ease and continue prioritizing your oral health without hesitation.
Incorporating these simple yet effective cleaning steps into your dental care routine ensures that your toothbrush remains a reliable tool for maintaining good oral hygiene, allowing you to confidently carry on with your daily oral care regimen.
Now that you've mastered sprucing up that toothbrush after a tumble, why stop there? Your refrigerator could use some attention too. Dive into our next guide, packed with practical advice on cleaning refrigerators thoroughly. From scrubbing hidden nooks to polishing surfaces, you'll find all the expert advice needed to keep your cooling device spotless and smelling fresh. Don't miss out on transforming your fridge into the cleanest spot in your home!
Frequently Asked Questions about How To Clean A Toothbrush That Fell On The Floor
Was this page helpful?
At Storables.com, we guarantee accurate and reliable information. Our content, validated by Expert Board Contributors, is crafted following stringent Editorial Policies. We're committed to providing you with well-researched, expert-backed insights for all your informational needs.
0 thoughts on “How To Clean A Toothbrush That Fell On The Floor”