Home>Furniture & Design>Bathroom Accessories>How To Clean A Toothbrush Holder
Bathroom Accessories
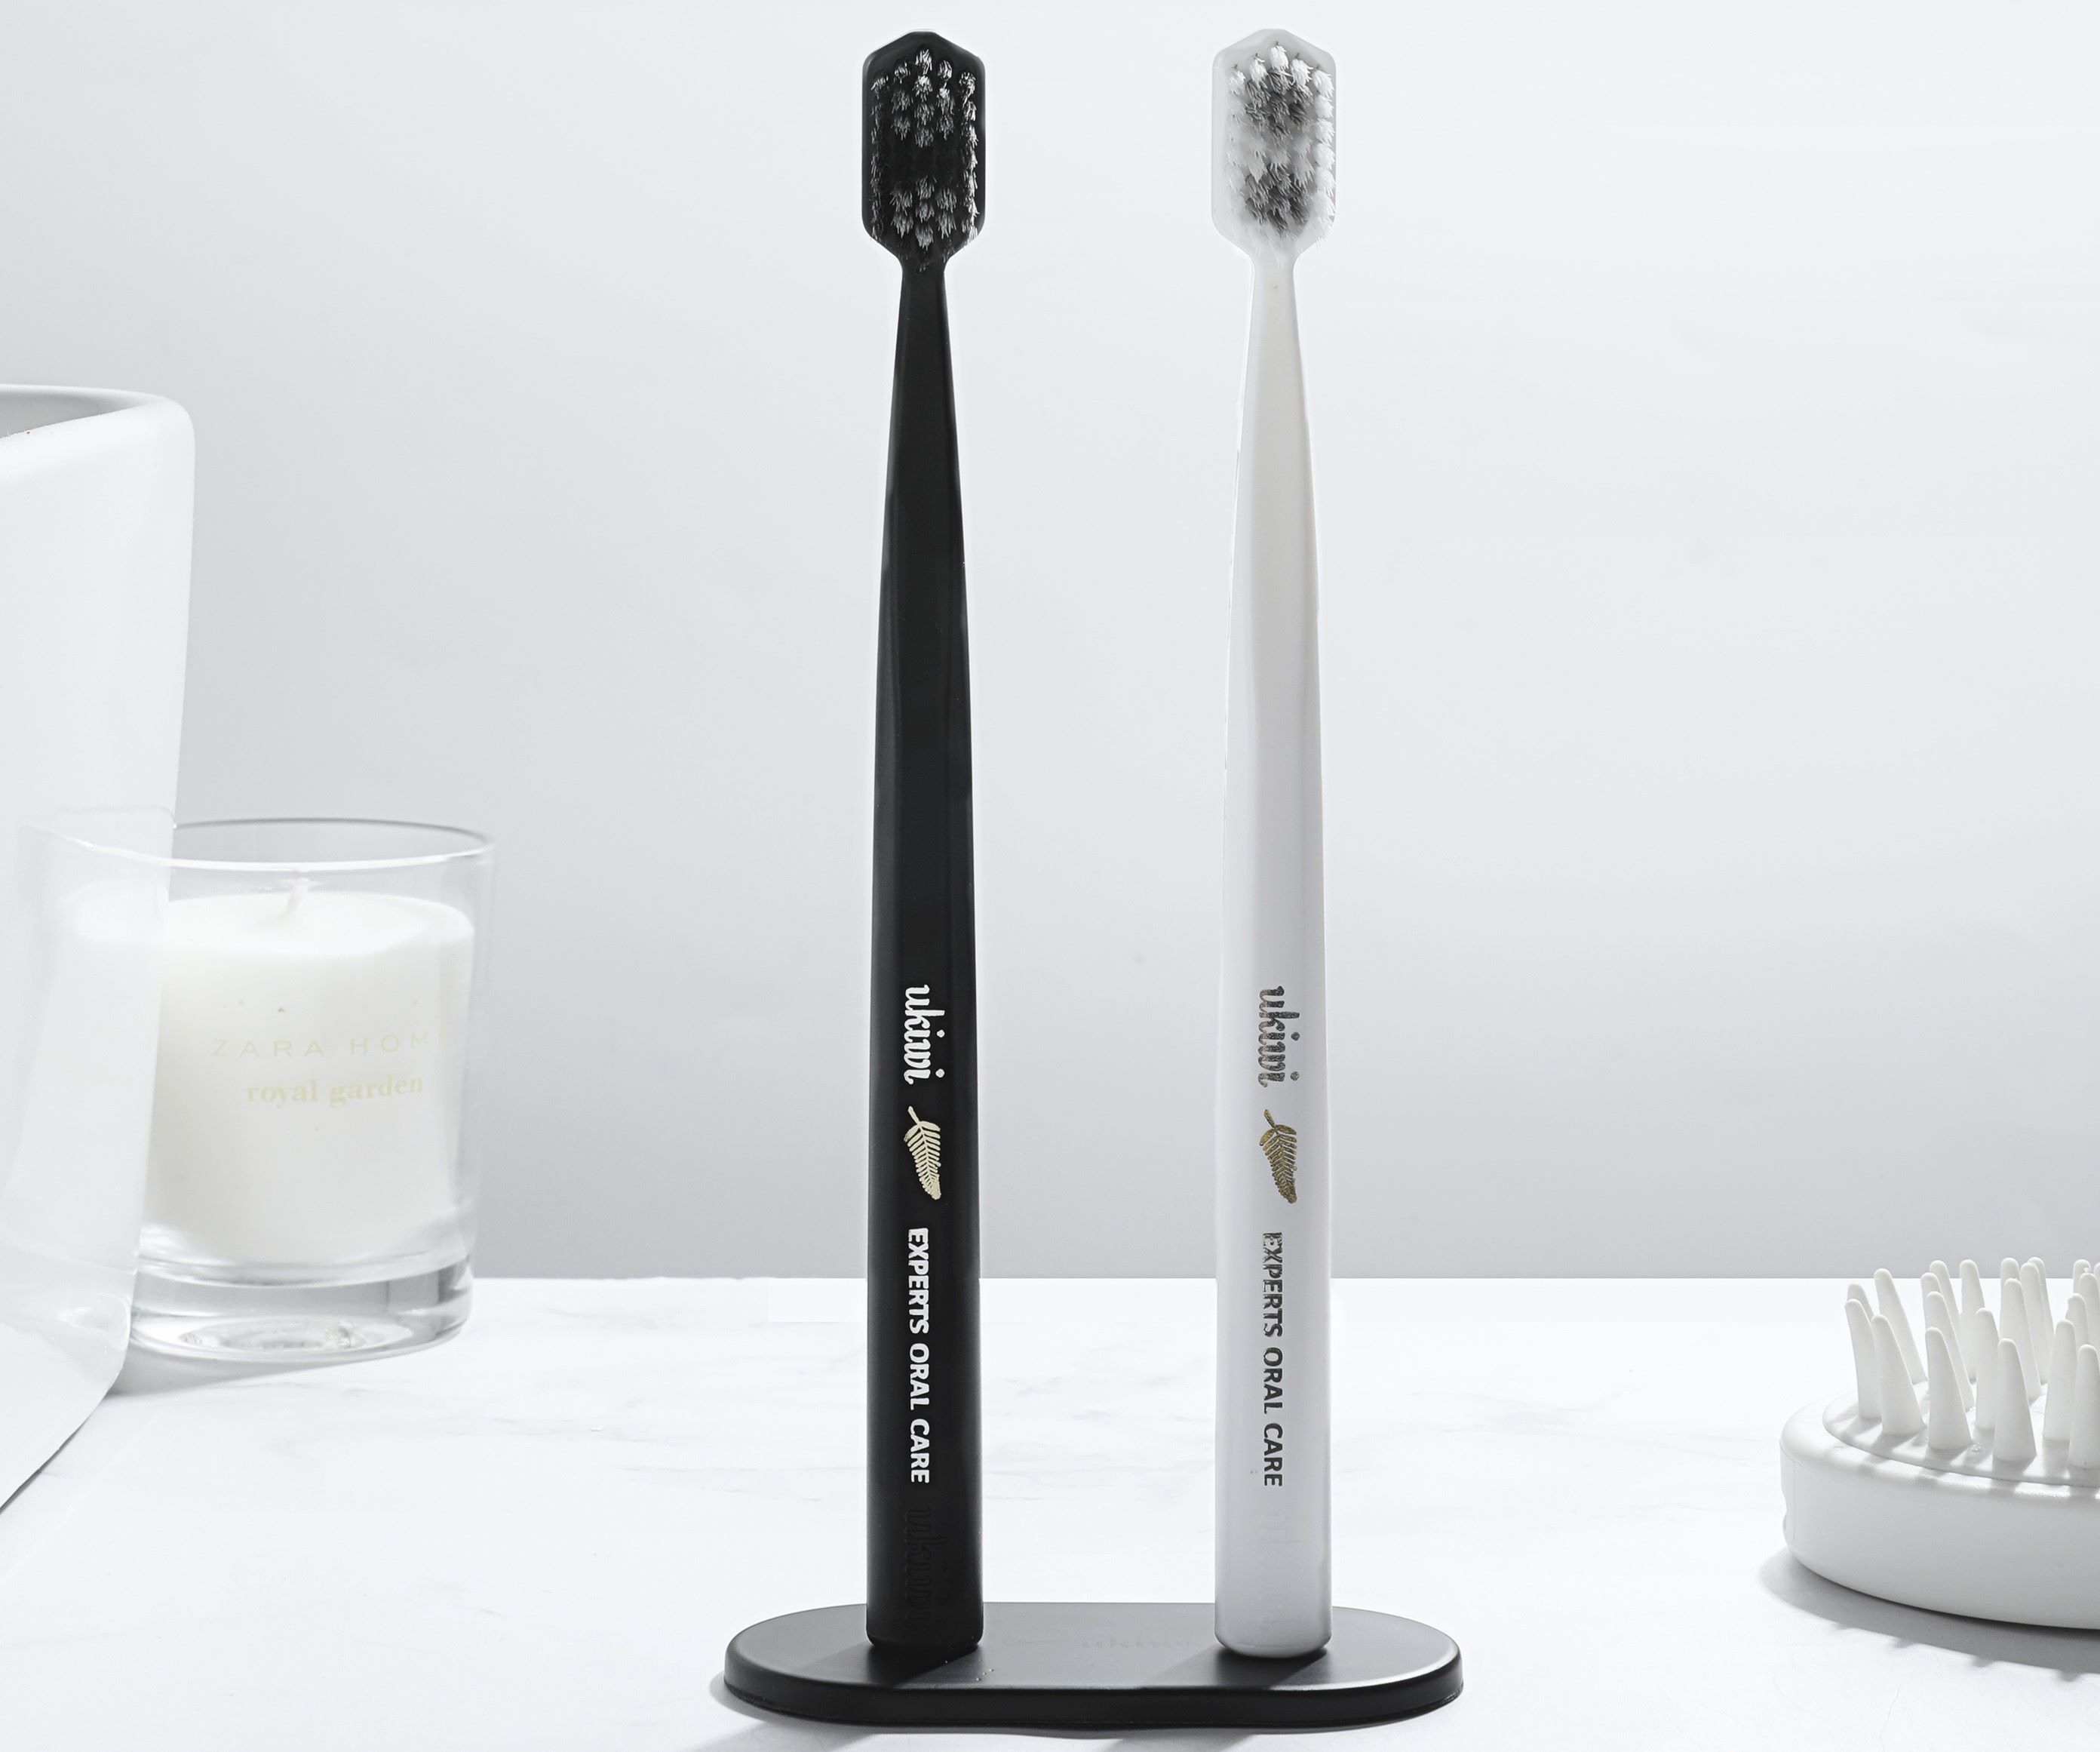
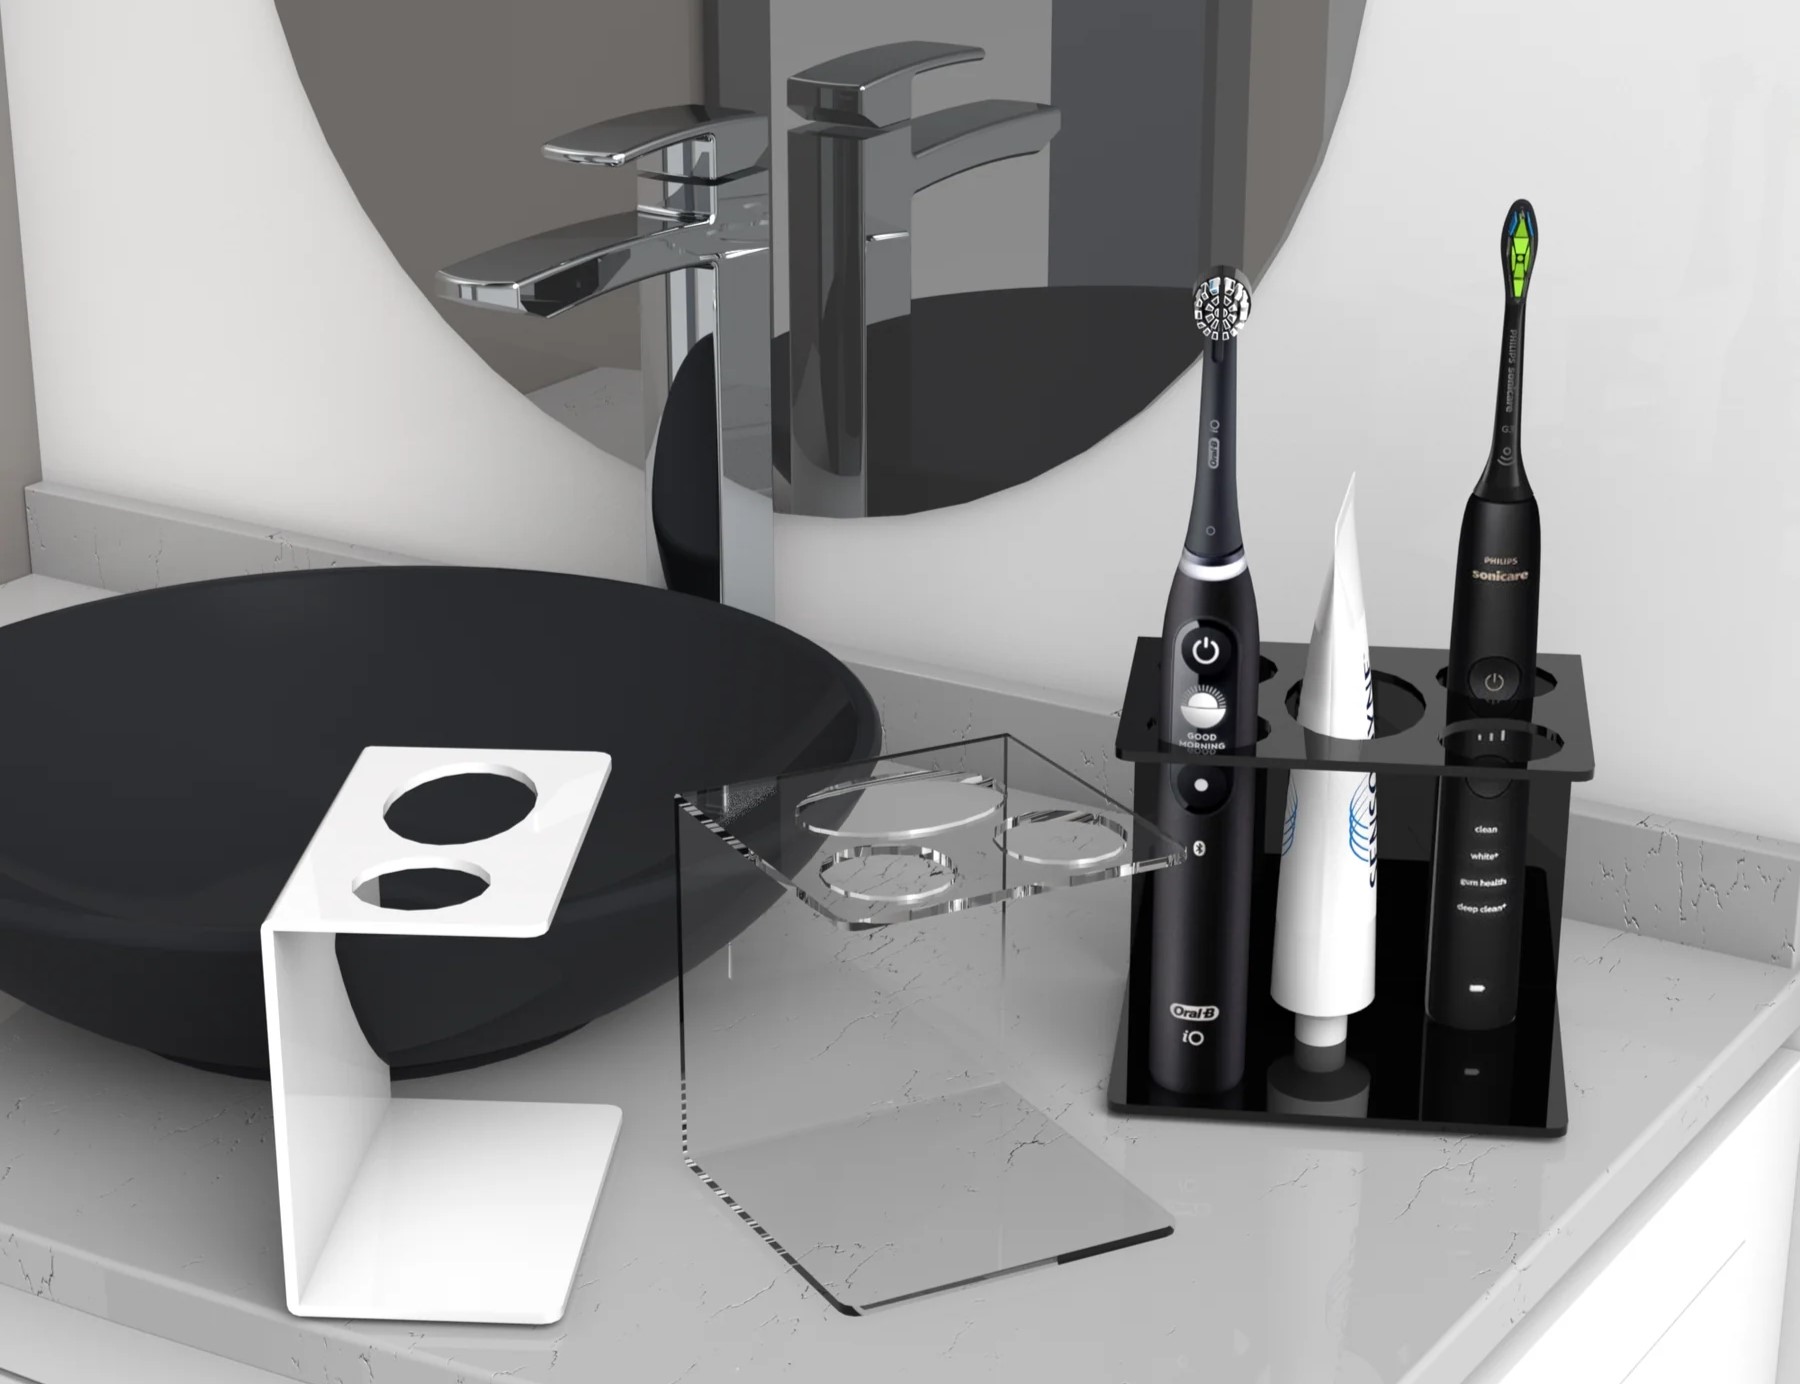
How To Clean A Toothbrush Holder
Modified: August 23, 2024
Learn how to effectively clean your bathroom accessories, including the toothbrush holder, to maintain a hygienic environment. Follow these simple steps for a spotless bathroom. Keep your bathroom accessories clean and germ-free.
(Many of the links in this article redirect to a specific reviewed product. Your purchase of these products through affiliate links helps to generate commission for Storables.com, at no extra cost. Learn more)
Introduction
Cleaning a toothbrush holder may not be the first thing that comes to mind when you think about maintaining a clean and hygienic bathroom. However, this often-overlooked accessory plays a crucial role in keeping your toothbrushes clean and free from harmful bacteria. Over time, toothbrush holders can accumulate residue, mold, and bacteria, which can compromise the cleanliness of your toothbrushes and, ultimately, your oral health.
Regularly cleaning your toothbrush holder is essential to ensure that it remains a safe and sanitary storage space for your toothbrushes. By following a few simple steps and using basic supplies, you can effectively clean your toothbrush holder and maintain a healthy oral hygiene routine.
In this comprehensive guide, we will walk you through the process of cleaning a toothbrush holder, providing you with practical tips and insights to ensure that your toothbrush holder remains clean and hygienic. Whether you have a traditional toothbrush holder or a more intricate design, this guide will equip you with the knowledge and techniques needed to keep this essential bathroom accessory in pristine condition.
By taking the time to clean your toothbrush holder regularly, you can contribute to a healthier and more hygienic bathroom environment for you and your family. So, let's dive into the step-by-step process of cleaning a toothbrush holder and discover how simple it can be to maintain this often-overlooked component of your daily oral care routine.
Key Takeaways:
- Regularly cleaning your toothbrush holder with dish soap, vinegar, and hot water helps prevent bacteria buildup, ensuring a hygienic storage space for your toothbrushes and promoting better oral health.
- Disassemble, soak, scrub, and disinfect your toothbrush holder to ensure thorough cleaning. Air-dry and reassemble carefully to maintain a clean and hygienic environment for your toothbrushes.
Read more: How To Make A Toothbrush Holder
Gather Necessary Supplies
Before embarking on the task of cleaning your toothbrush holder, it's essential to gather the necessary supplies to ensure a thorough and effective cleaning process. By having the right tools at your disposal, you can streamline the cleaning procedure and achieve optimal results. Here's a list of supplies you'll need:
-
Dish Soap: Opt for a mild dish soap that is gentle on surfaces but effective in removing grime and bacteria.
-
White Vinegar: This natural cleaning agent is renowned for its antibacterial properties and is ideal for tackling mold and mildew.
-
Toothbrush or Bottle Brush: A small toothbrush or bottle brush will help you reach into crevices and tight spaces within the toothbrush holder.
-
Hot Water: Hot water is an excellent solvent for dissolving dirt and grime, making it an essential component of the cleaning process.
-
Clean Towel or Cloth: Having a clean towel or cloth on hand will allow you to dry the toothbrush holder thoroughly after cleaning.
-
Rubbing Alcohol: This can be used to disinfect the toothbrush holder and eliminate any lingering bacteria.
-
Q-Tips or Cotton Swabs: These are useful for reaching small, intricate areas that may be challenging to clean with a toothbrush.
-
Toothpicks: Toothpicks can be handy for dislodging stubborn residue or buildup in tiny crevices.
By ensuring that you have these supplies readily available, you can approach the cleaning process with confidence, knowing that you have everything you need to effectively sanitize and refresh your toothbrush holder. With the supplies in hand, you're ready to move on to the next step: disassembling the toothbrush holder for thorough cleaning.
Disassemble the Toothbrush Holder
To begin the cleaning process, it's essential to disassemble the toothbrush holder to access all its nooks and crannies. Depending on the design of your toothbrush holder, this step may involve removing individual components or separating the holder into its constituent parts. Here's a detailed guide on how to disassemble the toothbrush holder for thorough cleaning:
-
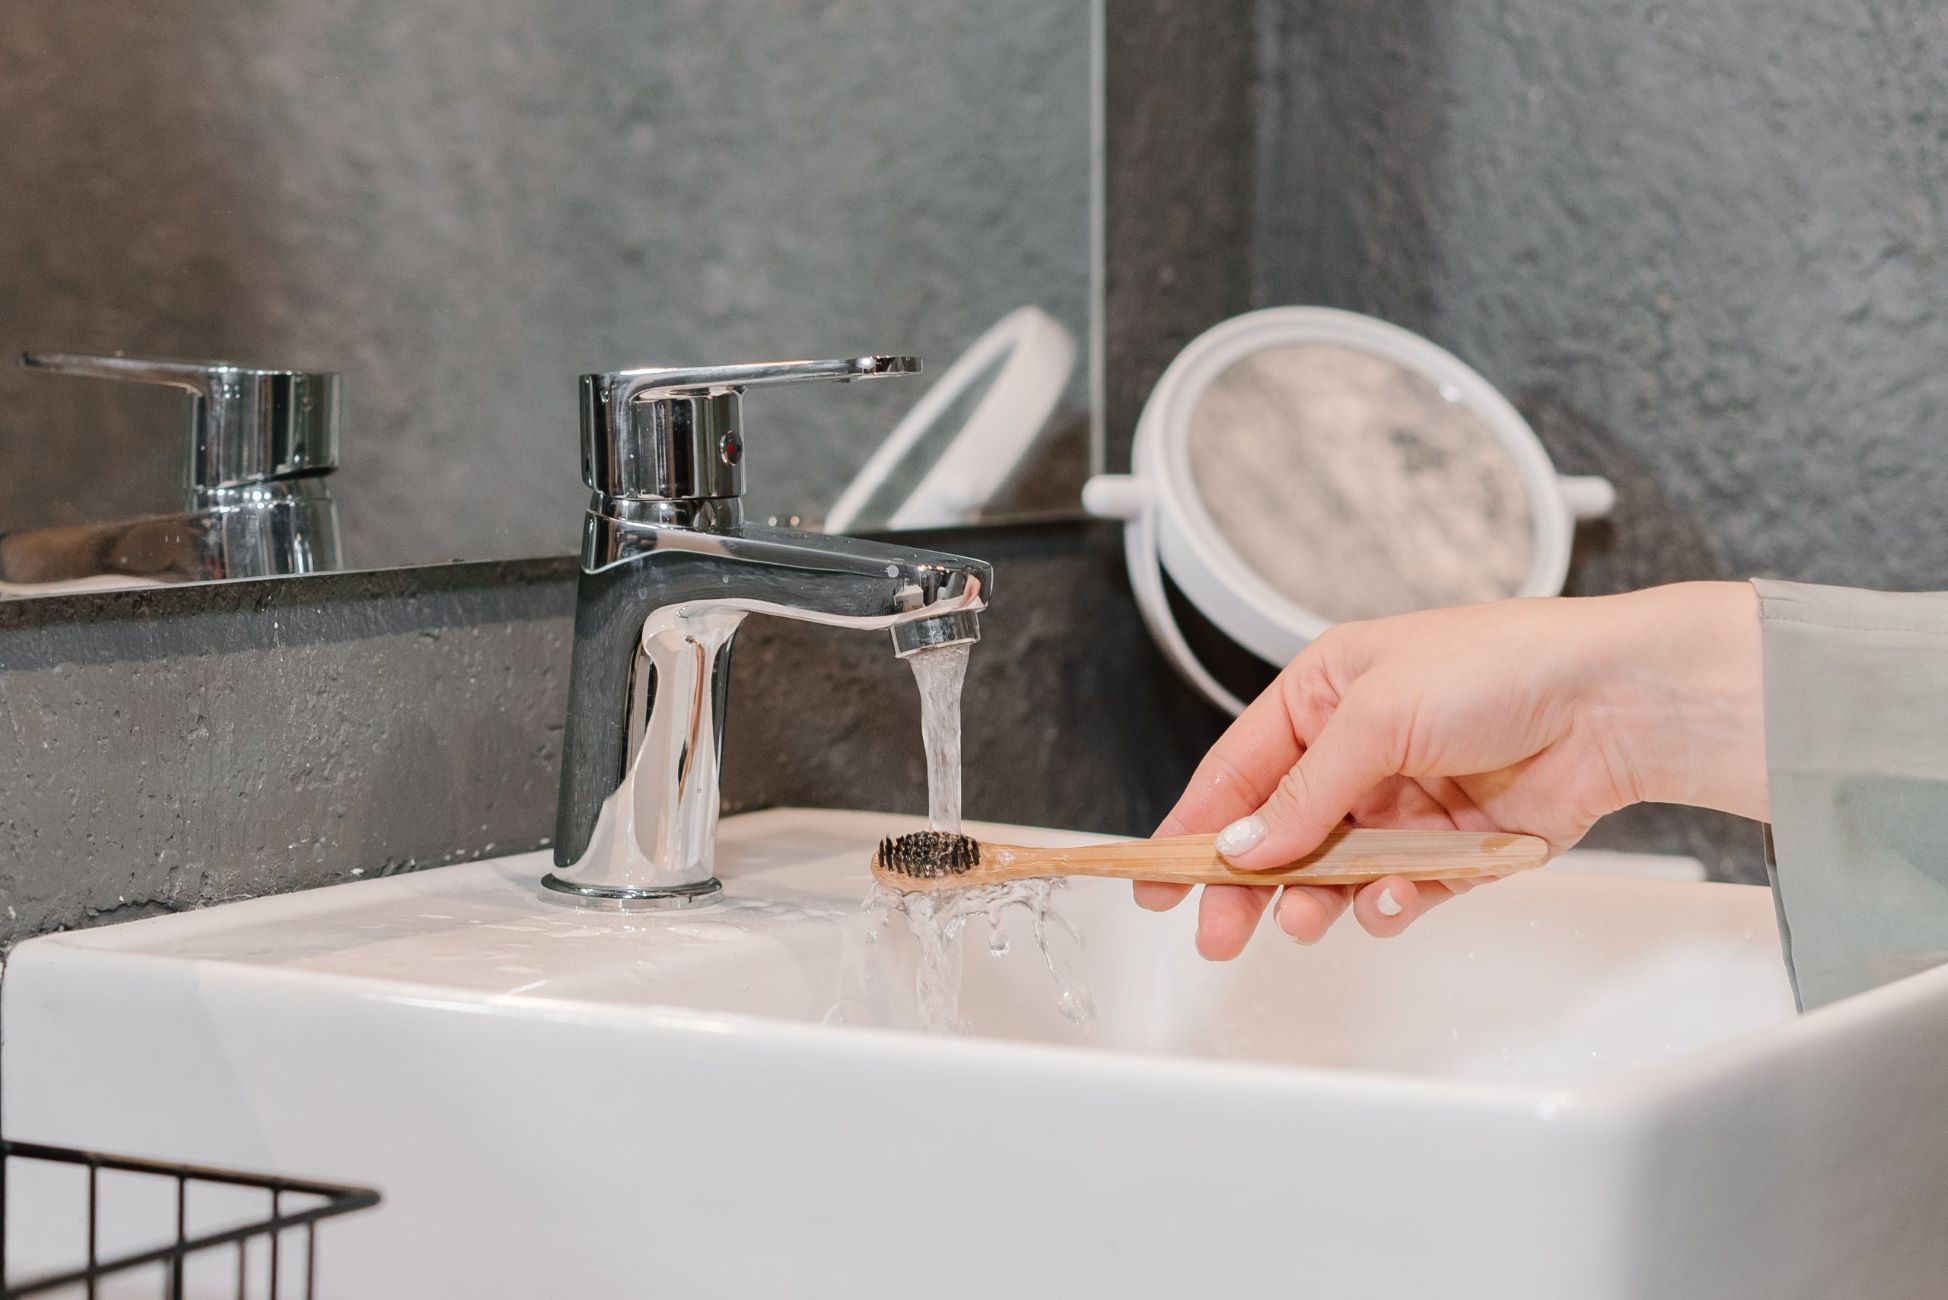
Remove Toothbrushes: Start by removing all toothbrushes from the holder and placing them in a clean and safe location. This ensures that the toothbrushes are kept separate from the cleaning process and prevents any cross-contamination.
-
Separate Components: If your toothbrush holder consists of multiple parts, carefully separate them to gain access to all surfaces. This may involve unscrewing or unclipping different sections, depending on the holder's design.
-
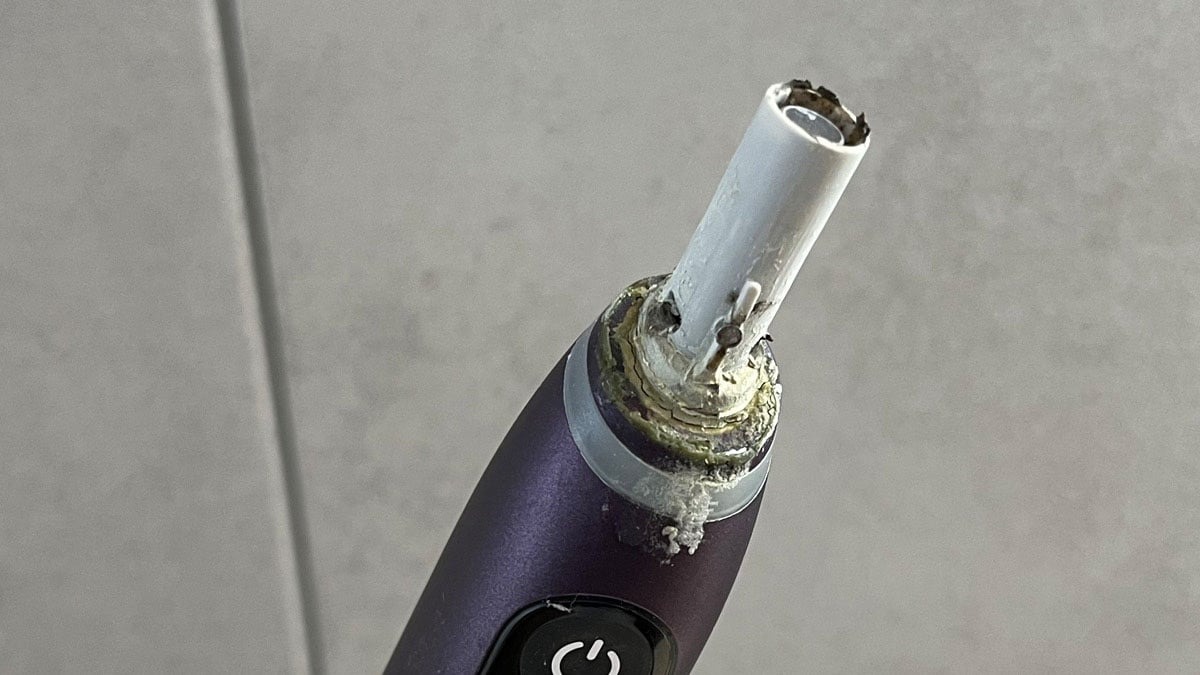
Inspect for Hidden Areas: Once the holder is disassembled, take a moment to inspect each component for hidden areas where dirt, grime, or mold may have accumulated. Pay close attention to any small crevices, slots, or compartments where residue could be lurking.
-
Note the Material: Take note of the material your toothbrush holder is made of, as this will guide the cleaning method. Whether it's plastic, glass, ceramic, or metal, understanding the material will help you choose the most suitable cleaning agents and techniques.
-
Prepare Cleaning Solutions: While the components are disassembled, prepare a cleaning solution using mild dish soap and hot water. For stubborn stains or mold, consider creating a solution of white vinegar and water, as vinegar is effective in combating mold and mildew.
By carefully disassembling the toothbrush holder, you can ensure that every part is thoroughly cleaned, leaving no space for hidden bacteria or residue to linger. With the toothbrush holder disassembled and the cleaning solutions prepared, you're now ready to move on to the next crucial step: cleaning the toothbrush holder itself.
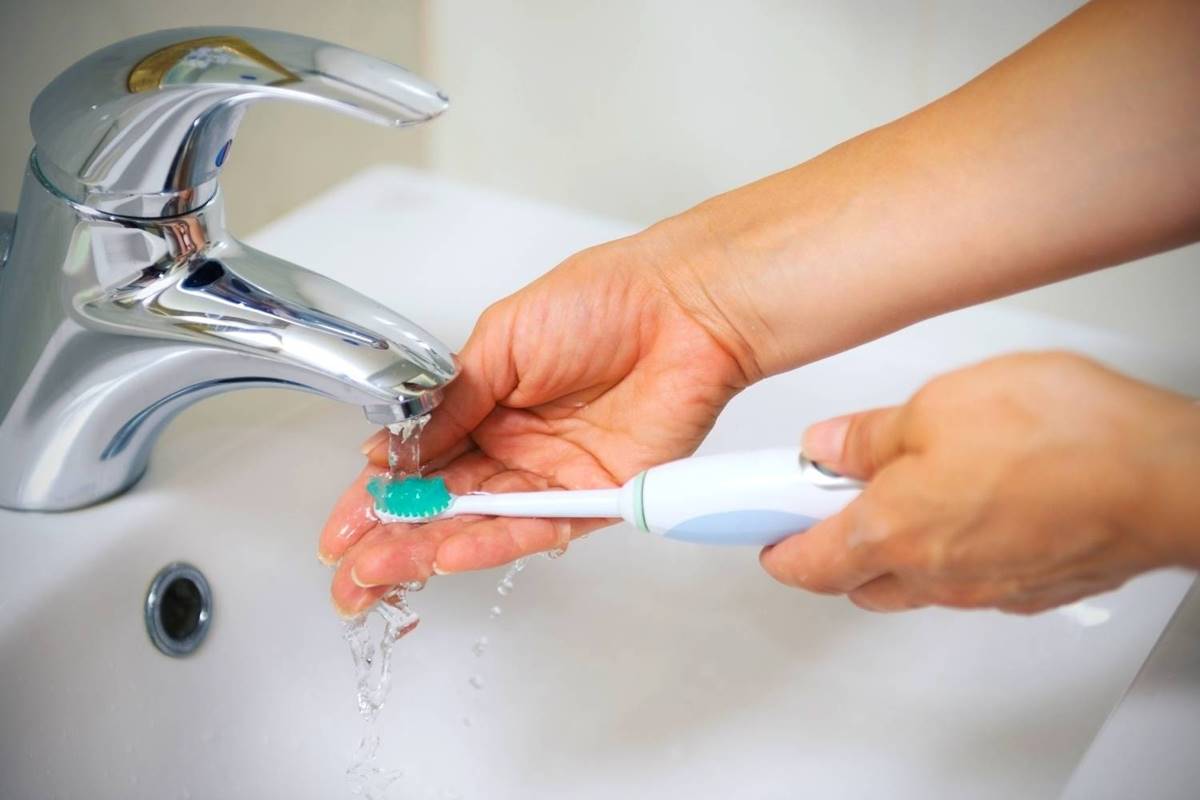
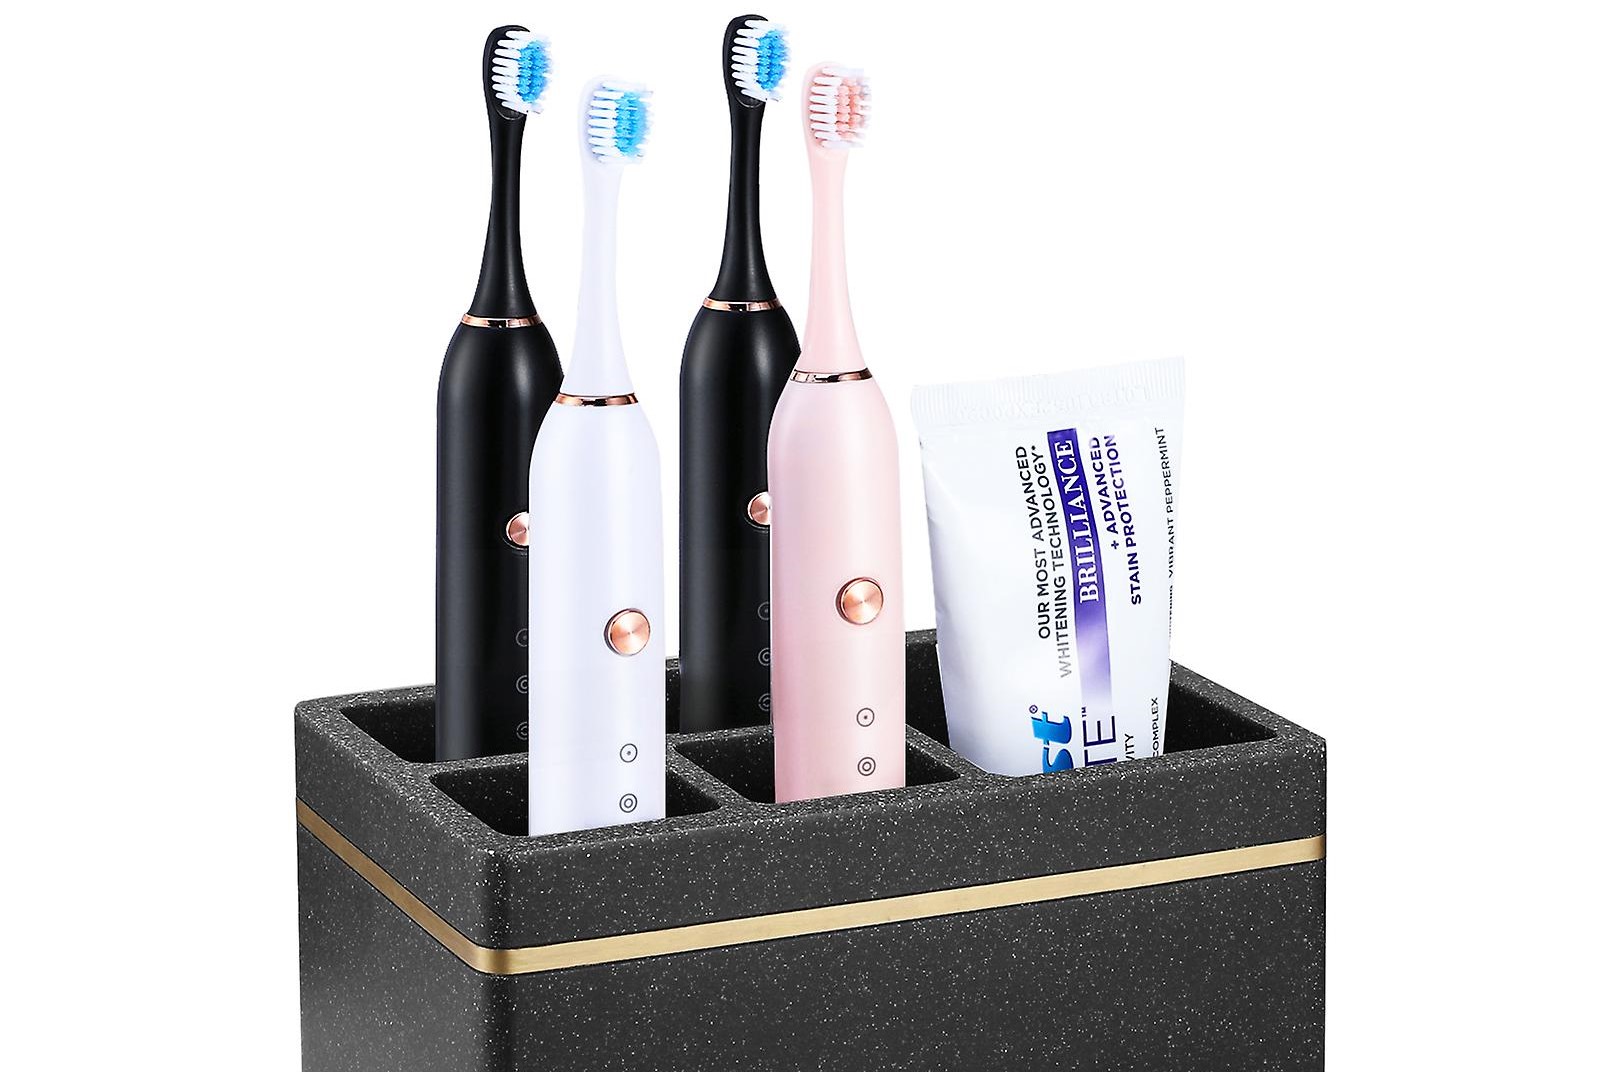
To clean a toothbrush holder, remove all toothbrushes and rinse the holder with warm soapy water. Use a small brush or pipe cleaner to scrub the inside of the holder, then rinse and dry thoroughly before putting the toothbrushes back in.
Clean the Toothbrush Holder
With the toothbrush holder disassembled and the cleaning solutions prepared, it's time to focus on cleaning the individual components. This step is crucial in ensuring that all surfaces are thoroughly sanitized and free from any accumulated grime, mold, or bacteria. Here's a detailed guide on how to clean the toothbrush holder effectively:
-
Soak in Cleaning Solution: Submerge the disassembled components of the toothbrush holder in the prepared cleaning solution. Ensure that all parts are fully immersed, allowing the cleaning solution to penetrate and loosen any stubborn residue. Let the holder soak for 10-15 minutes to facilitate the breakdown of dirt and grime.
-
Scrub with Toothbrush or Bottle Brush: After soaking, use a toothbrush or bottle brush to scrub the surfaces of the toothbrush holder thoroughly. Pay close attention to any areas where residue or mold may be present, including crevices, slots, and intricate patterns. The bristles of the brush will help dislodge and remove any buildup, ensuring a comprehensive cleaning process.
-
Target Stubborn Stains with Vinegar Solution: For persistent stains or mold, apply a solution of white vinegar and water directly to the affected areas. The acidic nature of vinegar makes it an effective agent for combating mold and mildew. Use a toothbrush or cotton swab to apply the solution to targeted areas, allowing it to sit for a few minutes before scrubbing.
-
Rinse Thoroughly: Once the components have been scrubbed and any stains treated, rinse them thoroughly under running water. Ensure that all traces of cleaning solution, dirt, and residue are completely removed. This step is essential to prevent any lingering cleaning agents from coming into contact with toothbrushes once the holder is reassembled.
-
Disinfect with Rubbing Alcohol: To further sanitize the toothbrush holder, use rubbing alcohol to disinfect the surfaces. Apply a small amount of rubbing alcohol to a clean cloth or cotton ball and wipe down all the components. This additional step will help eliminate any remaining bacteria and ensure a hygienic storage space for your toothbrushes.
-
Dry Thoroughly: After cleaning and disinfecting, use a clean towel or cloth to dry the components completely. Pay attention to any intricate or hard-to-reach areas, ensuring that no moisture is left behind. Proper drying is essential to prevent the accumulation of moisture, which can lead to mold growth.
By following these steps, you can effectively clean the toothbrush holder, ensuring that it remains a safe and hygienic storage space for your toothbrushes. With the components cleaned and thoroughly dried, you're now ready to proceed to the final step: reassembling the toothbrush holder for future use.
Dry and Reassemble the Toothbrush Holder
Once the individual components of the toothbrush holder have been thoroughly cleaned, the next crucial step is to ensure that they are dried and reassembled properly. This final phase of the cleaning process is essential for maintaining the hygiene and functionality of the toothbrush holder. Here's a detailed guide on how to effectively dry and reassemble the toothbrush holder:
-
Air-Drying: After wiping the components with a clean towel or cloth, allow them to air-dry completely. Placing the parts in a well-ventilated area will expedite the drying process and ensure that no moisture is trapped within the holder's intricate details or crevices.
-
Inspect for Moisture: Before reassembling the toothbrush holder, carefully inspect each component to ensure that no moisture remains. Pay particular attention to any hard-to-reach areas or small crevices where water may have accumulated during the cleaning process.
-
Reassemble Carefully: Once the components are fully dry, proceed to reassemble the toothbrush holder with care. Ensure that each part fits snugly and securely, avoiding any misalignments or gaps that could compromise the holder's stability.
-
Check Toothbrush Slots: If your toothbrush holder features designated slots for individual toothbrushes, verify that they are clean and free from any residual moisture. It's essential to guarantee that the slots are completely dry before returning the toothbrushes to prevent the accumulation of moisture around the bristles.
-
Reinsert Toothbrushes: Once the toothbrush holder has been reassembled and thoroughly dried, carefully reinsert the toothbrushes into their respective slots. Ensure that each toothbrush is placed securely and that the bristles do not come into contact with any surfaces to maintain optimal hygiene.
-
Final Inspection: Before returning the toothbrush holder to its designated spot in the bathroom, perform a final inspection to confirm that all components are clean, dry, and securely reassembled. This step ensures that the toothbrush holder is ready to fulfill its role as a clean and hygienic storage solution for your toothbrushes.
By following these steps, you can effectively dry and reassemble the toothbrush holder, completing the comprehensive cleaning process. With the holder fully assembled and ready for use, you can rest assured that your toothbrushes will be stored in a clean and hygienic environment, contributing to your overall oral health and well-being.
Read more: How To Remove Toothbrush Holder From Wall
Final Tips and Considerations
As you complete the process of cleaning and reassembling your toothbrush holder, there are several final tips and considerations to keep in mind to ensure ongoing cleanliness and optimal hygiene in your bathroom. These tips will help you maintain a clean toothbrush holder and promote a healthy oral care routine for you and your family.
-
Regular Cleaning Schedule: Establish a regular cleaning schedule for your toothbrush holder to prevent the buildup of grime, mold, and bacteria. Aim to clean the holder at least once a month, or more frequently if you notice any signs of residue or discoloration. Consistent cleaning will help maintain a hygienic environment for your toothbrushes.
-
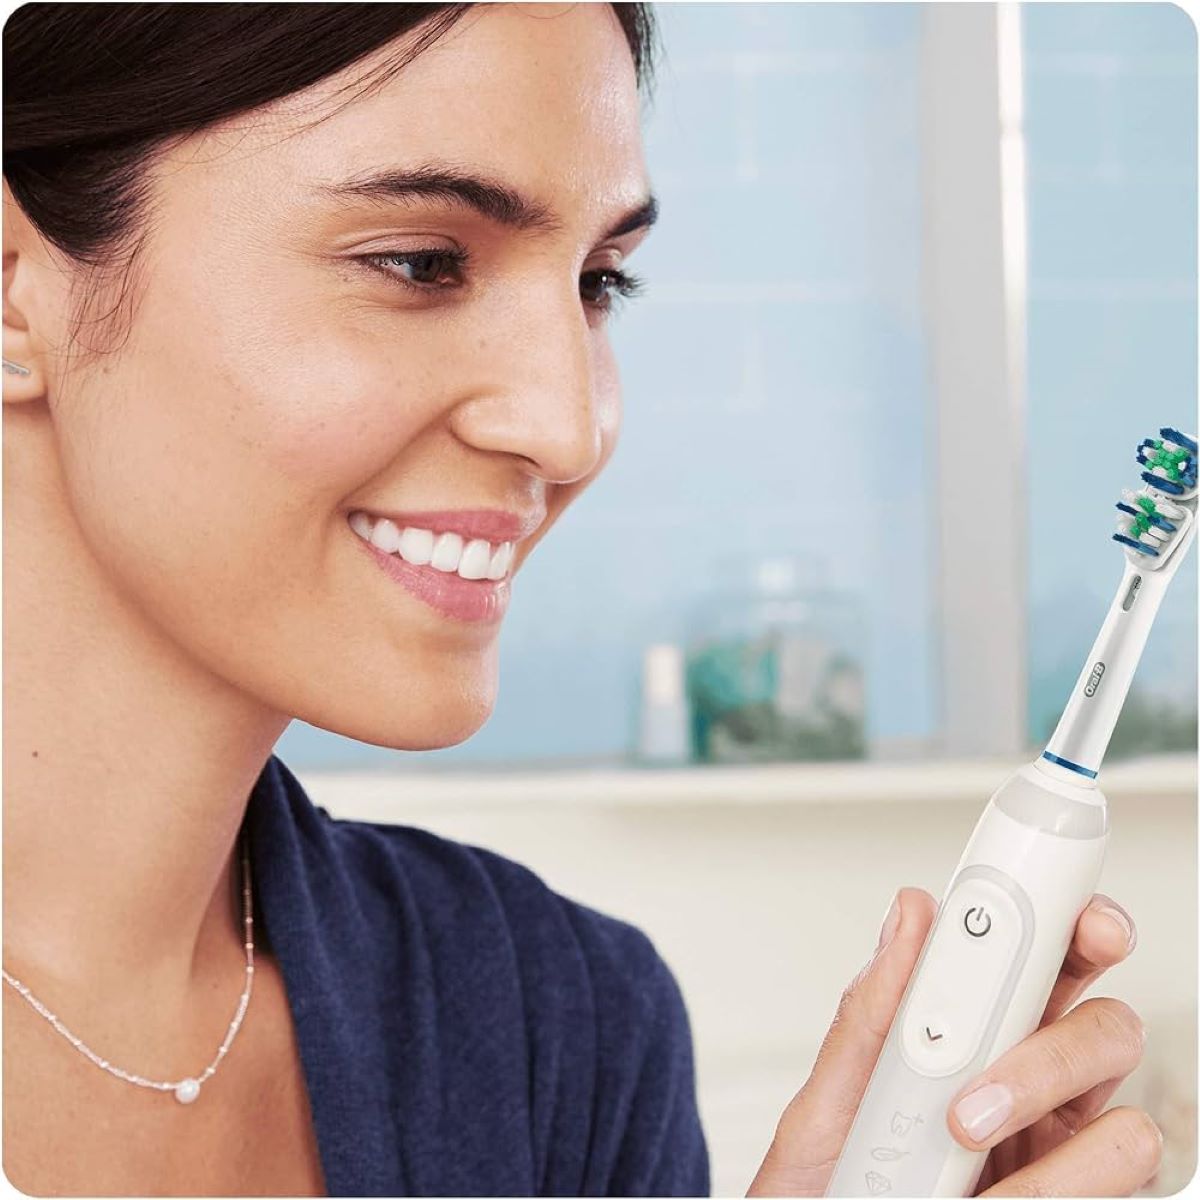
Inspect Toothbrushes: While cleaning the toothbrush holder, take the opportunity to inspect your toothbrushes for any signs of wear, damage, or bristle fraying. Replace toothbrushes as needed to ensure effective oral hygiene and prevent the spread of bacteria.
-
Ventilation: Ensure that the area where the toothbrush holder is placed has adequate ventilation to prevent the accumulation of moisture. Proper ventilation will inhibit the growth of mold and mildew, contributing to a cleaner and healthier environment for your toothbrushes.
-
Avoid Storing Wet Toothbrushes: Encourage family members to shake off excess water from their toothbrushes after use and allow them to air-dry before returning them to the holder. Storing wet toothbrushes can create a breeding ground for bacteria and mold, compromising oral hygiene.
-
Use Toothbrush Protectors: Consider using individual toothbrush protectors or covers to shield toothbrushes from airborne particles and potential contamination. These covers can help maintain the cleanliness of toothbrush bristles between uses.
-
Replace Holder if Necessary: If your toothbrush holder shows signs of deep-seated mold, cracks, or damage that cannot be effectively cleaned, consider replacing it with a new holder. A functional and hygienic toothbrush holder is essential for maintaining oral health.
By incorporating these final tips and considerations into your oral care routine, you can ensure that your toothbrush holder remains a clean and hygienic storage solution for your toothbrushes. With regular maintenance and attention to detail, you can contribute to a healthier bathroom environment and promote optimal oral hygiene for you and your family.
Frequently Asked Questions about How To Clean A Toothbrush Holder
Was this page helpful?
At Storables.com, we guarantee accurate and reliable information. Our content, validated by Expert Board Contributors, is crafted following stringent Editorial Policies. We're committed to providing you with well-researched, expert-backed insights for all your informational needs.


0 thoughts on “How To Clean A Toothbrush Holder”