Home>Furniture & Design>Bathroom Accessories>How To Clear A Clogged Toilet With A Plunger
Bathroom Accessories
How To Clear A Clogged Toilet With A Plunger
Modified: February 18, 2024
Learn how to effectively clear a clogged toilet using a plunger and keep your bathroom running smoothly. Find the best bathroom accessories for the job.
(Many of the links in this article redirect to a specific reviewed product. Your purchase of these products through affiliate links helps to generate commission for Storables.com, at no extra cost. Learn more)
Introduction
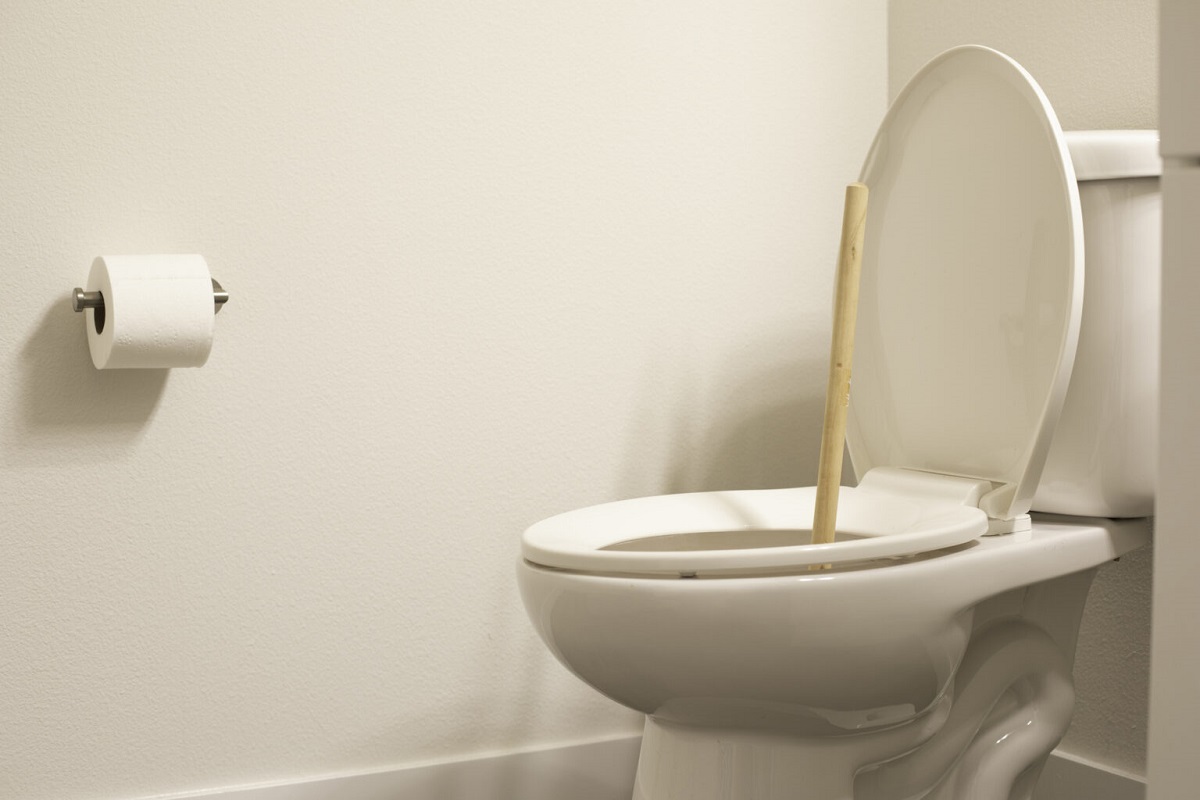
Dealing with a clogged toilet can be a frustrating and inconvenient experience. Whether it's caused by excessive toilet paper, foreign objects, or a buildup of waste, a clog can disrupt your daily routine and create a messy situation. However, with the right tools and techniques, you can quickly resolve this common household issue. One of the most effective and accessible tools for clearing a clogged toilet is a plunger. In this guide, we will walk you through the step-by-step process of using a plunger to clear a clog and restore your toilet to proper working condition.
A plunger is a simple yet powerful tool designed to create pressure and suction within the toilet drain, dislodging the blockage and allowing water to flow freely once again. By understanding how to properly use a plunger, you can tackle toilet clogs with confidence and efficiency. Whether you're a homeowner, a renter, or a novice DIY enthusiast, mastering the art of plunging a toilet can save you time, money, and the hassle of calling a professional plumber.
In the following steps, we will provide clear and practical instructions for preparing the plunger, positioning it correctly in the toilet bowl, and effectively plunging to dislodge the clog. We will also cover the importance of repeating the plunging process if necessary, as well as the essential steps for cleaning up and testing the toilet to ensure that the clog has been successfully cleared. By following these steps, you can address a clogged toilet in a timely and efficient manner, restoring functionality and peace of mind to your bathroom.
Now, let's dive into the process of using a plunger to clear a clogged toilet and regain the comfort and convenience of a fully operational bathroom.
Key Takeaways:
- Don’t panic when your toilet gets clogged! A plunger is a simple yet powerful tool that can help you clear the clog and restore your toilet’s functionality in just a few easy steps.
- Remember to clean up and test the toilet after using the plunger. Thoroughly sanitize the plunger, clean the toilet bowl, and test the water flow to ensure that the clog has been successfully cleared and the toilet is ready for use.
Read more: How To Clear Clogged Toilet
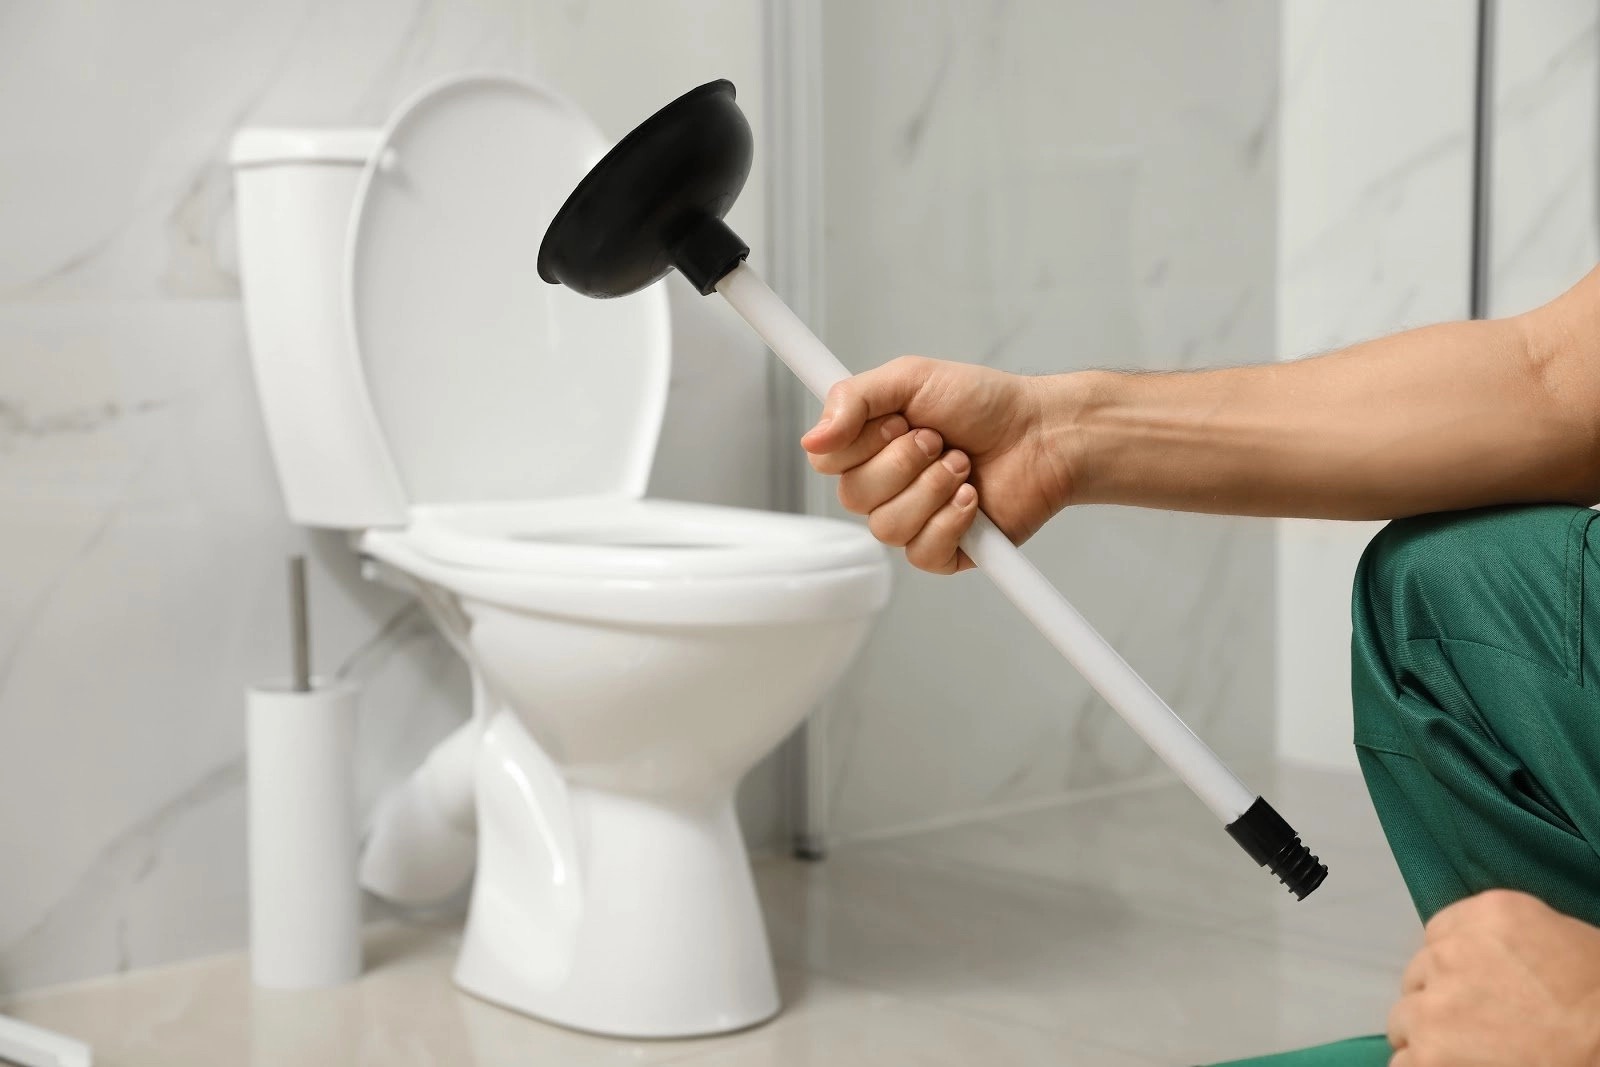
Step 1: Prepare the Plunger
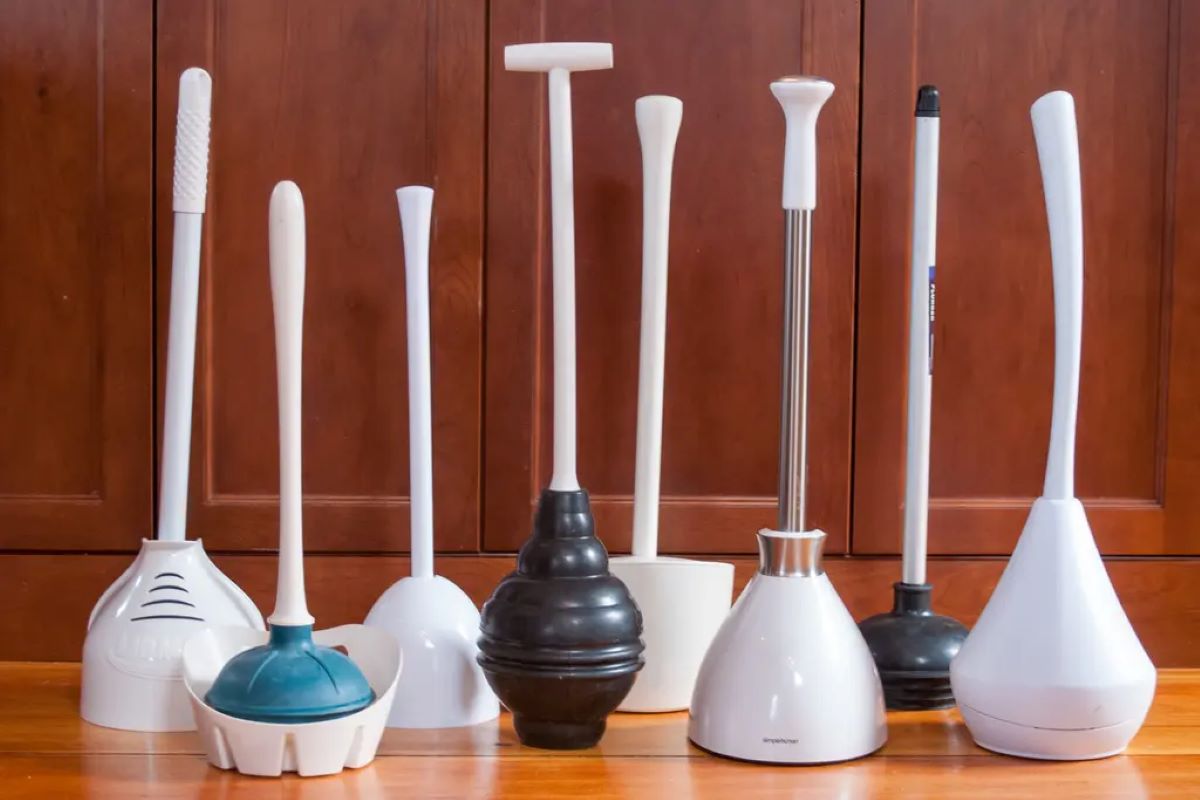
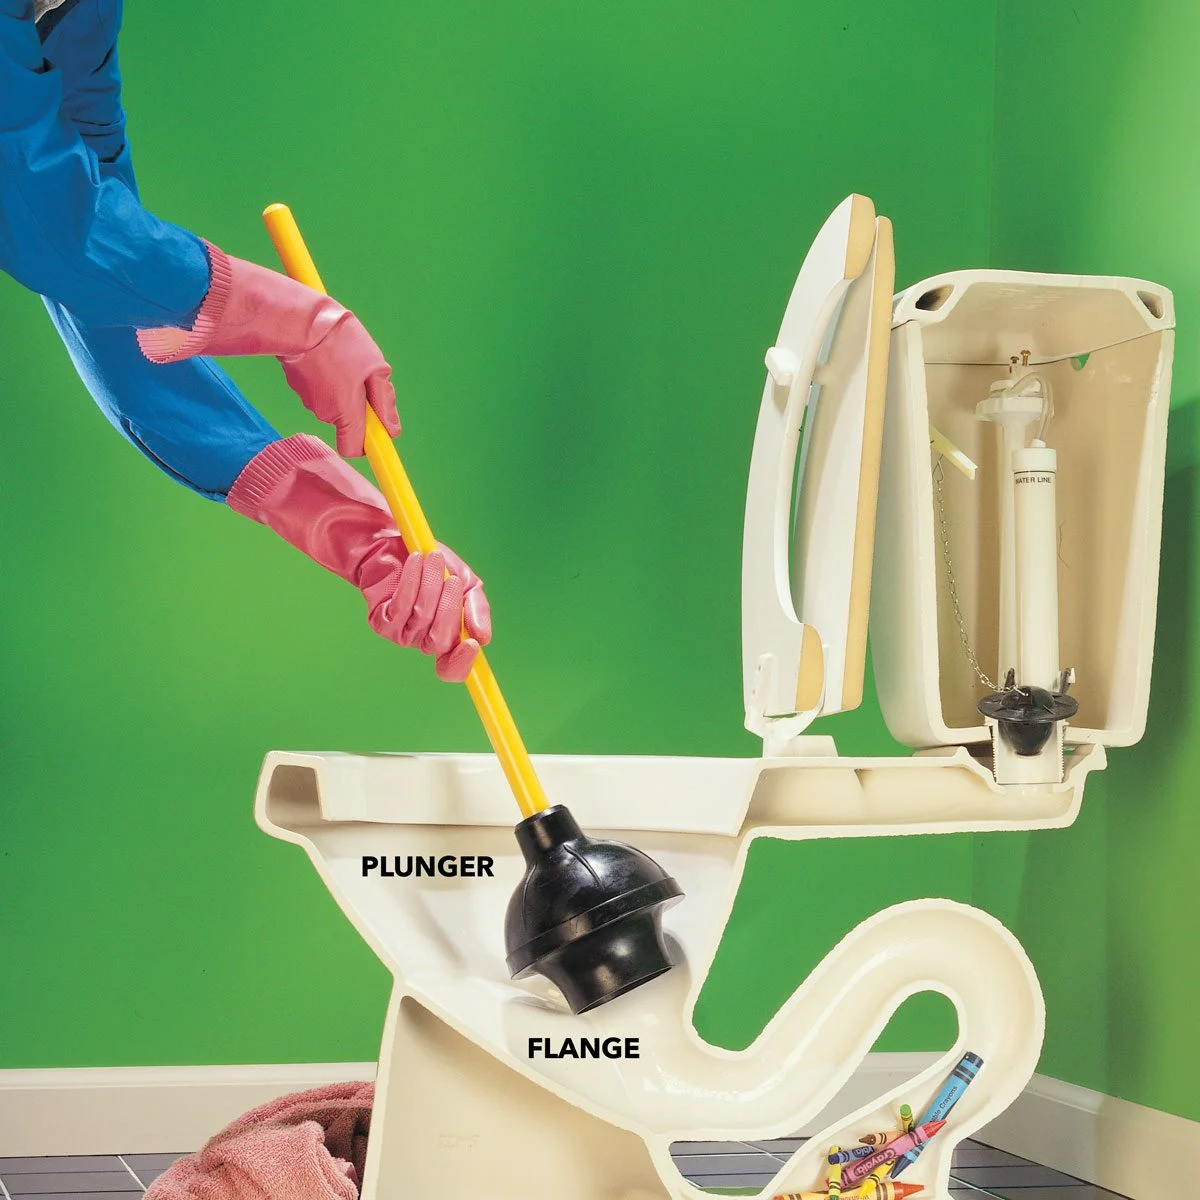
Before diving into the process of clearing a clogged toilet, it's crucial to prepare the plunger properly to maximize its effectiveness. The first step is to ensure that you have the right type of plunger for the job. A flange plunger, also known as a toilet plunger, is specifically designed for use in toilets due to its unique shape and suction capabilities. This type of plunger features an extended flange or collar at the bottom, which forms a better seal in the curved toilet drain compared to a standard cup plunger.
Once you have confirmed that you have a flange plunger on hand, it's essential to inspect the rubber cup for any signs of damage or wear. A cracked or deteriorated cup can compromise the plunger's ability to create a tight seal and generate the necessary suction. If the cup is damaged, it's advisable to replace the plunger with a new one to ensure optimal performance.
Next, it's important to clean the plunger thoroughly before use. Rinse the rubber cup and the surrounding area with warm water to remove any debris, dirt, or residue that could interfere with the sealing and plunging process. Additionally, you can apply a small amount of liquid soap to the cup and work it into a lather to enhance the plunger's suction capabilities and ensure a tight seal against the toilet bowl.
After cleaning the plunger, it's beneficial to fill the toilet bowl with enough water to cover the rubber cup of the plunger. This water level helps create a better seal and improves the effectiveness of the plunging action. If the water level in the toilet is low, you can add additional water using a bucket to achieve the desired depth.
Finally, it's crucial to position the plunger within easy reach of the toilet to ensure quick access when needed. Ideally, the plunger should be stored in a nearby bathroom cabinet or designated area for easy retrieval in the event of a clog. By preparing the plunger in advance and following these essential steps, you can set the stage for a successful and efficient plunging process to clear the clogged toilet effectively.
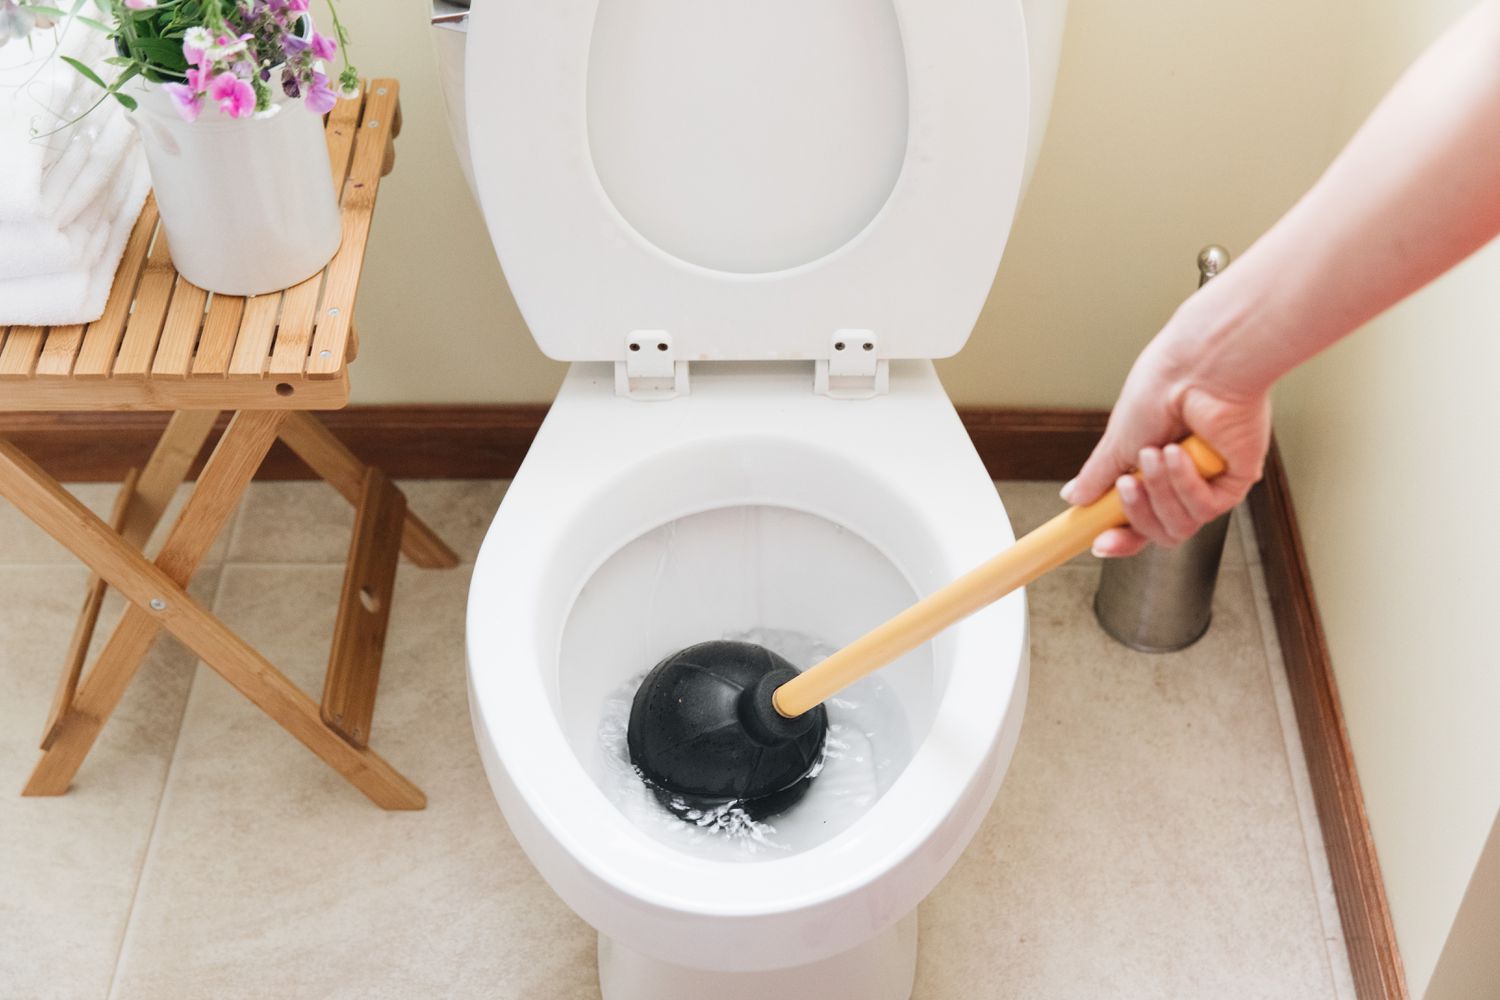
Step 2: Position the Plunger
Proper positioning of the plunger is crucial for creating a tight seal and generating the necessary suction to dislodge the toilet clog effectively. When positioning the plunger, it's essential to follow a few key steps to ensure optimal contact with the toilet drain and maximize the plunging force.
First, carefully lower the plunger into the toilet bowl, ensuring that the rubber cup is fully submerged in the water and covers the entire drain opening. The water in the bowl helps to create a seal between the plunger cup and the toilet surface, enabling the generation of suction during the plunging motion. Positioning the plunger in this manner allows for a more efficient transfer of pressure and force to dislodge the clog.
Once the plunger is submerged, it's important to ensure a secure grip on the handle to maintain control and stability during the plunging process. Hold the handle firmly with both hands, positioning them at a comfortable distance from the cup to allow for smooth and controlled movements. A secure grip minimizes the risk of the plunger slipping or losing contact with the drain, maximizing the effectiveness of each plunge.
In addition to a secure grip, it's beneficial to position the plunger at a slight angle within the toilet bowl. Tilting the plunger slightly to one side helps to expel air trapped inside the cup, creating a better seal and enhancing the suction effect. This angled positioning also allows for a more targeted application of pressure and force directly over the clog, increasing the likelihood of dislodging the obstruction.
Furthermore, when positioning the plunger, it's important to avoid excessive tilting or lifting of the cup during the plunging motion. Maintaining a consistent and stable position throughout the plunging process ensures continuous contact with the drain and maximizes the transfer of pressure to the clog. By keeping the plunger steady and well-positioned, you can achieve a more effective and efficient clearing of the toilet clog.
By following these essential steps for positioning the plunger, you can set the stage for a successful and productive plunging process, increasing the likelihood of clearing the clogged toilet with ease and efficiency.
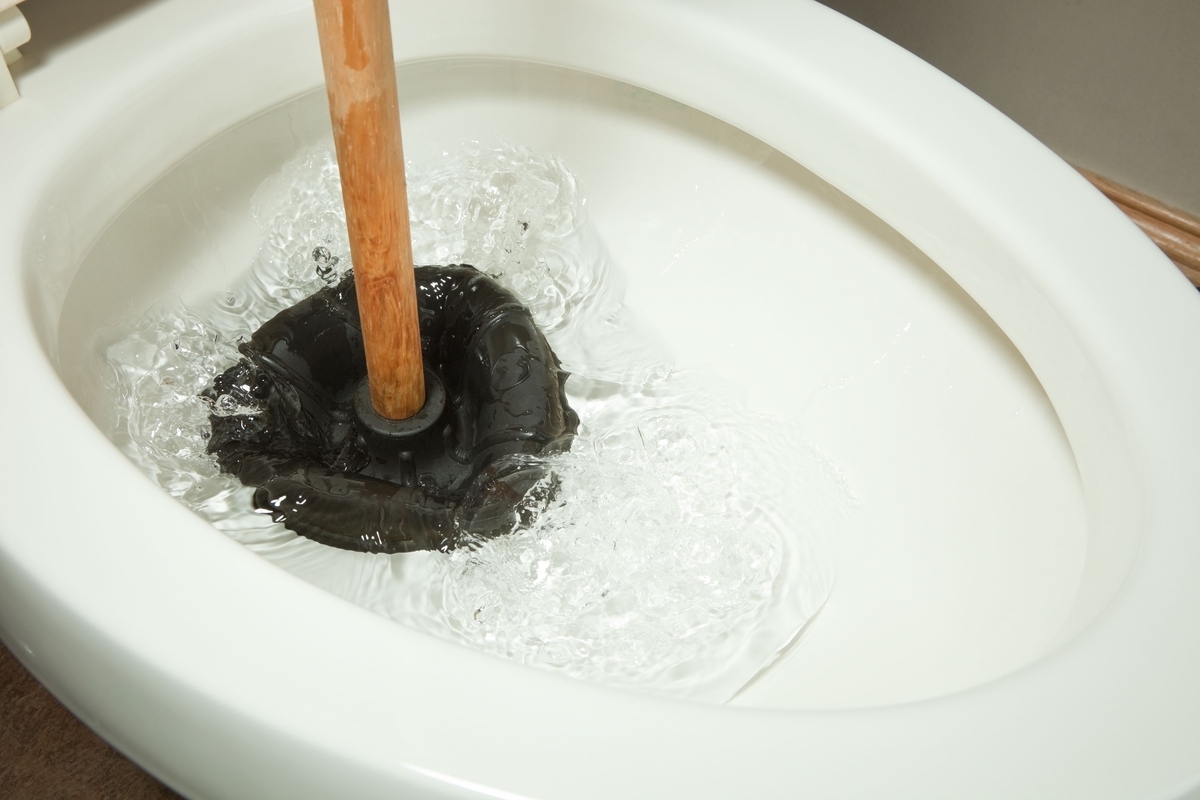
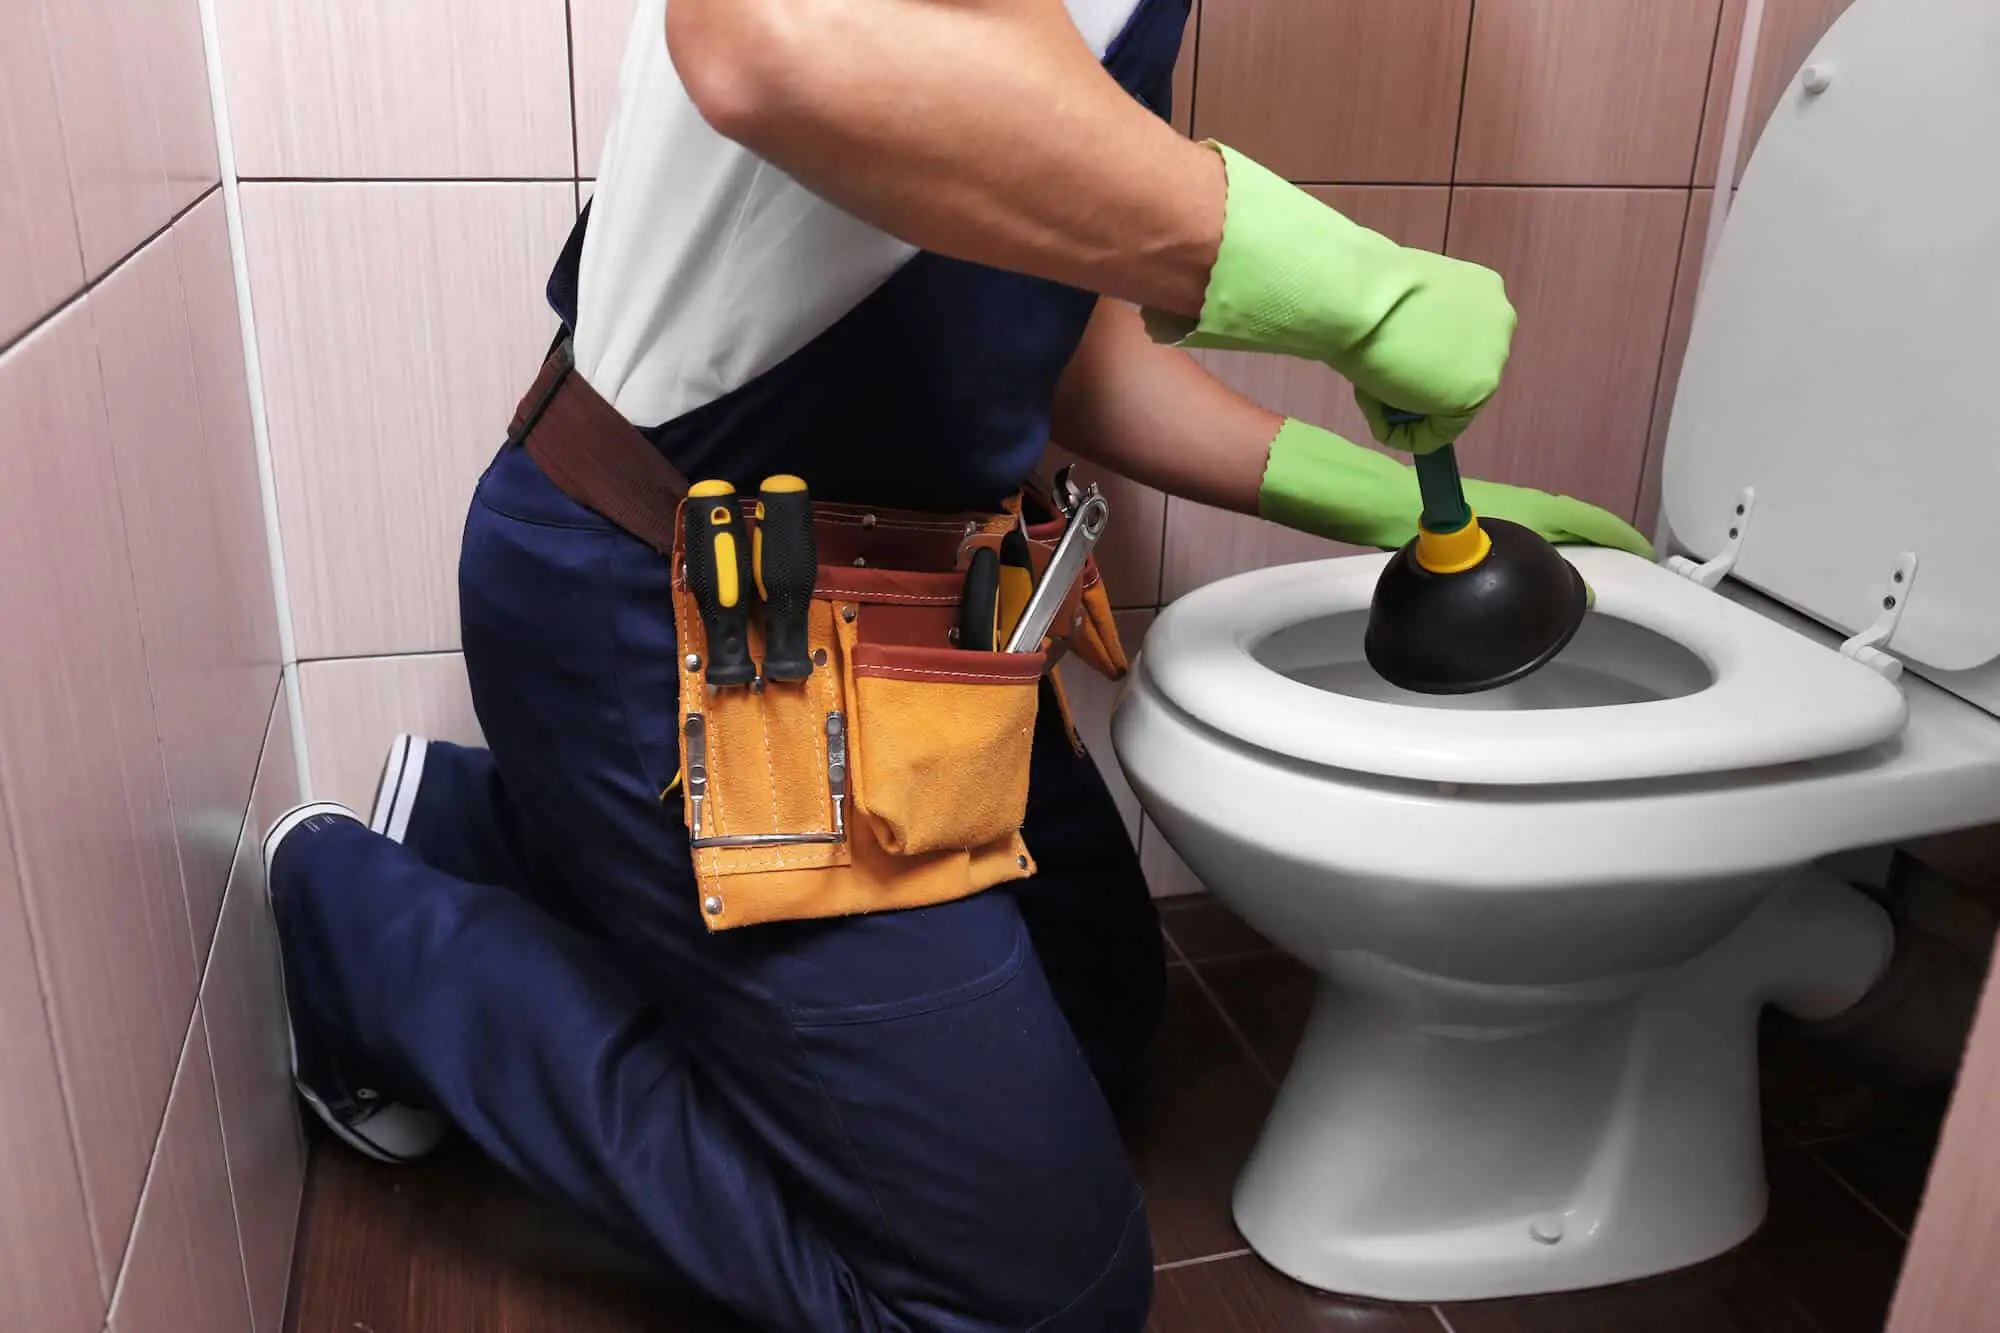
Make sure the plunger is fully submerged in water, then place it over the drain and push and pull firmly to create suction. Repeat until the clog is cleared.
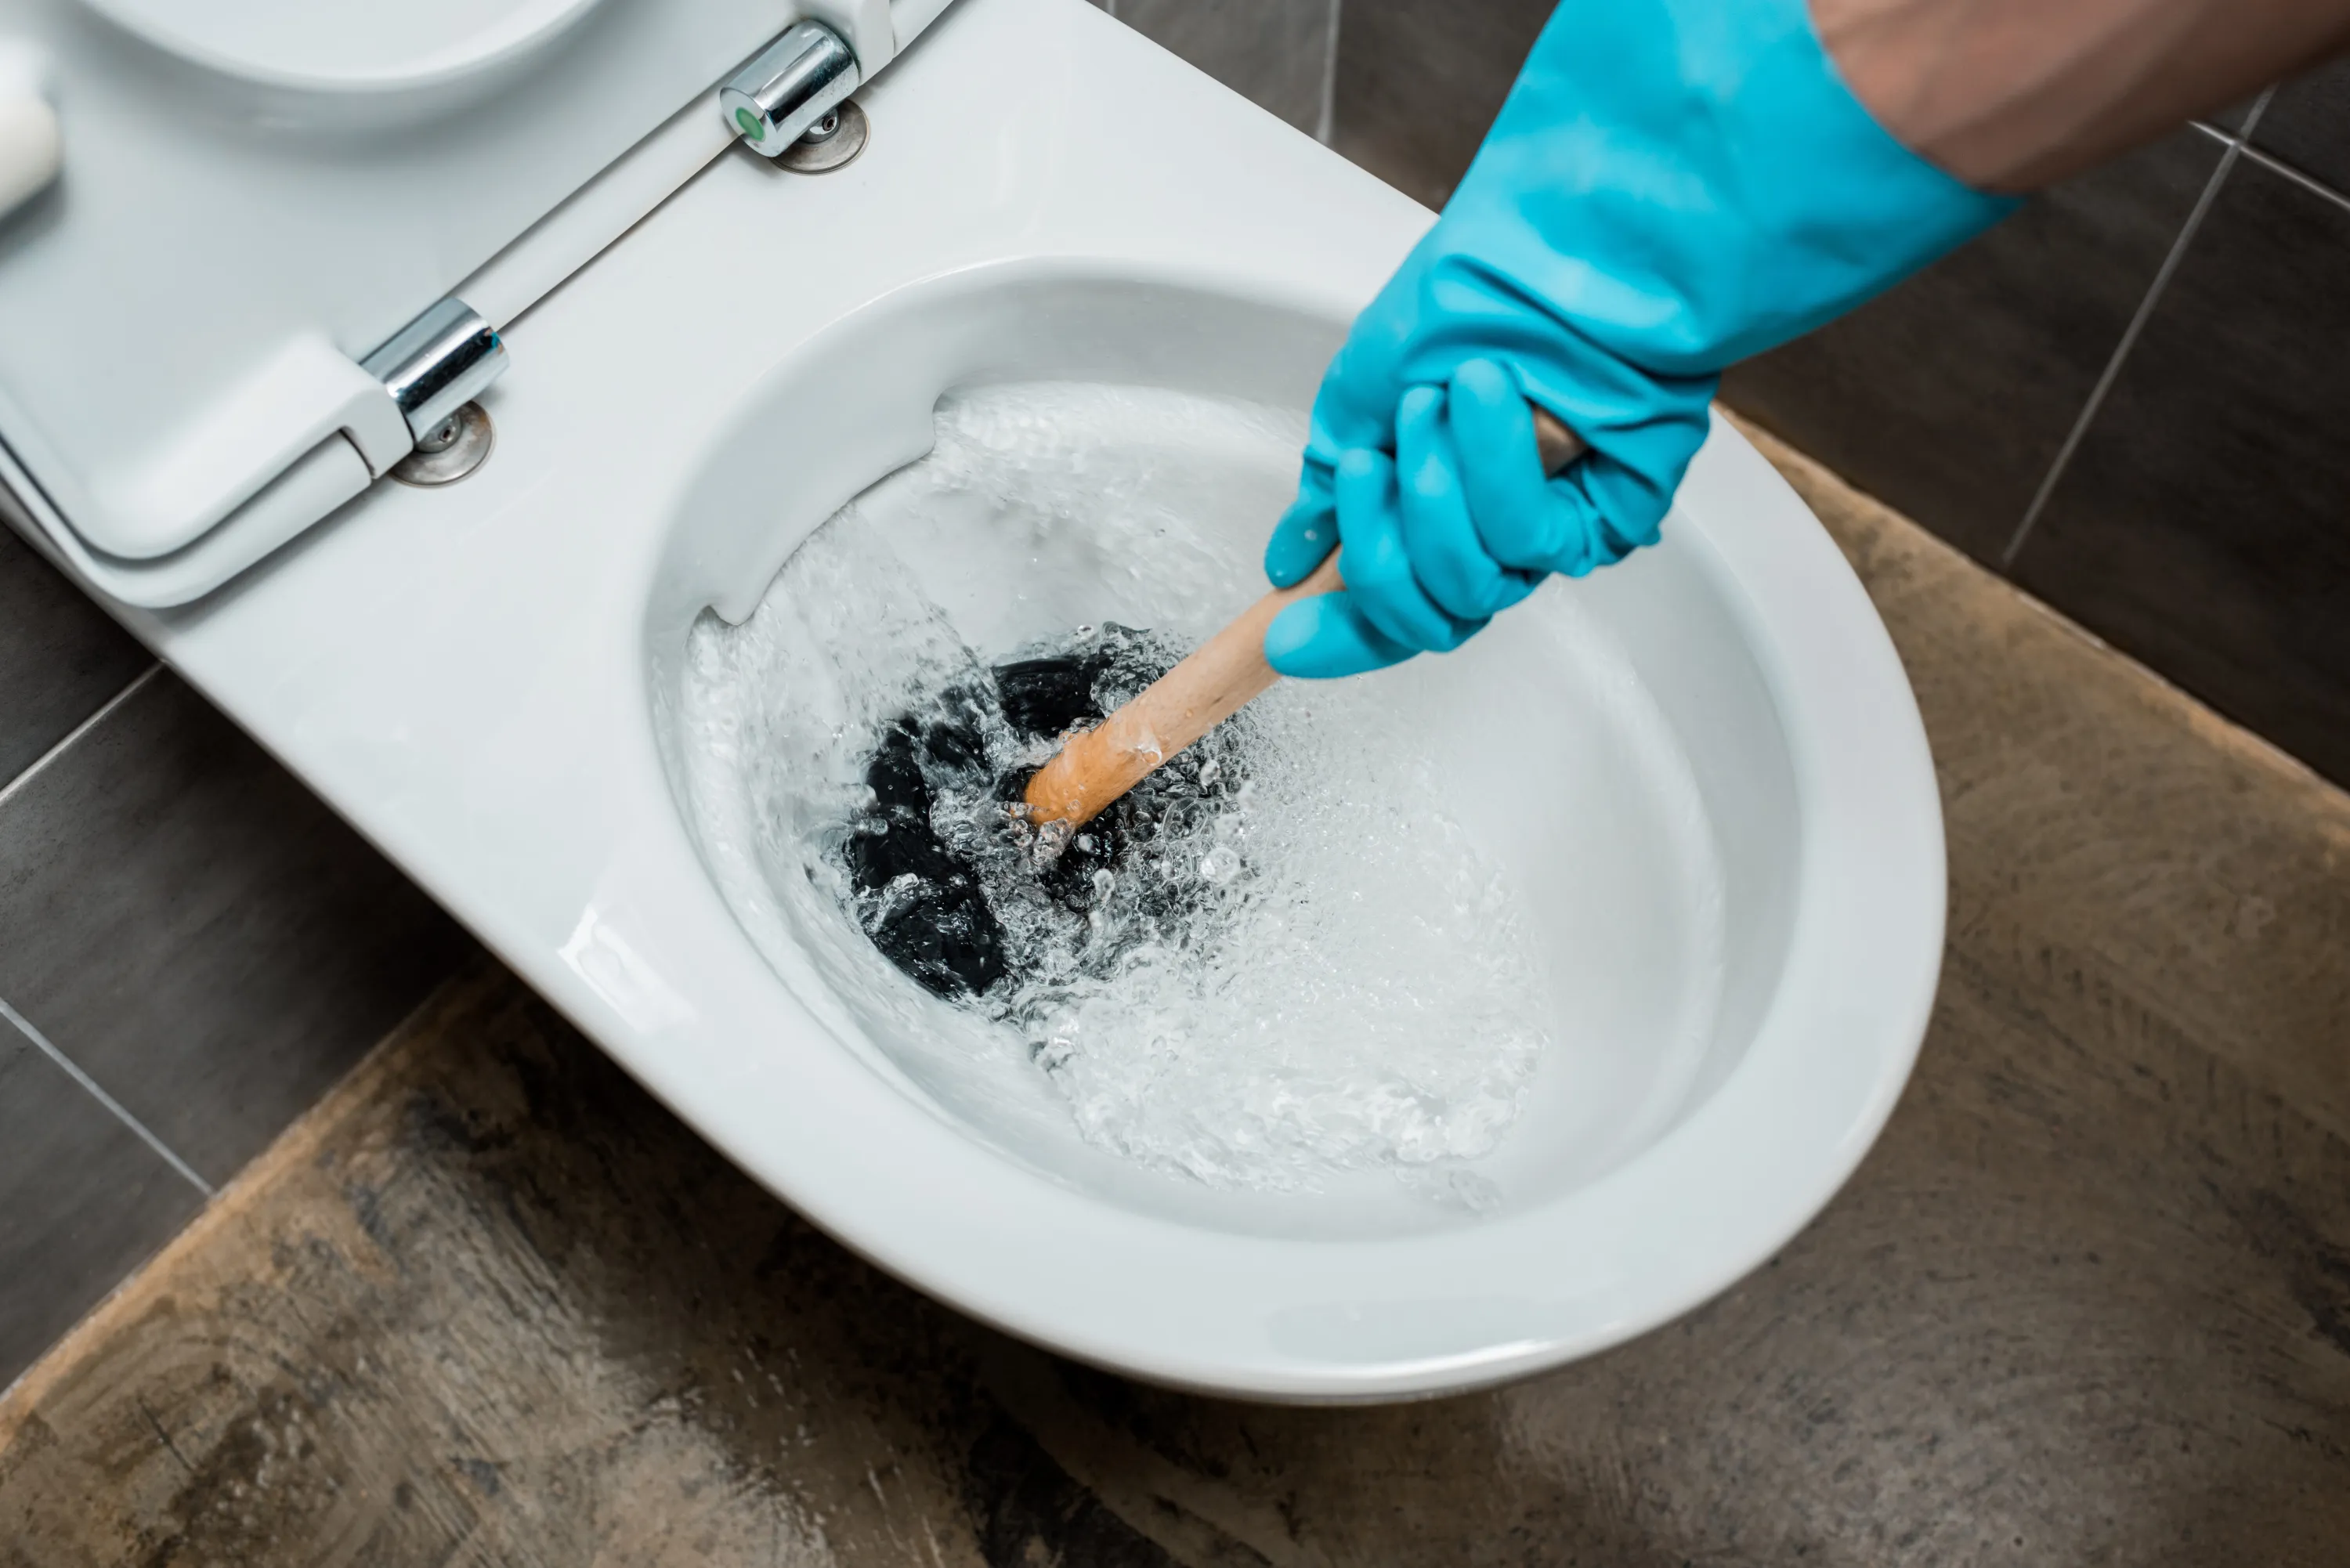
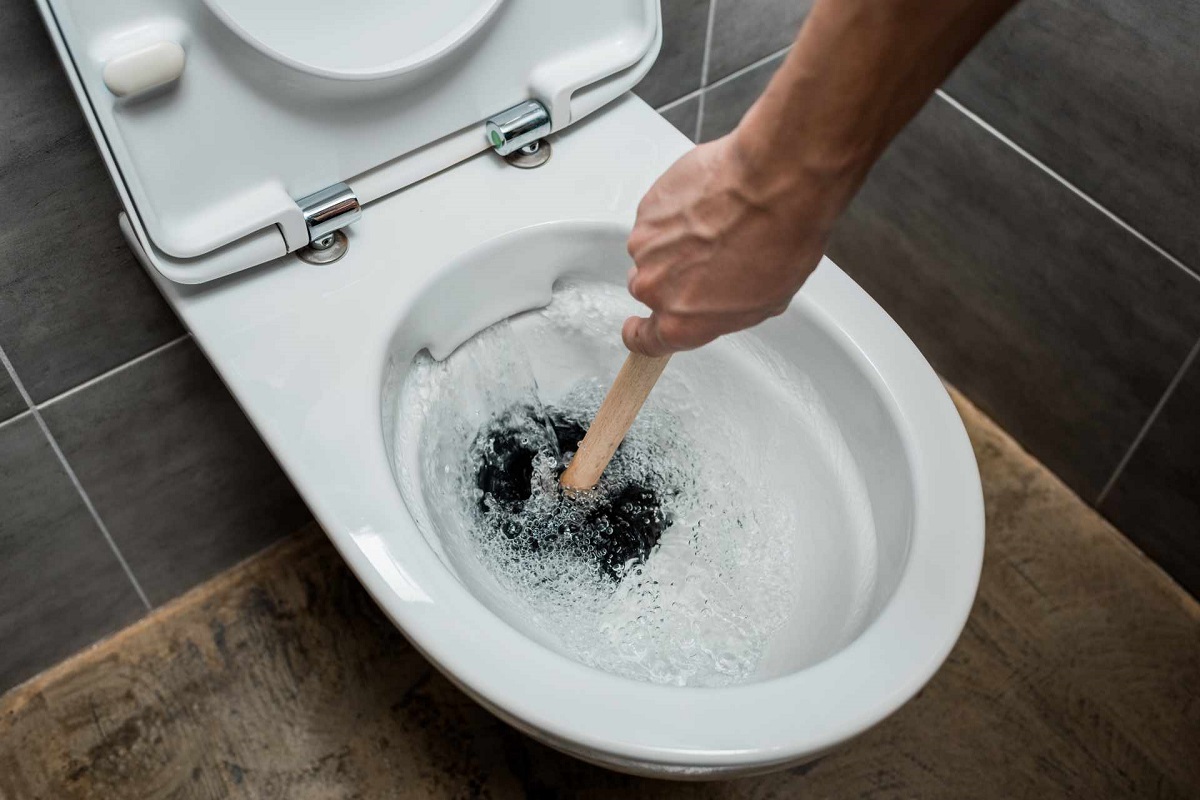
Step 3: Plunge the Toilet
With the plunger properly prepared and positioned, it's time to initiate the plunging process to dislodge the clog and restore the normal flow of water in the toilet. Plunging is a dynamic and rhythmic action that creates pressure and suction within the toilet drain, aiming to break apart and push through the obstruction. By following a few key techniques and maintaining a steady plunging rhythm, you can increase the likelihood of successfully clearing the clog.
To begin, press the plunger down firmly over the drain opening, ensuring that the rubber cup forms a tight seal against the toilet bowl surface. Apply steady downward pressure to compress the cup and expel any trapped air, creating a vacuum effect within the drain. This initial compression helps to establish a strong seal and sets the stage for generating the necessary suction during the plunging motion.
Once the plunger is securely sealed against the drain, initiate a series of rhythmic plunging motions using your upper body strength. Utilize a combination of pushing and pulling movements to create a back-and-forth action, aiming to dislodge the clog through the application of force and pressure. Maintain a consistent and controlled rhythm, avoiding overly aggressive or erratic movements that could disrupt the seal or cause splashing.
During the plunging process, focus on generating a strong suction effect by creating a tight seal and maximizing the transfer of pressure to the clog. The goal is to break apart the obstruction and create movement within the drain, allowing water and debris to flow through and alleviate the clog. Continue the plunging motion for several seconds, aiming to achieve a noticeable shift or release of the blockage.
It's important to remain patient and persistent during the plunging process, as some clogs may require multiple rounds of plunging to achieve successful clearance. If the initial attempts do not result in the desired outcome, continue to plunge the toilet using the same technique, adjusting the angle and force as needed to target the obstruction effectively.
By following these essential steps and techniques for plunging the toilet, you can approach the task with confidence and precision, increasing the likelihood of clearing the clogged toilet and restoring proper functionality to your bathroom.
Step 4: Repeat if Necessary
In some instances, a stubborn or particularly resilient clog may require multiple rounds of plunging to achieve successful clearance. If the initial plunging attempts do not result in the desired outcome, it's essential to remain patient and persistent, as repeating the plunging process can often lead to a breakthrough in dislodging the obstruction.
When faced with the need to repeat the plunging process, it's important to assess the effectiveness of the initial attempts. If the water level in the toilet bowl has not noticeably decreased or if the flushing action remains impaired, it indicates that the clog persists and further plunging is necessary. Additionally, if you hear gurgling or bubbling sounds during the flushing process, it may indicate that the clog is still present and requires additional attention.
To repeat the plunging process effectively, start by ensuring that the plunger is still properly prepared and positioned as outlined in the earlier steps. Check the rubber cup for a secure seal, position the plunger at a slight angle within the toilet bowl, and maintain a firm grip on the handle to initiate the plunging motion.
When repeating the plunging process, consider adjusting the angle and force of the plunging motion to target different areas of the drain and dislodge the clog from alternative angles. By varying the direction and intensity of the plunging action, you can create additional movement and pressure within the drain, increasing the likelihood of breaking apart the obstruction.
It's important to remain consistent and controlled in your plunging technique, avoiding abrupt or erratic movements that could disrupt the seal or cause splashing. By maintaining a steady and rhythmic plunging motion, you can maximize the transfer of pressure and force to the clog, increasing the chances of achieving successful clearance.
If the repeated plunging attempts yield positive results, such as a noticeable decrease in the water level or improved flushing action, it indicates that the clog has been successfully dislodged. However, if the issue persists after multiple rounds of plunging, it may be necessary to consider alternative methods or seek professional assistance to address the stubborn clog effectively.
By being prepared to repeat the plunging process if necessary and following these essential guidelines, you can approach the task with determination and perseverance, increasing the likelihood of achieving successful clearance and restoring proper functionality to your toilet.
Read more: How To Clear A Clogged Bathtub
Step 5: Clean Up and Test the Toilet
After successfully clearing the clogged toilet using a plunger, it's essential to proceed with the cleanup and testing phase to ensure that the toilet is fully functional and free from any residual issues. This final step involves thorough sanitation, inspection, and testing to confirm that the clog has been effectively cleared and that the toilet is ready for regular use.
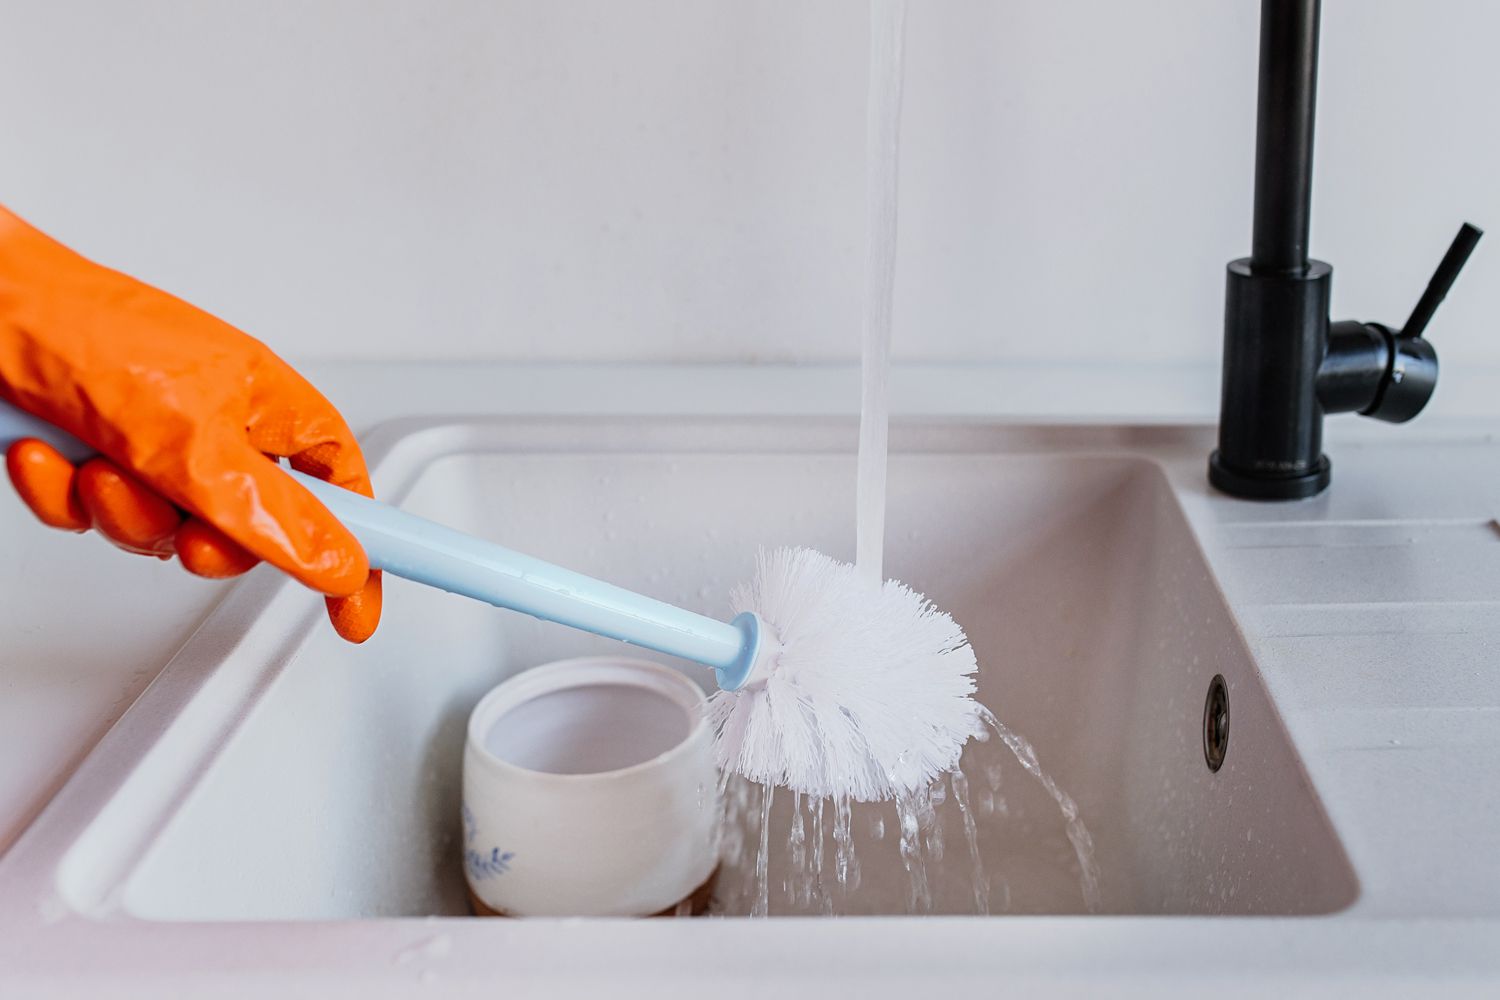
Begin by carefully removing the plunger from the toilet bowl, taking care to avoid any splashing or spillage. Place the plunger on a designated surface, such as a plastic bag or old towel, to prevent any water or debris from coming into contact with the surrounding area. Inspect the rubber cup of the plunger to ensure that it is free from any lingering waste or residue, and rinse it thoroughly under running water to clean and sanitize it for future use.
Next, it's important to clean the toilet bowl and surrounding areas to eliminate any remaining debris or water. Use a toilet brush and a mild cleaning solution to scrub the interior of the bowl, paying attention to the waterline and drain opening. Thoroughly rinse the bowl with clean water to remove any cleaning residue and ensure a fresh and hygienic surface.
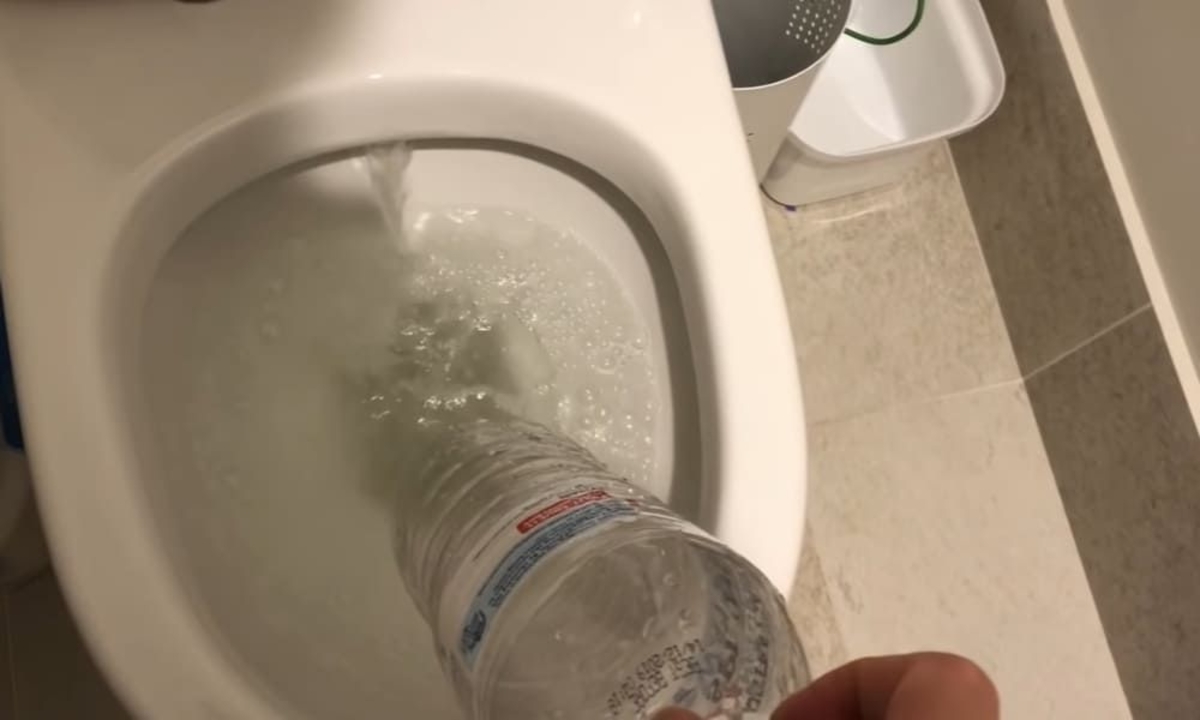
Once the toilet bowl is clean, it's advisable to flush the toilet several times to test the water flow and drainage. Observe the flushing action and listen for any unusual sounds that may indicate lingering issues. If the water drains smoothly and the flushing action is consistent, it indicates that the clog has been successfully cleared, and the toilet is ready for regular use.
After testing the toilet, it's important to dispose of any waste or debris collected during the cleanup process in a responsible manner. Seal any disposable materials, such as paper towels or cleaning cloths, in a plastic bag before discarding them in the appropriate waste receptacle. This helps maintain a clean and organized bathroom environment while preventing the spread of germs or odors.
Finally, take a moment to wash your hands thoroughly with soap and water to maintain proper hygiene after handling the cleanup process. By following these essential steps for cleaning up and testing the toilet, you can ensure that the clogged toilet has been effectively addressed, and the bathroom is restored to a clean, functional, and welcoming space for everyday use.
Frequently Asked Questions about How To Clear A Clogged Toilet With A Plunger
Was this page helpful?
At Storables.com, we guarantee accurate and reliable information. Our content, validated by Expert Board Contributors, is crafted following stringent Editorial Policies. We're committed to providing you with well-researched, expert-backed insights for all your informational needs.
0 thoughts on “How To Clear A Clogged Toilet With A Plunger”