Home>Furniture & Design>Bathroom Accessories>How To Fix A Towel Rack
Bathroom Accessories
How To Fix A Towel Rack
Modified: March 1, 2024
Learn how to fix a towel rack and other bathroom accessories with our step-by-step guide. Keep your bathroom organized and functional.
(Many of the links in this article redirect to a specific reviewed product. Your purchase of these products through affiliate links helps to generate commission for Storables.com, at no extra cost. Learn more)
Introduction
Welcome to the comprehensive guide on how to fix a towel rack. Whether you've recently moved into a new home, or you're giving your bathroom a makeover, dealing with a loose or damaged towel rack is a common household issue. A sturdy and well-functioning towel rack is essential for keeping your bathroom organized and your towels within easy reach. In this guide, we'll walk you through the step-by-step process of assessing the damage, gathering the necessary tools, removing the towel rack, repairing the wall, and installing the towel rack securely. By the end of this article, you'll have the knowledge and confidence to tackle this project with ease. Let's dive in and get your bathroom back in top shape!
Key Takeaways:
- Assess the damage to your towel rack and wall before fixing. Look for wear and tear, wall damage, and consider wall material for a successful repair.
- Gather the right tools, remove the towel rack carefully, repair the wall, and install the new towel rack for a secure and professional result.
Read more: How To Hang Towels On A Towel Rack
Assessing the Damage
Before diving into the repair process, it’s crucial to assess the extent of the damage to your towel rack and the wall it’s mounted on. Start by examining the towel rack for any visible signs of wear and tear, such as loose screws, cracked brackets, or bent bars. If the rack itself is in good condition but has come loose from the wall, the issue likely lies in the wall anchors or mounting hardware.
Next, inspect the wall around the towel rack. Look for any cracks, holes, or damage around the mounting area. If the towel rack has pulled away from the wall, there may be visible damage to the drywall or plaster. It’s important to address any wall damage before reinstalling the towel rack to ensure a secure and long-lasting fix.
Additionally, consider the weight capacity of the towel rack and the type of wall surface it’s mounted on. Different wall materials, such as drywall, tile, or wood, may require specific tools or techniques for a successful repair. Understanding the nature of the damage and the materials involved will guide your approach to fixing the towel rack effectively.
By thoroughly assessing the damage to both the towel rack and the wall, you’ll be equipped with the necessary insights to proceed with the repair process confidently. With a clear understanding of the issues at hand, you can move on to gathering the tools needed for the repair.
Gathering the Necessary Tools
Before embarking on the repair of your towel rack, it’s essential to ensure that you have the right tools at your disposal. Having the appropriate tools on hand will streamline the repair process and help you achieve a professional and secure result. Here’s a list of the essential tools you’ll need:
- Screwdriver: A versatile tool for removing and installing screws, a screwdriver is essential for disassembling the towel rack and addressing any mounting hardware.
- Level: Ensuring that the towel rack is installed straight and level is crucial for both its functionality and aesthetic appeal. A level will help you achieve a precise installation.
- Stud Finder: If you’re mounting the towel rack on a wall with wooden studs, a stud finder will assist you in locating the studs for secure anchoring.
- Wall Anchors and Screws: Depending on the wall surface and the weight of the towel rack, you may need wall anchors and screws designed for optimal stability.
- Patch Kit: If the wall has sustained damage from the previous towel rack installation, a patch kit for drywall or plaster will be necessary to repair any holes or cracks.
- Tape Measure: Accurate measurements are crucial for positioning the towel rack correctly. A tape measure will help you determine the precise spacing and alignment for the mounting hardware.
- Pencil: Marking the placement of the towel rack and its mounting hardware on the wall is made easy with a pencil for clear and erasable guidelines.
- Hammer: If wall anchors are required, a hammer will be essential for gently tapping them into place for a secure fit.
By ensuring that you have these tools readily available, you’ll be well-prepared to tackle the repair of your towel rack efficiently and effectively. With the necessary tools in hand, you can proceed with confidence to remove the towel rack and prepare the wall for a secure installation.
Removing the Towel Rack
With the necessary tools gathered, it’s time to begin the process of removing the existing towel rack. Follow these step-by-step instructions to ensure a smooth and careful removal:
- Prepare the Workspace: Clear the area around the towel rack to create ample space for maneuvering. Lay a protective covering, such as a cloth or tarp, to catch any falling debris and protect the floor or countertop.
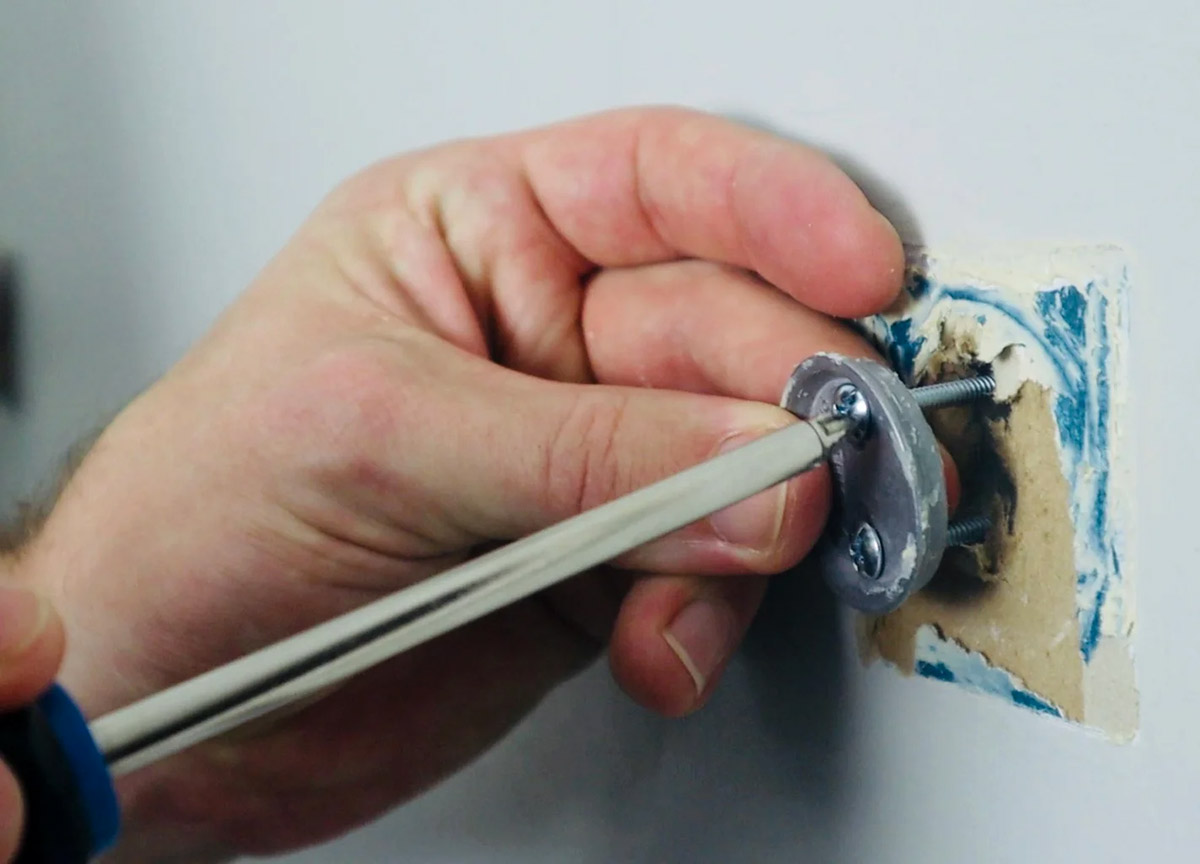
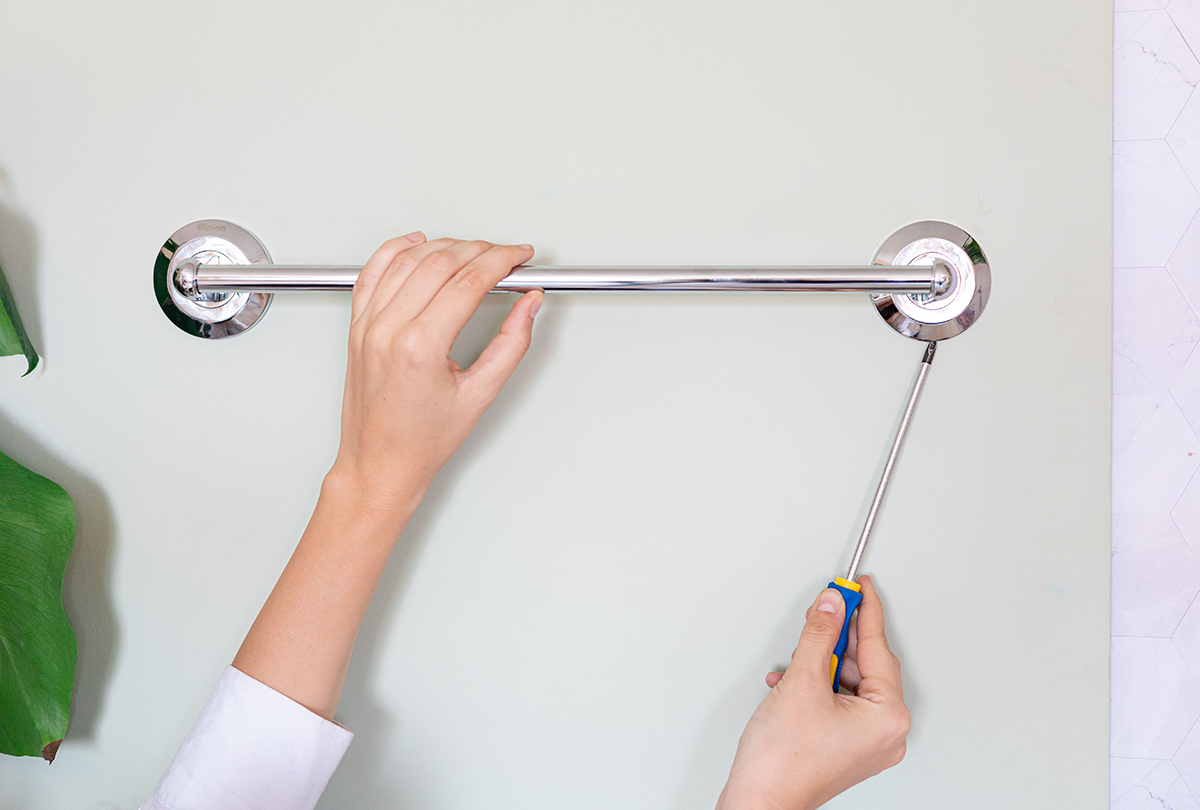
- Locate and Remove Mounting Hardware: Using a screwdriver, carefully remove the screws or bolts that secure the towel rack to the wall. Keep the hardware in a safe place for reinstallation or replacement.
- Detach the Towel Rack: Gently lift the towel rack off the wall, ensuring that all attachments are disconnected. Set the towel rack aside, taking care to prevent any damage to the surrounding area.
- Inspect the Wall: With the towel rack removed, inspect the wall surface for any damage, such as leftover mounting holes, chipped paint, or minor dents. Note any areas that require patching or repair before installing the new towel rack.
By following these steps, you can safely and efficiently remove the towel rack without causing further damage to the wall or surrounding fixtures. With the towel rack removed and the wall inspected, you can proceed to the next phase of the repair process: repairing the wall to ensure a solid foundation for the new towel rack installation.
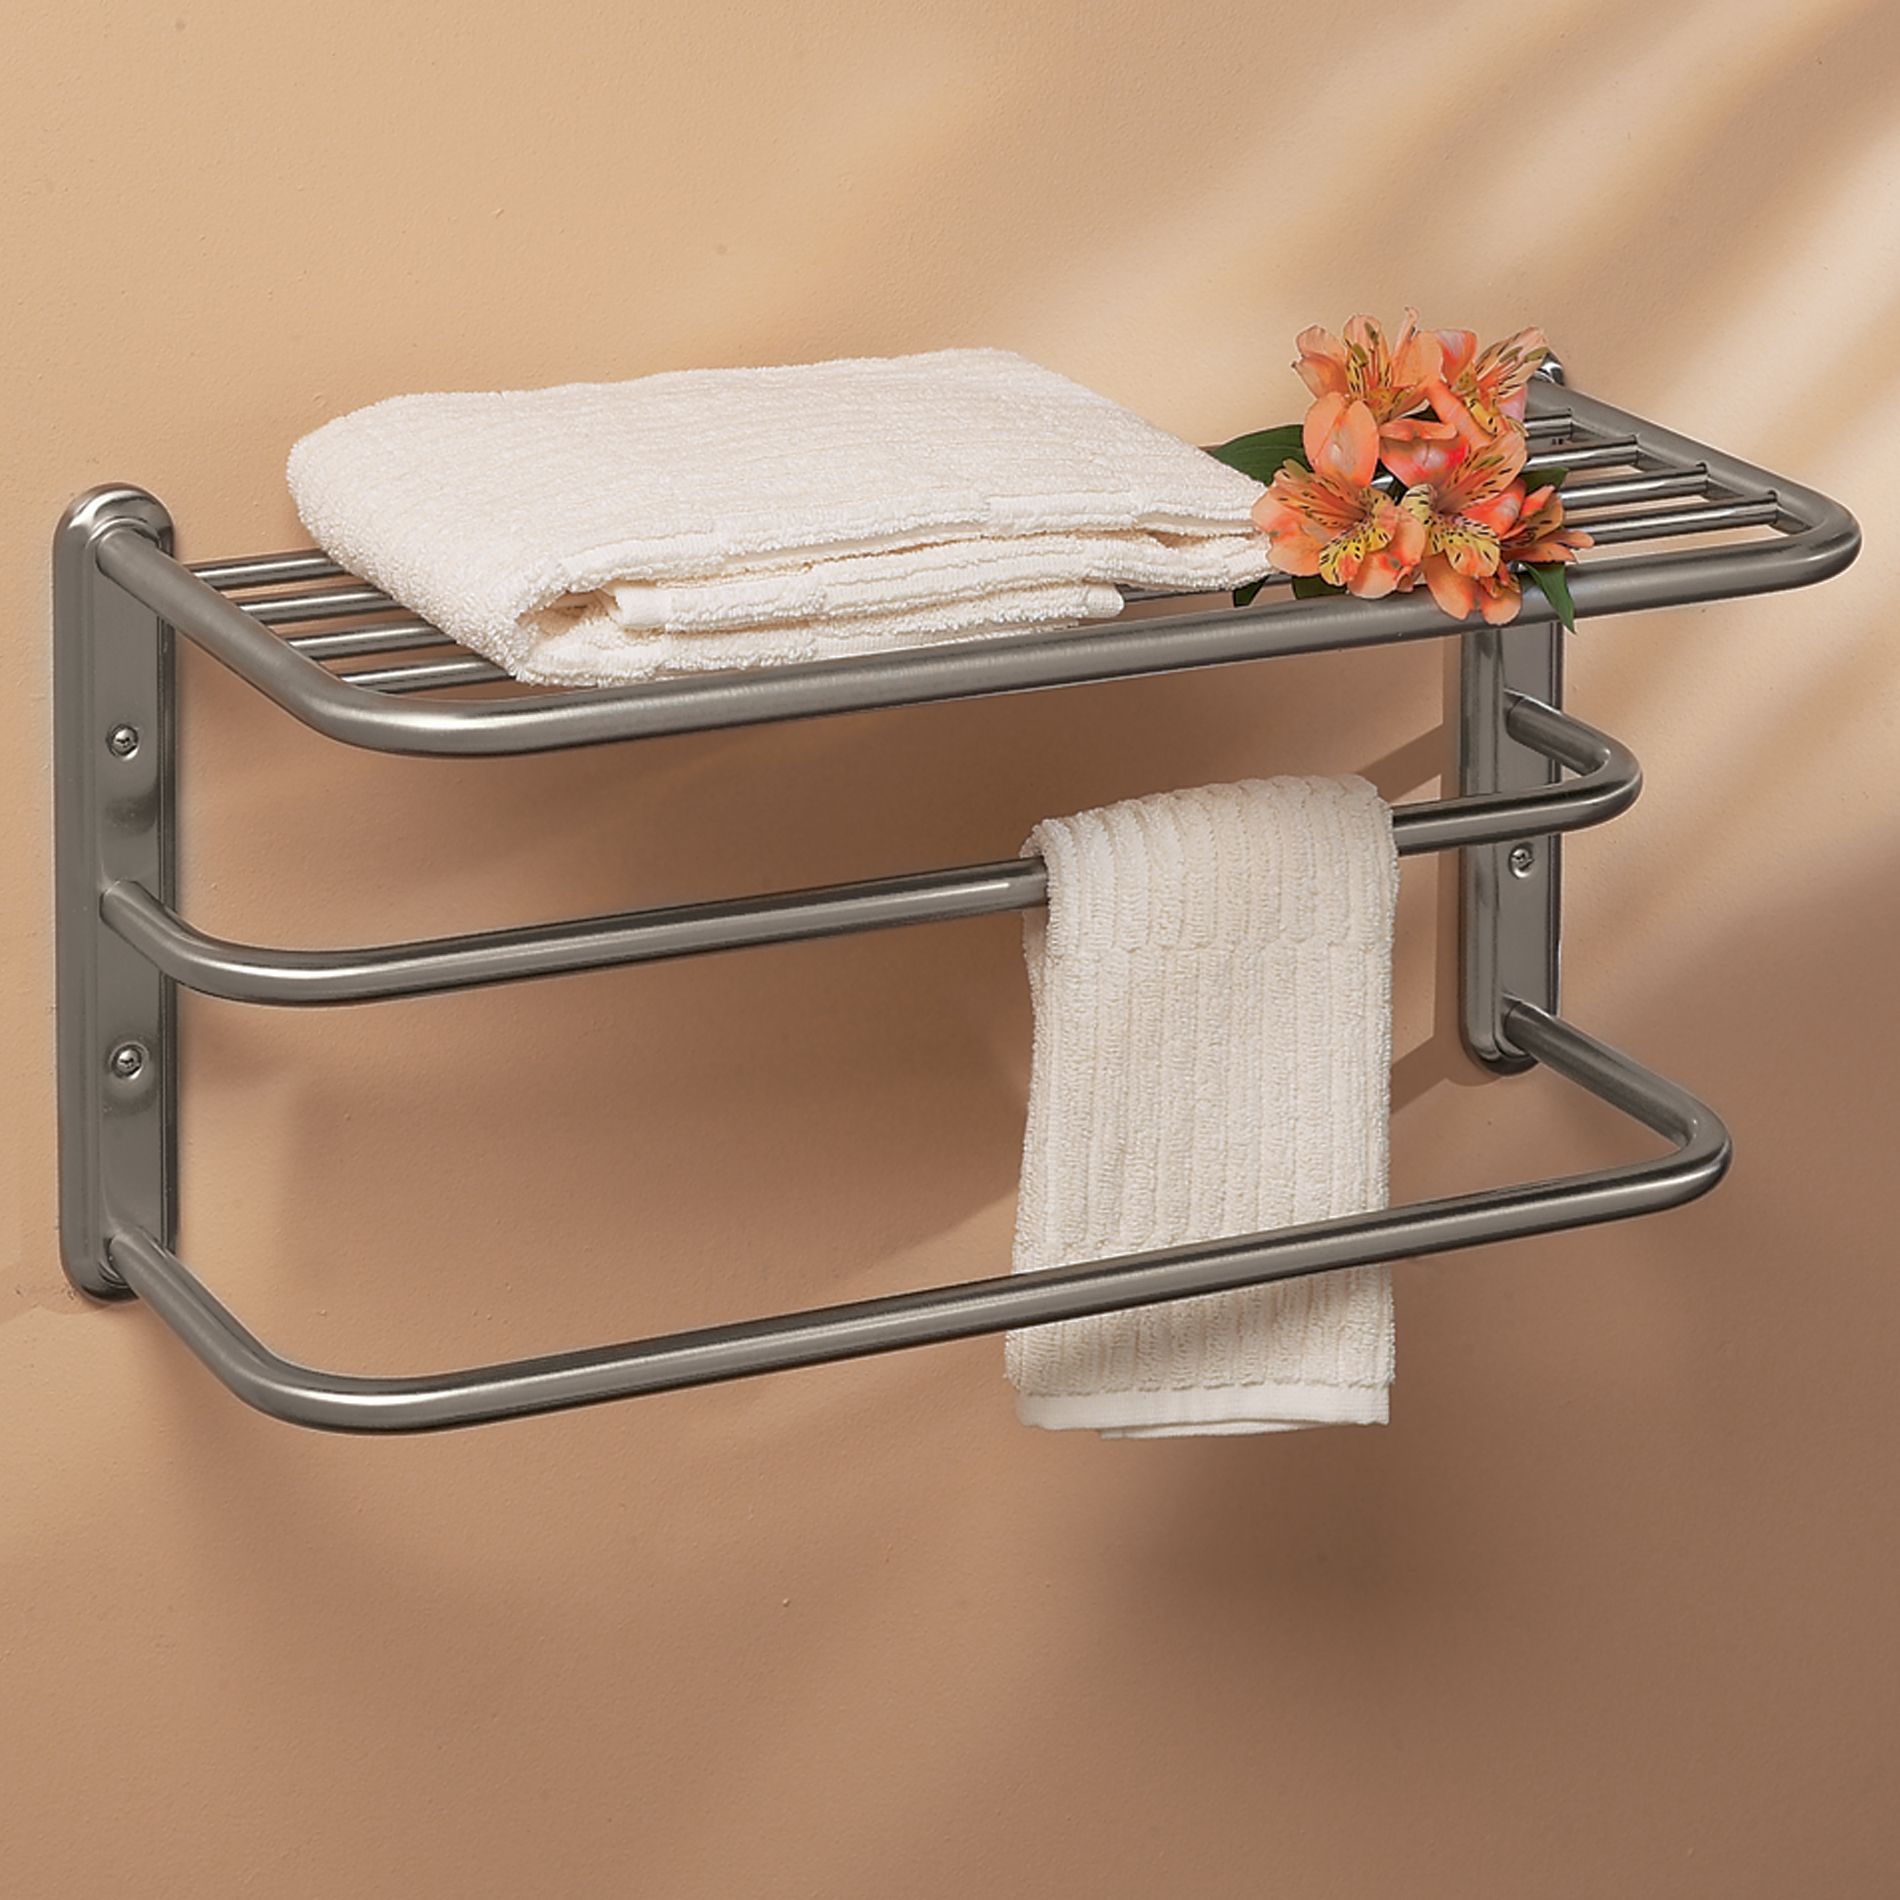
Use a stud finder to locate a solid wall stud for secure mounting. If no stud is available, use wall anchors for support. Always use a level to ensure the towel rack is straight.
Repairing the Wall
Before installing the new towel rack, it’s essential to address any damage or imperfections on the wall resulting from the previous installation. Follow these steps to repair the wall and create a smooth, stable surface for mounting the new towel rack:
- Fill Holes and Cracks: If there are any holes, cracks, or indentations in the wall from the previous towel rack, use a suitable patching compound to fill and smooth out these imperfections. Apply the compound with a putty knife, following the product’s instructions for optimal results.
- Sand the Surface: Once the patching compound has dried, lightly sand the repaired areas to create a uniform and level surface. This will ensure that the wall is smooth and free of any rough patches that could interfere with the new towel rack installation.
- Prime and Paint (if necessary): If the wall requires repainting due to the repair work or to refresh the overall appearance, apply a coat of primer followed by the desired paint color. Allow the paint to dry completely before proceeding with the installation of the new towel rack.
- Locate Studs (if applicable): If you’re mounting the towel rack on a wall with wooden studs, use a stud finder to locate the positions of the studs. Mark these locations for precise anchoring and enhanced stability.
By carefully addressing any wall damage and preparing the surface for the new installation, you’ll ensure that the towel rack is securely anchored and that the wall maintains its integrity. With the wall repaired and ready for the next steps, you can move on to installing the new towel rack with confidence and precision.
Read more: How To Build A Towel Rack
Installing the Towel Rack
With the wall repaired and prepared, it’s time to proceed with the installation of the new towel rack. Follow these steps to ensure a secure and professional installation:
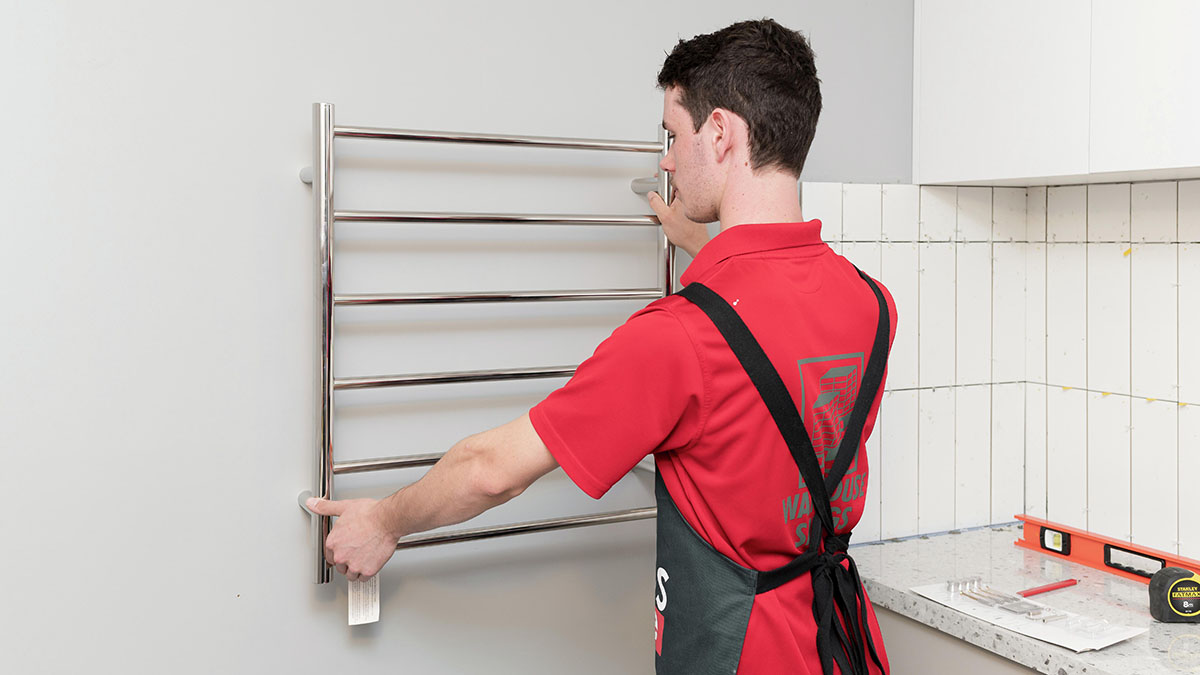
- Positioning the Mounting Hardware: Using a level, mark the desired placement of the towel rack on the wall with a pencil. Ensure that the markings are level and evenly spaced for a balanced appearance.
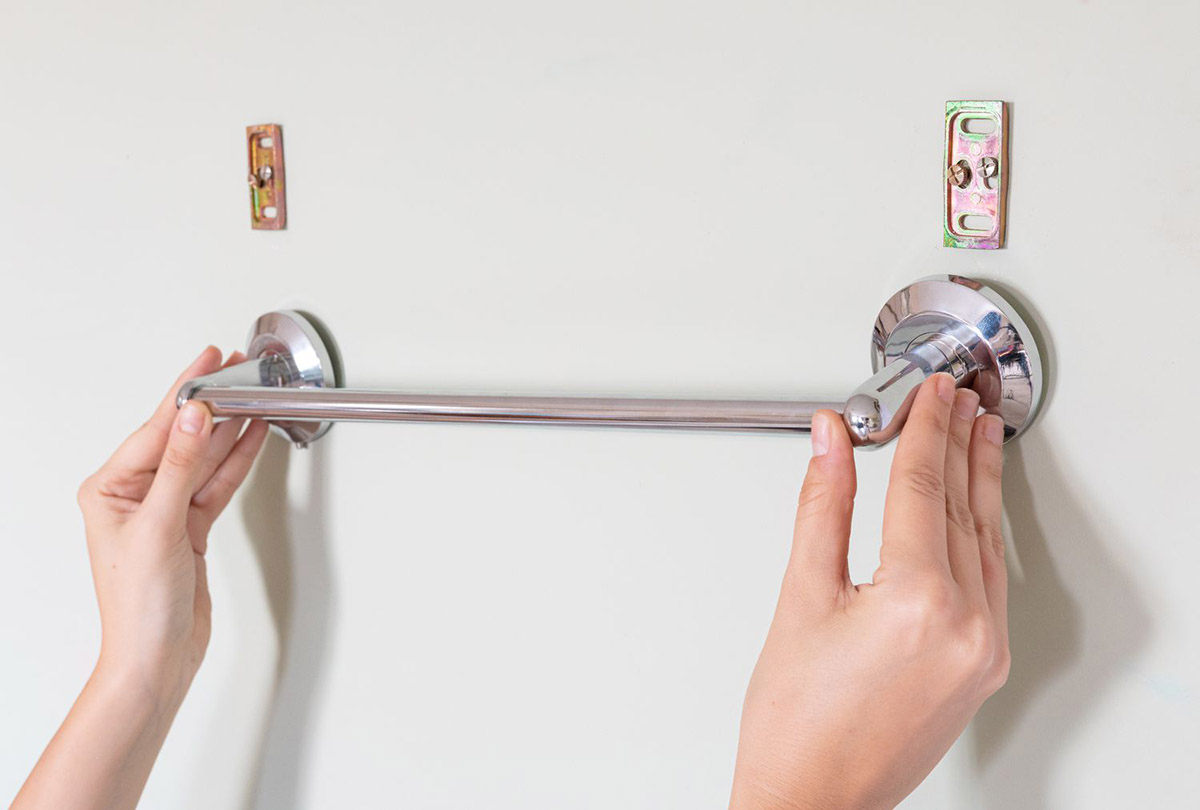
- Anchor Installation: If wall anchors are necessary, carefully follow the manufacturer’s instructions to install them at the marked locations. Use a hammer to gently tap the anchors into place, ensuring a snug and secure fit.
- Attaching the Towel Rack: Align the towel rack with the installed mounting hardware and secure it in place using the provided screws or bolts. Double-check the level and alignment of the towel rack before fully tightening the hardware to ensure a straight and balanced installation.
- Final Adjustments: Once the towel rack is securely attached to the wall, make any necessary adjustments to ensure that it is level and stable. Tighten the mounting hardware as needed and confirm that the rack can support the weight of towels without any wobbling or shifting.
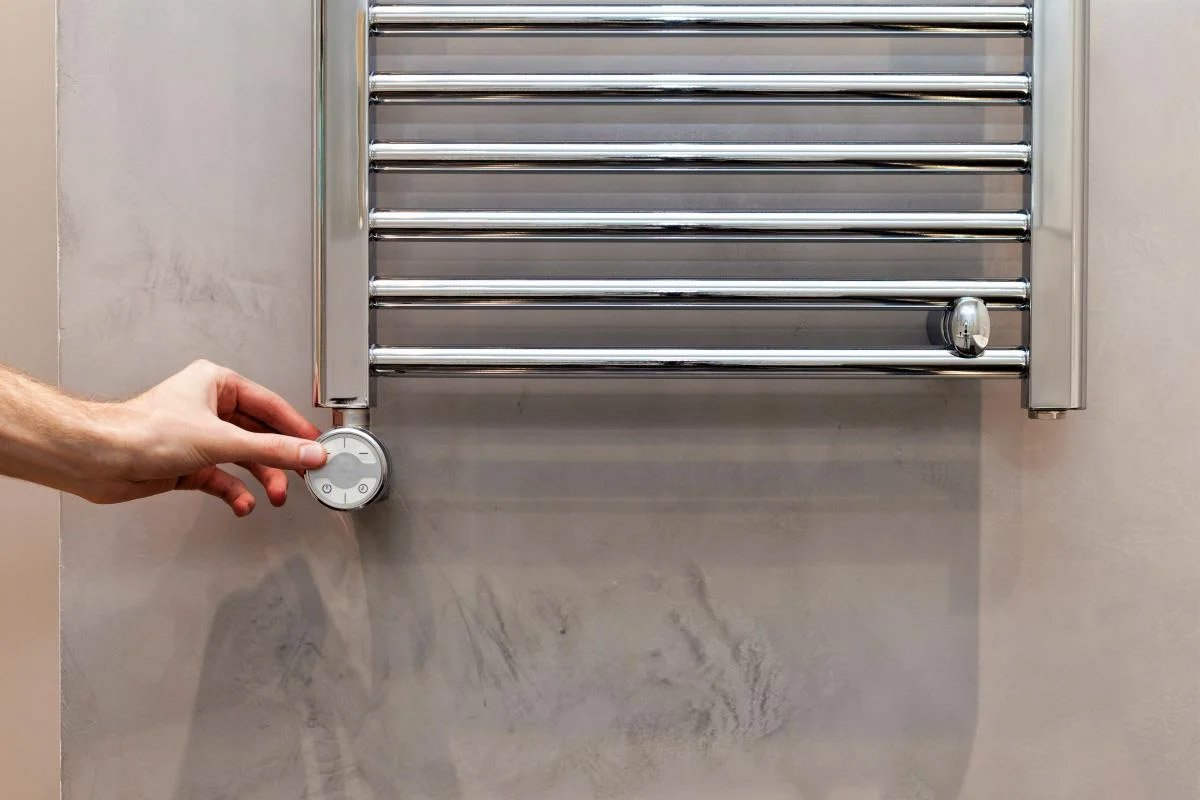
By following these steps, you can confidently install the new towel rack, knowing that it is securely anchored and ready to fulfill its practical and aesthetic functions in your bathroom. With the towel rack successfully installed, take a moment to appreciate the improved functionality and visual appeal it brings to your bathroom space.
Conclusion
Congratulations on successfully fixing your towel rack! By following the steps outlined in this guide, you’ve not only addressed the immediate issue with your towel rack but also gained valuable insights into DIY home repairs. Remember, a well-maintained bathroom not only enhances the overall ambiance of your home but also contributes to a more organized and functional living space.
As you reflect on the process, consider the satisfaction of overcoming a common household challenge and the newfound confidence in handling similar tasks in the future. Whether it’s repairing a towel rack, installing shelves, or tackling other minor home improvements, your ability to take on these projects empowers you to maintain and enhance your living environment.
Additionally, the skills and knowledge you’ve acquired through this experience can be applied to a wide range of DIY endeavors, fostering a sense of independence and resourcefulness. As you enjoy the securely installed towel rack in your bathroom, take pride in the fact that you’ve not only solved a practical issue but also honed your problem-solving skills.
Lastly, don’t hesitate to share your newfound expertise with friends and family who may encounter similar challenges. Your insights and hands-on experience can be invaluable to others, fostering a culture of collaboration and support within your social circles.
With the towel rack securely in place, you can now relish the convenience of having your towels neatly organized and easily accessible. As you continue to maintain and improve your living space, remember that each DIY project is an opportunity for personal growth and a testament to your ability to create a comfortable and functional environment within your home.
Thank you for joining us on this journey to fix a towel rack, and we hope you’ve found this guide both informative and empowering. Here’s to a beautifully organized and well-maintained bathroom!
Frequently Asked Questions about How To Fix A Towel Rack
Was this page helpful?
At Storables.com, we guarantee accurate and reliable information. Our content, validated by Expert Board Contributors, is crafted following stringent Editorial Policies. We're committed to providing you with well-researched, expert-backed insights for all your informational needs.


0 thoughts on “How To Fix A Towel Rack”