Home>Furniture & Design>Bathroom Accessories>How To Take Off A Towel Rack
Bathroom Accessories
How To Take Off A Towel Rack
Modified: August 16, 2024
Learn the step-by-step process for removing a towel rack in your bathroom. Get expert tips and advice on removing bathroom accessories.
(Many of the links in this article redirect to a specific reviewed product. Your purchase of these products through affiliate links helps to generate commission for Storables.com, at no extra cost. Learn more)
**
Introduction
**
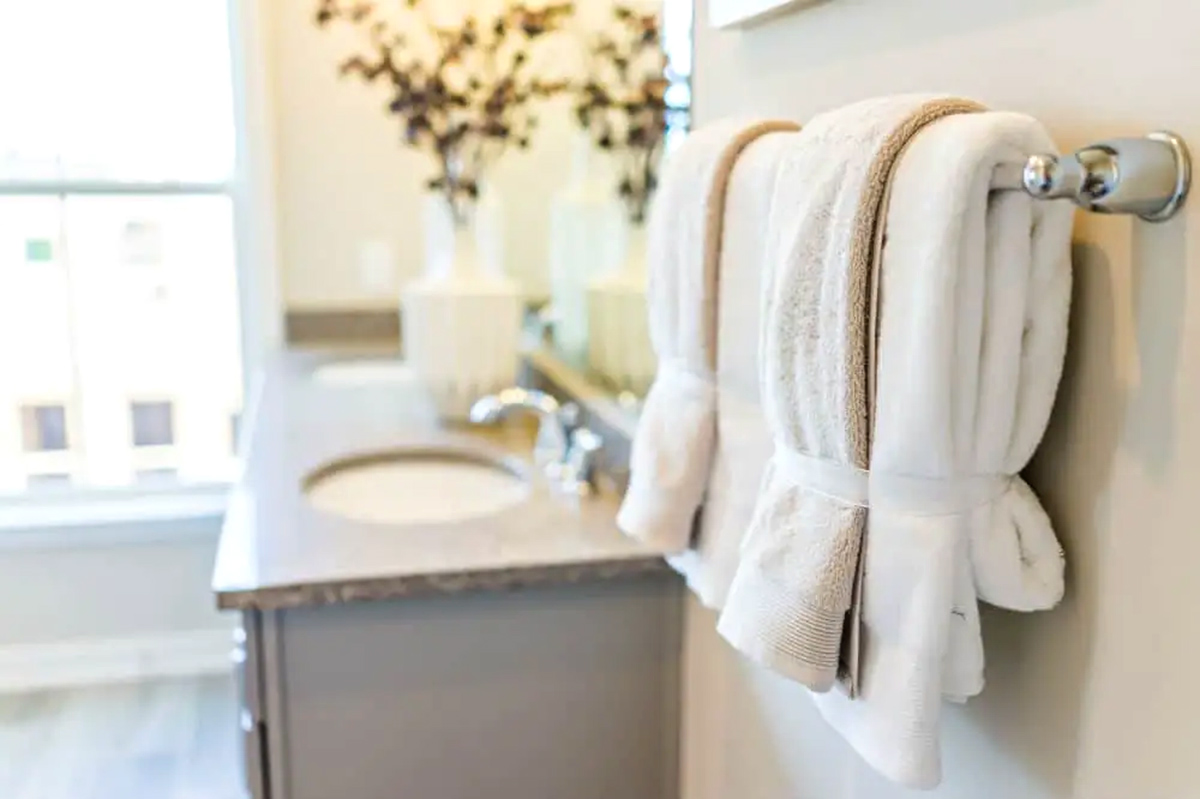
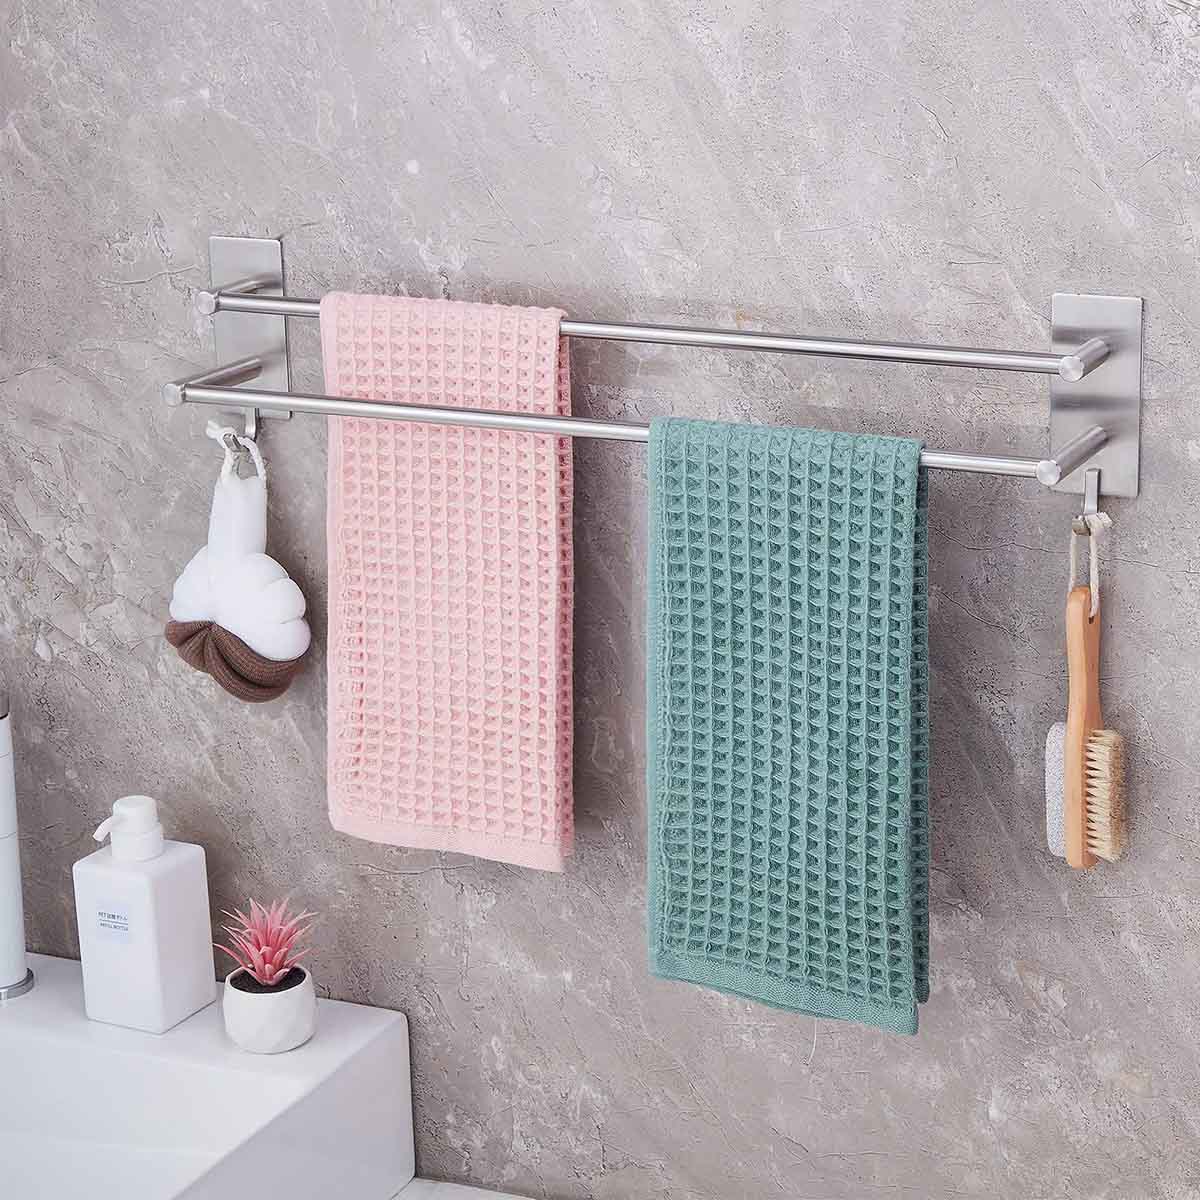
When it comes to refreshing the look of your bathroom, changing out the towel rack can make a surprising difference. Whether you're replacing an old, outdated rack or simply looking to update the style of your bathroom, knowing how to take off a towel rack is the first step in this simple yet effective makeover. This article will guide you through the process, providing clear instructions and tips to help you successfully remove the old towel rack and install a new one. With a few basic tools and some patience, you can transform the aesthetic of your bathroom and create a more functional space for your daily routines. So, let's dive into the steps required to take off a towel rack and revamp your bathroom's decor.
**
Key Takeaways:
- Say goodbye to the old towel rack and hello to a fresh bathroom look! Gather your tools, remove the old rack, patch up the wall, and install the new rack for a simple yet impactful makeover.
- Transform your bathroom with a new towel rack! Follow the steps to remove the old rack, repair the wall, and install the new one. Enjoy a stylish and functional space for your daily routines.
Read more: How To Hang Towels On A Towel Rack
Gather the Necessary Tools
**
Before you begin the process of removing a towel rack, it’s essential to gather the necessary tools to ensure a smooth and efficient procedure. Here’s a list of items you’ll need:
- Screwdriver: A screwdriver, either flat-head or Phillips, depending on the type of screws holding the towel rack in place.
- Putty Knife: This tool will come in handy for prying the towel rack away from the wall and removing any adhesive or caulk.
- Pliers: If the towel rack is secured with wall anchors, pliers will help in extracting them from the wall.
- Drywall Patch: You may need this to repair any holes or damage left behind after removing the towel rack.
- Sandpaper: To smooth out the patched areas on the wall before painting or applying a new towel rack.
- Paint and Brush: If you plan to touch up the wall after removing the towel rack, have some matching paint and a brush on hand.
- New Towel Rack: Depending on your preference, have the new towel rack ready for installation once the old one is removed.
By having these tools and materials prepared, you’ll be equipped to tackle each step of the towel rack removal process with ease and confidence. With everything at your disposal, you can proceed to the next stage of taking off the towel rack from your bathroom wall.
**
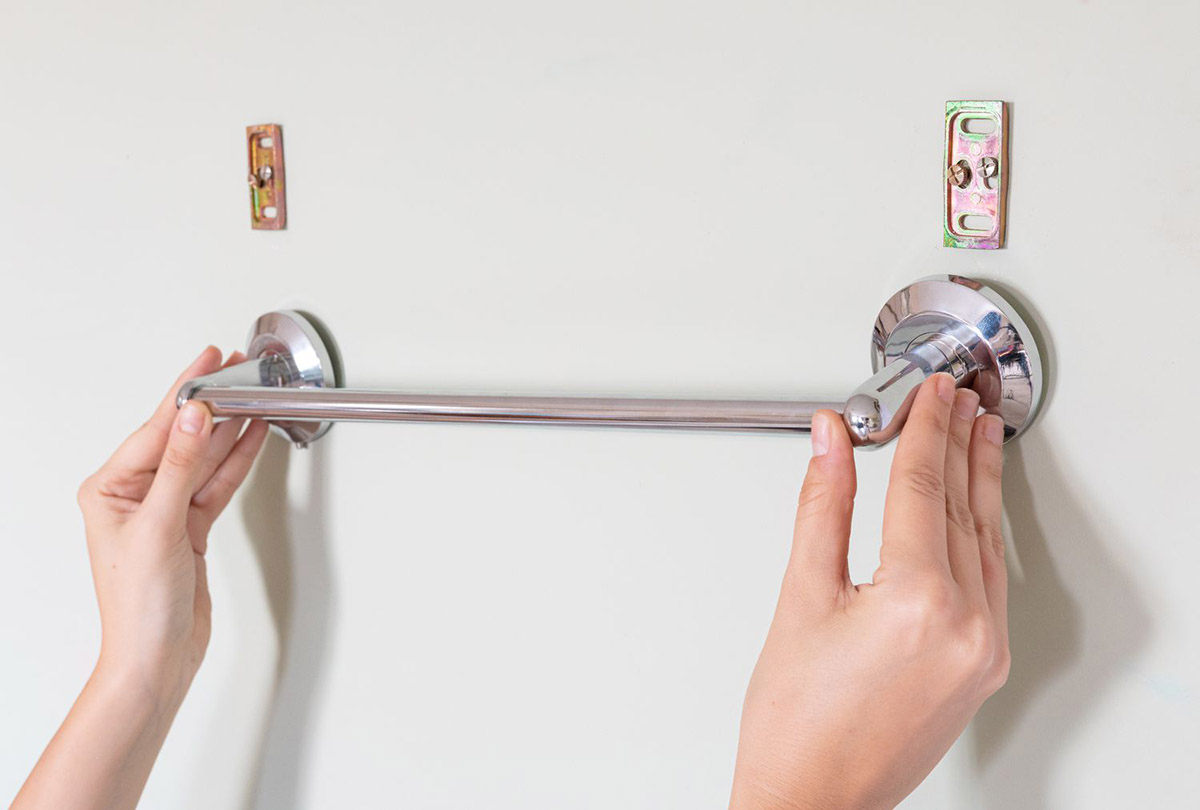
Remove the Towel Bar
**
Now that you have gathered the necessary tools, it’s time to begin the process of removing the old towel bar. Follow these steps to take off the towel bar from your bathroom wall:
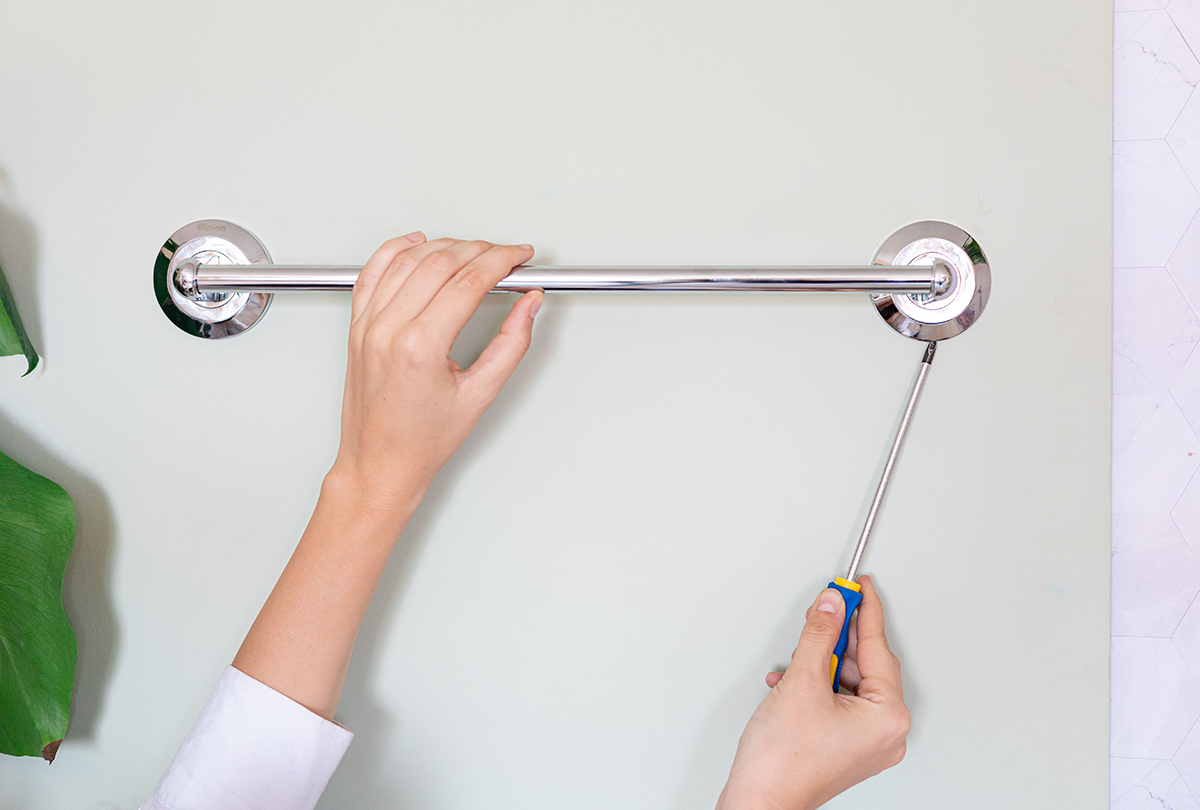
- Locate the Mounting Hardware: Examine the towel bar to identify the mounting hardware. This typically includes screws or mounting brackets securing the bar to the wall.
- Unscrew the Mounting Hardware: Use the appropriate screwdriver to loosen and remove the screws holding the towel bar in place. If the towel bar is attached with brackets, unscrew them to release the bar from the wall.
- Detach the Towel Bar: Once the mounting hardware is removed, gently pull the towel bar away from the wall. If the bar is adhered with caulk or adhesive, carefully slide a putty knife behind it to loosen the bond and ease it off the wall.
- Extract Wall Anchors (If Applicable): If the towel bar was installed using wall anchors, use pliers to extract them from the wall. Grip the anchor and twist it counterclockwise until it comes loose from the drywall.
After completing these steps, you should have successfully removed the old towel bar from your bathroom wall. Take a moment to inspect the wall for any damage or holes left behind. If necessary, proceed to the next section to learn how to patch and repair the wall before installing the new towel rack.
**
Use a screwdriver to remove the screws holding the towel rack in place. Once the screws are removed, gently pull the rack away from the wall. Patch any holes left behind with spackling compound.
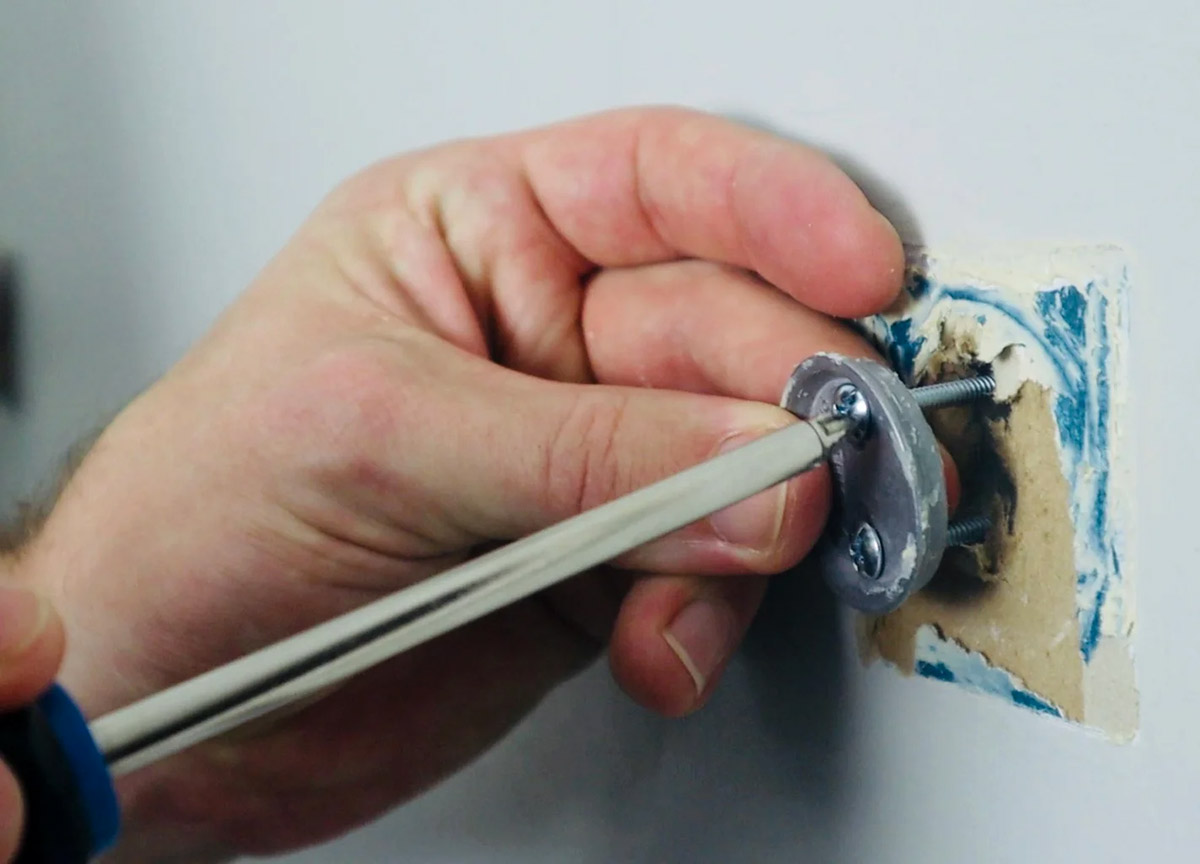
Patch and Repair the Wall
**
Removing a towel bar can sometimes leave behind unsightly holes or damage on the wall. To ensure a seamless transition to your new towel rack, it’s essential to patch and repair the wall. Follow these steps to restore the wall to its original condition:
- Fill Holes with Drywall Patch: If there are visible holes from the previous towel bar mounting, use a drywall patch to fill them. Apply the patch with a putty knife, ensuring it is smooth and level with the surrounding wall.
- Sand the Patched Areas: Once the patch has dried, lightly sand the repaired areas to create a smooth surface. This will prepare the wall for painting or the installation of the new towel rack.
- Paint or Touch Up the Wall (Optional): If the wall’s paint has been affected by the removal of the towel bar, consider touching up the area with matching paint. Apply the paint with a brush to blend it with the surrounding wall.
By following these steps, you can effectively address any wall damage caused by the removal of the old towel bar. The wall will be ready for the installation of your new towel rack, providing a clean and polished look for your bathroom.
**
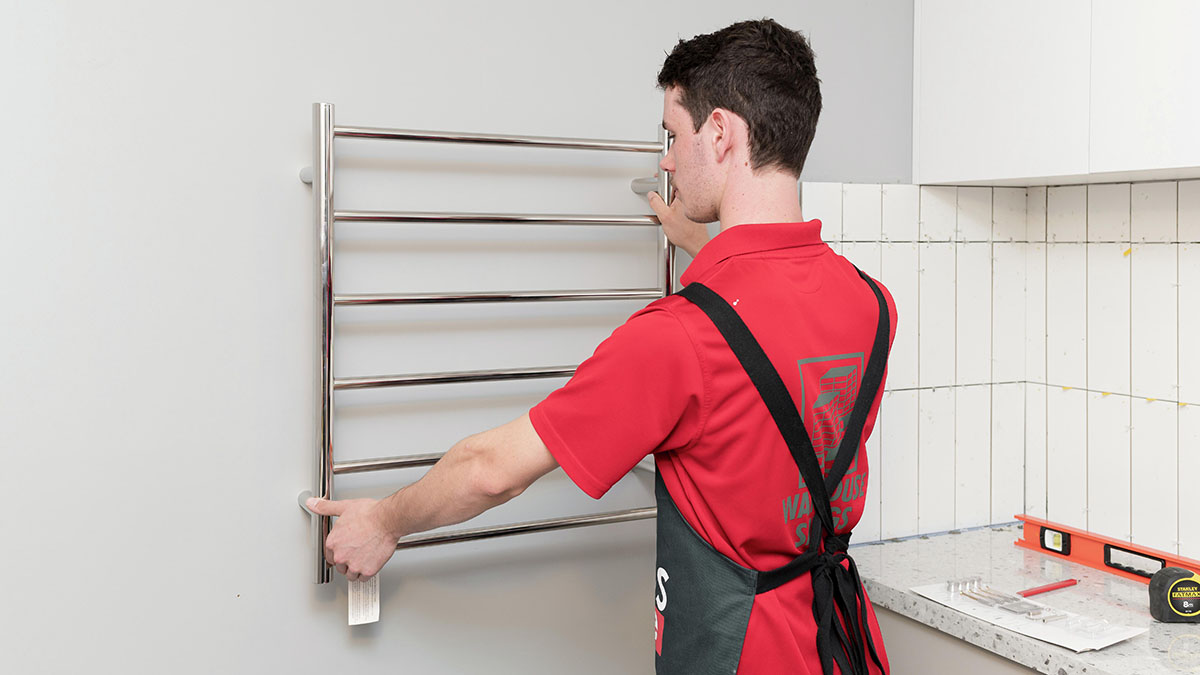
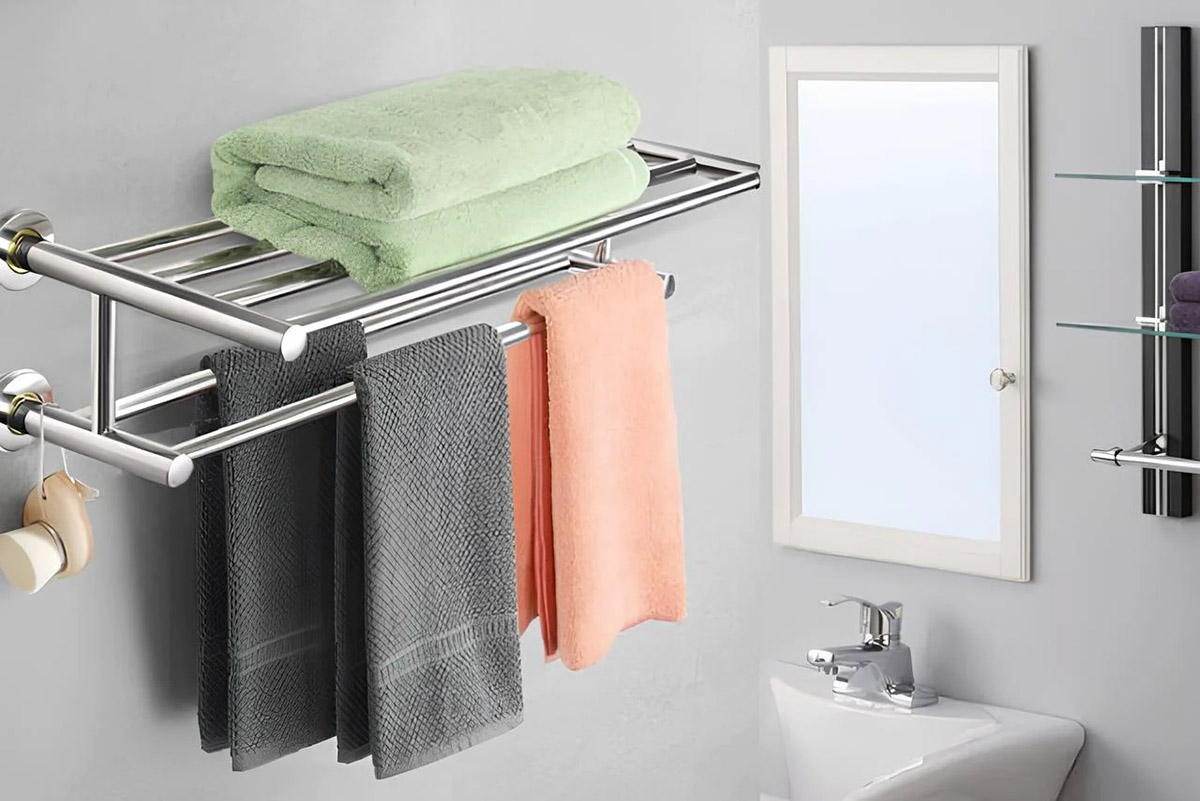
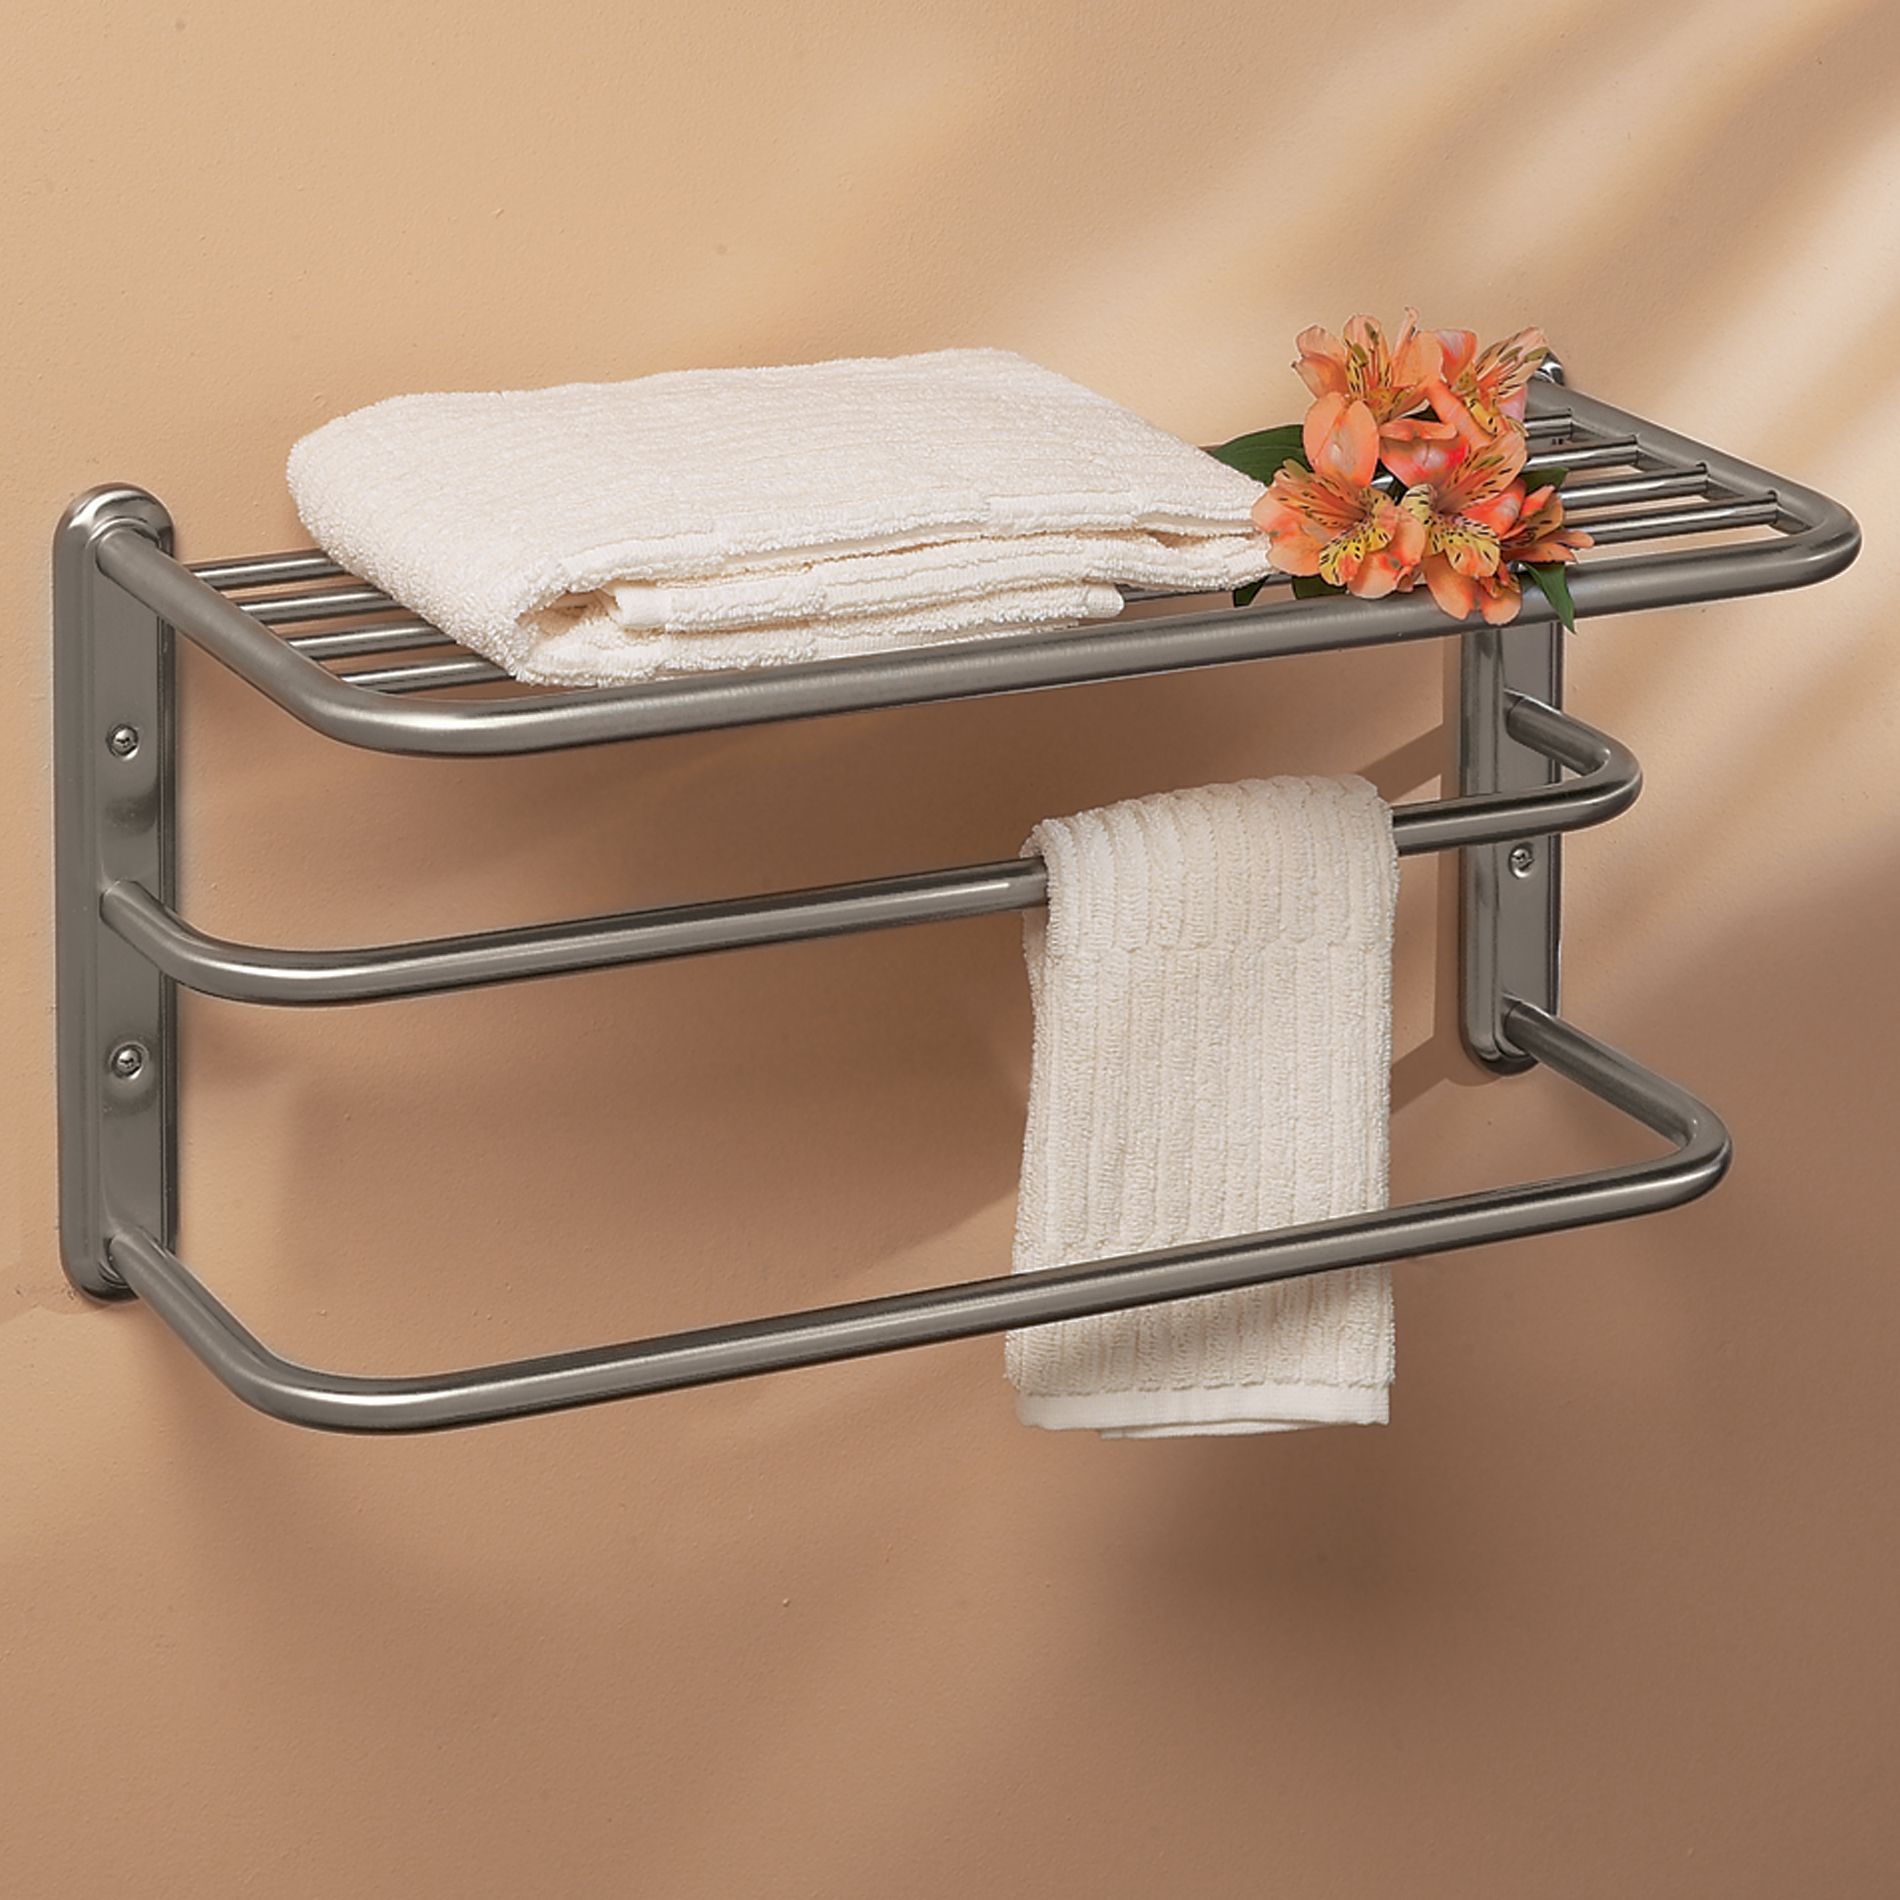
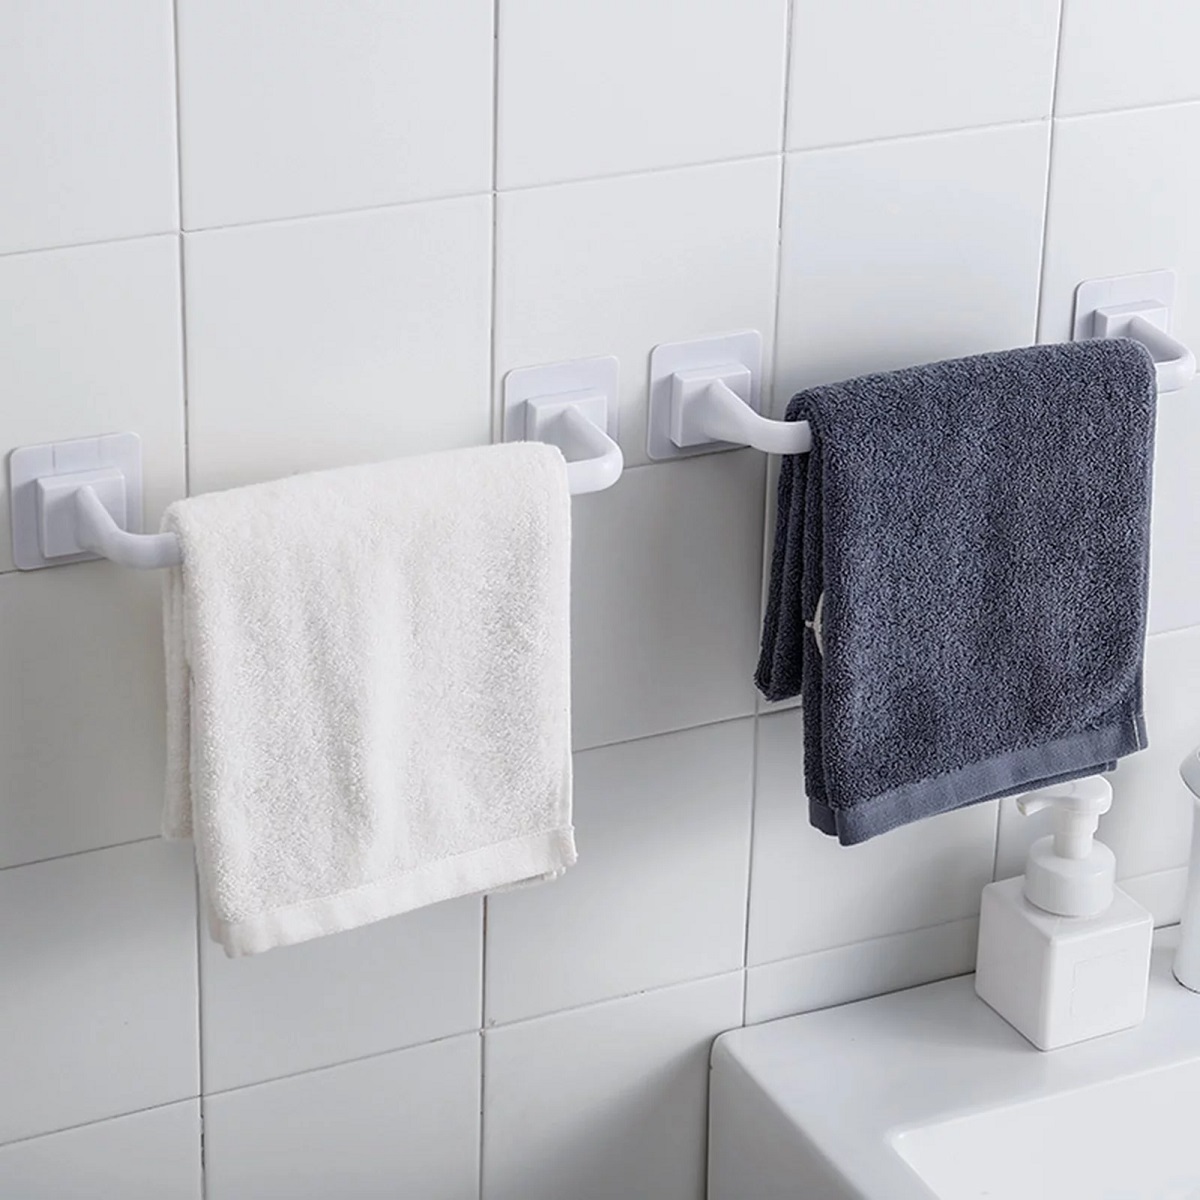
Install the New Towel Rack
**
With the old towel rack successfully removed and the wall patched and repaired, it’s time to install the new towel rack. Follow these steps to complete the installation process:
- Position the New Towel Rack: Determine the placement of the new towel rack on the wall. Use a level to ensure it is straight and aligned with your desired positioning.
- Mark the Mounting Points: Once the position is determined, mark the mounting points for the new towel rack using a pencil. This will serve as a guide for attaching the rack to the wall.
- Attach the Mounting Hardware: If the new towel rack requires screws or mounting brackets, use the provided hardware to secure it to the wall. Ensure the rack is firmly attached and level.
- Hang the Towels: Once the towel rack is securely installed, hang your towels on the bar to test its stability and functionality. Make any necessary adjustments to ensure the rack is properly positioned and ready for use.
By following these steps, you can effectively install your new towel rack, adding a fresh and functional element to your bathroom. With the new rack in place, you can enjoy the updated look and practicality it brings to your daily routine.
**
Read more: How To Build A Towel Rack
Conclusion
**
Removing and replacing a towel rack is a simple yet impactful way to refresh the appearance of your bathroom. By following the steps outlined in this guide, you can seamlessly take off the old towel rack and install a new one, transforming the aesthetic and functionality of your space. From gathering the necessary tools to patching the wall and installing the new rack, each step contributes to the overall success of the project.
Remember, attention to detail and proper preparation are key to achieving a polished result. By carefully removing the old towel rack and addressing any wall damage, you create a clean canvas for the installation of the new rack. Additionally, selecting a new towel rack that complements your bathroom’s style and meets your practical needs can elevate the overall look and usability of the space.
Whether you’re embarking on a full bathroom renovation or simply updating key elements, the towel rack plays a significant role in both function and aesthetics. With the knowledge and guidance provided in this article, you can confidently take on the task of removing and installing a towel rack, bringing a renewed sense of style and organization to your bathroom.
Now that you’ve completed the process of taking off a towel rack and adding a new one, take a moment to appreciate the transformation you’ve achieved. Your bathroom now reflects your personal taste and attention to detail, creating a welcoming and functional environment for your daily routines.
Frequently Asked Questions about How To Take Off A Towel Rack
Was this page helpful?
At Storables.com, we guarantee accurate and reliable information. Our content, validated by Expert Board Contributors, is crafted following stringent Editorial Policies. We're committed to providing you with well-researched, expert-backed insights for all your informational needs.


0 thoughts on “How To Take Off A Towel Rack”