Home>Furniture & Design>Bathroom Accessories>How To Fix Towel Rack In Drywall
Bathroom Accessories
How To Fix Towel Rack In Drywall
Modified: February 18, 2024
Learn how to easily fix a towel rack in drywall with our step-by-step guide. Get your bathroom accessories securely mounted in no time!
(Many of the links in this article redirect to a specific reviewed product. Your purchase of these products through affiliate links helps to generate commission for Storables.com, at no extra cost. Learn more)
Introduction
Adding a towel rack to your bathroom can be a simple and effective way to enhance both the functionality and aesthetics of the space. However, when it comes to mounting a towel rack on drywall, it’s important to follow the correct steps to ensure a secure and long-lasting installation. In this guide, we’ll walk you through the process of fixing a towel rack in drywall, providing you with the knowledge and confidence to tackle this project with ease.
Whether you’re a seasoned DIY enthusiast or a novice looking to take on a new home improvement task, understanding the steps involved in mounting a towel rack on drywall will empower you to complete the job successfully. By following the guidelines outlined in this article, you’ll be able to enjoy a sturdy and reliable towel rack that not only serves its purpose but also adds a touch of style to your bathroom.
So, gather your tools and let’s dive into the process of fixing a towel rack in drywall, starting with the essential materials you’ll need for this project.
Key Takeaways:
- Securely fix a towel rack in drywall by locating studs, marking drill holes, and using wall anchors for stability. Enjoy a stylish and functional addition to your bathroom with this DIY project.
- Transform your bathroom with a sturdy and visually appealing towel rack installation. Follow step-by-step guidelines to confidently complete this DIY project and enhance your home.
Read more: How To Mount Ceramic Towel Rack In Drywall
Materials Needed
Before you embark on fixing a towel rack in drywall, it’s crucial to ensure that you have all the necessary materials at your disposal. Here’s a list of items you’ll need to complete this task:
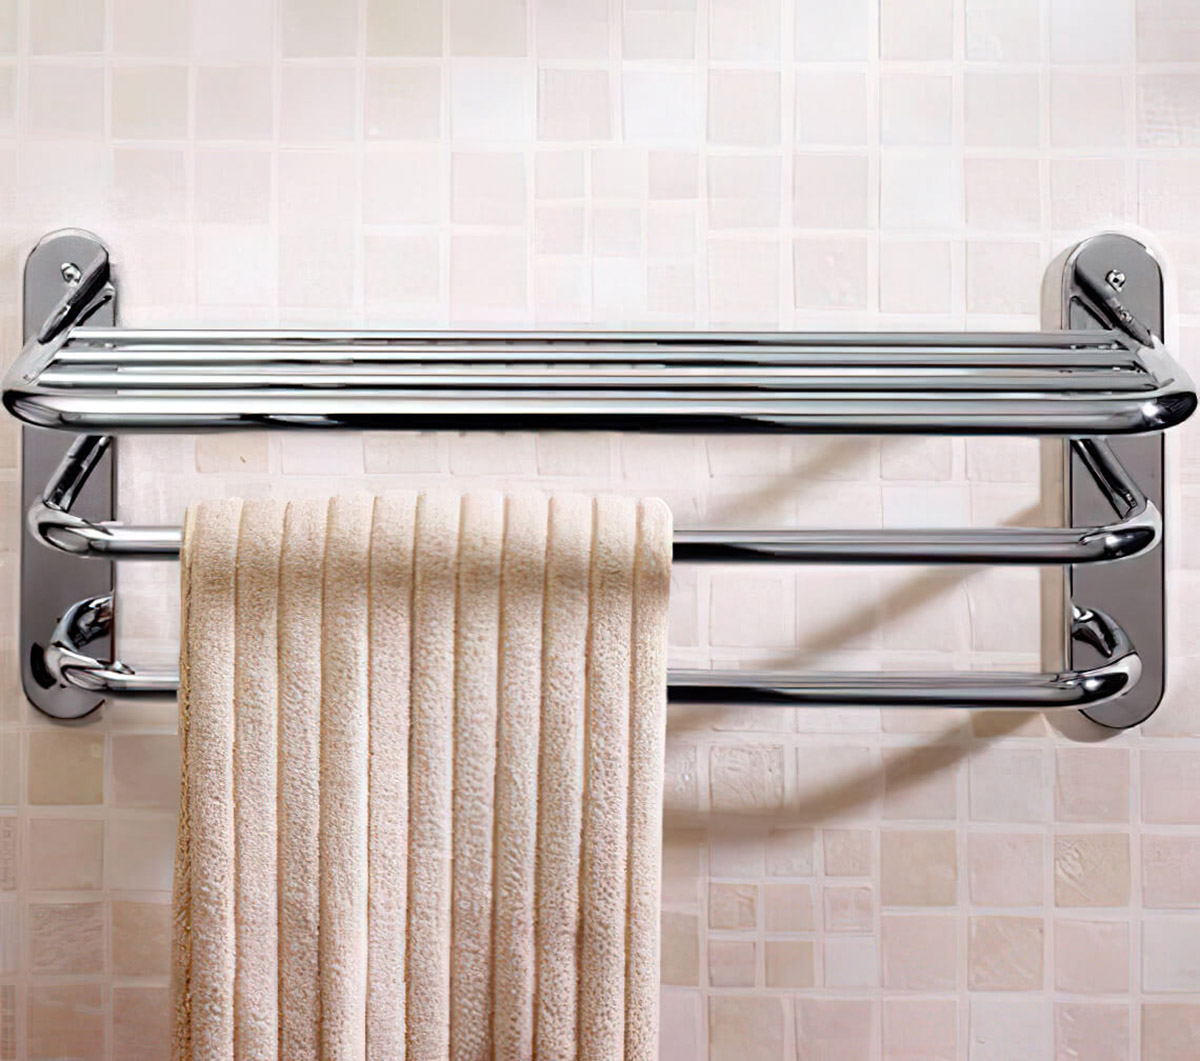
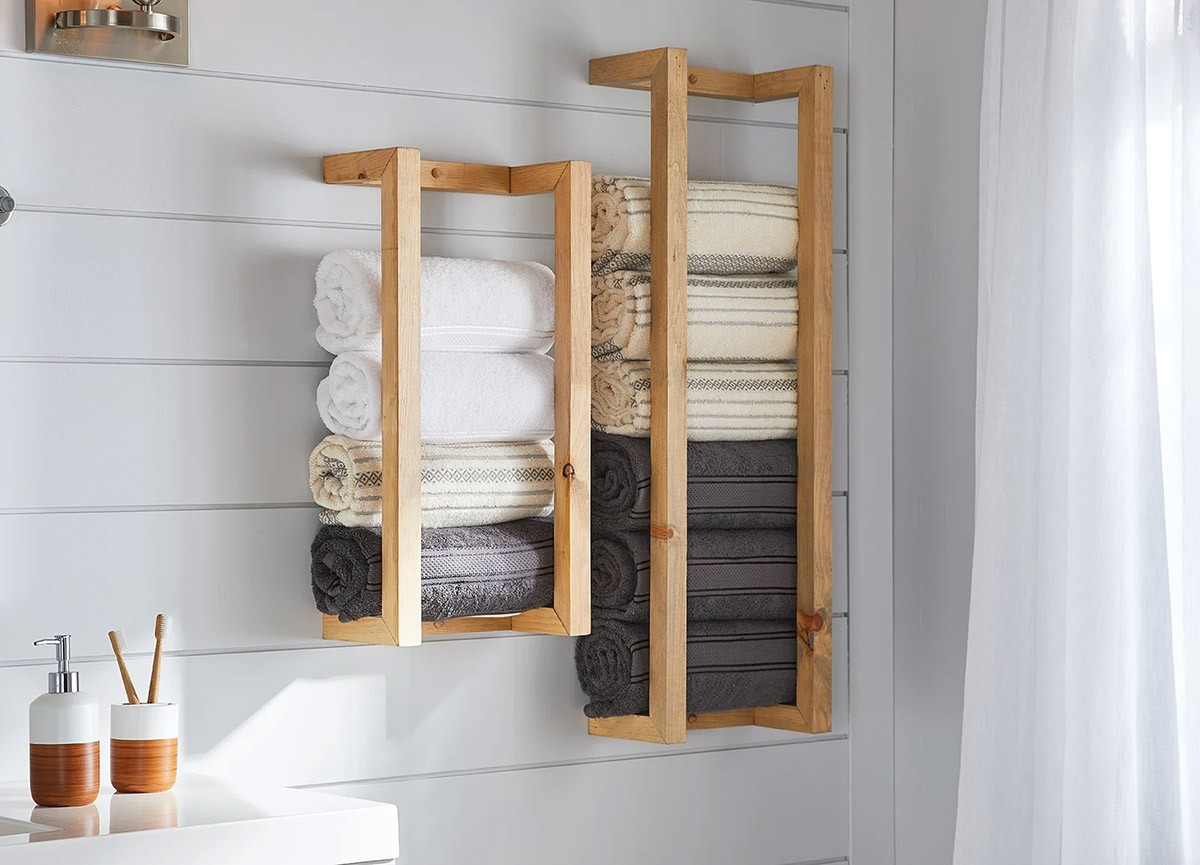
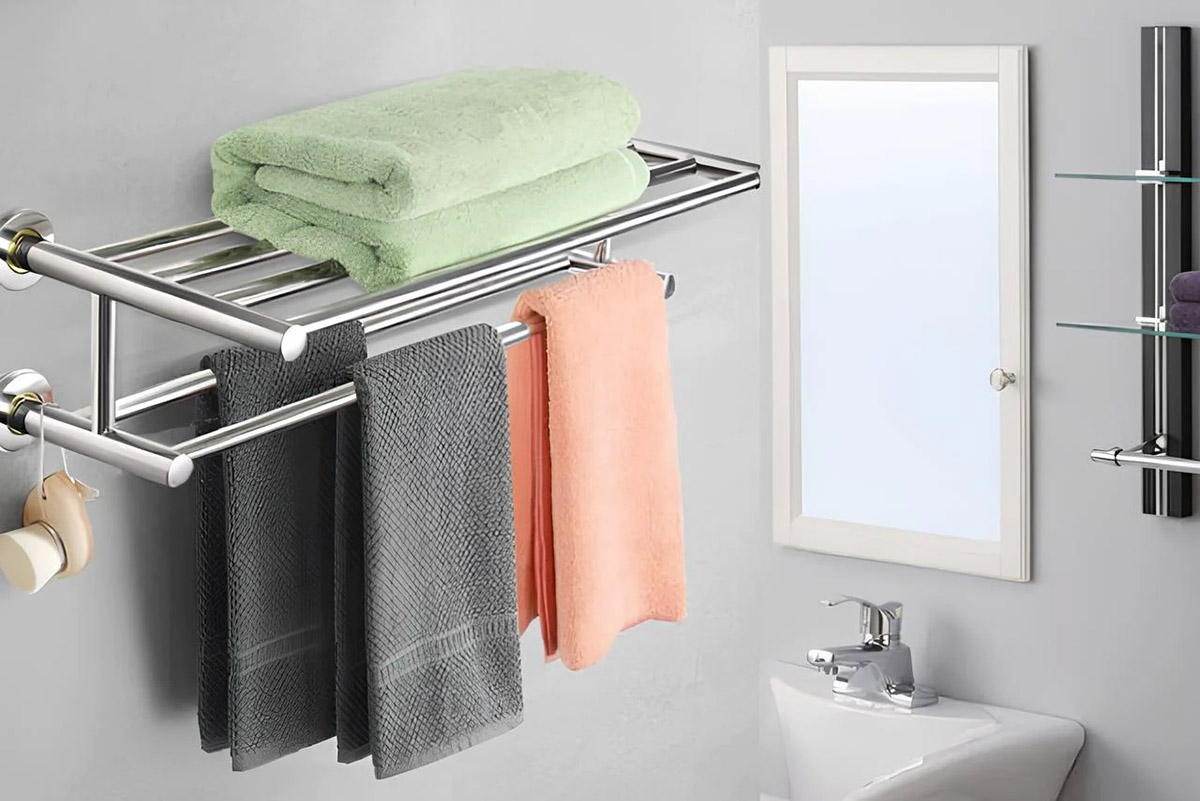
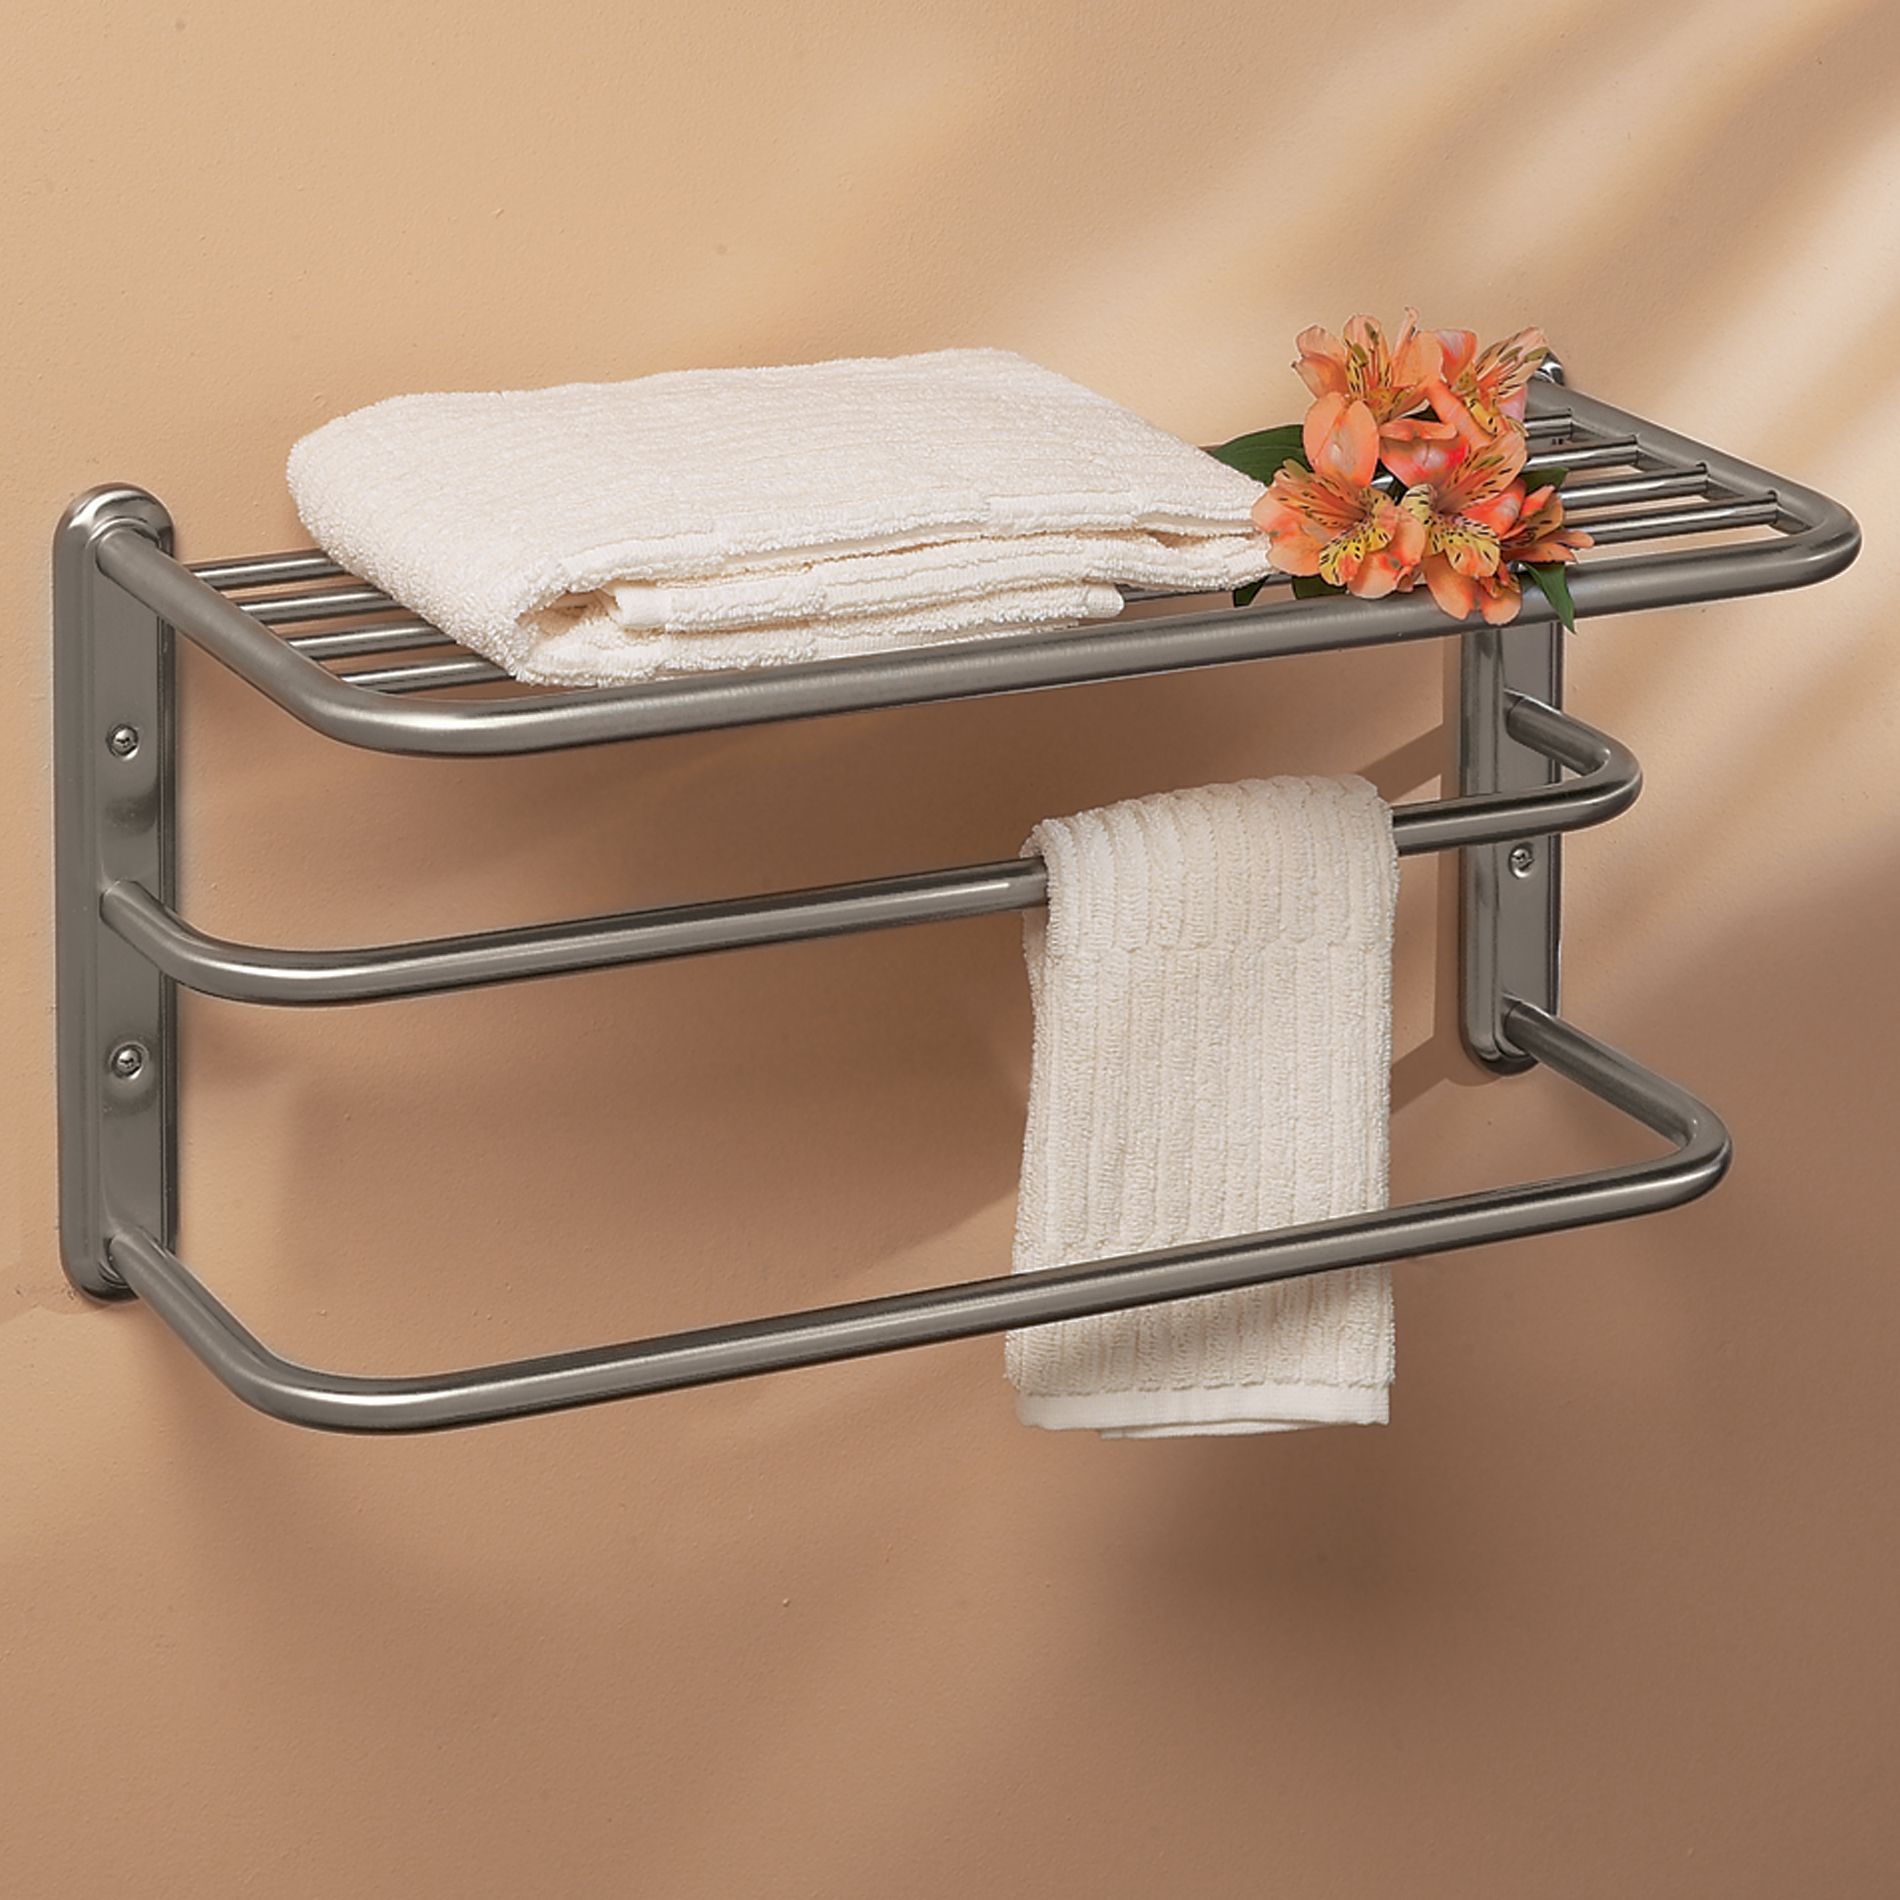
- Towel Rack: Select a towel rack that suits your preferences and fits the designated space in your bathroom. Whether you opt for a simple bar-style rack or a more elaborate design with additional hooks, make sure it complements the overall decor of the room.
- Drill: A power drill equipped with the appropriate drill bits is essential for creating pilot holes in the drywall.
- Stud Finder: This tool will help you locate the studs behind the drywall, ensuring a secure attachment for your towel rack.
- Level: To ensure that your towel rack is installed straight and level, a reliable bubble level is indispensable.
- Pencil: A pencil will be used for marking the drill points on the drywall.
- Wall Anchors: Depending on the weight of your towel rack and the absence of studs in the desired mounting location, you may need wall anchors to provide additional support.
- Screwdriver: Have a screwdriver on hand for securing the mounting hardware in place.
- Tape Measure: Accurate measurements are crucial for positioning the towel rack correctly, so a tape measure is a must-have tool for this project.
- Safety Gear: Always prioritize safety by wearing protective gear, such as safety glasses, when using power tools.
By ensuring that you have all these materials ready, you’ll be well-prepared to proceed with confidence as you embark on fixing your towel rack in drywall.
Step 1: Locate Studs
Locating the studs behind the drywall is essential for ensuring a secure and stable installation of your towel rack. While some towel racks may be light enough to be mounted directly onto the studs, others may require the use of wall anchors if studs are not conveniently positioned in the desired location.
To locate the studs, start by using a stud finder, a handy device designed to detect the presence of studs behind the drywall. Slide the stud finder horizontally across the wall, and it will indicate when it has located a stud. Once you’ve identified the position of the studs, mark their locations with a pencil.
If the studs align with the ideal placement for your towel rack, you can proceed with marking the drill holes directly on the studs. However, if the studs are not conveniently situated, you may need to consider using wall anchors to provide the necessary support for your towel rack. In this case, proceed to the next step to mark the drill holes and prepare for the installation of wall anchors.
By accurately locating the studs, you’ll lay the foundation for a sturdy and reliable mounting of your towel rack, ensuring that it can support the weight of towels and withstand regular use without the risk of coming loose from the wall.
Step 2: Mark Drill Holes
Once you’ve located the studs or determined the need for wall anchors, the next step is to mark the precise positions for the drill holes. Using a measuring tape and a pencil, carefully measure and mark the spots where the drill holes will be made. If you’re mounting the towel rack onto studs, mark the drill holes directly on the studs, ensuring that they align with the mounting brackets of the towel rack.
If wall anchors are required, follow the manufacturer’s guidelines to determine the appropriate spacing for the anchor locations. Typically, wall anchors should be positioned a specific distance apart to ensure optimal support and stability for the mounted object.
Using a level, confirm that the marked spots for the drill holes are aligned horizontally, ensuring that your towel rack will be mounted straight and level. Making accurate and level drill hole markings is crucial for achieving a professional-looking installation and ensuring that the towel rack sits securely on the wall.
By taking the time to measure and mark the drill holes meticulously, you’ll set the stage for a precise and visually pleasing installation of your towel rack, contributing to the overall aesthetic appeal of your bathroom space.
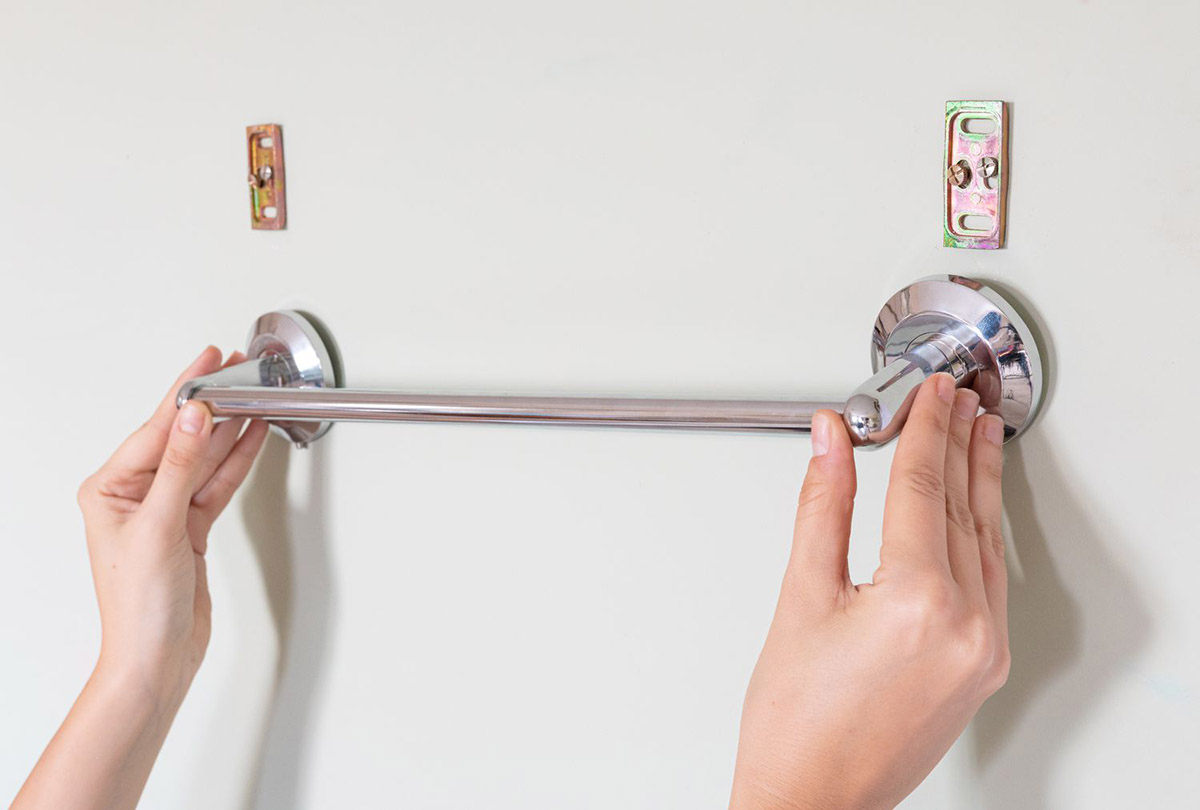
Use a stud finder to locate a stud in the drywall. If no stud is available, use drywall anchors for support. Use a level to ensure the rack is straight before securing it with screws.
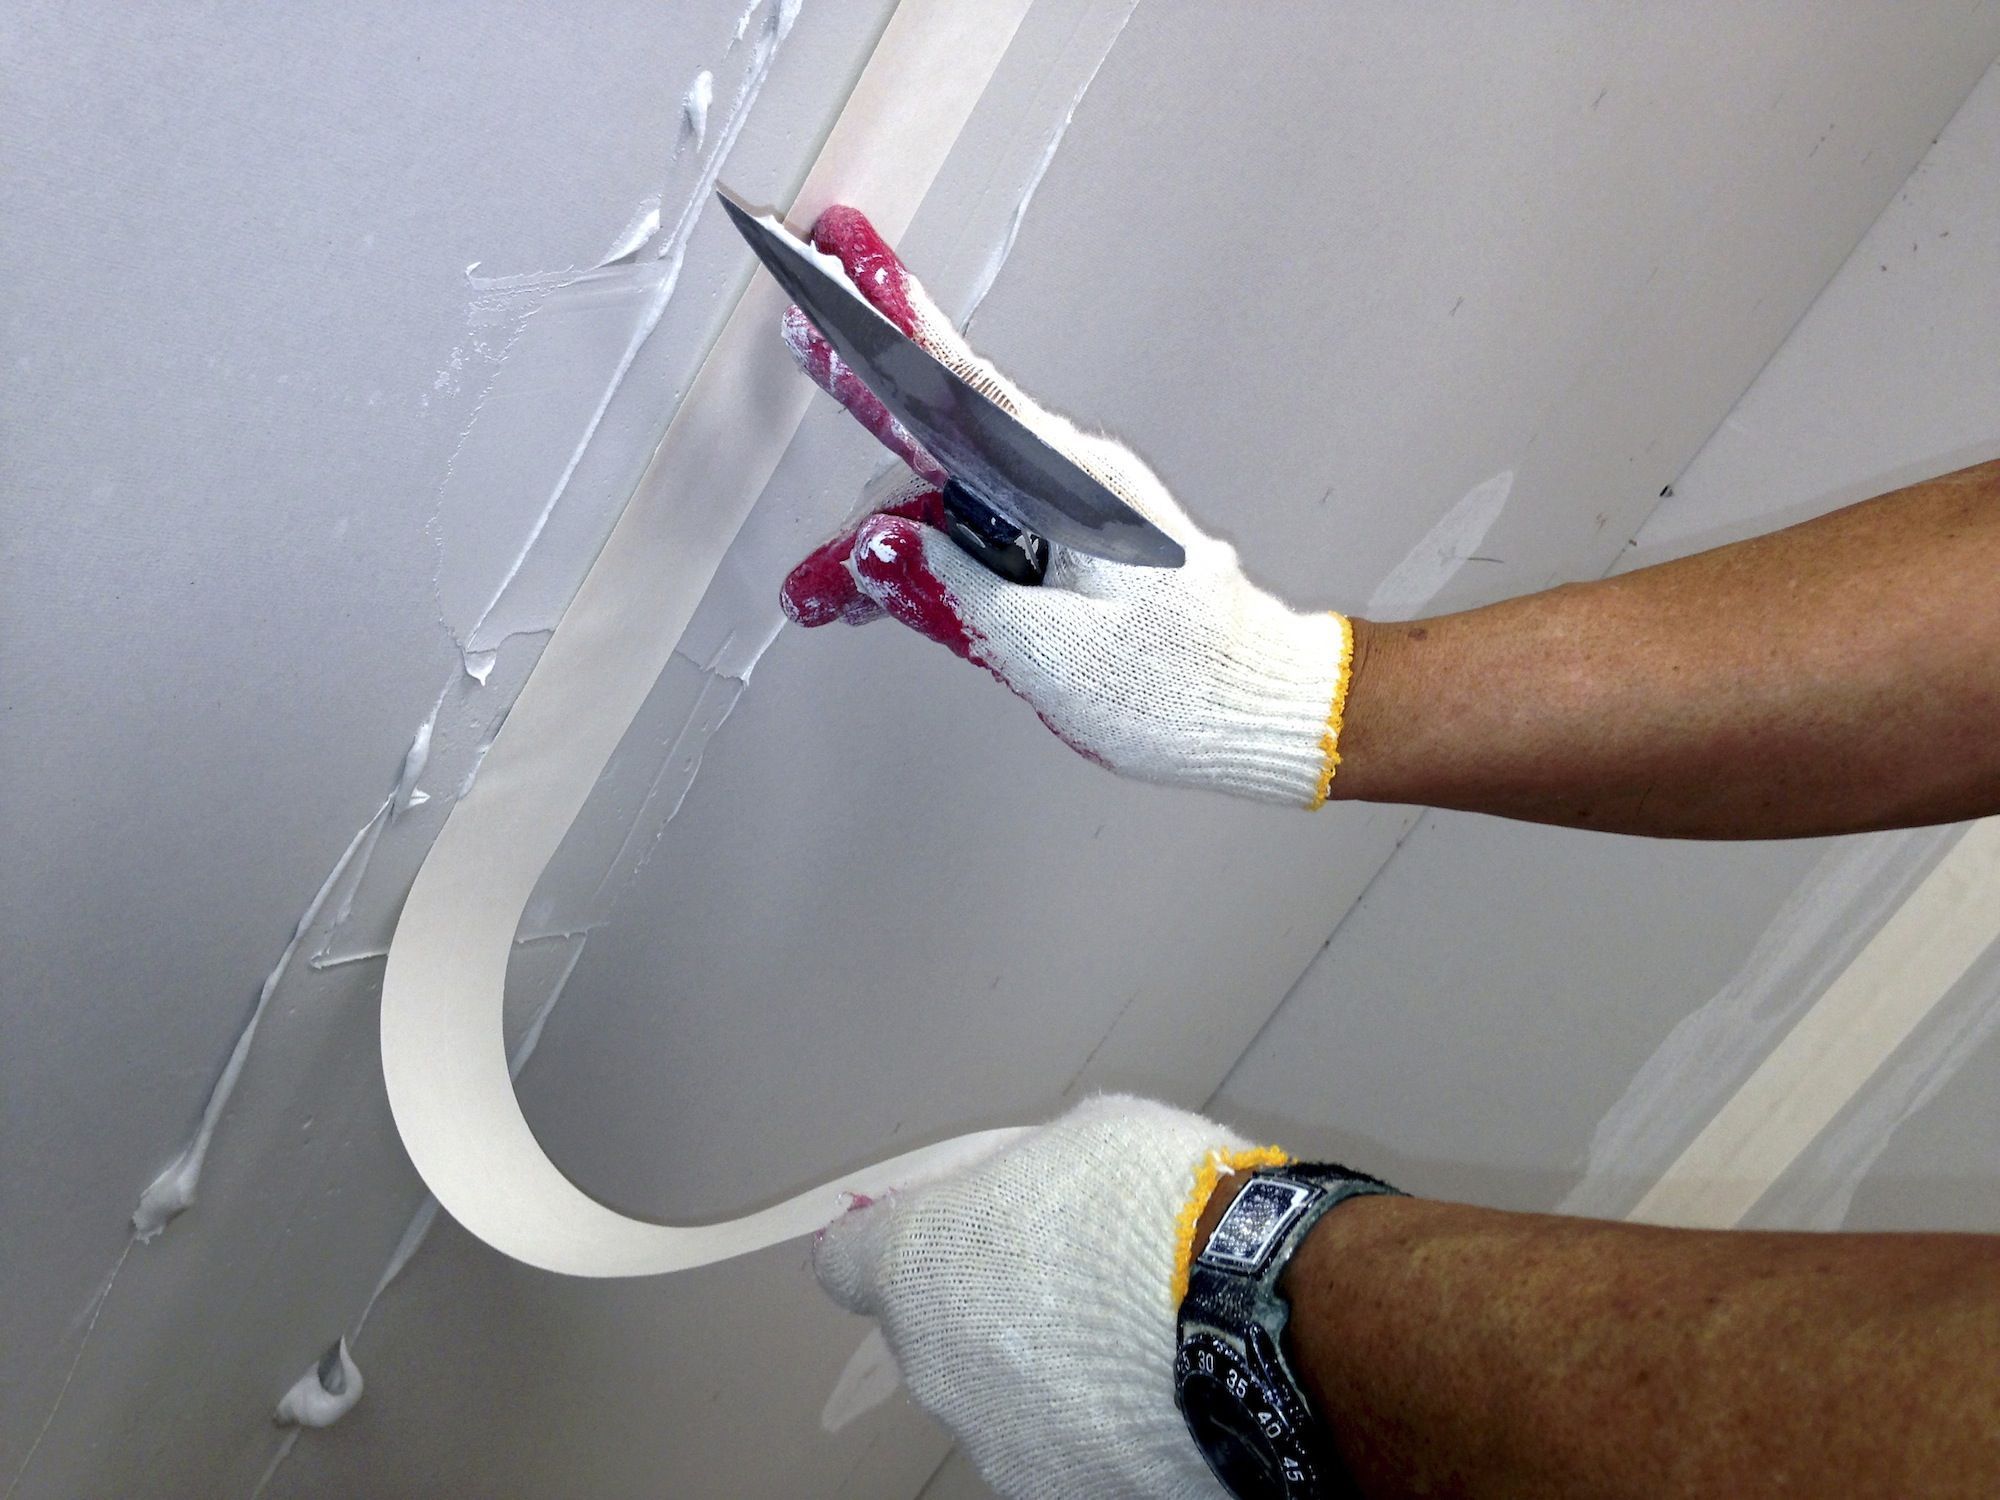
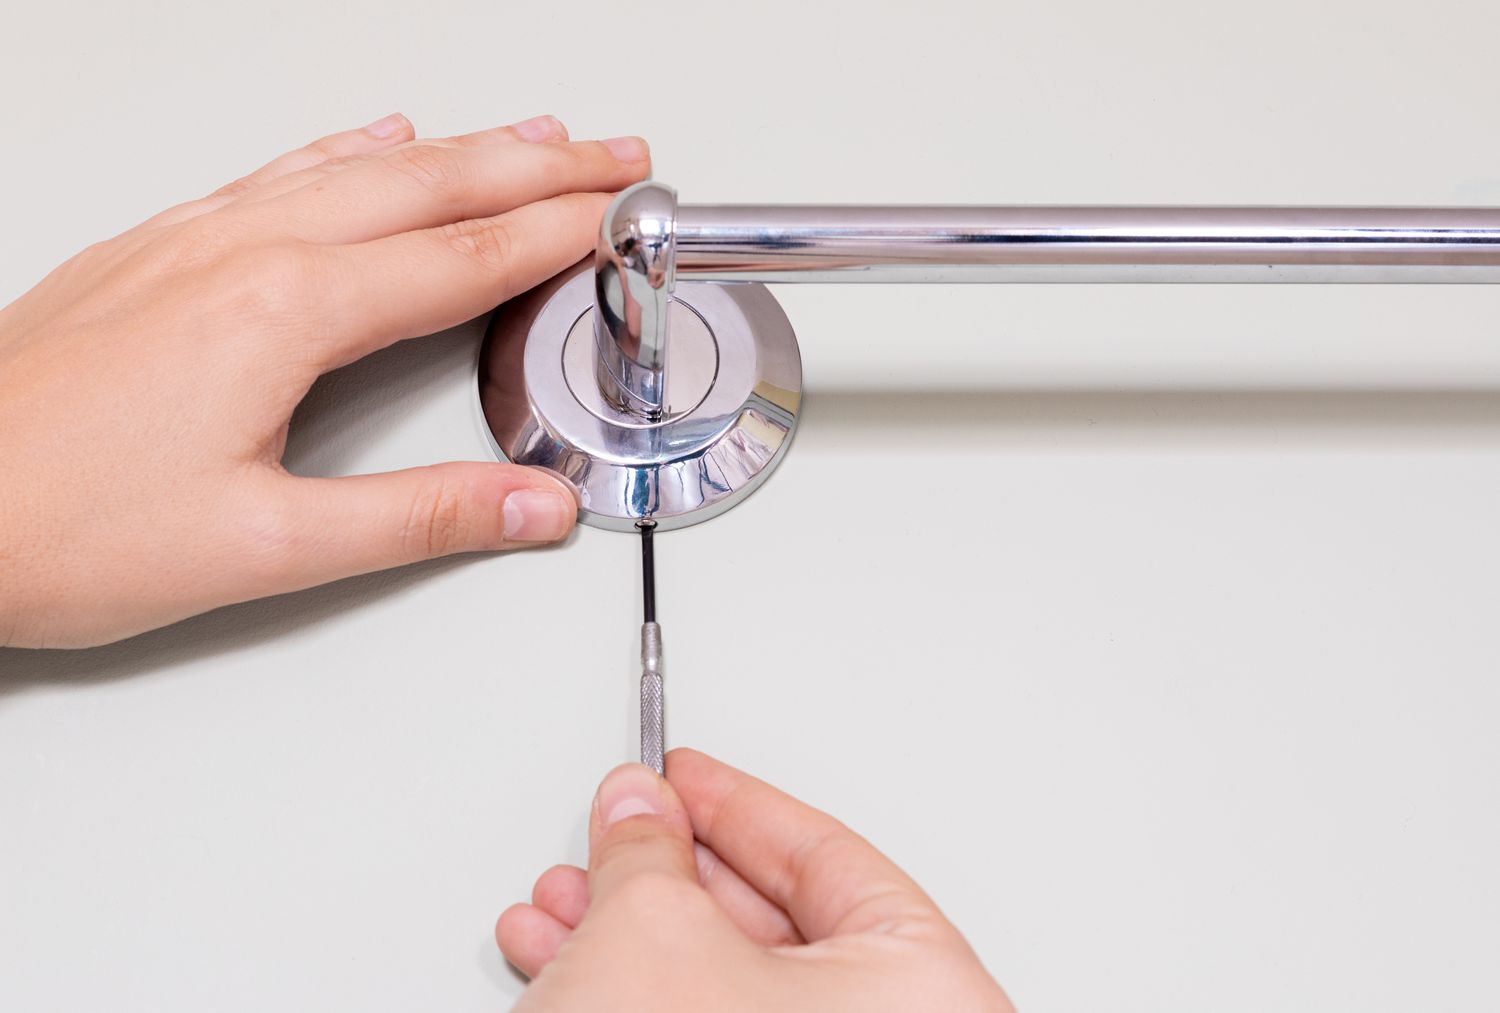
Step 3: Drill Pilot Holes
With the drill hole locations accurately marked, it’s time to proceed with drilling pilot holes into the drywall. Using a power drill equipped with a drill bit appropriate for the type of mounting hardware you’ll be using, carefully drill pilot holes at the marked spots. Pilot holes serve as guides for the screws or wall anchors, allowing for easier insertion and reducing the risk of damaging the drywall during the installation process.
When drilling the pilot holes, it’s important to use gentle and consistent pressure to avoid creating excessively large holes. The goal is to create pilot holes that are just large enough to accommodate the screws or wall anchors without compromising the integrity of the drywall.
Be mindful of the depth to which you’re drilling the pilot holes, especially if you’re using wall anchors. Ensuring that the pilot holes are the appropriate depth for the wall anchors will contribute to the stability and reliability of the overall installation.
As a best practice, periodically check the alignment and levelness of the pilot holes as you drill to verify that they correspond with the intended placement of the towel rack. This attention to detail will help ensure a seamless and hassle-free mounting process, setting the stage for the next crucial step in fixing your towel rack in drywall.
Read more: How To Fix A Towel Rack
Step 4: Install Wall Anchors
If the mounting location for your towel rack does not align with studs, or if additional support is needed, installing wall anchors is a crucial step to ensure a secure and reliable attachment to the drywall. Wall anchors provide the necessary reinforcement for mounting objects on drywall, offering stability and strength comparable to that of mounting directly onto studs.
Begin by selecting the appropriate type and size of wall anchors for your specific towel rack and the weight it will bear. There are various types of wall anchors, including toggle bolts, expansion anchors, and plastic anchors, each designed for different load capacities and installation methods. Refer to the manufacturer’s guidelines to determine the most suitable wall anchors for your towel rack and the specific drywall conditions.
Once you’ve chosen the right wall anchors, carefully insert them into the pilot holes you drilled earlier. Depending on the type of wall anchors, this may involve tapping them gently into place or using a screwdriver to secure them in the wall. Ensure that the wall anchors are flush with the surface of the drywall, providing a solid foundation for attaching the mounting hardware of the towel rack.
As you install the wall anchors, pay close attention to the manufacturer’s recommendations regarding the maximum weight capacity and installation process. Properly installed wall anchors will fortify the attachment of your towel rack, offering peace of mind and confidence in the durability of the installation.
By meticulously installing the appropriate wall anchors, you’ll lay the groundwork for a robust and enduring mounting of your towel rack, ensuring that it remains securely affixed to the drywall and capable of supporting the weight of towels and other bathroom essentials.
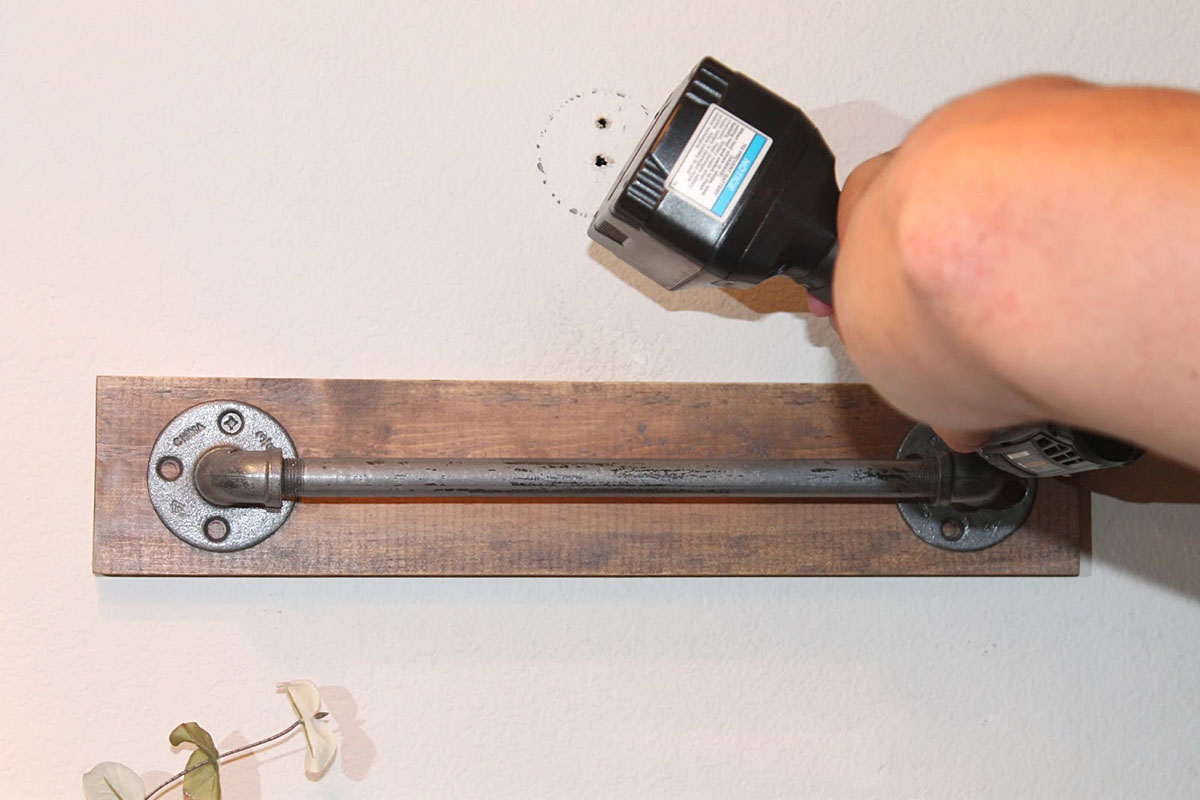
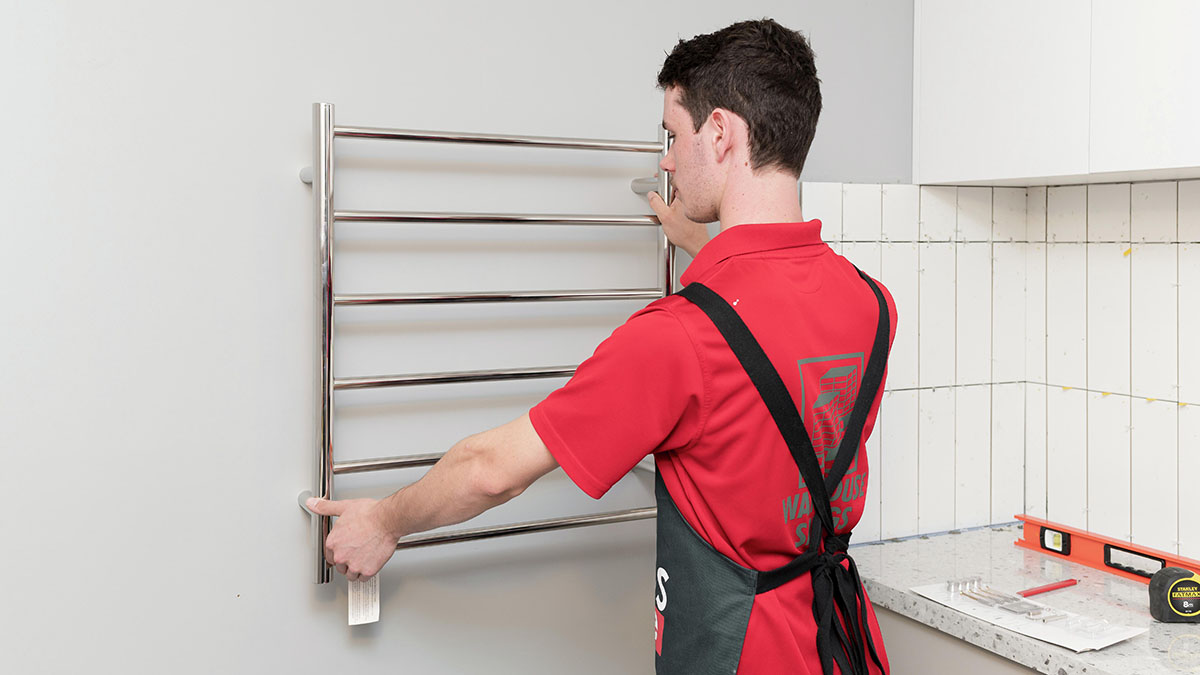
Step 5: Attach Towel Rack
With the necessary preparations complete, it’s time to attach your towel rack to the drywall, bringing your installation project to its final and rewarding phase. Whether you’re mounting the rack directly onto studs or utilizing wall anchors, this step will culminate in the transformation of your bathroom space, enhancing both its functionality and visual appeal.
Begin by aligning the mounting brackets of the towel rack with the drilled pilot holes or wall anchors. Gently position the rack against the wall, ensuring that it sits level and straight. If you’re working with a multi-piece towel rack, such as one with separate bars or hooks, carefully attach each component according to the designated mounting points.
Using a screwdriver, secure the mounting hardware of the towel rack to the drywall by driving the screws into the pilot holes or wall anchors. Exercise care and precision to avoid overtightening the screws, as this could potentially damage the drywall or compromise the integrity of the installation. Confirm that the rack is firmly attached and does not wobble or shift when pressure is applied.
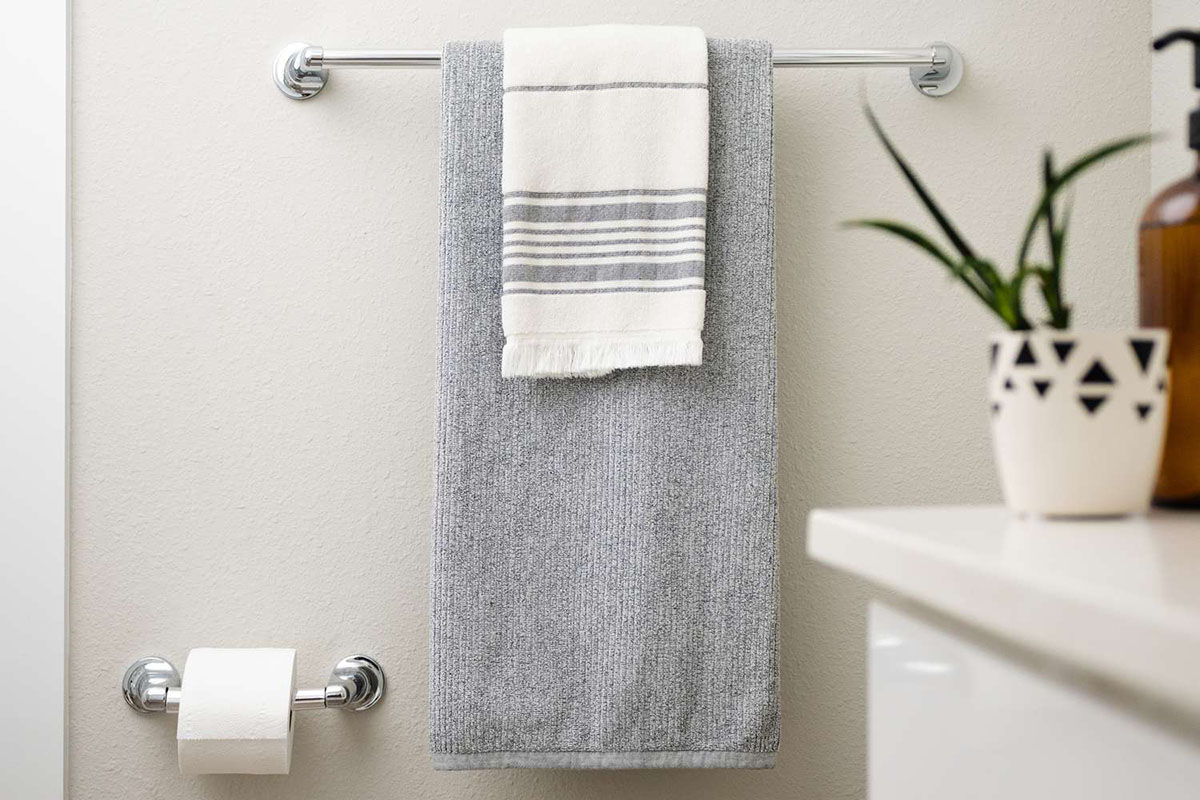
Once the towel rack is securely in place, take a moment to appreciate the visual impact it brings to your bathroom. Whether it’s a sleek and modern design or a timeless and elegant fixture, the addition of a well-mounted towel rack can elevate the ambiance of the space, providing both practical utility and a touch of sophistication.
After attaching the towel rack, test its sturdiness by applying gentle pressure and ensuring that it can comfortably support the weight of towels and other items. This final assessment will confirm the success of your installation and provide assurance that your towel rack is ready to serve its purpose effectively.
By completing this step with care and attention to detail, you’ll have successfully fixed your towel rack in drywall, achieving a seamless and reliable installation that enhances the functionality and visual appeal of your bathroom.
Conclusion
Fixing a towel rack in drywall is a gratifying project that not only adds practical functionality to your bathroom but also contributes to the overall aesthetic and organization of the space. By following the step-by-step guidelines provided in this article, you’ve gained the knowledge and confidence to undertake this task with ease and precision.
From locating the studs and marking the drill holes to installing wall anchors and attaching the towel rack, each step plays a crucial role in ensuring a secure and visually appealing installation. By meticulously following these steps, you’ve successfully transformed your bathroom, adding a functional and stylish element that enhances its usability and charm.
As you admire your newly installed towel rack, take pride in the accomplishment of completing this DIY project. The attention to detail and careful execution have resulted in a reliable and enduring fixture that will serve you well for years to come.
With your towel rack now in place, you can revel in the convenience of having towels and other essentials within easy reach, neatly organized and displayed in a manner that elevates the ambiance of your bathroom. Whether you’ve opted for a contemporary design or a classic, timeless style, your towel rack serves as both a practical amenity and a tasteful accent, enhancing the overall appeal of your bathroom space.
By mastering the art of fixing a towel rack in drywall, you’ve not only enhanced your home but also expanded your DIY skills, paving the way for future projects and endeavors. As you continue to explore the realm of home improvement and personalization, the experience gained from this undertaking will undoubtedly serve as a valuable foundation for future endeavors.
So, as you revel in the satisfaction of a job well done, take a moment to appreciate the impact of your efforts. Your newly installed towel rack stands as a testament to your capability and creativity, enriching your living space and reflecting your dedication to creating a home that resonates with comfort, style, and functionality.
Frequently Asked Questions about How To Fix Towel Rack In Drywall
Was this page helpful?
At Storables.com, we guarantee accurate and reliable information. Our content, validated by Expert Board Contributors, is crafted following stringent Editorial Policies. We're committed to providing you with well-researched, expert-backed insights for all your informational needs.

0 thoughts on “How To Fix Towel Rack In Drywall”