Home>Furniture & Design>Bathroom Accessories>How To Remove A Towel Rack With No Visible Screws
Bathroom Accessories
How To Remove A Towel Rack With No Visible Screws
Modified: January 4, 2024
Learn how to easily remove a towel rack without visible screws and update your bathroom accessories with our step-by-step guide. Safely and efficiently upgrade your space today!
(Many of the links in this article redirect to a specific reviewed product. Your purchase of these products through affiliate links helps to generate commission for Storables.com, at no extra cost. Learn more)
Introduction
When it comes to bathroom accessories, towel racks are essential for keeping your towels organized and within reach. However, there may come a time when you need to remove a towel rack, whether it's for cleaning, replacement, or remodeling purposes. While some towel racks are attached with visible screws, others may have a more discreet mounting system, making the removal process a bit more challenging.
In this guide, we'll explore how to remove a towel rack with no visible screws, providing you with step-by-step instructions to tackle this task with confidence. Whether you're a DIY enthusiast or simply looking to spruce up your bathroom, understanding the process of removing a towel rack without visible screws can be incredibly valuable. So, let's dive in and learn how to tackle this project effectively and efficiently.
Key Takeaways:
- Removing a towel rack with no visible screws requires patience and attention to detail. By assessing, locating, and gently removing the rack, you can successfully complete the task without damaging the wall.
- After removing the towel rack, patch and paint the wall to restore its original condition. This final step ensures a seamless finish, leaving your bathroom looking pristine and ready for the next update.
Read more: How To Remove Towel Bar With No Screws
Step 1: Assess the Towel Rack
Before diving into the removal process, it’s crucial to assess the towel rack and understand its mounting mechanism. Take a close look at the rack to determine if there are any visible screws or hardware securing it to the wall. If you don’t see any screws or mounting hardware, there’s a good chance that the rack is attached using a concealed mounting system.
Additionally, consider the type of wall surface to which the towel rack is attached. Is it a drywall, tile, or another material? Understanding the wall surface will help you determine the best approach for removing the rack without causing damage.
Assessing the condition of the wall around the towel rack is also important. Look for any signs of paint or drywall damage that may have occurred during the installation of the rack. This assessment will help you prepare for any necessary wall repairs that may be required after the removal process.
By thoroughly assessing the towel rack and its surroundings, you’ll gain valuable insights that will inform your approach to removing it. This initial step sets the stage for a successful and damage-free removal process, ensuring that you’re well-prepared to tackle the task ahead.
Step 2: Locate the Mounting Hardware
When dealing with a towel rack that seemingly has no visible screws, locating the mounting hardware is a crucial step in the removal process. While the hardware may be concealed, there are several techniques you can use to identify its location.
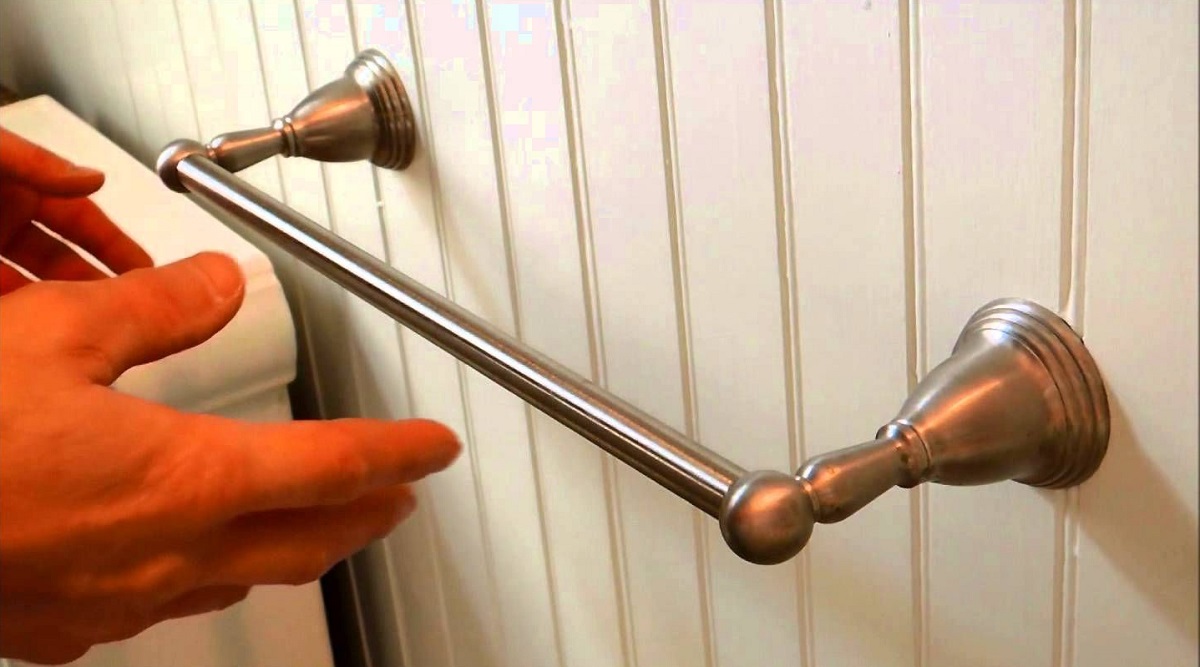
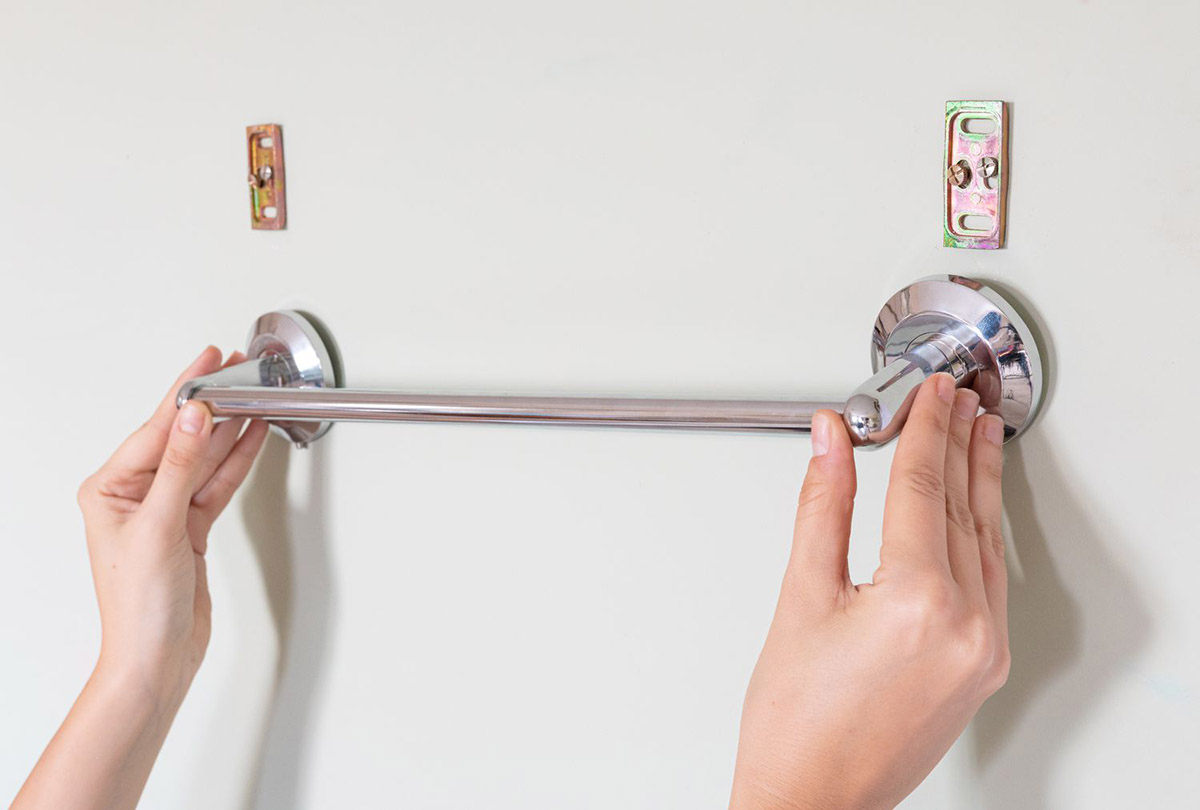
Start by examining the base of the towel rack, paying close attention to any subtle seams or indentations that may indicate the presence of a hidden mounting system. Some towel racks utilize a mounting bracket that slides over a wall-mounted plate, concealing the screws and providing a seamless appearance.
If the towel rack has decorative end caps or covers, carefully inspect these areas for any signs of attachment or concealment. In some cases, these end caps can be removed to reveal the mounting hardware beneath.
Another method for locating the mounting hardware involves using a stud finder. By running the stud finder along the wall in the vicinity of the towel rack, you may be able to detect the presence of hidden mounting brackets or anchors. This can provide valuable insight into the precise location of the hardware, guiding your approach to removing the rack.
Furthermore, referring to the manufacturer’s installation instructions, if available, can offer valuable insights into the mounting system used for the towel rack. These instructions may provide details on how the rack is attached and offer guidance on locating and accessing the mounting hardware.
By diligently searching for the mounting hardware and leveraging tools such as stud finders and installation instructions, you’ll be well-equipped to uncover the concealed attachment points of the towel rack, setting the stage for a successful removal process.
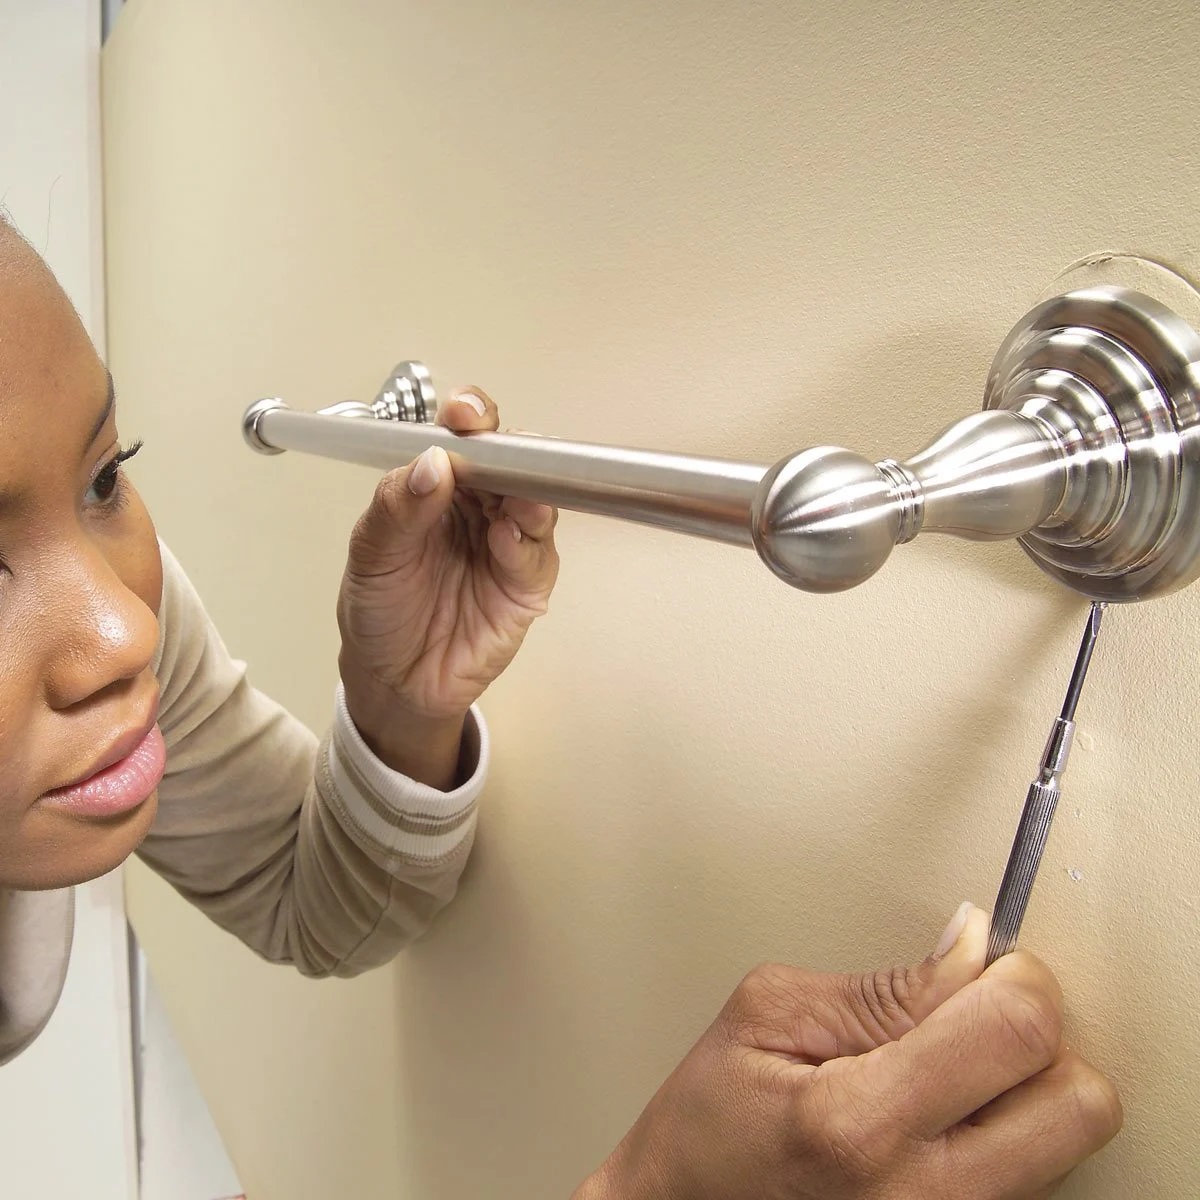
Step 3: Use a Pry Tool or Putty Knife
Once you’ve identified the location of the mounting hardware, it’s time to prepare for the removal of the towel rack. A pry tool or putty knife can be invaluable for gently releasing the rack from its mounting points without causing damage to the wall.
Before using the pry tool or putty knife, it’s essential to protect the surrounding area to prevent any accidental scratches or dents. Consider placing a piece of painter’s tape along the wall adjacent to the towel rack to serve as a buffer between the tool and the wall surface.
With the proper precautions in place, carefully insert the pry tool or putty knife into the seam between the base of the towel rack and the wall. Apply gentle pressure to gradually separate the rack from the mounting hardware. Take care to work methodically and patiently, avoiding excessive force that could lead to wall damage.
If the towel rack is secured with a concealed mounting bracket, the pry tool or putty knife can help release the rack by disengaging the locking mechanism or tabs. By maneuvering the tool along the base of the rack, you can gradually loosen its hold on the mounting hardware, allowing for safe removal.
Throughout this process, it’s important to maintain a steady and controlled approach, ensuring that the wall surface remains intact. By using the pry tool or putty knife with precision and care, you can effectively release the towel rack from its mounting points, setting the stage for the next steps in the removal process.
Remember, patience and attention to detail are key when using a pry tool or putty knife to remove a towel rack with concealed mounting hardware. By approaching this step with caution and precision, you can successfully disengage the rack from the wall while safeguarding the surrounding area.
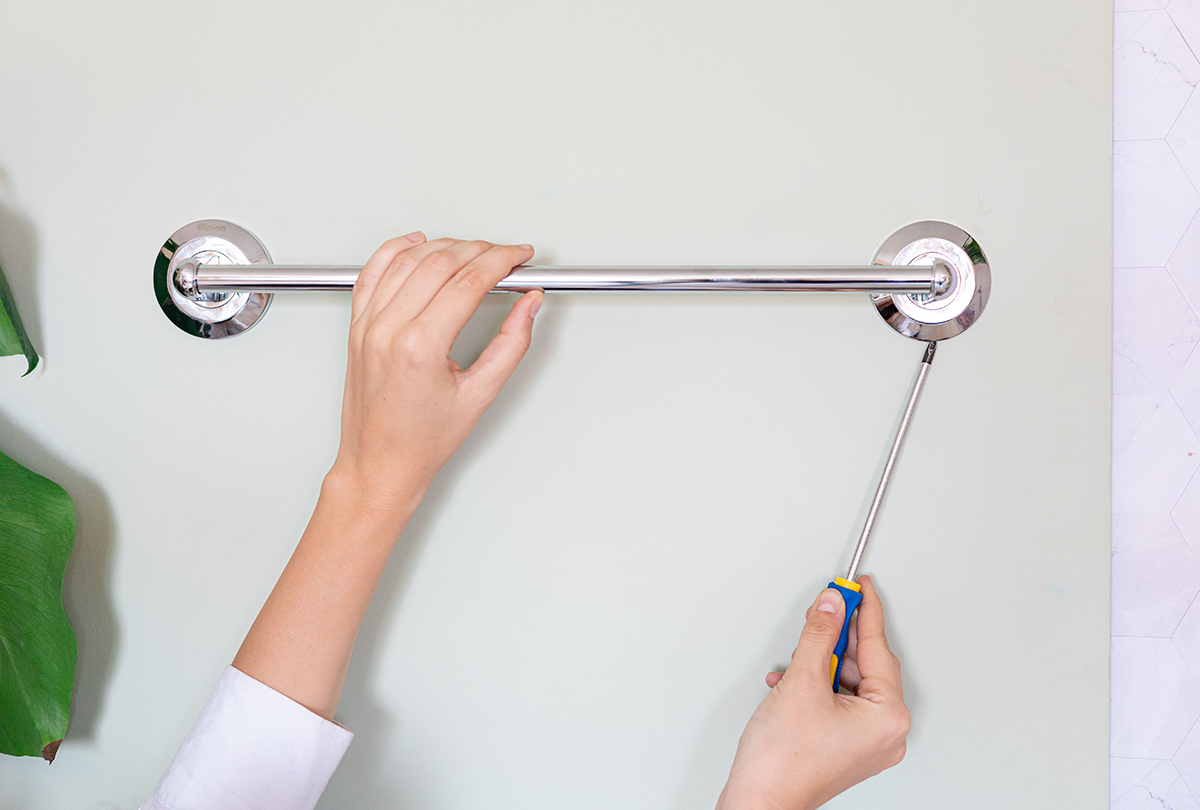
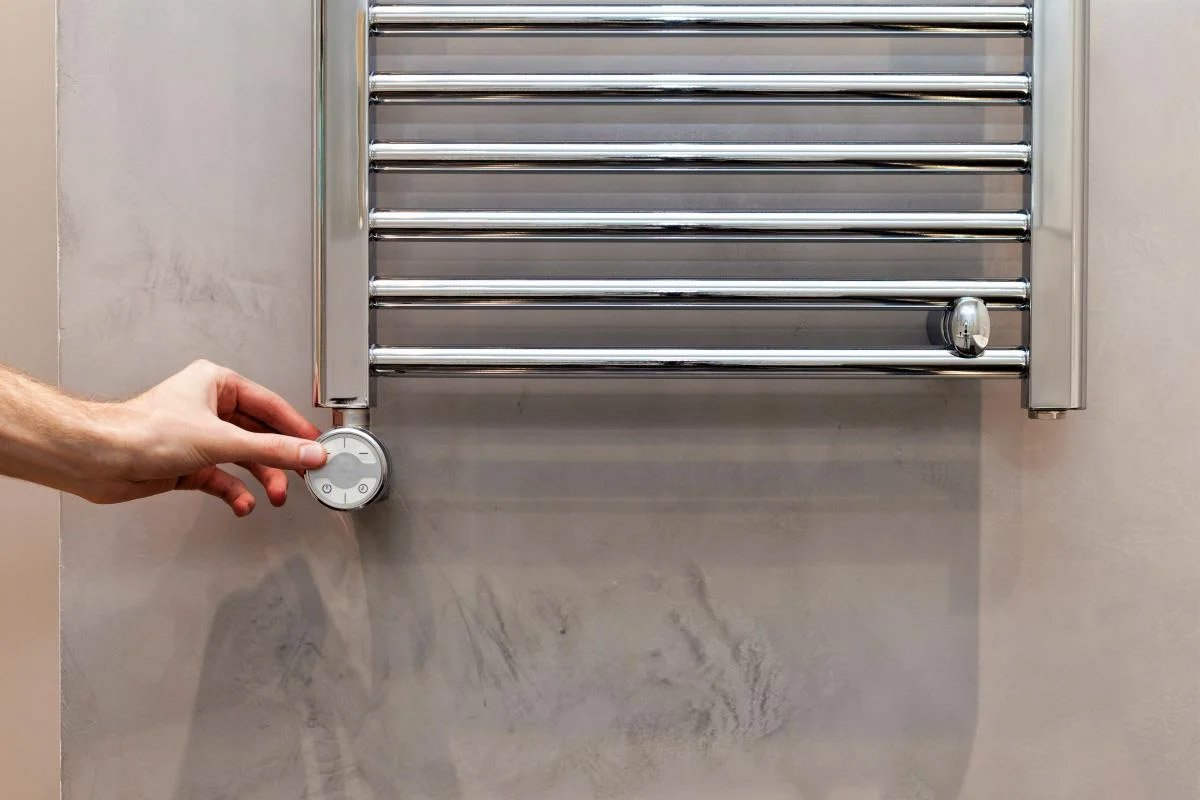
Look for a small set screw at the base of the towel rack. Use an Allen wrench to loosen the set screw, then carefully lift the rack off the wall mounts. If there are no set screws, the rack may be attached with adhesive – in that case, use a hairdryer to heat the adhesive and gently pry the rack off the wall.
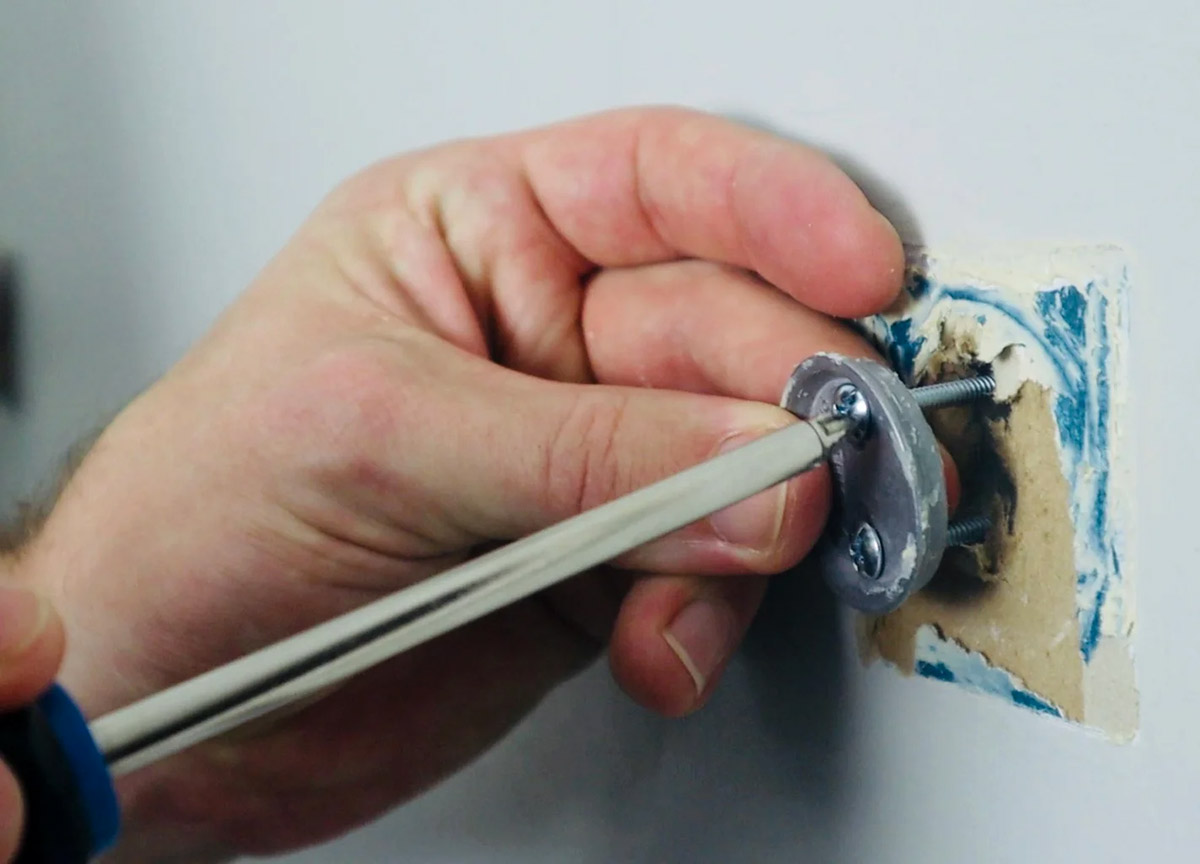
Step 4: Unscrew the Base
After using a pry tool or putty knife to release the towel rack from its mounting points, the next step involves unscrewing the base or mounting hardware from the wall. While the screws may not be visible at first glance, they are typically located behind the base of the rack or within the mounting bracket.
Inspect the base of the towel rack for any small caps or covers that may be concealing the screws. In some cases, these covers can be gently removed to reveal the screws underneath. Once the screws are exposed, use an appropriate screwdriver to carefully loosen and remove them from the wall.
If the mounting hardware consists of brackets or anchors, these may also need to be unscrewed or disengaged from the wall. Depending on the specific design, you may need to use a screwdriver or a suitable tool to release the brackets and free the towel rack from its mounting points.
It’s important to exercise caution when unscrewing the base or mounting hardware to avoid causing damage to the wall. Use steady and controlled movements, ensuring that the screws are fully disengaged before attempting to remove the rack completely.
As you work through this step, be mindful of any additional hardware that may be securing the rack to the wall. Some towel racks feature multiple attachment points, so carefully inspect the entire base and surrounding area to ensure that all screws and mounting components are accounted for.
By methodically unscrewing the base or mounting hardware, you’ll effectively detach the towel rack from the wall, paving the way for the final steps in the removal process. With patience and attention to detail, you can navigate this step with confidence, preparing to complete the removal of the rack without visible screws.
Read also: 14 Best Towel Rack Screws For 2025
Step 5: Patch and Paint the Wall
With the towel rack successfully removed, it’s time to address any wall damage or blemishes that may have resulted from the removal process. Depending on the type of wall surface and the extent of the damage, you may need to perform minor repairs and touch-ups to restore the wall to its original condition.
Begin by inspecting the area where the towel rack was mounted. Look for any visible holes, scratches, or imperfections that may have been left behind. If the wall surface is drywall, you can use spackling compound or a similar patching material to fill in any holes or dents. For tile or other surfaces, consider using an appropriate filler or repair compound that matches the texture and color of the wall.
After applying the patching material, use a putty knife or a similar tool to smooth and level the repaired area. Once the compound has dried, lightly sand the patched areas to ensure a seamless and even surface. This step is crucial for achieving a professional-looking result and preparing the wall for painting.
Following the patching and sanding process, it’s time to paint the wall to blend the repaired areas with the surrounding surface. If you have leftover paint from the original wall color, use it to touch up the patched areas. Alternatively, consider taking a sample of the existing paint to a hardware store for color matching, ensuring that the touch-up paint seamlessly blends with the rest of the wall.
When applying the touch-up paint, use a small brush or roller to carefully feather the edges of the painted areas, blending them with the surrounding wall for a seamless finish. Allow the paint to dry completely, and inspect the repaired areas to ensure that they harmonize with the rest of the wall.
By patching and painting the wall after removing the towel rack, you can restore the wall to its original state, concealing any evidence of the rack’s previous installation. This final step completes the removal process, leaving your bathroom wall looking pristine and ready for whatever comes next.
Conclusion
Removing a towel rack with no visible screws may initially seem like a daunting task, but with the right approach and techniques, it can be accomplished effectively and without causing damage to the wall. By assessing the towel rack, locating the mounting hardware, using a pry tool or putty knife, unscrewing the base, and patching and painting the wall, you can navigate the removal process with confidence and precision.
Throughout each step, attention to detail and patience are key, ensuring that the towel rack is safely and securely removed while preserving the integrity of the wall surface. By carefully addressing any wall damage and seamlessly blending the repaired areas with the surrounding wall, you can achieve a polished and professional result.
Whether you’re preparing for a bathroom renovation, updating your towel rack, or simply refreshing your space, knowing how to remove a towel rack with no visible screws empowers you to tackle this task with ease. By following the steps outlined in this guide, you can confidently take on the removal process, knowing that you have the knowledge and skills to complete it successfully.
Remember, each bathroom accessory removal project may present its own unique challenges, but with the right techniques and a thoughtful approach, you can achieve your desired outcome while maintaining the beauty and functionality of your bathroom space.
With the towel rack removed and the wall restored, you can now enjoy a fresh canvas for your bathroom decor, ready to embrace the next phase of your design vision or functional updates. Armed with the insights gained from this guide, you’re well-prepared to tackle future projects and make the most of your bathroom space.
So, whether you’re a seasoned DIY enthusiast or embarking on your first home improvement endeavor, the ability to remove a towel rack with no visible screws is a valuable skill that empowers you to enhance and customize your bathroom with confidence and finesse.
Frequently Asked Questions about How To Remove A Towel Rack With No Visible Screws
Was this page helpful?
At Storables.com, we guarantee accurate and reliable information. Our content, validated by Expert Board Contributors, is crafted following stringent Editorial Policies. We're committed to providing you with well-researched, expert-backed insights for all your informational needs.

0 thoughts on “How To Remove A Towel Rack With No Visible Screws”