Home>Furniture & Design>Bathroom Accessories>How To Build A Towel Rack
Bathroom Accessories
How To Build A Towel Rack
Modified: August 20, 2024
Learn how to build a stylish and functional towel rack for your bathroom with our easy DIY guide. Elevate your bathroom accessories with this simple project.
(Many of the links in this article redirect to a specific reviewed product. Your purchase of these products through affiliate links helps to generate commission for Storables.com, at no extra cost. Learn more)
Introduction
Welcome to the world of DIY bathroom accessories! Building your own towel rack can be a fulfilling and practical project. Not only does it allow you to customize the rack to suit your bathroom's style and size, but it also provides a sense of accomplishment and ownership. In this guide, we will walk you through the step-by-step process of creating a sturdy and attractive towel rack. Whether you are a seasoned DIY enthusiast or a novice looking to embark on your first woodworking project, this guide is designed to be accessible and rewarding for all skill levels.
By crafting your own towel rack, you have the freedom to select the materials that best complement your bathroom decor. From the type of wood used to the finish applied, every aspect of the rack can be tailored to your preferences. Additionally, a handmade towel rack can add a personal touch to your bathroom, making it a standout feature that reflects your creativity and craftsmanship.
Throughout this guide, we will provide detailed instructions, practical tips, and creative ideas to inspire your DIY journey. From selecting the right materials to mounting the finished towel rack, we will cover every essential step. Whether you are aiming for a rustic, modern, or eclectic aesthetic, the techniques outlined here can be adapted to suit your desired look.
So, roll up your sleeves, gather your tools, and let's get started on creating a towel rack that not only serves a functional purpose but also adds a touch of handmade charm to your bathroom. With a bit of creativity and determination, you'll soon have a beautiful and practical towel rack that you can proudly say you built yourself.
Key Takeaways:
- Create a personalized towel rack to match your bathroom decor and meet your practical needs. Enjoy the satisfaction of using a handmade fixture that reflects your creativity and craftsmanship.
- Transform basic materials into a functional and visually appealing bathroom accessory. Embrace the sense of accomplishment and pride that comes with building your own towel rack.
Read more: How To Hang Towels On A Towel Rack
Materials Needed
Before diving into the construction process, it’s essential to gather all the necessary materials and tools for building a towel rack. Here’s a comprehensive list of items you’ll need to complete this project:
- Wood: Select a high-quality wood that suits your aesthetic preferences and bathroom decor. Common choices include pine, oak, or cedar. Ensure that the wood is of appropriate dimensions for the towel rack’s design.
- Sandpaper: Invest in sandpaper of varying grits, such as coarse, medium, and fine, to smoothen the wood and achieve a polished finish.
- Wood Stain or Paint: Depending on your desired look, choose a wood stain or paint that complements your bathroom’s color scheme and style. Consider water-resistant options for longevity.
- Clear Sealant: To protect the wood from moisture and wear, a clear sealant is essential. Look for a waterproof sealant suitable for the bathroom environment.
- Measuring Tape: Accurate measurements are crucial for creating a well-proportioned towel rack. A reliable measuring tape will be indispensable throughout the project.
- Saw: A saw, such as a miter saw or handsaw, is necessary for cutting the wood to the required lengths and angles.
- Drill and Drill Bits: A drill, along with an assortment of drill bits, will be used for creating holes and securing components during assembly.
- Screws and Nails: Stock up on screws and nails of various sizes to fasten the wooden pieces together securely.
- Sandpaper Block: A sanding block can aid in achieving smooth and even surfaces on the wood.
- Paintbrushes or Stain Applicators: Depending on your chosen finish, you will need suitable brushes or applicators for the wood stain or paint.
- Towel Rack Hooks: Select durable and stylish hooks designed for holding towels. The number of hooks required will depend on the size of the towel rack.
- Level: Ensuring that the towel rack is mounted perfectly straight is essential. A level will assist in achieving precise alignment during installation.
- Protective Gear: Safety goggles, gloves, and a dust mask are essential for protecting yourself during the cutting and sanding processes.
By gathering these materials and tools, you’ll be well-prepared to embark on the construction of your custom towel rack. With everything in hand, you can proceed to the next steps with confidence, knowing that you have all the essentials for a successful DIY project.
Step 1: Measure and Cut the Wood
Accurate measurements and precise cuts are fundamental to constructing a sturdy and visually appealing towel rack. Follow these steps to measure and cut the wood for your project:
- Plan the Dimensions: Determine the desired dimensions of your towel rack, considering the available space in your bathroom and the number of towels it needs to accommodate. Sketch a rough design to visualize the layout and proportions.
- Mark and Measure: Using a measuring tape and pencil, mark the length and width of the wood pieces according to your design. Double-check the measurements to ensure accuracy before cutting.
- Cut the Wood: With a saw appropriate for the type of wood you’re using, carefully cut the pieces according to the marked dimensions. If angled cuts are required for decorative or functional purposes, use a miter saw to achieve precise angles.
- Smooth the Edges: After cutting, use sandpaper to smooth any rough edges and refine the surfaces of the wood pieces. Pay attention to achieving a uniform and splinter-free finish.
By meticulously measuring and cutting the wood, you’ll lay the foundation for a well-constructed towel rack. Attention to detail at this stage will ensure that the subsequent assembly and finishing processes proceed smoothly, resulting in a professional-looking end product.
Step 2: Sand the Wood
Once the wood pieces are cut to the desired dimensions, the next crucial step is to sand them to perfection. This process not only enhances the visual appeal of the towel rack but also ensures a smooth and splinter-free surface. Here’s how to effectively sand the wood for your project:
- Select the Right Grit: Begin with a coarse-grit sandpaper to remove any rough spots, irregularities, or excess material from the wood. Gradually progress to medium and fine-grit sandpapers to achieve a progressively smoother finish.
- Work Methodically: Sand in the direction of the wood grain to avoid creating scratches or imperfections. Apply even pressure while maintaining a consistent sanding motion for uniform results.
- Round the Edges: To prevent sharp edges and corners, lightly sand the edges of the wood pieces. This not only adds a polished look but also ensures safety and comfort when handling the towel rack.
- Remove Dust: After sanding, use a clean cloth or a tack cloth to remove any dust or debris from the wood surfaces. This prepares the wood for the next steps, such as staining or painting.
By diligently sanding the wood, you’ll achieve a refined and inviting texture that sets the stage for the finishing touches. The effort invested in this step will contribute to the overall quality and aesthetic appeal of your handmade towel rack.
When building a towel rack, make sure to use sturdy materials such as wood or metal to ensure it can hold the weight of the towels. Additionally, consider the size and placement of the rack to ensure it fits the space and is easily accessible.
Step 3: Assemble the Towel Rack
With the wood pieces cut and sanded to perfection, it’s time to assemble the components into a functional and visually appealing towel rack. Follow these steps to effectively assemble the towel rack:
- Arrange the Pieces: Lay out the wood pieces in the intended configuration, ensuring that all components fit together as planned. This step allows you to visualize the final assembly and make any necessary adjustments before securing the pieces.
- Secure the Joints: Depending on your design, use a suitable method to join the wood pieces securely. This may involve using wood glue, screws, or nails to create stable connections. Ensure that the joints are aligned and the pieces are firmly attached to form a durable structure.
- Reinforce the Support: If your towel rack design includes a shelf or additional support elements, ensure that these are integrated securely into the assembly. This step is crucial for enhancing the rack’s stability and load-bearing capacity.
- Check for Stability: Test the assembled towel rack for stability and structural integrity. Make any necessary adjustments or reinforcements to address any wobbling or instability before proceeding to the finishing stage.
By methodically assembling the towel rack, you’ll transform individual wood pieces into a cohesive and functional fixture for your bathroom. Attention to detail during this stage ensures that the rack is not only aesthetically pleasing but also robust enough to withstand everyday use.
Read more: How To Fix A Towel Rack
Step 4: Attach the Hooks
Adding hooks to your towel rack is a pivotal step, as it transforms the assembled wood structure into a practical and convenient storage solution for towels. Follow these steps to effectively attach the hooks to your towel rack:
- Position the Hooks: Determine the spacing and arrangement of the hooks on the towel rack. Consider the size of the towels and ensure that the spacing allows for easy hanging and retrieval.
- Mark the Placement: Use a pencil to mark the precise locations where the hooks will be attached. Double-check the alignment and spacing to ensure uniformity and functionality.
- Secure the Hooks: Depending on the type of hooks and the material of the towel rack, use appropriate screws or fasteners to secure the hooks firmly in place. Ensure that the hooks are level and securely attached to the wood.
- Test the Stability: After attaching the hooks, test their stability by gently applying pressure and hanging a towel on each hook. Confirm that the hooks can support the weight of the towels without bending or loosening from the wood.
By attaching the hooks with precision and care, you’ll complete the functionality of your towel rack, creating a dedicated space for hanging and organizing towels in your bathroom. This step adds a practical and user-friendly dimension to your handmade creation.
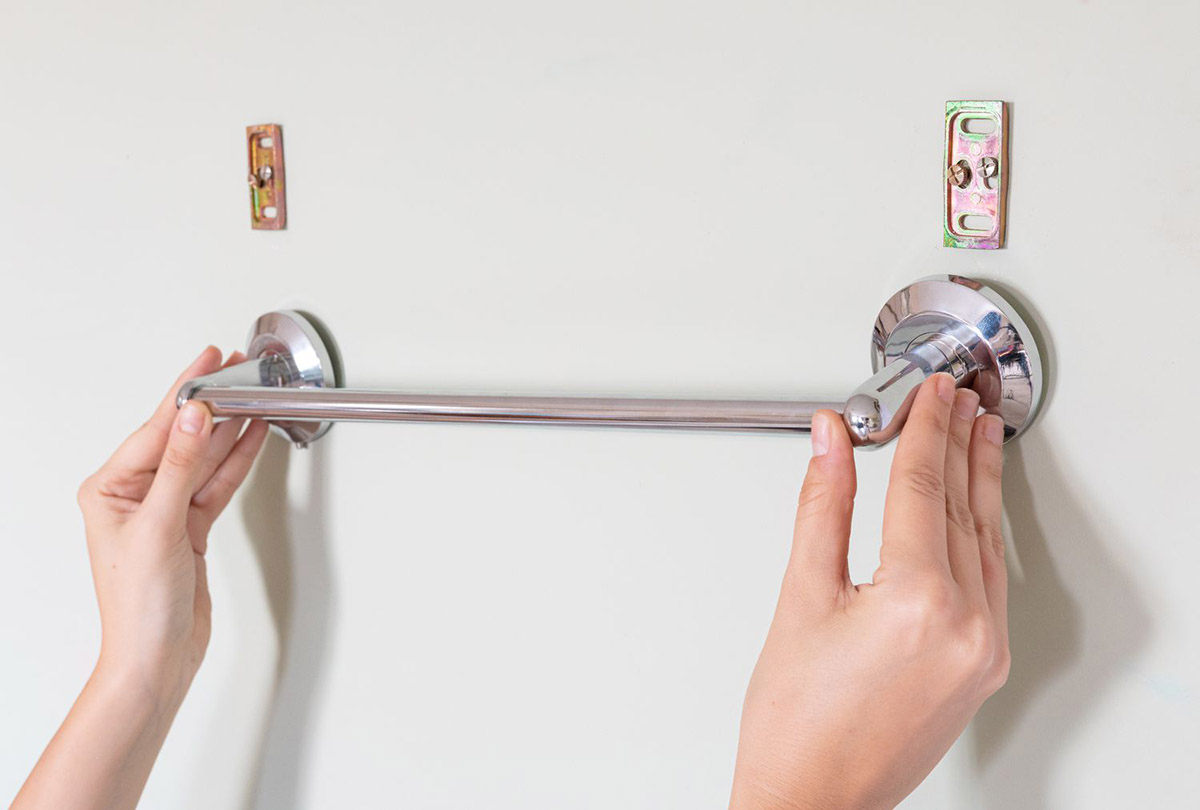
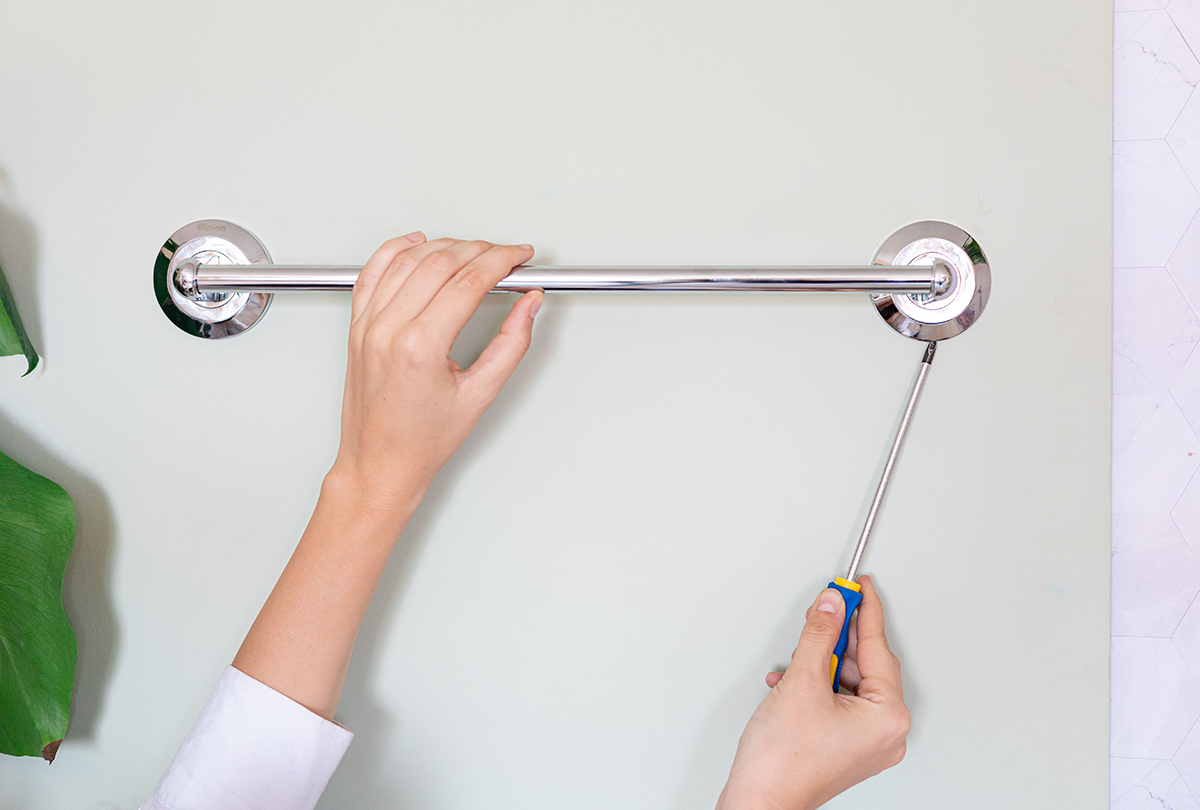
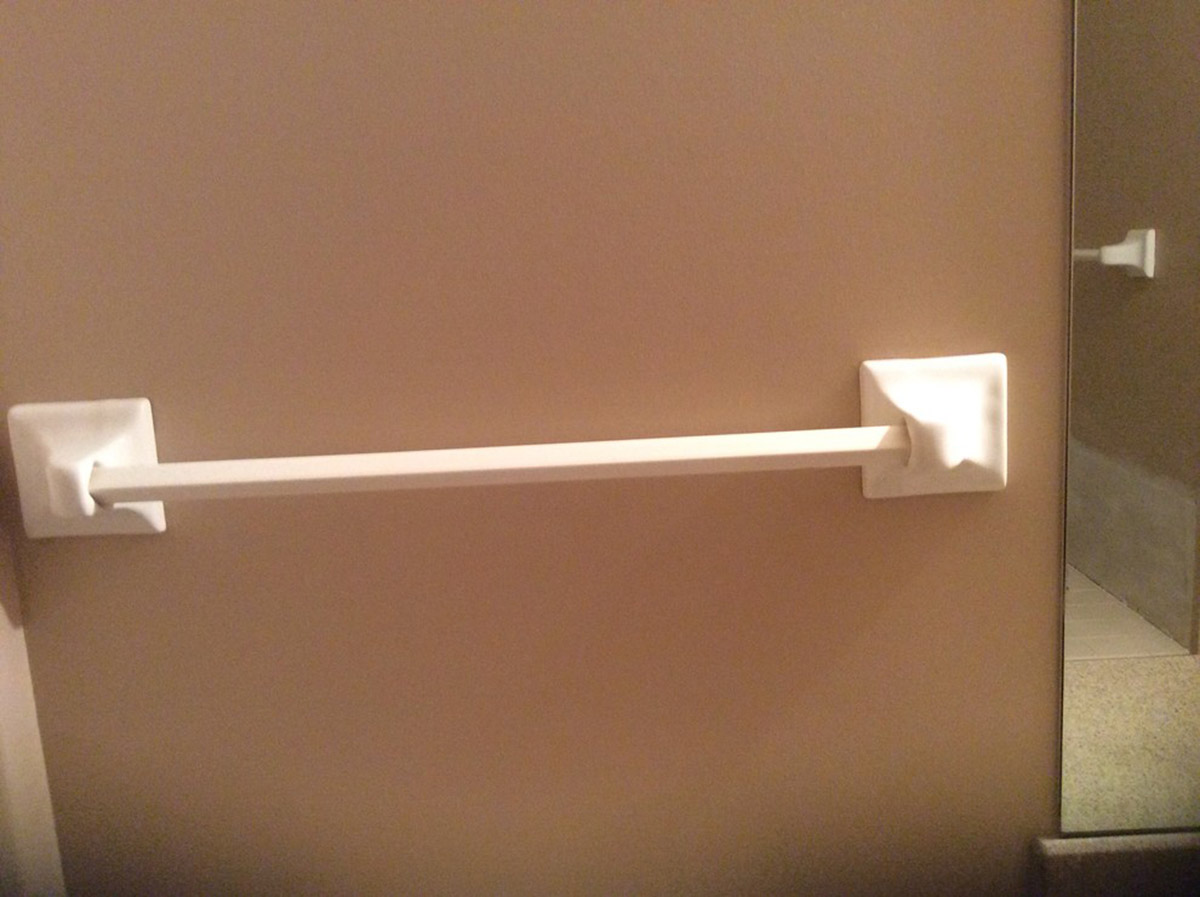
Step 5: Mount the Towel Rack
Mounting the towel rack is the final step in bringing your DIY project to completion. Proper installation ensures that the towel rack is securely affixed to the desired location, ready to serve its practical purpose in your bathroom. Follow these steps to effectively mount the towel rack:
- Select the Mounting Location: Choose a suitable location in your bathroom where the towel rack will be installed. Consider the height and accessibility for hanging and retrieving towels, as well as the visual impact within the space.
- Mark the Mounting Points: Use a level and pencil to mark the precise points where the towel rack will be mounted. Ensure that the markings are aligned and level to achieve a balanced and professional installation.
- Secure the Rack: Depending on the wall material and the weight of the towel rack, use appropriate screws and wall anchors to secure the rack firmly in place. Ensure that the rack is level and stable before finalizing the installation.
- Test the Stability: After mounting the towel rack, test its stability by gently applying pressure and hanging a towel on each hook. Confirm that the rack is securely attached to the wall and can support the weight of the towels without any wobbling or detachment.
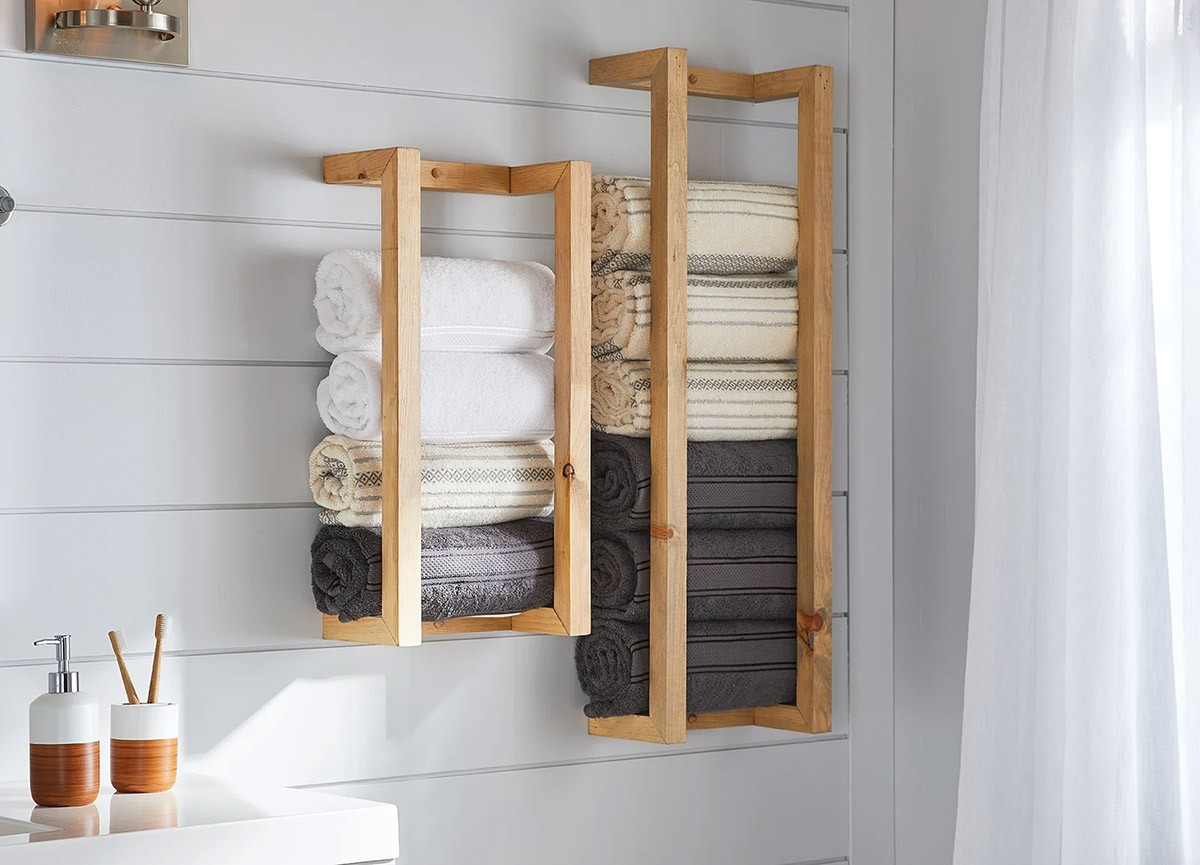
By mounting the towel rack with precision and attention to detail, you’ll finalize your DIY project, transforming it from a standalone fixture to an integral part of your bathroom. The mounted towel rack not only provides functional utility but also adds a touch of handmade craftsmanship to your living space.
Conclusion
Congratulations on successfully completing the construction and installation of your custom towel rack! Through careful planning, precise execution, and a touch of creativity, you’ve transformed basic materials into a functional and visually appealing bathroom accessory. By embarking on this DIY project, you’ve not only added a personalized touch to your living space but also honed your woodworking skills and unleashed your creativity.
Building a towel rack from scratch allows you to tailor the design to your exact specifications, ensuring that it seamlessly integrates with your bathroom decor and meets your practical needs. Whether you opted for a sleek and modern design or a rustic and charming aesthetic, your handmade towel rack is a testament to your craftsmanship and attention to detail.
Moreover, the satisfaction of using a towel rack that you built with your own hands is unparalleled. Every time you hang a fresh towel or neatly organize your bathroom linens, you’ll be reminded of the effort and care you invested in creating this essential fixture. Your towel rack stands as a symbol of your dedication to both functionality and aesthetics within your home.
As you admire your completed towel rack, take pride in the fact that you’ve not only enhanced your bathroom’s organization and style but also expanded your DIY skills. The lessons learned and the sense of accomplishment gained from this project will undoubtedly inspire future creative endeavors and home improvement projects.
With your newfound expertise in woodworking and DIY home decor, you’re well-equipped to tackle more ambitious projects and continue infusing your living space with your unique style and ingenuity. Whether it’s crafting additional bathroom accessories or venturing into other areas of home improvement, your handmade towel rack serves as a testament to your ability to transform raw materials into functional works of art.
Embrace the satisfaction of a job well done, and let your towel rack stand as a testament to your creativity, resourcefulness, and dedication to making your living space truly your own.
Frequently Asked Questions about How To Build A Towel Rack
Was this page helpful?
At Storables.com, we guarantee accurate and reliable information. Our content, validated by Expert Board Contributors, is crafted following stringent Editorial Policies. We're committed to providing you with well-researched, expert-backed insights for all your informational needs.


0 thoughts on “How To Build A Towel Rack”