Home>Renovation & DIY>Tools & Equipment>How To Use Stud Finder
Tools & Equipment
How To Use Stud Finder
Modified: January 4, 2024
Learn how to effectively use a stud finder to locate studs in your walls and make your DIY projects easier with our step-by-step guide. Find out the best tips and tricks for using this essential tool.
(Many of the links in this article redirect to a specific reviewed product. Your purchase of these products through affiliate links helps to generate commission for Storables.com, at no extra cost. Learn more)
Introduction
Welcome to the world of DIY home improvement! Whether you’re a seasoned DIY enthusiast or just starting to dabble in home projects, understanding how to use a stud finder is a valuable skill. A stud finder is a handheld device that helps locate the wooden studs behind drywall, enabling you to securely hang heavy objects like shelves, mirrors, and cabinets without the risk of them falling. In this guide, we’ll delve into the basics of stud finders, provide a step-by-step guide on how to use them effectively, and share some tips and tricks to ensure your success.
Using a stud finder may seem daunting at first, but with the right knowledge and approach, you’ll soon master this essential tool. So, let’s roll up our sleeves and explore the world of stud finders!
Key Takeaways:
- Master the art of using a stud finder by understanding its basics, following a step-by-step guide, and incorporating valuable tips and tricks. This skill empowers you to confidently locate wooden studs for secure home improvement projects.
- Choose the right stud finder, position it correctly, and scan patiently to accurately locate wooden studs. Incorporate tips like edge scanning and verifying stud positions for enhanced proficiency.
Read more: How To Use Hart Stud Finder
Understanding the Basics of Stud Finders
Before diving into the practical aspects of using a stud finder, it’s essential to grasp the fundamental principles behind this nifty device. Stud finders operate on the principle of detecting changes in wall density to pinpoint the presence of wooden studs. These changes are typically identified through the use of electronic sensors or magnets.
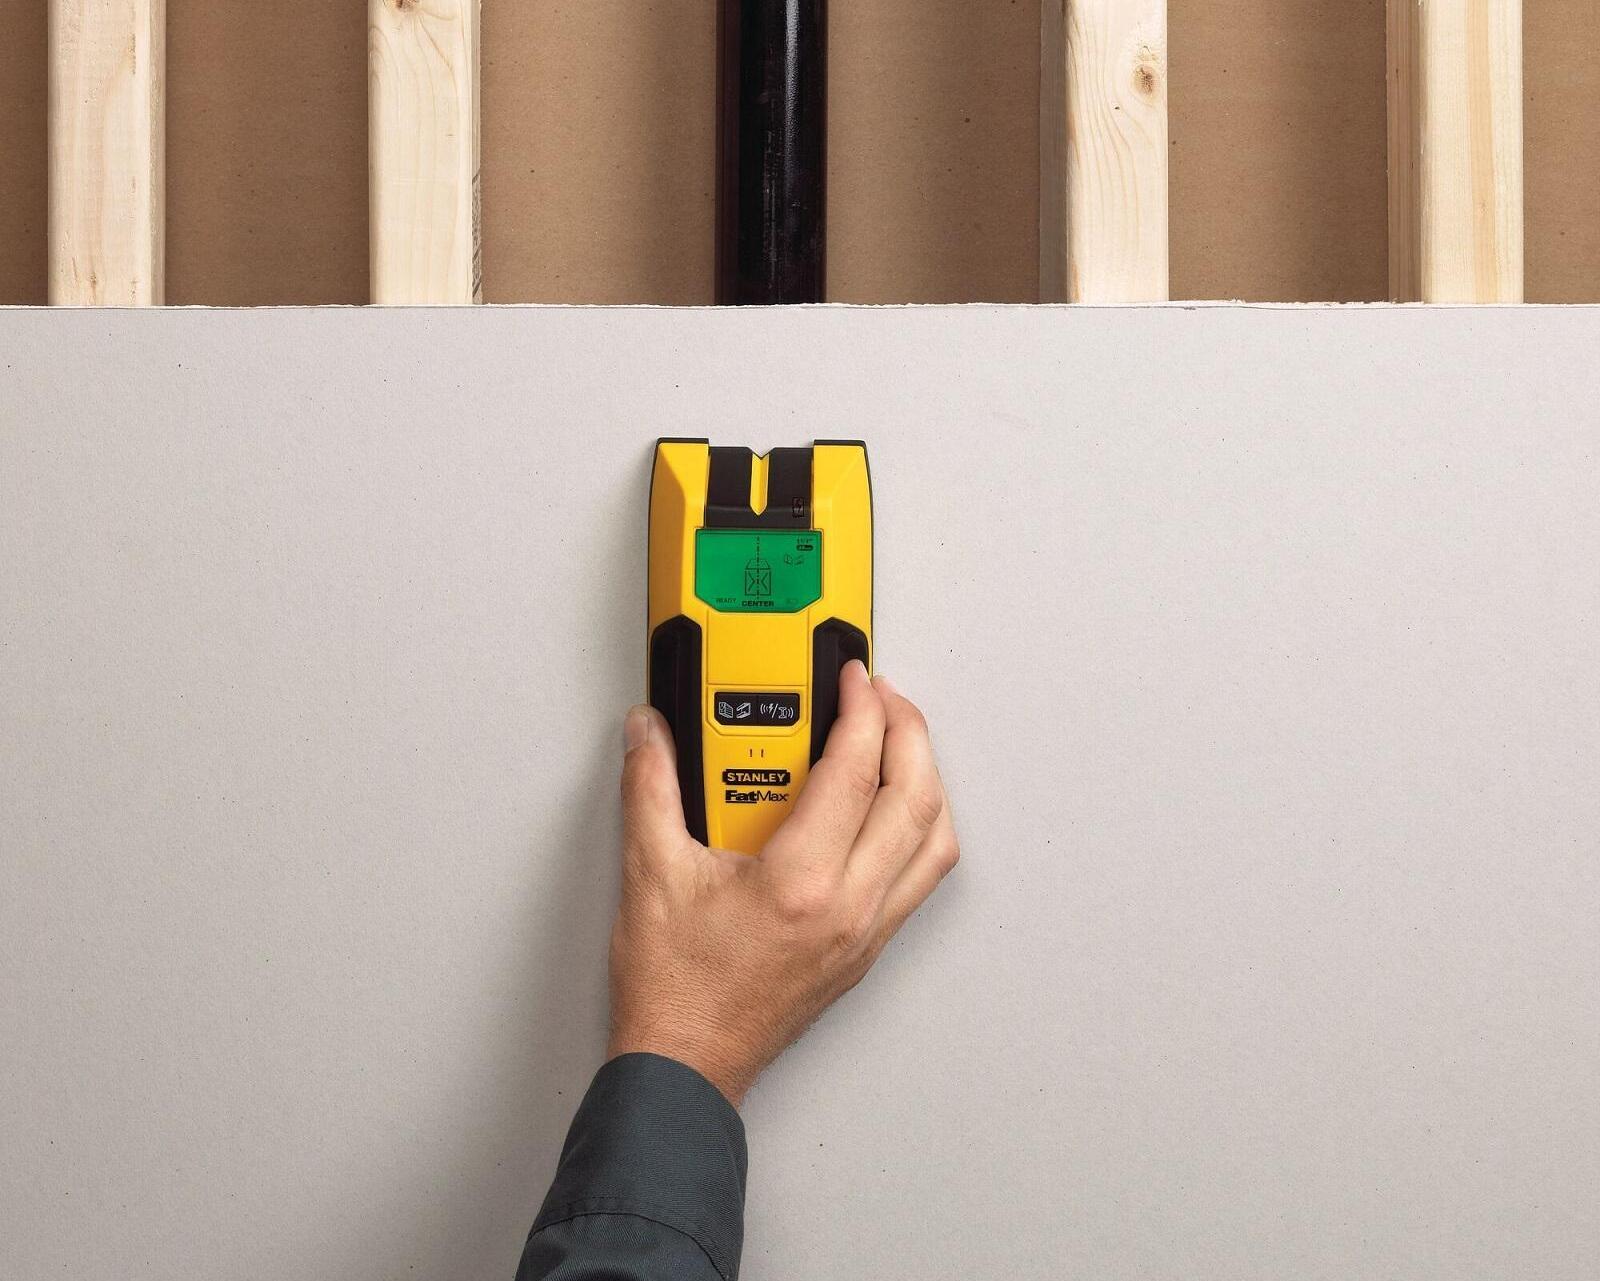
Electronic stud finders utilize sensors to detect density changes in the wall. When placed against the wall, the sensor emits a signal that penetrates the surface. As the density changes – indicating the presence of a stud – the sensor registers this variation and alerts the user, often through a visual or audible signal. Some advanced stud finders even display the width of the stud, providing a more comprehensive understanding of its location.
On the other hand, magnetic stud finders rely on the presence of metal fasteners, such as nails or screws, to locate studs. These devices contain a powerful magnet that reacts to the metal fasteners securing the drywall to the wooden studs. By moving the magnetic stud finder horizontally along the wall, users can detect the pull of the magnet caused by the metal fasteners, thereby identifying the stud’s position.
Understanding the type of stud finder you’re working with – electronic or magnetic – is crucial in ensuring accurate stud detection. Additionally, familiarizing yourself with the layout of typical wall structures, which often feature studs spaced 16 or 24 inches apart, will further enhance your stud finding proficiency.
Now that we’ve laid the groundwork for comprehending stud finders, it’s time to delve into the practical application of this knowledge. In the next section, we’ll walk through a step-by-step guide on effectively using a stud finder to locate wooden studs with confidence and precision.
Step-by-Step Guide to Using a Stud Finder
Now that you’ve familiarized yourself with the basics of stud finders, it’s time to put that knowledge into action. Follow these steps to effectively use a stud finder and locate wooden studs within your walls:
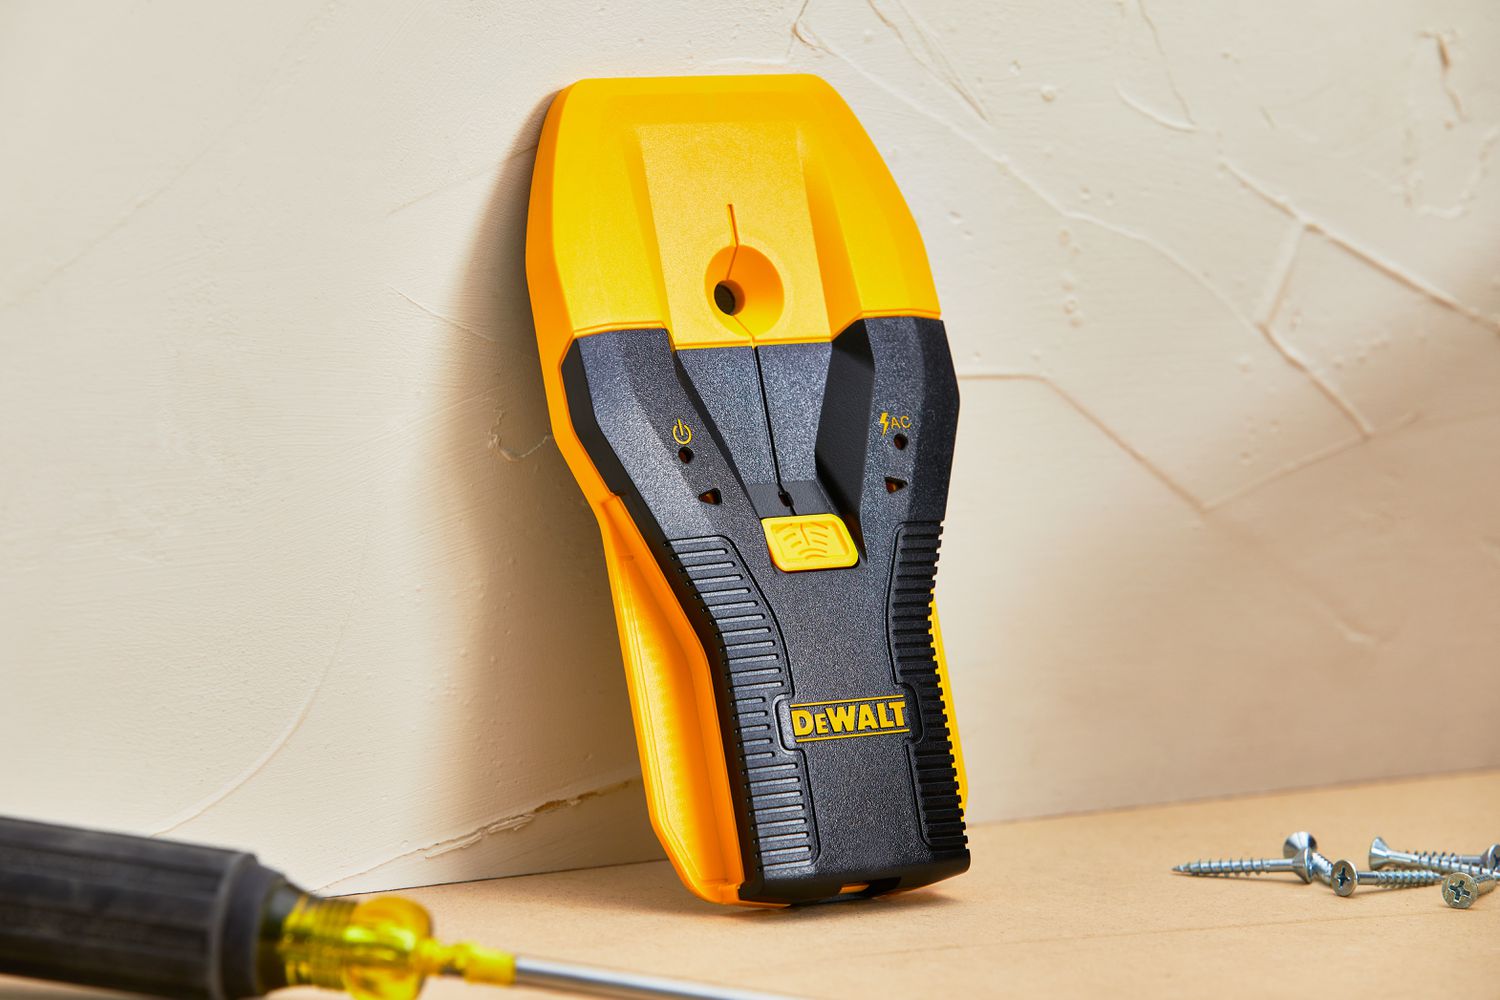
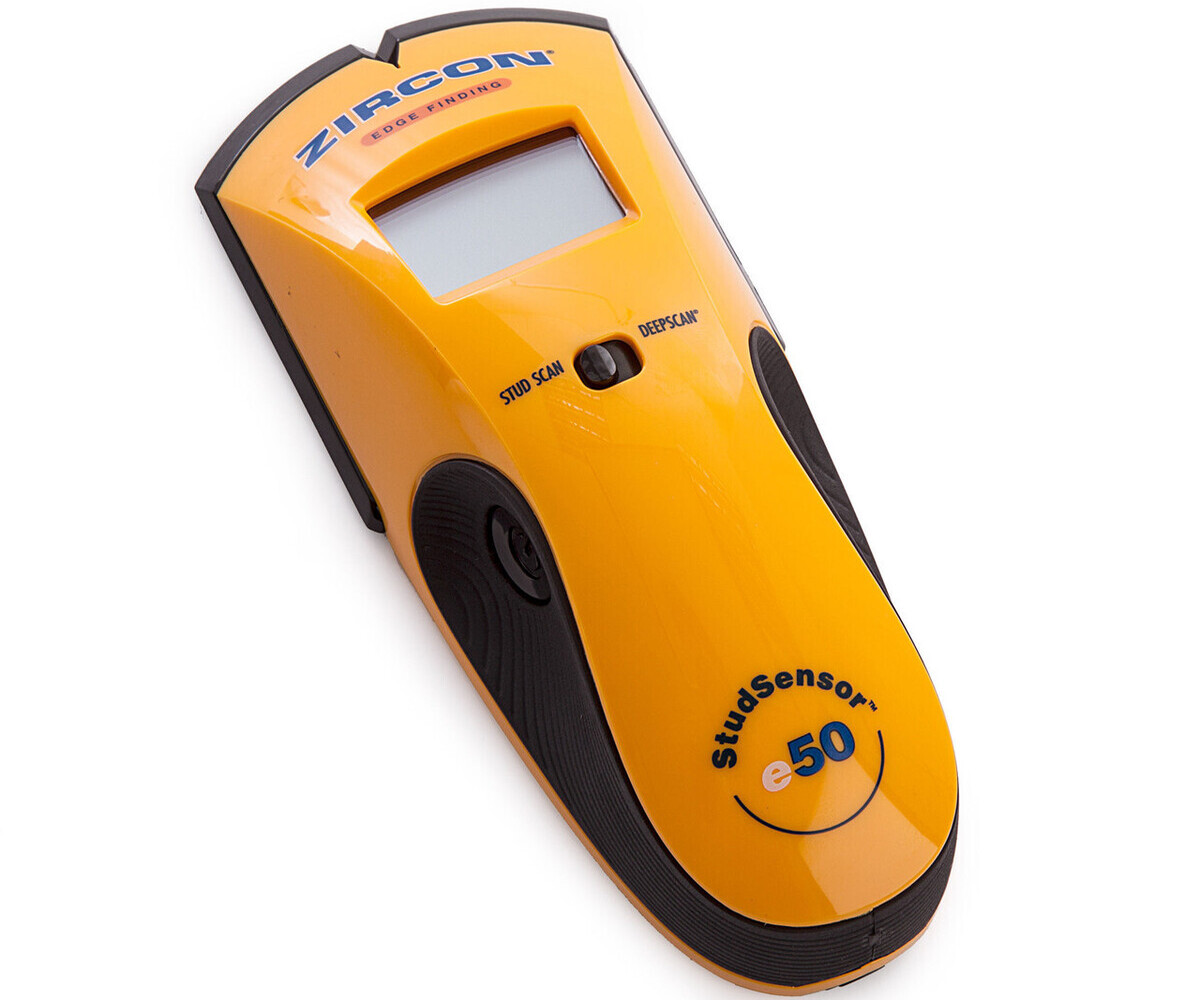
- Choose the Right Stud Finder: Select the appropriate stud finder for your needs. Consider factors such as wall thickness, the type of stud finder (electronic or magnetic), and any additional features that may aid in your specific project.
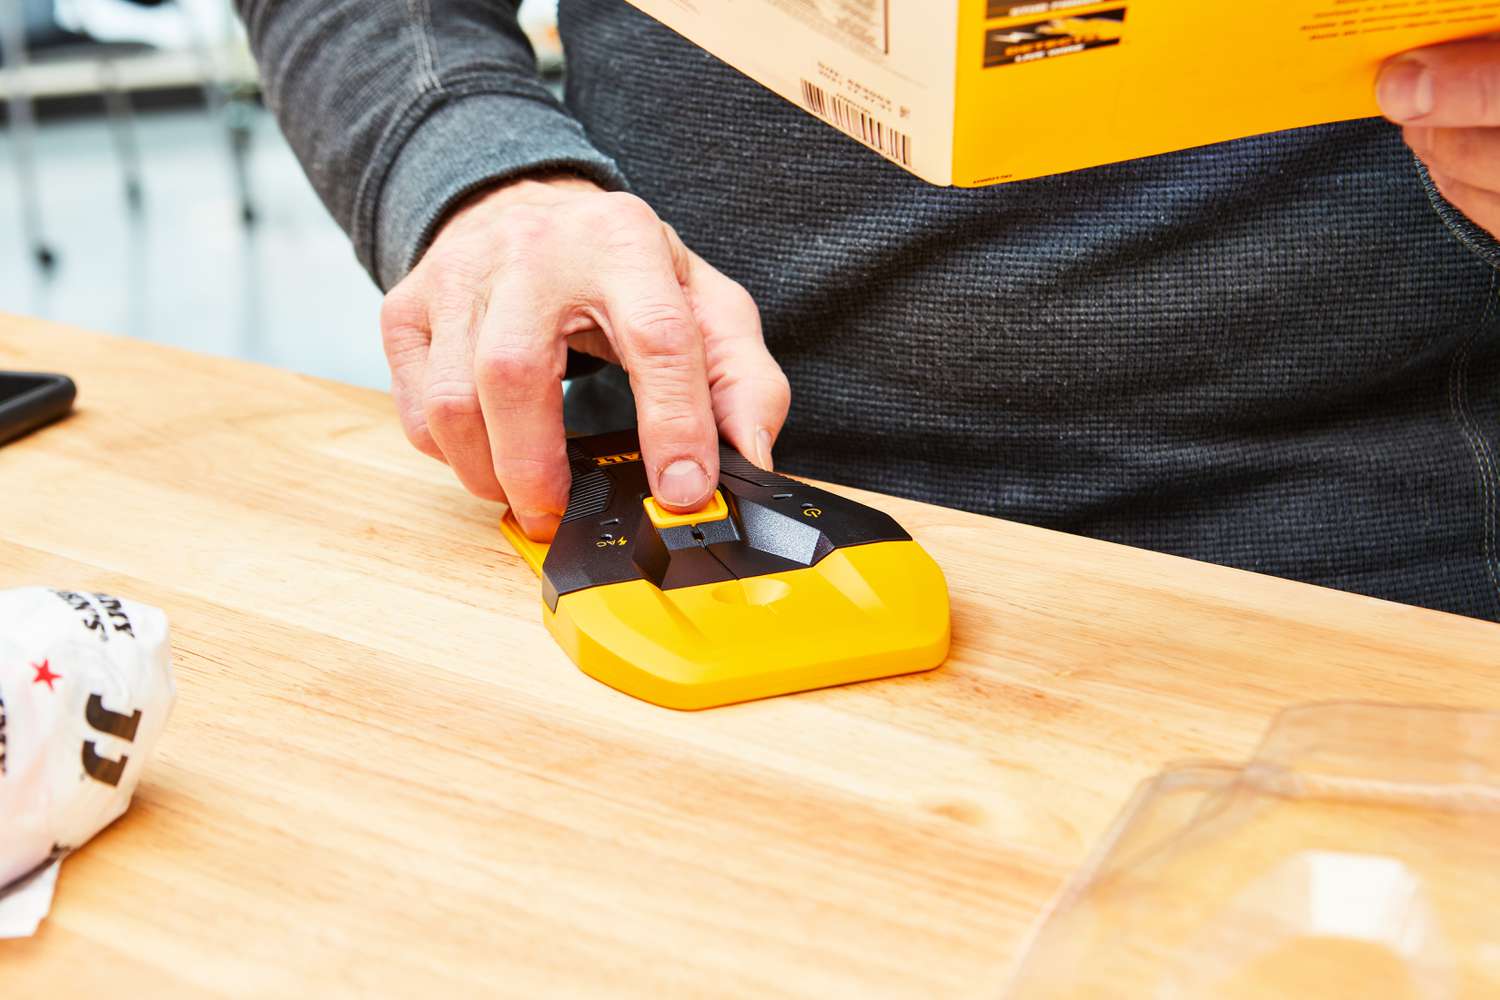
- Prepare the Stud Finder: Ensure the stud finder is powered on and calibrated according to the manufacturer’s instructions. Calibration is crucial for accurate stud detection.
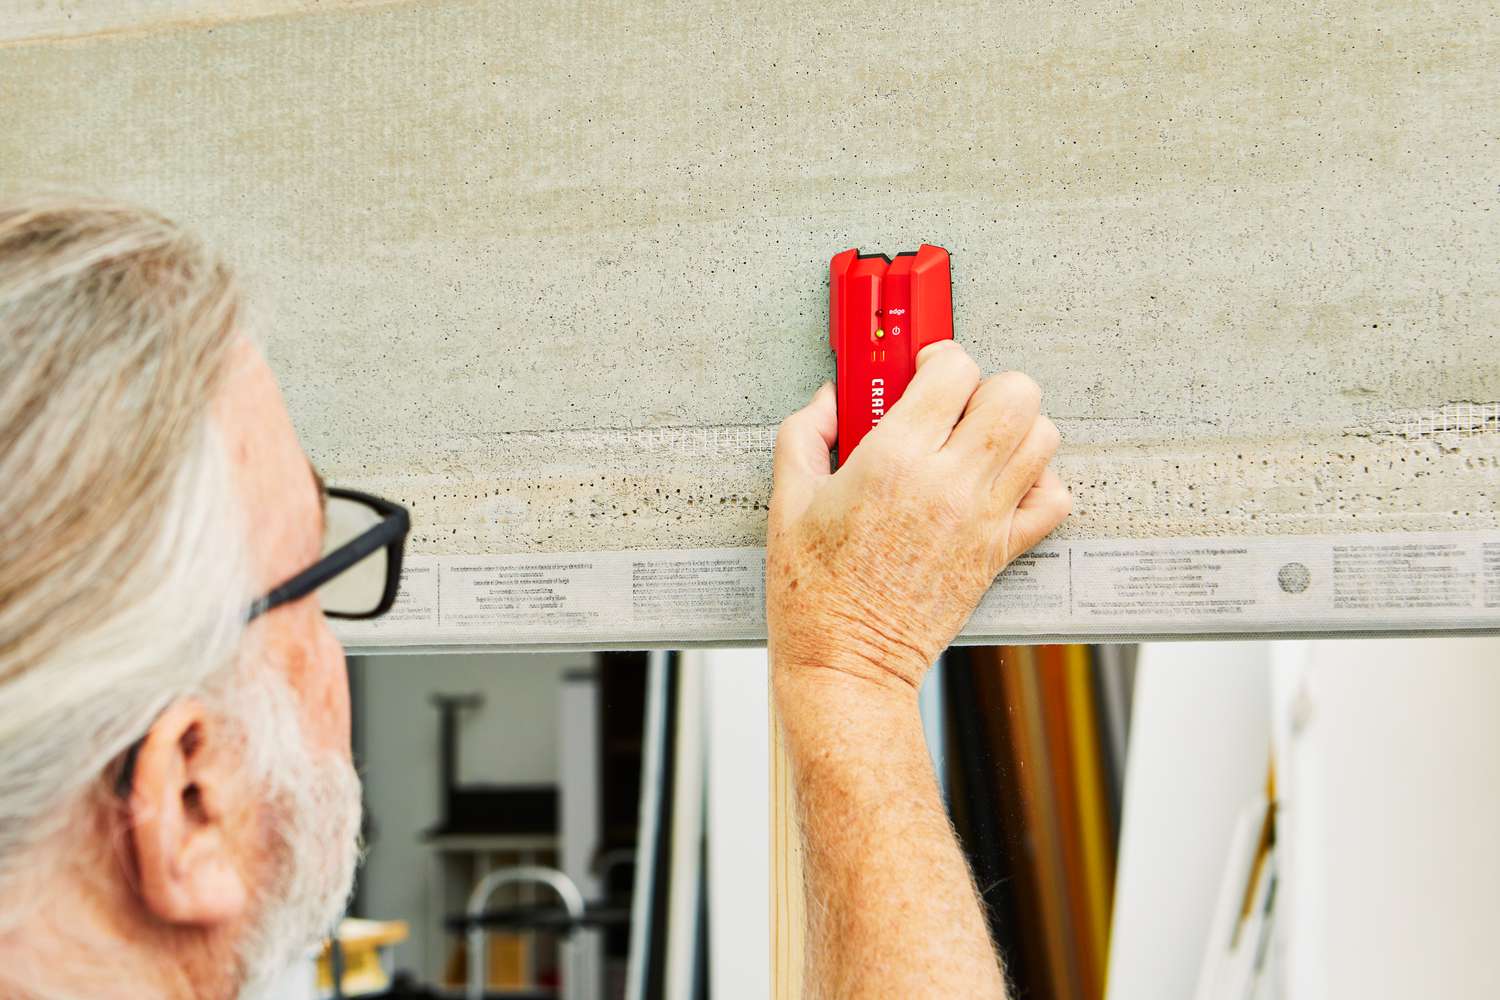
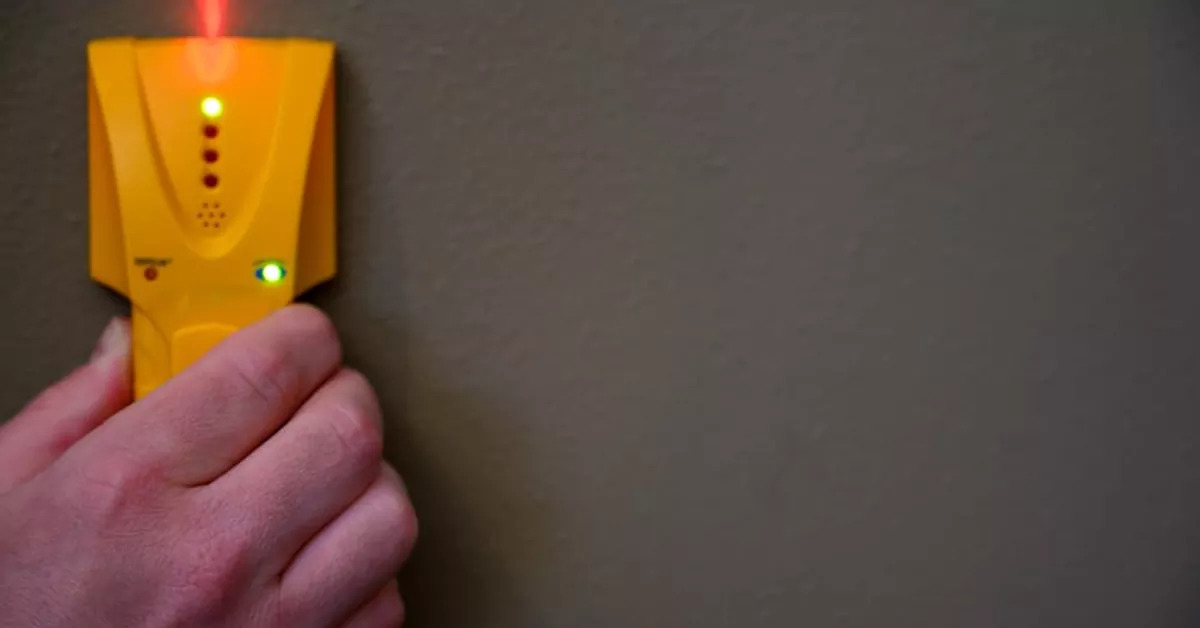
- Position the Stud Finder: Place the stud finder against the wall and ensure it is perpendicular to the surface. Hold it steady and avoid unnecessary movement during the scanning process.
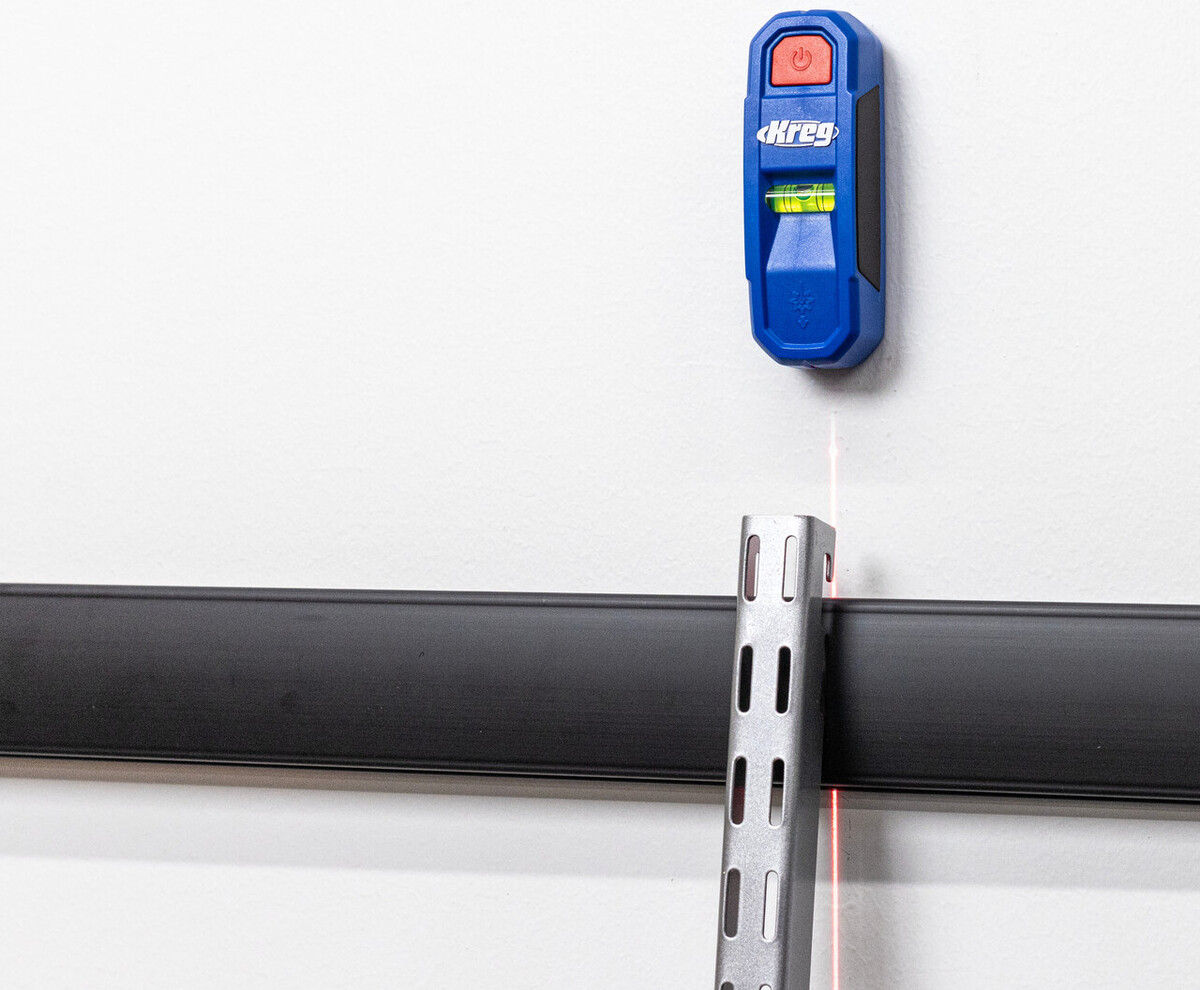
- Begin Scanning: Activate the stud finder and slowly move it horizontally across the wall. Pay attention to any visual or audible signals that indicate a change in wall density, signaling the presence of a stud.
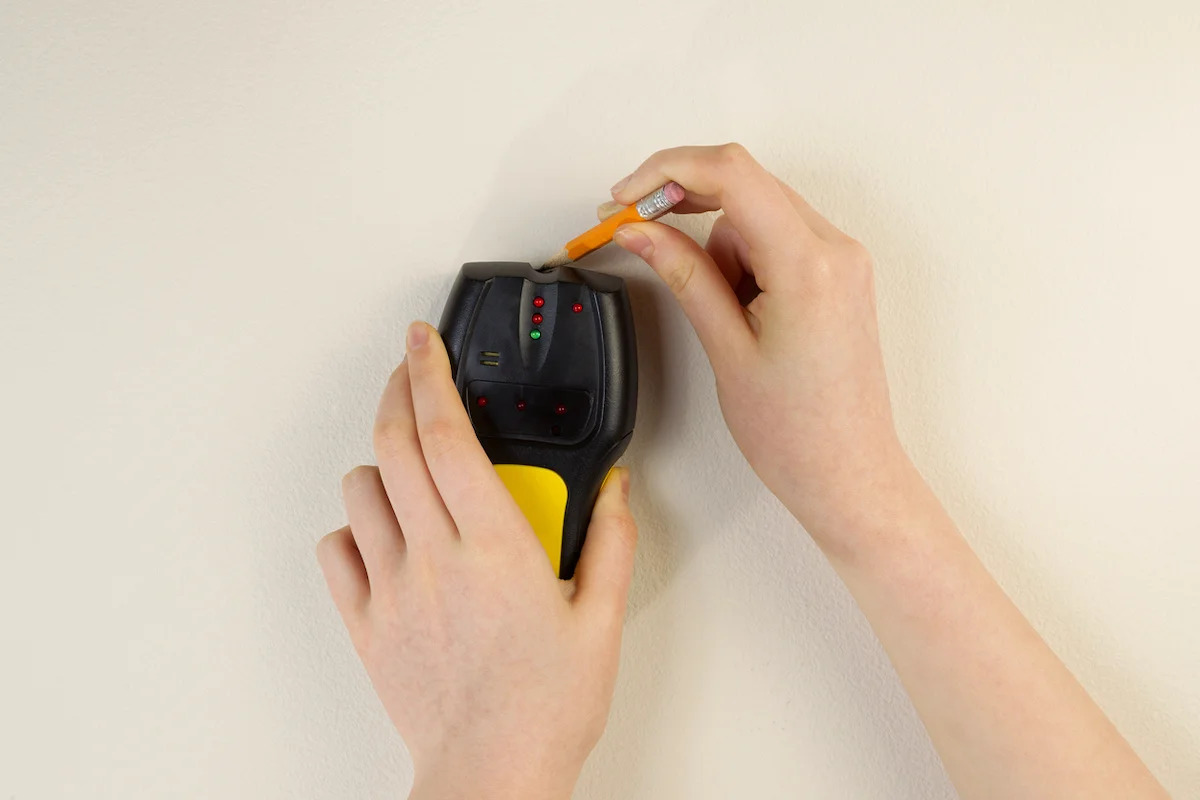
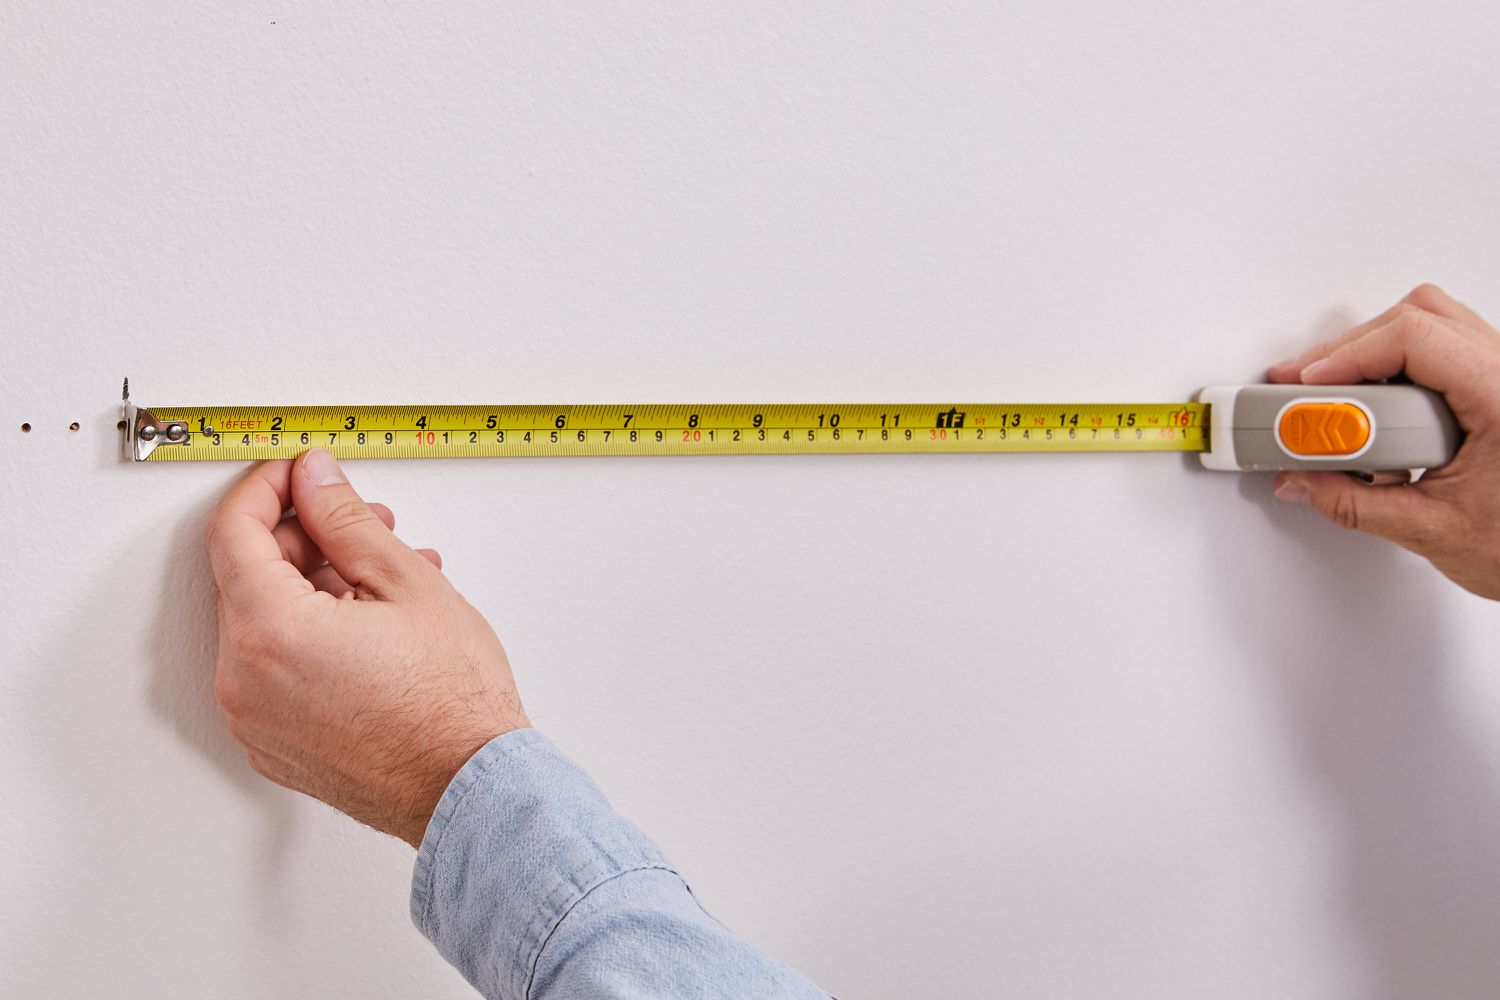
- Mark the Stud Location: Once the stud finder detects a stud, mark the location using a pencil or painter’s tape. Repeat the scanning process to locate additional studs if needed.
- Verify Stud Positions: To ensure accuracy, double-check the marked locations by scanning adjacent areas to confirm the consistent presence of studs at the identified positions.
By following these steps, you’ll be able to confidently and accurately locate wooden studs within your walls, empowering you to proceed with your hanging or mounting project with precision and peace of mind.
Now that you’ve mastered the art of using a stud finder, let’s explore some additional tips and tricks to further enhance your stud finding prowess.
When using a stud finder, make sure to calibrate it on a bare wall before starting. Slide it slowly across the wall and pay attention to the indicator lights or beeps to locate the stud.
Tips and Tricks for Effective Stud Finding
While the basic operation of a stud finder is straightforward, incorporating these tips and tricks into your stud finding routine can significantly improve your success rate:
- Understanding Wall Construction: Familiarize yourself with the typical layout of wall studs in residential construction. Studs are commonly spaced 16 or 24 inches apart, so once you locate one stud, you can estimate the position of adjacent studs based on this standard spacing.
- Utilize Edge Scanning: When scanning for studs, start from the edge of the wall and move inward. This technique helps you identify the stud edges more accurately, allowing for precise marking and measurements.
- Confirm Stud Positions: If your stud finder has a marking or “hold” function, use it to mark the edges of the detected studs. Then, verify the positions by scanning adjacent areas to ensure the consistency of the stud locations.
- Account for Electrical Wiring and Pipes: Be mindful of potential obstacles behind the walls, such as electrical wiring and plumbing pipes. Some advanced stud finders offer modes to detect live AC wires, providing an added layer of safety during the stud finding process.
- Consider Wall Surface Material: Different wall materials, such as plaster, lath, or tile, may require specific stud finding techniques. Consult the stud finder’s manual to understand its compatibility with various wall surfaces and adjust your approach accordingly.
- Practice Patience: Slow and steady movements with the stud finder yield more accurate results. Rushing through the scanning process may lead to missed studs or inaccurate readings.
- Explore Advanced Features: If your stud finder offers advanced features such as deep scanning, metal detection, or stud width indication, familiarize yourself with these capabilities to maximize the tool’s effectiveness in different wall conditions.
By incorporating these tips and tricks into your stud finding endeavors, you’ll enhance your proficiency and confidence in locating wooden studs behind walls, ensuring a solid and secure foundation for your hanging and mounting projects.
Conclusion
Congratulations on mastering the art of using a stud finder! By understanding the basics of stud finders, following a step-by-step guide, and incorporating valuable tips and tricks, you’ve equipped yourself with the knowledge and skills to confidently locate wooden studs within your walls. This newfound proficiency opens the door to a wide array of home improvement projects, from securely mounting heavy shelves to hanging decorative items with ease and precision.
Remember, the key to successful stud finding lies in patience, precision, and a thorough understanding of your tools. As you embark on your DIY endeavors, continue to refine your techniques and leverage the valuable insights gained from this guide to ensure consistently accurate stud detection.
With your newfound expertise, you can tackle home improvement projects with confidence, knowing that your fixtures and installations are anchored securely to the sturdy wooden studs within your walls. So go ahead, unleash your creativity, and transform your living spaces with the assurance of a solid foundation provided by your trusty stud finder.
Now, armed with the knowledge and skills to effectively use a stud finder, you’re ready to take on a world of exciting home improvement opportunities. Happy DIY-ing!
Frequently Asked Questions about How To Use Stud Finder
Was this page helpful?
At Storables.com, we guarantee accurate and reliable information. Our content, validated by Expert Board Contributors, is crafted following stringent Editorial Policies. We're committed to providing you with well-researched, expert-backed insights for all your informational needs.


0 thoughts on “How To Use Stud Finder”