Home>Interior Design>How To Patch A Drywall Ceiling: An Easy Guide For DIYers
Interior Design
How To Patch A Drywall Ceiling: An Easy Guide For DIYers
Modified: September 2, 2024
Learn how to patch a drywall ceiling with this easy guide for DIYers. Enhance your interior design skills and save money by doing it yourself.
(Many of the links in this article redirect to a specific reviewed product. Your purchase of these products through affiliate links helps to generate commission for Storables.com, at no extra cost. Learn more)
Introduction
If you’re a DIY enthusiast or simply want to save some money on home repairs, patching a drywall ceiling can be a feasible project to undertake. Whether you have experienced water damage, cracks, or holes in your ceiling, fixing it yourself can restore its beauty and functionality without the need to hire a professional.
However, it’s important to approach this task with careful planning and attention to detail. Understanding the materials and tools you’ll need, as well as following the correct steps, will ensure a successful outcome.
In this easy guide, we will walk you through the process of patching a drywall ceiling, providing you with the knowledge and confidence to tackle this project on your own. So, gather your materials and let’s get started!
Key Takeaways:
- Patching a drywall ceiling is an achievable DIY project with the right materials and steps. Careful preparation, assessment, and attention to detail are key to achieving a professional-looking finish.
- By following the step-by-step guide, DIYers can confidently restore the beauty and functionality of their drywall ceiling. Patience, proper tools, and a meticulous approach are essential for a successful outcome.
Read more: How To Drywall A Basement Ceiling
Materials and Tools Needed
Before you begin patching your drywall ceiling, it’s important to have all the necessary materials and tools on hand. Here’s a list of what you’ll need:
- Drywall patch or piece of drywall
- Joint compound
- Drywall tape
- Sanding block or sandpaper
- Putty knife or trowel
- Paint primer
- Ceiling paint
- Paint roller and tray
- Drop cloth or plastic sheeting
- Painter’s tape
- Measuring tape
- Pencil or marker
- Safety goggles
- Dust mask
Make sure to gather these materials before you begin the project to avoid delays or interruptions. It’s also a good idea to protect your furniture and floors by covering them with a drop cloth or plastic sheeting.
Additionally, ensure you have the necessary safety equipment, such as safety goggles and a dust mask, to protect yourself from any dust or debris that may be generated during the process.
Now that you have all the materials and tools ready, it’s time to move on to the next step: preparing the area.
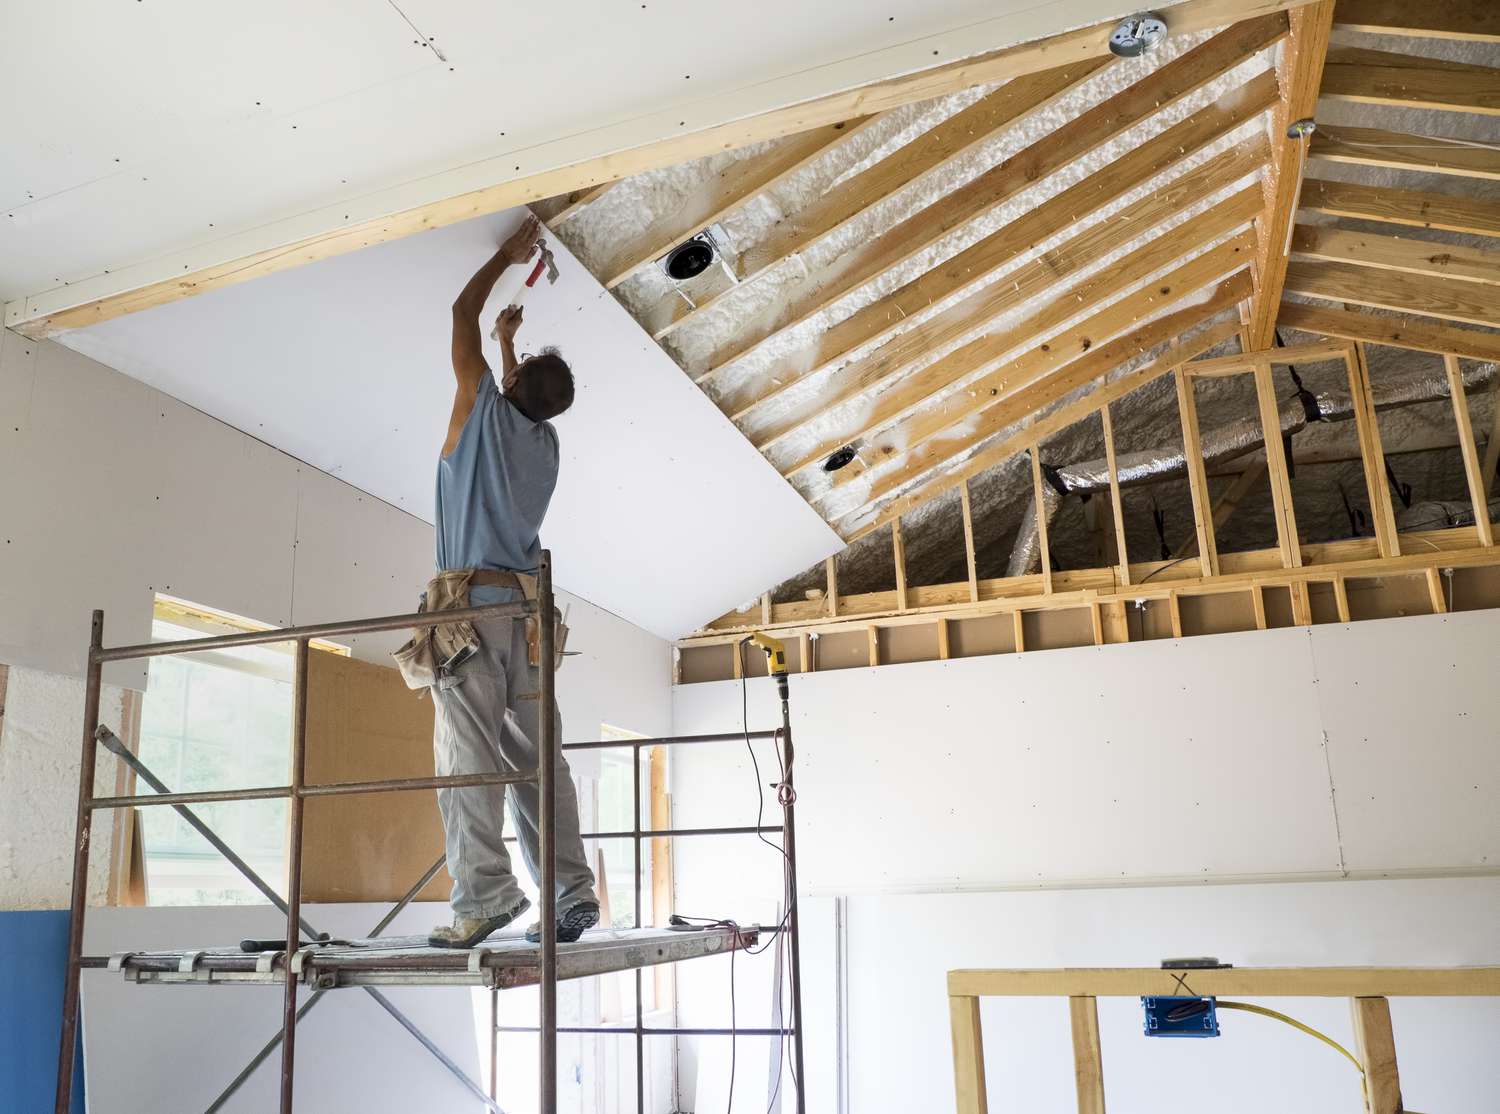
Step 1: Prepare the Area
Before you begin patching the drywall ceiling, it’s crucial to prepare the area properly. Follow these steps to ensure a clean and well-prepared surface:
- Start by removing any loose debris or damaged sections of the ceiling. Use a putty knife or trowel to gently scrape away any peeling paint, loose drywall, or crumbling plaster.
- Next, wipe down the ceiling with a damp cloth to remove any dust or dirt. This will help the patching materials adhere better to the surface.
- Using a measuring tape, measure the size of the damaged area. Take precise measurements to ensure the patch fits correctly.
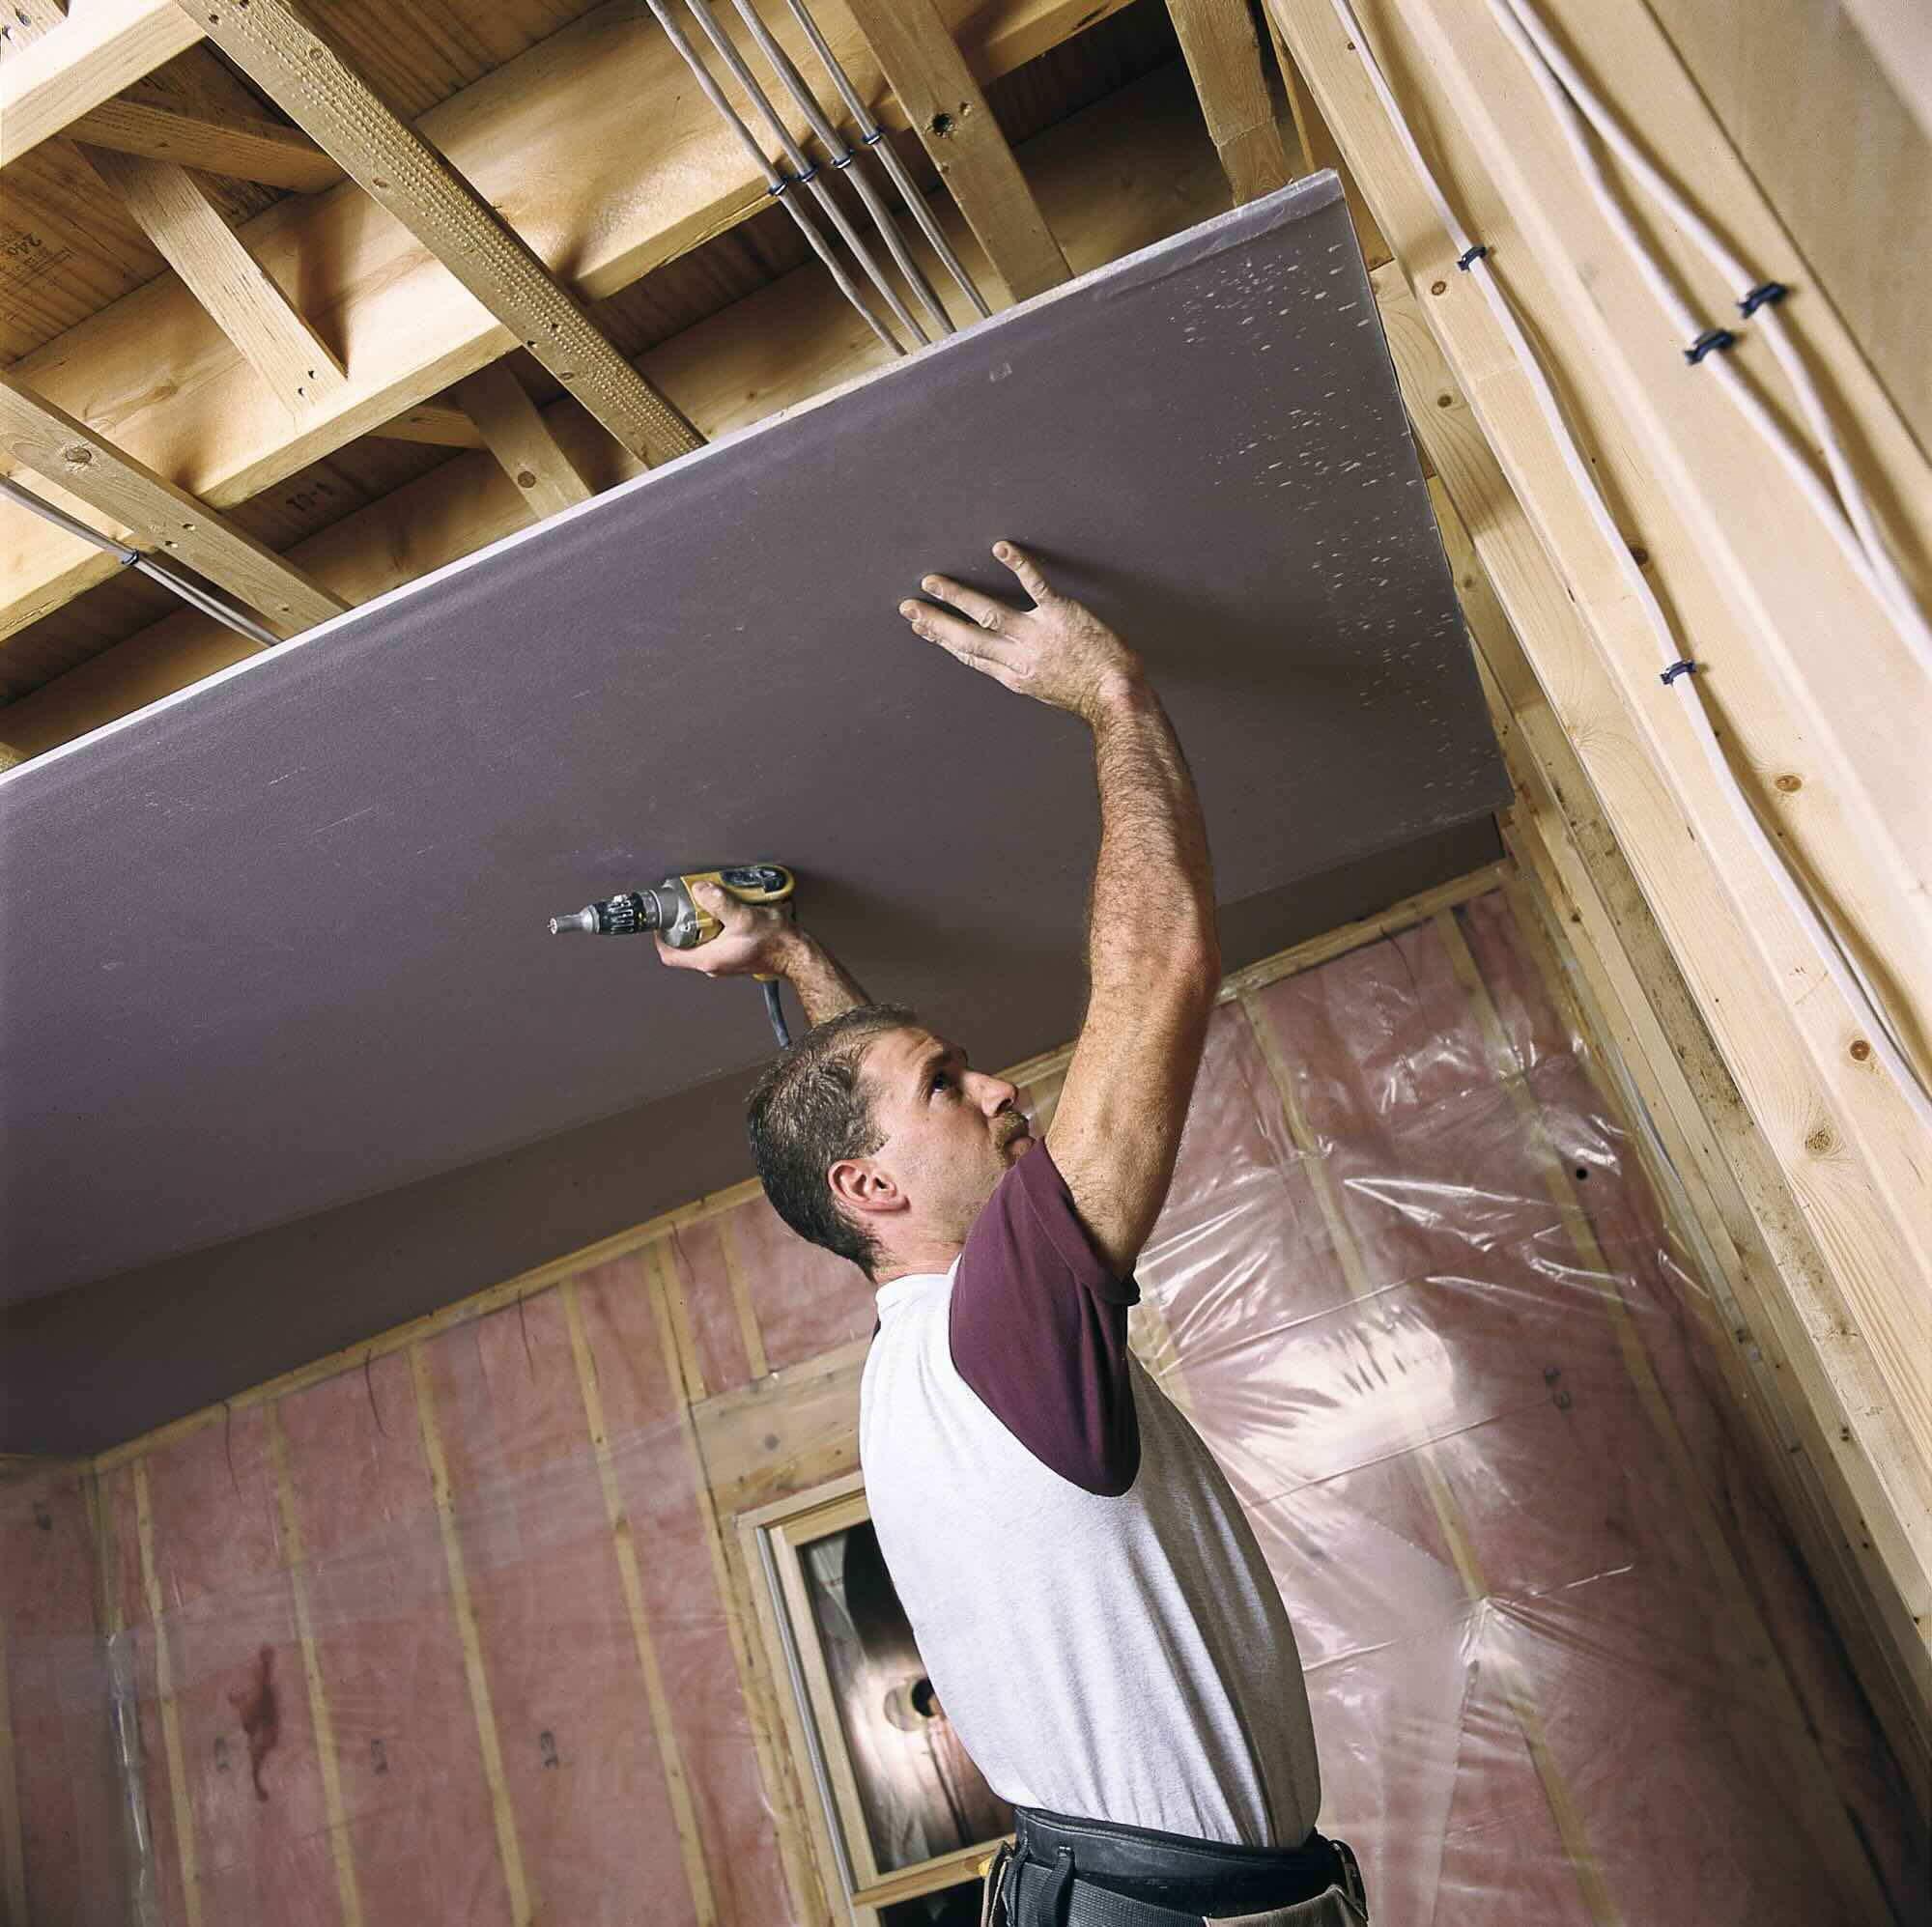
- With a pencil or marker, mark the dimensions of the damaged area on the drywall patch or piece of drywall. Carefully cut along the marked lines using a utility knife or drywall saw.
- Once the patch is cut, place it over the damaged area to check the fit. Make any necessary adjustments to ensure a snug fit.
- Now, it’s time to secure the patch in place. Apply a thin layer of joint compound along the edges of the patch. Then, place the patch over the damaged area and press it firmly into the compound. Smooth out any excess compound using a putty knife or trowel.
- If the damaged area is larger or requires additional reinforcement, apply strips of drywall tape over the seams of the patch. Press the tape firmly into the compound, ensuring it is smooth and flat.
By following these steps, you will have a clean and properly prepared area ready for the next step: assessing and repairing the damage.
Step 2: Assess and Repair the Damage
Now that you have prepared the area, it’s time to assess and repair the damage to your drywall ceiling. Here’s how:
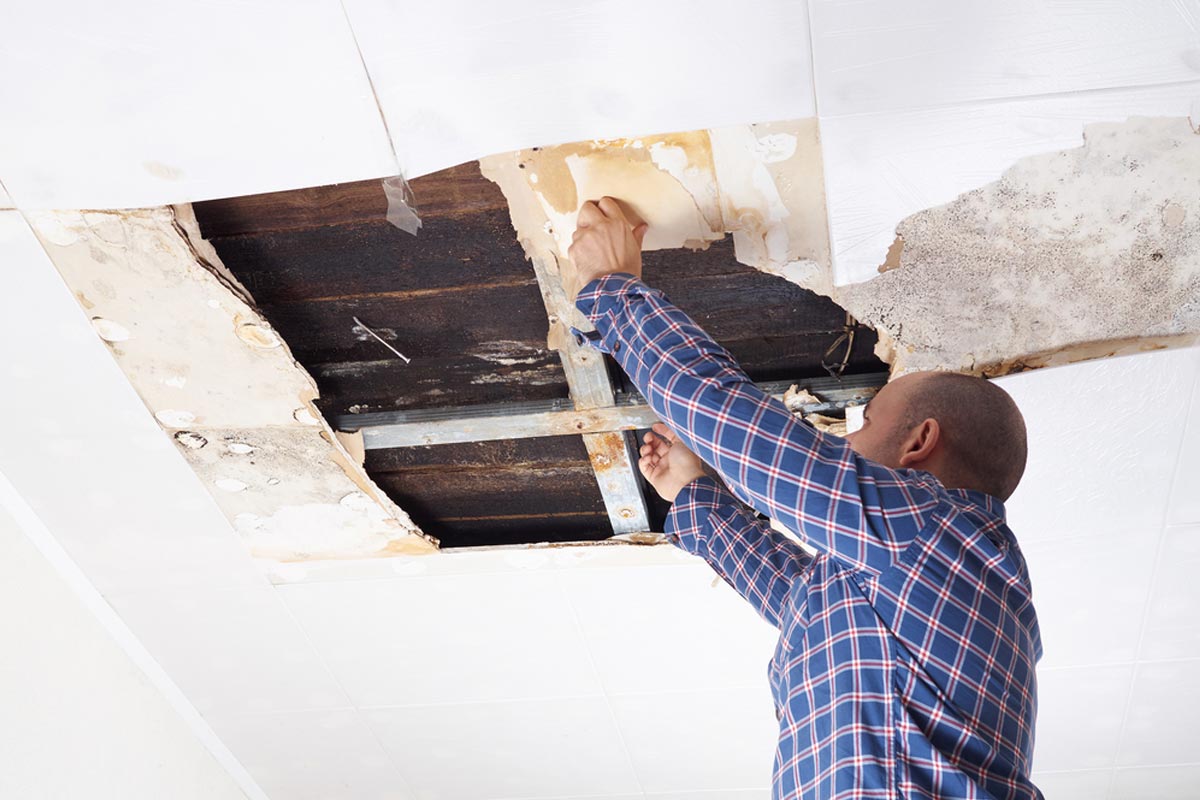
- Examine the damaged area closely to determine the extent of the damage. Look for cracks, holes, or water damage.
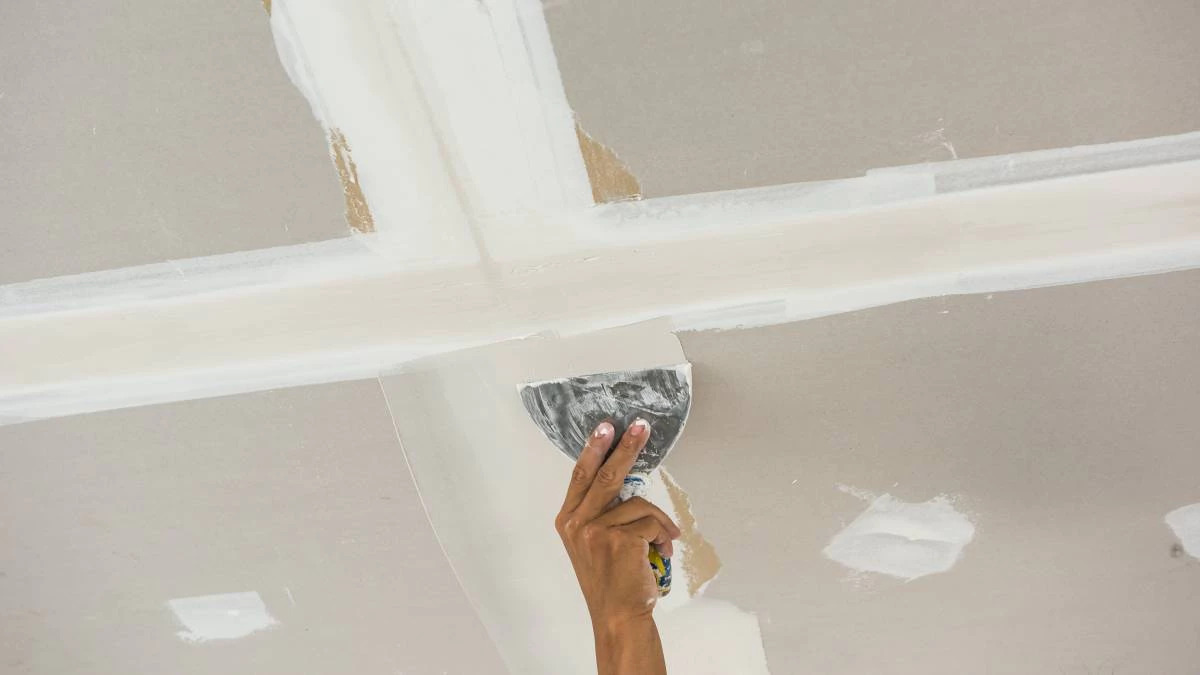
- If there are any cracks or small holes, use a putty knife or trowel to apply a thin layer of joint compound over the affected area. Smooth it out and let it dry completely. Once dry, sand the patched area gently with a sanding block or sandpaper until it is smooth and even with the surrounding ceiling.
- If there are larger holes or extensive damage, you may need to use a drywall patch. Place the patch over the damaged area and secure it in place using joint compound. Apply a layer of joint compound over the patch, making sure to feather the edges to blend it with the rest of the ceiling. Let it dry completely.
- After the joint compound has dried, sand the patched area once again until it is smooth and level with the surrounding ceiling. Wipe away any dust with a cloth.
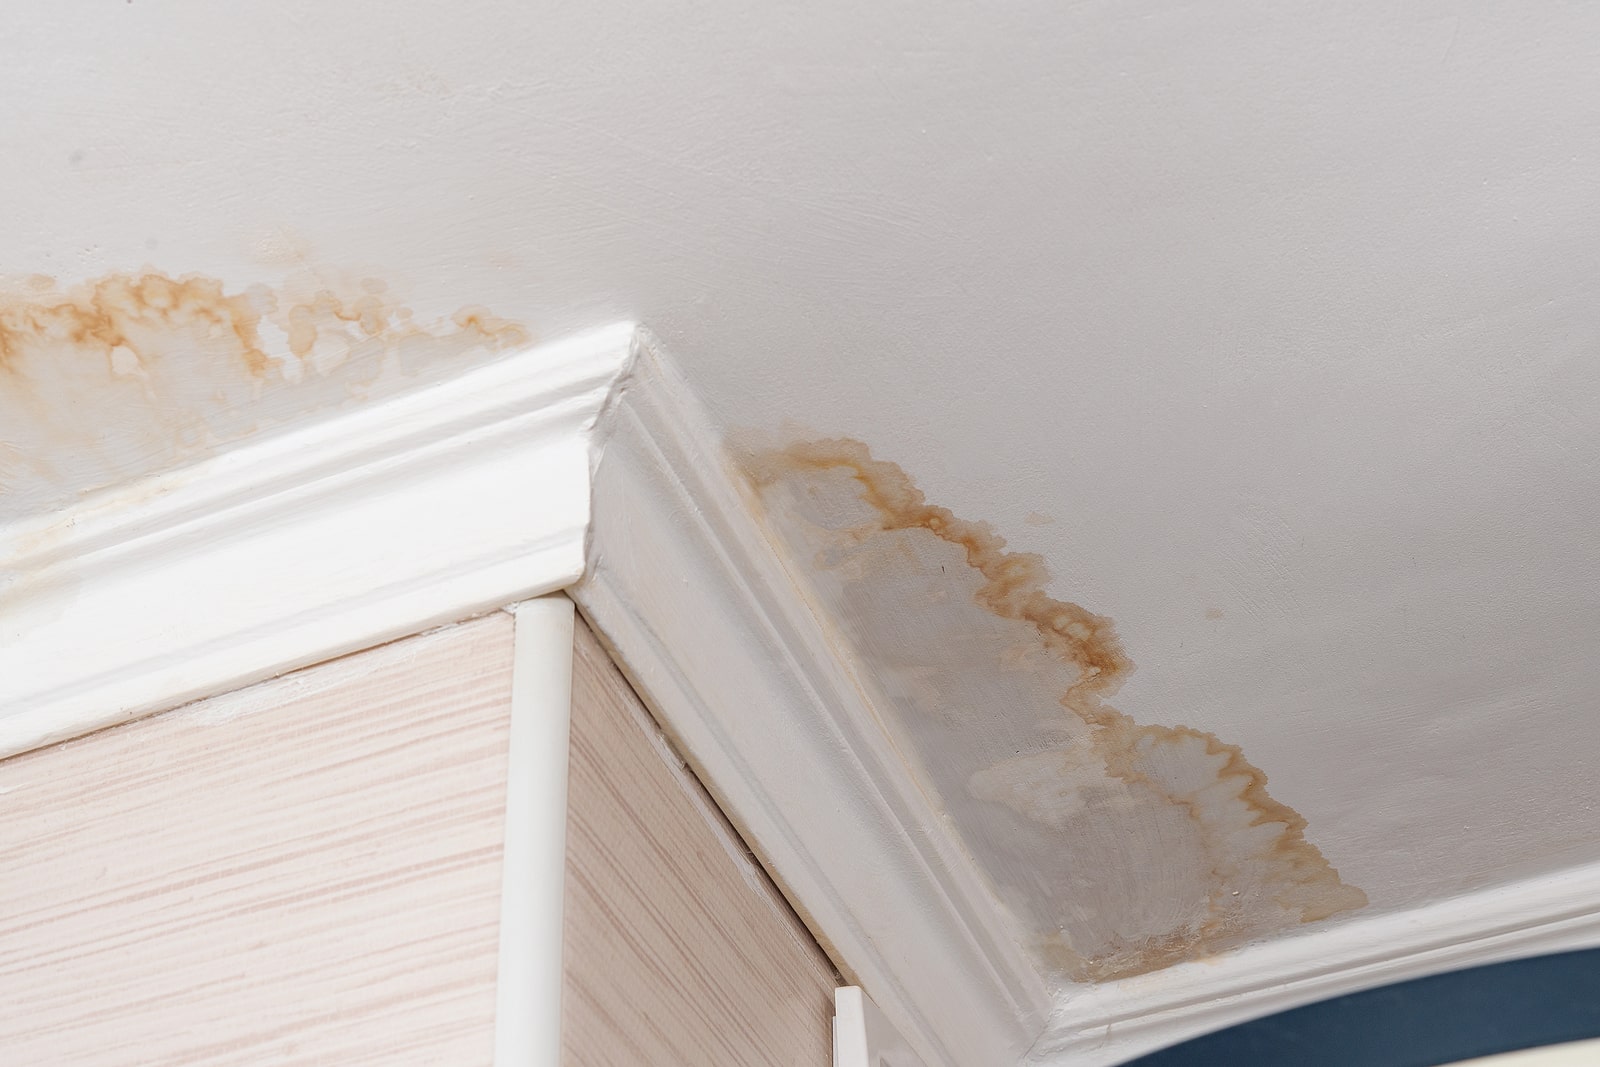
- If you notice any water damage or stains on the ceiling, it’s important to address the underlying issue before proceeding with the repairs. This may involve fixing a leak or addressing any ventilation or moisture problems.
- Inspect the repaired area to ensure it is smooth and seamless. If there are any imperfections, apply another layer of joint compound and repeat the sanding process until the desired finish is achieved.
By taking the time to properly assess and repair the damage, you can ensure a professional-looking finish that seamlessly blends with the rest of the ceiling. Once the repairs are complete, you can move on to the next step: applying the joint compound.
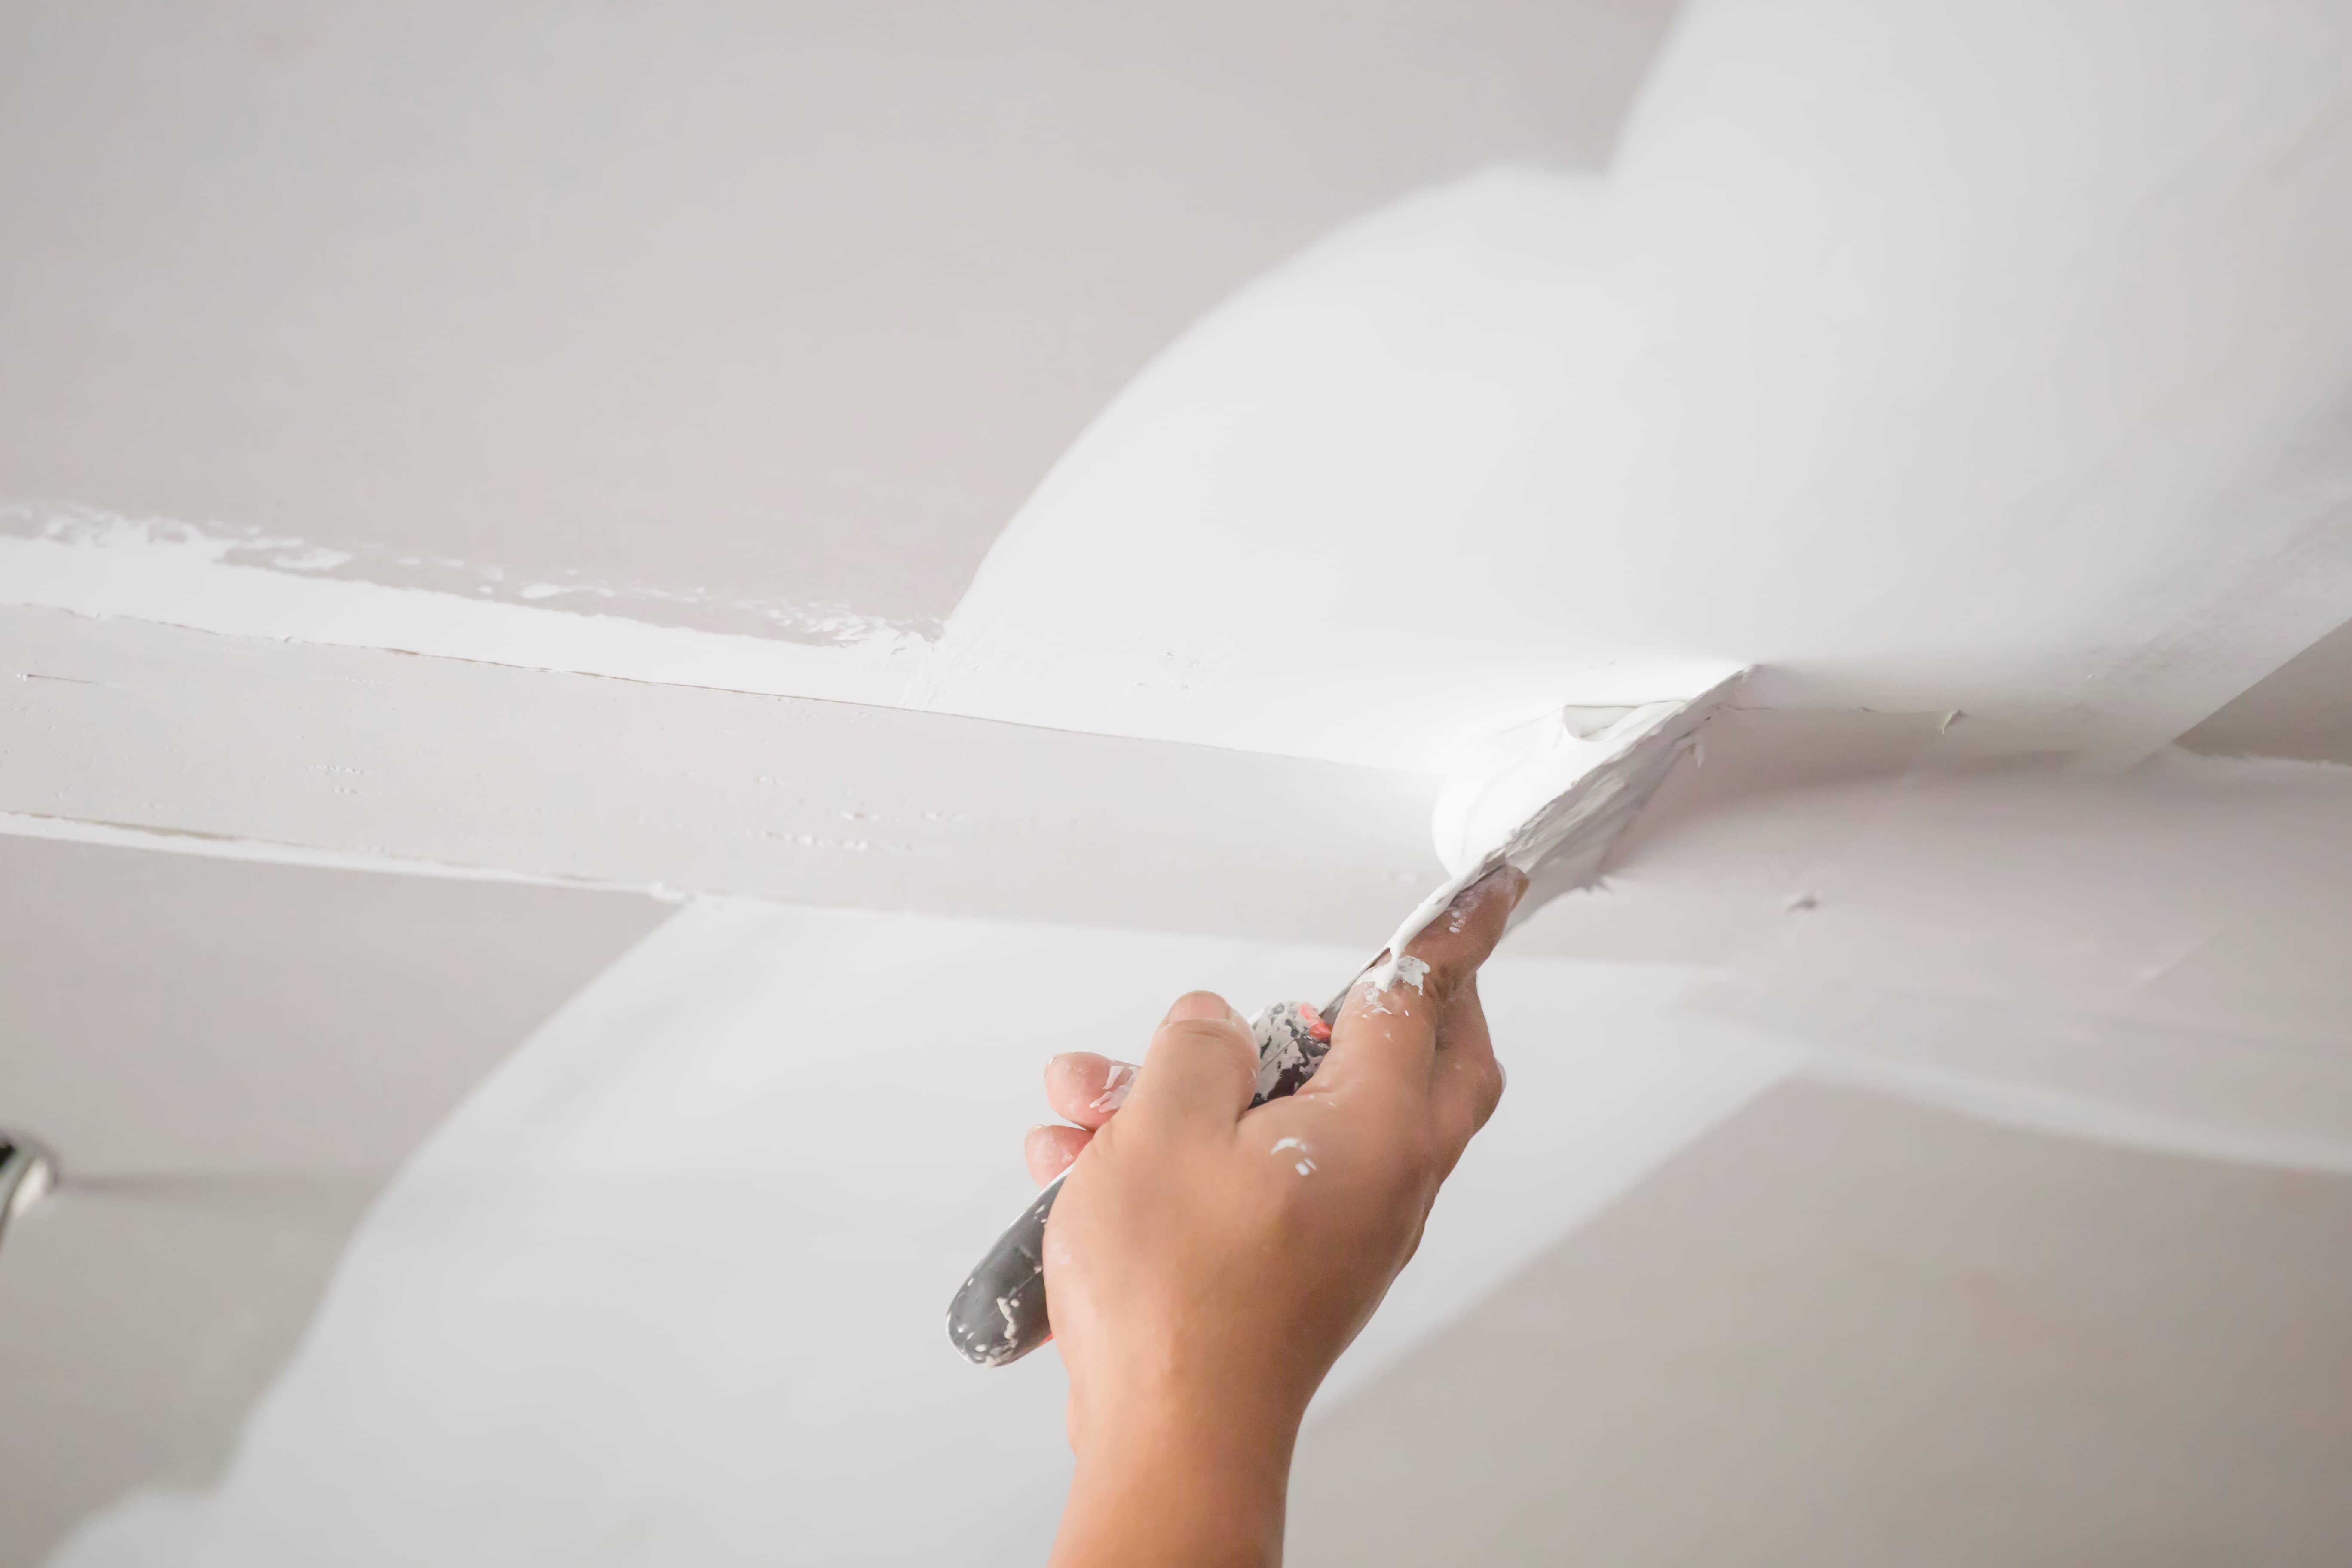
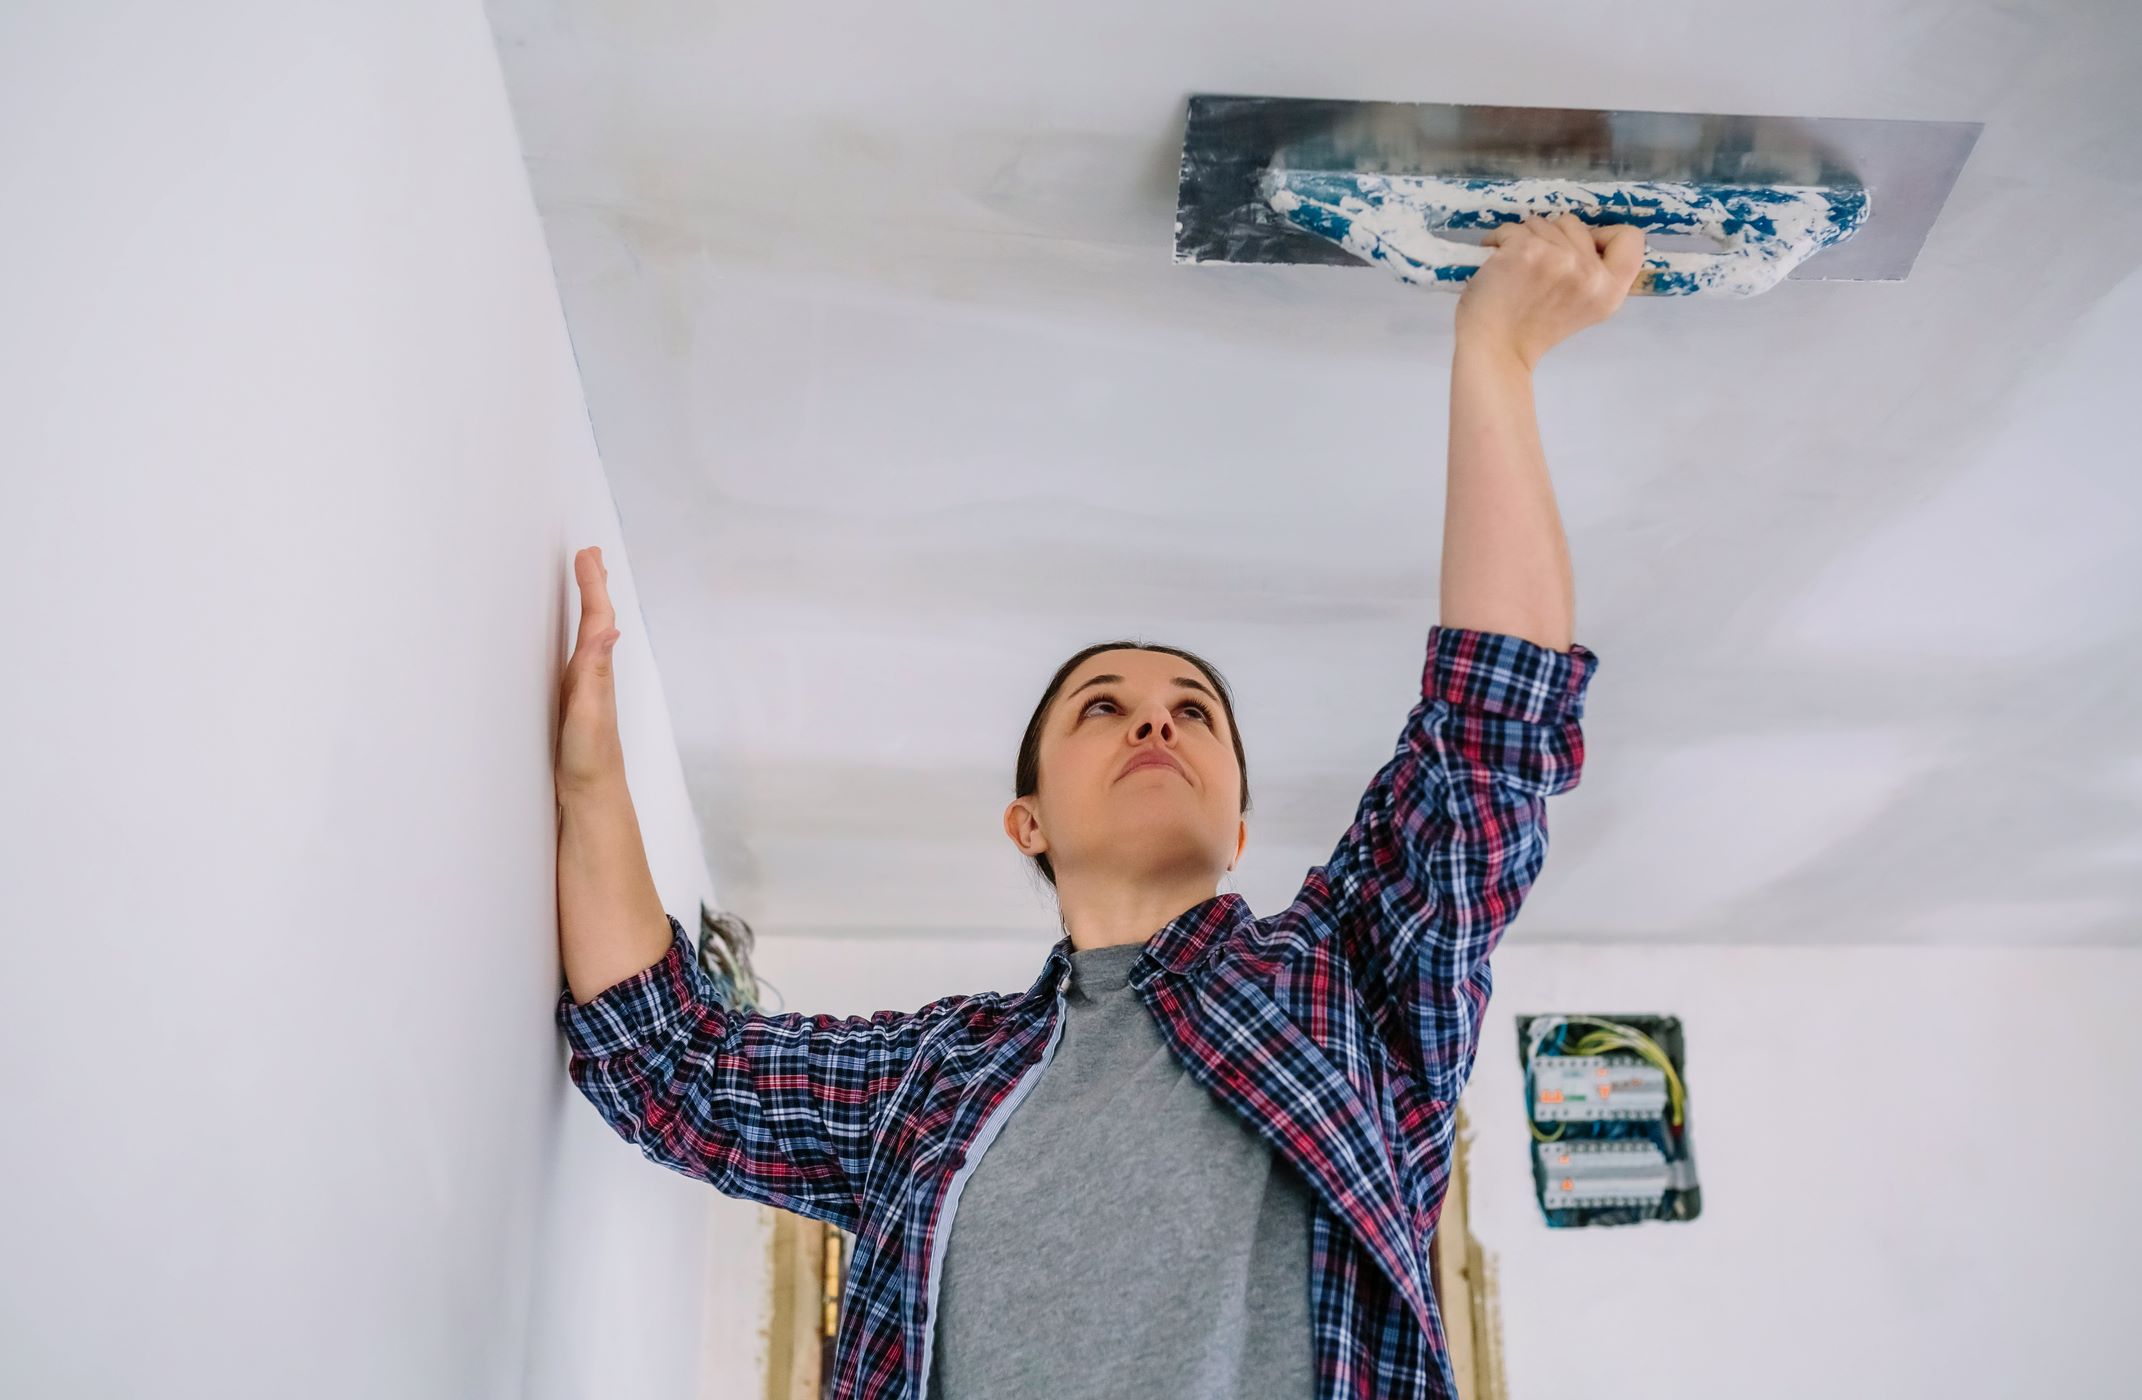
Step 3: Apply the Joint Compound
Now that you have repaired the damage to your drywall ceiling, it’s time to apply the joint compound. This compound will help create a smooth and seamless surface. Follow these steps:
- Start by opening the container of joint compound and stirring it well to ensure a smooth consistency.
- Using a putty knife or trowel, scoop a small amount of joint compound onto the blade.
- Apply a thin layer of joint compound over the repaired area and extend it slightly beyond the edges of the patch. Use long, smooth strokes to spread the compound evenly.
- If you’ve applied drywall tape over the seams of the patch, press the tape firmly into the compound while smoothing out any air bubbles.
- Continue to apply the joint compound in thin layers until the repaired area is completely covered. Feather the edges of each layer to blend it with the surrounding ceiling.
- Allow each layer of joint compound to dry completely before applying the next one. Follow the manufacturer’s instructions for drying times, as it may vary depending on the brand and conditions.
- Once all the layers have dried, lightly sand the patched area with a sanding block or sandpaper to smooth out any imperfections. Wipe away any dust with a clean cloth.
Remember to take your time and be patient during this process. Applying multiple thin layers of joint compound and allowing them to dry between each layer will result in a smoother and more professional finish.
Now that you have applied the joint compound and achieved a smooth surface, you’re ready to move on to the next step: sanding and smoothing.
When patching a drywall ceiling, be sure to use a self-adhesive mesh patch to cover the hole, then apply joint compound in thin layers, allowing each layer to dry before adding the next. Sand the area smooth before painting for a seamless finish.
Step 4: Sanding and Smoothing
After applying the joint compound, it’s important to sand and smooth the patched area to achieve a seamless finish. Follow these steps:
- Using a sanding block or sandpaper, gently sand the patched area in a circular motion. Start with a coarse-grit sandpaper and gradually switch to a finer grit to achieve a smooth finish.
- Be careful not to sand too aggressively, as it can remove too much joint compound and create unevenness. Instead, use light pressure and let the sandpaper do the work.
- Sand the patched area until it feels smooth to the touch and blends seamlessly with the surrounding ceiling. Dust may accumulate during the sanding process, so be sure to wipe it away with a clean cloth.
- As you sand, periodically stop to check the progress. Run your hand over the patched area to feel for any rough spots or imperfections. Continue sanding until you achieve the desired level of smoothness.
- Once you’re satisfied with the smoothness, wipe away any remaining dust with a damp cloth.
Remember, sanding is a crucial step in achieving a professional-looking finish. Take your time and be patient to ensure the patched area blends seamlessly with the rest of the ceiling.
With the sanding and smoothing complete, it’s time to move on to the next step: priming the patched area.
Step 5: Prime the Patched Area
After sanding and smoothing the patched area, it’s important to prime it before painting. Priming helps to create a uniform surface and ensures better adhesion of the paint. Follow these steps to properly prime the patched area:
- Start by preparing the primer according to the manufacturer’s instructions. This may involve stirring or shaking the can to ensure proper consistency.
- Using a paintbrush or a roller, apply a thin coat of primer to the patched area. Be sure to feather the edges to blend it with the surrounding ceiling.
- Allow the primer to dry completely. The drying time will vary depending on the specific primer you’re using, so refer to the manufacturer’s instructions for guidance.
- Inspect the primed area to ensure it has a smooth and even appearance. If there are any visible imperfections, lightly sand them and apply another coat of primer.
- Once the primer is dry and the patched area looks seamless and uniform, you’re ready to proceed to the final step: painting the ceiling.
Priming the patched area is essential as it helps the paint adhere better and prevents the patched area from appearing different from the rest of the ceiling. Take your time with this step to ensure a professional and long-lasting finish.
With the priming complete, you’re now ready to add the finishing touch: painting the ceiling.
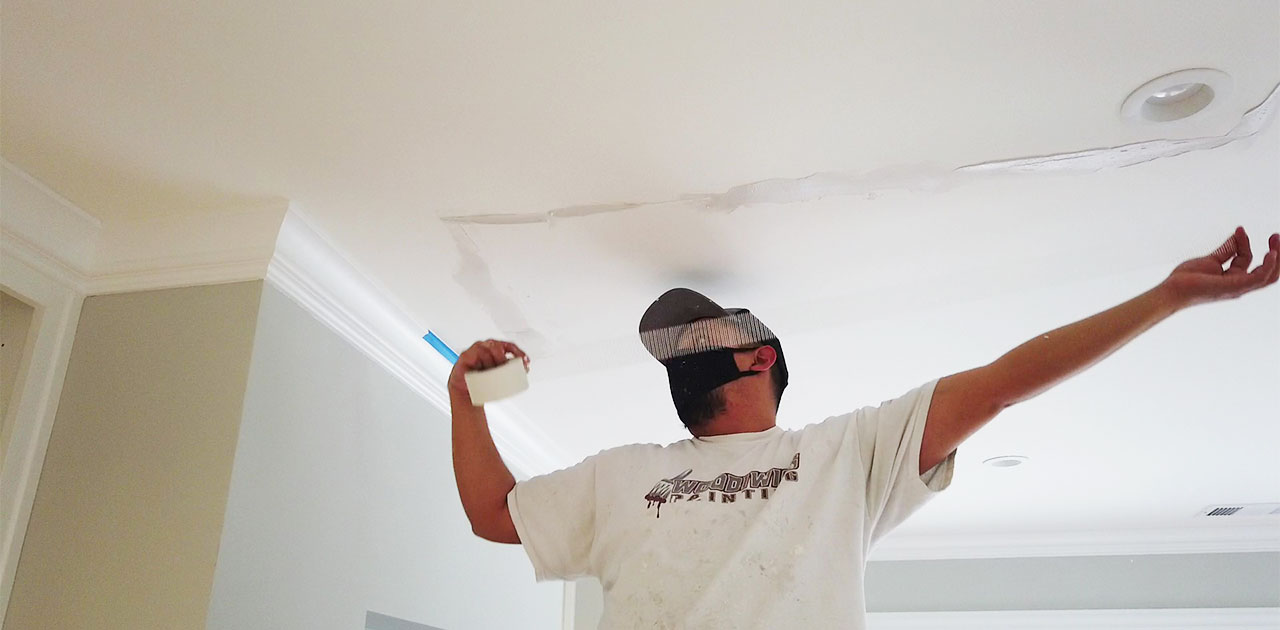
Step 6: Paint the Ceiling
Now that you have prepared, repaired, sanded, and primed the patched area, it’s time to paint the ceiling. Follow these steps to achieve a beautiful and cohesive look:
- Choose the appropriate paint color for your ceiling. Consider the existing color scheme of the room and the type of paint finish (e.g., matte, satin, or semi-gloss) you prefer.
- Before you start painting, protect the surrounding areas by covering them with a drop cloth and using painter’s tape to mask off any adjacent walls or trim.
- Using a paint roller, apply a coat of paint to the patched area. Start by rolling the paint in a “W” or “M” pattern to ensure even coverage.
- Continue painting the rest of the ceiling, working in small sections at a time. Blend the newly painted area with the existing ceiling to ensure a seamless transition.
- If necessary, apply a second coat of paint after the first coat has dried completely. This will help to enhance the color and ensure a uniform appearance.
- Allow the paint to dry thoroughly according to the manufacturer’s instructions before removing the drop cloth and painter’s tape.
- Once the paint is completely dry, step back and admire your freshly patched and painted ceiling. It should now look seamless and blend in perfectly with the rest of the room.
Painting the ceiling is the final step in the patching process. Take your time and pay attention to detail to achieve a professional and consistent finish throughout the space.
Congratulations! You have successfully patched and painted your drywall ceiling. By following these simple steps and using the right materials and tools, you can easily tackle this project and restore the beauty and functionality of your ceiling.
Remember, if you are unsure about your DIY skills or the extent of the damage, it’s always a good idea to consult a professional for guidance or assistance.
Now sit back, relax, and enjoy the transformed space with your newly patched and painted ceiling!
Conclusion
Patching a drywall ceiling doesn’t have to be a daunting task. With the right materials, tools, and guidance, you can easily tackle this project and restore the beauty and functionality of your ceiling. By following the step-by-step process outlined in this guide, you will be able to achieve a seamless and professional-looking finish.
Remember to carefully prepare the area, assess and repair the damage, apply the joint compound, sand and smooth the patched area, prime it, and finally, paint the ceiling. Each step is crucial in ensuring a successful outcome.
Throughout the process, it’s important to take your time, be patient, and pay attention to detail. By doing so, you will be able to achieve a seamless and cohesive look that blends in perfectly with the rest of the room.
However, if you are unsure of your DIY skills or the extent of the damage, it’s always wise to consult a professional. They will be able to provide expert advice and assistance, ensuring a flawless result.
So, gather your materials, prepare your work area, and confidently embark on the journey of patching your drywall ceiling. Take pride in your DIY efforts and enjoy the satisfaction of a job well done. Your restored ceiling will not only enhance the aesthetic appeal of your space but also contribute to the overall comfort and functionality of your home.
Now, go ahead and patch that drywall ceiling with confidence!
Frequently Asked Questions about How To Patch A Drywall Ceiling: An Easy Guide For DIYers
Was this page helpful?
At Storables.com, we guarantee accurate and reliable information. Our content, validated by Expert Board Contributors, is crafted following stringent Editorial Policies. We're committed to providing you with well-researched, expert-backed insights for all your informational needs.


0 thoughts on “How To Patch A Drywall Ceiling: An Easy Guide For DIYers”