Articles
How To Fix Ceiling Drywall Cracks
Modified: January 9, 2024
Learn practical tips and tricks from our articles on how to fix ceiling drywall cracks effectively. Transform your space with our expert advice.
(Many of the links in this article redirect to a specific reviewed product. Your purchase of these products through affiliate links helps to generate commission for Storables.com, at no extra cost. Learn more)
Introduction
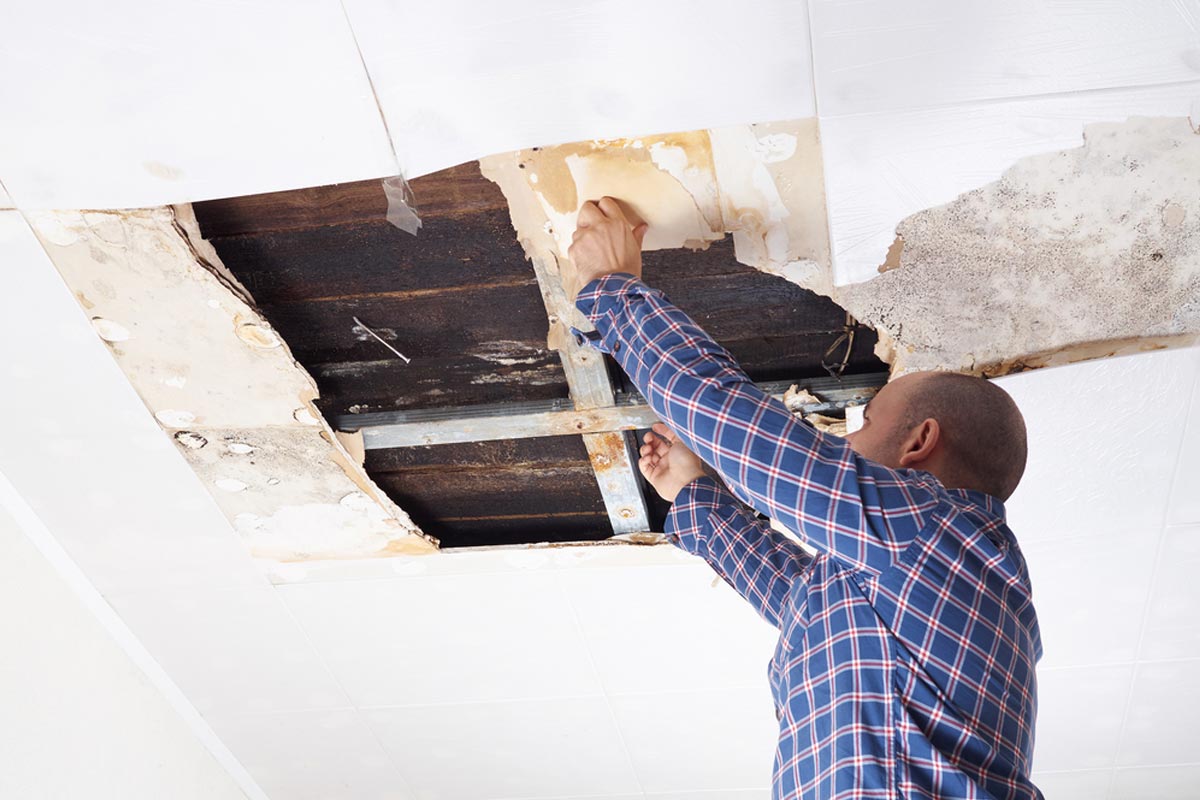
Ceiling drywall cracks can be a common issue in homes, and they can be quite unsightly. Not only do they ruin the appearance of your ceiling, but they can also indicate more serious underlying problems. It’s important to address these cracks as soon as possible to prevent further damage and ensure the stability of your ceiling.
In this article, we will guide you through the process of fixing ceiling drywall cracks. From assessing the damage to applying joint compound and painting the ceiling, we will provide you with step-by-step instructions to help you restore your ceiling to its former glory.
Before we begin, it’s important to note that larger or recurring cracks may require professional assistance. If you are uncertain about the severity of the damage or don’t feel comfortable handling it yourself, it’s always best to consult a professional.
Now, let’s dive into the process of fixing ceiling drywall cracks and rejuvenating your space.
Key Takeaways:
- Don’t ignore ceiling drywall cracks – assess the damage, gather materials, and follow step-by-step instructions to restore your ceiling to its former glory. Safety first, and seek professional help for larger or recurring cracks.
- Prepare, repair, and rejuvenate – fix ceiling drywall cracks with confidence by applying joint compound, sanding, and painting. Take the time to ensure a seamless finish and enjoy a beautifully restored ceiling.
Read more: How To Fix Cracked Ceiling Paint
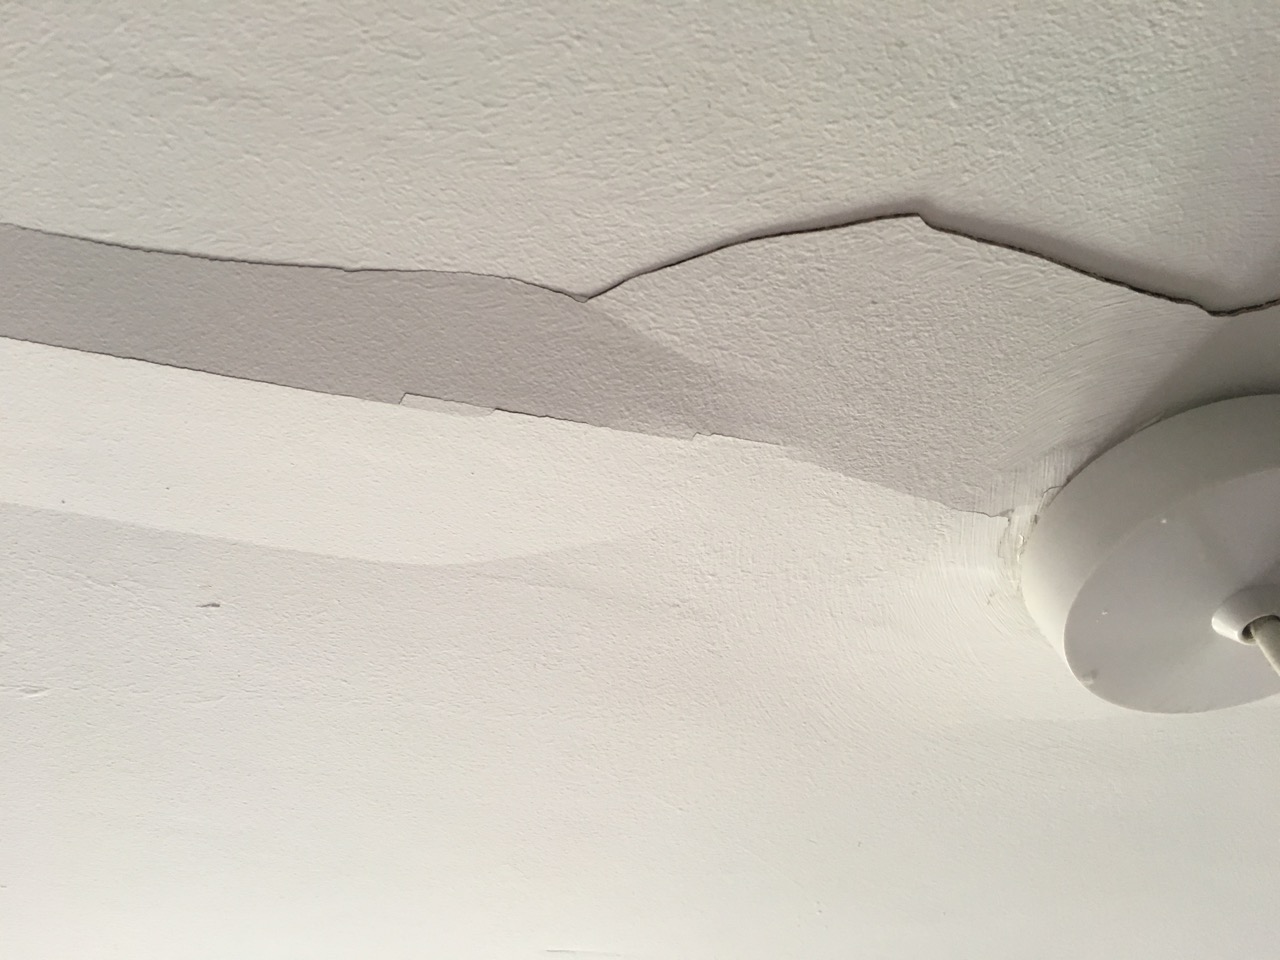
Assessing the Damage
The first step in fixing ceiling drywall cracks is to assess the extent of the damage. This will help you determine the appropriate approach to repairing the cracks.
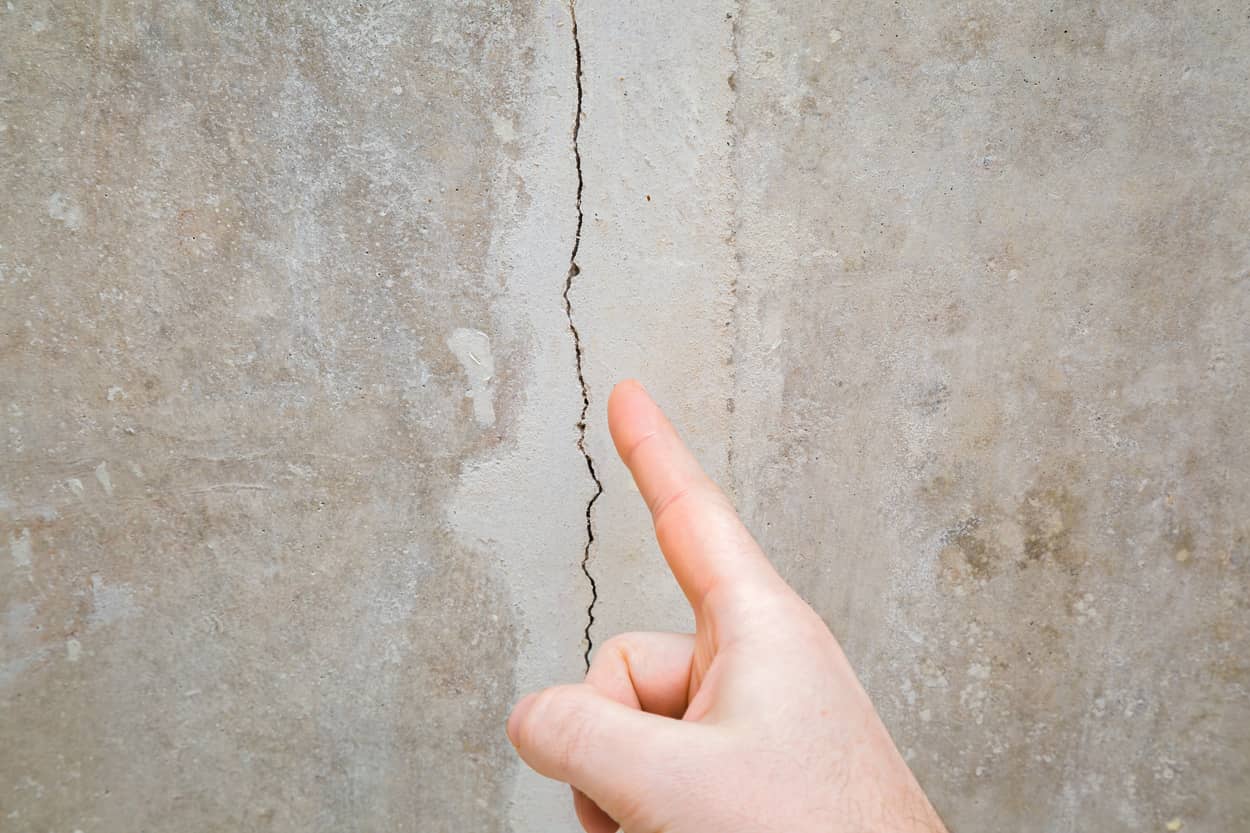
Start by examining the cracks closely. Are they hairline cracks or deeper fissures? Are they isolated or do they span a larger area? Is there any underlying shifting or structural issues that may have caused the cracks?
If the cracks are small and superficial, with no signs of structural damage, you can proceed with DIY repairs. However, if the cracks are large, growing, or accompanied by other concerning signs like sagging or water stains, it is crucial to seek professional consultation before attempting any repairs.
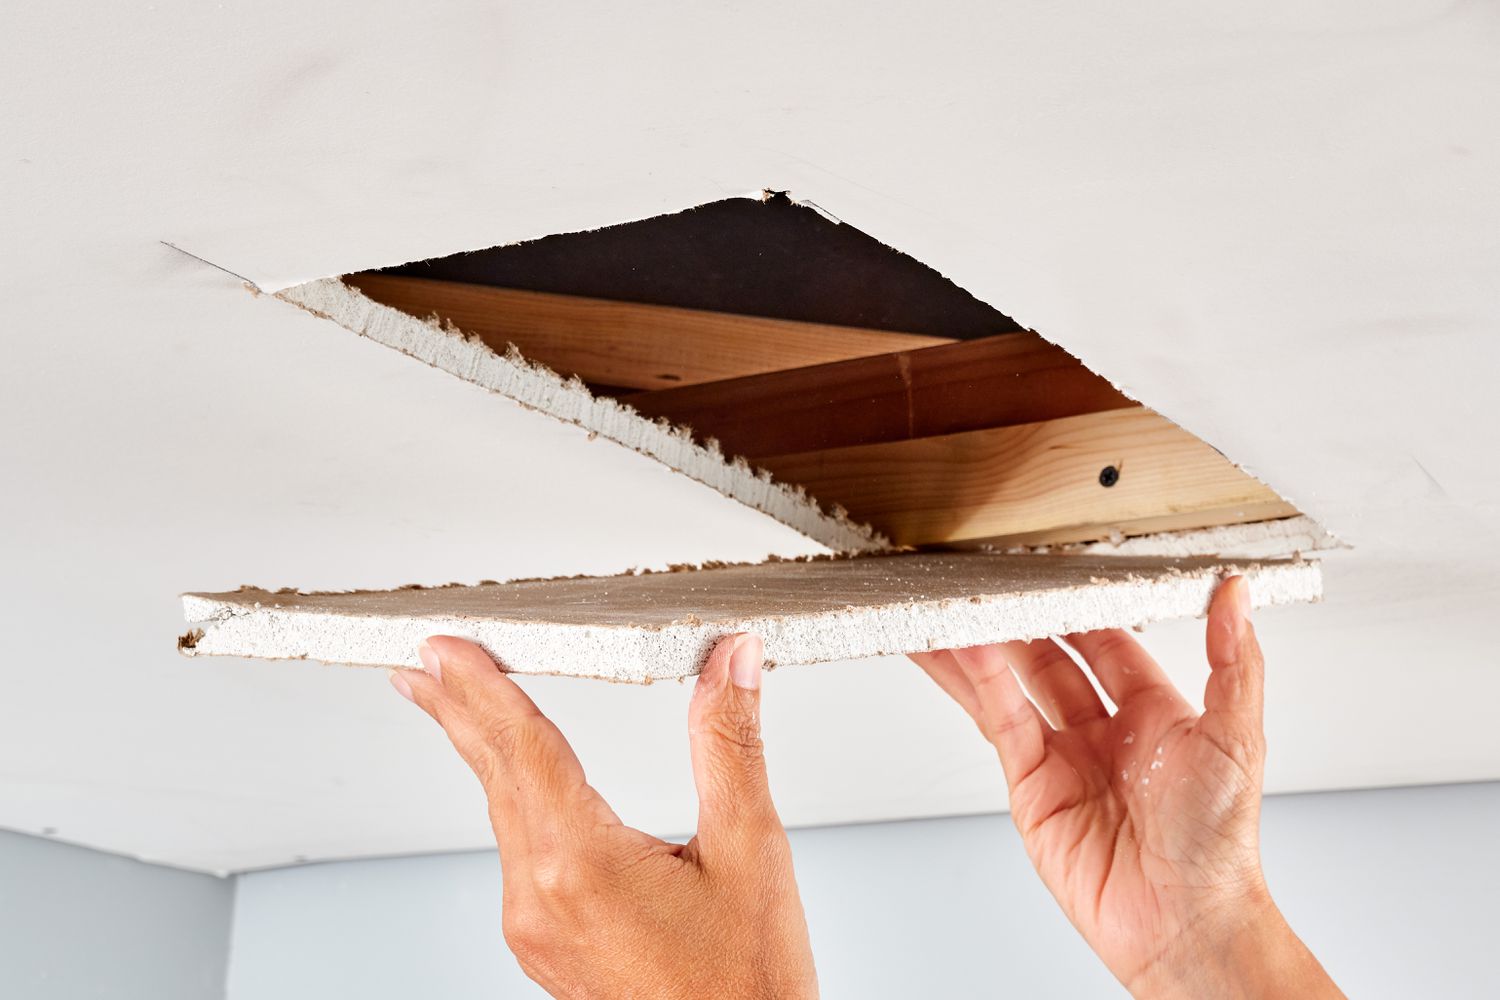
To further assess the damage, use a flashlight to inspect the attic or crawl space above the ceiling. Look for any signs of water leakage or sagging, which could signify a more serious problem. If you notice anything unusual, consult a professional to evaluate and address the issue.
Remember, accurately assessing the damage will ensure that you choose the right materials and techniques for repairing the ceiling drywall cracks effectively.
Gathering Materials
Before you start repairing the ceiling drywall cracks, it’s important to gather all the necessary materials. Having everything on hand will save you time and prevent interruptions during the repair process.
Here is a list of materials you will need:
- Drywall joint compound
- Fiberglass mesh tape
- Putty knife or taping knife
- Sandpaper (medium and fine grit)
- Dust mask
- Primer
- Ceiling paint (matching the existing color)
- Paint roller and tray
- Drop cloths or plastic sheets
- Ladder or step stool
- Painter’s tape (optional)
Make sure to choose a high-quality drywall joint compound and fiberglass mesh tape. These materials will provide a strong bond and prevent future cracks from forming.
When selecting paint, opt for a paint specifically formulated for ceilings. It should be matte or flat finish to minimize the appearance of imperfections.
Additionally, if you prefer to protect the surrounding area from splatters and drips, have drop cloths or plastic sheets ready to cover the floor and furniture. Painter’s tape can be used to create clean lines and protect adjacent walls or trim during the painting stage.
By gathering all the necessary materials beforehand, you can focus on the task at hand without any interruptions or delays.
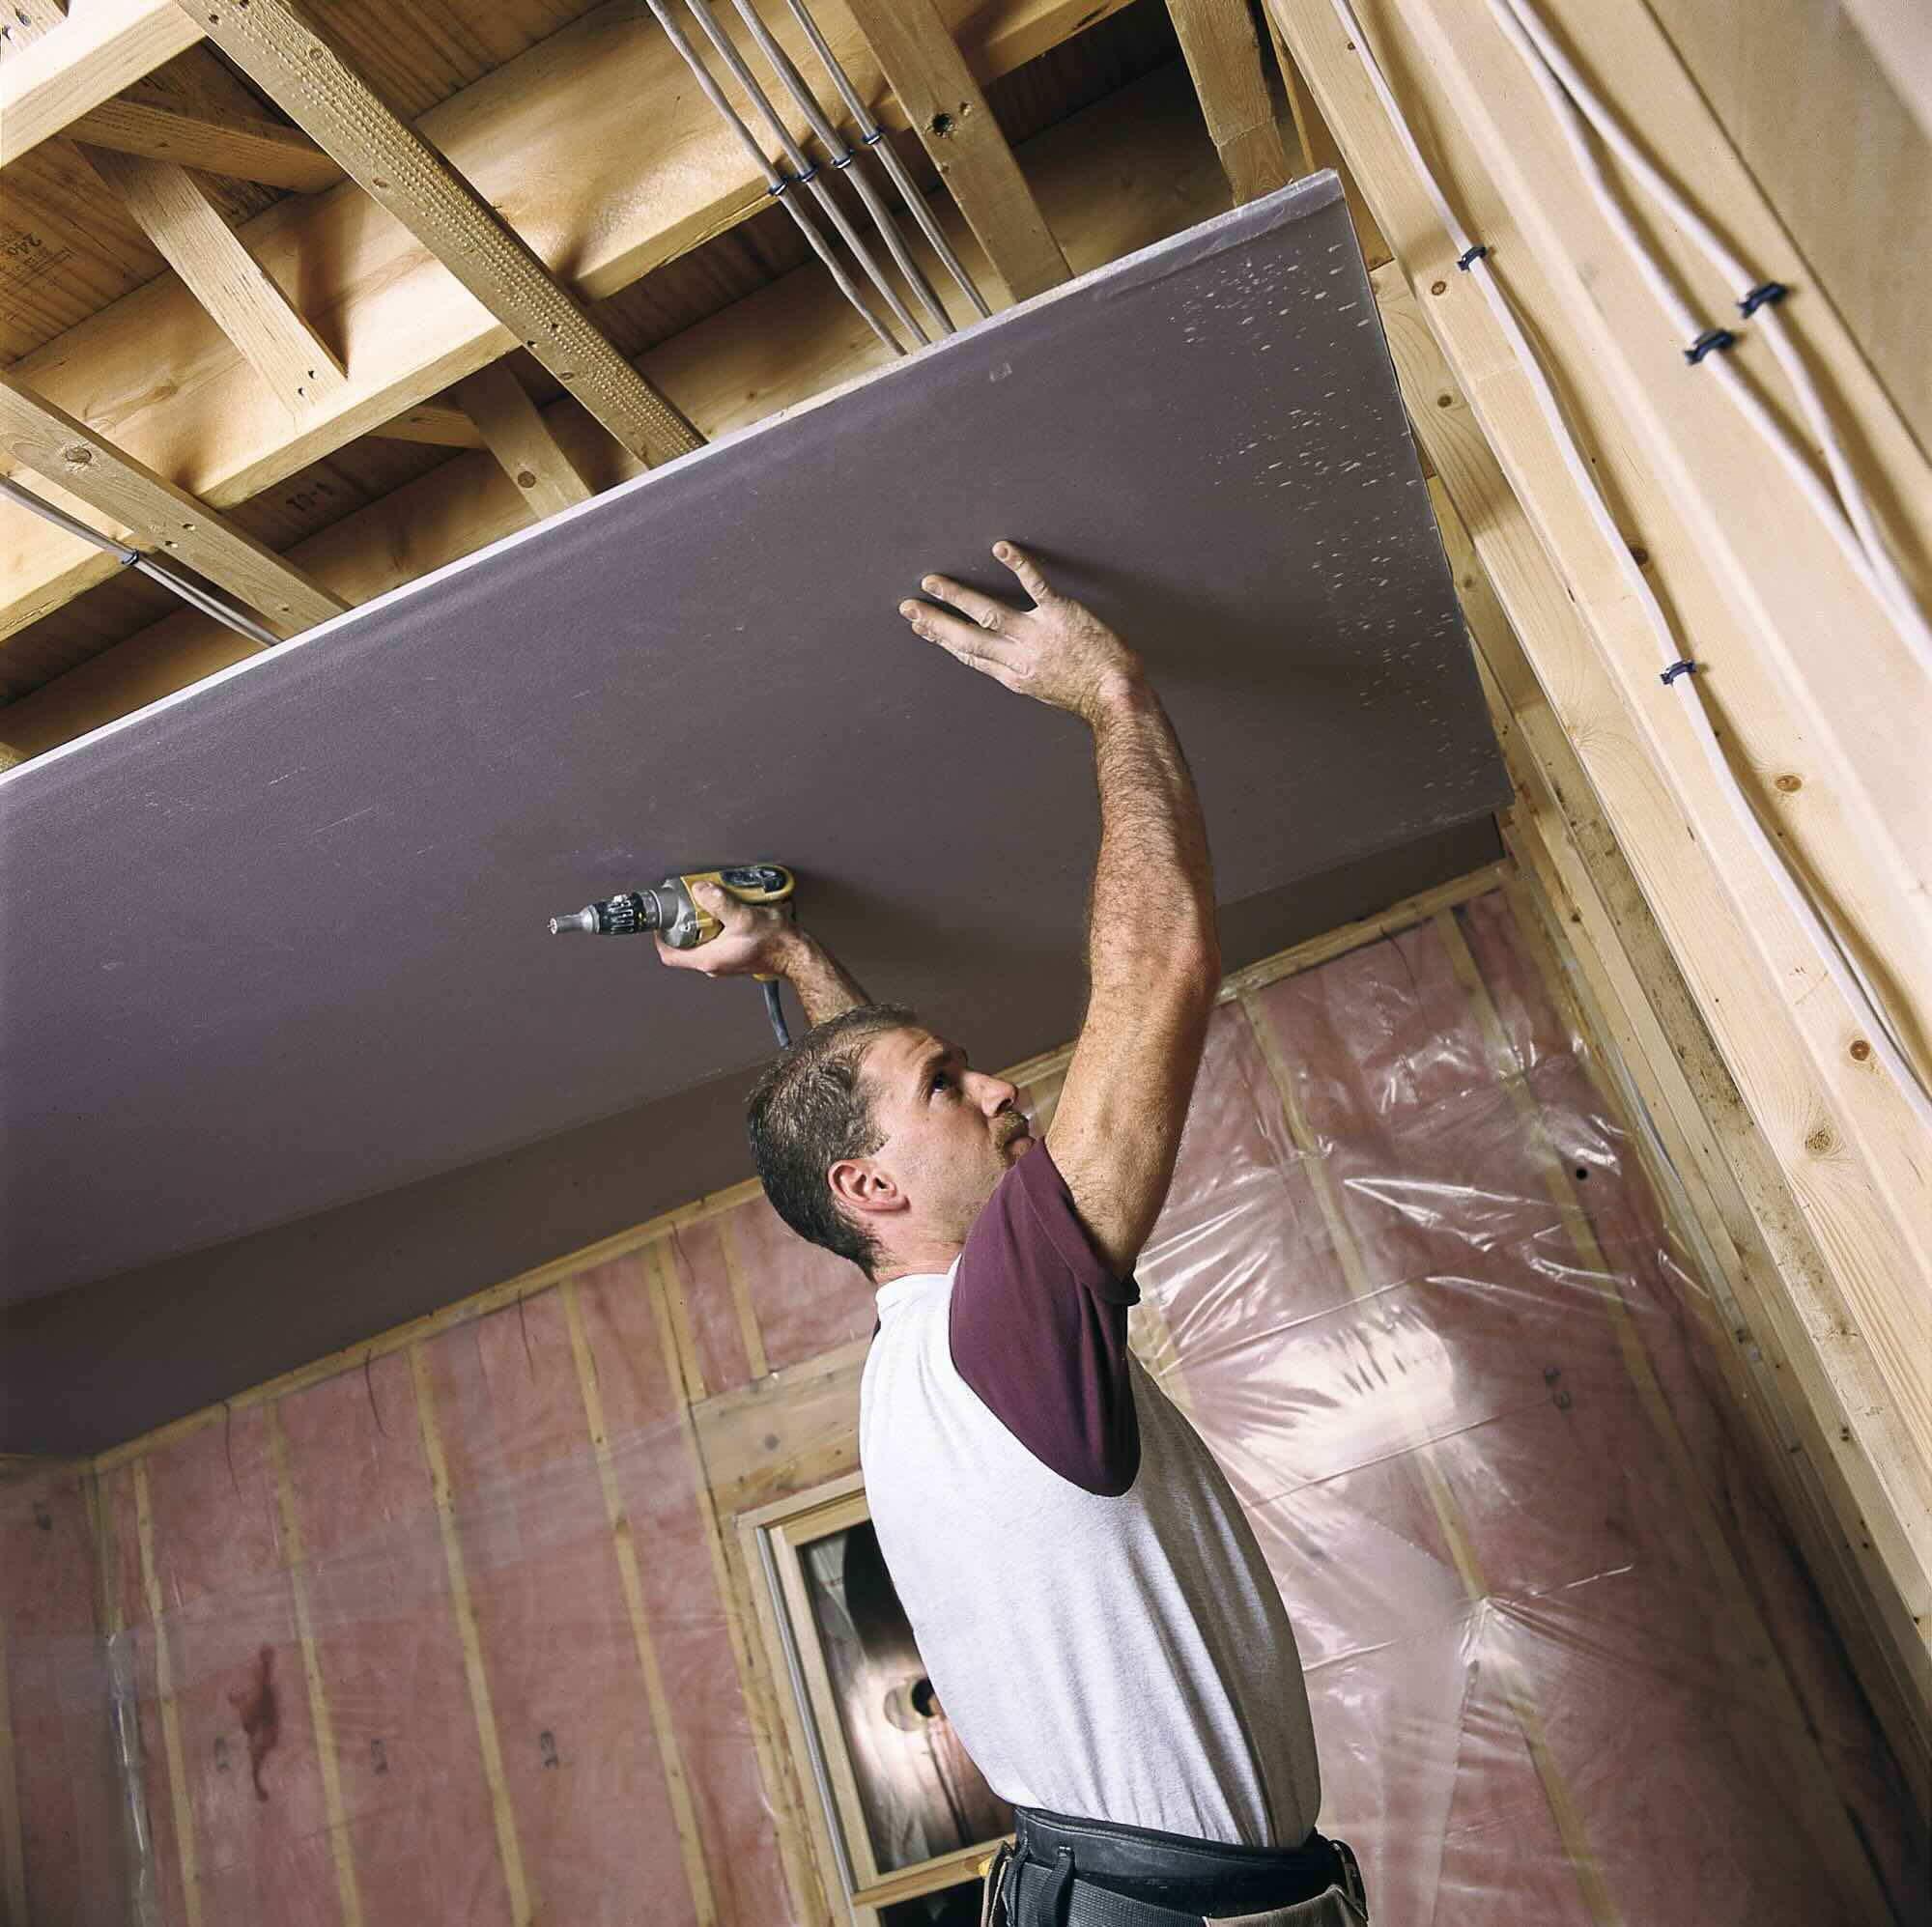
Preparing the Area
Before you begin the repair process, it’s essential to properly prepare the area to ensure a smooth and effective fix for the ceiling drywall cracks.
Follow these steps to prepare the area:
- Cover the floor and furniture: Place drop cloths or plastic sheets on the floor to protect it from dust, debris, and any potential splatters during the repair process. Move furniture or cover it with plastic sheets to prevent any damage.
- Secure the surrounding area: If you’re concerned about accidentally getting joint compound or paint on walls or trim, you may want to use painter’s tape to protect those surfaces. This step is optional, depending on your confidence in your painting skills.
- Put on safety gear: Wear a dust mask and safety goggles to protect yourself from dust particles and debris. Sanding and working with joint compound can generate fine particles that can be irritating to the respiratory system and eyes.
- Set up a ladder or step stool: Position a ladder or step stool securely beneath the area you will be repairing. Make sure it is stable and provides easy access to the damaged area.
By taking the time to adequately prepare the area, you’ll create a clean and safe working environment, reducing the chances of accidental damage and ensuring a successful repair.
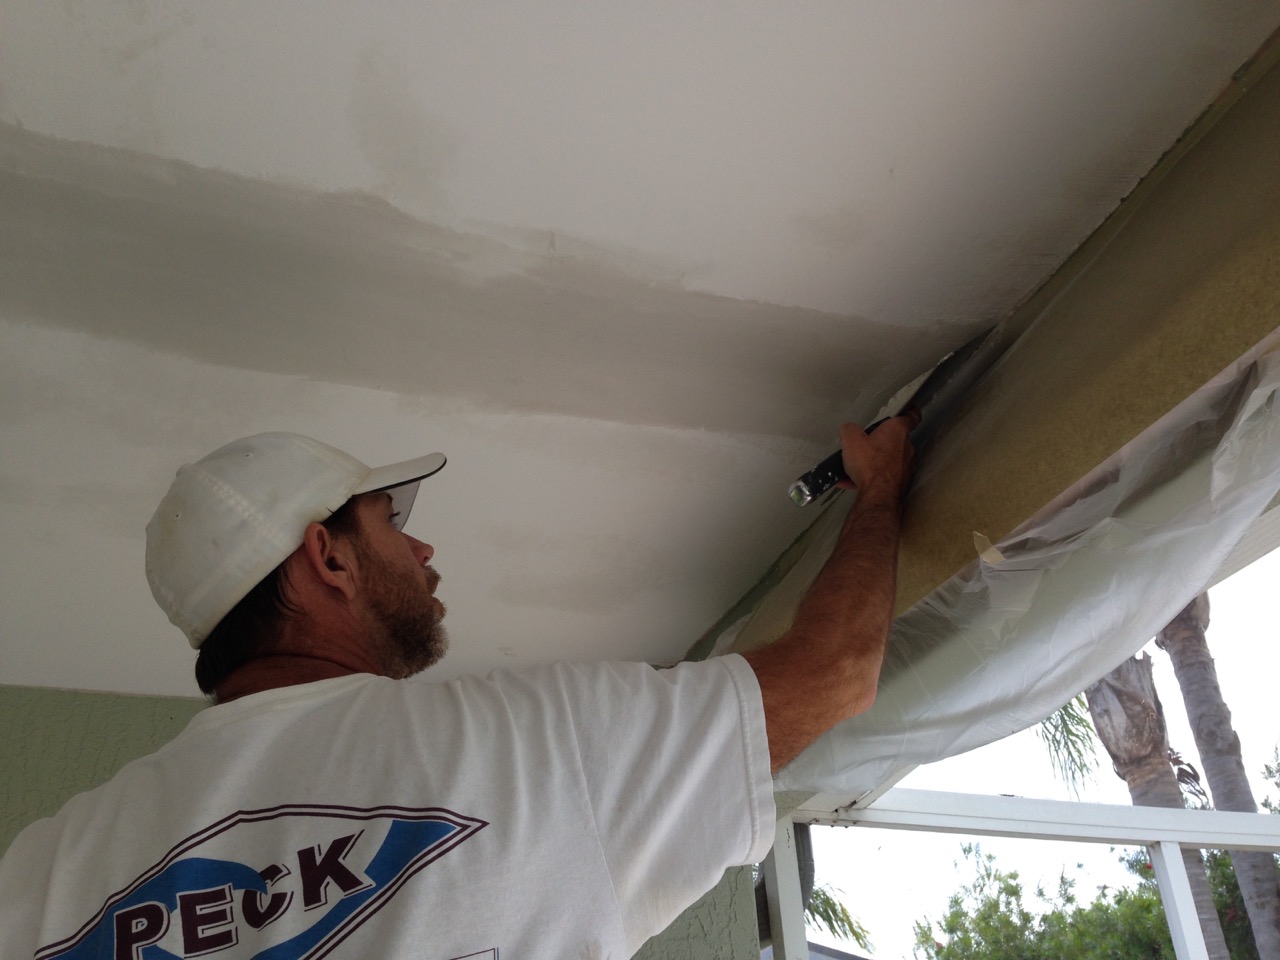
Applying Joint Compound
After assessing the damage, gathering materials, and preparing the area, you’re ready to begin applying joint compound to fix the ceiling drywall cracks.
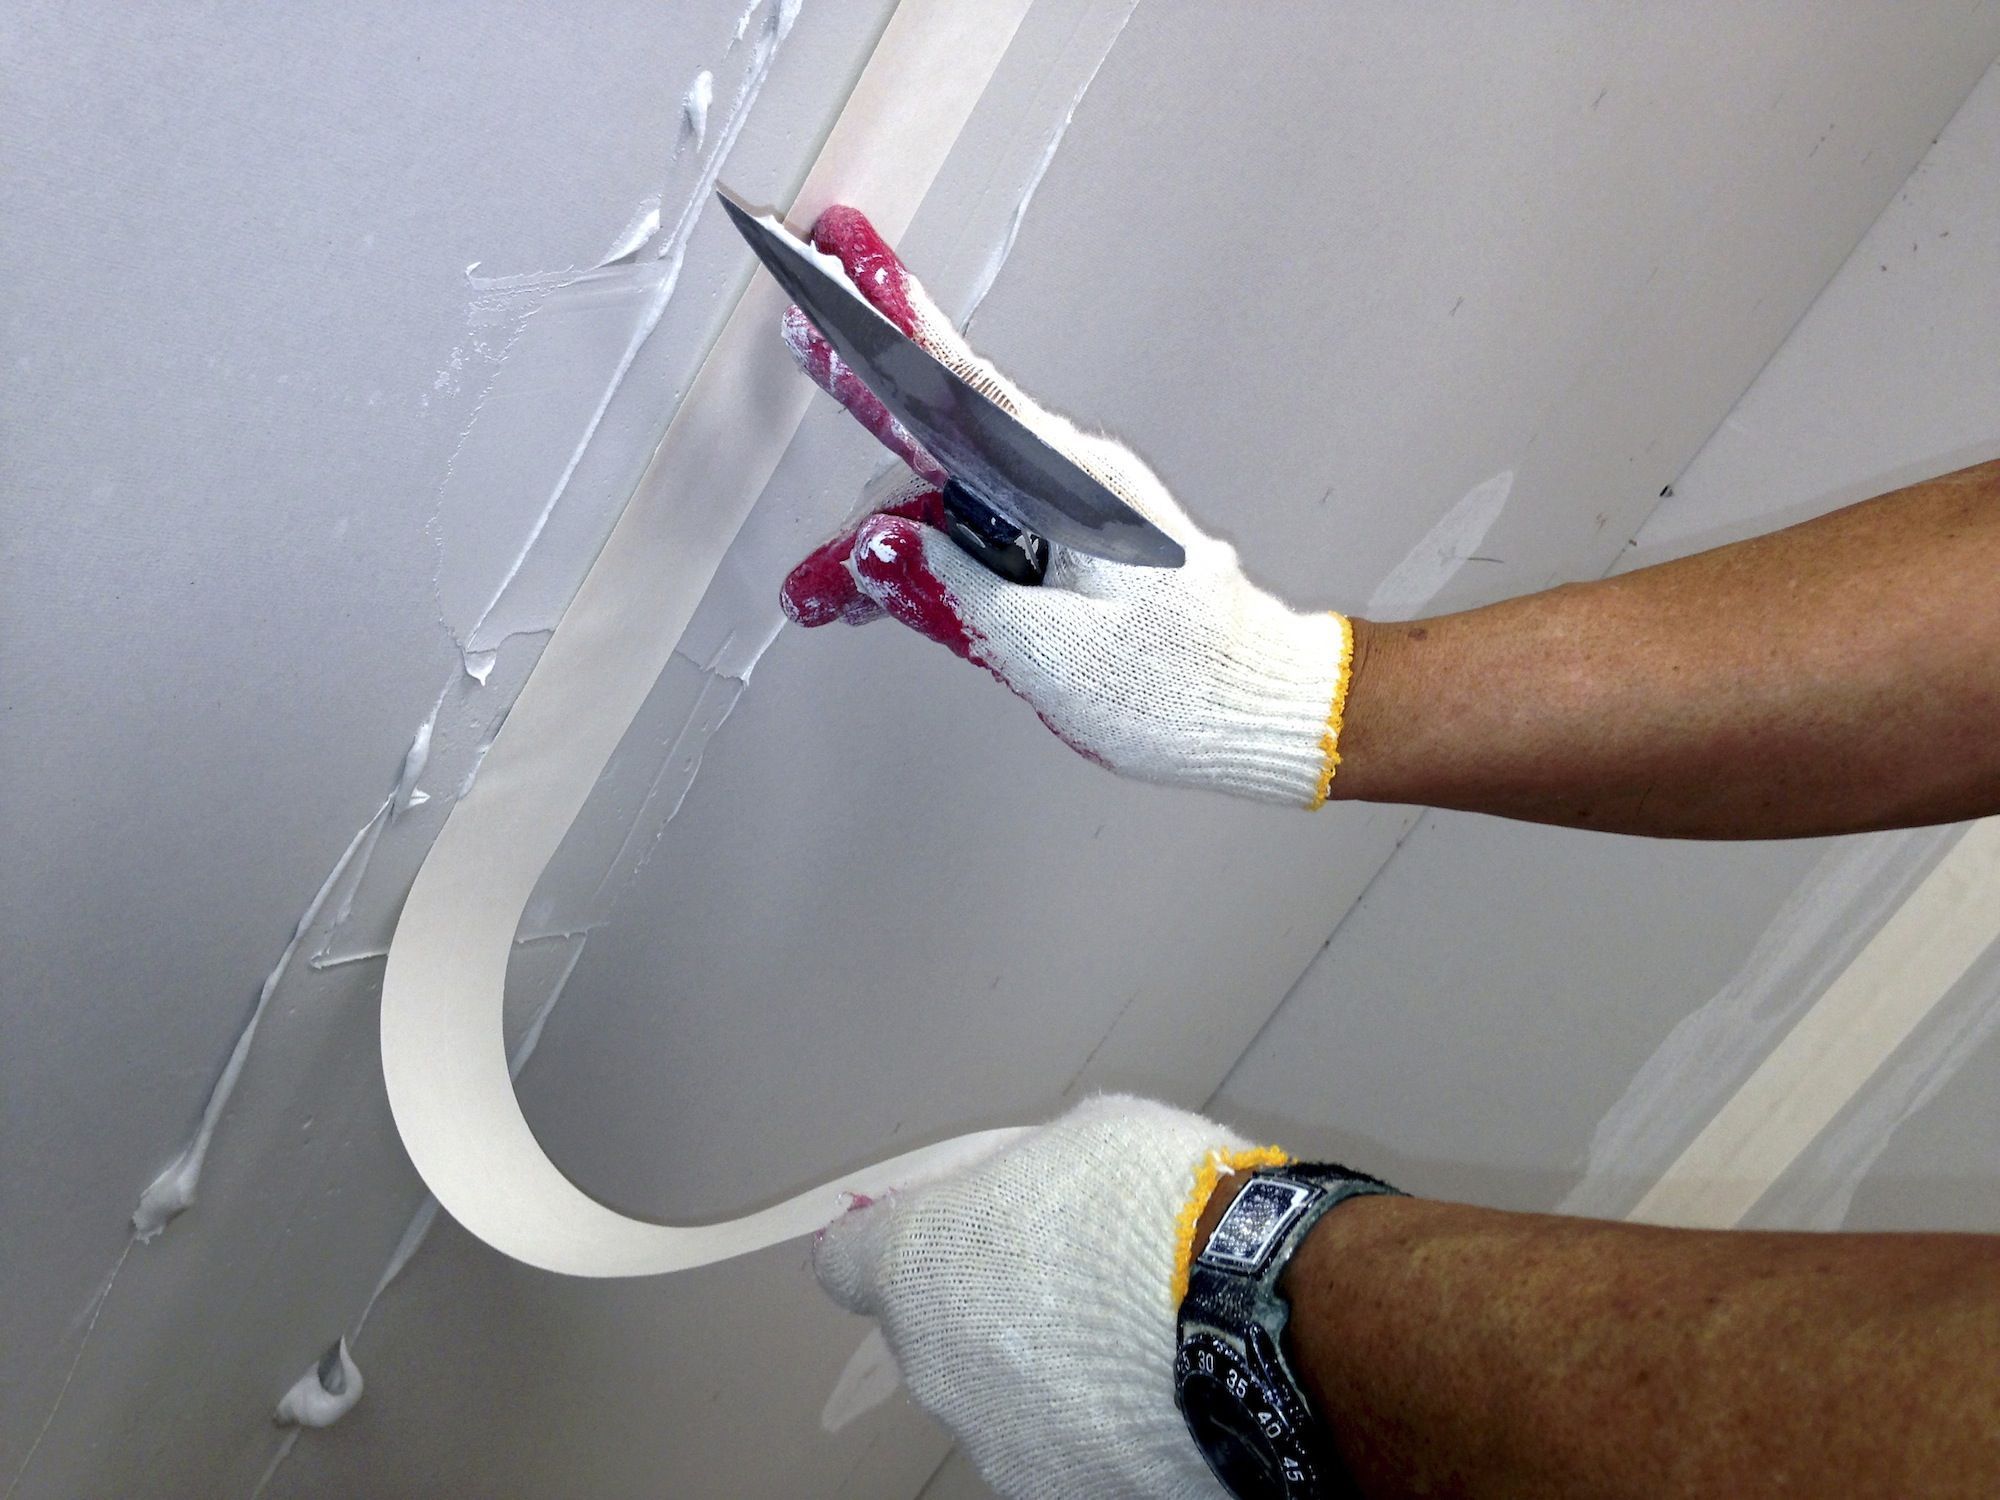
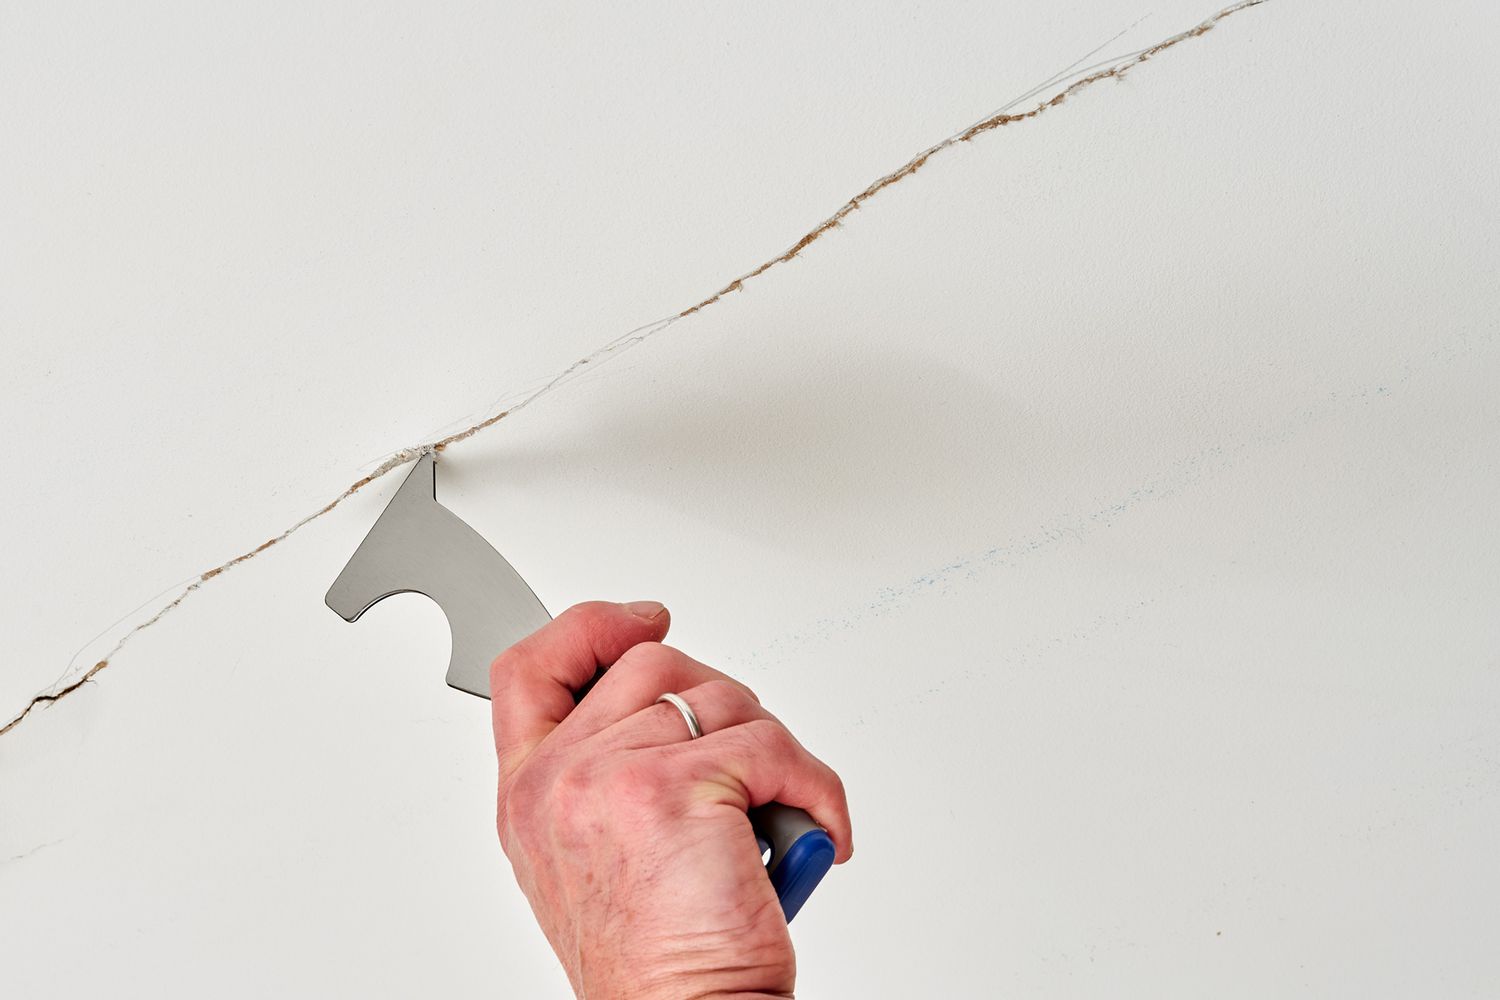
- Start by using a putty knife or taping knife to widen the crack slightly. This will help the joint compound adhere better.
- Next, cut a piece of fiberglass mesh tape slightly longer than the length of the crack. Place it over the crack, pressing it firmly into the joint compound.
- Now, take your putty knife or taping knife and apply a thin coating of joint compound over the fiberglass mesh tape, covering the entire length of the crack. Smooth it out evenly, feathering the edges to blend it with the surrounding area.
- Allow the joint compound to dry completely according to the manufacturer’s instructions. This typically takes around 24 hours, but drying time can vary depending on the climate and conditions.
- Once the joint compound is dry, inspect the repaired area. If needed, apply an additional layer of joint compound to ensure a smooth and seamless finish. Repeat the drying process.
Remember to follow the manufacturer’s instructions for mixing and applying the joint compound properly. The consistency should be similar to that of creamy peanut butter—easy to spread but not too runny.
Take your time while applying the joint compound to ensure a neat and professional-looking repair. The goal is to create a smooth surface that seamlessly blends with the surrounding ceiling.
After the final layer of joint compound is dry and you’re satisfied with the results, you can proceed to the next step: sanding the surface.
Apply a thin layer of joint compound over the crack, then embed paper tape into the compound. Smooth out any excess compound and let it dry before applying a second coat. Sand and paint for a seamless finish.
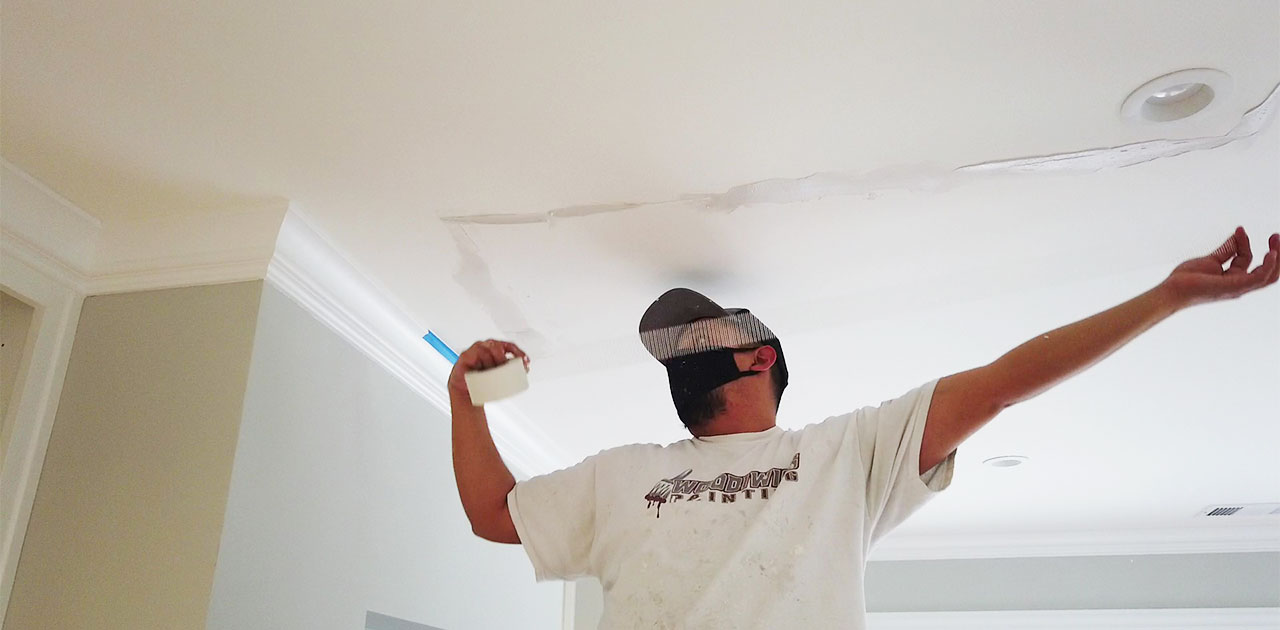
Sanding the Surface
Once the joint compound is dry and you have achieved a smooth and even surface, it’s time to sand the repaired area to create a seamless finish.
- Select sandpaper with medium grit (around 120) to start. Gently sand the patched area in a circular motion, being careful not to press too hard and damage the surrounding drywall.
- After sanding, wipe away the dust with a clean, dry cloth or a vacuum cleaner with a brush attachment. Make sure the area is completely free of dust before proceeding.
- To achieve an even smoother finish, switch to a fine-grit sandpaper (around 220). Lightly sand the patched area again in a circular motion, focusing on blending the edges with the surrounding ceiling.
- Once you’re satisfied with the smoothness of the repaired area, wipe away the dust with a clean cloth or vacuum cleaner again.
Keep in mind that sanding can create fine particles of dust, so it’s important to wear a dust mask and work in a well-ventilated area. This will minimize the inhalation of dust and help maintain a clean workspace.
Take your time and be patient during the sanding process. The goal is to create a seamlessly smooth surface that will provide a flawless finish once the ceiling is painted.
Once the surface is sanded and clean, you’re ready to move on to the next step: painting the ceiling.
Painting the Ceiling
With the ceiling drywall cracks patched and sanded, it’s time to freshen up the appearance by applying a coat of paint. Follow these steps to achieve a professional-looking finish:
- If there are any areas of the ceiling that were not patched, but have stains or discoloration, apply a coat of primer specifically formulated for ceilings. This will help create an even base for the paint.
- Begin by cutting in the edges of the ceiling with a paintbrush. Take your time and carefully paint along the perimeter where the ceiling meets the walls and any trim or molding.
- Once the edges are painted, use a paint roller to apply the paint to the rest of the ceiling. Work in small sections, applying the paint in even, overlapping strokes to ensure thorough coverage.
- Allow the first coat to dry according to the manufacturer’s instructions. This typically takes a few hours, but drying time can vary depending on the paint type and environmental conditions.
- If needed, apply a second coat of paint for a more consistent and vibrant finish. Follow the same technique of cutting in the edges first and then using a roller to paint the rest of the ceiling.
When selecting the paint, choose a high-quality ceiling paint that matches the existing color or complements the overall aesthetic of the room. Opt for a matte or flat finish to help minimize the visibility of imperfections.
As you paint, be mindful of drips or splatters. Work slowly and carefully, using drop cloths or plastic sheets to protect the floor and furniture from any accidental paint spills.
Once the final coat of paint is applied, allow it to dry completely. Remove any painter’s tape and clean up any paint supplies. Step back and admire your freshly painted and repaired ceiling.
Final Touches
Now that the ceiling has been patched, sanded, and painted, it’s time to add the final touches to complete the repair process and ensure a polished look.
- Inspect the repaired area for any imperfections or unevenness. If necessary, touch up any spots with a small brush and matching paint to ensure a seamless finish.
- Remove any drop cloths or plastic sheets from the floor and furniture, making sure to clean up any dust or debris that may have accumulated during the repair process.
- Reposition any furniture that was moved to create space for the repairs, and return the room to its original layout.
- Take a step back and admire your work. Your ceiling should now appear smooth, crack-free, and freshly painted.
It’s important to note that freshly painted ceilings can take some time to fully cure and harden. Avoid touching the surface or applying any pressure for the recommended drying time specified by the paint manufacturer. This will help prevent any smudges or marks that may detract from the finished appearance.
Additionally, proper maintenance is crucial to ensuring the longevity of your repaired ceiling. Keep an eye out for any signs of new cracks or water damage and address them promptly to prevent further issues.
By following these final touches, you can enjoy a beautifully restored ceiling that adds to the overall aesthetic of the room.
Conclusion
Fixing ceiling drywall cracks is a task that can be accomplished with the right materials, techniques, and careful attention to detail. By assessing the damage, gathering materials, preparing the area, applying joint compound, sanding the surface, and painting the ceiling, you can successfully restore your ceiling to its original condition.
Remember to take the time to properly assess the damage before proceeding with any repairs. Larger or recurring cracks may require professional assistance to address underlying issues. Safety should always be a priority, so ensure you wear appropriate protective gear while working with joint compound and sanding.
Gathering all the necessary materials in advance and preparing the area will make the repair process smoother and more efficient. Take your time to ensure a quality repair, focusing on creating a seamless finish that blends with the surrounding ceiling.
Once the joint compound has dried and the repaired area has been sanded, proceed with painting the ceiling. Choose a high-quality ceiling paint and follow proper painting techniques to achieve a professional-looking finish.
Completing the final touches, such as touch-ups and cleaning up the workspace, will add to the overall polished appearance of your newly repaired ceiling.
By following these steps and taking the necessary precautions, you can fix ceiling drywall cracks and enjoy a refreshed and visually appealing ceiling in your home. Don’t hesitate to seek professional help if the damage is extensive or you’re unsure about handling the repairs yourself.
Now, armed with the knowledge and steps outlined in this article, you can confidently tackle the task of fixing ceiling drywall cracks and transform your space into one that looks as good as new.
Frequently Asked Questions about How To Fix Ceiling Drywall Cracks
Was this page helpful?
At Storables.com, we guarantee accurate and reliable information. Our content, validated by Expert Board Contributors, is crafted following stringent Editorial Policies. We're committed to providing you with well-researched, expert-backed insights for all your informational needs.


0 thoughts on “How To Fix Ceiling Drywall Cracks”