Home>Furniture & Design>Bathroom Accessories>How To Remove Aquasonic Toothbrush Head
Bathroom Accessories
How To Remove Aquasonic Toothbrush Head
Published: February 11, 2024
Learn how to easily remove the Aquasonic toothbrush head with our step-by-step guide. Keep your bathroom accessories in top condition.
(Many of the links in this article redirect to a specific reviewed product. Your purchase of these products through affiliate links helps to generate commission for Storables.com, at no extra cost. Learn more)
Introduction
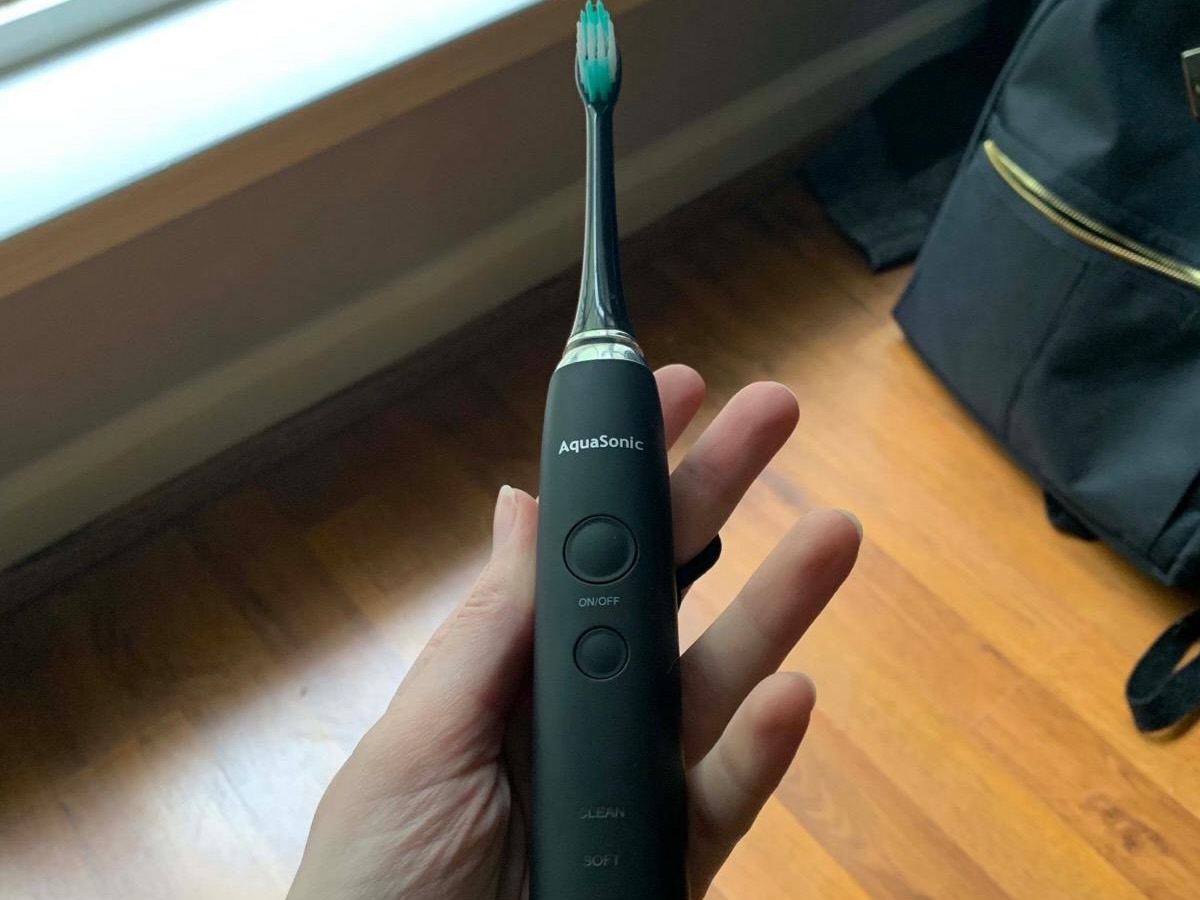
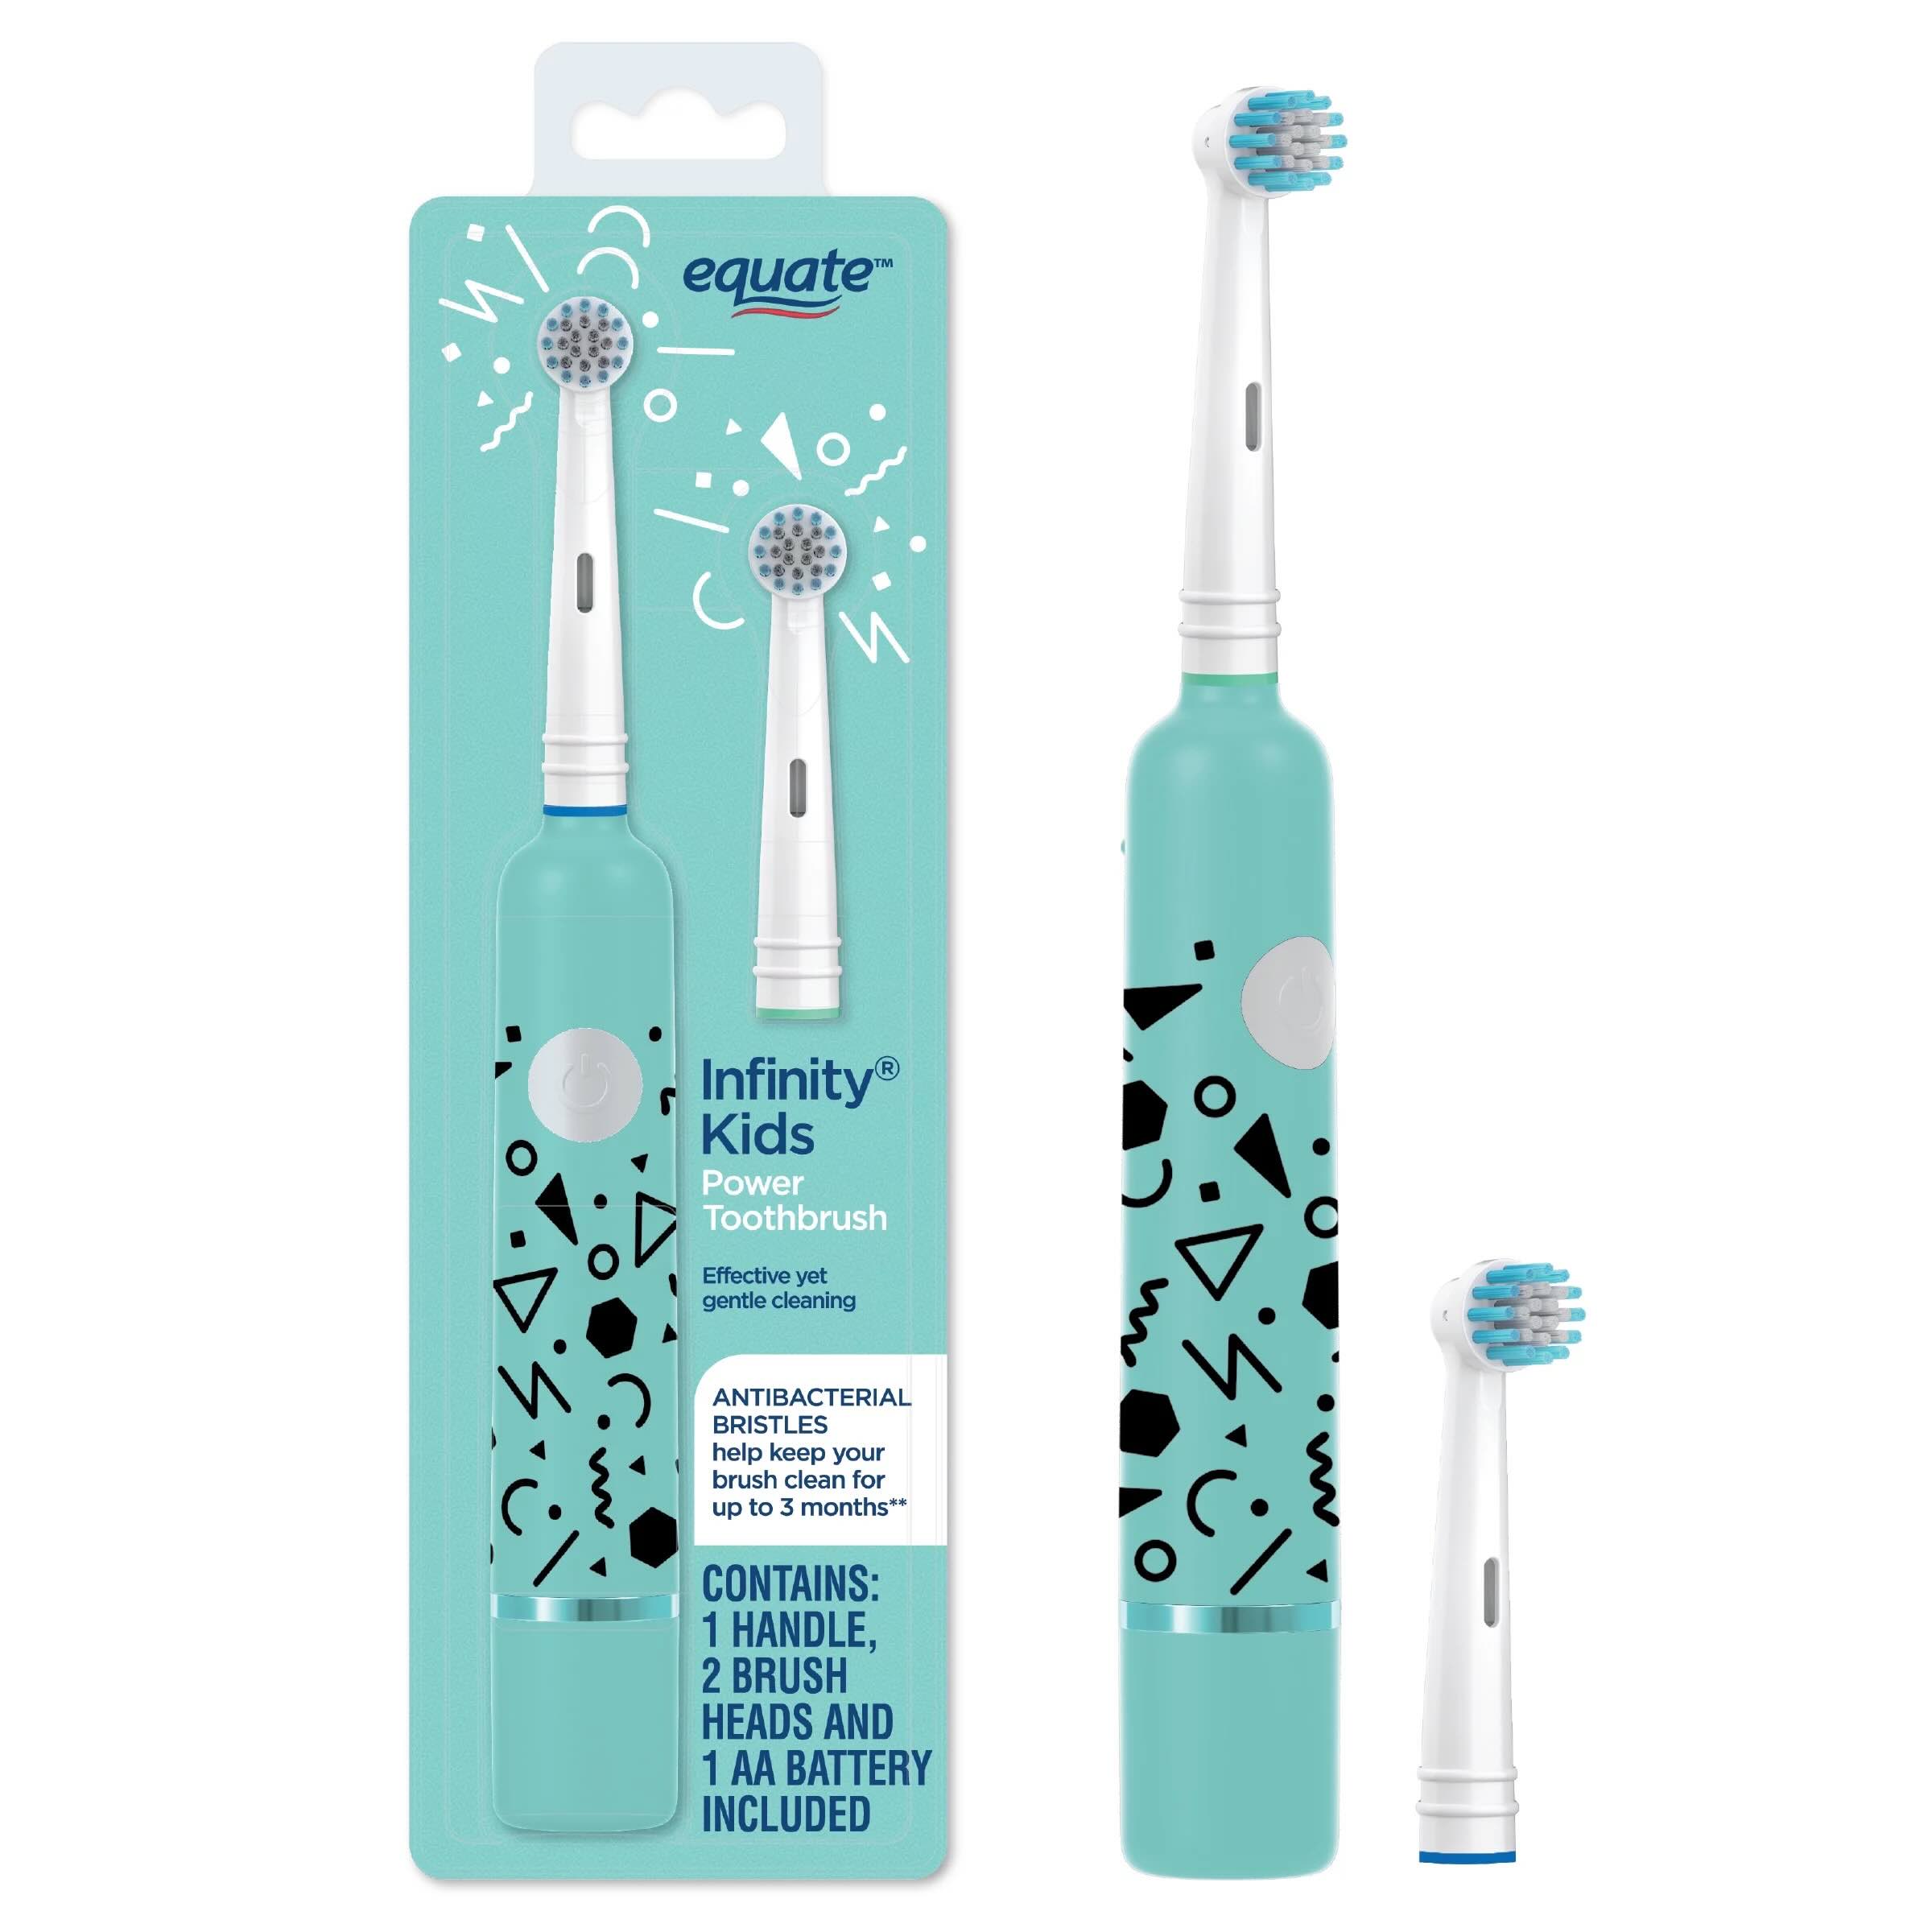
Removing the Aquasonic toothbrush head is a simple yet essential task to maintain the cleanliness and functionality of your toothbrush. Over time, toothbrush heads can accumulate residue and bacteria, making it crucial to clean or replace them regularly. Whether you're switching to a new head or simply cleaning the existing one, this guide will walk you through the process step by step. By following these instructions, you can ensure that your Aquasonic toothbrush continues to provide effective oral care.
Now, let's delve into the detailed steps for removing and cleaning the Aquasonic toothbrush head.
Key Takeaways:
- Regularly removing, cleaning, and reattaching your Aquasonic toothbrush head ensures a hygienic brushing experience and extends the toothbrush’s lifespan, promoting overall oral health.
- Gathering the right tools, safely removing the toothbrush head, thorough cleaning, and secure reattachment are essential steps for maintaining a clean and effective Aquasonic toothbrush.
Read more: How To Use Aquasonic Toothbrush
Step 1: Gather necessary tools
Before beginning the process of removing the Aquasonic toothbrush head, it's essential to gather the necessary tools to ensure a smooth and efficient experience. Here's what you'll need:
-
Aquasonic Toothbrush: Ensure that the toothbrush is easily accessible and ready for the head removal process.
-
Clean Cloth or Tissue: Having a clean cloth or tissue on hand will be helpful for wiping any excess water or debris from the toothbrush head and handle.
-
Gripping Tool (Optional): In some cases, the toothbrush head may be tightly secured, making it challenging to remove by hand. A gripping tool, such as pliers with a rubber grip or adjustable wrench, can provide the extra leverage needed to loosen the head.
-
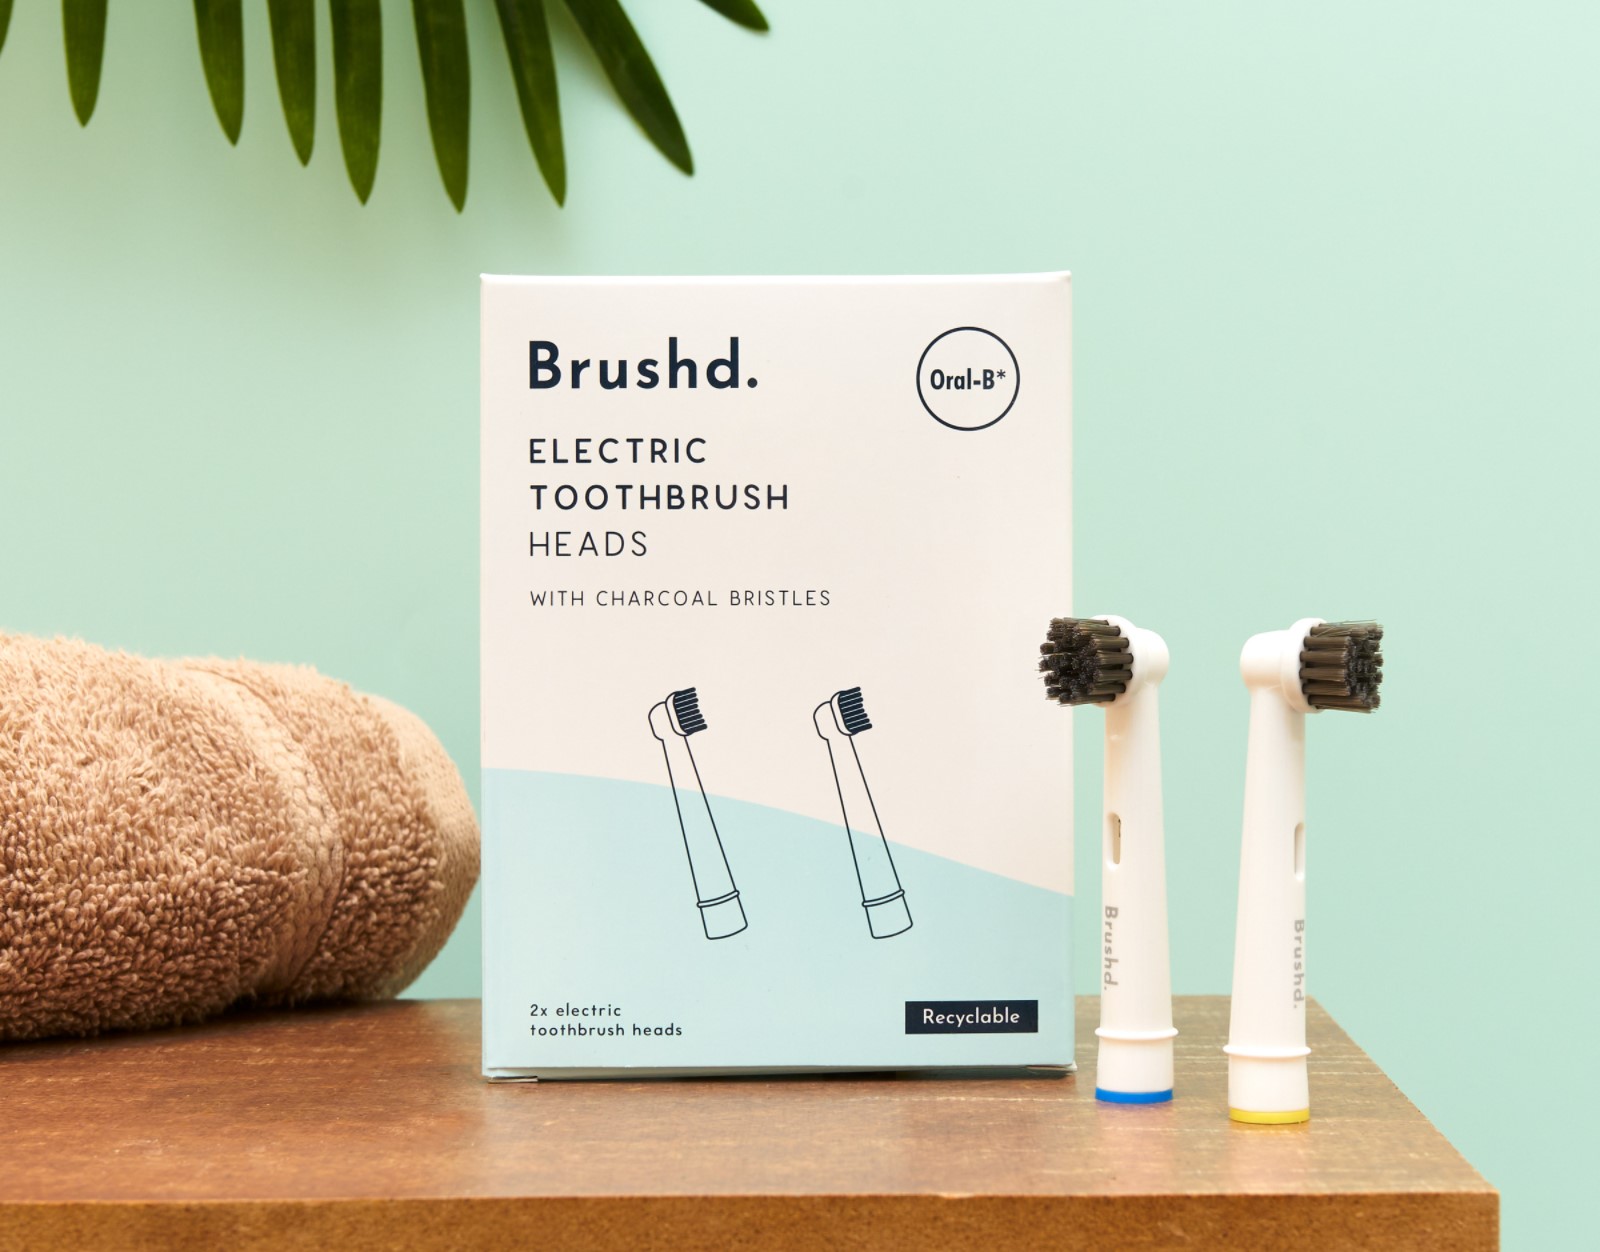
Replacement Head (If Applicable): If you are planning to replace the current toothbrush head with a new one, ensure that the replacement head is readily available.
By gathering these tools, you'll be well-prepared to proceed with the next steps of removing and cleaning the Aquasonic toothbrush head. With the right tools at your disposal, you can effectively maintain the hygiene and functionality of your toothbrush, promoting optimal oral care.
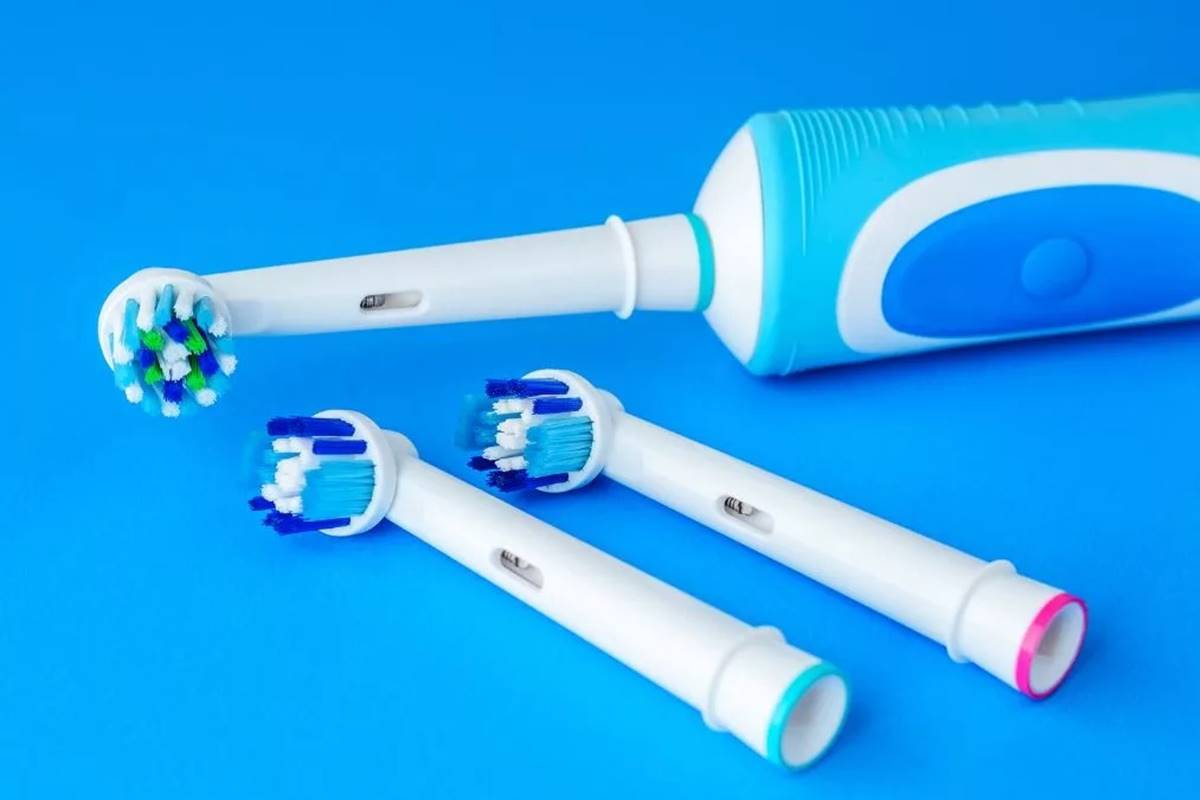
Step 2: Remove the toothbrush head
Removing the toothbrush head is a straightforward process that ensures proper maintenance of your Aquasonic toothbrush. Follow these steps to safely and effectively remove the toothbrush head:
-
Grip the Toothbrush Handle: Hold the toothbrush handle firmly in one hand, ensuring a secure grip to maintain control throughout the removal process.
-
Twist the Head Counter-clockwise: With a gentle yet firm grip, twist the toothbrush head in a counter-clockwise direction. This motion will gradually loosen the head from the handle. If the head feels tightly secured, consider using a gripping tool for added leverage.
-
Avoid Excessive Force: While it's important to apply a certain amount of pressure to loosen the head, avoid using excessive force that could potentially damage the toothbrush handle or head. A steady and controlled approach is key to successful removal.
-
Inspect for Debris: Once the head is removed, take a moment to inspect the connection point on the handle for any accumulated debris or residue. Use a clean cloth or tissue to wipe away any dirt or moisture, ensuring a clean surface for reattachment.
By following these steps, you can safely remove the toothbrush head without causing any damage to the handle or head. This process sets the stage for thorough cleaning and maintenance, allowing you to uphold the hygiene and functionality of your Aquasonic toothbrush.
Remember, regular removal and cleaning of the toothbrush head are essential for maintaining optimal oral hygiene. Whether you're replacing the head with a new one or simply cleaning the existing head, this process ensures that your toothbrush continues to provide effective and hygienic oral care.
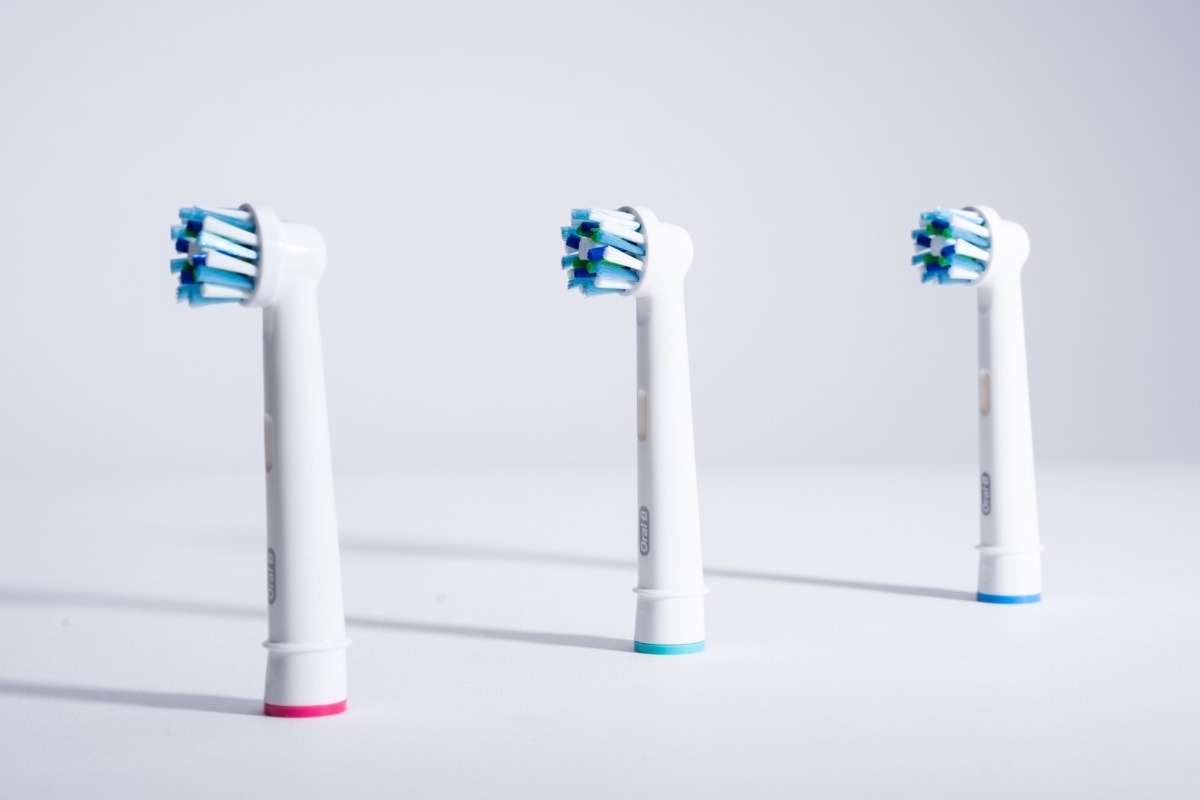
To remove an Aquasonic toothbrush head, simply grip the head firmly and twist it counterclockwise until it comes off. Be careful not to apply too much force to avoid damaging the toothbrush.
Step 3: Clean the toothbrush head and handle
After successfully removing the toothbrush head, the next crucial step is to clean both the head and the handle thoroughly. This process is essential for maintaining proper oral hygiene and ensuring the longevity of your Aquasonic toothbrush. Here's a detailed guide on how to effectively clean the toothbrush head and handle:
-
Rinse the Toothbrush Head: Begin by rinsing the toothbrush head under warm running water. This will help remove any visible debris, toothpaste residue, or other particles that may have accumulated on the bristles or around the head.
-
Soak in Antibacterial Solution (Optional): For a deeper clean, consider soaking the toothbrush head in an antibacterial mouthwash or a solution of water and hydrogen peroxide. This can help eliminate bacteria and germs that may be present on the head, promoting a more hygienic brushing experience.
-
Brush Bristles and Connection Point: Using a small brush or an old toothbrush, gently scrub the bristles and the connection point where the head attaches to the handle. This will help dislodge any stubborn residue or buildup, ensuring that the head is thoroughly cleaned.
-
Inspect the Handle: While the head is removed, take the opportunity to inspect the handle for any signs of residue or moisture. Wipe the handle with a clean cloth or tissue to remove any lingering debris, ensuring that the entire toothbrush is clean and ready for reassembly.
-
Dry Thoroughly: After cleaning, allow the toothbrush head and handle to air dry completely before reattaching the head. This will help prevent the growth of mold or mildew and ensure that the toothbrush is completely dry and ready for use.
By following these steps, you can effectively clean the toothbrush head and handle, ensuring that your Aquasonic toothbrush remains hygienic and functional. Regular cleaning and maintenance of the toothbrush components are essential for promoting optimal oral health and prolonging the lifespan of your toothbrush. Once the cleaning process is complete, you can proceed to reattach the toothbrush head, knowing that your toothbrush is clean and ready to deliver effective oral care.
Step 4: Reattach the toothbrush head
After thoroughly cleaning the toothbrush head and handle, the final step is to reattach the head to the toothbrush handle. This process ensures that your Aquasonic toothbrush is ready for use, providing effective oral care while maintaining optimal hygiene. Follow these detailed steps to seamlessly reattach the toothbrush head:
-
Align the Head: Hold the toothbrush head in a position that aligns with the connection point on the handle. Ensure that the head is oriented correctly to fit securely onto the handle.
-
Press and Twist Clockwise: With gentle pressure, press the toothbrush head onto the handle and twist it in a clockwise direction. This motion will secure the head in place, creating a tight and stable connection.
-
Confirm Secure Attachment: Once the head is twisted into place, confirm that it is securely attached to the handle. Gently tug on the head to ensure that it does not come loose. A properly attached head should remain firmly in place.
-
Test for Stability: Before using the toothbrush, give the head a gentle shake to test its stability. A securely attached head should not wobble or feel loose. This step ensures that the head is firmly affixed and ready for use.
-
Run a Test Cycle: To further confirm the successful reattachment of the head, run a brief test cycle of the toothbrush. Turn on the toothbrush and observe the head's movement to ensure that it operates smoothly and without any issues.
By following these steps, you can effectively reattach the toothbrush head to the handle, ensuring that your Aquasonic toothbrush is ready to deliver optimal oral care. The reattachment process completes the maintenance and cleaning routine, allowing you to continue using your toothbrush with confidence, knowing that it is clean, hygienic, and fully functional.
Maintaining a regular schedule for removing, cleaning, and reattaching the toothbrush head is essential for preserving the cleanliness and effectiveness of your Aquasonic toothbrush. By incorporating these steps into your oral care routine, you can ensure that your toothbrush continues to provide reliable and hygienic brushing experiences, promoting overall oral health and hygiene.
Conclusion
In conclusion, the process of removing, cleaning, and reattaching the Aquasonic toothbrush head is a fundamental aspect of maintaining optimal oral hygiene and ensuring the longevity of your toothbrush. By following the detailed steps outlined in this guide, you can effectively uphold the cleanliness and functionality of your toothbrush, promoting a hygienic brushing experience that contributes to overall oral health.
Regular removal and cleaning of the toothbrush head not only eliminate accumulated debris and bacteria but also prevent the potential spread of germs and contaminants. This proactive approach to maintenance ensures that your toothbrush remains a reliable tool for daily oral care, providing peace of mind and confidence in your oral hygiene routine.
Furthermore, the thorough cleaning of both the toothbrush head and handle contributes to the overall lifespan of your Aquasonic toothbrush. By preventing the buildup of residue and maintaining a hygienic environment, you can extend the longevity of your toothbrush, maximizing its effectiveness and value over time.
It's important to integrate the process of removing, cleaning, and reattaching the toothbrush head into your regular oral care routine. By doing so, you can ensure that your toothbrush consistently delivers optimal performance and maintains a high standard of cleanliness, promoting the health and well-being of your teeth and gums.
In essence, the simple yet essential task of removing, cleaning, and reattaching the Aquasonic toothbrush head plays a significant role in preserving the effectiveness, hygiene, and longevity of your toothbrush. By incorporating these steps into your oral care regimen, you can enjoy the benefits of a clean, reliable, and hygienic toothbrush that contributes to your overall oral health and well-being.
Frequently Asked Questions about How To Remove Aquasonic Toothbrush Head
Was this page helpful?
At Storables.com, we guarantee accurate and reliable information. Our content, validated by Expert Board Contributors, is crafted following stringent Editorial Policies. We're committed to providing you with well-researched, expert-backed insights for all your informational needs.


0 thoughts on “How To Remove Aquasonic Toothbrush Head”