Home>Furniture & Design>Bathroom Accessories>How To Take Off Waterpik Toothbrush Head
Bathroom Accessories
How To Take Off Waterpik Toothbrush Head
Published: February 11, 2024
Learn how to easily remove the Waterpik toothbrush head with our step-by-step guide. Keep your bathroom accessories in top shape with our helpful tips.
(Many of the links in this article redirect to a specific reviewed product. Your purchase of these products through affiliate links helps to generate commission for Storables.com, at no extra cost. Learn more)
Introduction
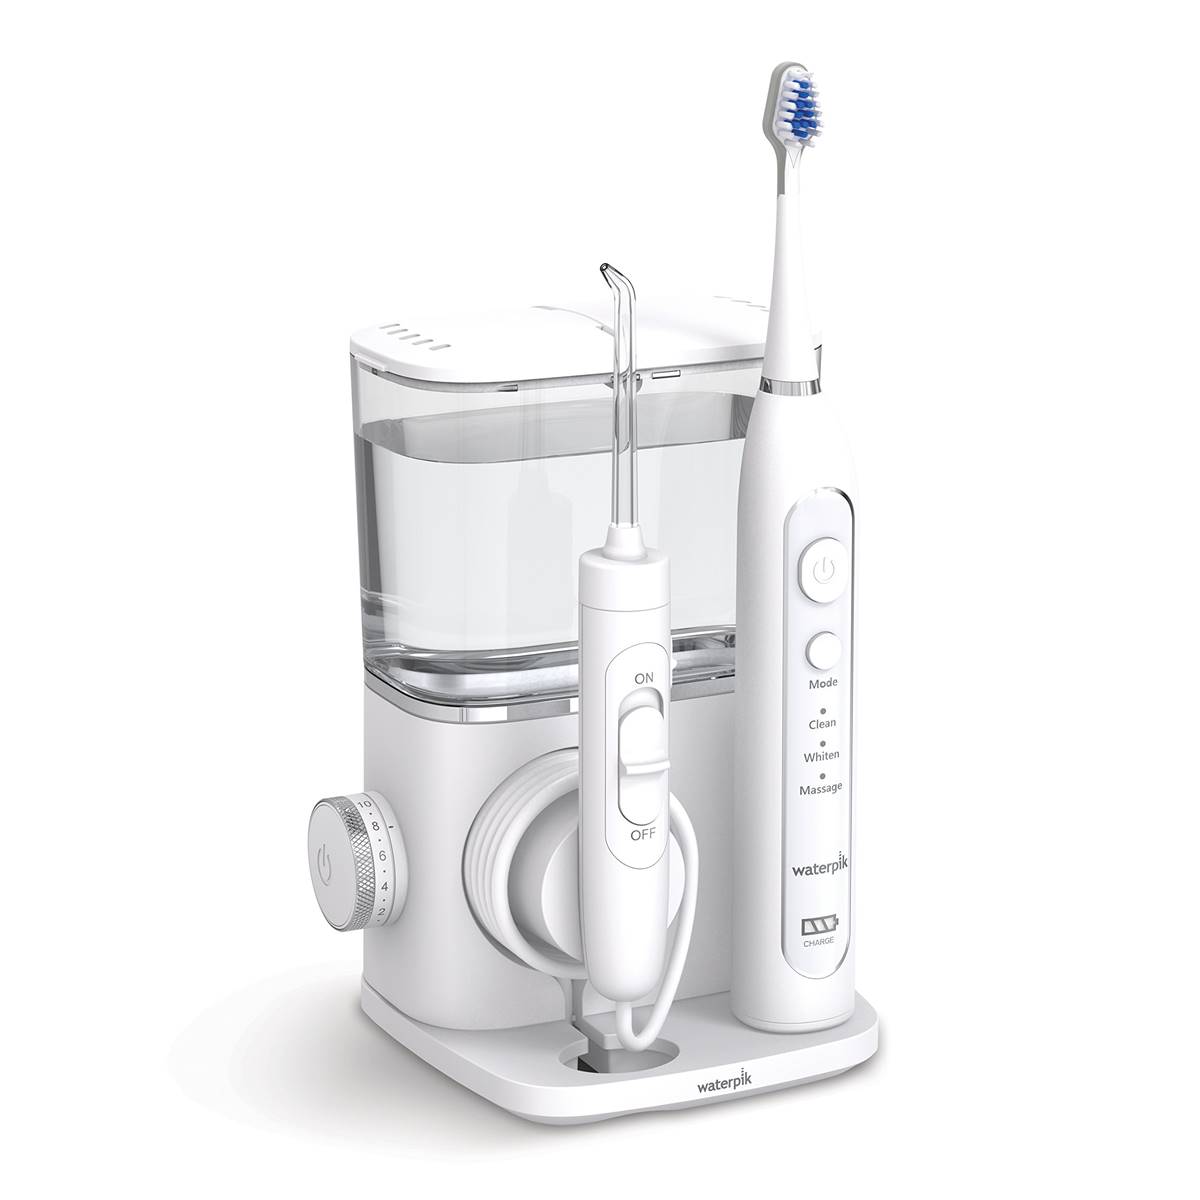
Taking care of your oral hygiene is essential for maintaining a healthy and beautiful smile. One crucial aspect of oral care is ensuring that your toothbrush is clean and well-maintained. If you own a Waterpik toothbrush, you may need to remove the toothbrush head for cleaning or replacement. This process is relatively simple, but it's important to do it correctly to avoid damaging the toothbrush.
In this guide, we will walk you through the step-by-step process of safely removing the Waterpik toothbrush head. Whether you're looking to clean the head, replace it with a new one, or simply give your toothbrush a thorough cleaning, understanding how to remove and reattach the toothbrush head is essential.
By following the instructions provided in this article, you'll be able to maintain the cleanliness and functionality of your Waterpik toothbrush, ensuring that it continues to provide effective oral care. So, let's dive into the process of safely and easily taking off the Waterpik toothbrush head.
Key Takeaways:
- Keep your Waterpik toothbrush clean and effective by safely removing and reattaching the toothbrush head. Regular maintenance ensures a healthy and radiant smile.
- Gather necessary tools, turn off the toothbrush, remove the head, clean both head and handle, and securely reattach the head for optimal oral care.
Read more: How To Get A Quip Toothbrush Head Off
Step 1: Gather necessary tools
Before you begin the process of removing the Waterpik toothbrush head, it's essential to gather the necessary tools to ensure a smooth and hassle-free experience. Here's what you'll need:
-
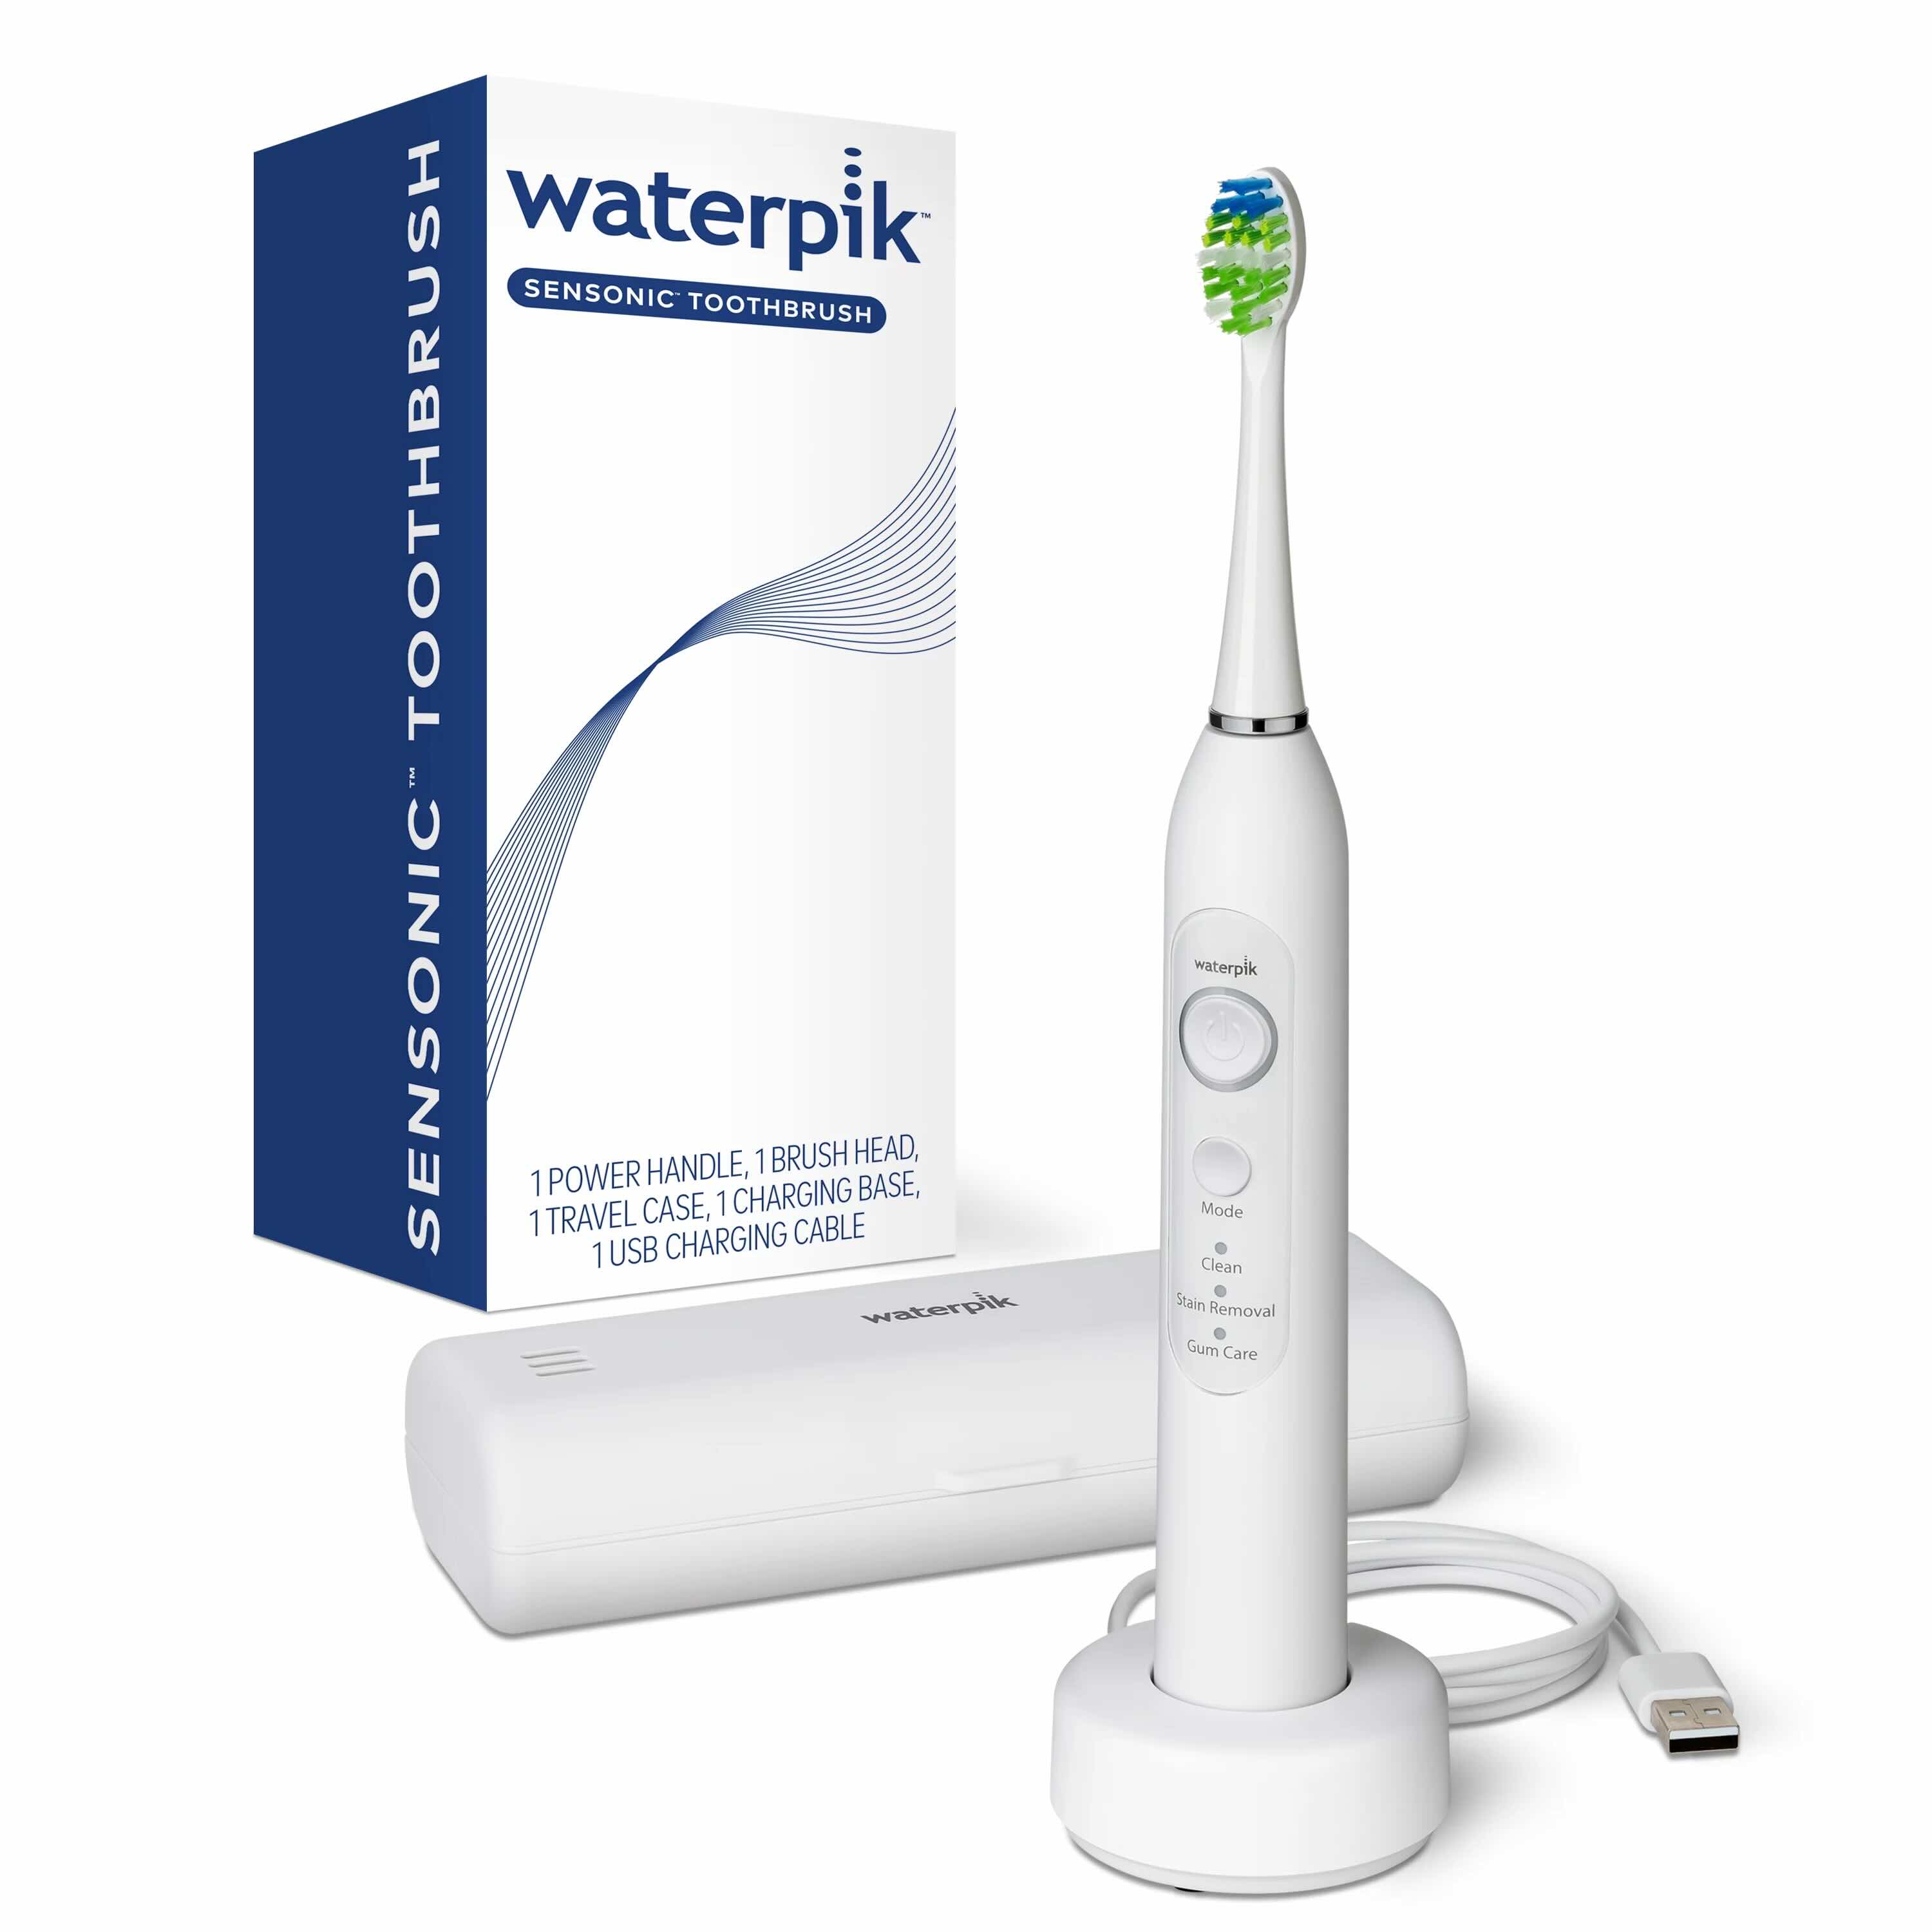
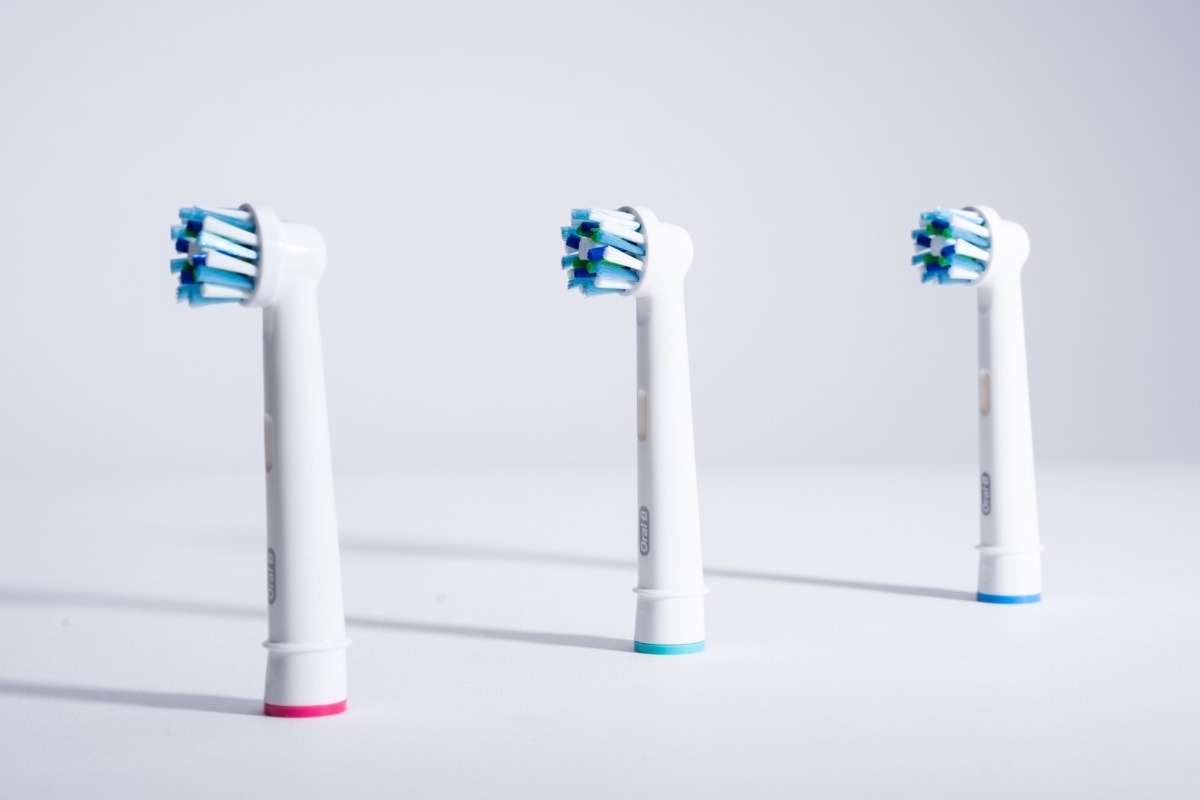
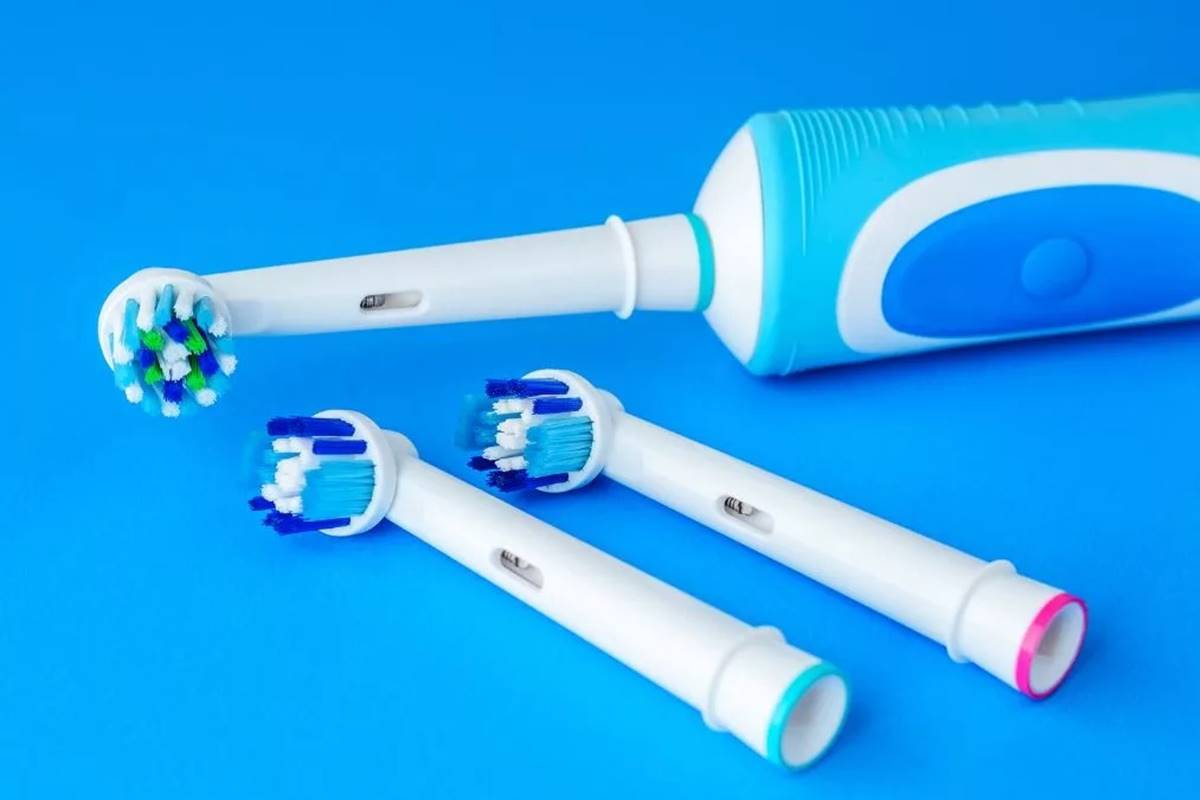
Replacement toothbrush head (optional): If you're planning to replace the existing toothbrush head with a new one, make sure you have the replacement head readily available. Waterpik offers a variety of toothbrush head options, including standard, compact, and specialty heads designed for specific oral care needs. Having the replacement head on hand will allow you to seamlessly transition to the next step without any delays.
-
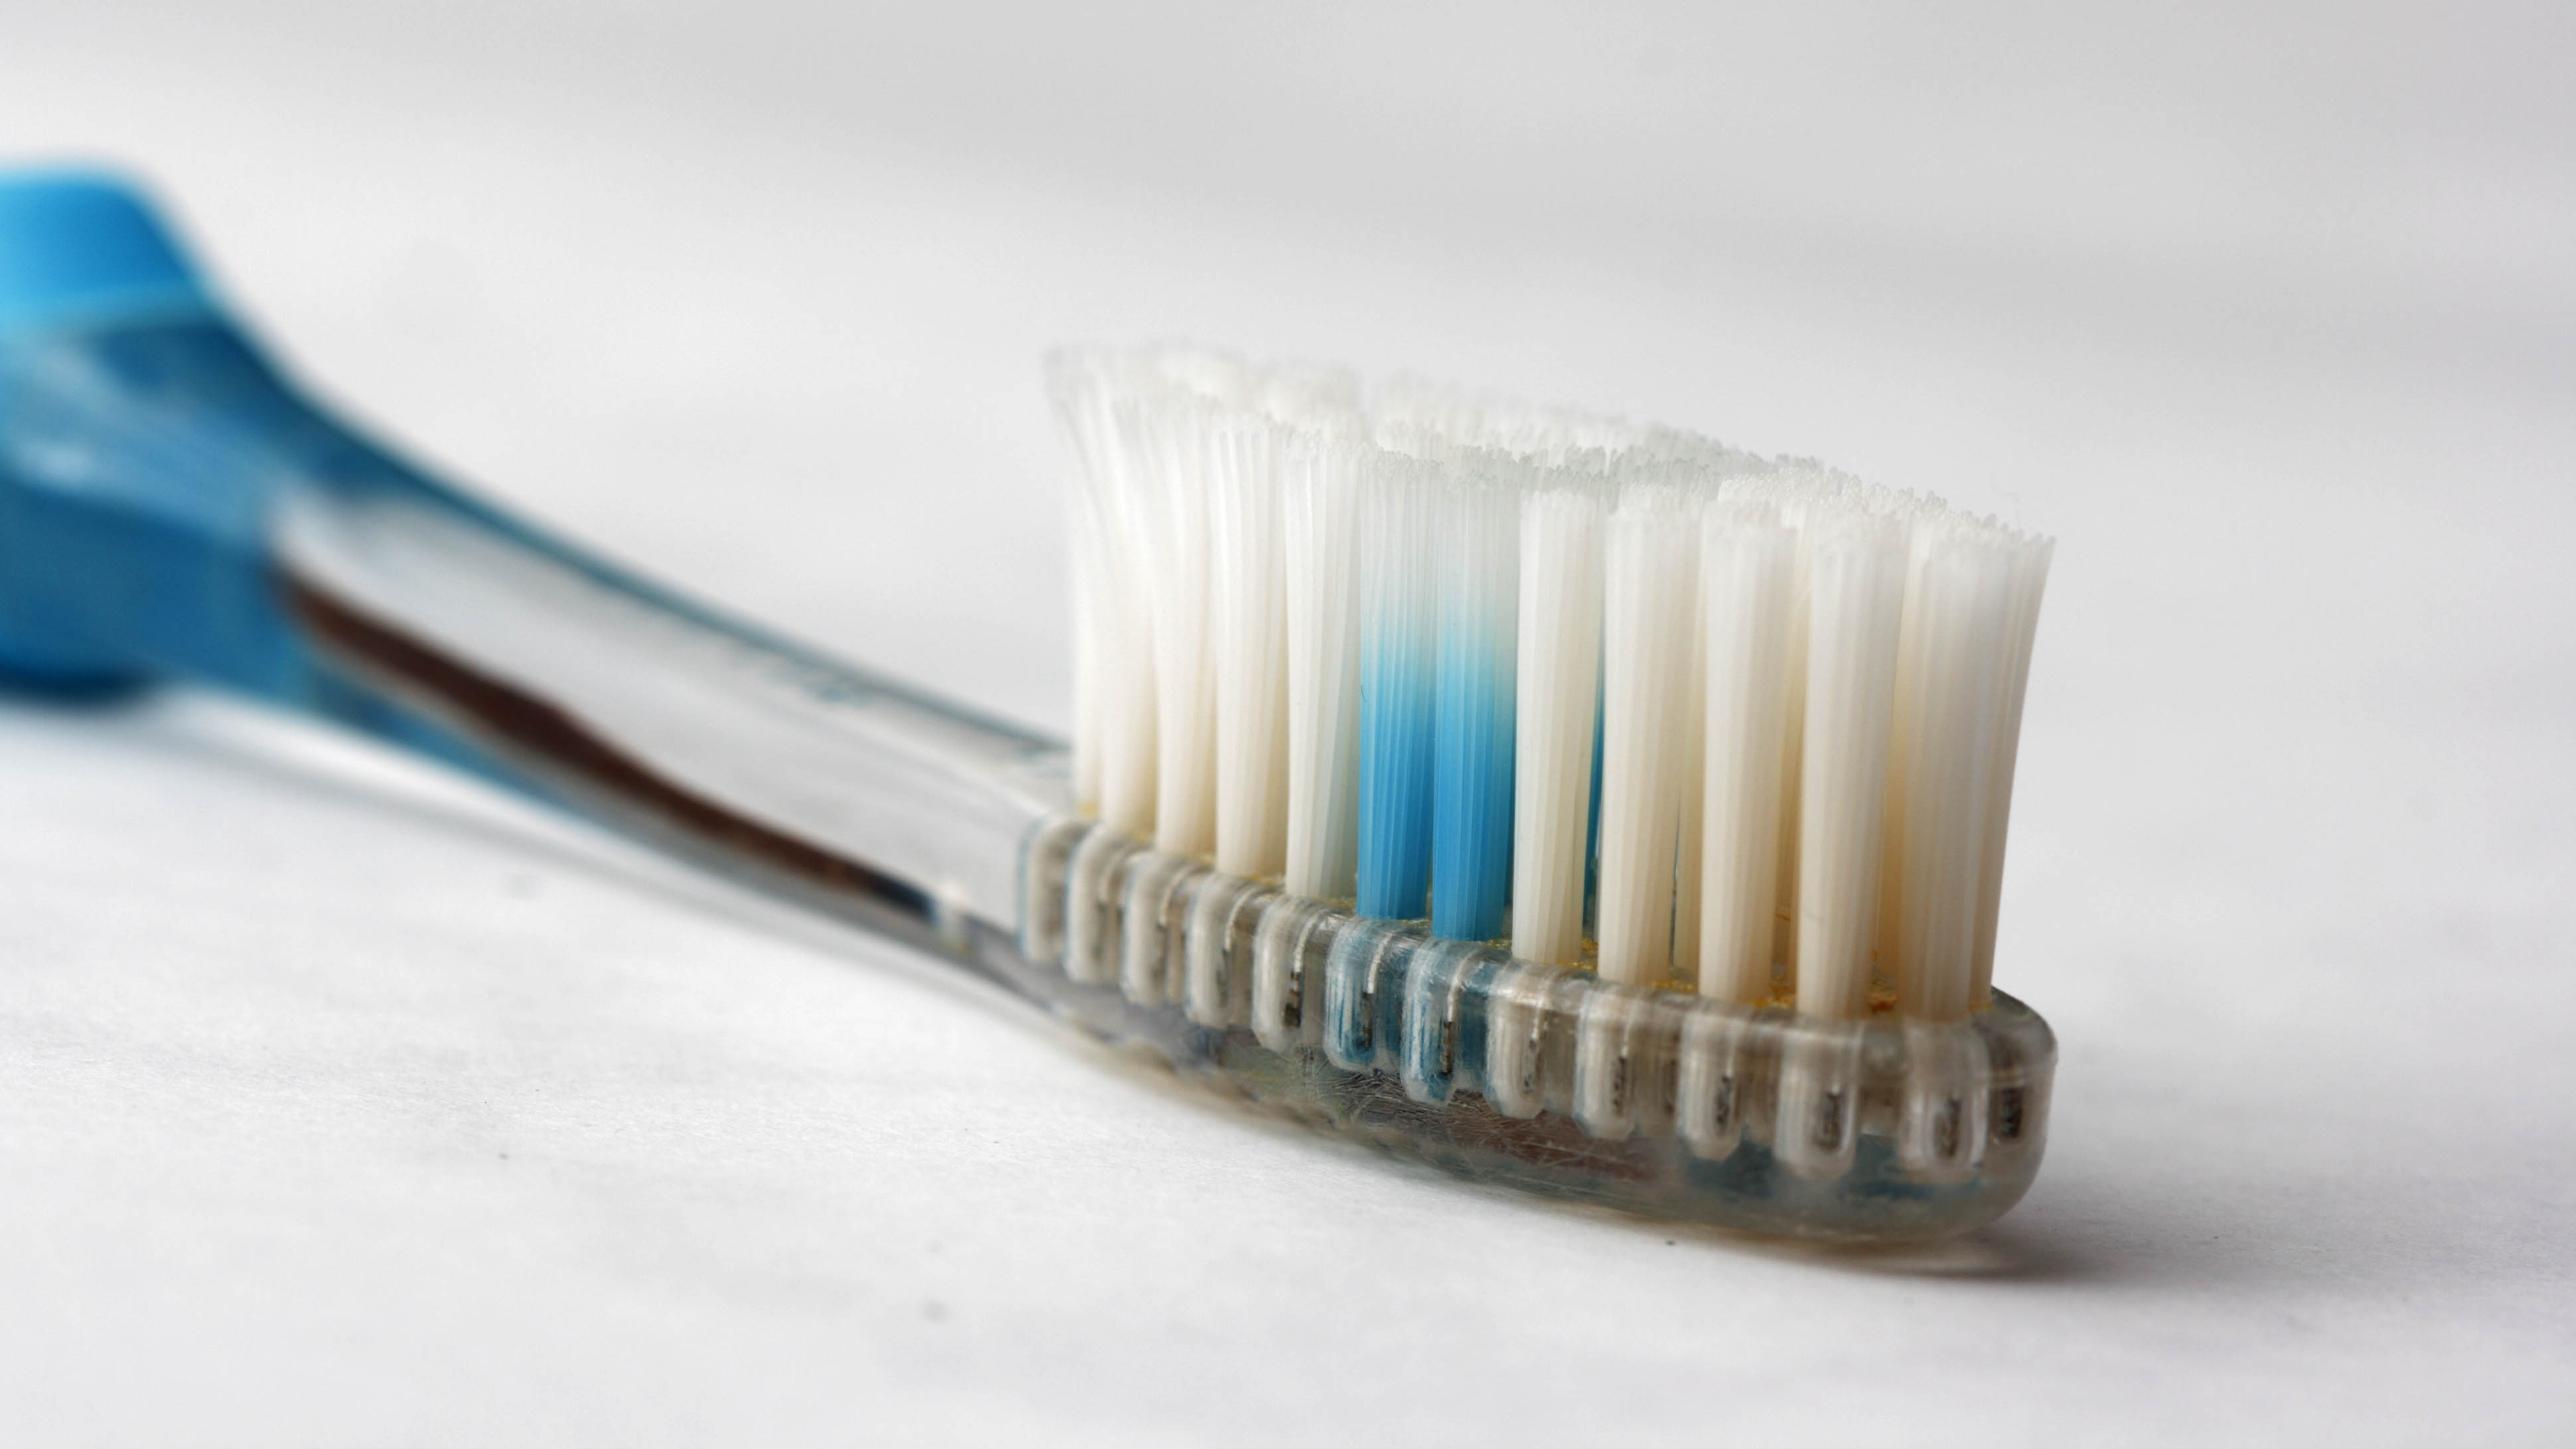
Clean cloth or paper towel: Keeping a clean cloth or paper towel handy is crucial for wiping down the toothbrush handle and head. This will help remove any accumulated moisture, toothpaste residue, or debris, ensuring that the toothbrush remains hygienic and well-maintained.
-
Gloves (optional): While not mandatory, wearing gloves can be beneficial, especially if you're dealing with a toothbrush head that has been in use for an extended period. Gloves can provide added grip and protection while handling the toothbrush head, particularly if it's tightly secured.
-
Work surface: Prepare a clean and stable work surface where you can comfortably work on removing the toothbrush head. A flat countertop or table with ample lighting will make the process more convenient and help prevent any small components from getting misplaced.
By gathering these essential tools and materials, you'll be fully equipped to proceed with the subsequent steps of removing and cleaning the Waterpik toothbrush head. Having everything readily available will streamline the process and ensure that you can maintain your toothbrush with ease and efficiency.
Step 2: Turn off the Waterpik toothbrush
Before proceeding with the removal of the toothbrush head, it's crucial to ensure that the Waterpik toothbrush is turned off to prevent any accidental activation during the process. Here's how you can safely turn off the device:
-
Locate the Power Button: The power button on the Waterpik toothbrush is typically positioned on the handle, within easy reach of your thumb or forefinger. It's essential to familiarize yourself with the location of the power button to effectively power down the toothbrush.
-
Press and Hold the Power Button: To turn off the Waterpik toothbrush, press and hold the power button for a few seconds until the device powers down. You may notice the brush head ceasing its oscillating motion, indicating that the toothbrush is no longer active.
-
Verify the Power Down: After holding the power button, visually confirm that the toothbrush has indeed turned off. Check for any remaining indicator lights or signs of activity to ensure that the device is completely powered down.
By following these steps, you can safely turn off the Waterpik toothbrush, preparing it for the subsequent process of removing the toothbrush head. Ensuring that the toothbrush is powered off minimizes the risk of accidental activation, allowing you to proceed with the next steps with confidence and peace of mind.
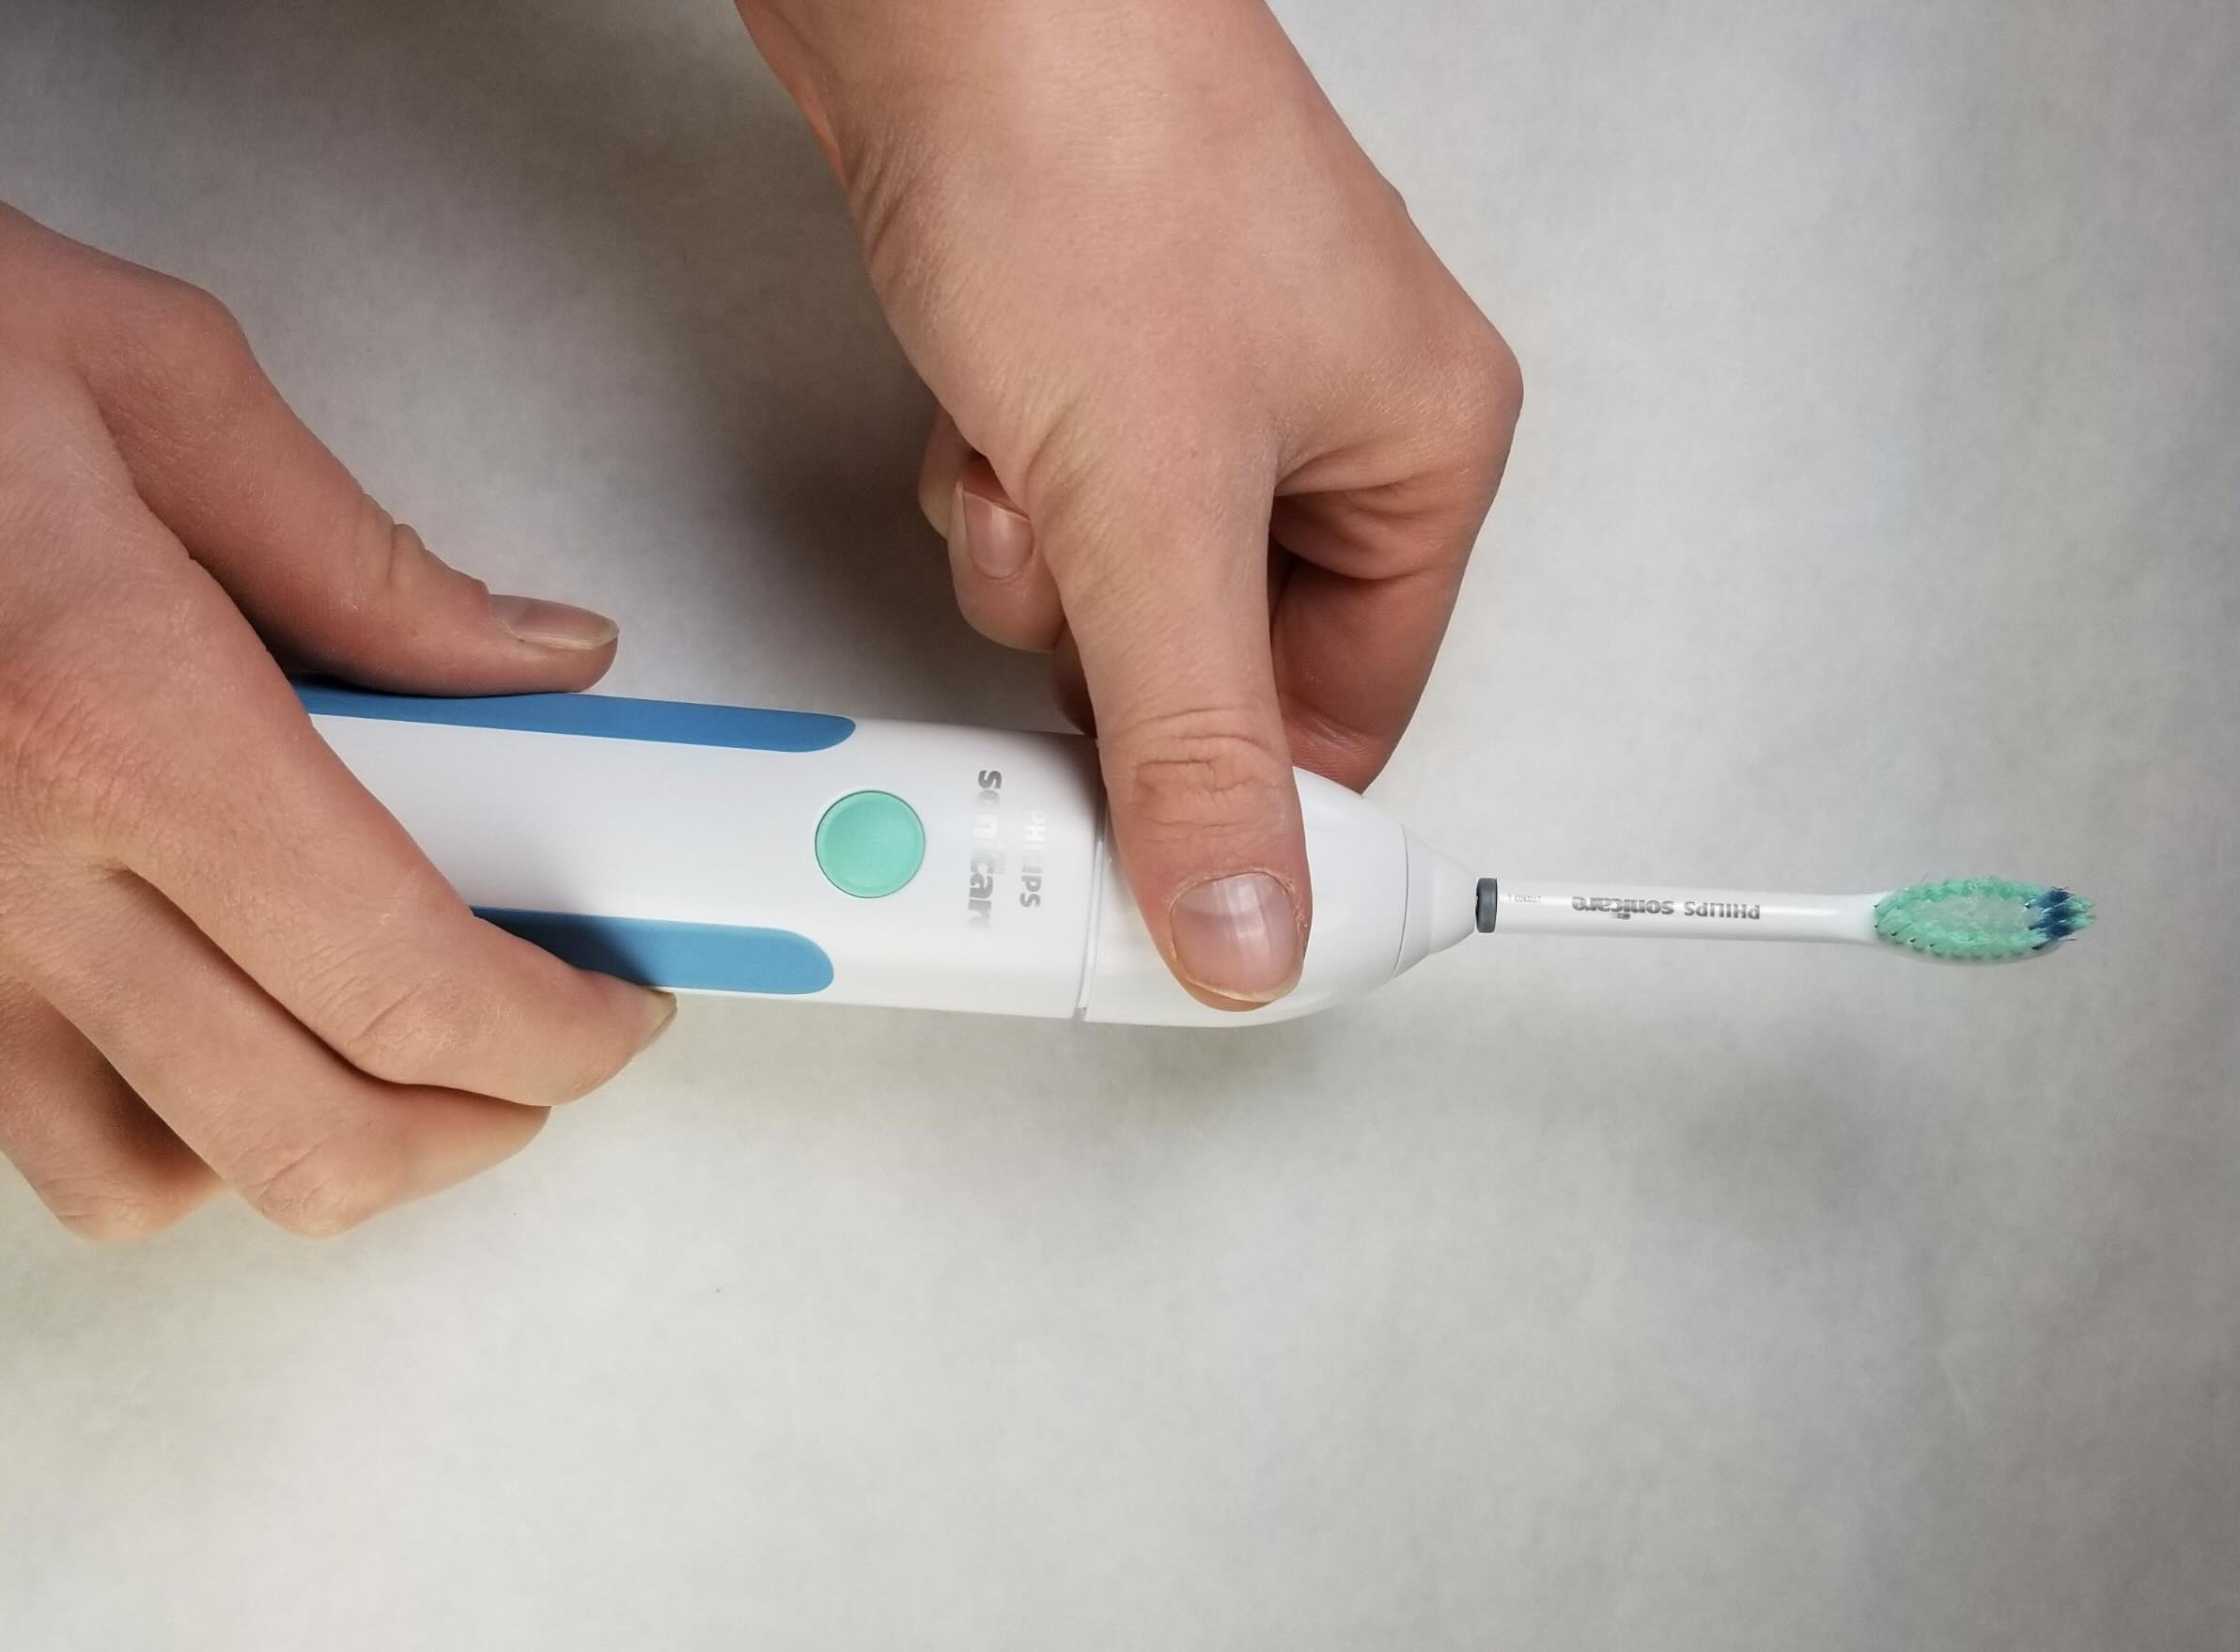
Step 3: Remove the toothbrush head
Removing the toothbrush head from your Waterpik toothbrush is a straightforward process that requires careful attention to detail. Follow these steps to safely detach the toothbrush head:
-
Firm Grip: Ensure that the toothbrush handle is securely held with one hand, providing a stable base for the removal process. A firm grip on the handle will prevent any accidental slippage or movement while detaching the head.
-
Twist and Pull: Most Waterpik toothbrush models feature a twist-and-pull mechanism for removing the toothbrush head. With your free hand, firmly grasp the toothbrush head and twist it counterclockwise. The twisting motion helps release the head from its locked position on the handle.
-
Gentle Pull: After twisting the head, gently pull it away from the handle. Apply steady and even pressure to avoid any abrupt or forceful movements that could potentially damage the attachment mechanism.
-
Inspect for Debris: Once the head is removed, take a moment to inspect the attachment area on the handle for any accumulated debris or residue. Use a clean cloth or paper towel to wipe the attachment point, ensuring that it is free from any obstructions that could hinder the reattachment process.
By following these steps, you can safely remove the toothbrush head from your Waterpik toothbrush without causing any damage to the device. This process sets the stage for cleaning the toothbrush head and handle, as well as preparing for the reattachment of the head.
Remember, taking your time and exercising caution during the removal process will help maintain the integrity of your Waterpik toothbrush, ensuring that it continues to provide effective oral care.
Step 4: Clean the toothbrush head and handle
After successfully removing the toothbrush head from your Waterpik toothbrush, it's essential to focus on cleaning both the head and the handle to maintain optimal oral hygiene and ensure the longevity of your oral care device. Here's a detailed guide on how to effectively clean the toothbrush head and handle:
Read more: How To Take Off Sink Faucet Head
Cleaning the Toothbrush Head:
-
Rinse Thoroughly: Begin by rinsing the toothbrush head under warm running water to remove any residual toothpaste, debris, or bacteria. Ensure that the water thoroughly cleans the bristles and reaches all areas of the head.
-
Use Mild Soap or Toothpaste: Apply a small amount of mild soap or toothpaste to the bristles of the toothbrush head. Gently scrub the bristles with your fingers to remove any stubborn stains or buildup. Alternatively, you can use a designated toothbrush cleaner for this purpose.
-
Rinse Again: After cleaning the bristles, rinse the toothbrush head once more under running water to remove the soap or toothpaste residue. Ensure that all cleaning agents are completely washed away.
-
Inspect for Residue: Take a moment to inspect the head for any remaining residue or buildup. If necessary, use a soft-bristled brush to gently scrub hard-to-reach areas, ensuring that the entire head is clean and free from any lingering debris.
-
Air Dry: Once the head is thoroughly cleaned, shake off any excess water and allow it to air dry in a well-ventilated area. Avoid placing the head back on the handle until it is completely dry to prevent the growth of mold or mildew.
Cleaning the Toothbrush Handle:
-
Wipe with Cloth or Paper Towel: Use a clean cloth or paper towel to wipe down the handle of the Waterpik toothbrush. Pay attention to areas where the head attaches to the handle, as well as any buttons or controls on the device.
-
Sanitize if Necessary: If desired, you can use a mild disinfectant or sanitizing wipe to further clean and sanitize the handle, particularly if it has come into contact with any external surfaces or if multiple individuals use the toothbrush.
-
Inspect for Residue: After wiping down the handle, inspect it for any remaining residue or moisture. Ensure that the handle is completely dry before reattaching the toothbrush head.
By following these detailed steps, you can effectively clean both the toothbrush head and handle, promoting optimal oral hygiene and prolonging the lifespan of your Waterpik toothbrush. Maintaining a clean and hygienic toothbrush is essential for ensuring that it continues to provide effective oral care for your daily routine.
To take off a Waterpik toothbrush head, simply grasp the head firmly and twist it counterclockwise to remove it from the handle.
Step 5: Reattach the toothbrush head
After thoroughly cleaning the toothbrush head and handle, the final step in the process is to reattach the head to the Waterpik toothbrush. Proper reattachment ensures that the toothbrush functions optimally and continues to provide effective oral care. Follow these detailed steps to securely reattach the toothbrush head:
-
Align the Head: Hold the toothbrush handle firmly and position the replacement or cleaned toothbrush head at the top of the handle. Align the head so that the attachment mechanism on the handle and the head's base fit together seamlessly.
-
Press and Twist: With gentle pressure, push the toothbrush head onto the handle while simultaneously twisting it clockwise. The twisting motion helps secure the head in place, ensuring a snug and stable attachment.
-
Verify Secure Fit: Once the head is pressed and twisted onto the handle, verify that it is securely attached. Gently tug on the head to confirm that it does not easily dislodge from the handle. A properly attached head should remain firmly in place without any wobbling or movement.
-
Test the Attachment: Before using the toothbrush, briefly turn it on to ensure that the head remains securely attached during operation. Listen for any unusual sounds or vibrations that could indicate an insecure attachment.
-
Final Inspection: Take a moment to visually inspect the reattached head to ensure that it sits flush with the handle and that there are no gaps or misalignments. This visual check confirms that the head is correctly positioned and ready for use.
By following these steps, you can confidently reattach the toothbrush head to your Waterpik toothbrush, ensuring a secure and reliable connection. Proper reattachment is essential for maintaining the functionality and effectiveness of the toothbrush, allowing you to continue your oral care routine with confidence and peace of mind.
Conclusion
Maintaining a clean and well-functioning toothbrush is a crucial aspect of oral hygiene, and knowing how to safely remove and reattach the toothbrush head is essential for the upkeep of your Waterpik toothbrush. By following the step-by-step guide outlined in this article, you can ensure that your toothbrush remains in optimal condition, providing effective oral care for your daily routine.
Properly removing the toothbrush head allows for thorough cleaning and maintenance, ensuring that any accumulated debris, bacteria, or residue is effectively removed from both the head and the handle. This not only promotes oral hygiene but also prolongs the lifespan of your toothbrush, allowing you to maximize its utility and effectiveness.
Additionally, the process of reattaching the toothbrush head is equally important, as it ensures that the head is securely fastened to the handle, enabling the toothbrush to operate as intended. A secure attachment minimizes the risk of malfunctions and ensures that the toothbrush continues to provide consistent and reliable oral care.
By incorporating these maintenance practices into your oral care routine, you can enjoy the benefits of a clean and well-maintained Waterpik toothbrush, promoting not only oral health but also overall well-being. Regularly removing and cleaning the toothbrush head, along with proper reattachment, contributes to a hygienic and effective oral care regimen, allowing you to confidently maintain your smile's health and radiance.
Remember, the cleanliness and functionality of your toothbrush play a significant role in your overall oral hygiene, and by mastering the process of removing and reattaching the toothbrush head, you can ensure that your Waterpik toothbrush continues to be a reliable companion in your daily oral care routine. With these maintenance practices in place, you can look forward to a healthy and vibrant smile, supported by the consistent performance of your well-maintained Waterpik toothbrush.
Frequently Asked Questions about How To Take Off Waterpik Toothbrush Head
Was this page helpful?
At Storables.com, we guarantee accurate and reliable information. Our content, validated by Expert Board Contributors, is crafted following stringent Editorial Policies. We're committed to providing you with well-researched, expert-backed insights for all your informational needs.


0 thoughts on “How To Take Off Waterpik Toothbrush Head”