Home>Furniture & Design>Bathroom Accessories>How To Pull A Bathtub Drain Out

Bathroom Accessories
How To Pull A Bathtub Drain Out
Modified: February 20, 2024
Learn how to easily pull out a bathtub drain and upgrade your bathroom accessories with our step-by-step guide. Say goodbye to old, worn-out fixtures and hello to a fresh new look!
(Many of the links in this article redirect to a specific reviewed product. Your purchase of these products through affiliate links helps to generate commission for Storables.com, at no extra cost. Learn more)
Introduction
Removing a bathtub drain may seem like a daunting task, but with the right tools and a bit of know-how, it can be a manageable DIY project. Over time, bathtub drains can become clogged or corroded, necessitating their removal for cleaning or replacement. Whether you're looking to upgrade your bathtub drain or simply need to address a persistent clog, understanding how to pull out a bathtub drain is a valuable skill for any homeowner.
By following the step-by-step process outlined in this guide, you can effectively remove the drain without the need for professional assistance. This not only saves you money but also provides a sense of accomplishment in tackling a common household maintenance issue.
Before diving into the removal process, it's essential to gather the necessary tools and materials. Having these items on hand will streamline the project and ensure that you can complete the task efficiently and effectively. Once you have everything you need, you'll be ready to embark on the journey of removing your bathtub drain and restoring proper functionality to your bathroom fixture.
Understanding the intricacies of your bathtub drain and how to navigate its removal can empower you to take charge of your home maintenance. With the right guidance and a willingness to learn, you can master the art of pulling out a bathtub drain, gaining valuable insight into the inner workings of your plumbing system. So, roll up your sleeves, gather your tools, and let's dive into the process of removing a bathtub drain.
Key Takeaways:
- Master the art of removing a bathtub drain with the right tools and know-how, saving money and gaining a sense of accomplishment as a proactive homeowner.
- By following step-by-step instructions, you can effectively remove a bathtub drain, maintain your home, and feel empowered to tackle common household maintenance tasks.
Read more: How To Get Bathtub Drain Out
Tools and Materials Needed
Before embarking on the task of removing a bathtub drain, it's crucial to gather the essential tools and materials to ensure a smooth and efficient process. Having the right equipment at your disposal will enable you to tackle the project with confidence and precision. Here's a comprehensive list of the tools and materials you'll need:
Tools:
- Screwdriver Set: A set of screwdrivers, including both flathead and Phillips head varieties, will be indispensable for removing screws and accessing various components of the drain assembly.
- Needle-Nose Pliers: These long, slender pliers are ideal for reaching into tight spaces and gripping small components, such as the retaining clip or hair clogs within the drain.
- Adjustable Wrench: An adjustable wrench is essential for loosening and tightening nuts and bolts, particularly when working with the drain flange and overflow plate.
- Plumbers' Putty Knife: This specialized tool is designed for removing old plumbers' putty and ensuring a clean surface when resealing the drain components.
- Tub Drain Extractor Tool: While not always necessary, a tub drain extractor tool can simplify the process of removing stubborn or corroded drain flanges, providing added leverage and grip.
- Rubber Mallet: In some cases, a rubber mallet may be needed to gently tap the drain flange or overflow plate for loosening purposes without causing damage.
Materials:
- Plumbers' Putty: A fresh supply of plumbers' putty will be required for resealing the drain components during reinstallation, ensuring a watertight seal.
- Replacement Gaskets or Washers: Depending on the condition of the existing gaskets or washers, it's advisable to have replacements on hand to prevent leaks once the drain is reassembled.
- Cleaning Solution: A mild cleaning solution or bathroom cleaner will be useful for cleaning the exposed drain area and removing any accumulated grime or debris.
- Rags or Paper Towels: Having a supply of rags or paper towels within reach will facilitate the cleaning process and help maintain a tidy work area.
- Safety Gloves: It's important to protect your hands during the removal process, so a pair of durable safety gloves is essential for handling potentially sharp or dirty components.
By ensuring that you have these tools and materials readily available, you'll be well-prepared to tackle the task of removing your bathtub drain with confidence and efficiency. With everything in place, you can proceed to the next steps of the removal process, equipped with the necessary resources to achieve a successful outcome.
Step 1: Remove the Stopper
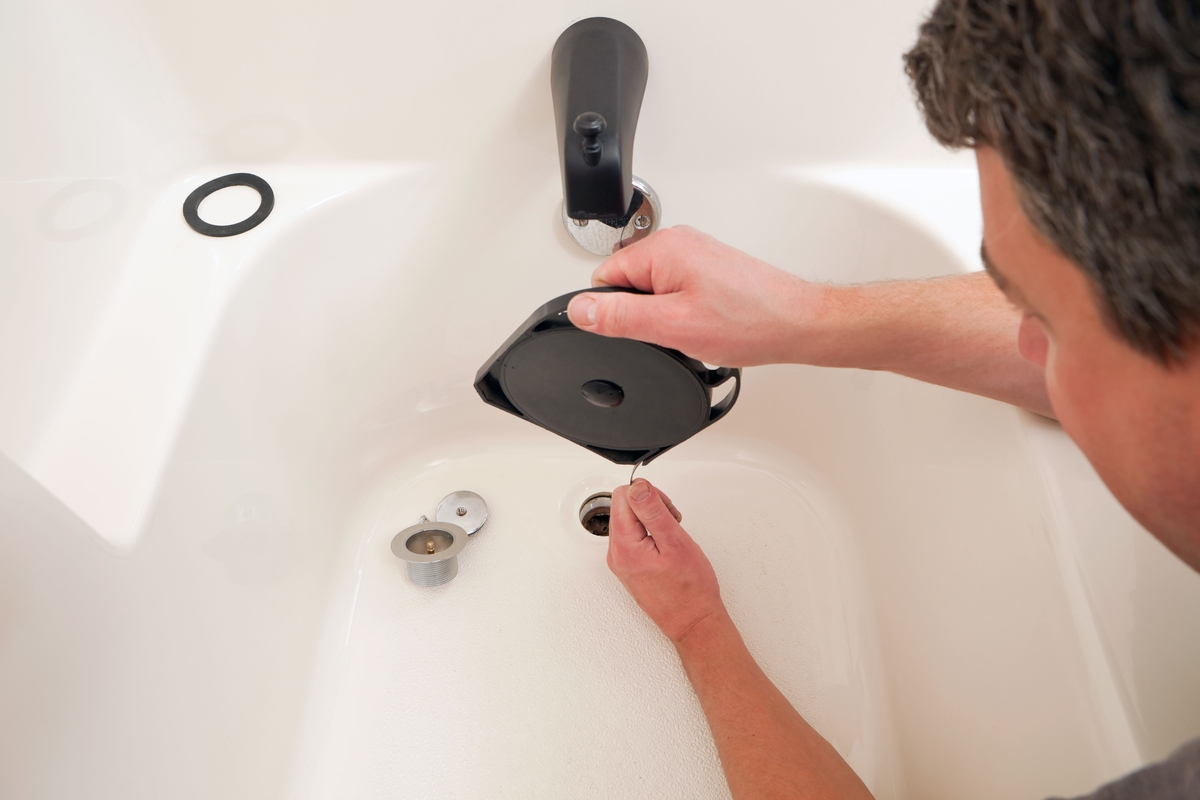
Removing the stopper is the initial step in the process of pulling out a bathtub drain. The stopper, also known as the drain plug, is the component that controls the flow of water down the drain. To access the drain assembly and proceed with the removal process, the stopper must be detached from the drain. Here's a detailed guide on how to remove the stopper effectively:
-
Identify the Stopper Type: There are various types of bathtub stoppers, including lift-and-turn, push-and-pull, toe-touch, and pop-up stoppers. Understanding the specific type of stopper in your bathtub is crucial, as it dictates the removal method.
-
Lift-and-Turn and Toe-Touch Stoppers: For lift-and-turn and toe-touch stoppers, start by locating the setscrew on the knob or shaft of the stopper. Use a screwdriver to loosen and remove the setscrew, allowing you to lift the stopper out of the drain.
-
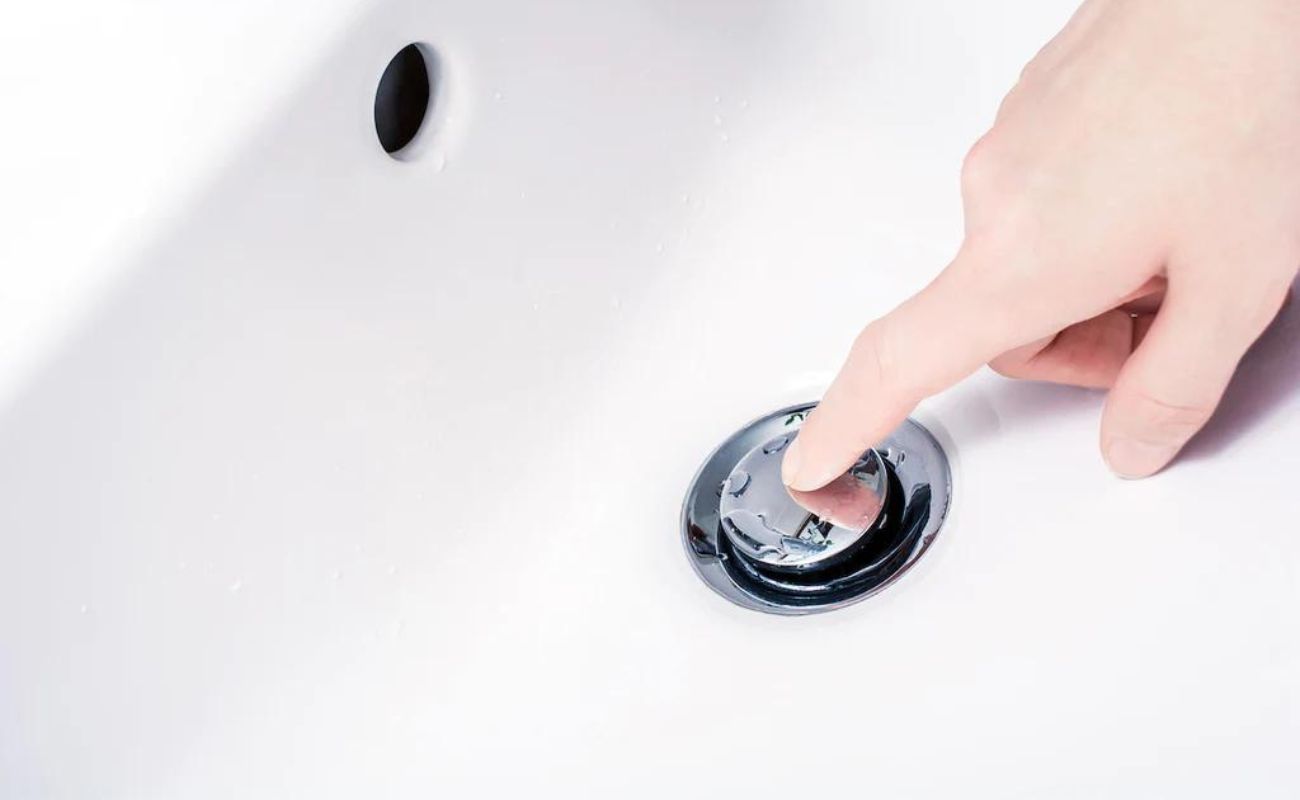
Push-and-Pull Stoppers: If your bathtub features a push-and-pull stopper, simply grasp the stopper and pull it upward to disengage it from the drain.
-
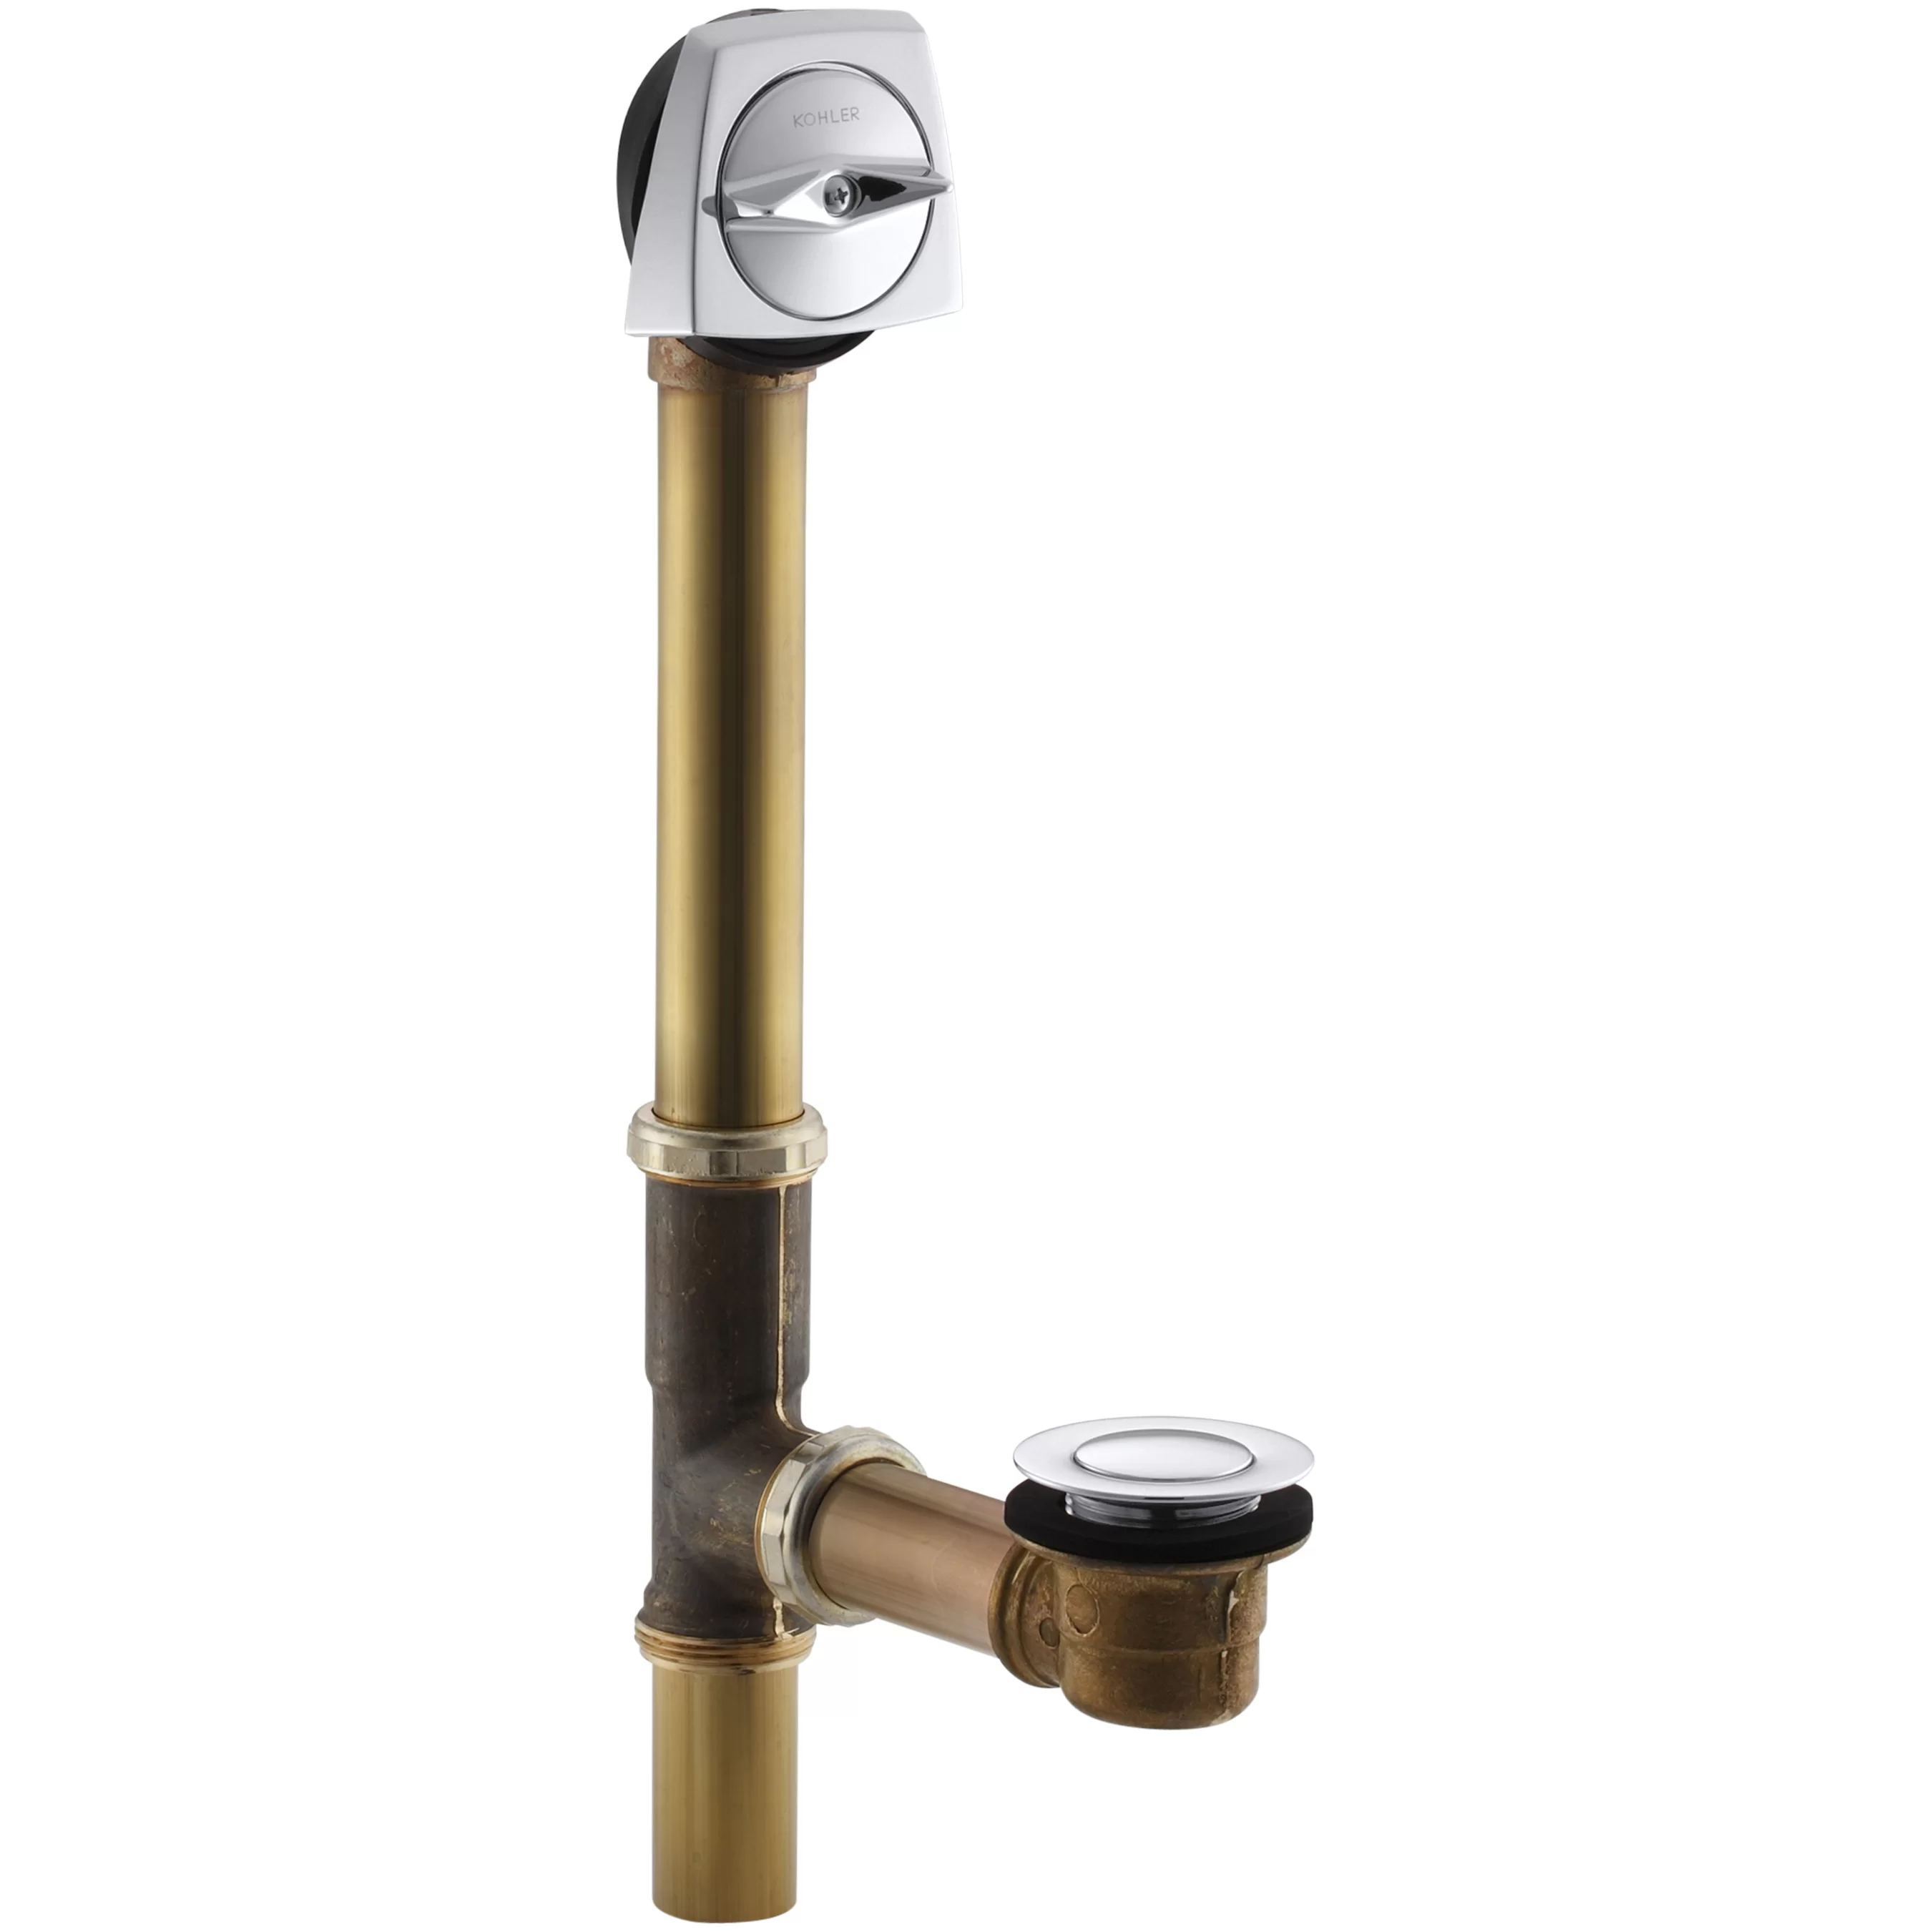
Pop-Up Stoppers: Pop-up stoppers are commonly found in modern bathtubs. To remove a pop-up stopper, access the overflow plate on the bathtub wall and locate the linkage rod connected to the back of the overflow plate. Unscrew the linkage rod from the overflow plate, allowing you to lift the stopper out of the drain.
-
Clean the Stopper: Once the stopper is removed, take the opportunity to clean it thoroughly. Over time, stoppers can accumulate soap scum, hair, and debris, leading to drainage issues. Use a mild cleaning solution and a brush to remove any buildup and ensure that the stopper is free from obstructions.
By successfully removing the stopper, you've completed the first crucial step in the process of pulling out a bathtub drain. With the stopper out of the way, you can proceed to the next steps, ultimately gaining access to the drain assembly and advancing toward the successful removal of the bathtub drain.
Read more: How To Change Out Bathtub Drain
Step 2: Remove the Overflow Plate
Once the stopper has been successfully removed, the next pivotal step in the process of pulling out a bathtub drain involves removing the overflow plate. The overflow plate is located on the wall of the bathtub, typically positioned above the drain and connected to the linkage assembly. Removing the overflow plate is essential for gaining access to the drain components and advancing toward the extraction of the drain flange. Here's a detailed guide on how to remove the overflow plate effectively:
-
Locate the Overflow Plate: The overflow plate is usually situated on the wall of the bathtub, adjacent to the drain. It features one or two screws securing it in place and may have a lever or linkage assembly connected to it.
-
Remove the Screws: Using a suitable screwdriver, carefully loosen and remove the screws that secure the overflow plate to the bathtub wall. Place the screws in a safe location to prevent misplacement.
-
Detach the Linkage Assembly (If Applicable): In some cases, the overflow plate may be connected to a linkage assembly that operates the bathtub drain stopper. If this linkage assembly is present, carefully detach it from the overflow plate, allowing the plate to be fully removed.
-
Inspect and Clean the Overflow Opening: With the overflow plate removed, take a moment to inspect the overflow opening for any accumulated debris or obstructions. Use a flashlight to peer into the overflow pipe and ensure that it is free from blockages.
-
Clean the Overflow Plate: While the overflow plate is detached, seize the opportunity to clean it thoroughly. Over time, the overflow plate can collect grime and soap residue, detracting from the overall appearance of the bathtub. Use a mild cleaning solution and a cloth to remove any buildup and restore the plate to its original luster.
By successfully removing the overflow plate, you've cleared the path for accessing the underlying components of the bathtub drain assembly. This critical step brings you closer to the ultimate goal of pulling out the drain flange and addressing any underlying issues within the drain system. With the overflow plate out of the way, you can proceed to the subsequent steps, maintaining momentum as you navigate the process of removing the bathtub drain.
Step 3: Loosen the Drain Flange
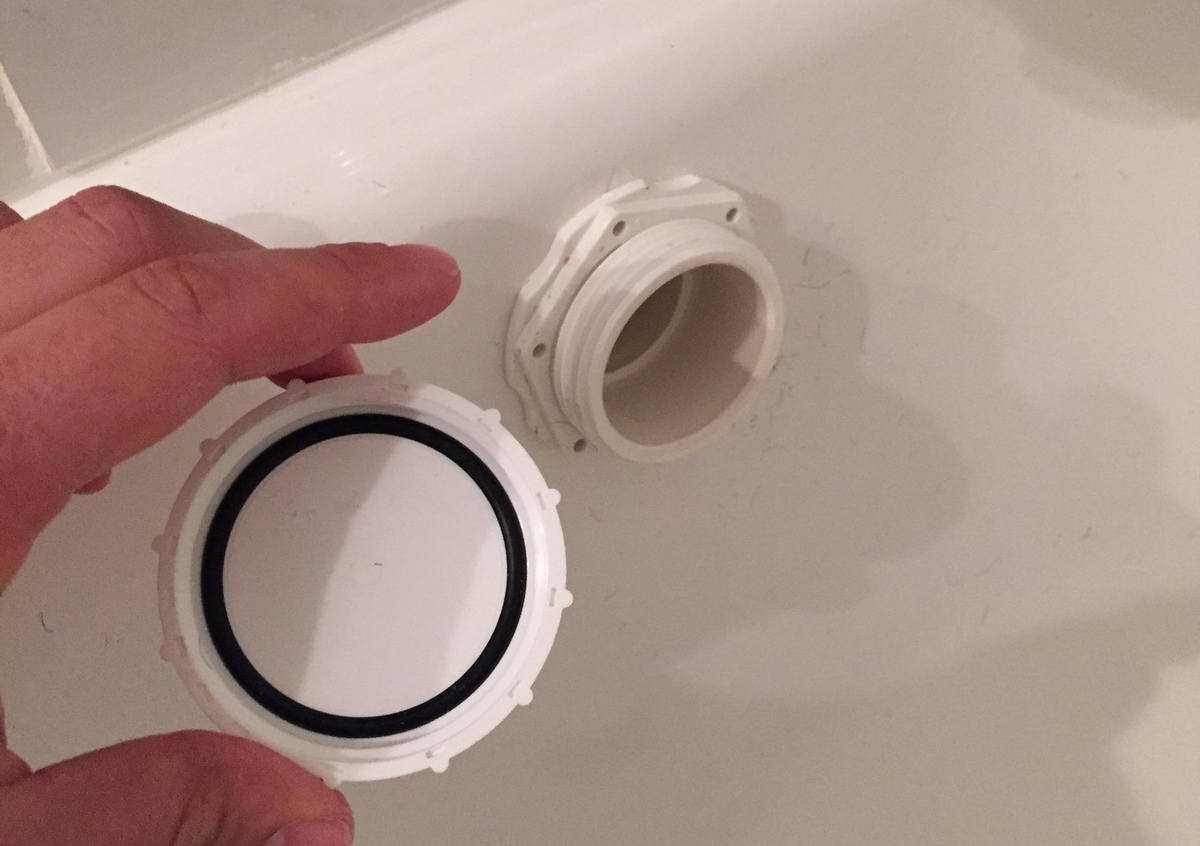
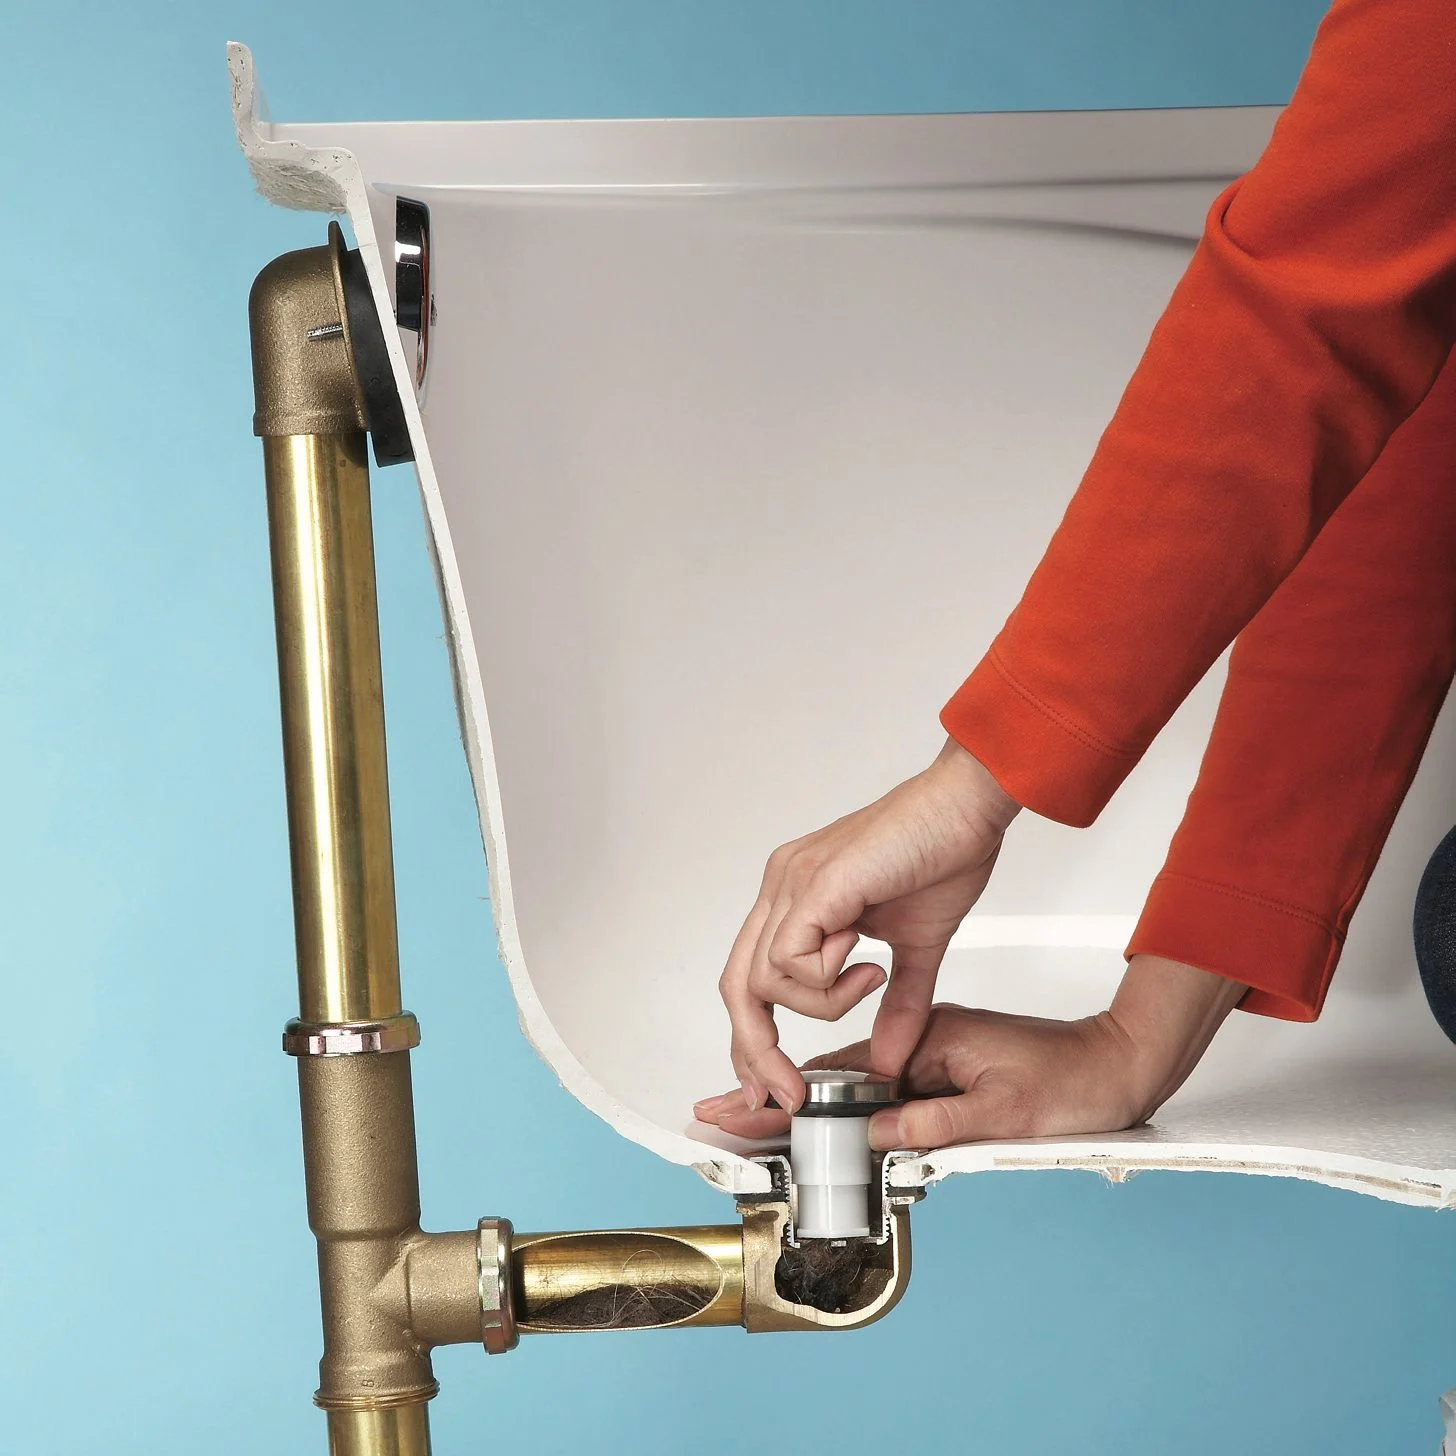
With the stopper and overflow plate successfully removed, the next pivotal step in the process of pulling out a bathtub drain involves loosening the drain flange. The drain flange, also known as the drain basket or strainer, is the visible portion of the drain assembly located within the bathtub. It is typically secured in place by a locking nut or collar, necessitating careful loosening to facilitate its extraction. Here's a detailed guide on how to effectively loosen the drain flange:
-
Inspect the Drain Flange: Before proceeding with the loosening process, take a moment to inspect the condition of the drain flange. Look for any signs of corrosion, damage, or excessive buildup that may impede the removal process. Additionally, ensure that the area surrounding the drain flange is free from debris or obstructions.
-
Apply Lubricant (If Necessary): In cases where the drain flange appears to be tightly secured or corroded, applying a penetrating lubricant can help loosen the components and facilitate their removal. Carefully apply the lubricant around the base of the drain flange, allowing it to penetrate and loosen any stubborn connections.
-
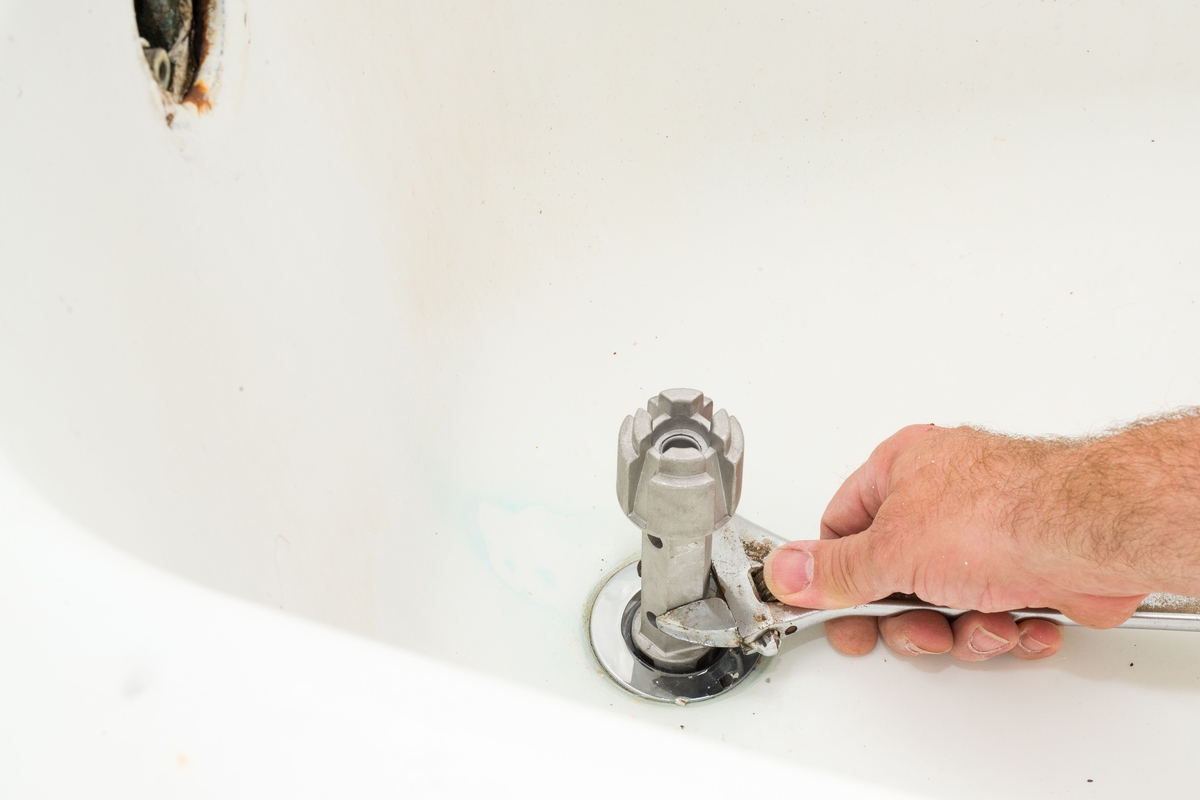
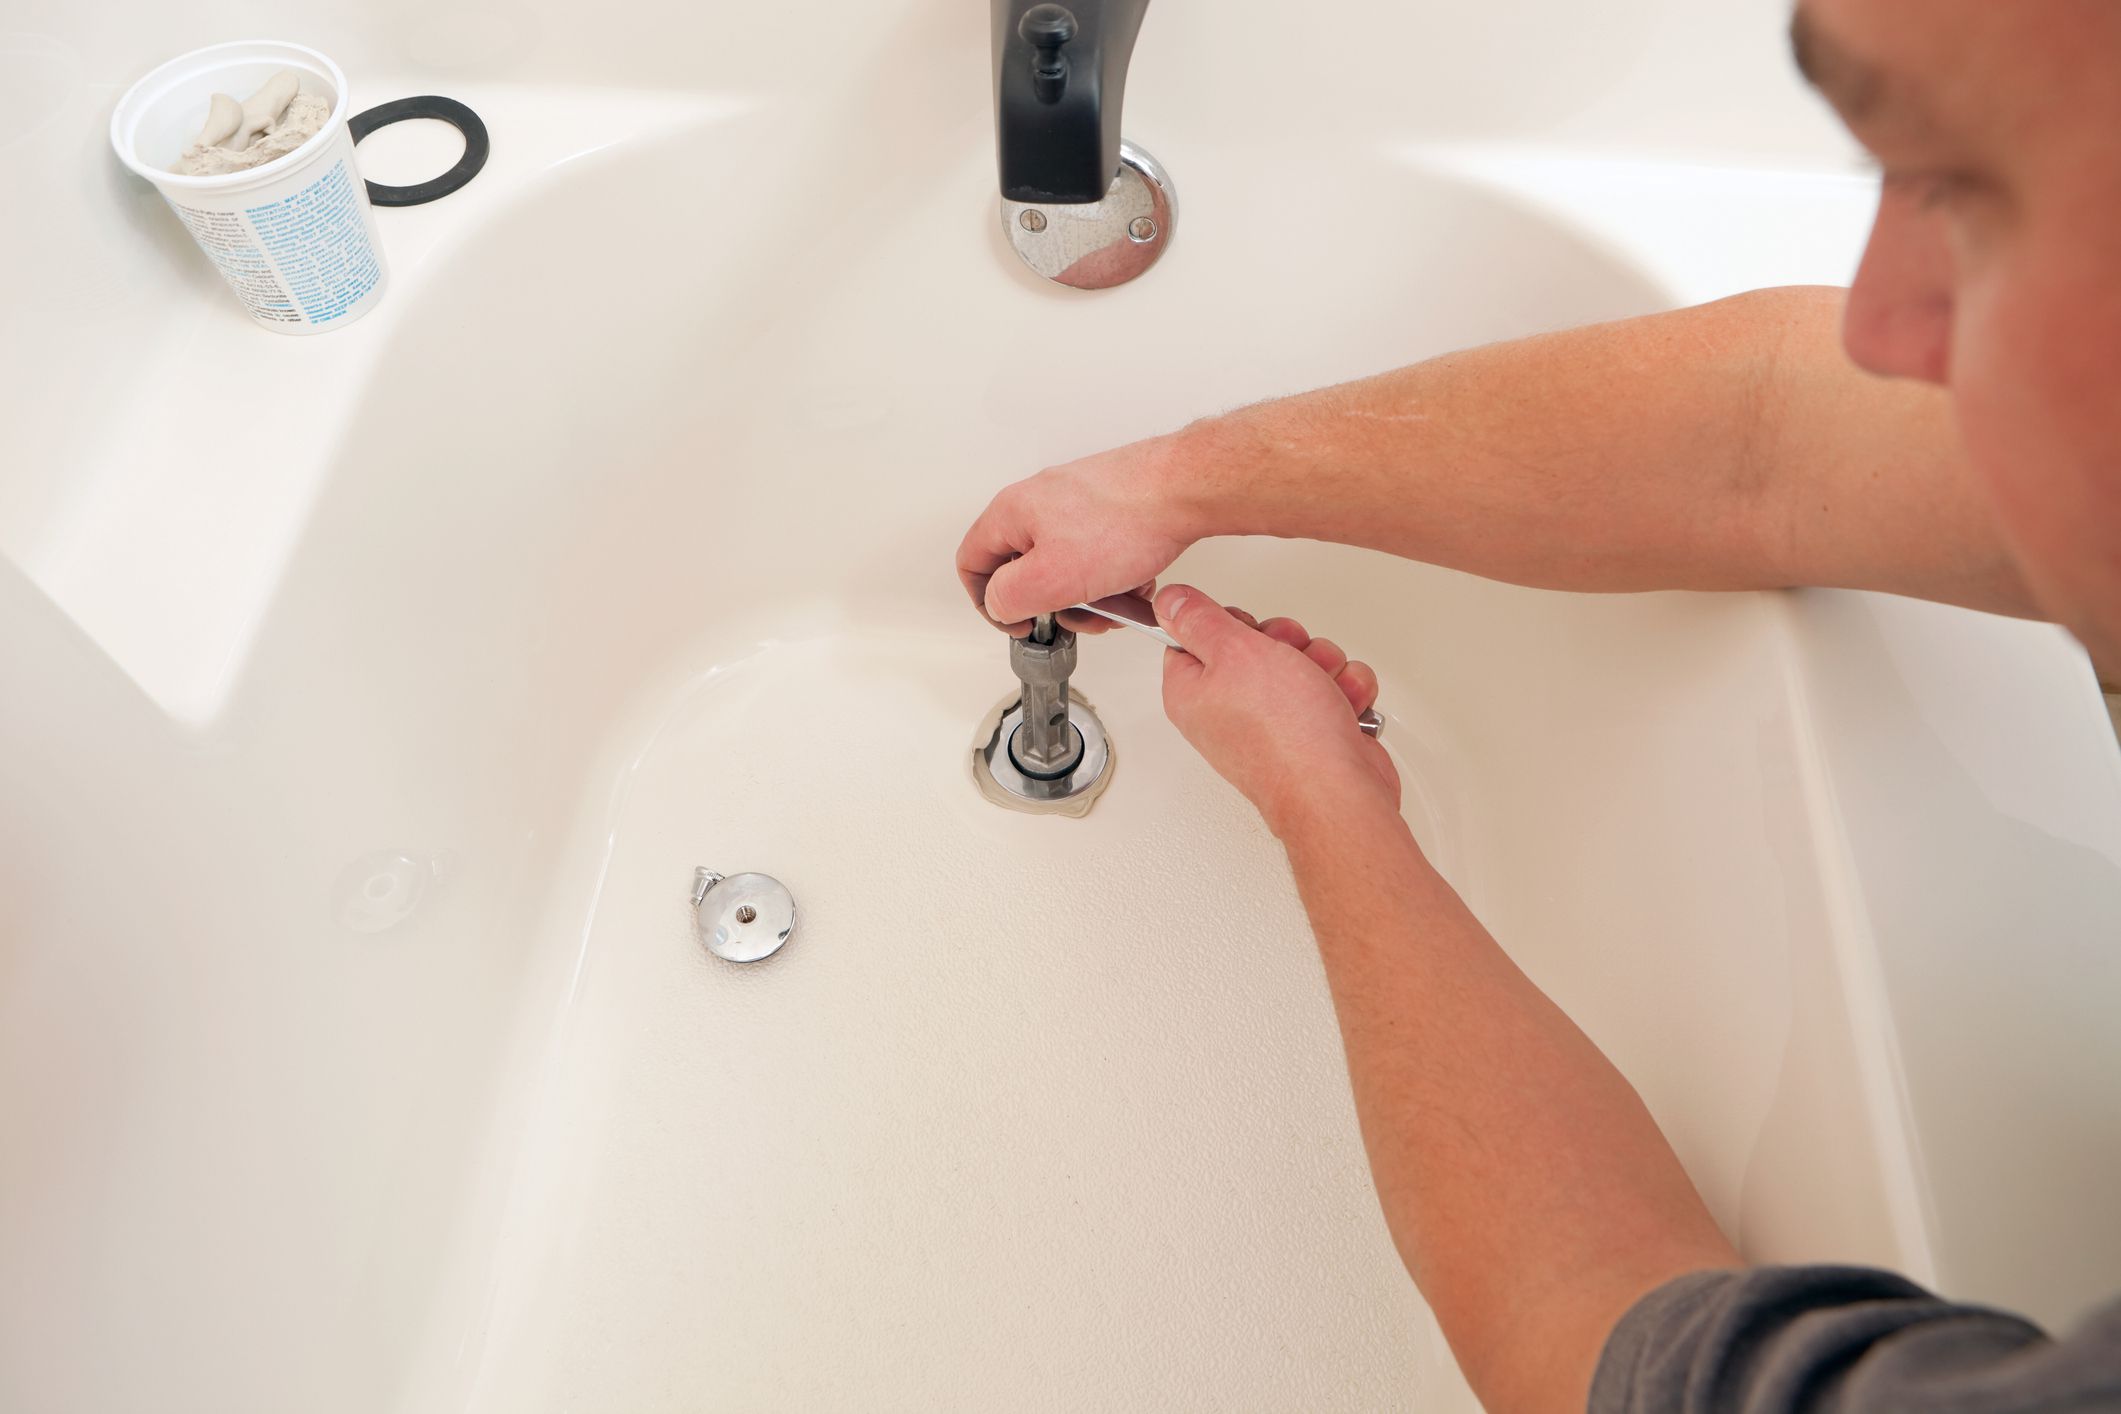
Use an Adjustable Wrench: Secure an adjustable wrench around the locking nut or collar of the drain flange. Ensure that the wrench is positioned securely and aligned with the nut to prevent slippage or damage to the surrounding surfaces. The adjustable wrench provides the leverage needed to loosen the drain flange effectively.
-
Turn the Wrench Counter-Clockwise: With a firm grip on the adjustable wrench, begin turning it in a counter-clockwise direction to loosen the locking nut or collar securing the drain flange. Apply steady, controlled pressure to gradually release the flange from its seated position within the drain assembly. If resistance is encountered, avoid excessive force to prevent damage to the components.
-
Inspect for Movement: As you loosen the drain flange, periodically inspect the area for any signs of movement or separation. The gradual loosening of the locking nut or collar should result in a visible gap between the drain flange and the bathtub surface, indicating progress in the removal process.
By effectively loosening the drain flange, you've overcome a critical hurdle in the journey of pulling out a bathtub drain. This pivotal step brings you closer to the ultimate goal of extracting the drain flange and addressing any underlying issues within the drain system. With the drain flange successfully loosened, you can proceed to the subsequent steps, maintaining momentum as you navigate the process of removing the bathtub drain.
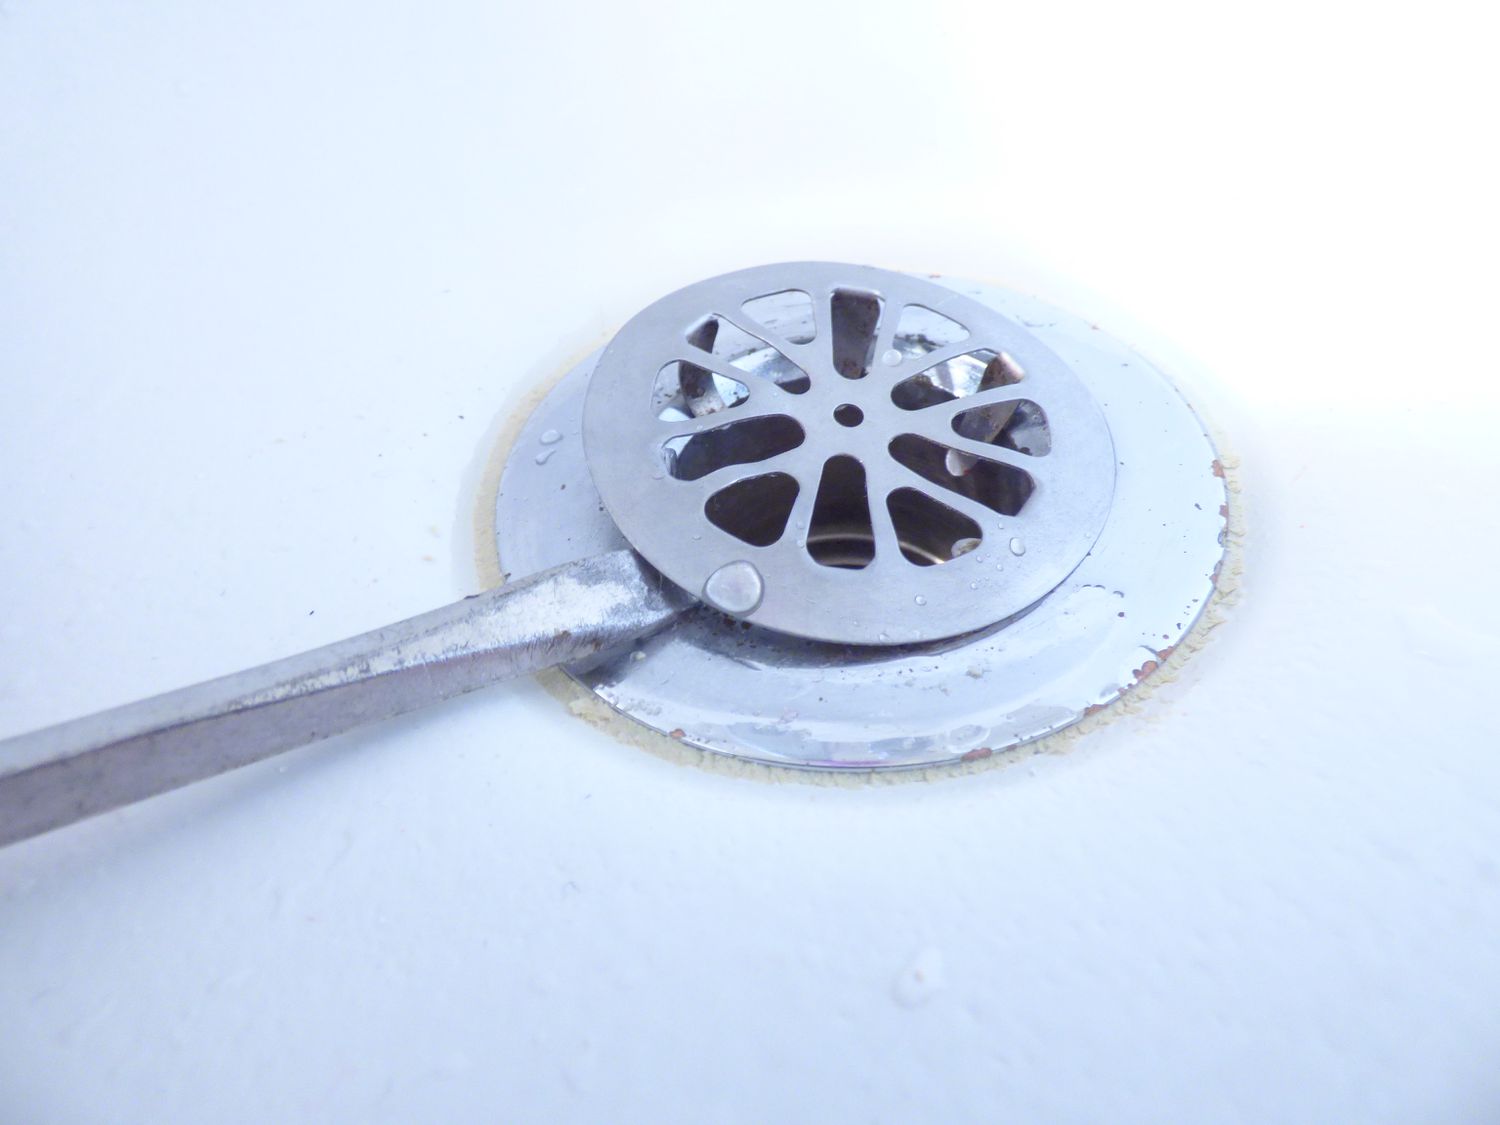
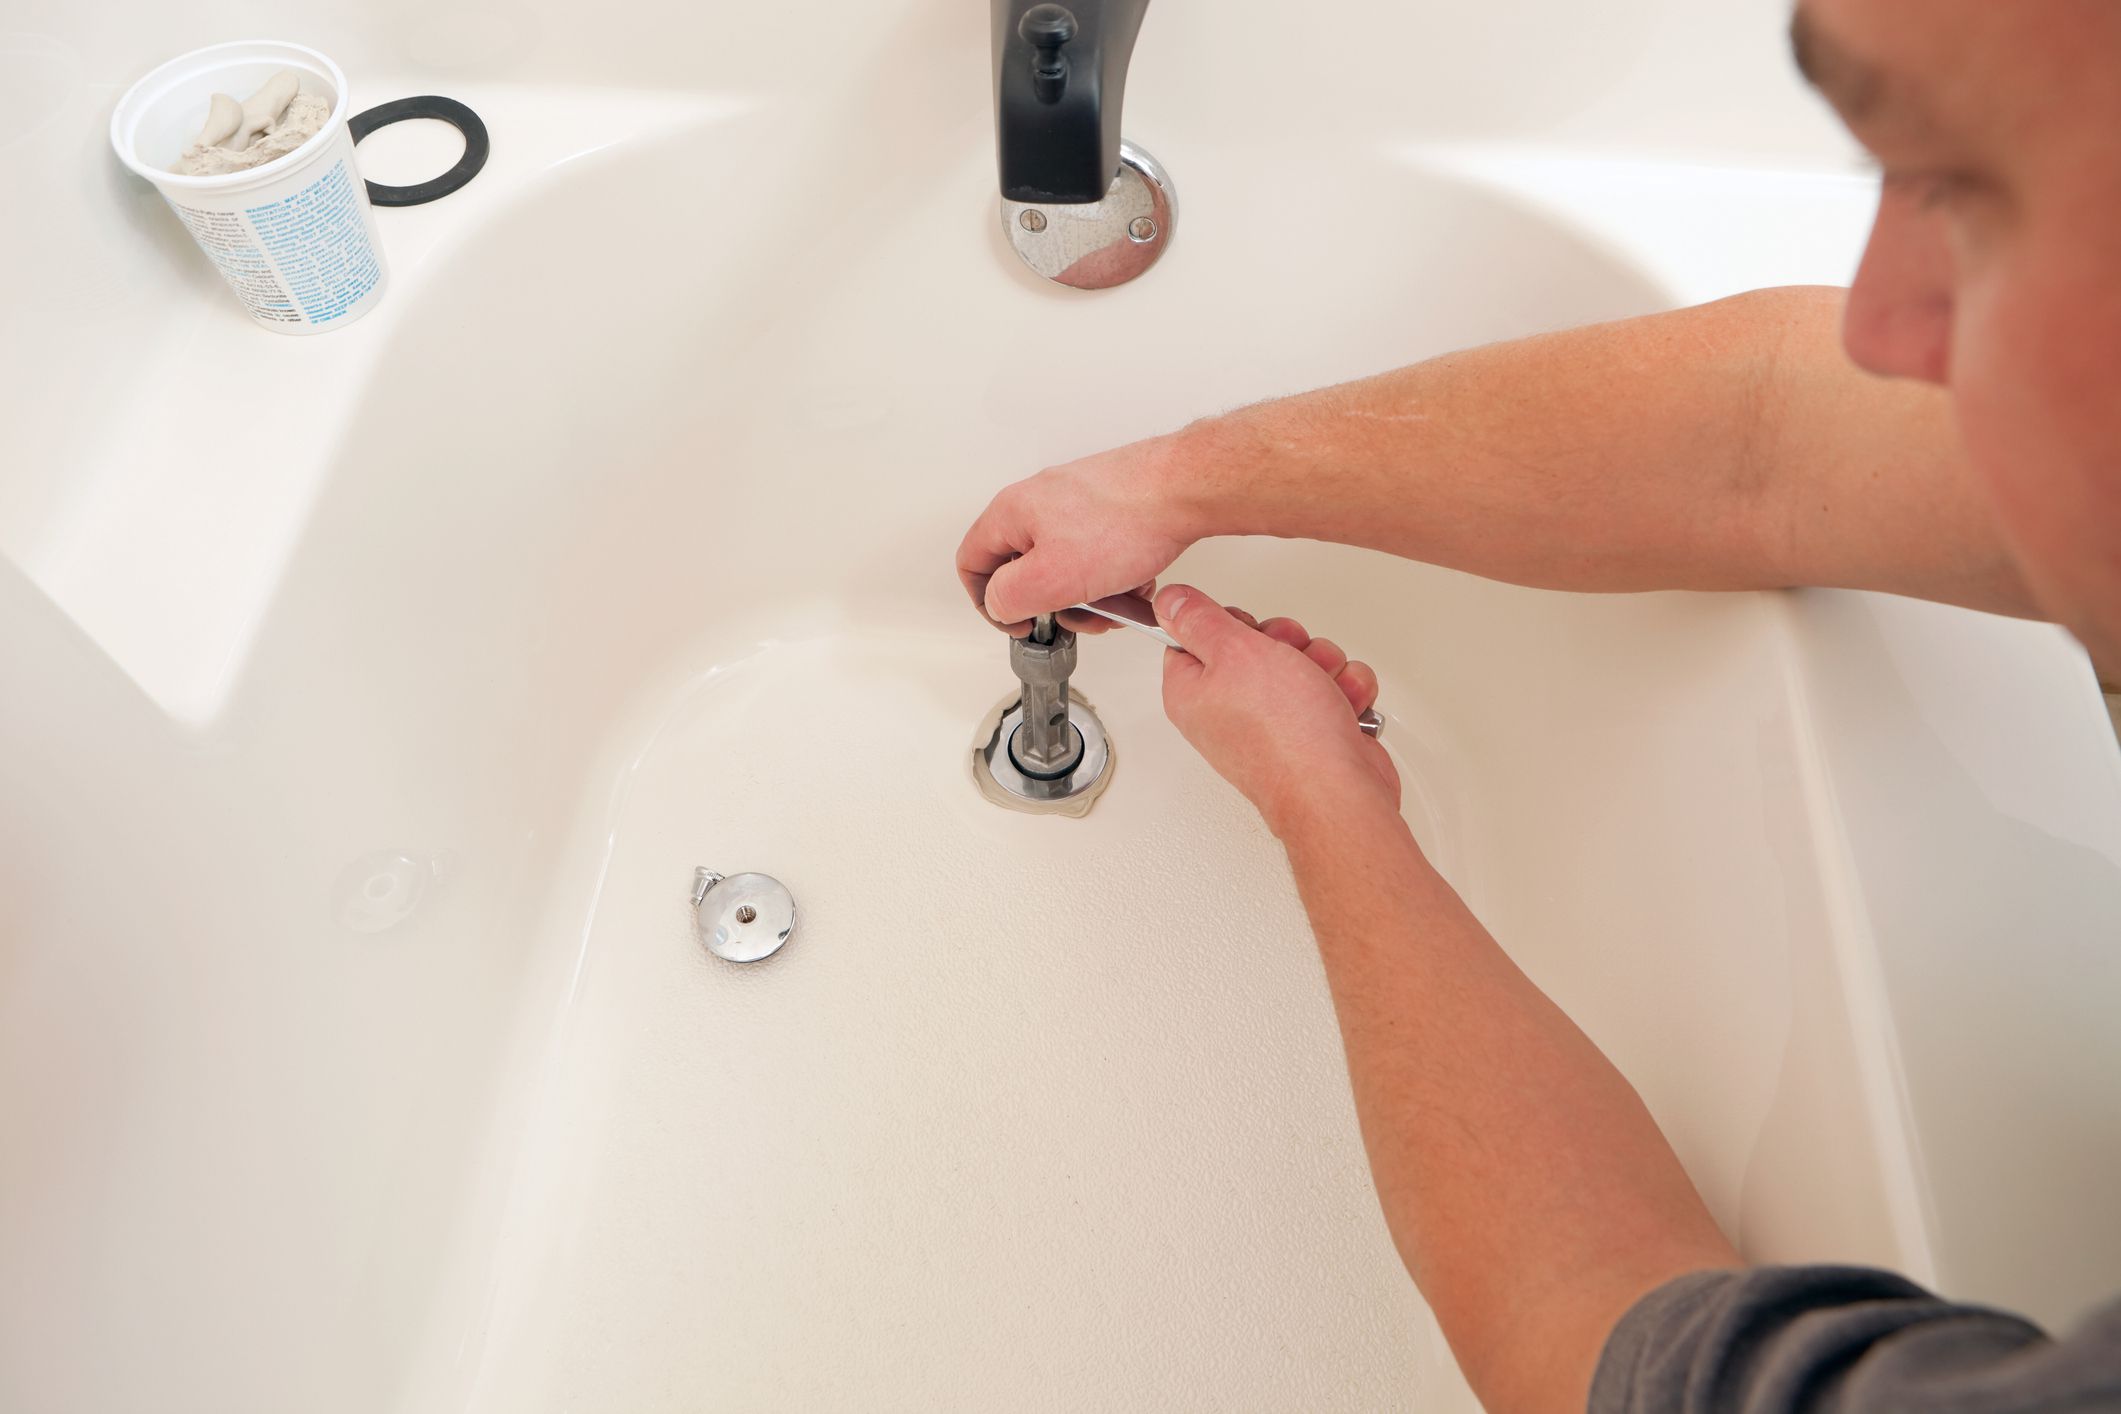
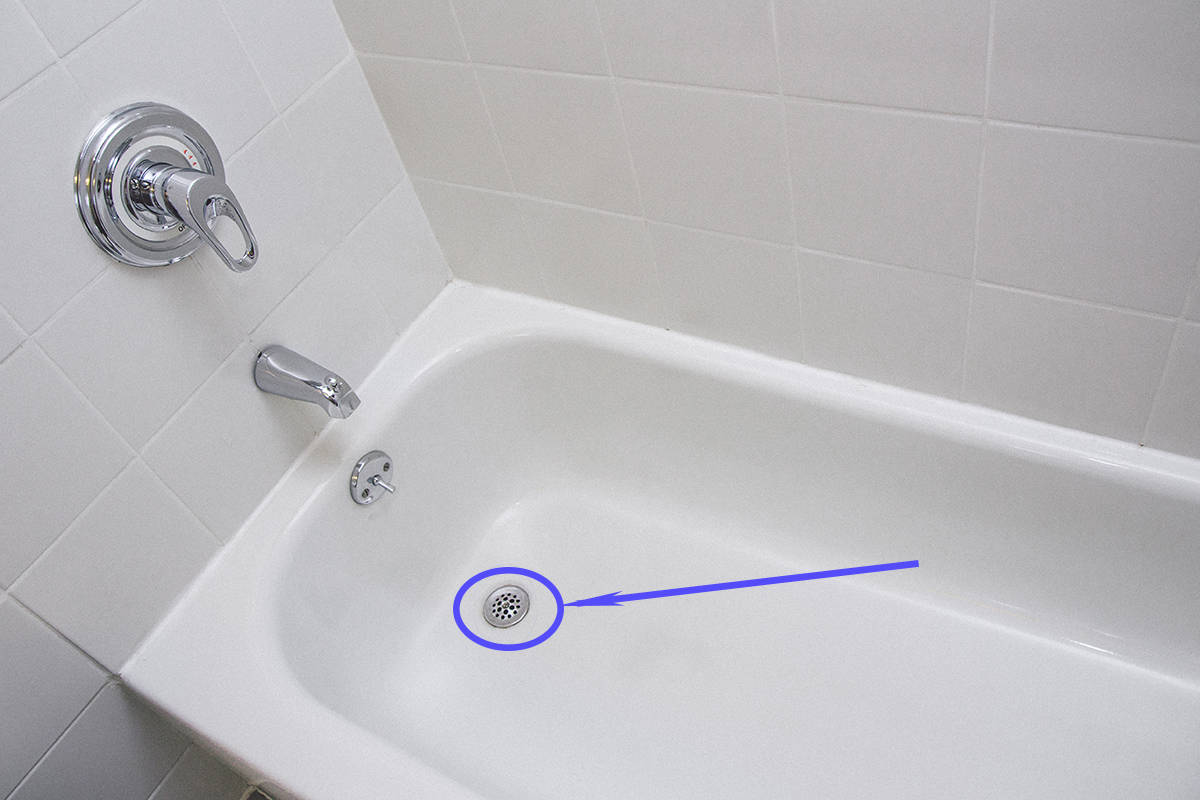
Use a drain removal tool or pliers to grip the crossbars of the drain. Turn counterclockwise to unscrew and pull the drain out. Be careful not to damage the surrounding area.
Step 4: Pull Out the Drain Flange
With the drain flange successfully loosened, the next crucial step in the process of pulling out a bathtub drain involves extracting the drain flange from its position within the drain assembly. The drain flange, also referred to as the drain basket or strainer, is the visible component located within the bathtub drain and is responsible for filtering debris and allowing water to flow into the plumbing system. Here's a detailed guide on how to effectively pull out the drain flange:
-
Grip the Drain Flange: Once the locking nut or collar securing the drain flange has been sufficiently loosened, carefully grip the drain flange with your hand. Ensure a firm hold on the flange to prevent it from slipping back into place during the extraction process.
-
Apply Upward Pressure: With a steady grip on the drain flange, apply upward pressure to gradually lift and pull the flange out of the drain assembly. Exercise caution to maintain a controlled and even force, allowing the flange to disengage smoothly without causing damage to the surrounding components.
-
Inspect for Resistance: As you pull out the drain flange, be mindful of any resistance or obstruction that may impede its removal. If the flange encounters significant resistance, refrain from forcing its extraction and reassess the loosening of the locking nut or collar to ensure that it has been adequately released.
-
Utilize a Drain Flange Extractor Tool (If Necessary): In instances where the drain flange proves challenging to remove by hand, a drain flange extractor tool can provide additional leverage and grip for facilitating its extraction. The extractor tool is designed to fit securely onto the flange, allowing for controlled and effective removal without causing damage to the surrounding surfaces.
-
Inspect the Drain Opening: Once the drain flange has been successfully pulled out, take a moment to inspect the exposed drain opening. Look for any accumulated debris, corrosion, or potential blockages that may require attention. Clearing the drain opening of any obstructions will contribute to the overall maintenance and functionality of the bathtub drain.
By successfully pulling out the drain flange, you've achieved a significant milestone in the process of removing a bathtub drain. This pivotal step brings you closer to the ultimate goal of addressing any underlying issues within the drain system and preparing the area for cleaning and potential replacement. With the drain flange extracted, you can proceed to the subsequent steps, maintaining momentum as you navigate the process of removing the bathtub drain.
Step 5: Clean the Drain Area
After successfully removing the drain flange, the next crucial step in the process of pulling out a bathtub drain involves thoroughly cleaning the exposed drain area. This essential maintenance task not only ensures optimal hygiene but also provides an opportunity to inspect the drain components for any signs of corrosion, debris accumulation, or potential issues that may require attention. Here's a detailed guide on how to effectively clean the drain area:
-
Inspect the Drain Components: Begin by inspecting the exposed drain area, including the interior of the drain pipe and the surrounding surfaces. Look for any accumulated debris, mineral deposits, or residue that may have accumulated over time. Additionally, check the condition of the drain pipe and surrounding gaskets for any signs of wear or damage.
-
Use a Cleaning Solution: Apply a mild cleaning solution or bathroom cleaner to the exposed drain area, ensuring that it is suitable for use on metal surfaces and safe for the surrounding materials. The cleaning solution helps to break down and dissolve any built-up grime, soap scum, or mineral deposits, facilitating their removal from the drain components.
-
Scrub the Drain Components: Use a brush or scrubbing pad to gently scrub the interior of the drain pipe and the surfaces of the drain components. Pay particular attention to areas where debris and residue may have accumulated, ensuring thorough coverage and effective removal of any stubborn buildup.
-
Rinse with Water: After scrubbing the drain components, thoroughly rinse the area with water to remove the cleaning solution and dislodged debris. Use a gentle stream of water to flush out the drain pipe and ensure that any loosened particles are effectively washed away.
-
Inspect for Residue: Once the drain area has been cleaned and rinsed, inspect the components for any remaining residue or stubborn deposits. If necessary, repeat the cleaning process to ensure that the drain area is free from any lingering debris or buildup.
-
Dry the Drain Area: Use a clean cloth or paper towels to dry the exposed drain area, ensuring that it is free from excess moisture. Drying the components helps prevent the accumulation of water-related deposits and maintains the cleanliness of the drain area.
By effectively cleaning the drain area, you've completed a critical aspect of the bathtub drain removal process. This meticulous maintenance task not only promotes optimal drainage and hygiene but also sets the stage for potential repairs or replacement of the drain components. With the drain area thoroughly cleaned, you can proceed to assess the condition of the components and address any underlying issues, ensuring the optimal functionality and longevity of your bathtub drain.
Read more: How To Get Toy Out Of Bathtub Drain
Conclusion
Congratulations! By following the comprehensive steps outlined in this guide, you have successfully learned how to pull out a bathtub drain. This valuable skill empowers you to address common maintenance issues and make necessary repairs or replacements without the need for professional assistance. As you reflect on the journey of removing the bathtub drain, it's important to acknowledge the sense of accomplishment that comes with mastering a fundamental aspect of home maintenance.
Throughout the process, you gained insights into the intricate components of the bathtub drain assembly, from the stopper and overflow plate to the drain flange and underlying components. By understanding the functionality of each element and navigating the removal process with precision, you have demonstrated a proactive approach to maintaining your home.
Furthermore, the tools and materials you utilized, from screwdrivers and pliers to plumbers' putty and cleaning solutions, have proven to be indispensable assets in achieving a successful outcome. Your preparedness and resourcefulness have contributed to a seamless and efficient removal process, showcasing your ability to tackle household maintenance tasks with confidence.
As you stand at the conclusion of this endeavor, it's essential to recognize the broader significance of your accomplishment. Not only have you acquired practical knowledge and skills, but you have also taken proactive steps to maintain the functionality and cleanliness of your bathtub drain. This proactive approach to home maintenance can lead to cost savings, enhanced self-sufficiency, and a deeper connection to the inner workings of your living space.
Moving forward, the insights gained from this experience can serve as a foundation for future home maintenance endeavors. Whether it involves addressing plumbing issues, performing routine inspections, or undertaking DIY projects, your newfound expertise in removing a bathtub drain positions you as a capable and informed homeowner.
In conclusion, the successful removal of the bathtub drain represents more than just a maintenance task; it signifies your commitment to maintaining a functional and comfortable living environment. By embracing the knowledge and skills acquired through this process, you are well-equipped to navigate future home maintenance challenges with confidence and proficiency. Your proactive approach and dedication to home maintenance are commendable, and they reflect a genuine investment in the well-being of your living space.
Frequently Asked Questions about How To Pull A Bathtub Drain Out
Was this page helpful?
At Storables.com, we guarantee accurate and reliable information. Our content, validated by Expert Board Contributors, is crafted following stringent Editorial Policies. We're committed to providing you with well-researched, expert-backed insights for all your informational needs.

0 thoughts on “How To Pull A Bathtub Drain Out”