Home>Furniture & Design>Bathroom Accessories>How To Take A Plunger Out Of A Sink
Bathroom Accessories
How To Take A Plunger Out Of A Sink
Modified: October 21, 2024
Learn the step-by-step process of removing a plunger from a sink in your bathroom. Discover the best techniques for taking out bathroom accessories.
(Many of the links in this article redirect to a specific reviewed product. Your purchase of these products through affiliate links helps to generate commission for Storables.com, at no extra cost. Learn more)
Introduction
When faced with a clogged sink, the trusty plunger often comes to the rescue. However, there are times when the plunger itself needs to be removed from the sink, either for cleaning or storage. Knowing how to safely and effectively take a plunger out of a sink is a valuable skill that can prevent messes and ensure the proper maintenance of this essential tool.
In this comprehensive guide, we will walk you through the step-by-step process of removing a plunger from a sink. Whether you are a seasoned homeowner or a novice DIY enthusiast, mastering this technique will equip you with the knowledge to tackle sink-related challenges with confidence.
So, without further ado, let's dive into the intricacies of safely and efficiently taking a plunger out of a sink.
Key Takeaways:
- Safely remove a plunger from a sink by assessing the situation, removing standing water, loosening the plunger, lifting it out carefully, and cleaning and storing it properly. This ensures a well-maintained and functional sink area.
- Prioritize proper plunger maintenance by cleaning it thoroughly, allowing it to air-dry, and storing it in a designated area. This contributes to a hygienic and well-maintained sink area, enhancing overall functionality and cleanliness.
Read more: How To Take A Sink Out
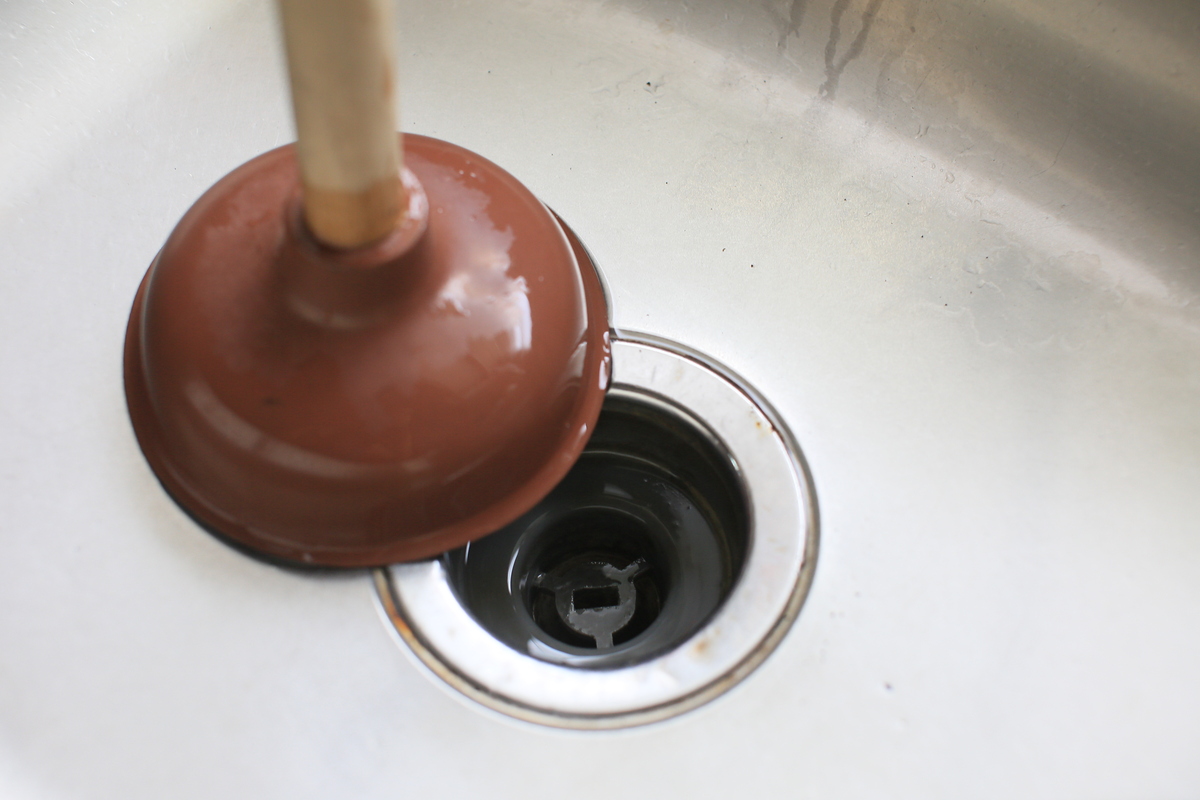
Step 1: Assess the situation
Before embarking on the task of removing a plunger from a sink, it is crucial to assess the situation to ensure a smooth and hassle-free process. This initial step involves taking stock of the condition of the sink, the plunger, and any potential obstacles that may impact the removal process.
Begin by examining the sink area to identify any signs of water leakage or spillage. If there is standing water in the sink, it is essential to address this before proceeding further. Additionally, check for any debris or foreign objects that may be obstructing the plunger's movement or hindering its removal.
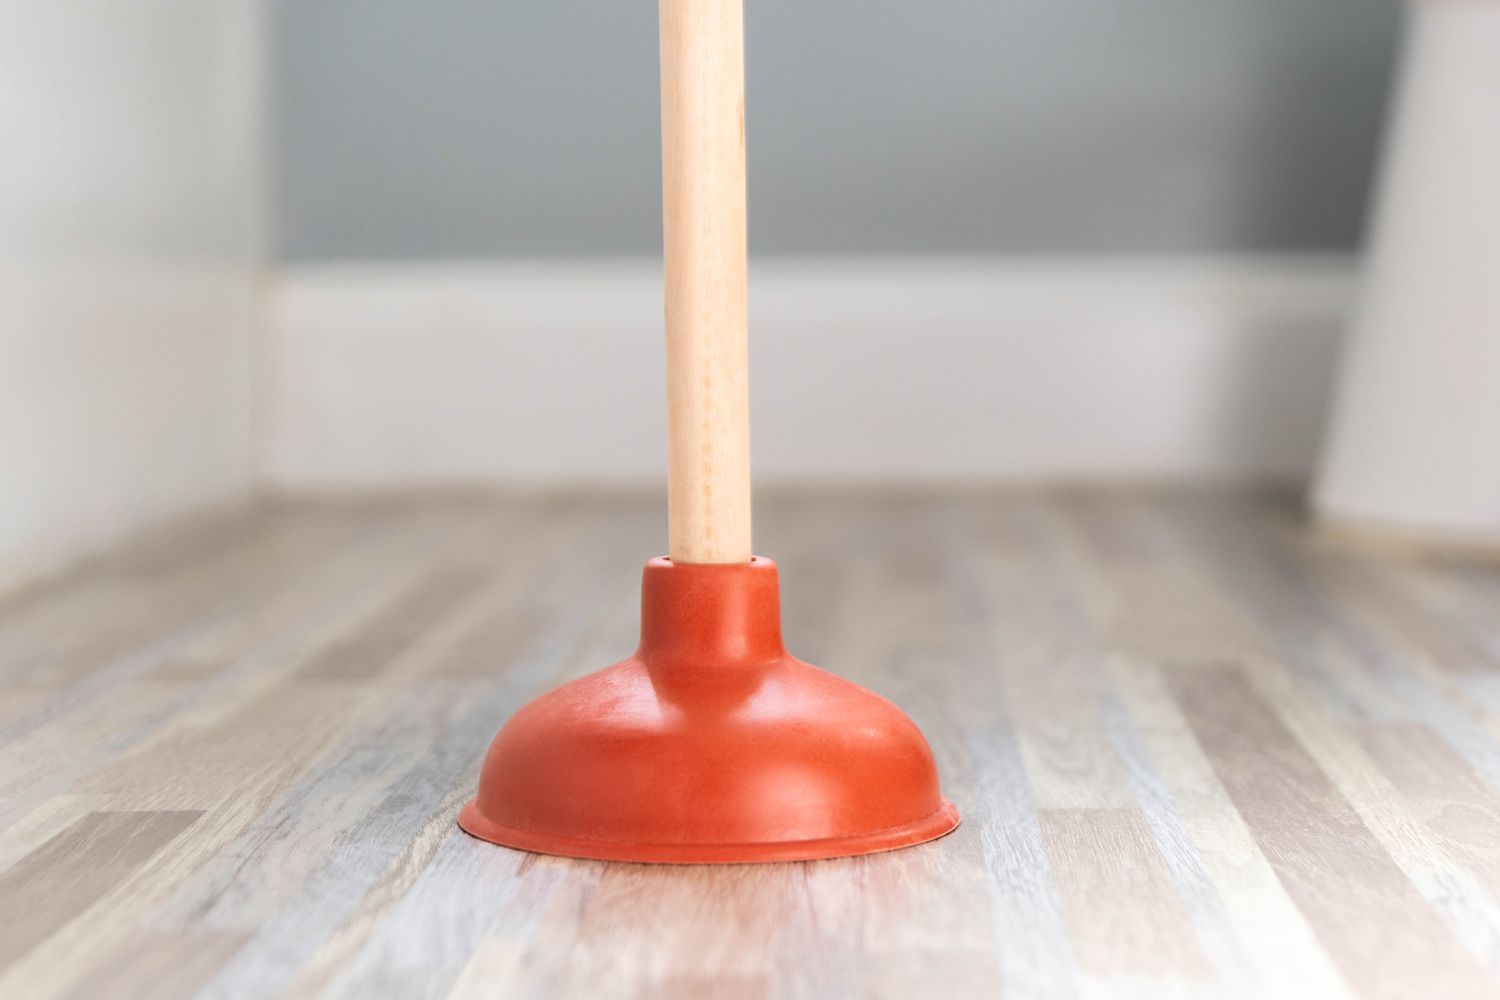
Next, evaluate the condition of the plunger itself. Look for any signs of wear and tear, such as cracks, tears, or damage to the suction cup. Assessing the plunger's overall integrity will help determine whether it is suitable for continued use or if it requires maintenance or replacement.
Furthermore, consider the surrounding environment and ensure that the area around the sink is clear of any potential hazards or obstructions. This includes removing any items or obstacles that may impede the safe removal of the plunger.
By thoroughly assessing the situation, you can gain a comprehensive understanding of the task at hand and identify any potential challenges that may need to be addressed before proceeding with the plunger removal process. This proactive approach sets the stage for a seamless and efficient removal process, ultimately contributing to a well-maintained and functional sink area.
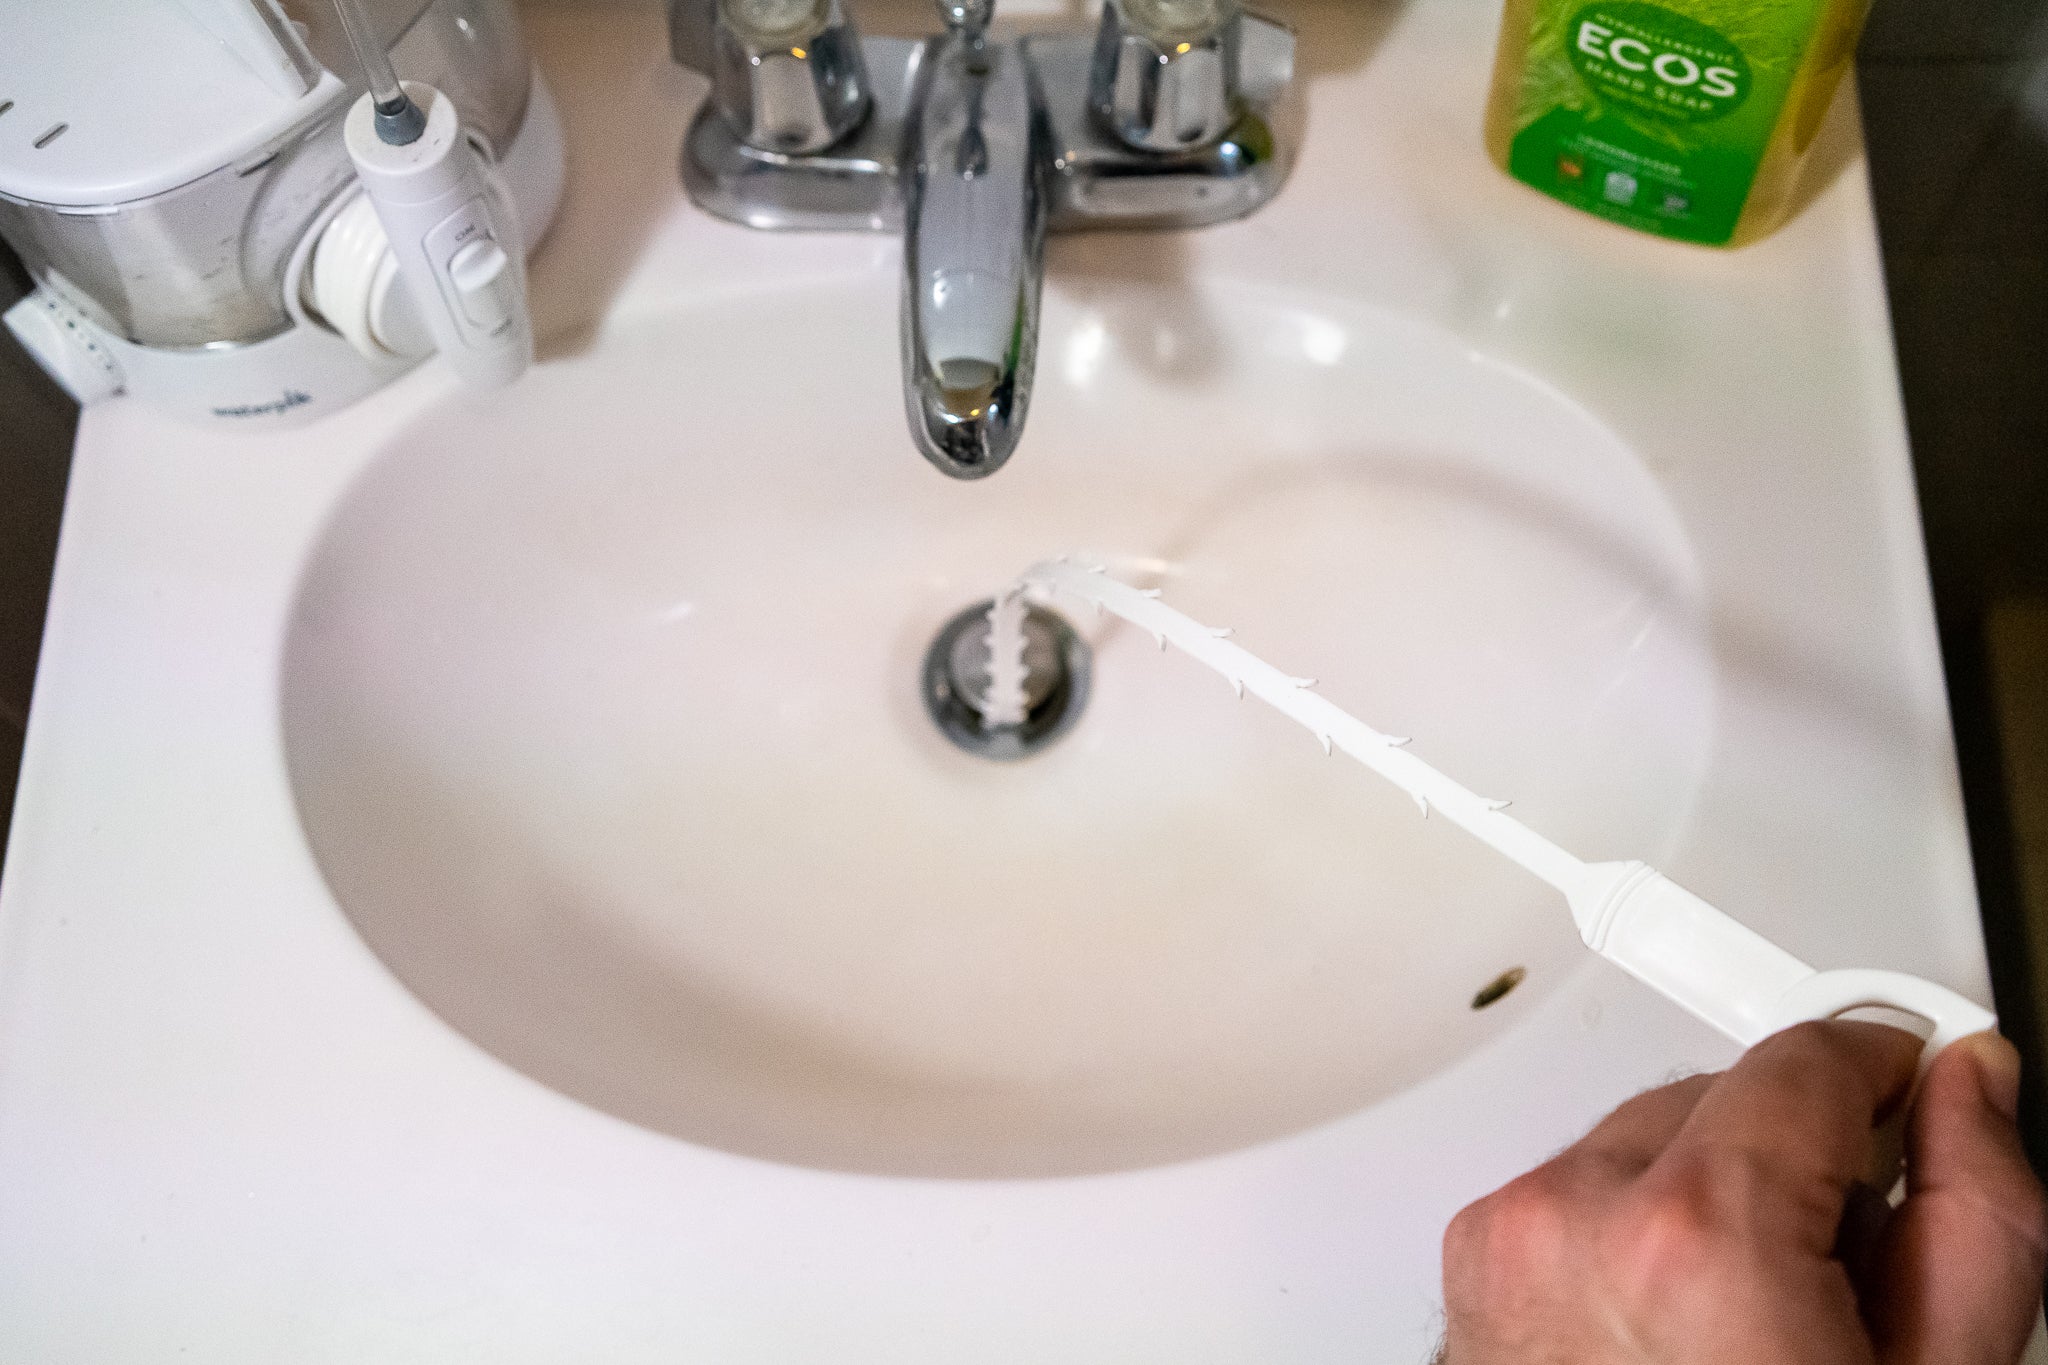
Step 2: Remove any standing water
Upon encountering a clogged sink, the presence of standing water is a common occurrence. Before attempting to remove the plunger from the sink, it is imperative to address this issue to prevent potential spills and ensure a clean and efficient removal process.
To begin, gather a bucket or a suitable container to collect the standing water. Placing the container strategically beneath the sink's drain will help contain the water and minimize any potential mess. Carefully position the container to capture the water as it is removed from the sink, ensuring that it is stable and secure to prevent accidental spills.
Next, locate the sink's stopper or drain plug and remove it to facilitate the drainage process. Depending on the type of sink, the stopper may be connected to a lever or simply placed within the drain opening. By disengaging the stopper, you can initiate the controlled release of the standing water into the prepared container.
Once the stopper is removed, carefully loosen the sink's P-trap, the curved pipe located beneath the sink, to allow the water to drain out. It is advisable to place a towel or a small basin beneath the P-trap to catch any residual water that may escape during this process. Using a pair of adjustable pliers, gently loosen the slip nuts that secure the P-trap in place, taking care to support the pipe as the nuts are loosened to prevent any sudden movements.
As the P-trap is loosened, be prepared to capture the draining water in the container positioned below. Exercise caution to prevent spillage and ensure that the water is effectively directed into the container. Once the water has been successfully drained, carefully reassemble the P-trap and secure the slip nuts to their original position.
By effectively removing any standing water from the sink, you create a clean and manageable environment for the subsequent steps of the plunger removal process. This proactive approach minimizes the risk of spills and ensures a smooth and efficient removal process, setting the stage for a well-maintained and functional sink area.
To remove a plunger from a sink, simply grasp the handle firmly and pull straight up. If it’s stuck, try twisting it gently as you pull to release the suction.
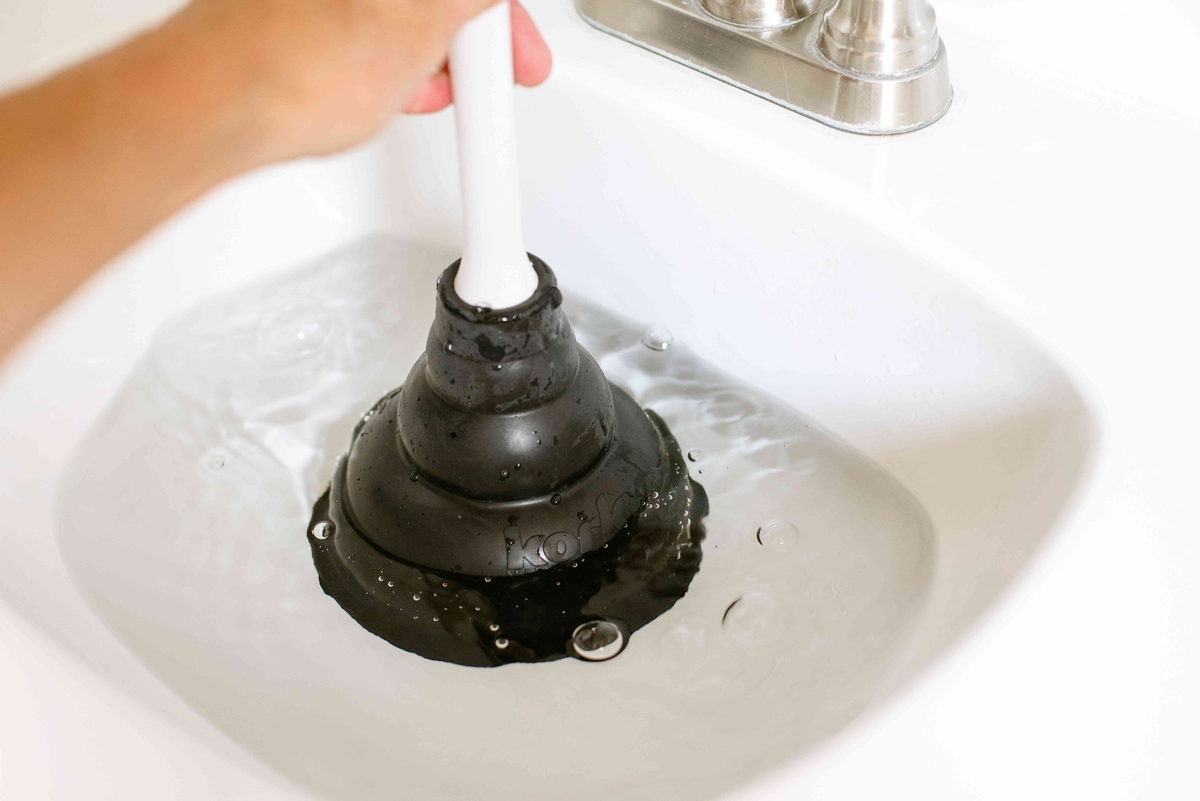
Step 3: Loosen the plunger
With the standing water effectively removed from the sink, the next crucial step in the process of removing a plunger from a sink is to loosen its seal with the drain. The plunger's tight suction against the drain is what enables it to effectively dislodge clogs, but it also necessitates a deliberate approach to disengaging it from the sink.
To begin, firmly grasp the plunger's handle, ensuring a secure grip to provide stability and control during the loosening process. With the plunger in hand, gently rock it from side to side while applying upward pressure. This rocking motion helps to break the seal between the plunger and the drain, gradually releasing its suction grip.
As you continue to rock the plunger, be mindful of any resistance or suction that may still be present. It is important to exercise patience and avoid applying excessive force, as this can potentially lead to splashing or dislodging the plunger abruptly, causing water to spill onto the surrounding area.
If the plunger remains firmly sealed to the drain despite your efforts, consider introducing a small amount of water into the sink to create a lubricating layer between the plunger and the drain. This added moisture can help reduce the suction force, making it easier to loosen the plunger without undue strain.
Additionally, gently tilting the plunger at different angles while maintaining the rocking motion can aid in gradually breaking the seal. By alternating the angle of pressure, you can effectively disengage the plunger from the drain, preparing it for safe and controlled removal.
Throughout this process, it is essential to maintain a steady and deliberate approach, ensuring that the plunger is loosened gradually and without sudden movements. By exercising caution and patience, you can effectively release the plunger's seal with the drain, setting the stage for its safe and efficient removal from the sink.
As the plunger's seal is successfully loosened, it is important to maintain a firm grip on the handle and be prepared to lift the plunger out of the sink in the subsequent step. This deliberate and methodical approach to loosening the plunger ensures a controlled and seamless removal process, ultimately contributing to a well-maintained and functional sink area.
Step 4: Lift the plunger out of the sink
With the plunger effectively loosened from the drain, the subsequent step involves lifting it out of the sink in a controlled and deliberate manner. This pivotal stage of the plunger removal process requires attentiveness and precision to ensure a seamless transition from the sink to its designated storage or cleaning area.
Begin by maintaining a firm grip on the plunger's handle, ensuring that your hold is secure and stable. This provides the necessary control and stability to lift the plunger without compromising its position or causing any potential spills.
With a steady and controlled motion, gradually lift the plunger out of the sink, taking care to maintain its upright position to prevent any residual water or debris from spilling onto the surrounding area. By lifting the plunger in a deliberate and controlled manner, you can effectively manage any remaining moisture or clogs that may be present on the plunger's suction cup.
As the plunger is lifted out of the sink, be mindful of its surroundings and ensure that it is maneuvered clear of the sink's edges and any potential obstacles. This cautious approach minimizes the risk of accidental splashes or spills, contributing to a clean and efficient removal process.
Once the plunger has been successfully lifted out of the sink, take a moment to inspect its condition and the surrounding area. Check the plunger for any residual debris or signs of wear and tear, and promptly address any maintenance or cleaning needs as necessary.
Following the successful removal of the plunger from the sink, it is essential to proceed with the final step of the process, which involves cleaning and storing the plunger properly. By attending to these crucial maintenance tasks, you can ensure that the plunger remains in optimal condition for future use, contributing to a well-maintained and functional sink area.
By approaching the task of lifting the plunger out of the sink with attentiveness and precision, you can effectively complete this essential step of the removal process, setting the stage for the plunger's proper maintenance and storage. This deliberate and controlled approach ensures a seamless and efficient removal process, ultimately contributing to a well-maintained and functional sink area.
Read more: How To Take Sink Drain Out
Step 5: Clean and store the plunger properly
After successfully removing the plunger from the sink, it is essential to prioritize its proper cleaning and storage to maintain its functionality and hygiene. This final step of the plunger removal process ensures that the tool remains in optimal condition for future use, contributing to a well-maintained and functional sink area.
Begin by thoroughly rinsing the plunger under running water to remove any residual debris or clogs that may have accumulated during its use. Using a gentle detergent or a mixture of warm water and vinegar, carefully clean the plunger's suction cup and handle to eliminate any lingering residue and ensure a hygienic surface. Pay particular attention to any hard-to-reach areas or crevices, ensuring that the entire plunger is effectively cleansed.
Once the plunger has been meticulously cleaned, it is crucial to allow it to air-dry completely before proceeding with its storage. Position the plunger in a well-ventilated area, ensuring that it is placed in an upright position to facilitate thorough drying. This proactive approach minimizes the risk of mold or mildew formation and ensures that the plunger is ready for future use.
When it comes to storing the plunger, it is advisable to designate a specific area for its placement to prevent cross-contamination and maintain cleanliness. Consider utilizing a dedicated storage container or a designated shelf to house the plunger, ensuring that it is kept separate from other items to minimize the risk of spreading germs or debris.
Additionally, it is beneficial to store the plunger in a location that is easily accessible yet discreet, allowing for quick retrieval when needed while maintaining a tidy and organized sink area. By establishing a designated storage space for the plunger, you can streamline its accessibility and contribute to a well-maintained and functional sink environment.
By prioritizing the proper cleaning and storage of the plunger, you can ensure that this essential tool remains in optimal condition for future use. This proactive approach contributes to a hygienic and well-maintained sink area, ultimately enhancing the functionality and cleanliness of the overall space.
Frequently Asked Questions about How To Take A Plunger Out Of A Sink
Was this page helpful?
At Storables.com, we guarantee accurate and reliable information. Our content, validated by Expert Board Contributors, is crafted following stringent Editorial Policies. We're committed to providing you with well-researched, expert-backed insights for all your informational needs.


0 thoughts on “How To Take A Plunger Out Of A Sink”