Home>Furniture & Design>Bathroom Accessories>How Many Hooks For A Shower Curtain
Bathroom Accessories
How Many Hooks For A Shower Curtain
Modified: September 1, 2024
Discover the perfect number of hooks for your shower curtain and other essential bathroom accessories. Find the best solutions for your bathroom needs.
(Many of the links in this article redirect to a specific reviewed product. Your purchase of these products through affiliate links helps to generate commission for Storables.com, at no extra cost. Learn more)
Introduction
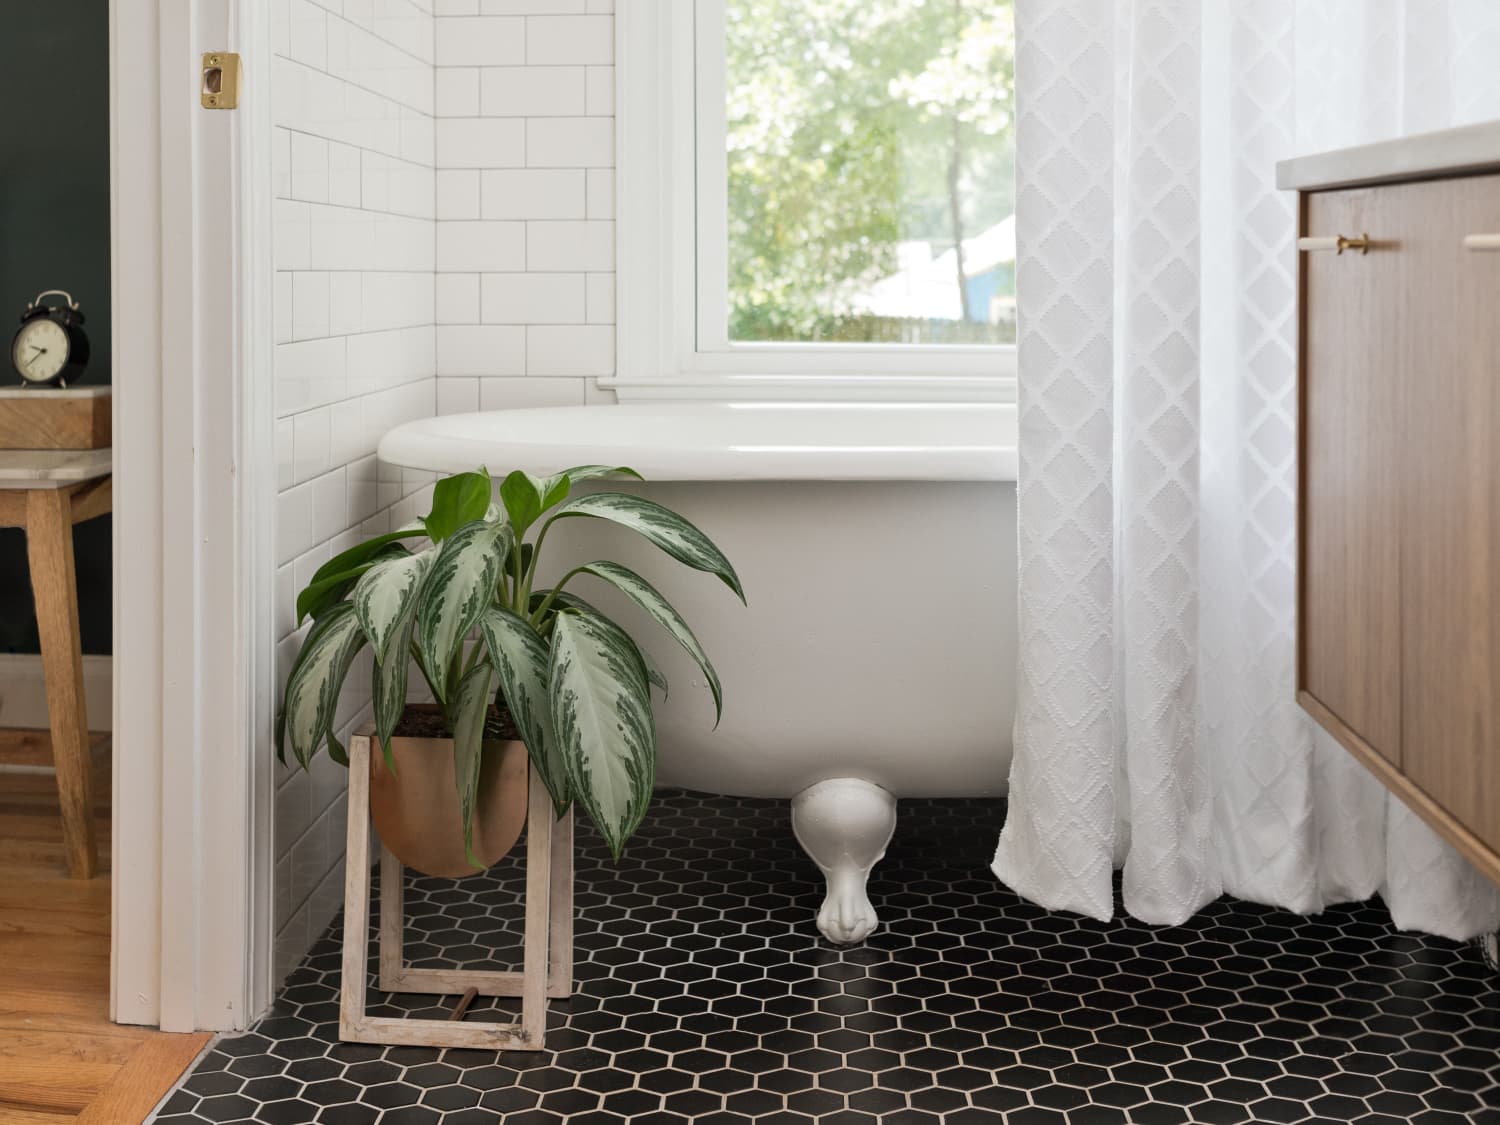
When it comes to setting up a shower curtain, the number of hooks used can significantly impact both the functionality and aesthetics of the bathroom. The right number of hooks ensures that the curtain hangs properly, providing adequate coverage and preventing water from splashing onto the floor. However, determining the ideal quantity of hooks for a shower curtain can be a perplexing task for many homeowners. This article aims to demystify this aspect of bathroom decor and provide valuable insights into the factors that influence the number of hooks required.
The process of selecting the appropriate number of hooks for a shower curtain involves more than just randomly distributing them along the rod. It requires a thoughtful approach that takes into account various factors, such as the curtain's width, the type of hooks being used, and the desired appearance of the curtain when hung. By understanding these considerations, individuals can make informed decisions that result in a well-hung shower curtain that enhances the overall ambiance of the bathroom.
In the following sections, we will delve into the standard number of hooks typically recommended for different curtain sizes, explore the factors that should be considered when determining the ideal quantity of hooks, and discuss alternative hanging methods that can offer both practical and aesthetic advantages. By the end of this article, readers will have a comprehensive understanding of the nuances involved in determining the number of hooks needed for a shower curtain, empowering them to make informed choices that align with their preferences and needs.
Key Takeaways:
- Ensure your shower curtain hangs properly by using the right number of hooks based on its width and fabric weight. Consider alternative hanging methods like hookless curtains for a modern and hassle-free look.
- Factors like grommet spacing and desired curtain appearance influence the number of hooks needed. Explore creative options like snap-in liners and magnetic hooks for a personalized and efficient shower curtain arrangement.
Read more: How To Remove Rust From Shower Curtain Hooks
Standard Number of Hooks
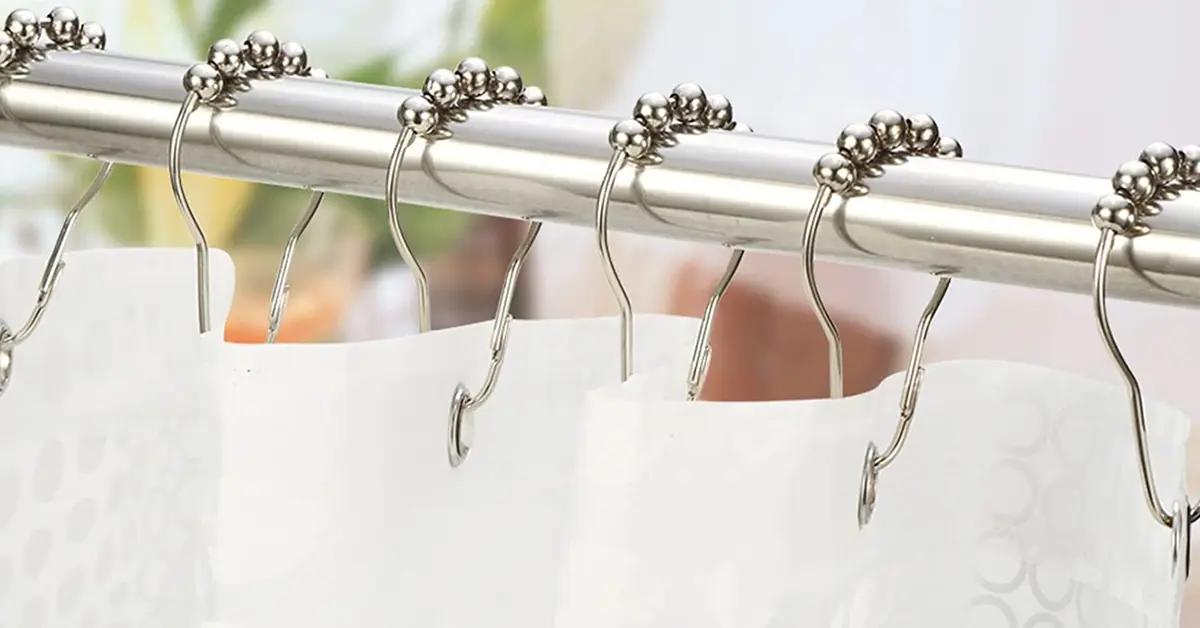
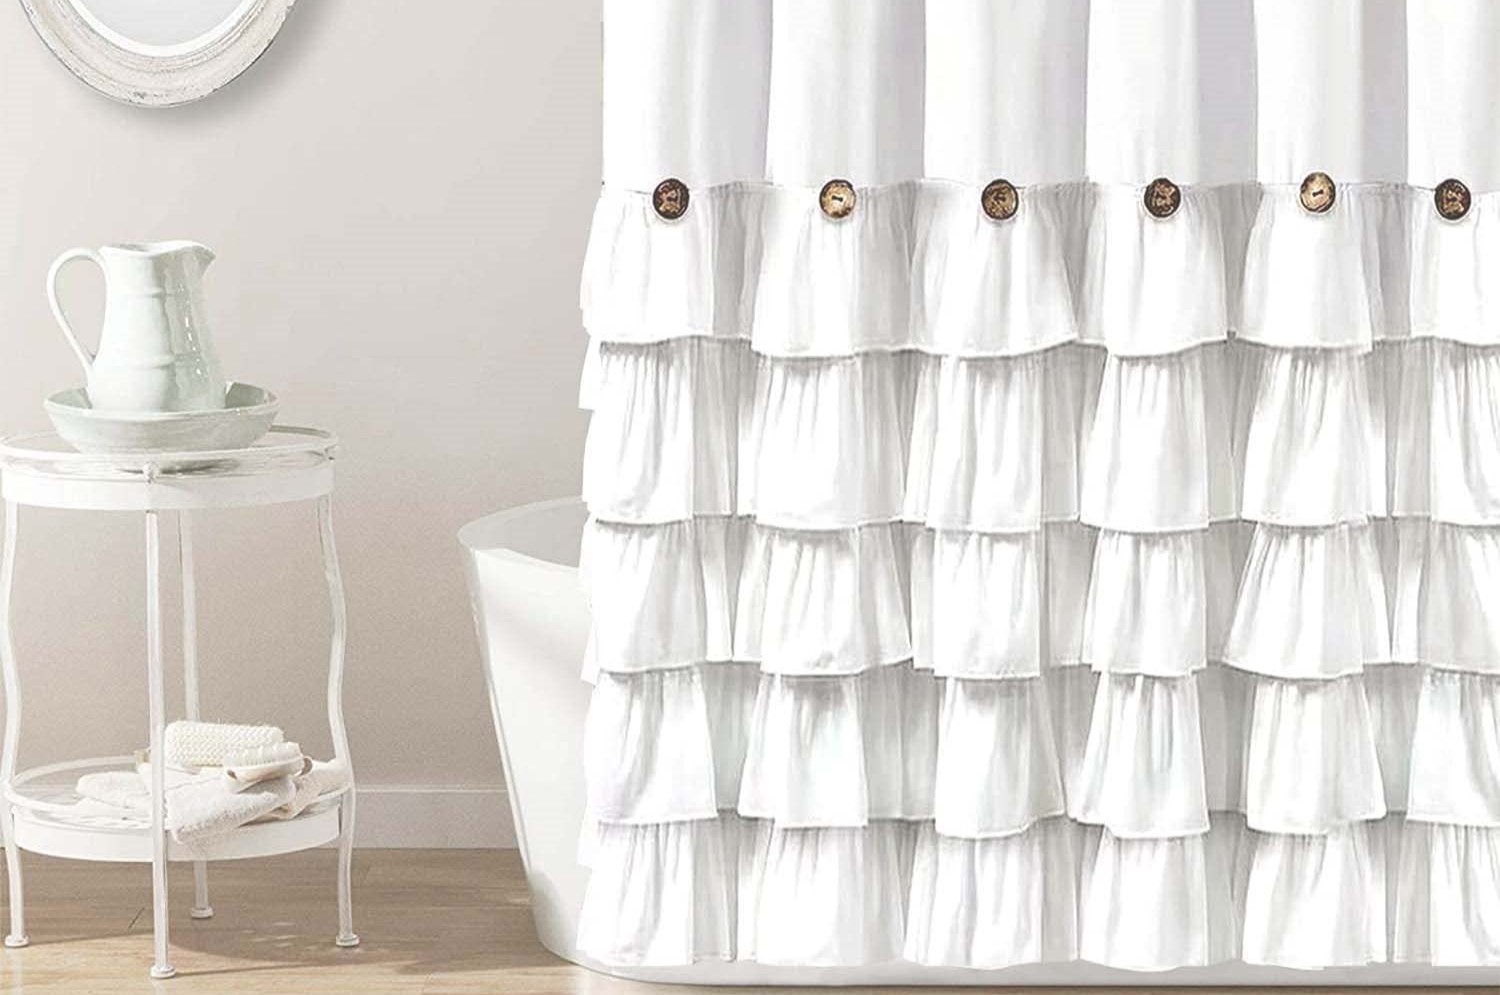
The standard number of hooks required for a shower curtain largely depends on the width of the curtain and the spacing between the grommets or buttonholes. For a standard-sized shower curtain with a width of around 70 to 72 inches, 12 hooks are typically recommended. This number allows for even distribution along the rod, ensuring that the curtain hangs smoothly without excessive bunching or sagging.
In the case of wider shower curtains, such as those designed for larger shower or bathtub enclosures, additional hooks may be necessary to provide adequate support and prevent the curtain from appearing stretched or strained. For curtains with a width exceeding 72 inches, 14 to 16 hooks are commonly used to maintain proper weight distribution and ensure that the curtain hangs evenly.
Conversely, for narrower shower curtains, such as those intended for standalone shower stalls, a reduced number of hooks may be sufficient to achieve a well-balanced and neatly draped appearance. In such instances, 10 to 12 hooks are typically recommended, as the narrower width necessitates fewer attachment points to support the curtain effectively.
It is important to note that the recommended number of hooks may vary based on the specific design and fabric of the shower curtain. Thicker, heavier curtains may require additional hooks to provide adequate support and prevent strain on the fabric, whereas lighter, more delicate curtains may necessitate fewer hooks to avoid excessive tension and potential damage.
Ultimately, the standard number of hooks for a shower curtain serves as a foundational guideline, offering a starting point for individuals to assess their specific curtain dimensions and make adjustments as needed to achieve an optimal hanging arrangement. By adhering to these general recommendations and considering the unique characteristics of their shower curtains, individuals can ensure that the curtain is securely and attractively positioned, enhancing the overall appeal of the bathroom space.
Factors to Consider
When determining the appropriate number of hooks for a shower curtain, several key factors should be carefully considered to ensure an optimal hanging arrangement. These factors play a crucial role in achieving both functional and aesthetic outcomes, ultimately enhancing the overall appeal and usability of the bathroom space.
Curtain Fabric and Weight
The type of fabric and the overall weight of the shower curtain are pivotal considerations when deciding on the number of hooks. Heavier fabrics, such as thick cotton or linen, require additional support to prevent strain on the material and ensure that the curtain hangs evenly. In contrast, lighter fabrics, like polyester or nylon, may necessitate fewer hooks to avoid excessive tension and potential damage. By assessing the fabric's weight and characteristics, individuals can determine the appropriate number of hooks needed to support the curtain effectively.
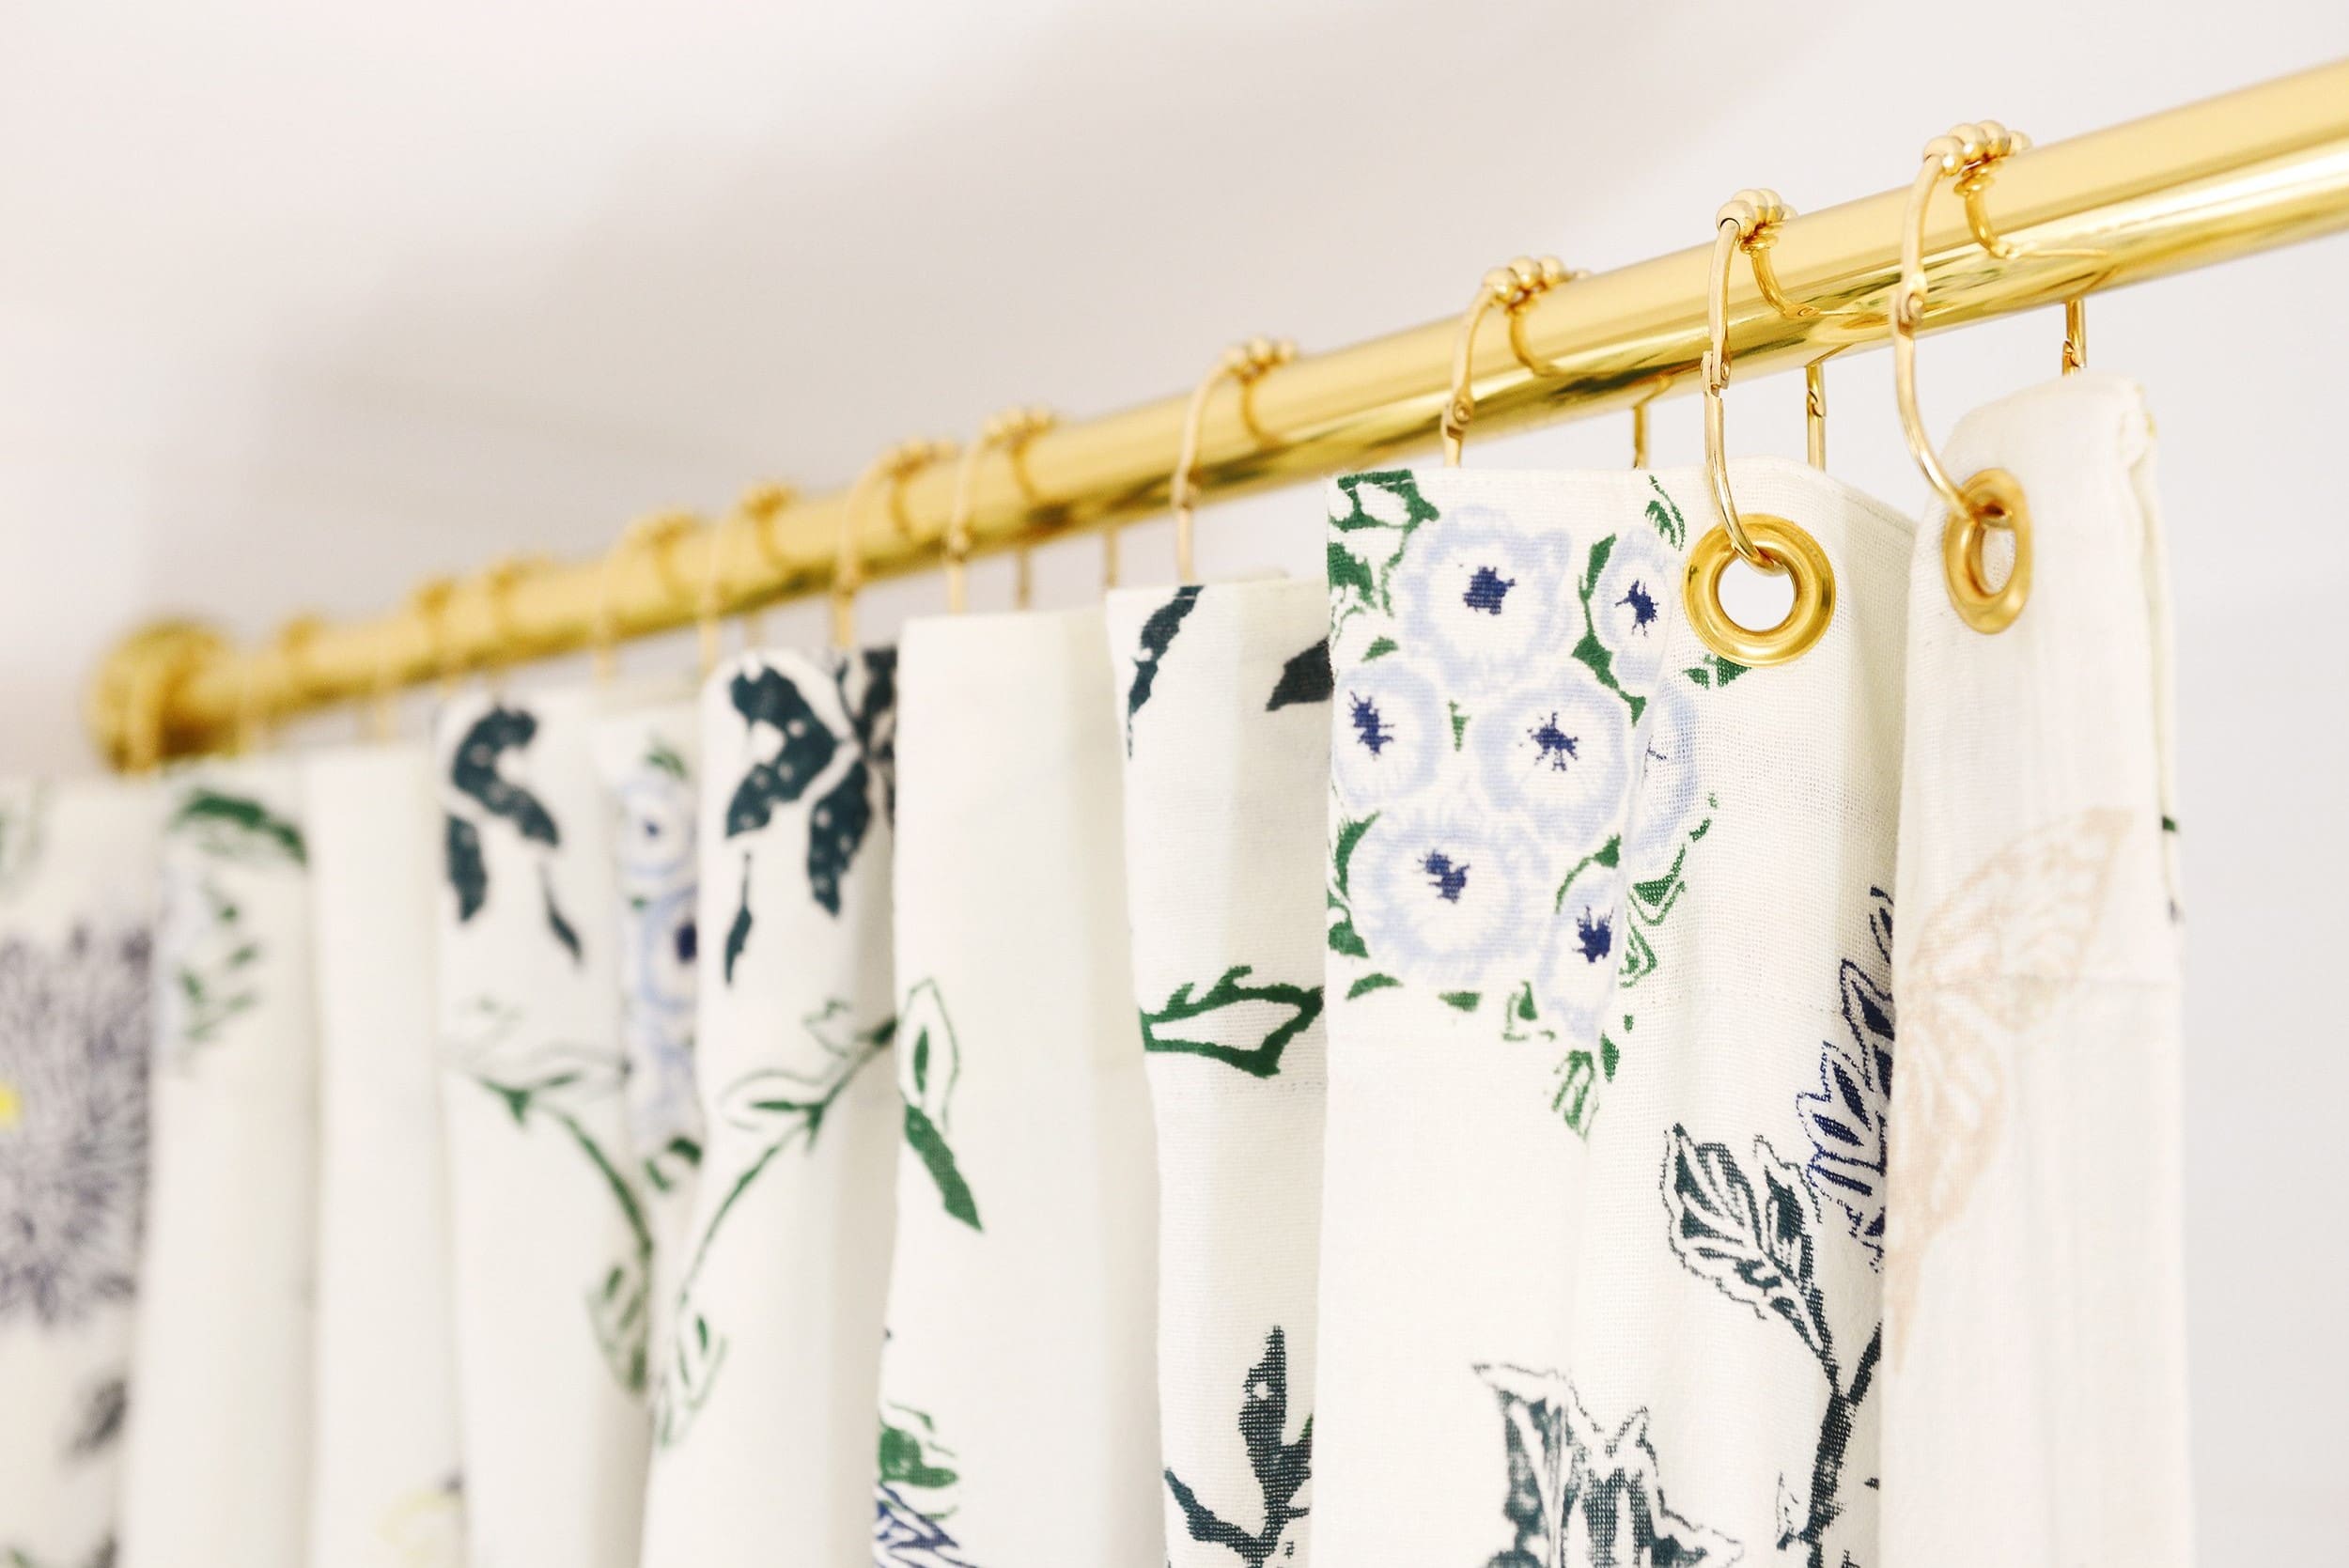
Grommet or Buttonhole Spacing
The spacing between the grommets or buttonholes along the top edge of the shower curtain is another critical factor to take into account. Closer spacing may necessitate a higher number of hooks to distribute the weight evenly and prevent the curtain from sagging between attachment points. Conversely, wider spacing may allow for a reduced number of hooks, provided that the curtain maintains a smooth and taut appearance when hung. By evaluating the spacing between attachment points, individuals can make informed decisions regarding the optimal quantity of hooks required for their specific curtain design.
Read more: How To Put Hooks On Curtains
Desired Curtain Appearance
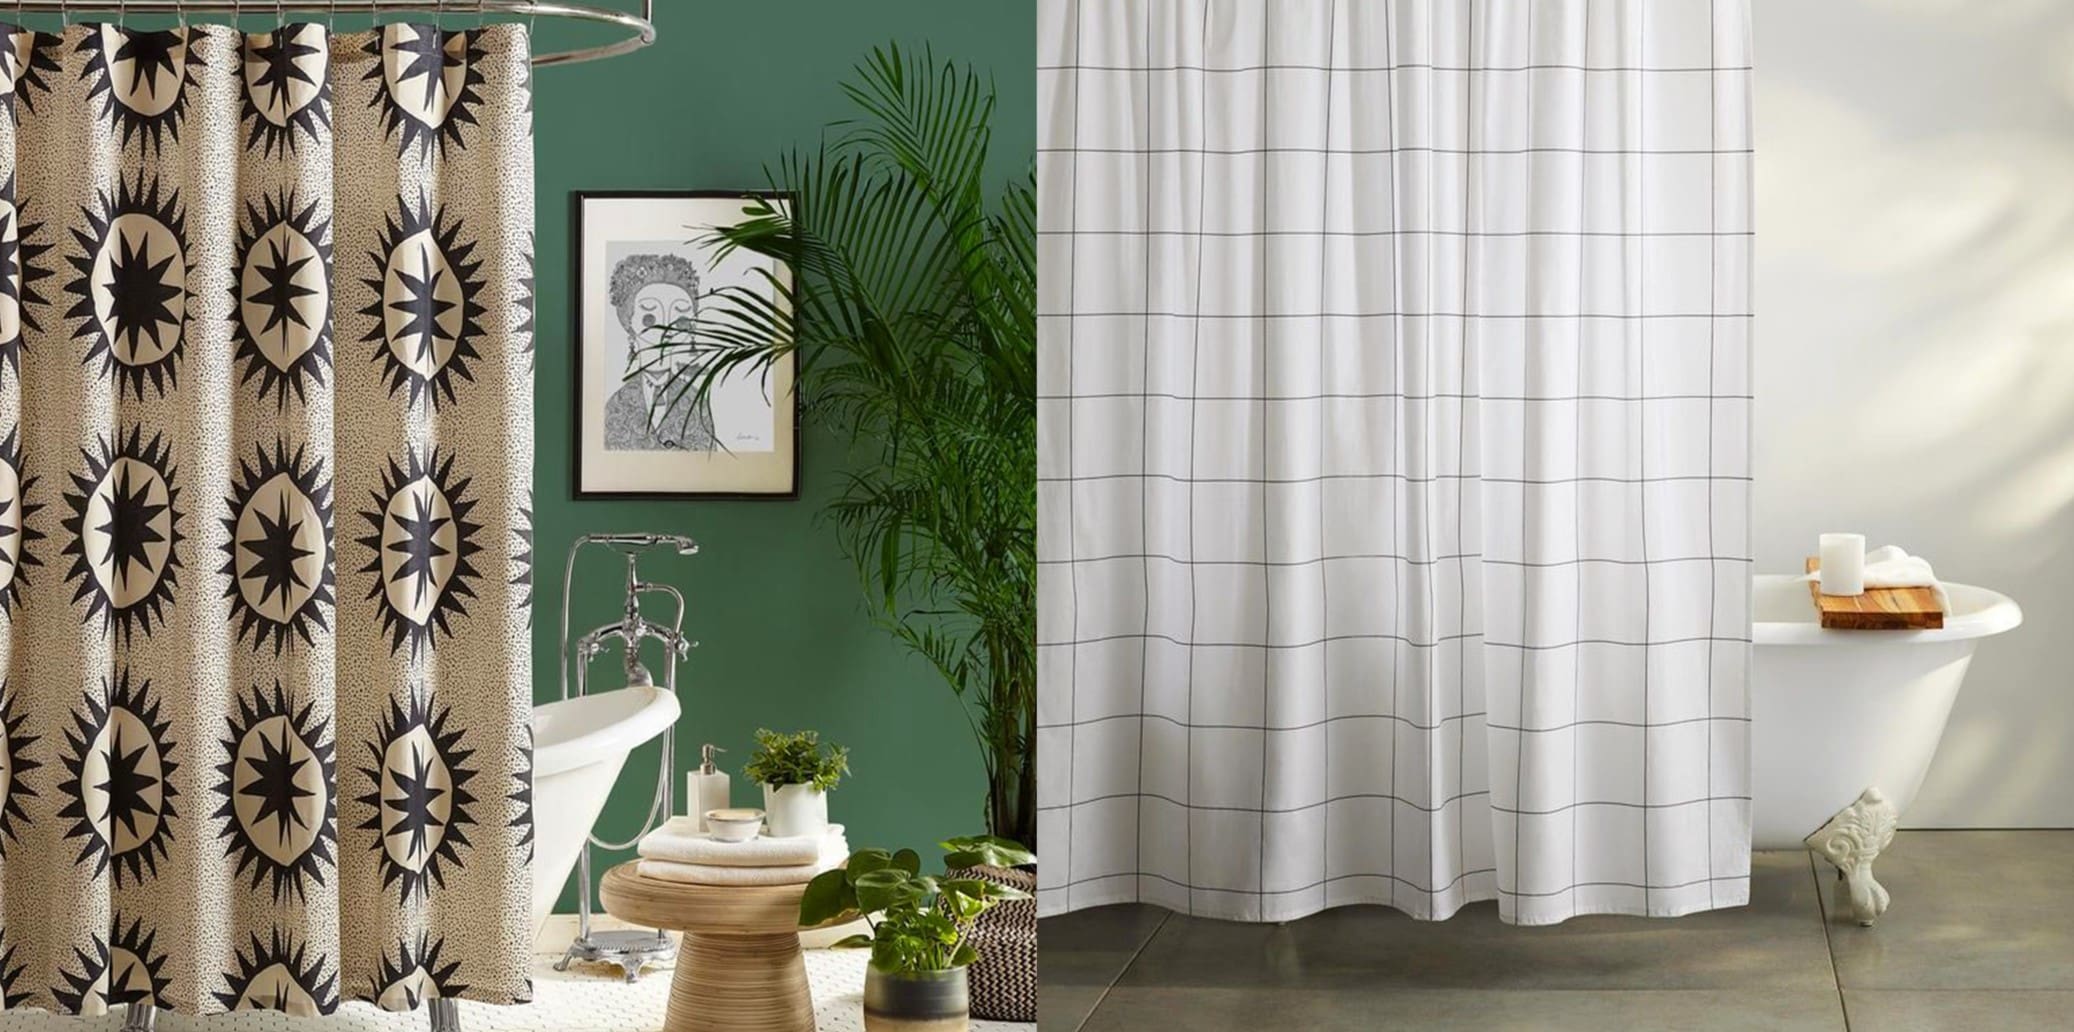
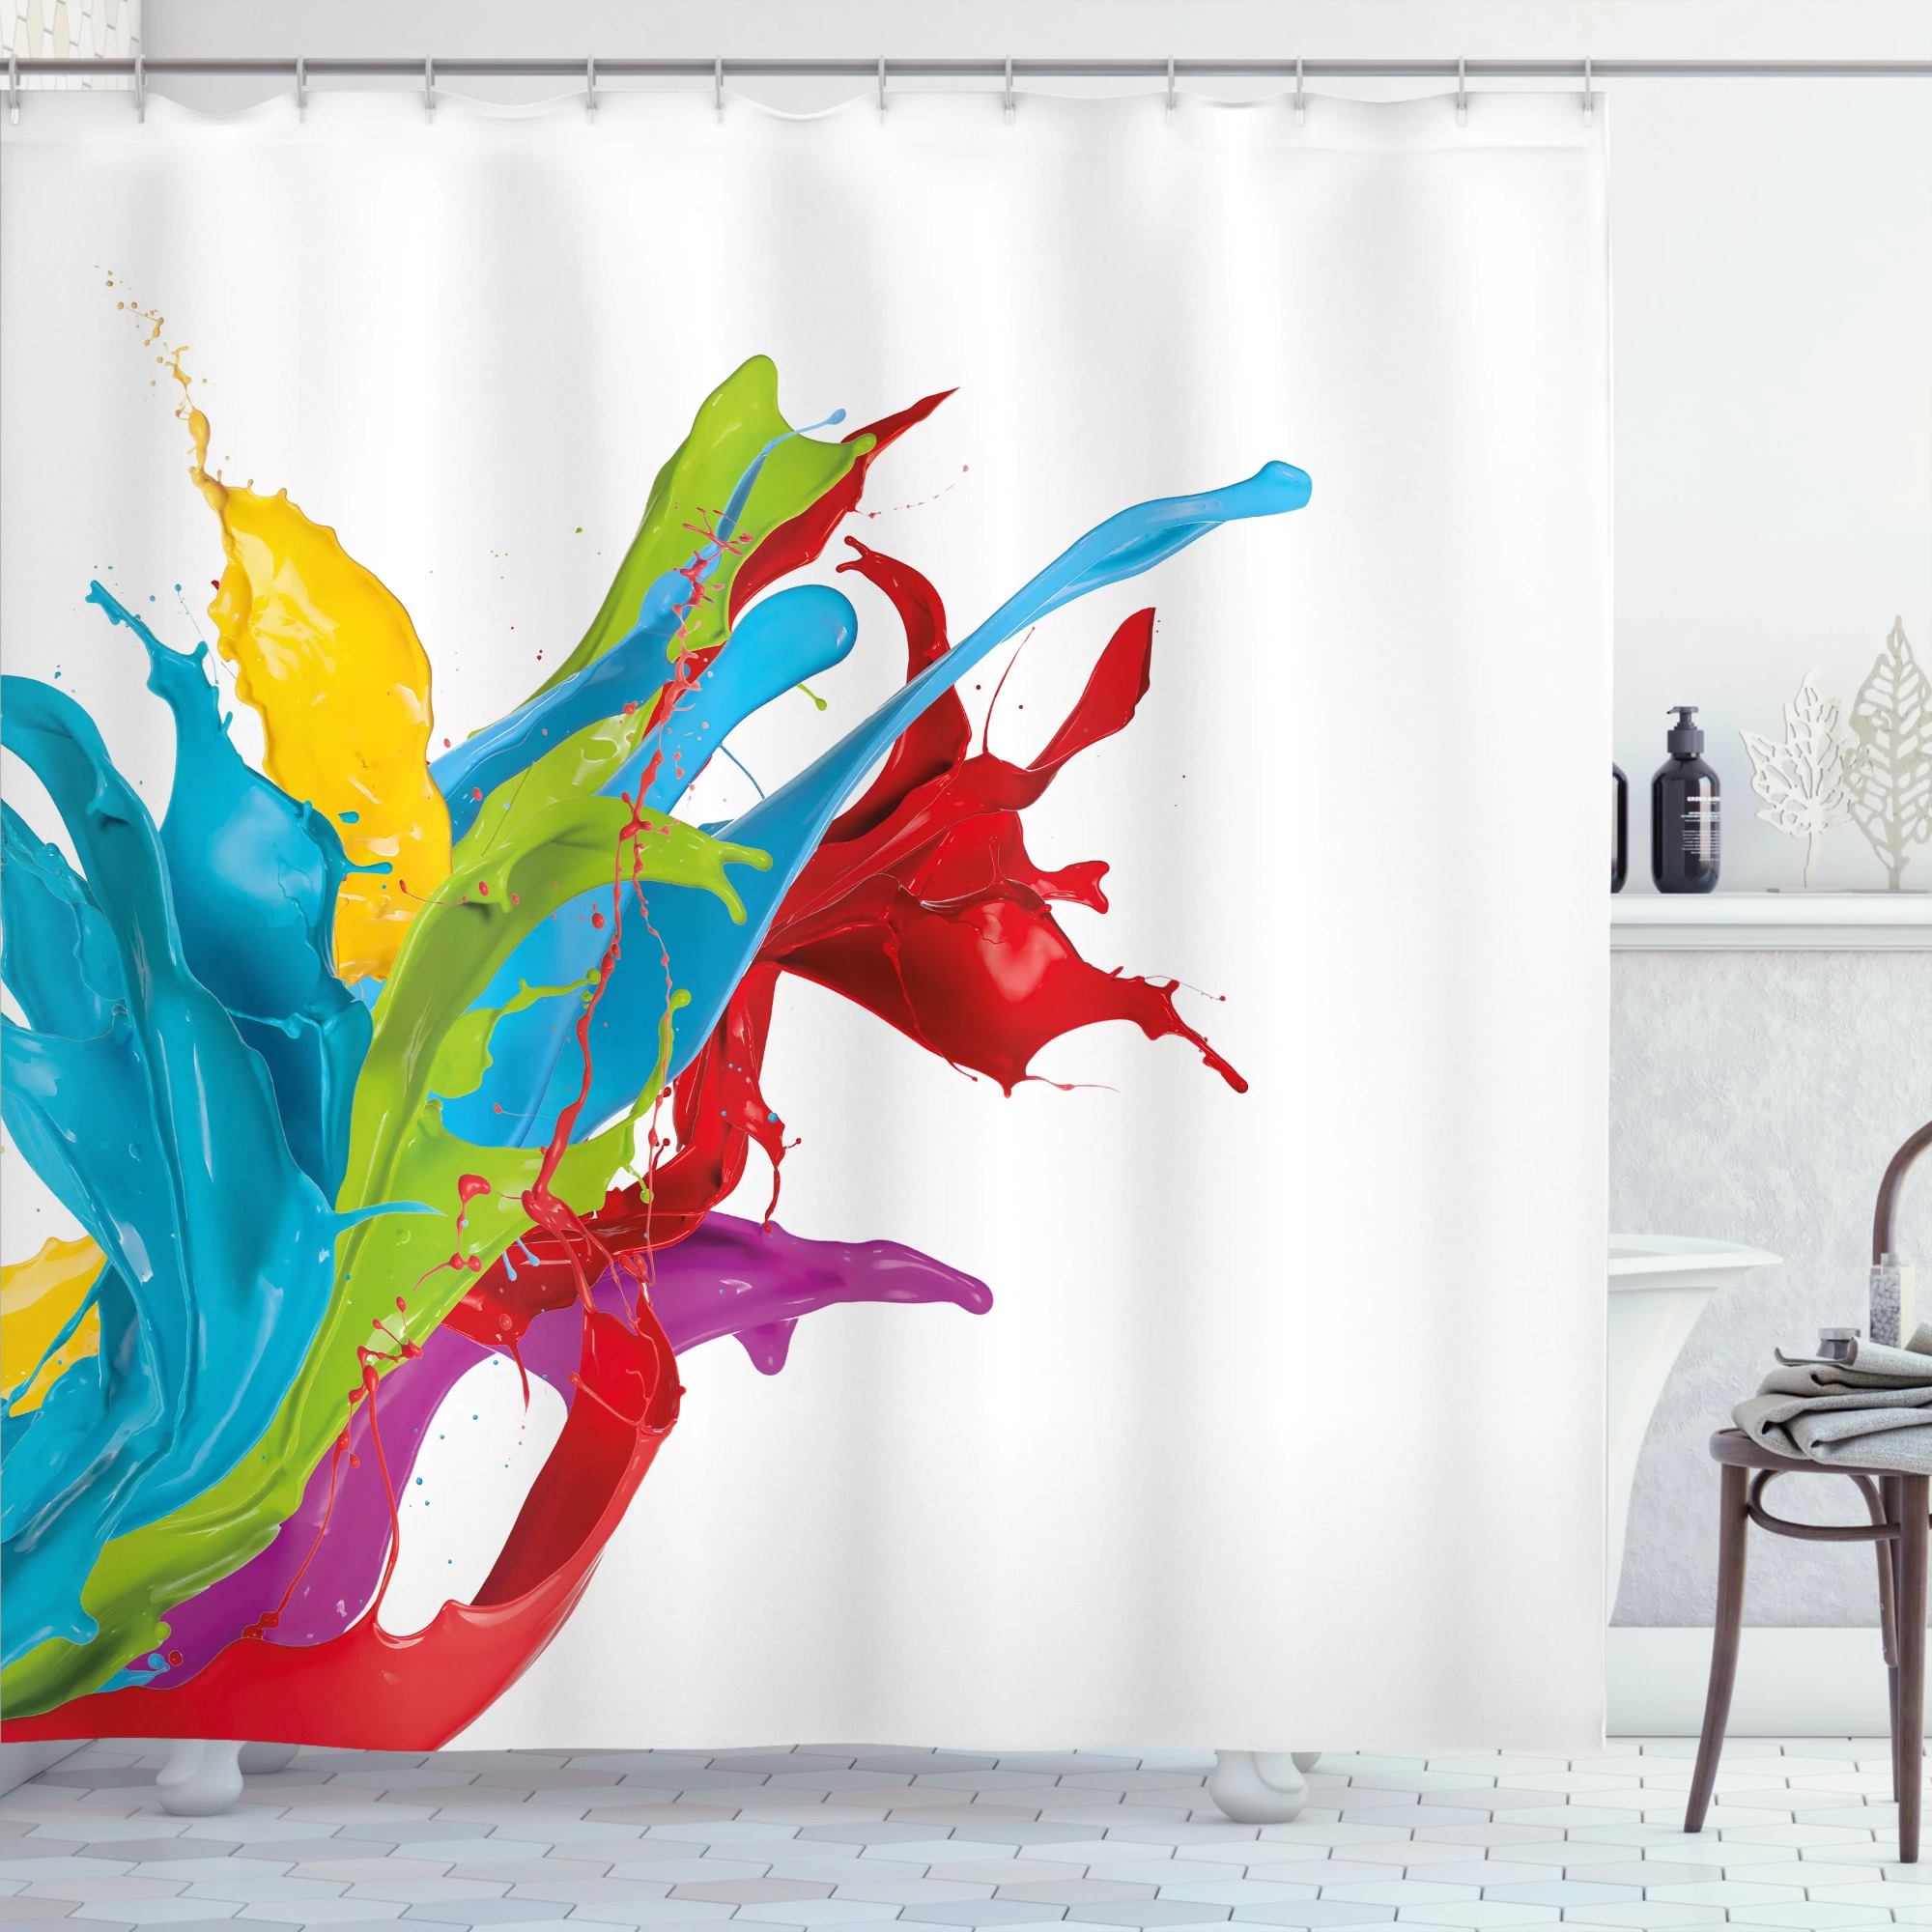
The desired appearance of the shower curtain when hung also influences the number of hooks needed. Individuals seeking a neatly draped, evenly distributed look may opt for a higher number of hooks to achieve a smooth and tailored appearance. Alternatively, those aiming for a more relaxed, gathered aesthetic may find that a slightly lower number of hooks suffices, allowing the curtain to exhibit gentle folds and a softer overall drape. By considering the preferred visual presentation of the curtain, individuals can tailor the number of hooks to align with their aesthetic preferences.
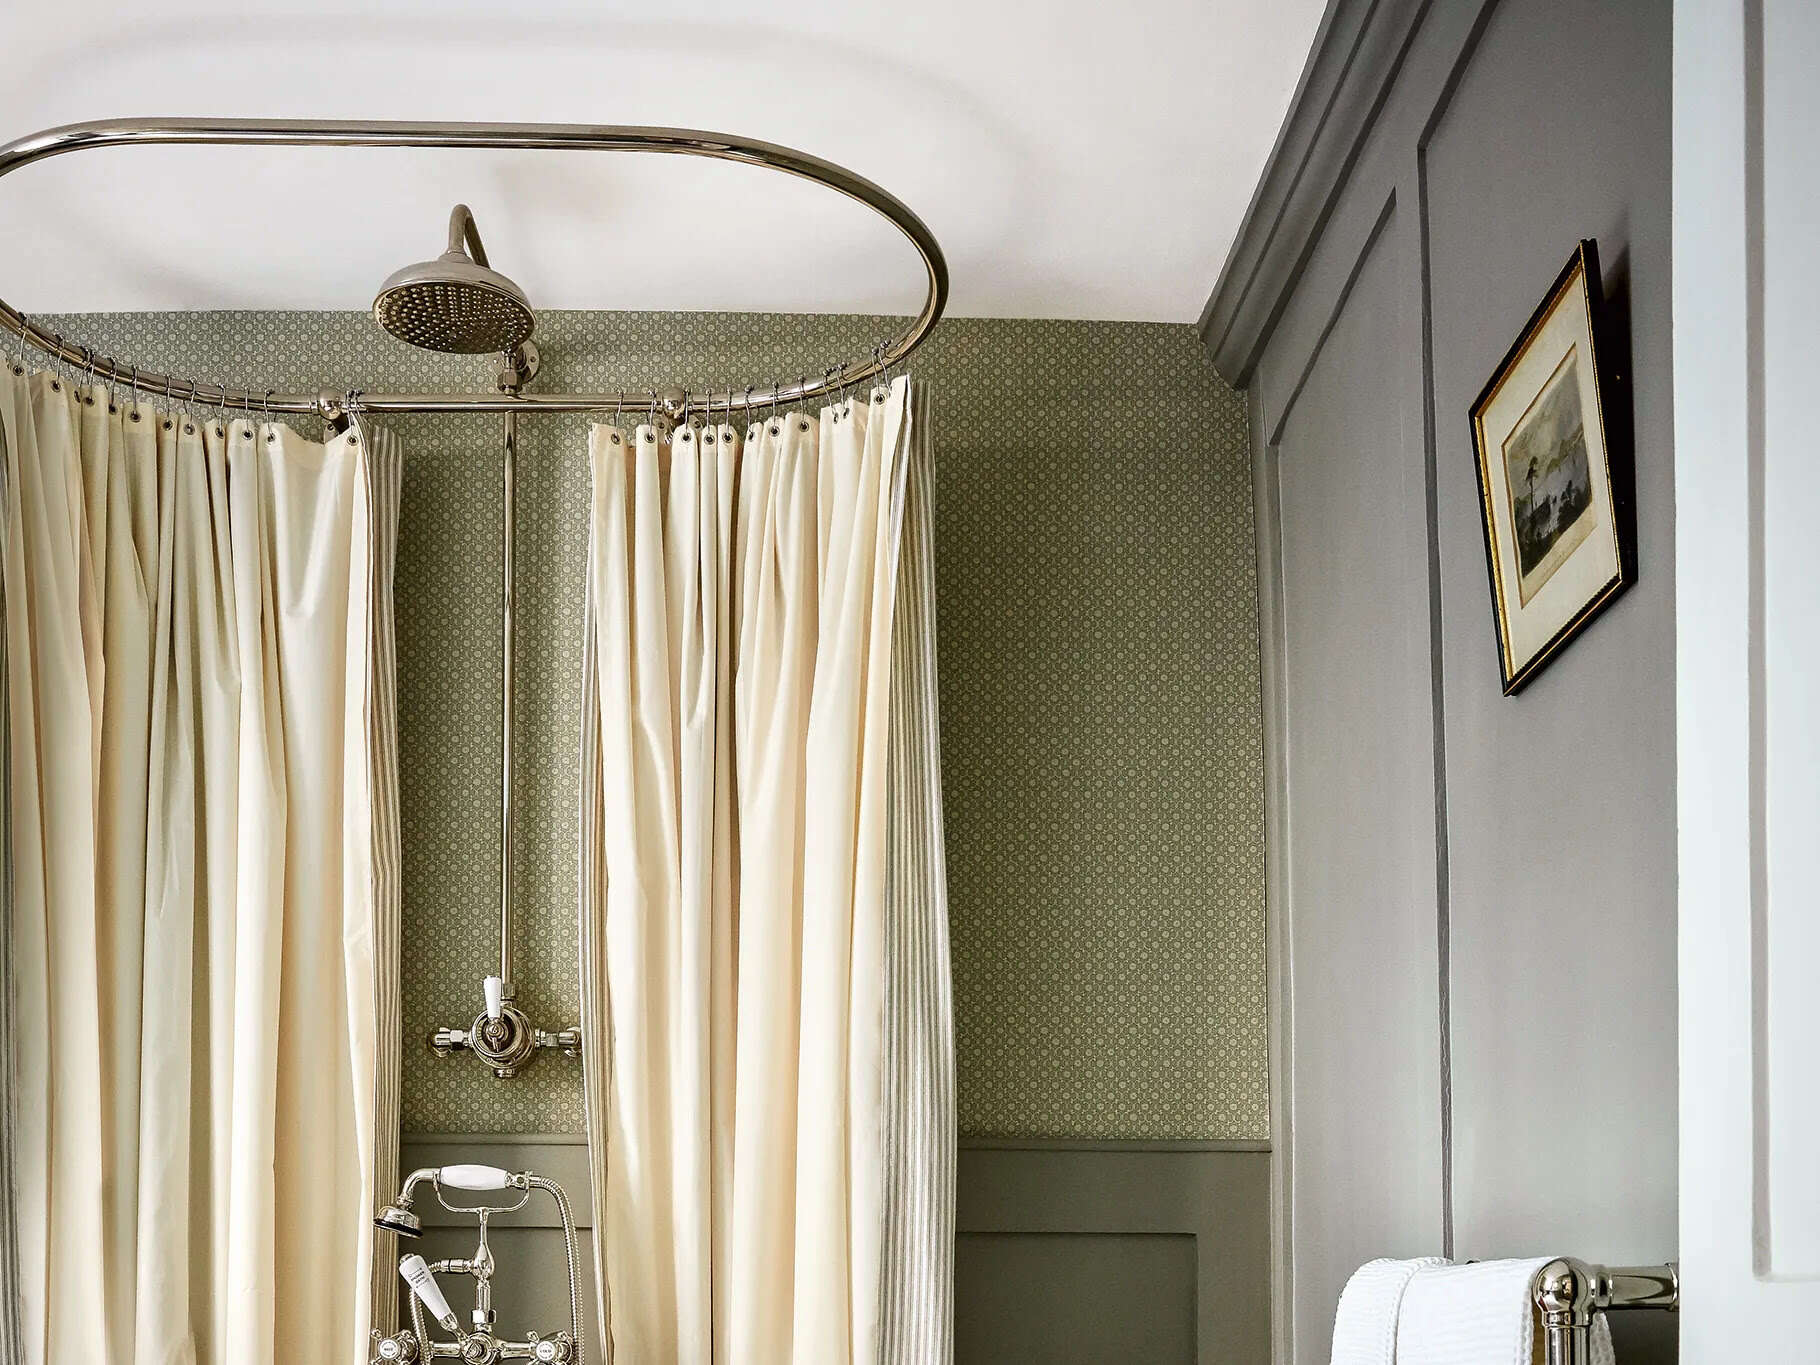
Rod Type and Configuration
The type and configuration of the curtain rod can impact the distribution of hooks and the overall hanging arrangement. Curved or double rods may require additional hooks to accommodate the extended length and curvature, ensuring that the curtain maintains an even and attractive appearance. Additionally, adjustable or telescoping rods may necessitate careful consideration of the number of hooks to achieve a balanced and secure hanging arrangement. By accounting for the specific characteristics of the curtain rod, individuals can determine the optimal quantity of hooks to support the curtain effectively.
Bathroom Humidity and Maintenance
The bathroom environment, particularly its humidity levels and maintenance requirements, should also be taken into consideration when determining the number of hooks for a shower curtain. High humidity can affect the longevity of certain hook materials, potentially necessitating the use of corrosion-resistant or moisture-resistant options. Additionally, the ease of maintenance and cleaning for the hooks should be evaluated to ensure that they remain functional and visually appealing over time. By factoring in the bathroom's environmental conditions and maintenance considerations, individuals can select hooks that are well-suited for the specific demands of the space.
By carefully evaluating these factors, individuals can make informed decisions regarding the number of hooks required for their shower curtains, ultimately achieving a well-hung and visually appealing result that complements the overall ambiance of the bathroom.
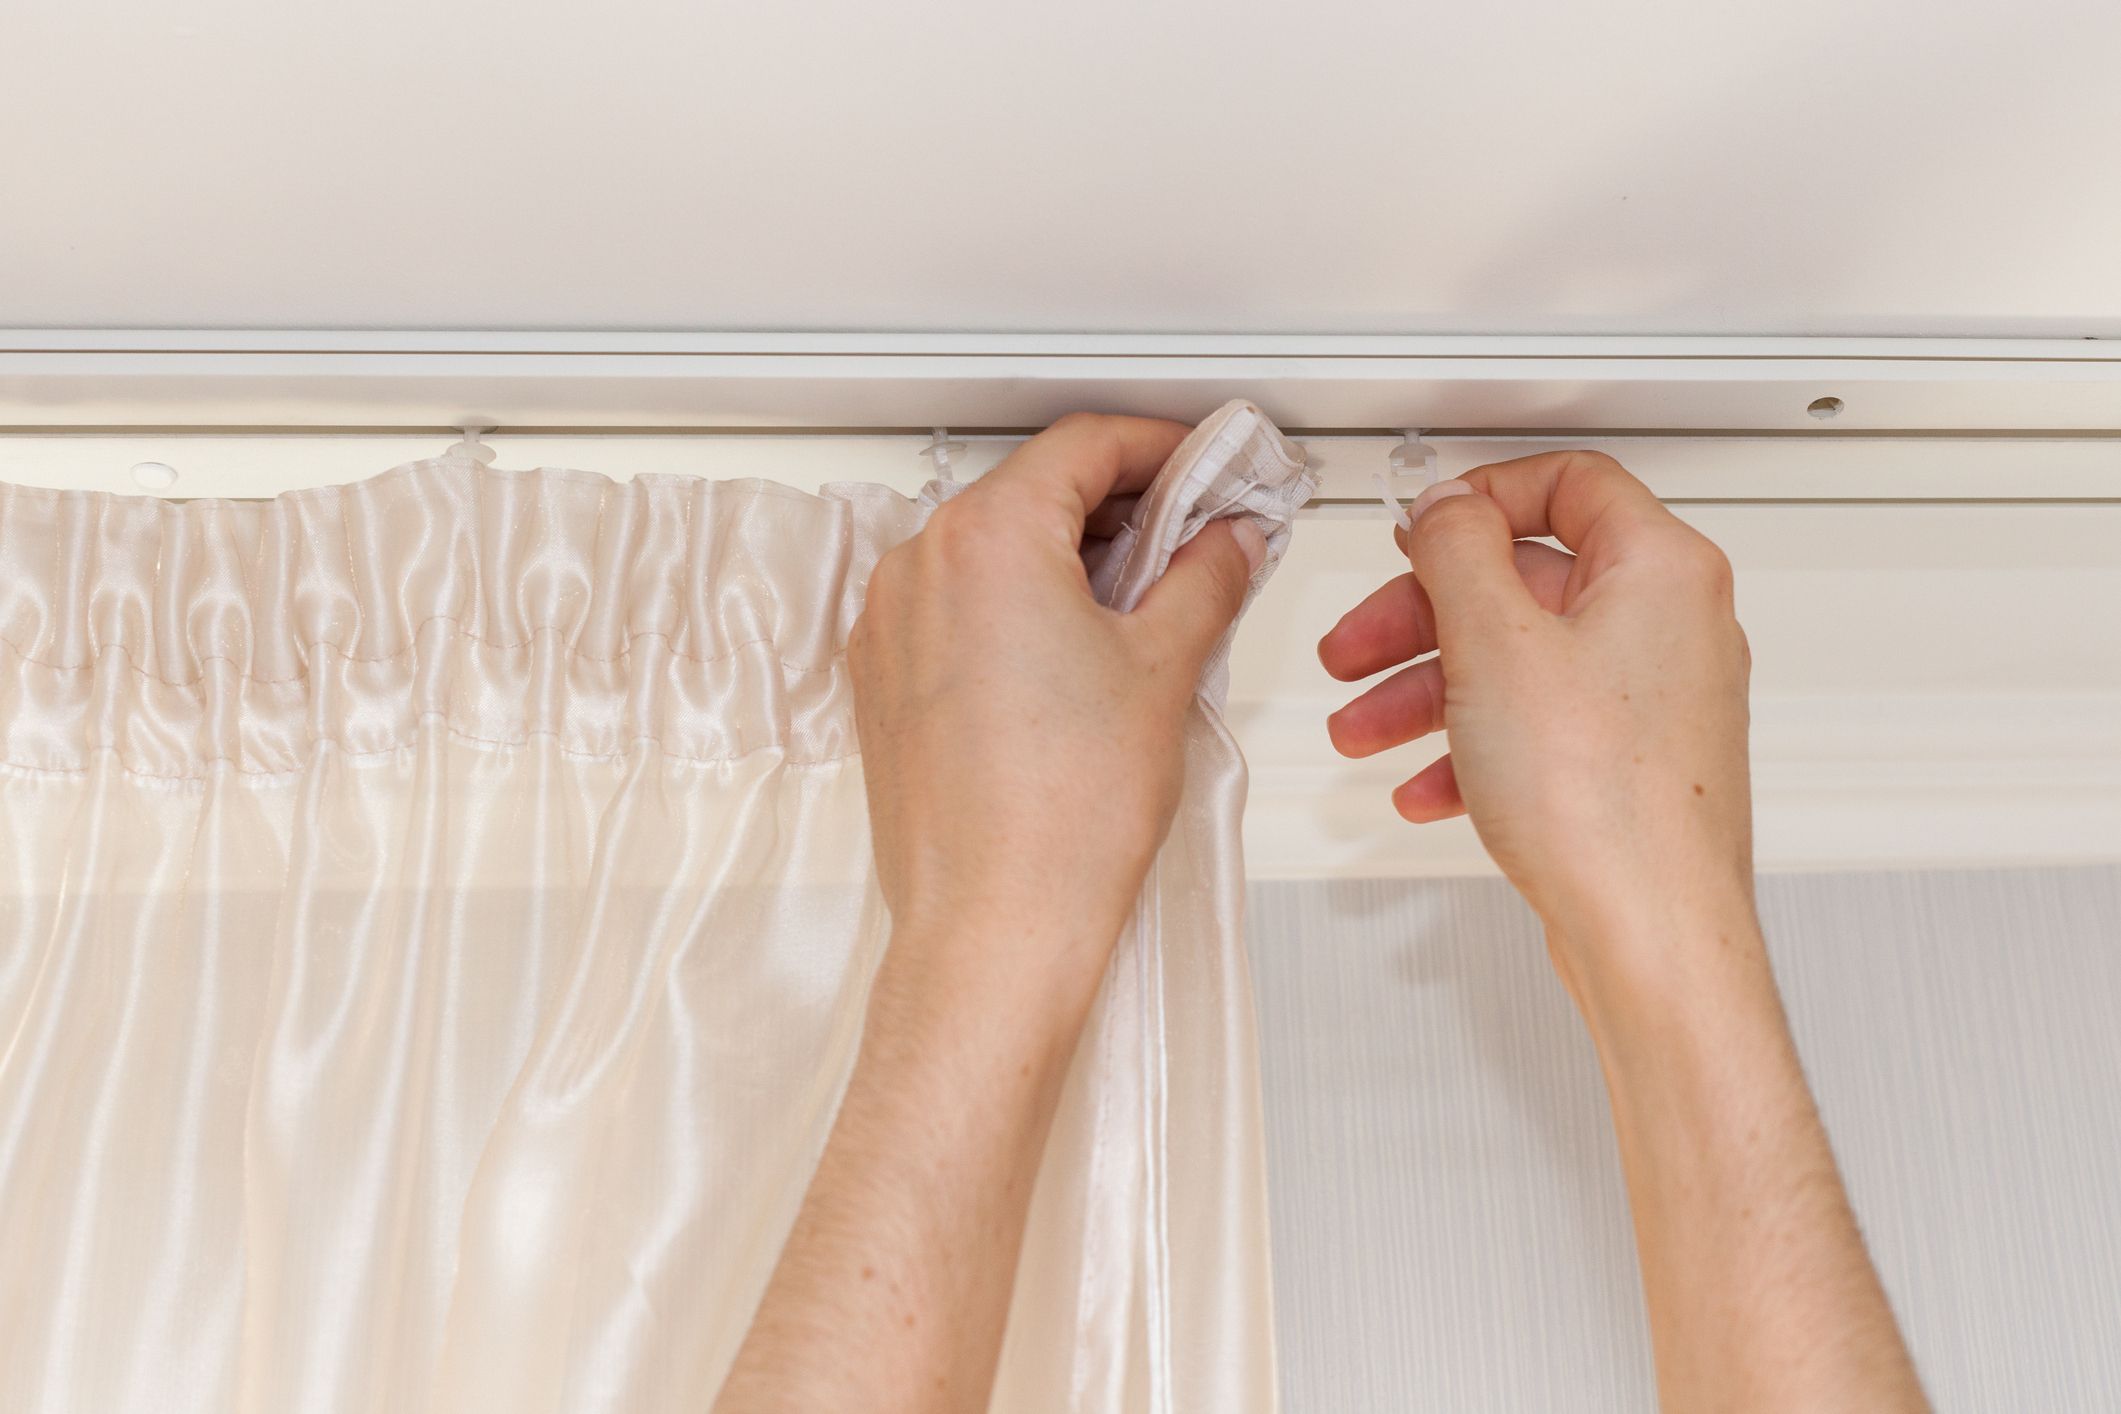
Alternative Hanging Methods
In addition to the traditional approach of using hooks to hang a shower curtain, there are alternative methods that offer both practical and aesthetic advantages. These alternative hanging techniques provide individuals with versatile options to customize the appearance and functionality of their shower curtains, catering to their specific preferences and needs.
Read more: How Many Holes Does A Shower Curtain Have
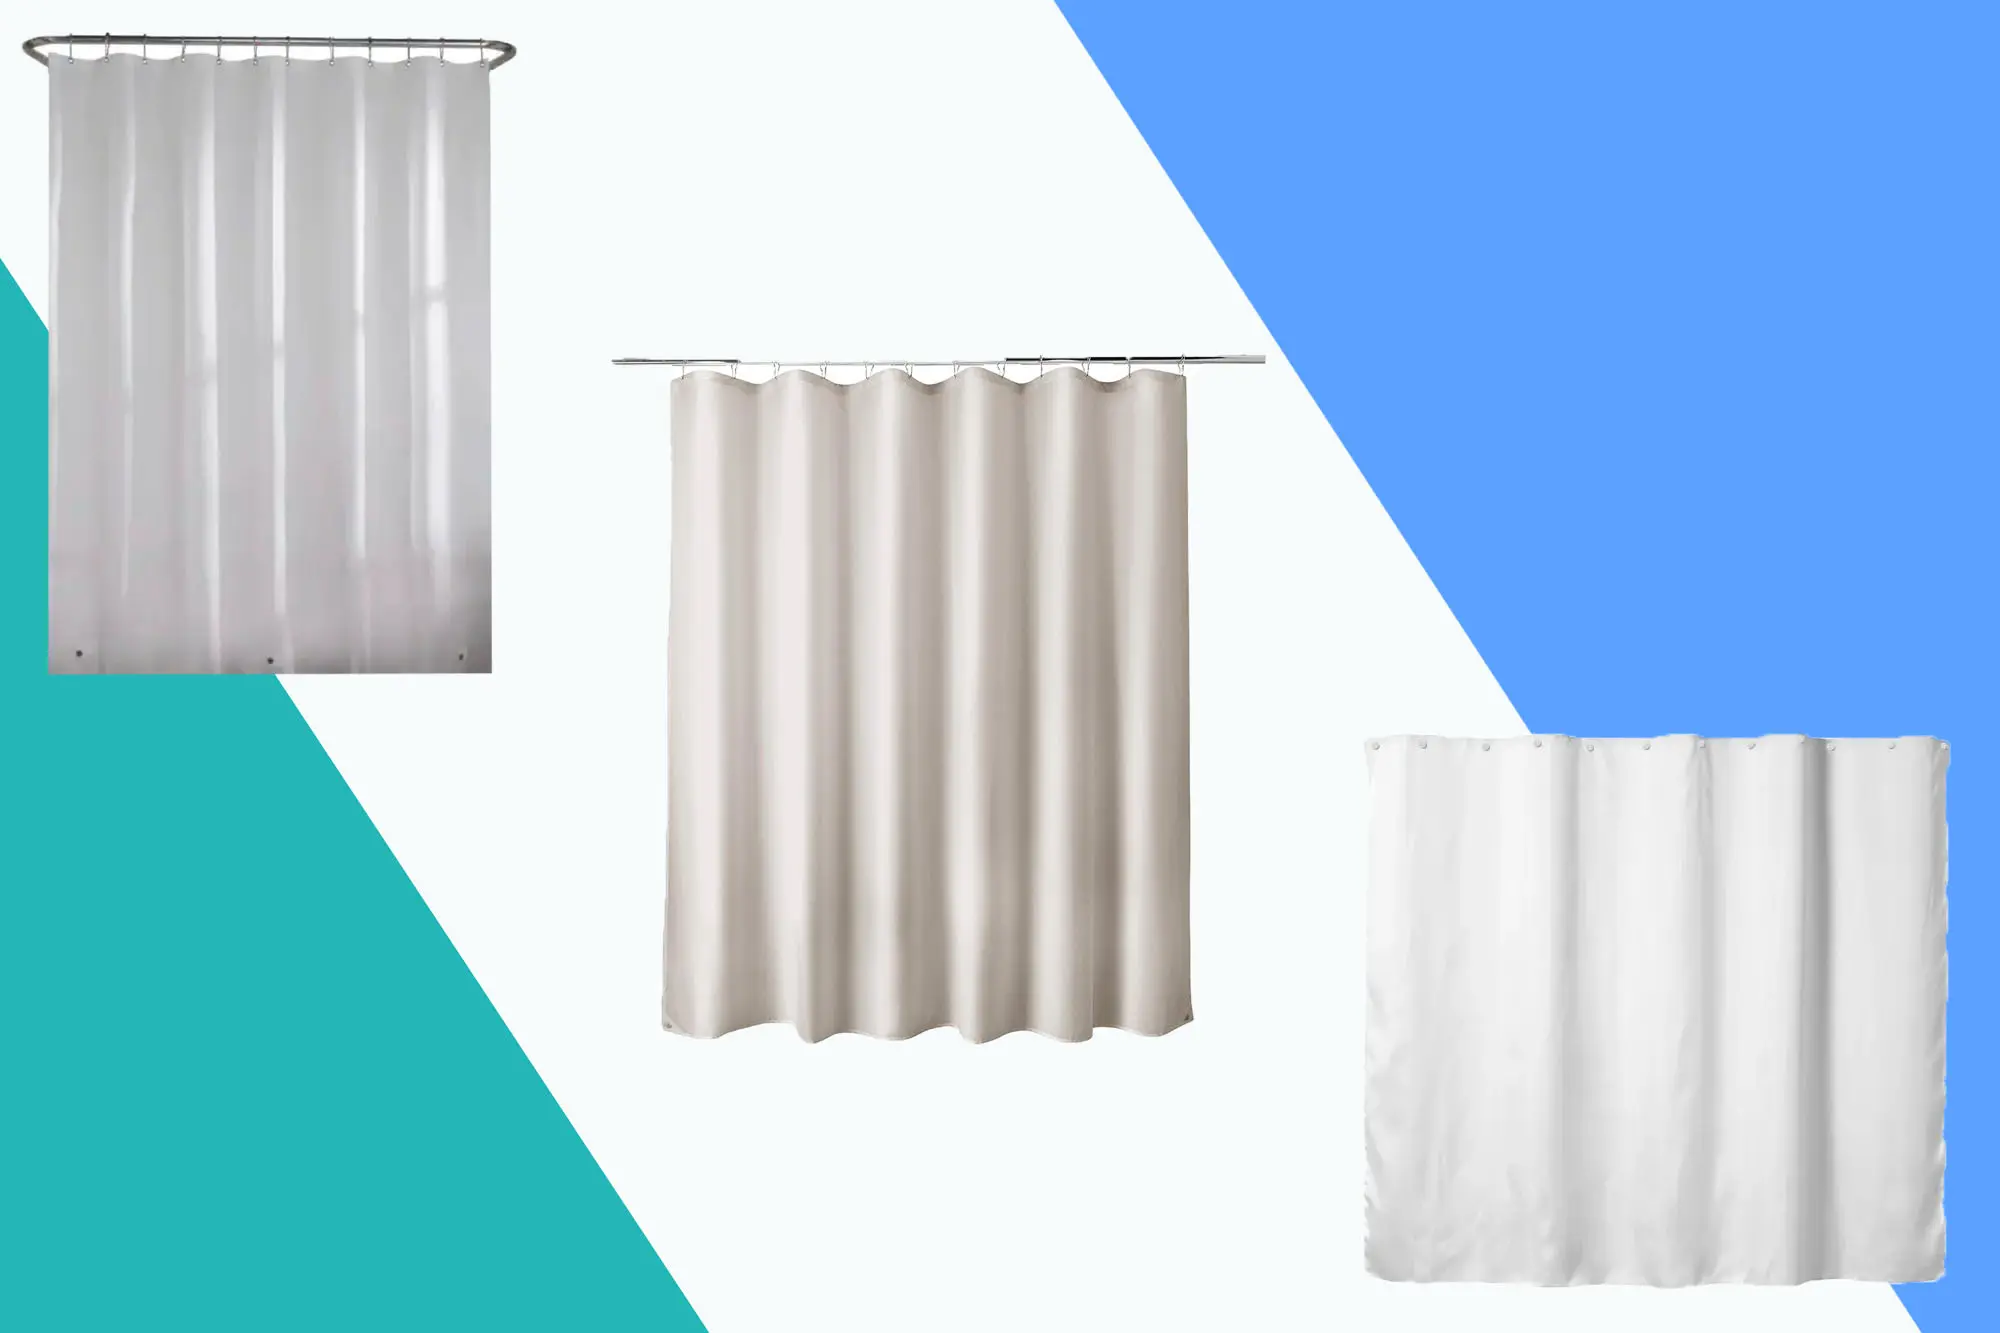
Hookless Shower Curtains
One popular alternative to traditional hook-based hanging methods is the utilization of hookless shower curtains. These innovative curtains feature built-in grommets or loops along the top edge, eliminating the need for separate hooks. The absence of hooks streamlines the hanging process, offering a seamless and contemporary look while simplifying installation and maintenance. Hookless shower curtains are designed to effortlessly slide onto the curtain rod, providing a sleek and tailored appearance that complements modern bathroom designs. Additionally, the absence of hooks reduces the risk of snagging and tangling, contributing to a hassle-free and visually appealing shower curtain solution.
Snap-In Liners
Another alternative hanging method involves the use of snap-in liners, which offer a convenient and versatile approach to curtain installation. Snap-in liners feature integrated snaps or buttons that attach directly to the curtain, eliminating the need for traditional hooks. This integrated design ensures that the liner remains securely in place, preventing shifting or bunching while simplifying the overall hanging process. Snap-in liners provide a cohesive and streamlined appearance, offering a practical solution for individuals seeking a seamless and efficient curtain arrangement. Furthermore, the detachable nature of snap-in liners facilitates easy removal and cleaning, enhancing the maintenance and longevity of the shower curtain.
Magnetic Hooks
For those seeking a unique and adaptable hanging method, magnetic hooks present an innovative alternative to traditional hook-based installations. Magnetic hooks feature strong magnets that securely adhere to metal surfaces, offering a versatile and non-invasive solution for hanging shower curtains. These hooks can be effortlessly positioned along the metal curtain rod, providing a flexible and customizable arrangement that accommodates various curtain widths and designs. The magnetic attachment ensures a stable and reliable hanging configuration, allowing for easy adjustments and repositioning as needed. Additionally, magnetic hooks offer a contemporary and minimalist aesthetic, adding a touch of modern flair to the bathroom space.
By exploring these alternative hanging methods, individuals can discover versatile and creative approaches to hanging their shower curtains, tailored to their specific preferences and style. Whether opting for hookless curtains, snap-in liners, or magnetic hooks, these alternative techniques offer practical, efficient, and visually appealing solutions for achieving a well-hung and attractive shower curtain arrangement.
Conclusion
In conclusion, the number of hooks required for a shower curtain is a critical consideration that significantly impacts both the functionality and visual appeal of the bathroom space. By adhering to the standard recommendations for different curtain widths and carefully evaluating key factors such as fabric weight, grommet spacing, desired appearance, rod type, and environmental conditions, individuals can make informed decisions regarding the optimal quantity of hooks needed to support their shower curtains effectively.
Furthermore, the exploration of alternative hanging methods, including hookless shower curtains, snap-in liners, and magnetic hooks, offers individuals versatile options to customize the appearance and functionality of their shower curtains. These innovative techniques provide practical and aesthetic advantages, catering to diverse preferences and enhancing the overall appeal of the bathroom space.
Ultimately, the process of determining the number of hooks for a shower curtain involves a thoughtful and tailored approach that considers the unique characteristics of the curtain, the specific demands of the bathroom environment, and the individual's aesthetic preferences. By carefully assessing these factors and exploring alternative hanging methods, individuals can achieve a well-hung and visually appealing shower curtain arrangement that complements the overall ambiance of the bathroom.
As individuals navigate the task of setting up their shower curtains, whether for a standard-sized shower or a spacious bathtub enclosure, the insights provided in this article serve as a valuable guide, empowering them to make informed decisions that result in an optimal hanging arrangement. By leveraging this knowledge and considering the diverse factors at play, individuals can create a bathroom space that seamlessly combines functionality, style, and personal expression, ultimately enhancing their daily routines and elevating the overall comfort and allure of their home.
Frequently Asked Questions about How Many Hooks For A Shower Curtain
Was this page helpful?
At Storables.com, we guarantee accurate and reliable information. Our content, validated by Expert Board Contributors, is crafted following stringent Editorial Policies. We're committed to providing you with well-researched, expert-backed insights for all your informational needs.


0 thoughts on “How Many Hooks For A Shower Curtain”