Home>Furniture & Design>Bathroom Accessories>How To Install Bidet Spray
Bathroom Accessories
How To Install Bidet Spray
Modified: August 16, 2024
Learn how to easily install a bidet spray in your bathroom with our step-by-step guide. Upgrade your bathroom accessories today!
(Many of the links in this article redirect to a specific reviewed product. Your purchase of these products through affiliate links helps to generate commission for Storables.com, at no extra cost. Learn more)
Introduction
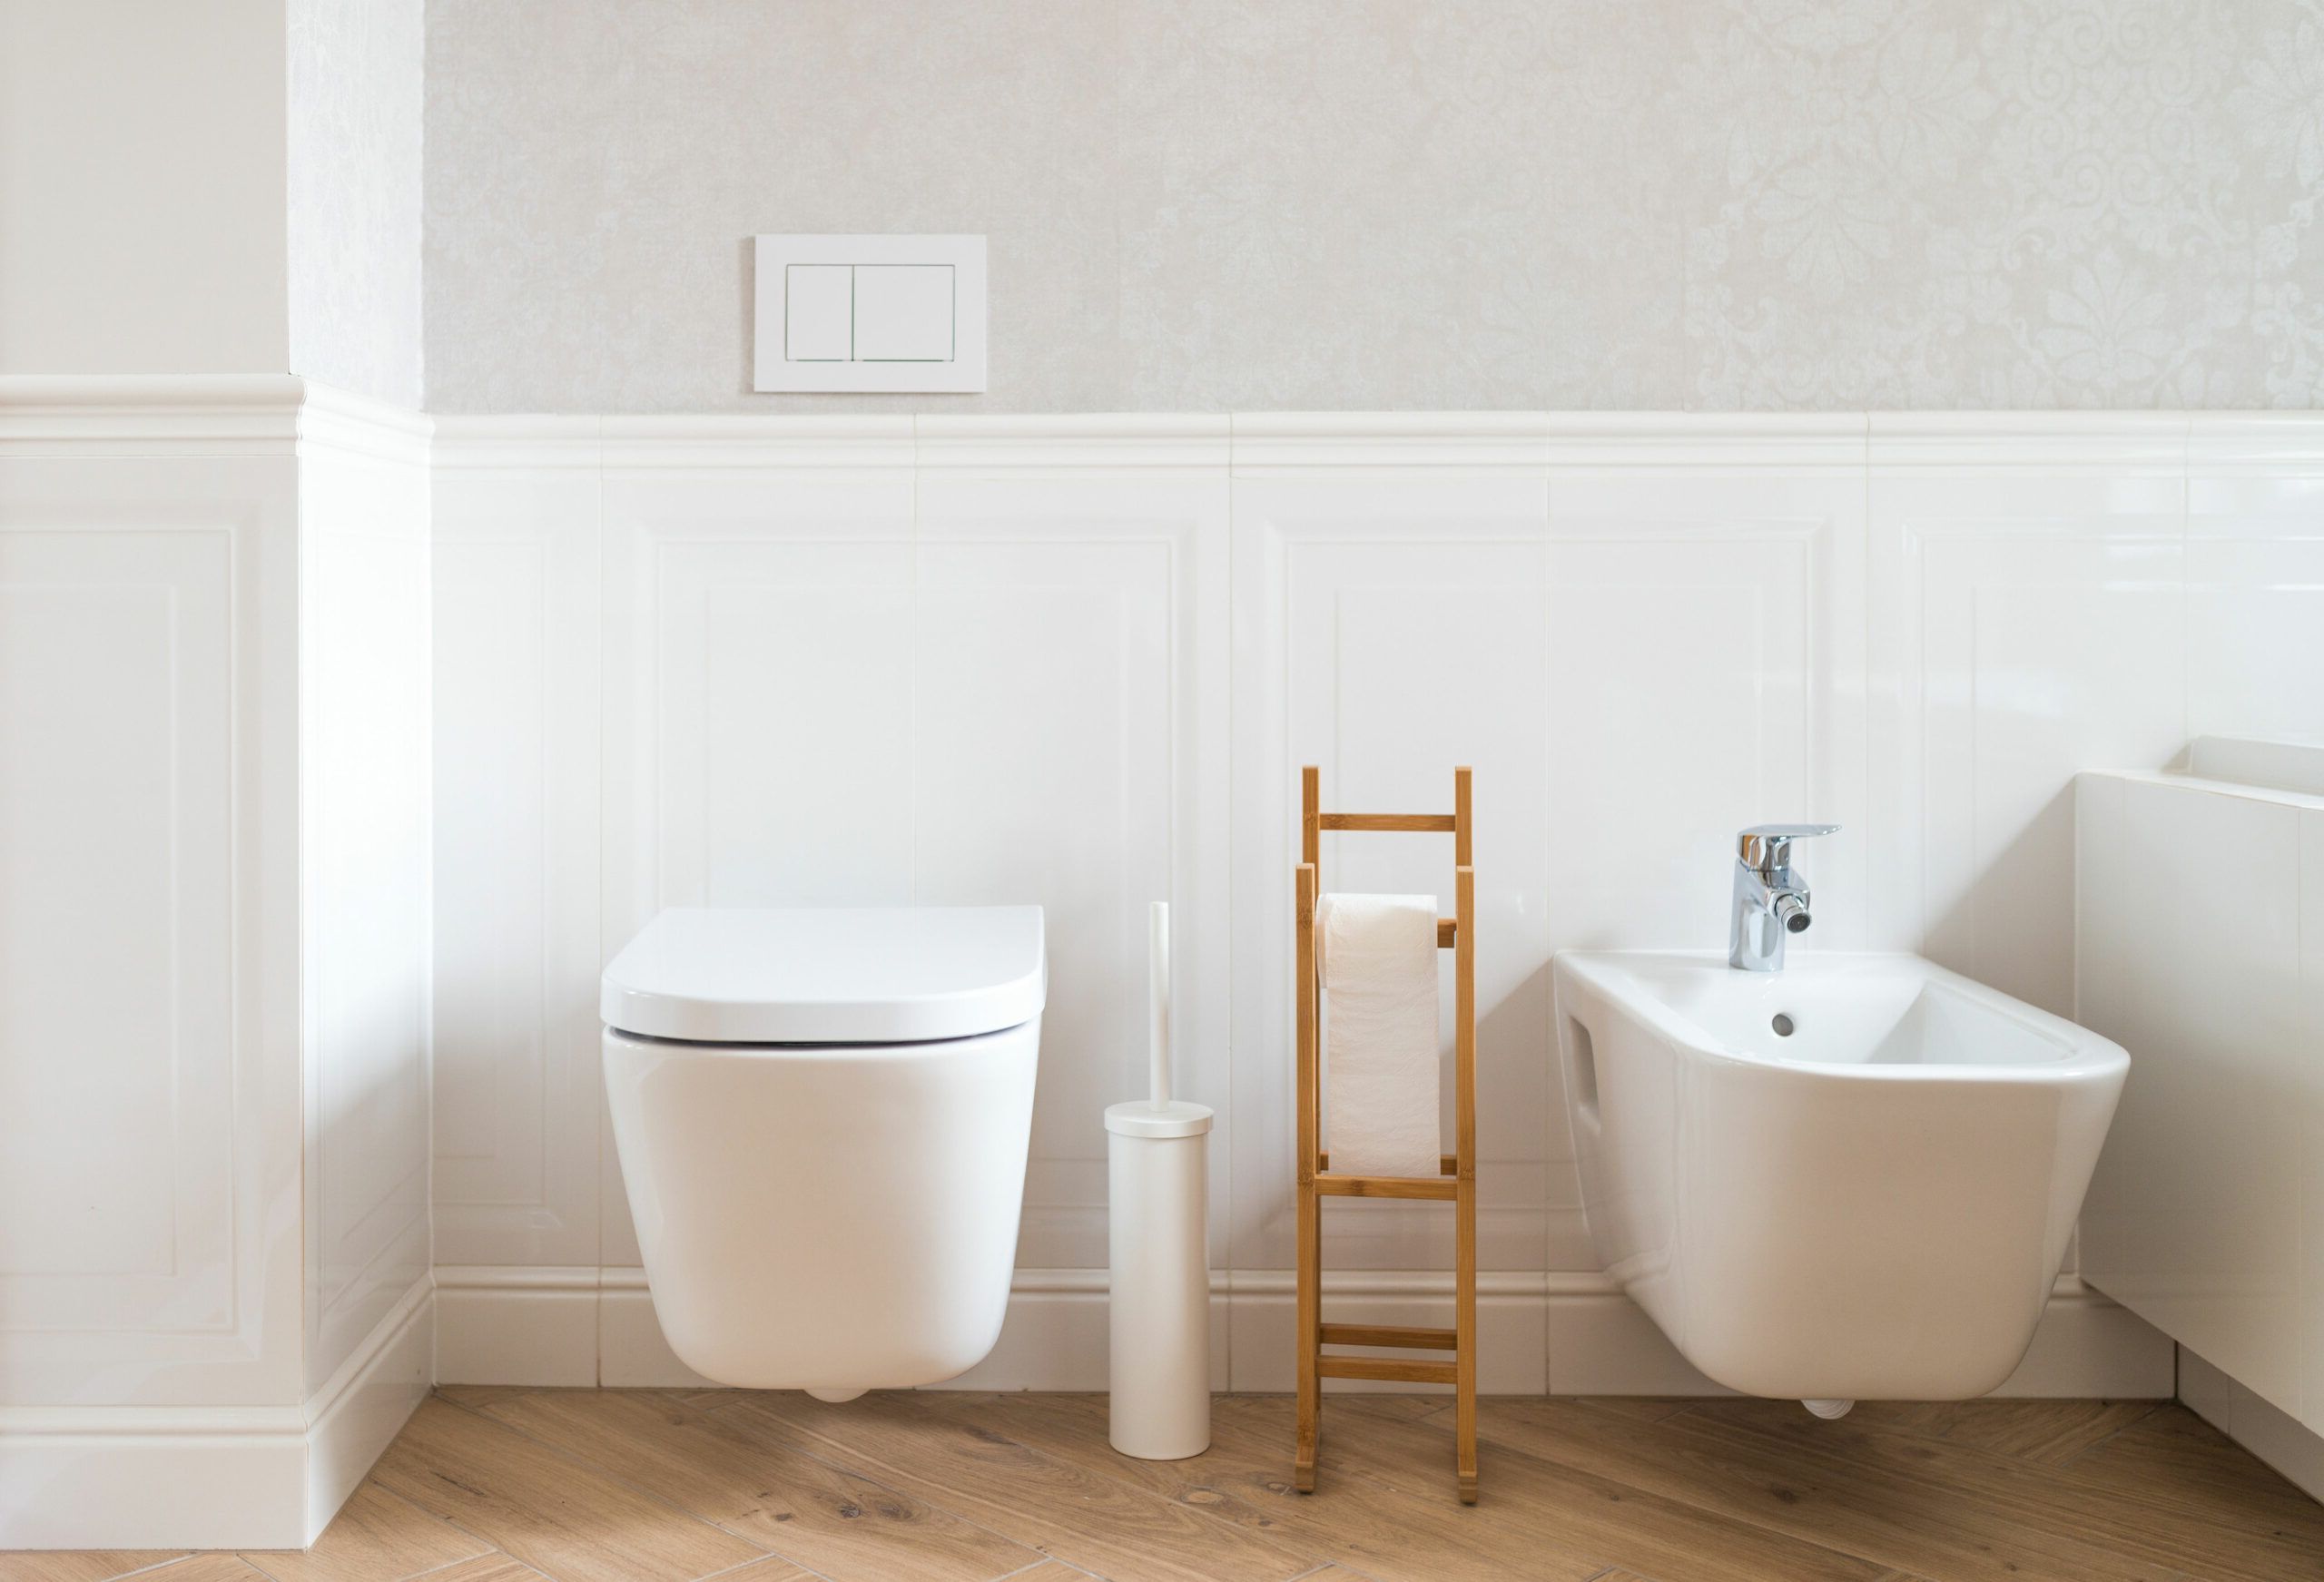
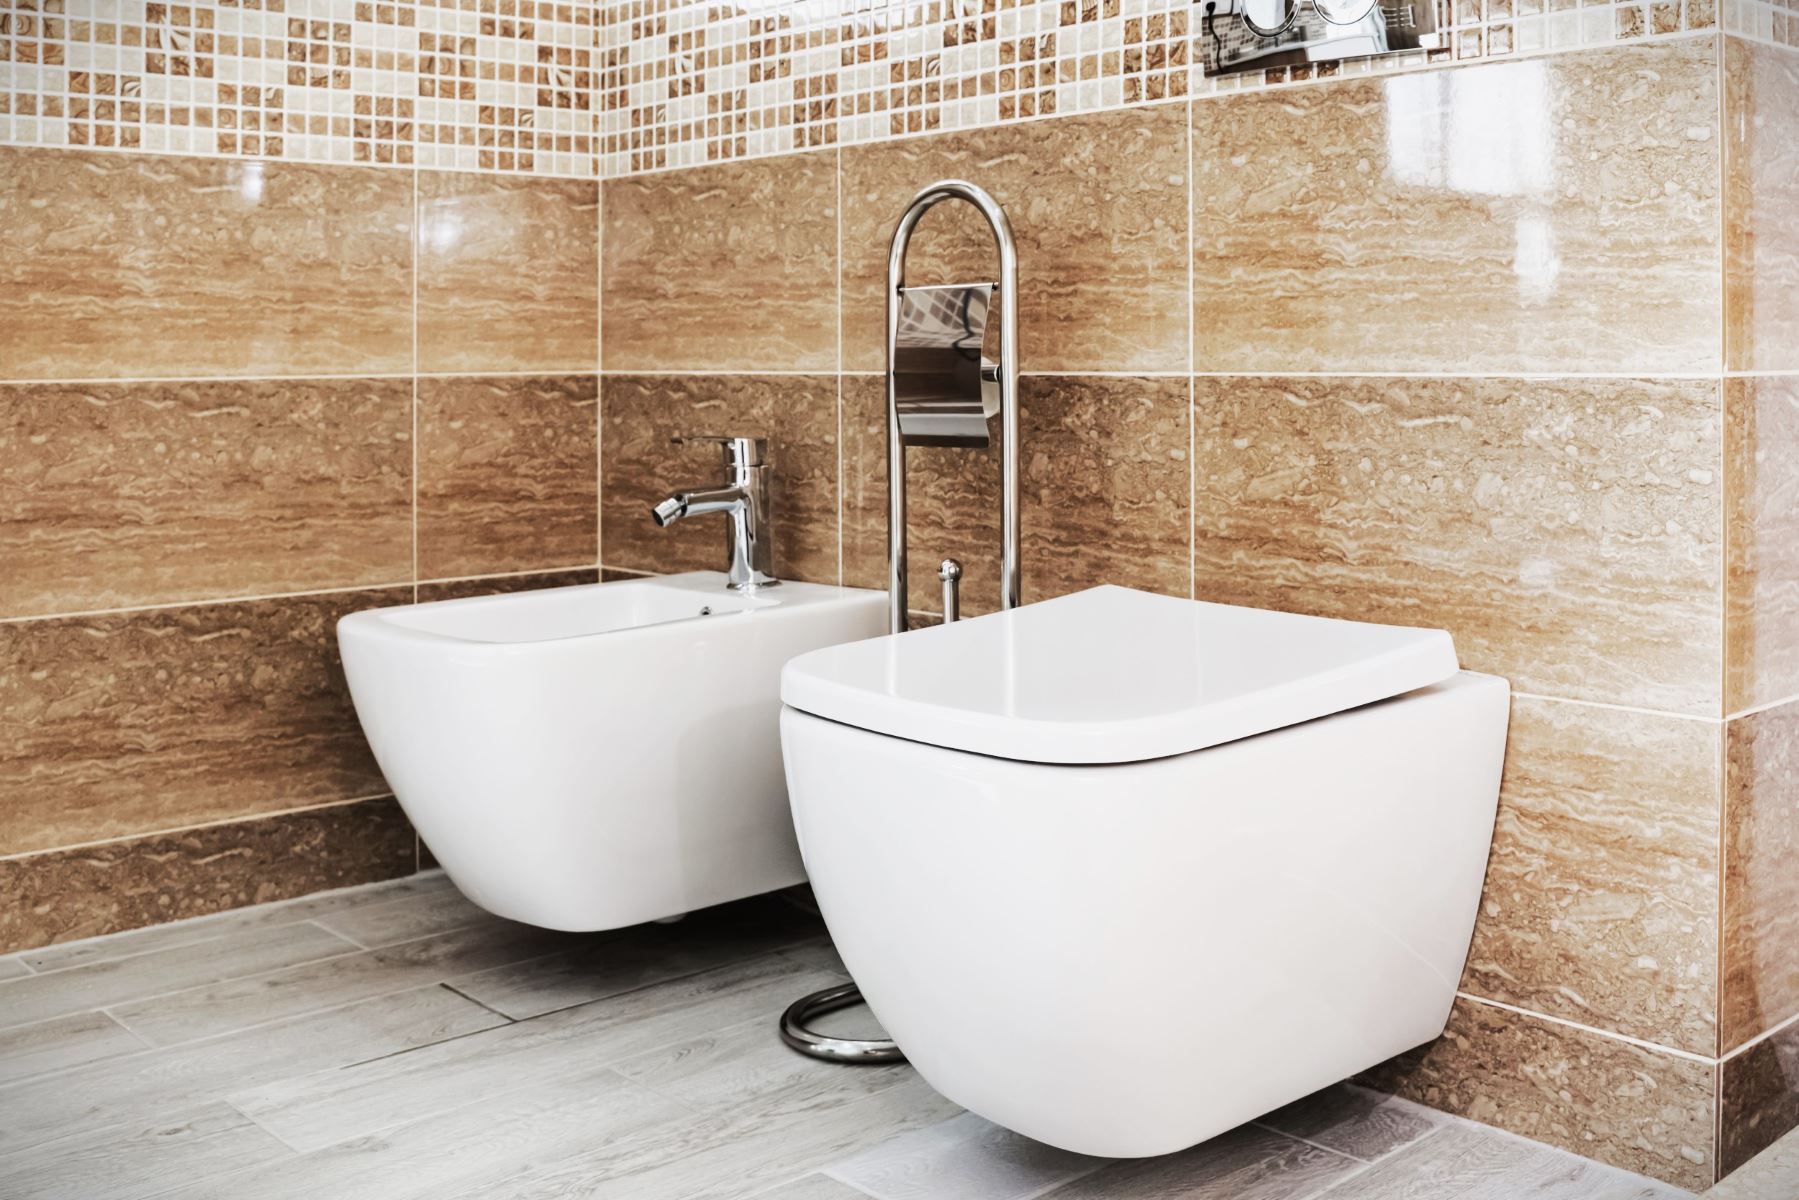
Installing a bidet spray is a simple and effective way to upgrade your bathroom experience. Bidet sprays, also known as handheld bidets or shattafs, offer a hygienic and eco-friendly alternative to traditional toilet paper. With the increasing awareness of personal hygiene and environmental sustainability, bidet sprays have gained popularity in many households. By incorporating this convenient and beneficial fixture into your bathroom, you can elevate your daily routine and contribute to a more sustainable lifestyle.
In this comprehensive guide, we will walk you through the step-by-step process of installing a bidet spray in your bathroom. Whether you are a seasoned DIY enthusiast or a novice in home improvement projects, this guide will provide you with the essential knowledge and instructions to successfully complete the installation. By following these steps, you can enjoy the comfort and cleanliness that a bidet spray offers, while also reducing your environmental impact.
Now, let's delve into the details of gathering the necessary tools and materials for the installation process.
Key Takeaways:
- Upgrade your bathroom with a bidet spray for a cleaner, more sustainable lifestyle. Follow the simple steps to install and enjoy the benefits of enhanced hygiene and comfort.
- Embrace eco-friendly bathroom solutions by installing a bidet spray. Say goodbye to traditional toilet paper and hello to personalized cleansing for a more hygienic and environmentally conscious lifestyle.
Read more: Why Is My Bidet Not Spraying
Step 1: Gather the necessary tools and materials
Before embarking on the installation of a bidet spray, it is essential to gather all the required tools and materials. By ensuring that you have everything at hand, you can streamline the installation process and minimize any potential interruptions. Here's a comprehensive list of the necessary items:
Tools:
- Adjustable Wrench: This tool will be used to loosen and tighten the connections during the installation process.
- Teflon Tape: Also known as plumber's tape, this will help create a secure and leak-free seal when connecting the bidet spray to the water supply.
- Screwdriver: Depending on the type of fasteners used, a screwdriver may be needed to remove the existing toilet seat or to secure the bidet spray in place.
- Pliers: These may be required for certain types of bidet spray installations, particularly for tightening connections.
Materials:
- Bidet Spray Kit: Ensure that you have a complete bidet spray kit, which typically includes the handheld spray nozzle, a holder or hook to mount the spray, and a flexible hose for connecting to the water supply.
- Rubber Washers: These are essential for creating a watertight seal at the connections, preventing leaks.
- Clean Cloth or Towel: Having a cloth or towel on hand will be useful for wiping any excess water and ensuring a clean installation process.
- Bucket: It's a good idea to have a bucket nearby to catch any water that may drip during the installation.
By gathering these tools and materials beforehand, you can proceed with the installation process smoothly and efficiently. With everything in place, you are now ready to move on to the next step: turning off the water supply.
Step 2: Turn off the water supply
Before beginning the installation of a bidet spray, it is crucial to turn off the water supply to the toilet. This step is essential to prevent any water leakage or potential accidents during the installation process. Here's a detailed guide on how to safely turn off the water supply:
-
Locate the Shut-Off Valve: The shut-off valve is typically located behind the toilet, near the bottom on the wall. It is usually a small knob or lever that can be turned to stop the flow of water to the toilet.
-
Turn Off the Valve: Using your hand or an adjustable wrench, gently turn the shut-off valve clockwise until it is fully closed. This action will stop the water supply to the toilet, ensuring that there is no water flowing into the area where the bidet spray will be installed.
-
Flush the Toilet: After turning off the water supply, flush the toilet to remove any remaining water in the tank and the bowl. This step will help minimize the amount of water that may spill during the subsequent stages of the installation.
-
Verify the Water Supply Is Off: Once the toilet has been flushed, double-check that the water supply is indeed turned off. You can do this by attempting to flush the toilet again or by turning the bathroom sink faucet on to see if there is any water flow. If there is no water running, it indicates that the water supply has been successfully turned off.
By following these steps to turn off the water supply, you can ensure a safe and controlled environment for installing the bidet spray. This precautionary measure minimizes the risk of water leakage and allows for a smooth and hassle-free installation process. With the water supply turned off, you are now ready to proceed to the next step of removing the existing toilet seat.
Read more: How To Use Bidet Spray
Step 3: Remove the existing toilet seat
Removing the existing toilet seat is a crucial step in preparing the toilet for the installation of a bidet spray. This process requires careful attention to detail and the use of basic tools. Here's a detailed guide on how to effectively remove the existing toilet seat:
-
Gather the Necessary Tools: Before starting, ensure that you have the required tools, including a screwdriver or wrench, depending on the type of fasteners securing the toilet seat.
-
Identify the Fasteners: Examine the underside of the toilet seat to locate the fasteners that secure it to the toilet bowl. These fasteners are typically located at the back of the seat, where it connects to the bowl.
-
Loosen the Fasteners: Using the appropriate tool, whether a screwdriver or wrench, begin loosening the fasteners. Turn them counterclockwise to release them from the toilet bowl. In some cases, the fasteners may be covered with plastic caps that can be pried off to access the screws or bolts.
-
Remove the Toilet Seat: Once the fasteners are sufficiently loosened, carefully lift the toilet seat and separate it from the toilet bowl. Be mindful of any remaining water or debris that may be present, and have a clean cloth or towel ready to wipe the area clean.
-
Inspect the Fasteners and Hinges: After removing the toilet seat, inspect the condition of the fasteners and hinges. If they are worn out or damaged, consider replacing them before proceeding with the installation of the bidet spray.
-
Clean the Area: With the toilet seat removed, take the opportunity to clean the area where the bidet spray will be installed. Wipe the toilet bowl and the surrounding area to ensure a clean and hygienic surface for the installation.
By following these steps to remove the existing toilet seat, you can effectively prepare the toilet for the installation of the bidet spray. This process sets the stage for the subsequent installation steps and ensures that the area is ready for the new fixture. With the toilet seat removed, you are now ready to move on to the next step: installing the bidet spray.
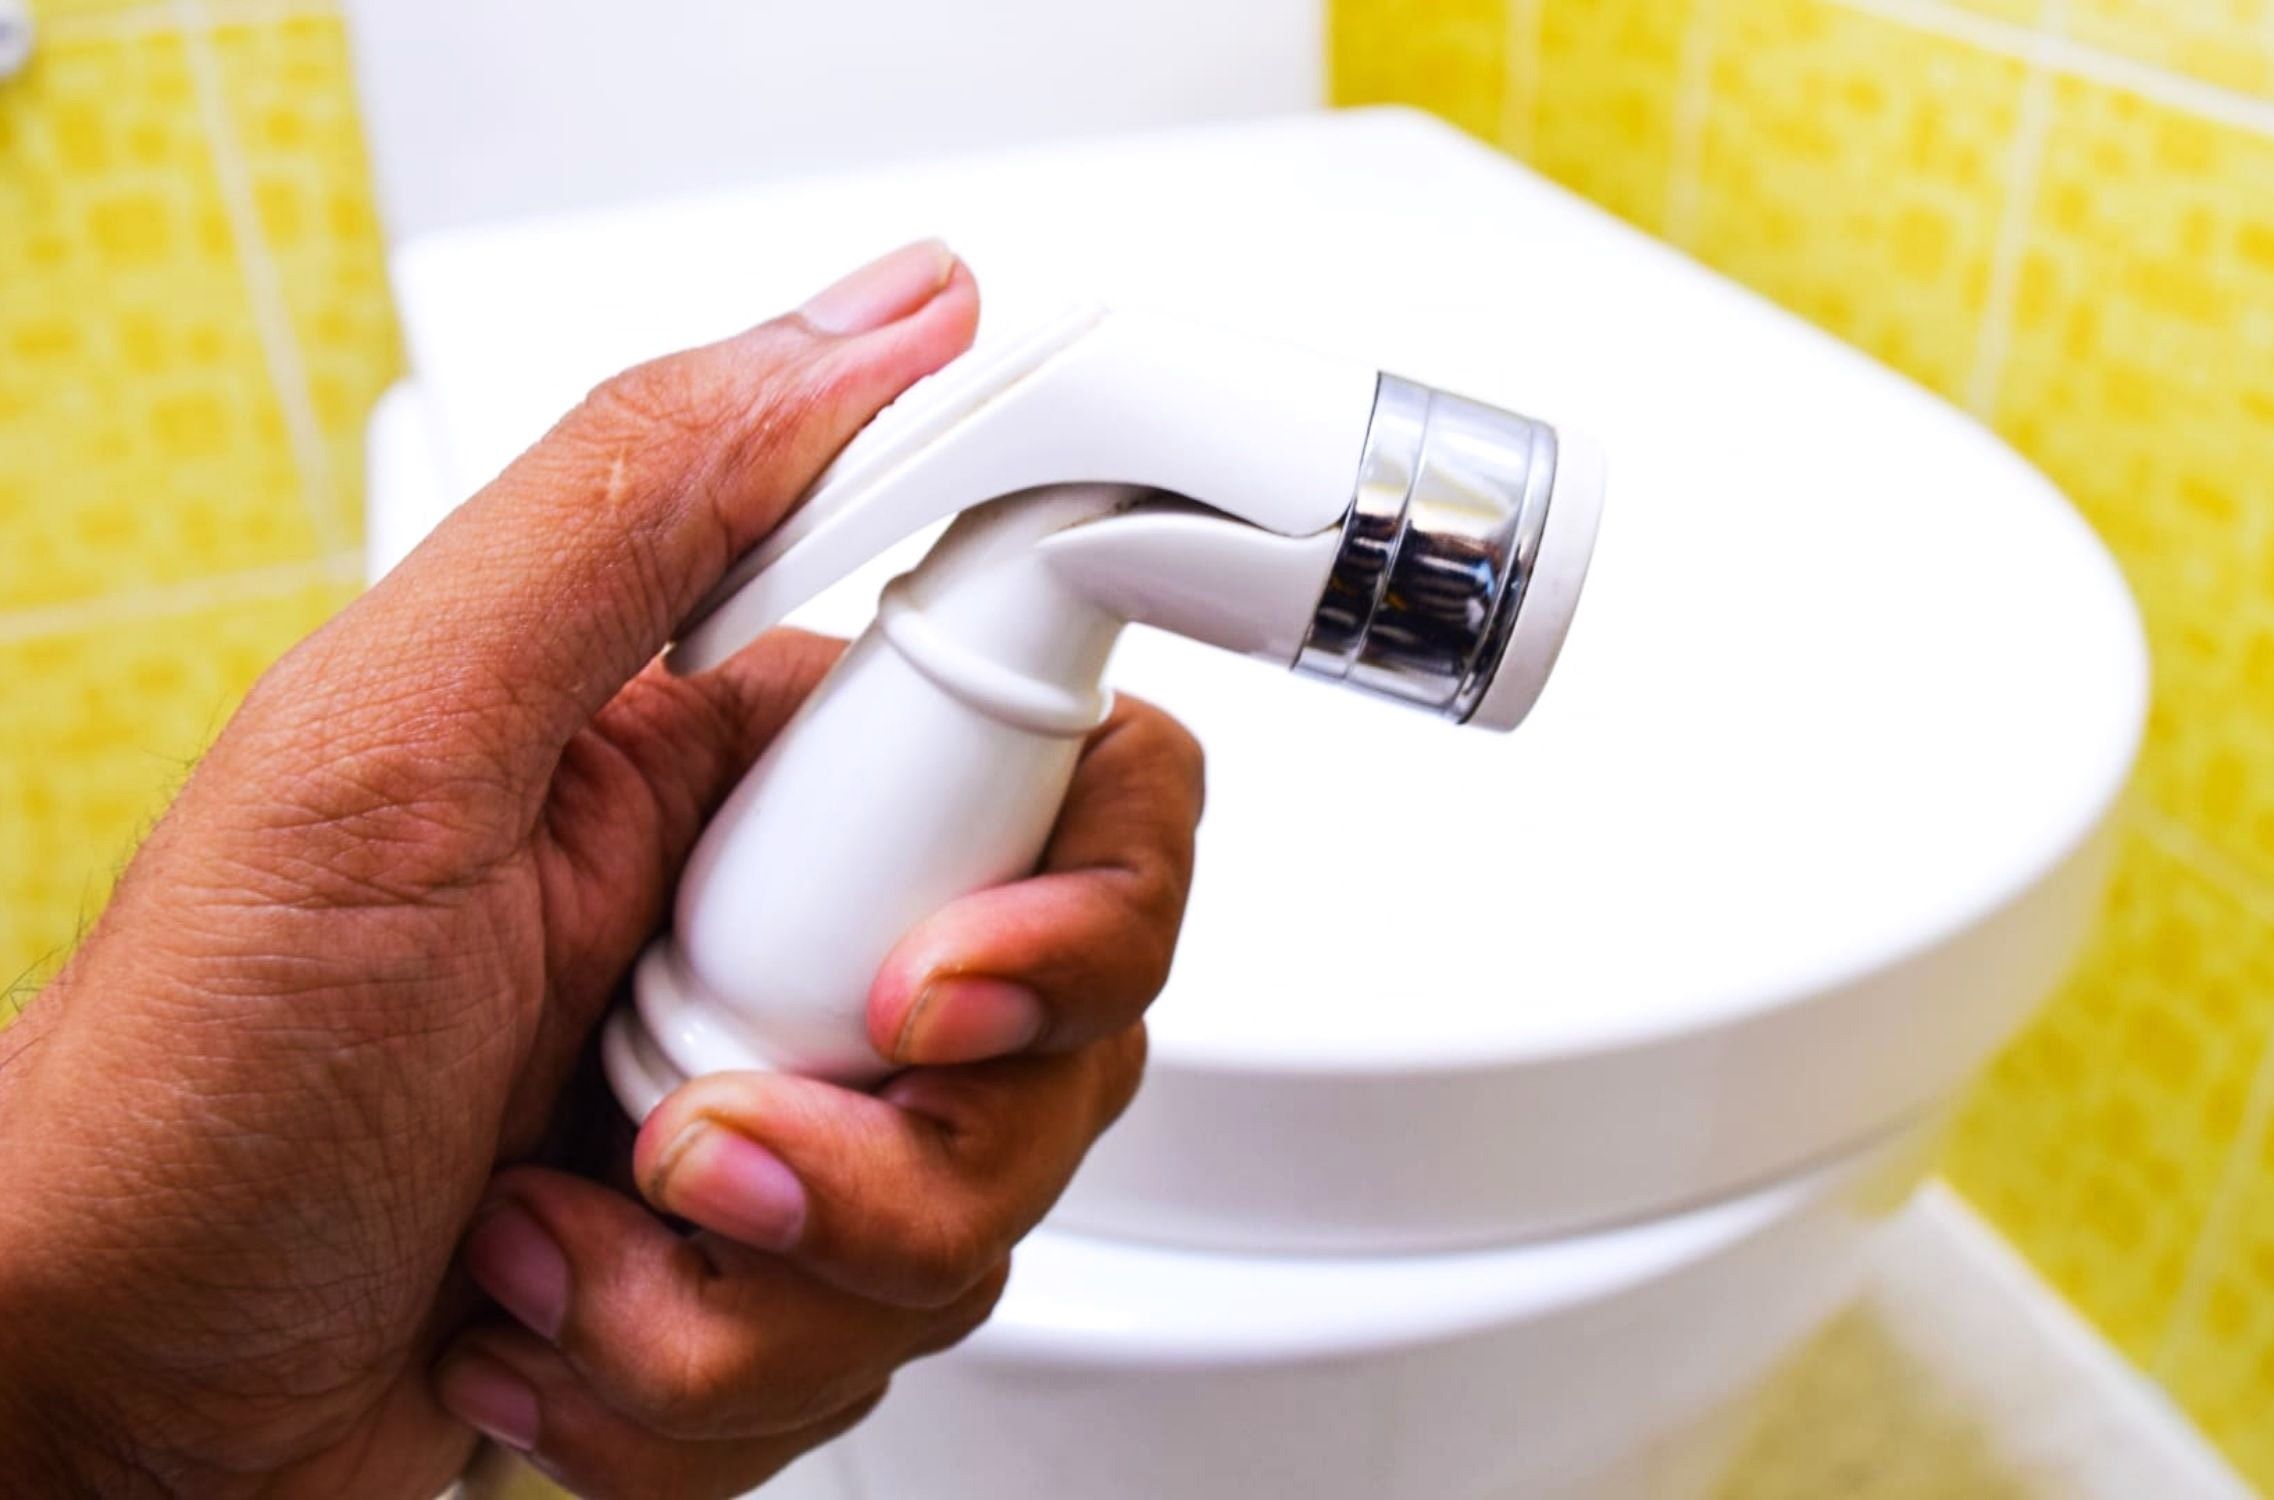
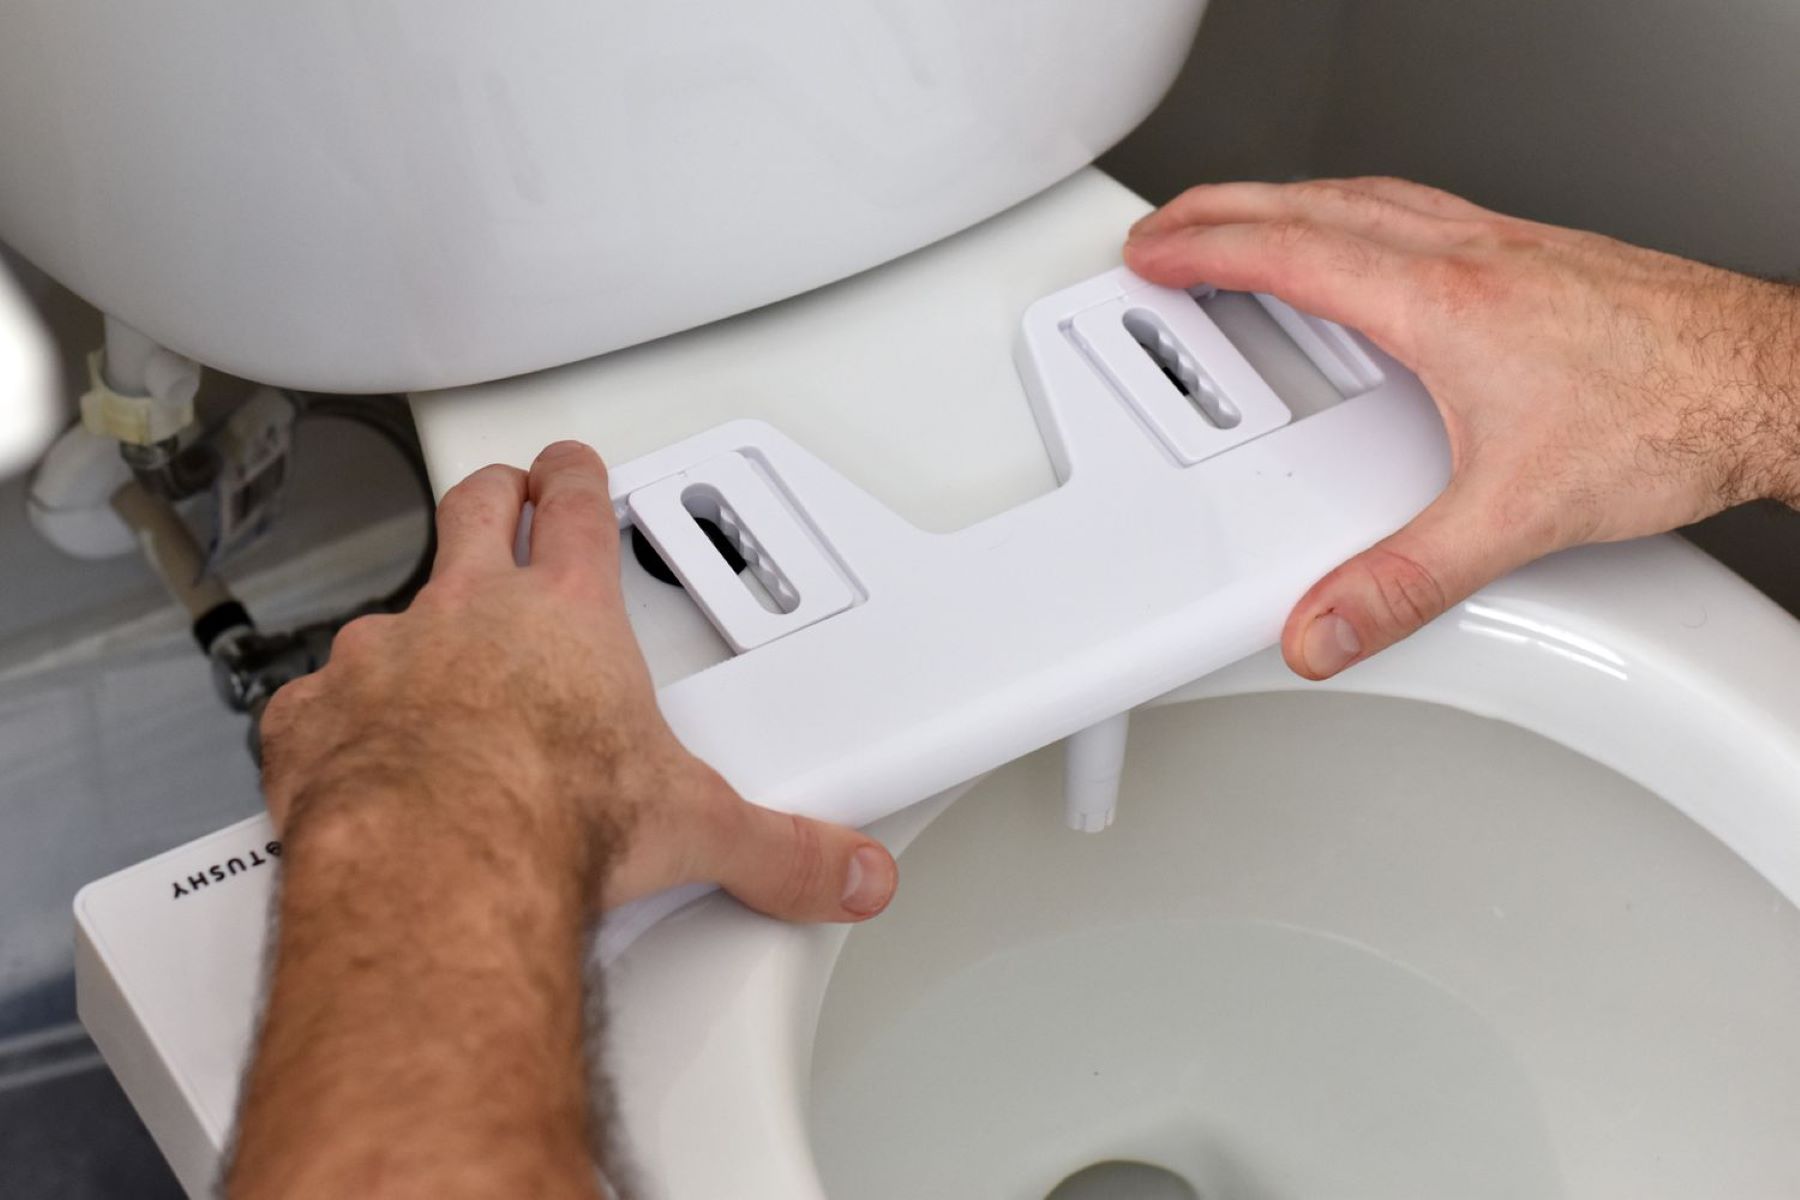
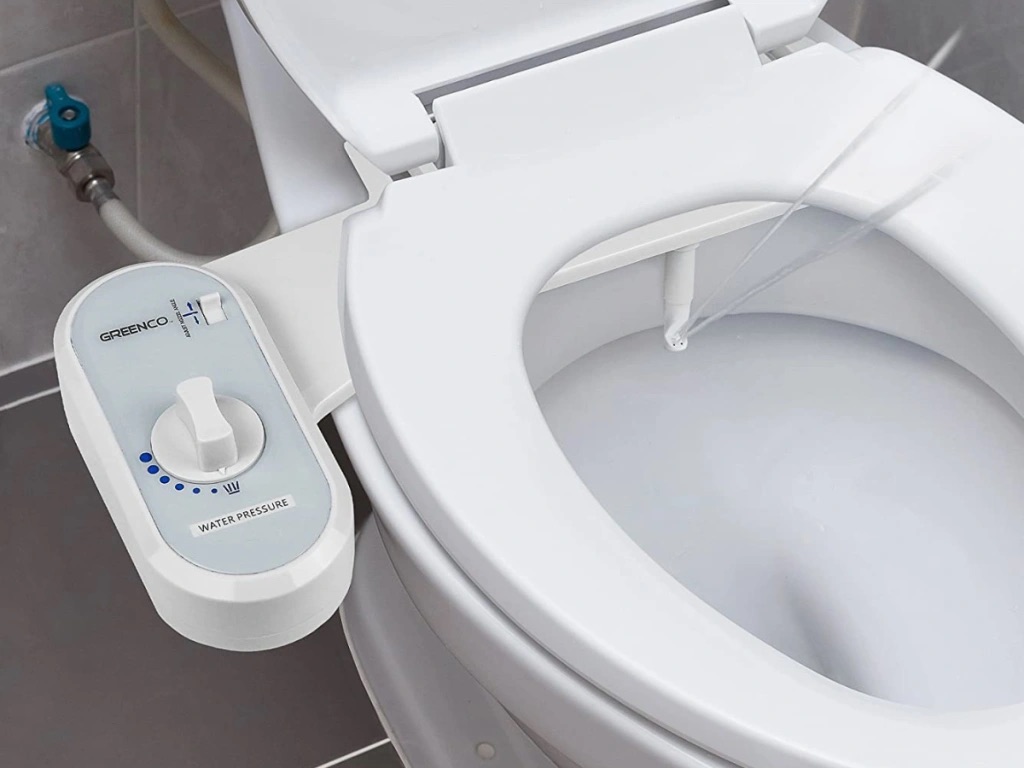
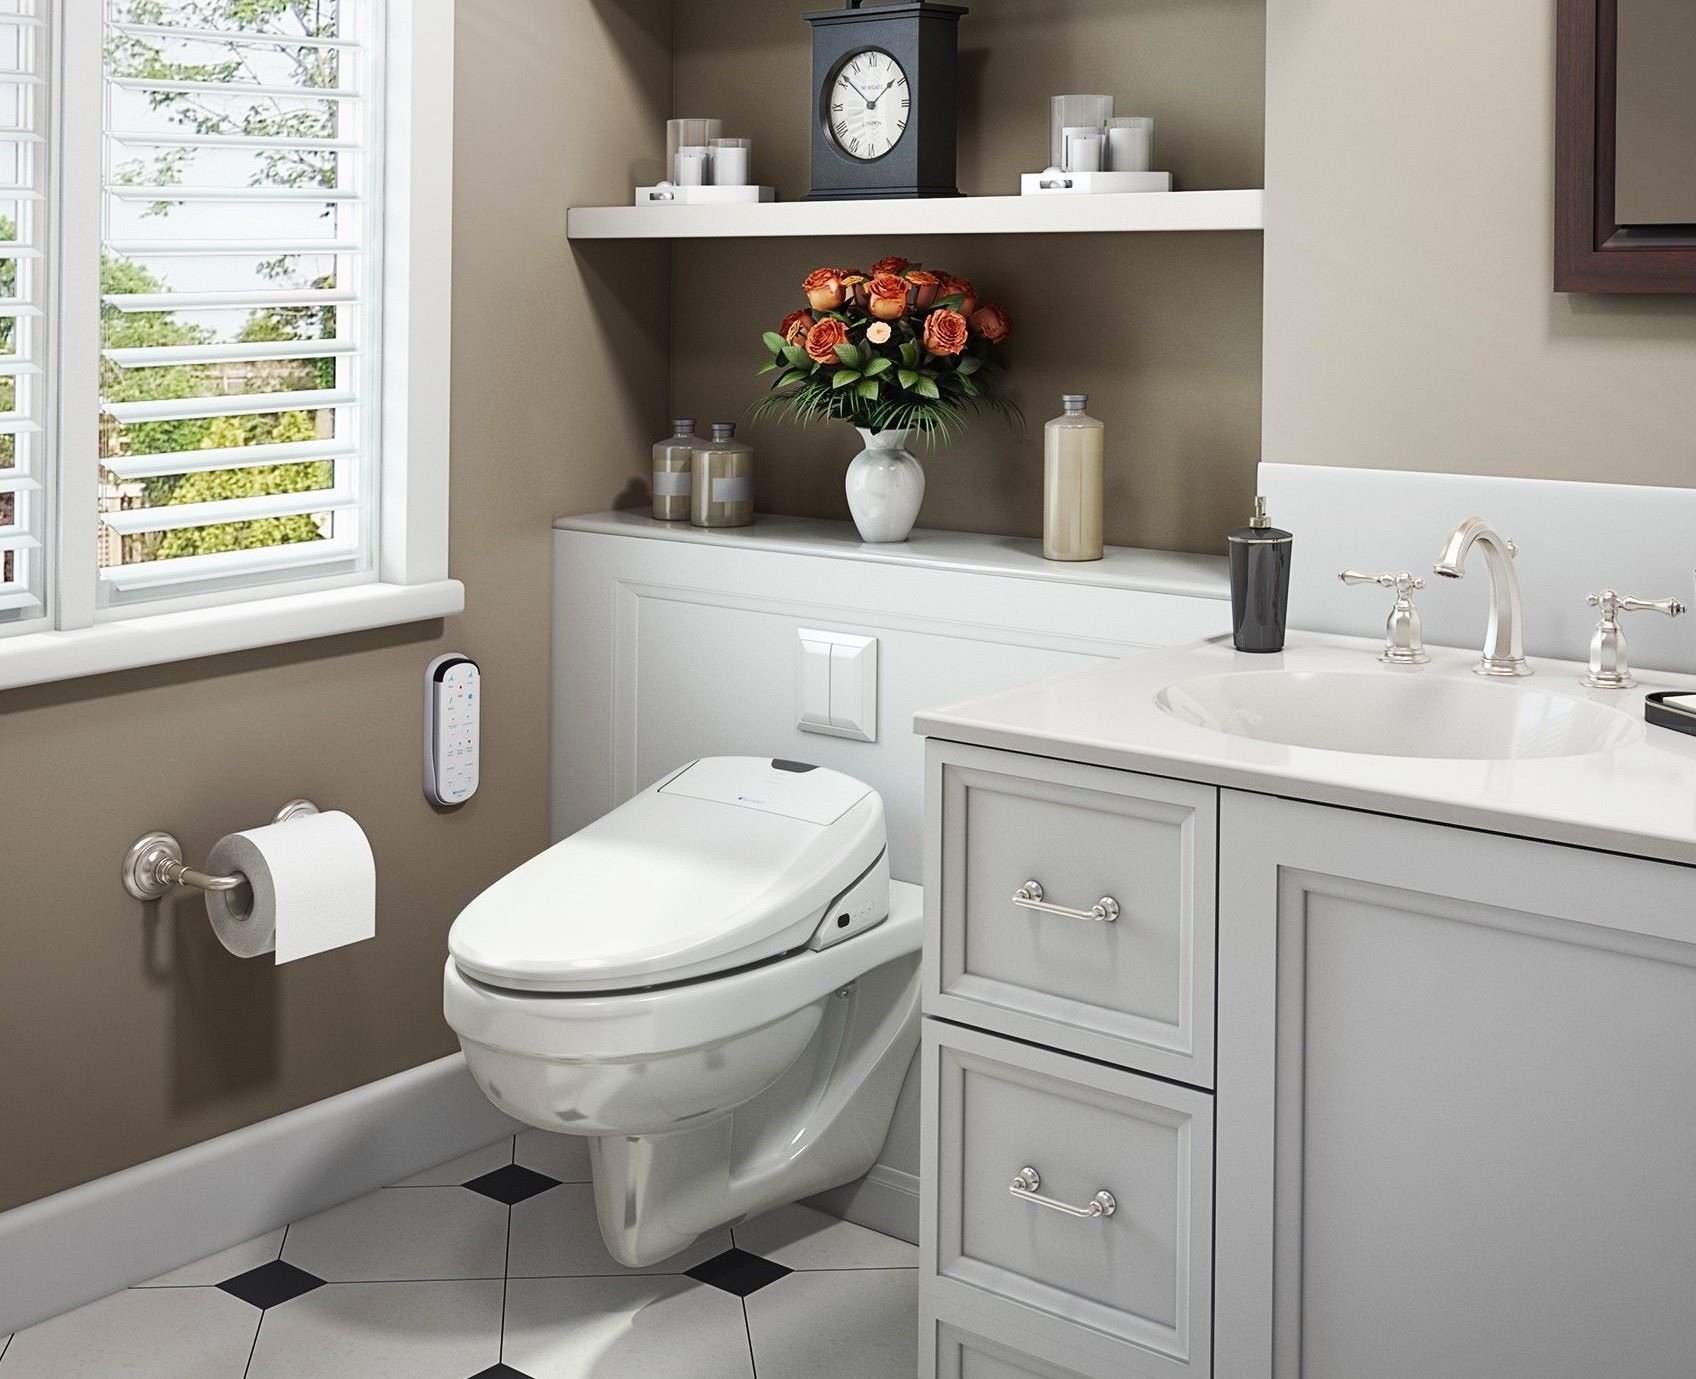
Step 4: Install the bidet spray
With the previous steps completed, you are now ready to install the bidet spray, bringing you one step closer to enjoying the enhanced hygiene and comfort it offers. Follow these detailed instructions to ensure a successful installation:
-
Prepare the Bidet Spray Kit: Unpack the bidet spray kit and familiarize yourself with its components, including the handheld spray nozzle, the holder or hook for mounting, and the flexible hose for connecting to the water supply. Ensure that all the necessary parts are included and in good condition.
-
Attach the Holder or Hook: Depending on the design of the bidet spray kit, you may need to attach the holder or hook to the side of the toilet or the wall within easy reach. Use the provided screws or adhesive, following the manufacturer's instructions for a secure installation.
-
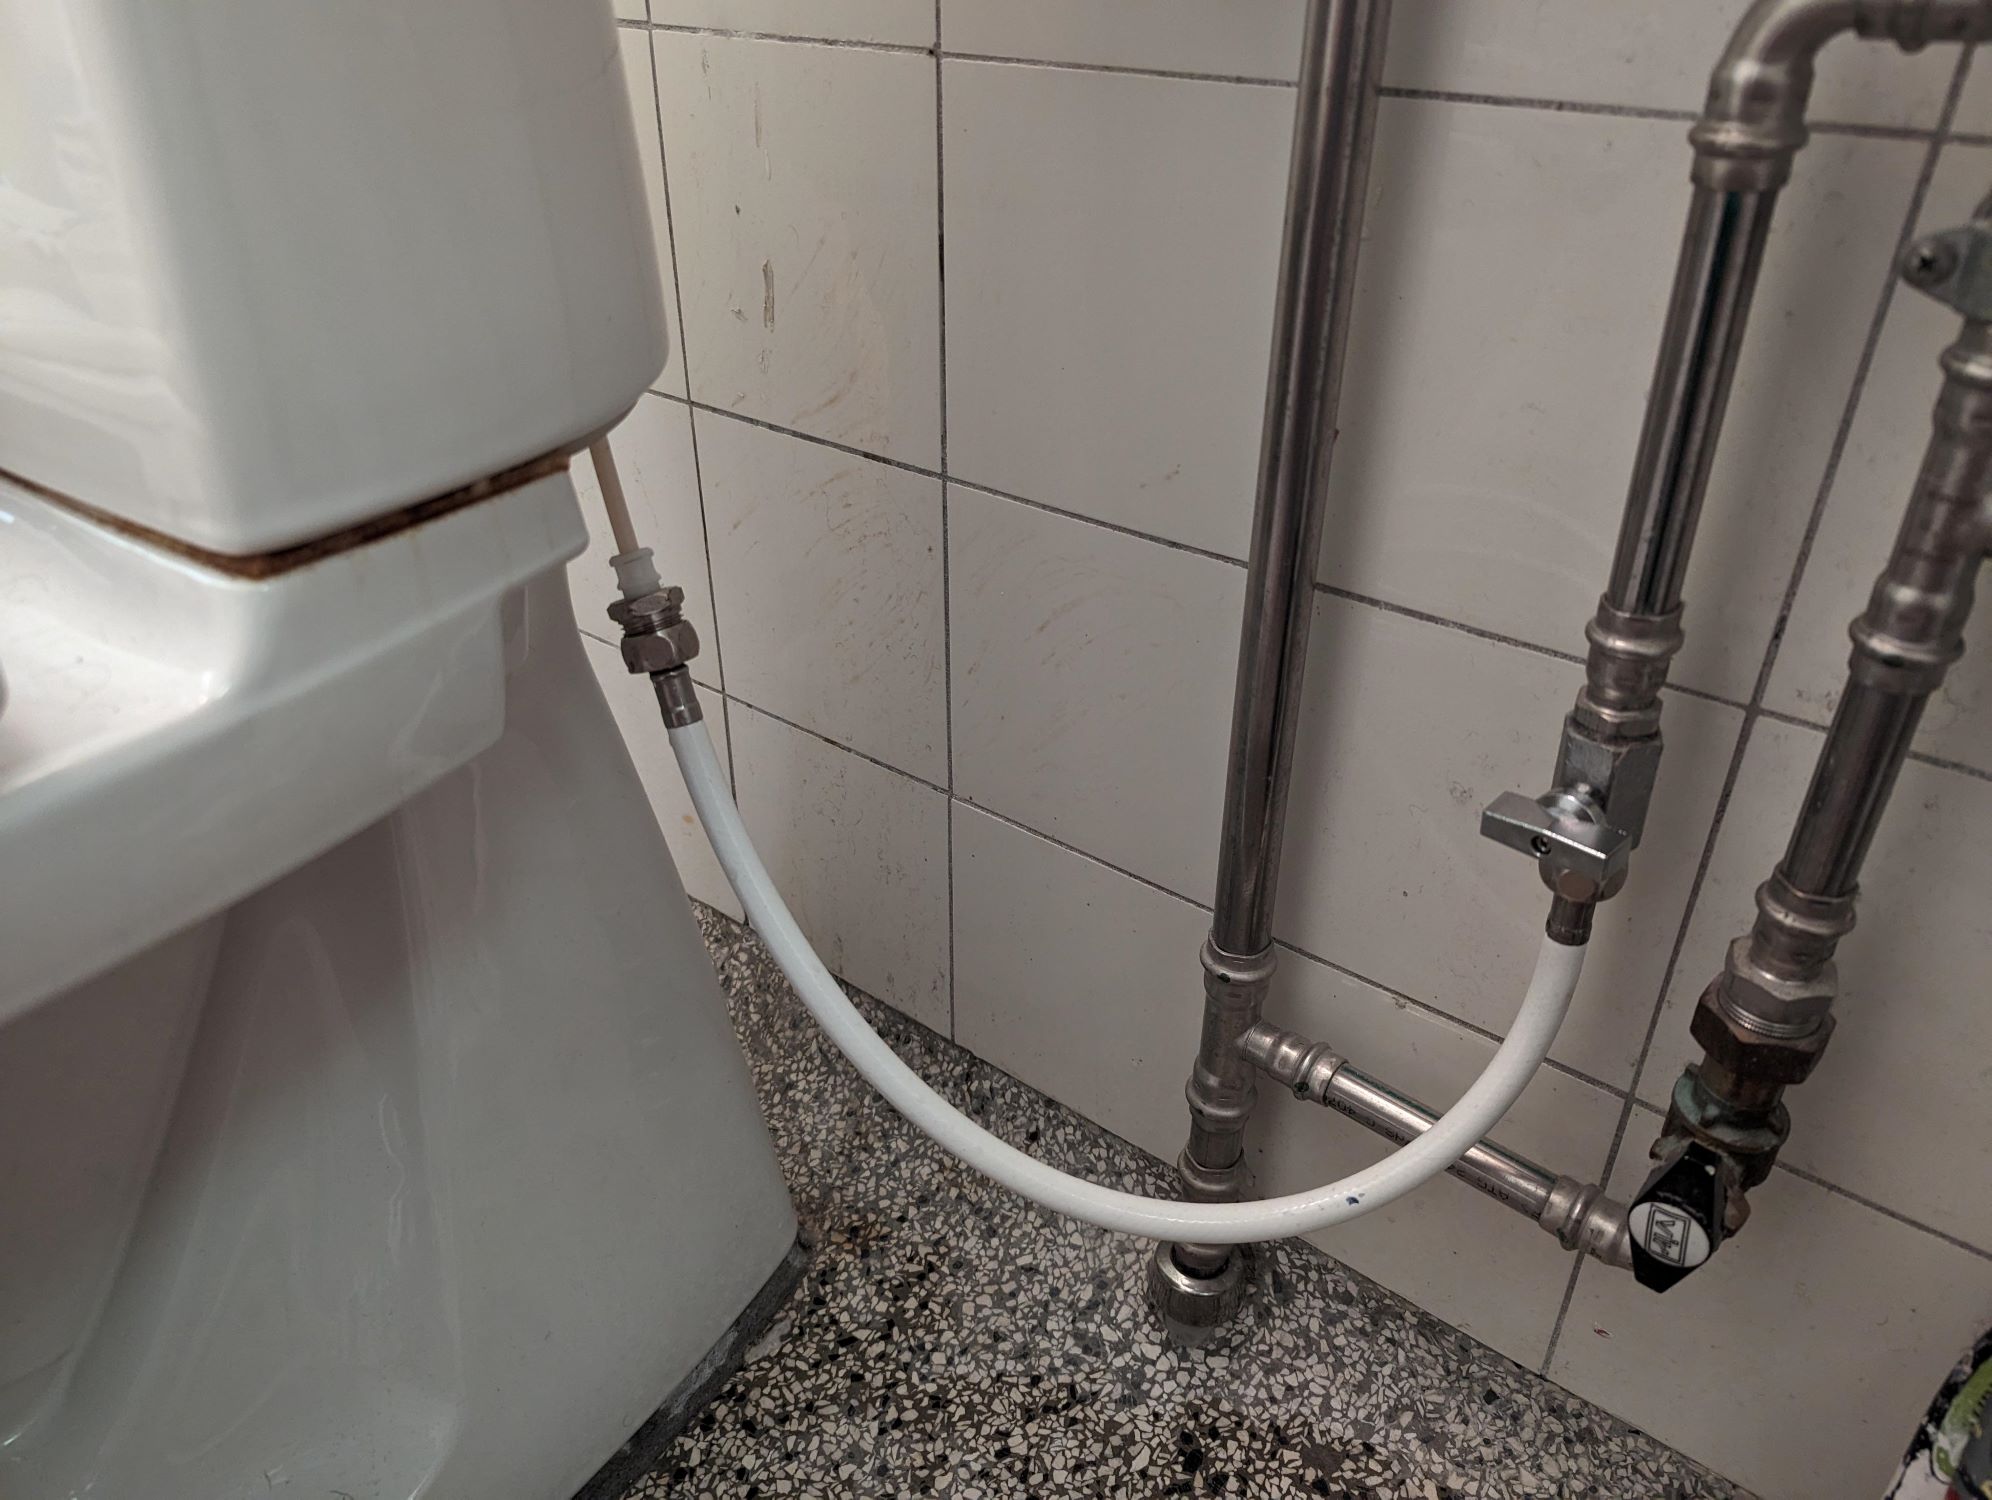
Connect the Flexible Hose: Begin by connecting one end of the flexible hose to the bottom of the handheld spray nozzle. Ensure a tight and secure fit, and consider using Teflon tape on the threads to prevent any potential leaks.
-
Connect the Other End of the Hose: With the handheld spray nozzle in place, connect the other end of the flexible hose to the water supply valve located near the toilet tank. This valve is typically used for connecting the toilet's water supply, and you can use it to supply water to the bidet spray as well.
-
Tighten the Connections: Use an adjustable wrench to tighten the connections between the flexible hose and the handheld spray nozzle, as well as the water supply valve. Ensure that the connections are secure to prevent any leaks once the water supply is turned back on.
-
Adjust the Spray Angle: Once the bidet spray is installed, adjust the angle and position of the handheld nozzle to your preference. This step allows you to customize the spray direction for optimal comfort and effectiveness.
By following these steps, you can successfully install the bidet spray in your bathroom, bringing the benefits of enhanced hygiene and comfort to your daily routine. With the bidet spray in place, you are now ready to proceed to the next step: turning the water supply back on and testing the bidet spray.
Before installing a bidet spray, make sure to turn off the water supply to the toilet. Use a wrench to disconnect the water supply hose, then attach the bidet hose to the toilet’s water supply valve. Finally, test for any leaks before using the bidet spray.
Step 5: Turn the water supply back on
After successfully installing the bidet spray, the next crucial step is to turn the water supply back on. This step is essential to restore the flow of water to the toilet and the newly installed bidet spray. Follow these detailed instructions to safely and effectively turn the water supply back on:
-
Locate the Shut-Off Valve: Identify the shut-off valve that was previously closed to stop the water supply. It is typically located behind the toilet, near the bottom on the wall. The shut-off valve may be a small knob or lever that controls the flow of water to the toilet.
-
Turn On the Valve: Using your hand or an adjustable wrench, carefully turn the shut-off valve counterclockwise to open it and allow the water to flow to the toilet once again. Ensure a gradual and controlled motion to prevent any sudden surges of water.
-
Check for Leaks: As you turn the shut-off valve back on, keep an eye out for any potential leaks around the connections of the bidet spray. Look for any signs of water seepage or dripping, and be prepared to quickly tighten the connections if necessary.
-
Verify Water Flow: Once the shut-off valve is fully open, verify that the water is flowing smoothly to the toilet tank and the bidet spray. You can do this by flushing the toilet and observing the water filling the tank, as well as by testing the functionality of the bidet spray.
-
Inspect for Leaks: After the water supply is turned back on, carefully inspect all the connections and the area around the bidet spray for any leaks. Use a clean cloth or towel to wipe away any excess water and ensure that the connections are secure and leak-free.
-
Test the Bidet Spray: With the water supply restored, test the bidet spray to ensure that it functions as intended. Press the trigger or control lever to activate the spray and adjust the water pressure and angle to your preference.
By following these steps to turn the water supply back on, you can complete the installation process and ensure that the bidet spray is fully operational. This step marks the final stage of the installation, allowing you to enjoy the benefits of enhanced hygiene and comfort in your bathroom. With the bidet spray successfully installed and the water supply turned back on, you have effectively upgraded your bathroom experience.
Step 6: Test the bidet spray
After completing the installation of the bidet spray, it is essential to thoroughly test its functionality to ensure optimal performance. Testing the bidet spray allows you to familiarize yourself with its features, adjust the water pressure and angle to your preference, and confirm that the installation has been successful. Follow these detailed instructions to effectively test the bidet spray:
-
Activate the Spray: Press the trigger or control lever to activate the bidet spray. As the water flows from the handheld nozzle, observe the water pressure and adjust it to your comfort level. Most bidet sprays offer adjustable water pressure, allowing you to customize the experience to your liking.
-
Adjust the Angle: While testing the bidet spray, adjust the angle and position of the handheld nozzle to ensure that it effectively reaches the desired areas. This step allows you to personalize the spray direction for optimal cleansing and comfort.
-
Evaluate Comfort and Effectiveness: As the bidet spray operates, assess its comfort and effectiveness in providing thorough cleansing. Pay attention to the water pressure, coverage, and overall experience to determine if any further adjustments are needed.
-
Check for Leaks: While testing the bidet spray, closely inspect all the connections and the area around the handheld nozzle for any signs of leaks. Look for water seepage or dripping and ensure that the connections remain secure and watertight.
-
Ensure Proper Functionality: Verify that the bidet spray operates smoothly and efficiently, delivering the intended benefits of enhanced hygiene and comfort. Test its functionality multiple times to confirm consistent performance.
-
Clean and Dry the Area: After testing the bidet spray, use a clean cloth or towel to wipe the area around the handheld nozzle and ensure that it is dry and free from any water residue. This step contributes to maintaining a clean and hygienic bathroom environment.
By following these steps to test the bidet spray, you can confirm that the installation has been successful and that the bidet spray functions as intended. This thorough testing process allows you to experience the benefits of the bidet spray firsthand and make any necessary adjustments to optimize its performance. With the bidet spray successfully tested and operational, you can now enjoy the enhanced hygiene and comfort it brings to your daily routine.
Read more: Bidet Toilet: How To Install
Conclusion
In conclusion, the installation of a bidet spray presents a valuable opportunity to elevate the hygiene and comfort of your bathroom experience. By following the step-by-step guide outlined in this comprehensive article, you have gained the knowledge and confidence to successfully install a bidet spray in your home. From gathering the necessary tools and materials to testing the functionality of the bidet spray, each step has contributed to enhancing the overall bathroom environment.
The installation of a bidet spray not only offers the practical benefits of improved personal hygiene and cleanliness but also aligns with the growing emphasis on environmental sustainability. By reducing the reliance on traditional toilet paper, bidet sprays contribute to minimizing paper waste and promoting eco-friendly practices in the household. This shift towards sustainable bathroom solutions reflects a conscious effort to embrace more environmentally responsible habits.
Furthermore, the convenience and versatility of bidet sprays make them a valuable addition to any modern bathroom. The adjustable water pressure and customizable spray angle allow for a personalized and comfortable cleansing experience, catering to individual preferences and needs. The ease of installation and user-friendly operation make bidet sprays accessible to a wide range of users, offering a practical solution for enhancing personal hygiene.
As you complete the installation and testing of the bidet spray, you have taken a proactive step towards embracing a more hygienic and sustainable lifestyle. The seamless integration of the bidet spray into your bathroom not only enhances daily comfort but also reflects a commitment to embracing innovative and eco-conscious solutions.
With the bidet spray successfully installed and tested, you can now enjoy the benefits of a cleaner, more hygienic bathroom experience. The upgrade to your bathroom environment not only reflects a commitment to personal well-being but also contributes to a more sustainable and environmentally conscious lifestyle.
In conclusion, the installation of a bidet spray represents a meaningful investment in both personal comfort and environmental responsibility, aligning with the evolving standards of modern hygiene and sustainability.
Frequently Asked Questions about How To Install Bidet Spray
Was this page helpful?
At Storables.com, we guarantee accurate and reliable information. Our content, validated by Expert Board Contributors, is crafted following stringent Editorial Policies. We're committed to providing you with well-researched, expert-backed insights for all your informational needs.


0 thoughts on “How To Install Bidet Spray”