Home>Furniture & Design>Bathroom Accessories>How To Install Grab Bars Without Studs
Bathroom Accessories
How To Install Grab Bars Without Studs
Modified: October 20, 2024
Learn how to install grab bars without studs in your bathroom with our easy step-by-step guide. Enhance safety and accessibility with these bathroom accessories.
(Many of the links in this article redirect to a specific reviewed product. Your purchase of these products through affiliate links helps to generate commission for Storables.com, at no extra cost. Learn more)
Introduction
Installing grab bars in a bathroom is a crucial step in ensuring safety and accessibility, especially for individuals with limited mobility or balance issues. These essential bathroom accessories provide stability and support, reducing the risk of slips and falls. While traditional grab bars are typically mounted to wall studs for maximum strength, it is not always feasible to locate a stud in the ideal position. In such cases, it becomes necessary to explore alternative methods for secure installation.
This comprehensive guide will walk you through the process of installing grab bars without studs, offering practical insights and step-by-step instructions. By following these guidelines, you can enhance the safety of your bathroom without compromising on stability and durability.
Whether you are a homeowner looking to make your bathroom more accessible or a caregiver seeking to create a safer environment for a loved one, this tutorial will equip you with the knowledge and confidence to tackle this essential home improvement project. With the right tools, materials, and techniques, you can successfully install grab bars in various locations, ensuring peace of mind and independence for those who rely on these supportive fixtures.
In the following sections, we will delve into the specific tools and materials needed for the installation, as well as a detailed breakdown of the steps involved. From determining the optimal location for the grab bar to testing its stability, each phase of the process will be thoroughly explained, empowering you to execute the installation with precision and care.
By the end of this guide, you will have the expertise to install grab bars securely and effectively, contributing to a safer and more accessible bathroom environment for yourself, your family, or those under your care. Let's embark on this journey to enhance bathroom safety and convenience through the installation of grab bars without studs.
Key Takeaways:
- Installing grab bars without studs is possible using toggle bolts for secure anchoring. This enhances bathroom safety and accessibility for individuals with mobility challenges, ensuring reliable support where it’s needed most.
- By carefully determining optimal locations, utilizing toggle bolts, and conducting thorough stability testing, the installation of grab bars without studs empowers individuals to create a safer and more accessible bathroom environment.
Read more: Who Installs Grab Bars?
Tools and Materials Needed
Before embarking on the installation of grab bars without studs, it's essential to gather the necessary tools and materials to ensure a smooth and successful process. Here's a comprehensive list of what you'll need:
Tools:
- Stud Finder: While the installation won't involve mounting the grab bars to studs, a stud finder can still be useful for locating the absence of studs and identifying the best areas for installation.
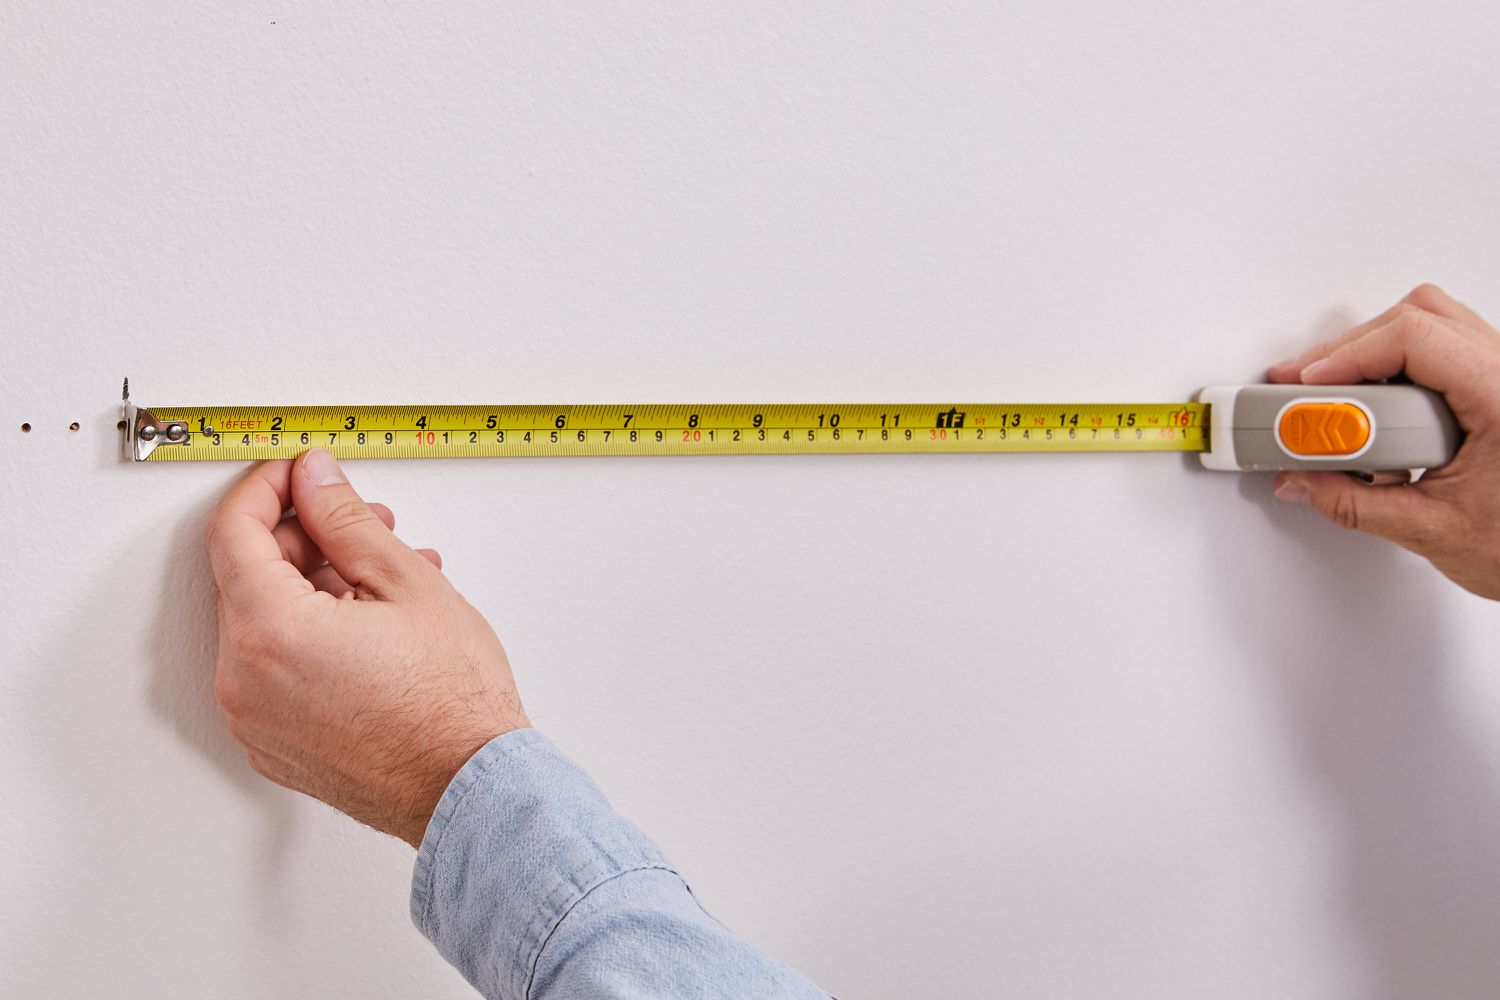
- Measuring Tape: Accurate measurements are crucial for determining the precise location and spacing for the grab bars. A reliable measuring tape will aid in achieving the desired positioning.
- Pencil: Marking the exact points for drilling and installation is essential. A pencil will allow you to make clear and easily erasable markings on the wall.
- Level: Ensuring that the grab bars are installed perfectly horizontal or vertical is vital for both aesthetics and functionality. A level will help maintain the correct alignment during the installation process.
- Drill and Drill Bits: A drill equipped with appropriate drill bits for the wall material (such as tile or drywall) will be necessary for creating the necessary holes for the installation.
- Screwdriver: Depending on the type of fasteners used, a screwdriver may be required for securing the grab bars in place.
- Adjustable Wrench: If the grab bars come with adjustable mounting hardware, an adjustable wrench will be essential for tightening and securing the bars firmly.
Materials:
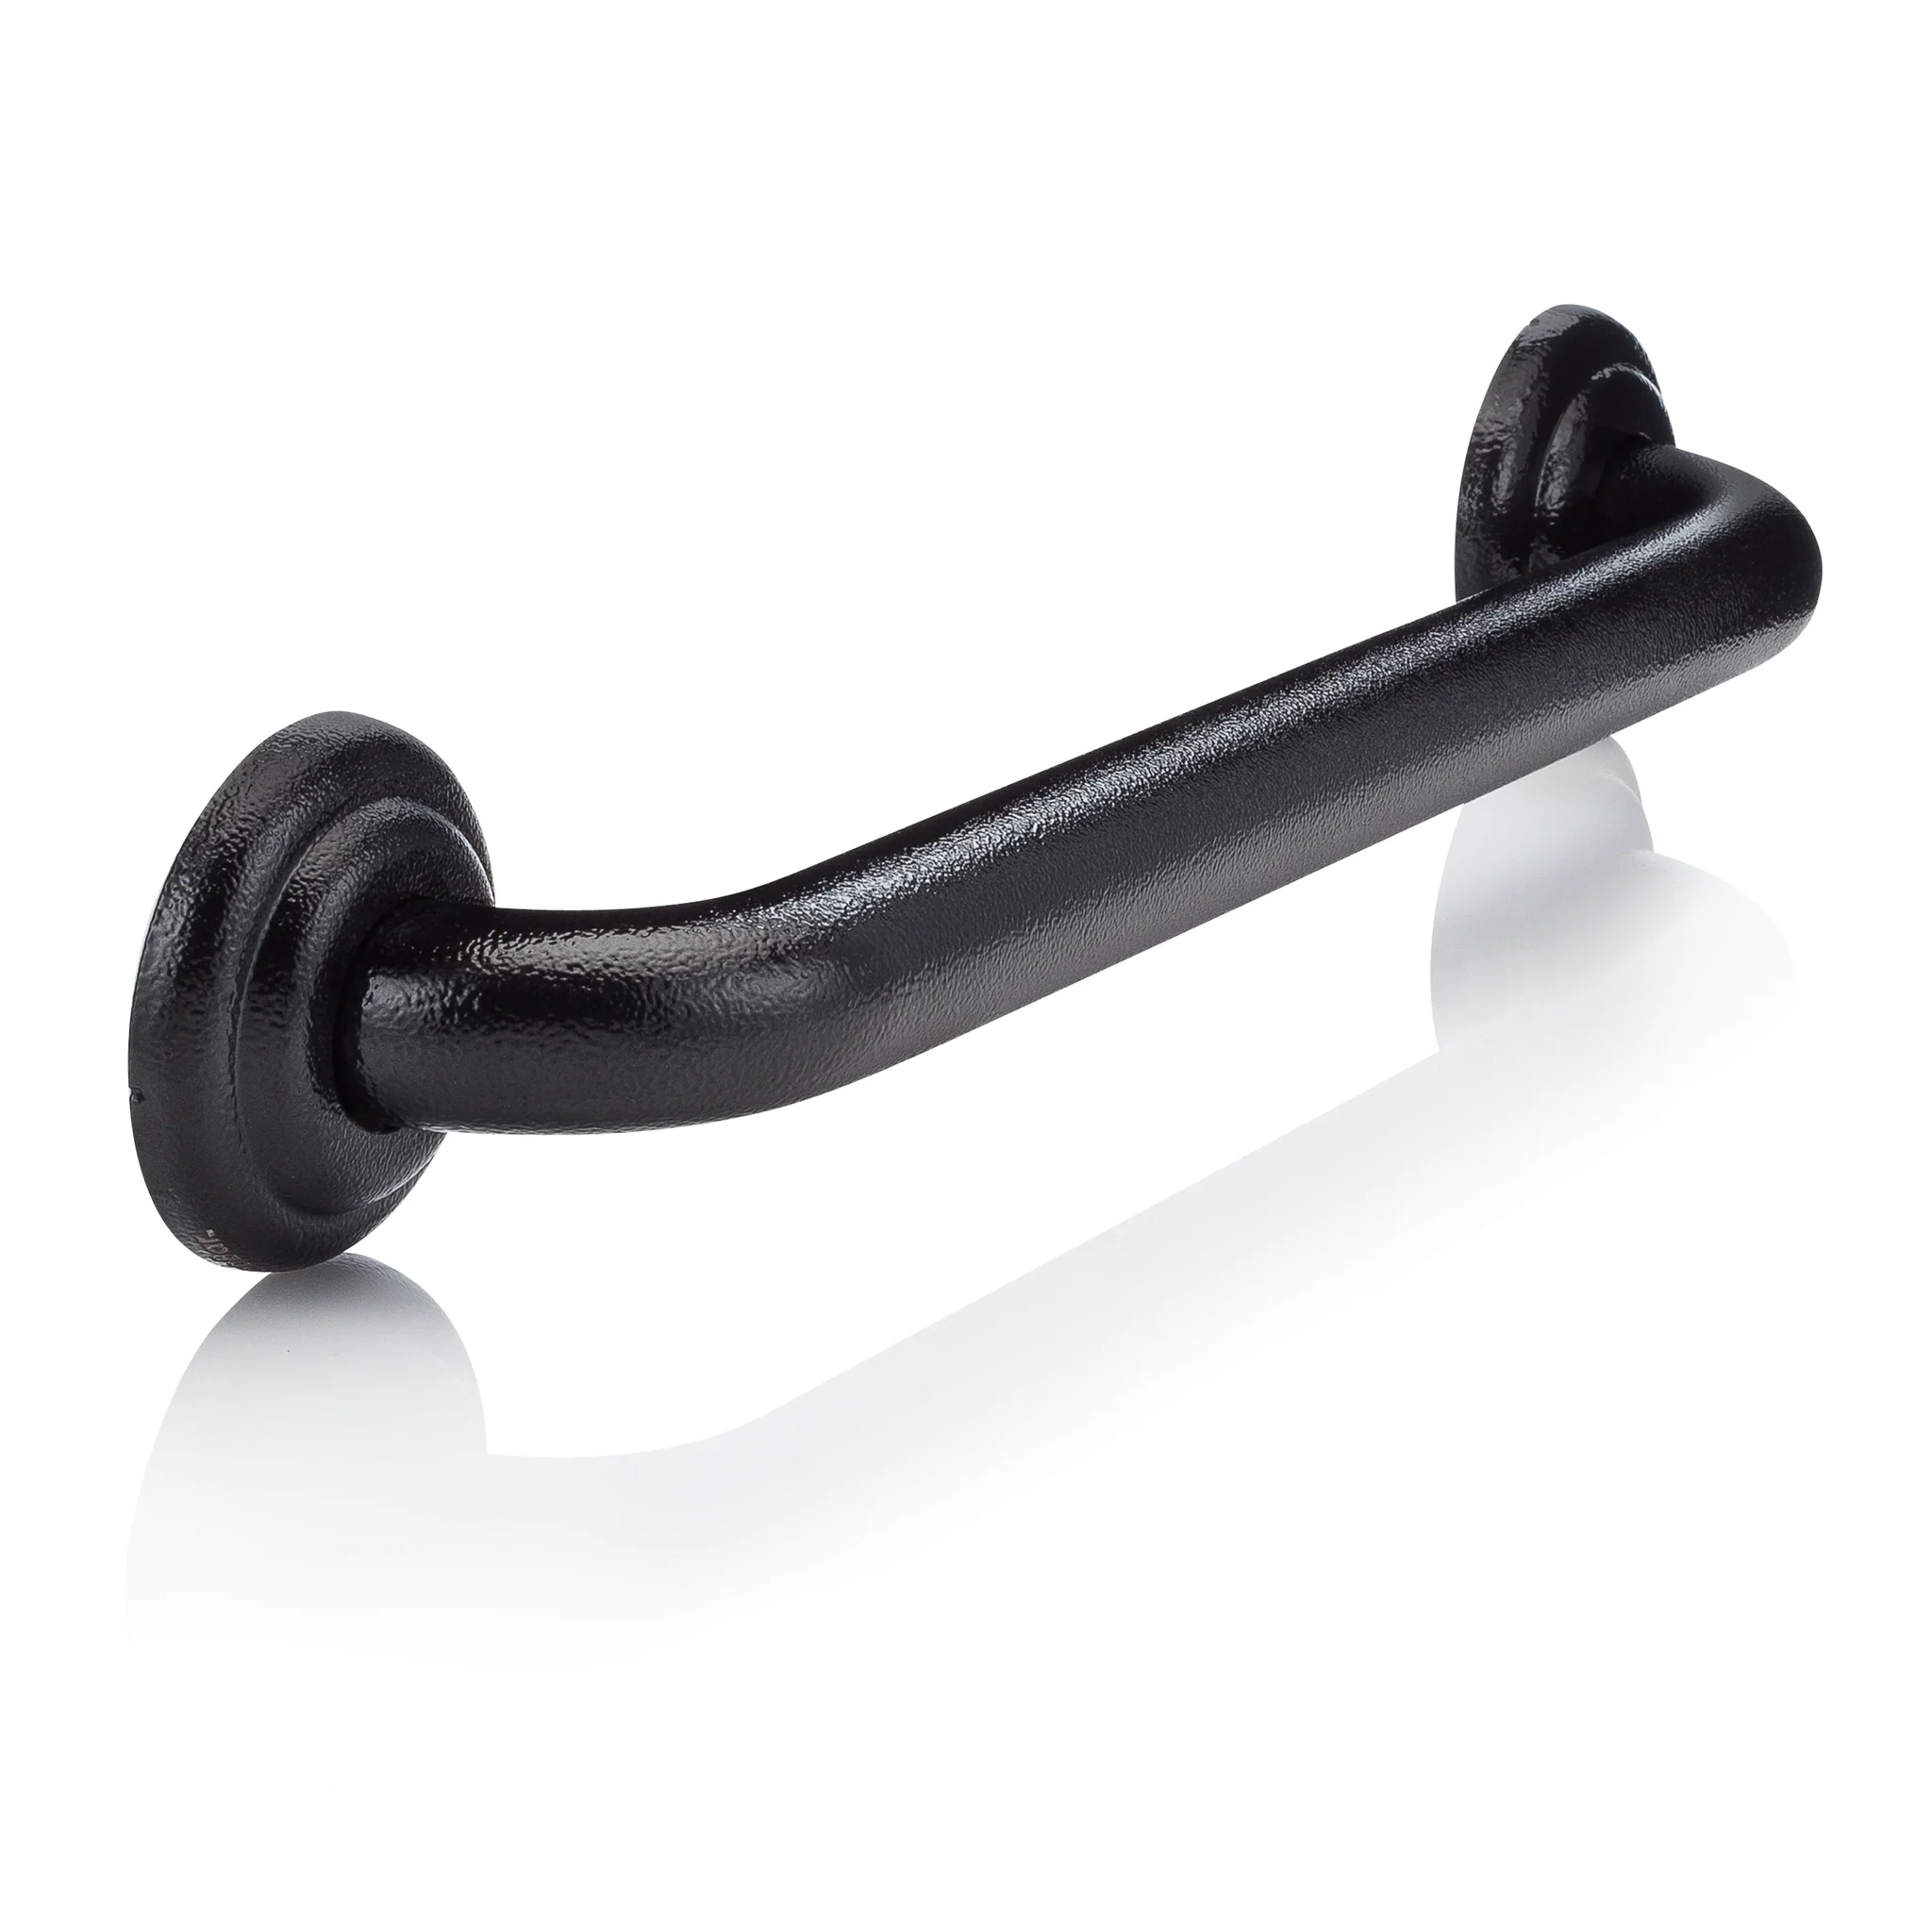
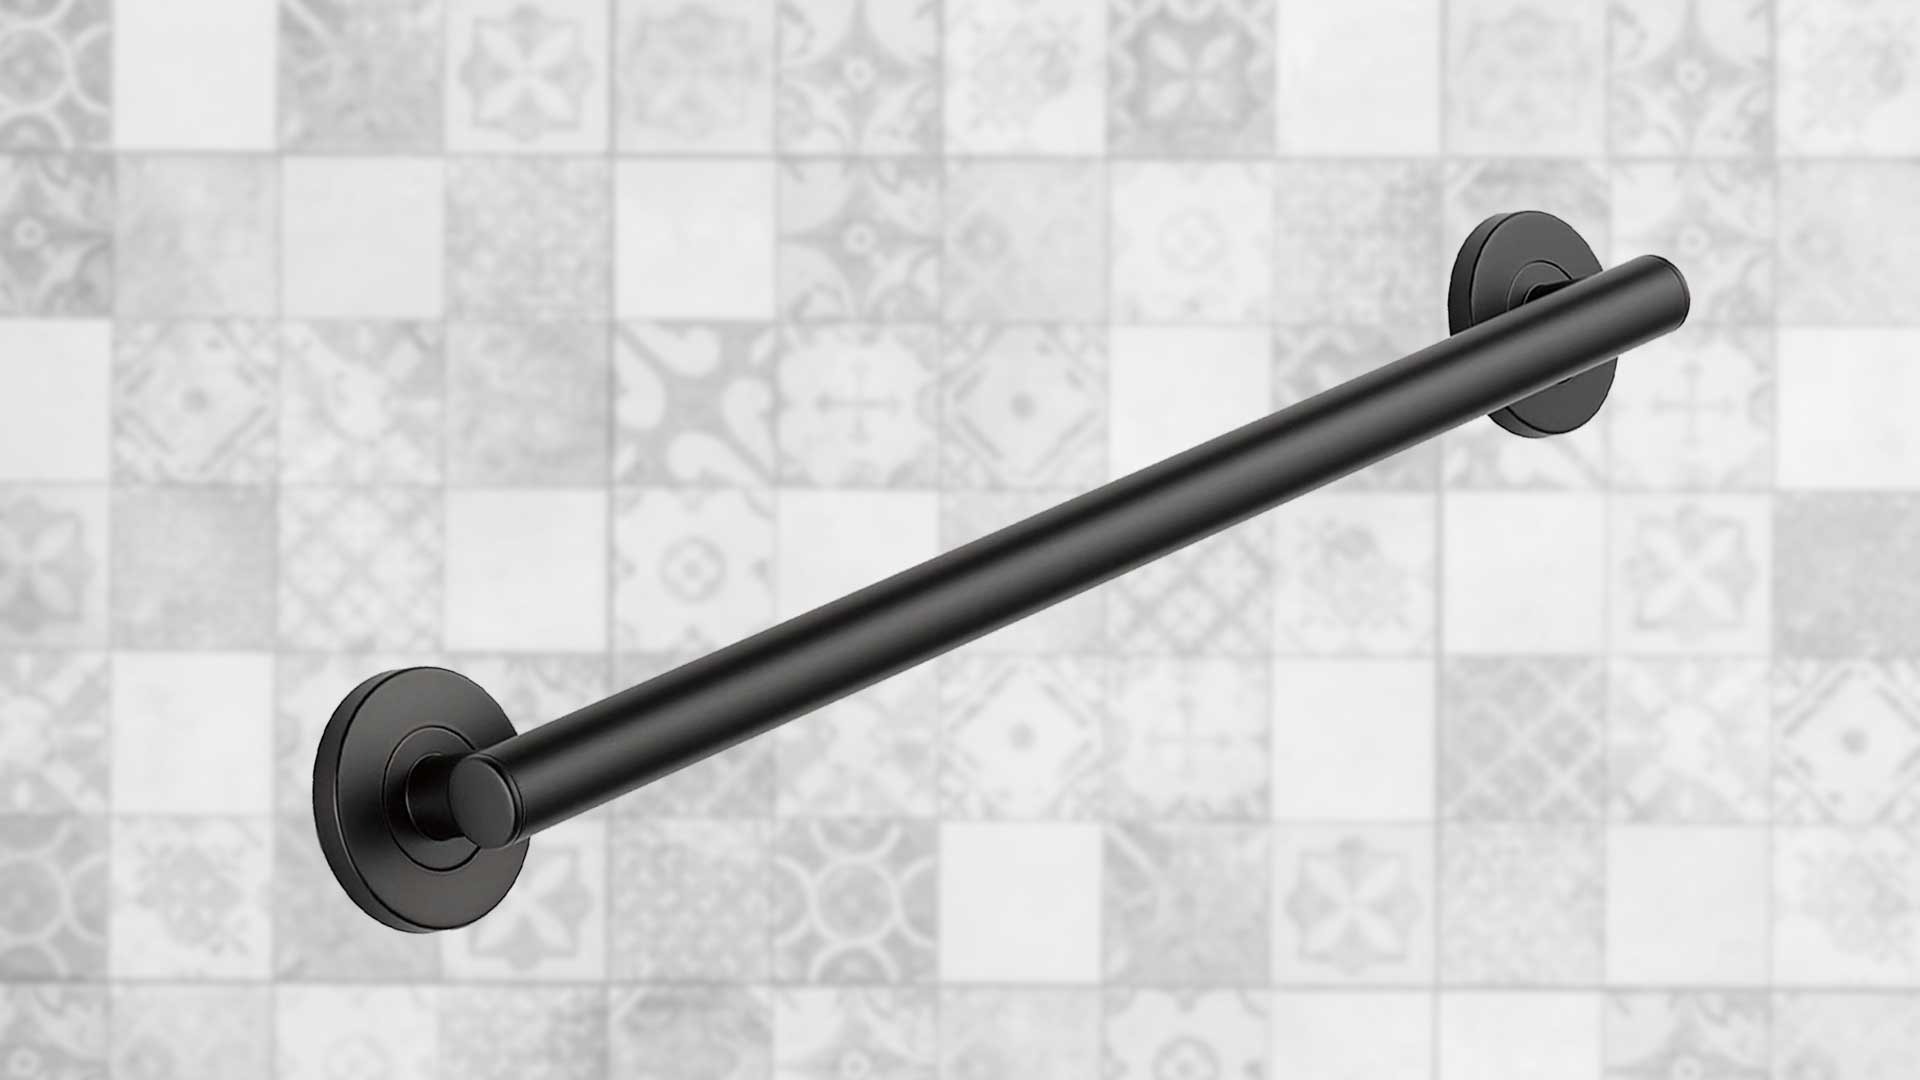
- Grab Bars: Select sturdy and reliable grab bars designed for installation without studs. These bars should be specifically engineered to provide strong support when mounted using alternative methods.
- Toggle Bolts or WingIts: These specialized fasteners are designed to provide secure anchoring in hollow walls, making them ideal for grab bar installations where studs are not present.
- Mounting Hardware: If the grab bars do not come with integrated mounting hardware, ensure that you have the necessary screws, bolts, and washers for attaching the bars to the wall.
- Construction Adhesive (Optional): In some cases, using construction adhesive in conjunction with toggle bolts can provide additional stability for the grab bars, especially on tiled surfaces.
By assembling these tools and materials, you'll be well-prepared to proceed with the installation of grab bars without studs, setting the stage for a safer and more accessible bathroom environment.
Step 1: Determine the Location
The first crucial step in installing grab bars without studs is to determine the optimal locations for mounting the bars. While traditional installations often rely on the presence of wall studs, alternative methods require careful consideration of the wall composition and the intended users' needs. Here's a detailed guide on how to effectively determine the location for installing grab bars without studs.
Read more: How To Install Grab Bars On Tile
Assess Accessibility and Support Needs
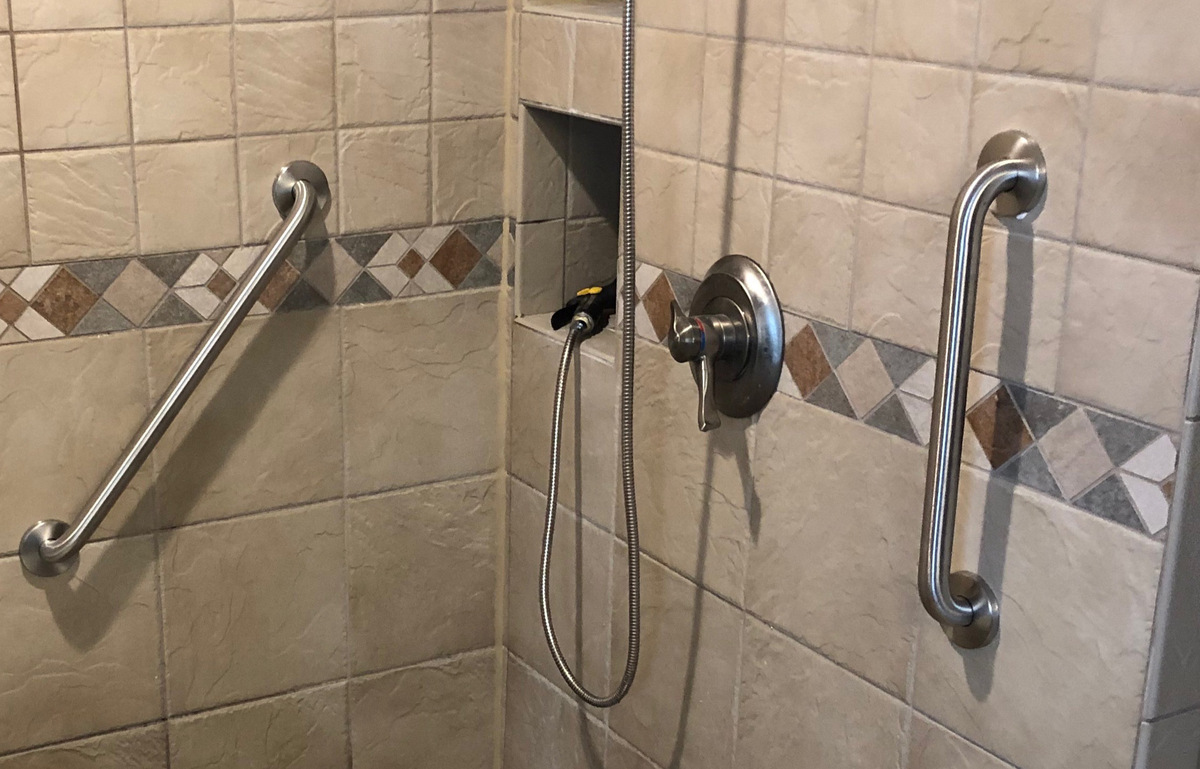
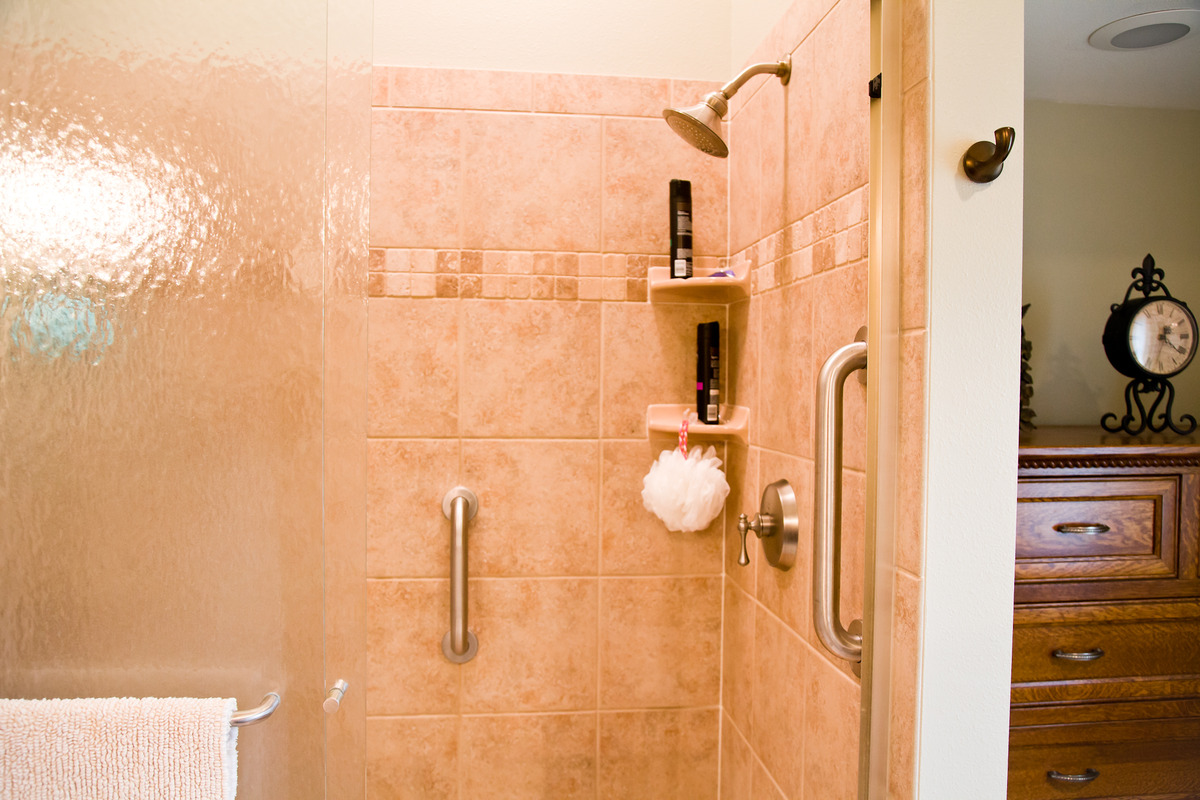
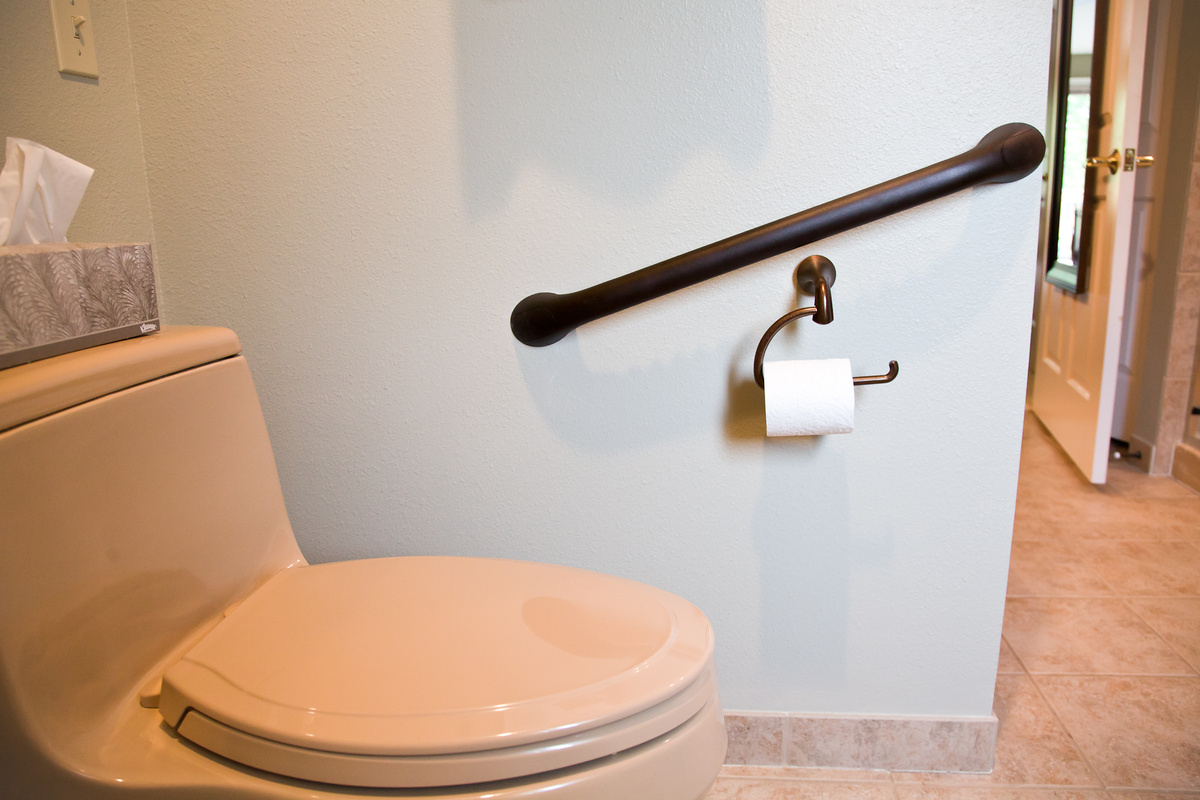
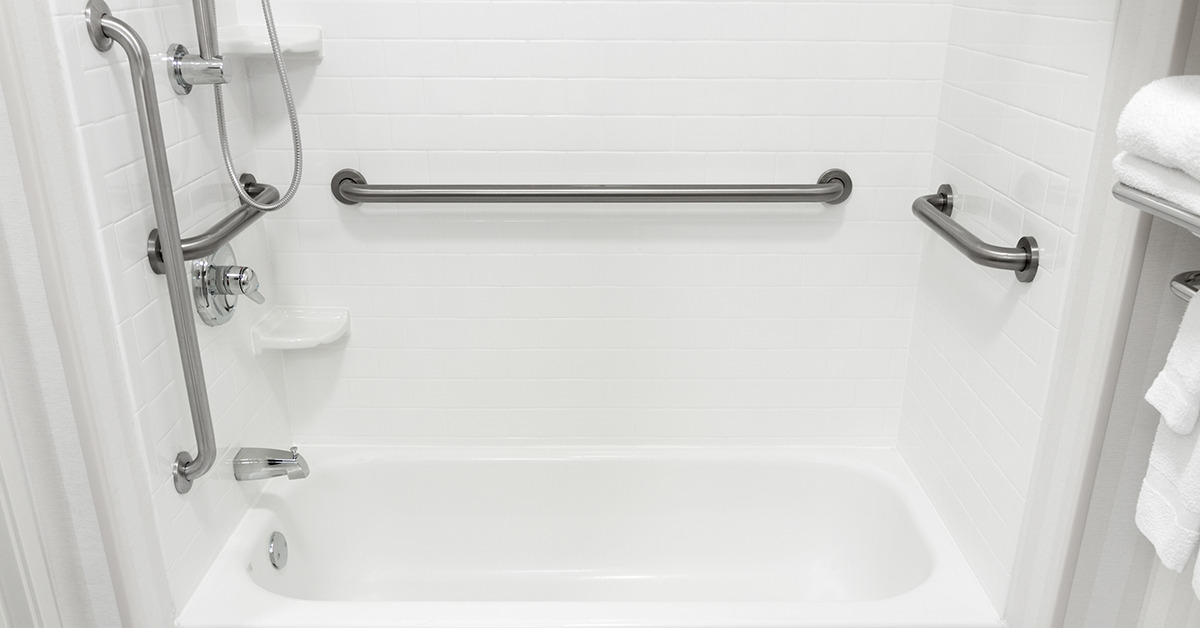
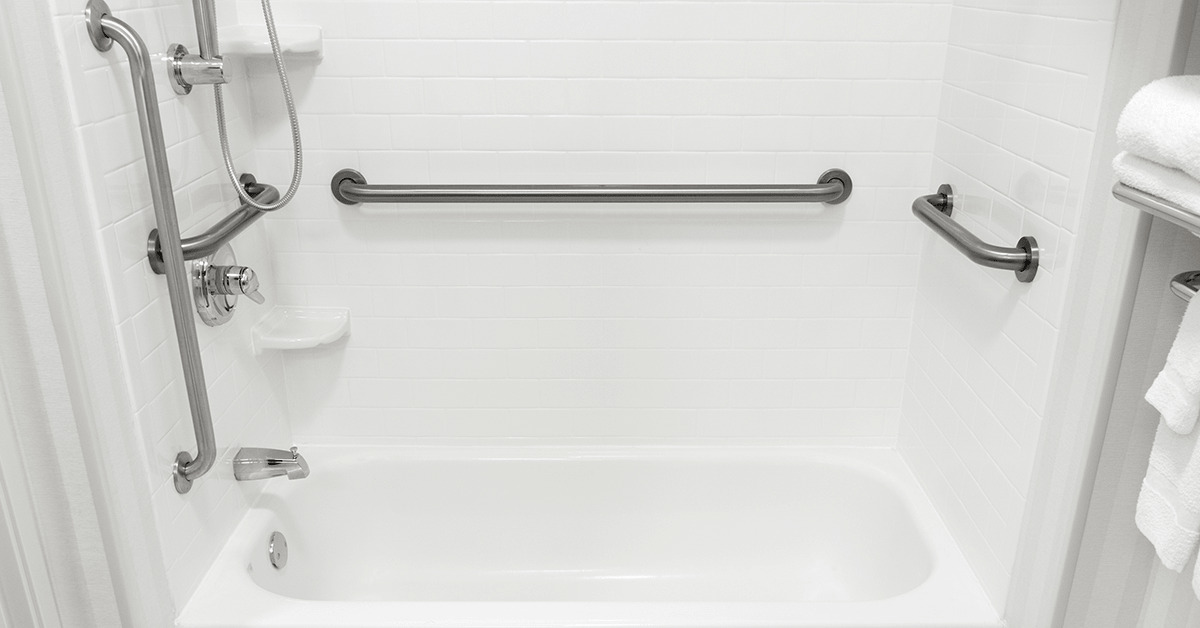
Begin by assessing the specific areas in the bathroom where additional support and stability are needed. Common locations include near the toilet, alongside the bathtub, and in the shower enclosure. Consider the mobility and balance requirements of the individuals who will be using the bathroom, as well as any existing fixtures or obstacles that may impact the placement of the grab bars.
Identify Wall Composition
Determine the composition of the walls where the grab bars will be installed. Whether the walls are made of drywall, tile, or another material, understanding the surface will guide the selection of appropriate fasteners and installation techniques. For tiled walls, it's essential to use specialized drill bits designed for tile to prevent damage and ensure a secure installation.
Use a Stud Finder (Optional)
While the installation will not rely on wall studs, a stud finder can still be a valuable tool for identifying the absence of studs and locating the best areas for installation. By scanning the wall surface, you can pinpoint areas where the grab bars can be securely mounted using alternative anchoring methods.
Consider User Height and Reach
Take into account the height and reach of the individuals who will be using the grab bars. The bars should be positioned at a comfortable and accessible height, allowing for easy gripping and support. Additionally, ensure that the selected locations enable users to reach the bars from various positions within the bathroom, promoting convenience and safety.
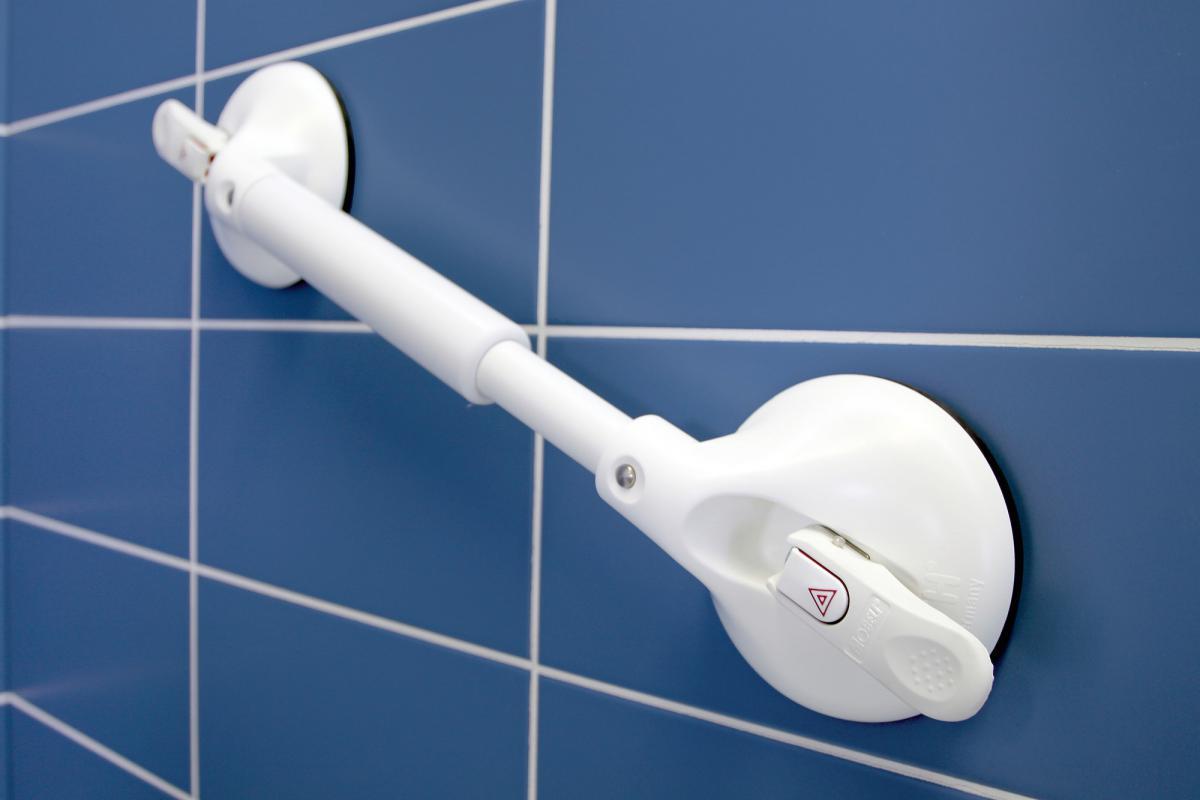
Read more: How To Install Suction Grab Bars
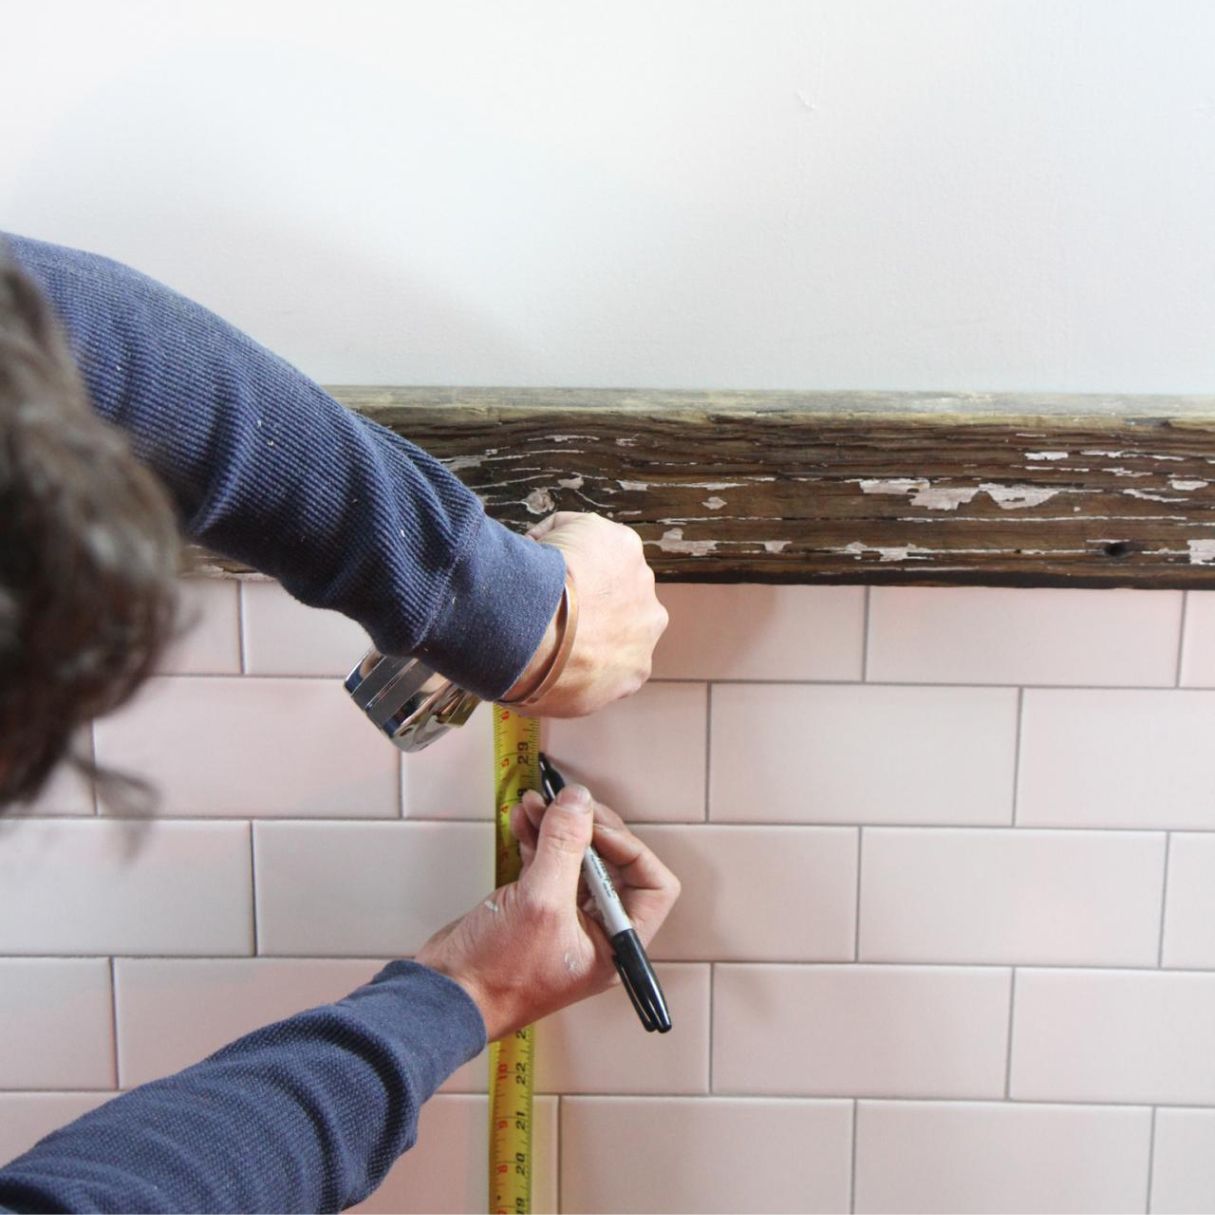
Mark the Installation Points
Once the optimal locations have been determined, use a pencil to mark the precise points for drilling and installation. Double-check the measurements and markings to ensure accuracy before proceeding to the next phase of the installation process.
By carefully assessing the accessibility needs, identifying the wall composition, and marking the installation points, you'll lay the groundwork for a successful installation of grab bars without studs. This thoughtful approach ensures that the grab bars are strategically positioned to provide reliable support and enhance the safety and usability of the bathroom space.
Step 2: Use Toggle Bolts
Once the optimal locations for installing grab bars without studs have been determined, the next crucial step involves utilizing toggle bolts as the primary anchoring mechanism. Toggle bolts, also known as butterfly anchors, are specialized fasteners designed to provide secure support in hollow wall cavities where traditional studs are not present. These robust anchors offer the strength and stability necessary to ensure that the grab bars are firmly and safely attached to the wall, enhancing the overall accessibility and safety of the bathroom environment.
Selecting the Right Toggle Bolts
Before proceeding with the installation, it is essential to select the appropriate toggle bolts based on the wall composition and the weight-bearing capacity required for the grab bars. Toggle bolts come in various sizes and weight ratings, so it's crucial to choose ones that are specifically designed to accommodate the load-bearing demands of grab bars. Additionally, consider the thickness of the wall to ensure that the toggle bolts are long enough to extend through the wall material while providing ample support on the interior side.
Preparing the Installation Points
With the toggle bolts selected, the next step involves preparing the installation points on the wall. Using the previously marked locations as a guide, carefully position the grab bar against the wall and mark the points where the toggle bolts will be inserted. Ensure that the spacing and alignment of the installation points correspond to the mounting holes on the grab bar, allowing for a secure and symmetrical attachment.
Read more: Where To Install Grab Bars In A Bathroom
Drilling and Inserting the Toggle Bolts
Using a drill equipped with the appropriate drill bit for the wall material, carefully create holes at the marked points to accommodate the toggle bolts. It's important to drill the holes slightly larger than the diameter of the toggle bolts to allow for easy insertion. Once the holes are prepared, insert the toggle bolts through the mounting holes on the grab bar and gently push them through the drilled holes in the wall until the toggles spring open on the interior side.
Securing the Grab Bar
With the toggle bolts in place, carefully position the grab bar against the wall, ensuring that the bolts align with the drilled holes. Using a screwdriver, tighten the bolts by turning them clockwise, causing the toggles to expand and secure themselves against the interior surface of the wall. It's crucial to apply firm and even pressure to ensure that the grab bar is securely fastened and remains stable during use.
Testing the Stability
Once the grab bar is firmly secured using the toggle bolts, it's essential to test its stability and weight-bearing capacity. Apply gentle pressure to the bar in various directions to ensure that it remains firmly anchored and does not exhibit any signs of instability. Additionally, verify that the grab bar can support the intended weight load without any compromise to its attachment points.
By following these steps and utilizing toggle bolts as the primary anchoring mechanism, you can effectively install grab bars without studs, providing reliable support and enhancing the safety and accessibility of the bathroom space. The use of toggle bolts ensures that the grab bars are securely attached to the wall, offering peace of mind and stability for individuals who rely on these essential fixtures.
Step 3: Install the Grab Bar
With the toggle bolts securely in place, the next pivotal step is to proceed with the installation of the grab bar. This phase involves positioning the grab bar onto the mounted toggle bolts and ensuring a firm and stable attachment to the wall. By following the detailed steps outlined below, you can effectively complete the installation process, culminating in the integration of a reliable and supportive grab bar within the bathroom environment.
Aligning the Grab Bar
Begin by carefully aligning the mounting holes on the grab bar with the protruding toggle bolts on the wall. It's essential to ensure that the bar is positioned accurately, allowing for a seamless attachment to the toggle bolts. Take into account the desired orientation of the grab bar, whether it is horizontal, vertical, or angled, and align it accordingly to meet the specific support needs within the bathroom space.
Securing the Mounting Hardware
Once the grab bar is aligned with the toggle bolts, proceed to secure the mounting hardware to fasten the bar in place. Depending on the design of the grab bar, this may involve tightening screws, bolts, or other fastening components to ensure a snug and secure attachment. Utilize the appropriate tools, such as a screwdriver or adjustable wrench, to firmly fasten the mounting hardware, reinforcing the stability of the grab bar against the wall.
Verifying Alignment and Stability
After securing the mounting hardware, carefully verify the alignment and stability of the grab bar. Use a level to ensure that the bar is perfectly horizontal, vertical, or aligned to the desired angle, depending on its intended orientation. Additionally, apply gentle pressure to the bar in various directions to confirm that it remains stable and securely attached to the wall. This meticulous verification process is crucial for guaranteeing the reliability and safety of the installed grab bar.
Optional Use of Construction Adhesive
In some instances, especially when installing grab bars on tiled surfaces, it may be beneficial to apply construction adhesive in conjunction with the toggle bolts for added stability. If opting for this additional reinforcement, carefully follow the adhesive manufacturer's instructions and apply the adhesive to the back of the grab bar before securing it to the wall. This supplementary measure can enhance the overall strength and durability of the installation, particularly in high-traffic or demanding usage scenarios.
By meticulously following these steps, you can successfully install the grab bar onto the mounted toggle bolts, ensuring a secure and reliable attachment that enhances the safety and accessibility of the bathroom environment. The completion of this phase marks a significant milestone in the installation process, bringing the vision of a safer and more supportive bathroom space closer to fruition.
Read more: How To Remove Grab Bars
Step 4: Test the Stability
Testing the stability of the installed grab bar is a critical phase that ensures its reliability and safety in providing support within the bathroom environment. By subjecting the grab bar to rigorous stability testing, you can ascertain its ability to withstand weight-bearing loads and various directional forces, ultimately validating its effectiveness in enhancing accessibility and minimizing the risk of accidents.
To begin the stability testing process, apply gentle yet deliberate pressure to the grab bar in different directions, including vertical, horizontal, and diagonal forces. By exerting controlled pressure, you can evaluate the grab bar's resistance to movement and its capacity to provide stable support. Pay close attention to any signs of shifting, wobbling, or detachment from the wall, as these indicators may signify inadequate attachment or compromised stability.
In addition to directional pressure testing, consider applying gradual weight loads to the grab bar to assess its ability to support the intended users. This can be achieved by gradually applying body weight to the bar while maintaining a vigilant awareness of any unexpected movements or structural weaknesses. By gradually increasing the applied weight, you can gauge the grab bar's capacity to provide reliable support without compromising its attachment points or structural integrity.
Furthermore, simulate real-world usage scenarios by mimicking the typical movements and actions that occur during the use of the grab bar. This may involve pulling, pushing, or leaning on the bar with varying degrees of force to replicate the dynamic demands placed on it in a practical setting. Observing the grab bar's response to these simulated actions provides valuable insights into its stability under realistic usage conditions, allowing you to identify and address any potential issues proactively.
Throughout the stability testing process, maintain a keen focus on the grab bar's attachment points, ensuring that the mounting hardware remains secure and that the bar maintains consistent contact with the wall surface. Any indications of loosening, shifting, or instability should be thoroughly investigated and remedied to guarantee the grab bar's effectiveness in providing reliable support.
By conducting comprehensive stability testing, you can instill confidence in the installed grab bar's ability to fulfill its intended function, offering dependable support and enhancing the safety of the bathroom environment. This meticulous testing process serves as a crucial validation of the installation's integrity, ensuring that the grab bar meets the highest standards of stability and reliability for the benefit of its users.
Conclusion
In conclusion, the installation of grab bars without studs represents a pivotal endeavor in enhancing the safety and accessibility of the bathroom environment. By navigating the process of determining optimal locations, utilizing toggle bolts, and meticulously installing and testing the grab bars, individuals can fortify their bathrooms with reliable support fixtures, catering to the needs of those with limited mobility or balance concerns.
The successful installation of grab bars without studs is a testament to the adaptability and ingenuity of modern home improvement solutions. By leveraging specialized anchoring methods such as toggle bolts, individuals can overcome the limitations posed by the absence of traditional wall studs, ensuring that grab bars can be strategically positioned to provide steadfast support where it is needed most.
Furthermore, the comprehensive stability testing serves as a crucial validation of the installed grab bars' ability to withstand real-world usage scenarios and provide unwavering support. This meticulous approach to testing reinforces the confidence in the grab bars' reliability, offering peace of mind to both users and caregivers as they navigate the bathroom space with enhanced safety and convenience.
Ultimately, the installation of grab bars without studs transcends the realm of mere home improvement; it embodies a commitment to inclusivity, independence, and well-being. By proactively addressing the accessibility needs of individuals with diverse requirements, the installation of grab bars without studs fosters an environment where safety and support are seamlessly integrated into the fabric of daily living.
As we reflect on the journey of installing grab bars without studs, it becomes evident that the pursuit of a safer and more accessible bathroom environment is not confined to the physical act of installation. It is a testament to the unwavering dedication to fostering inclusivity and empowerment, ensuring that every individual can navigate the bathroom space with confidence and dignity.
In essence, the installation of grab bars without studs transcends the realm of home improvement; it embodies a commitment to inclusivity, independence, and well-being. By proactively addressing the accessibility needs of individuals with diverse requirements, the installation of grab bars without studs fosters an environment where safety and support are seamlessly integrated into the fabric of daily living.
Frequently Asked Questions about How To Install Grab Bars Without Studs
Was this page helpful?
At Storables.com, we guarantee accurate and reliable information. Our content, validated by Expert Board Contributors, is crafted following stringent Editorial Policies. We're committed to providing you with well-researched, expert-backed insights for all your informational needs.
0 thoughts on “How To Install Grab Bars Without Studs”