Home>Furniture & Design>Bathroom Accessories>How To Install Grab Bars On Tile
Bathroom Accessories
How To Install Grab Bars On Tile
Modified: August 28, 2024
Learn how to properly install grab bars on tile in your bathroom with our step-by-step guide. Ensure safety and accessibility with the right bathroom accessories.
(Many of the links in this article redirect to a specific reviewed product. Your purchase of these products through affiliate links helps to generate commission for Storables.com, at no extra cost. Learn more)
Introduction
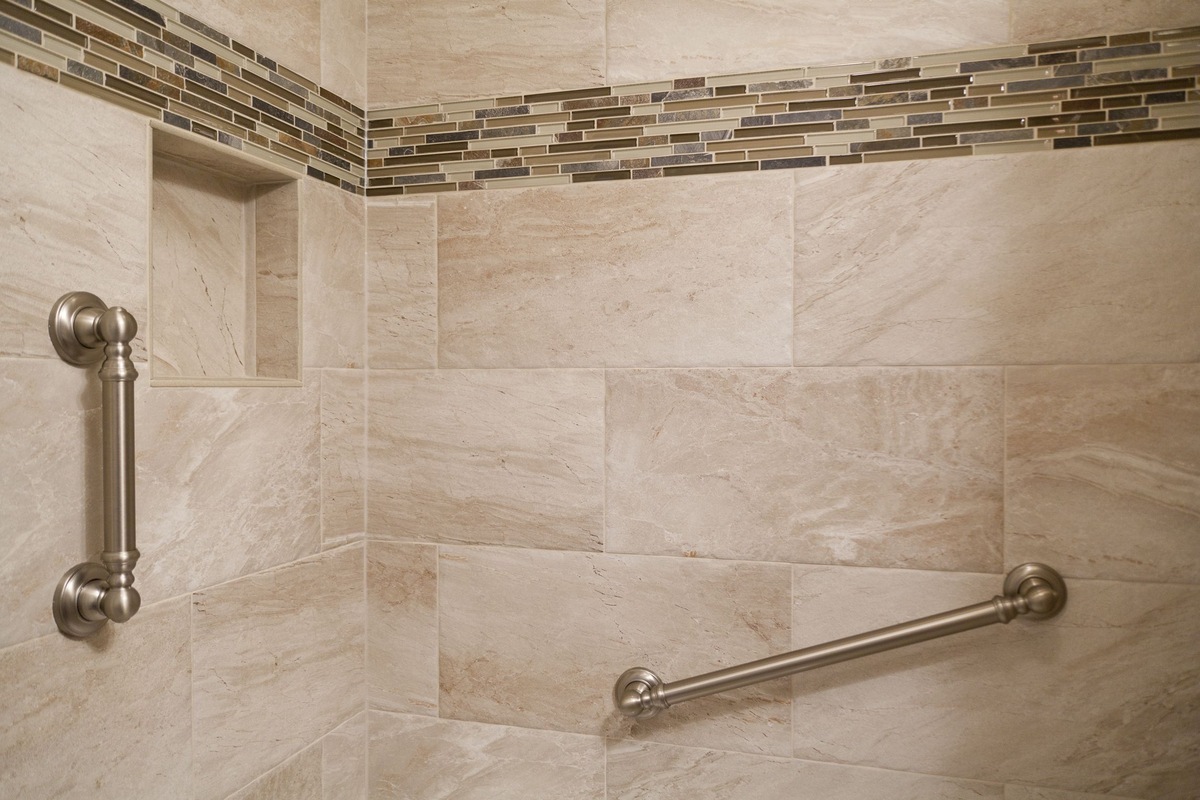
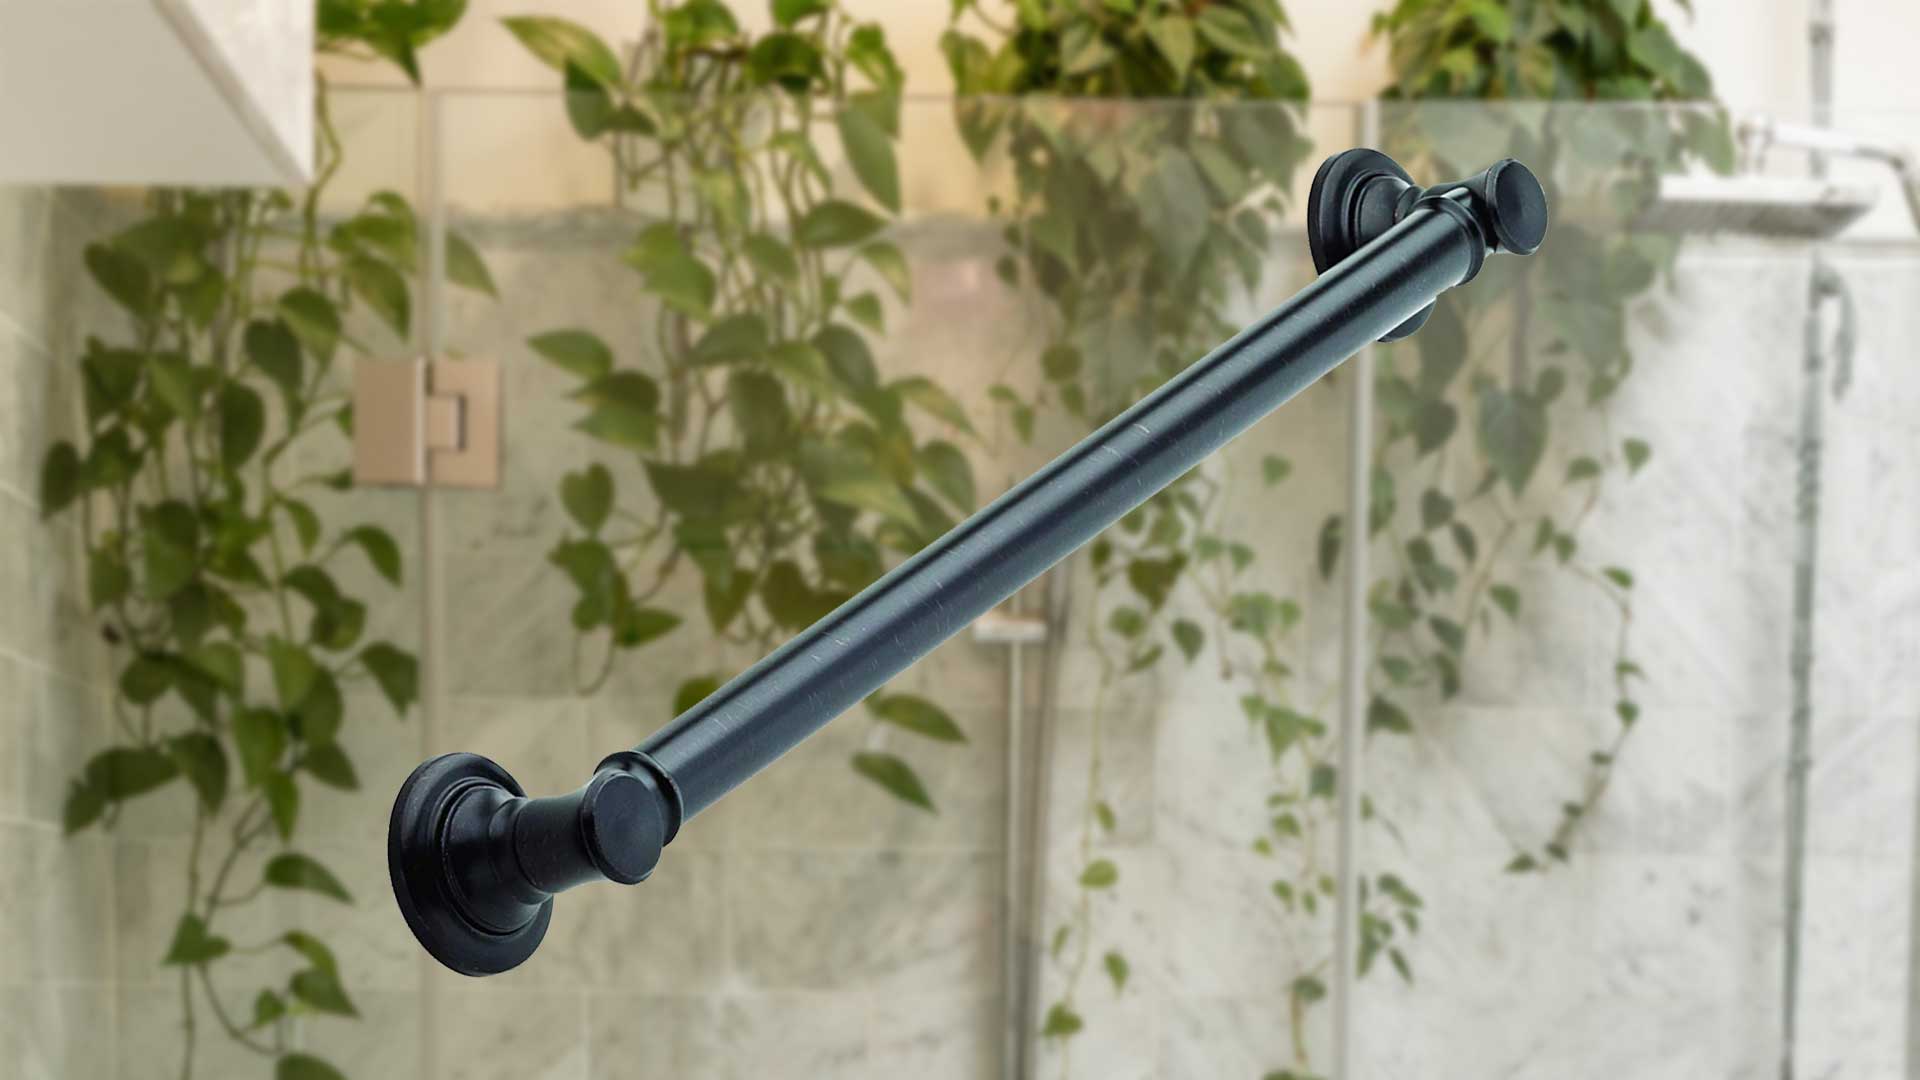
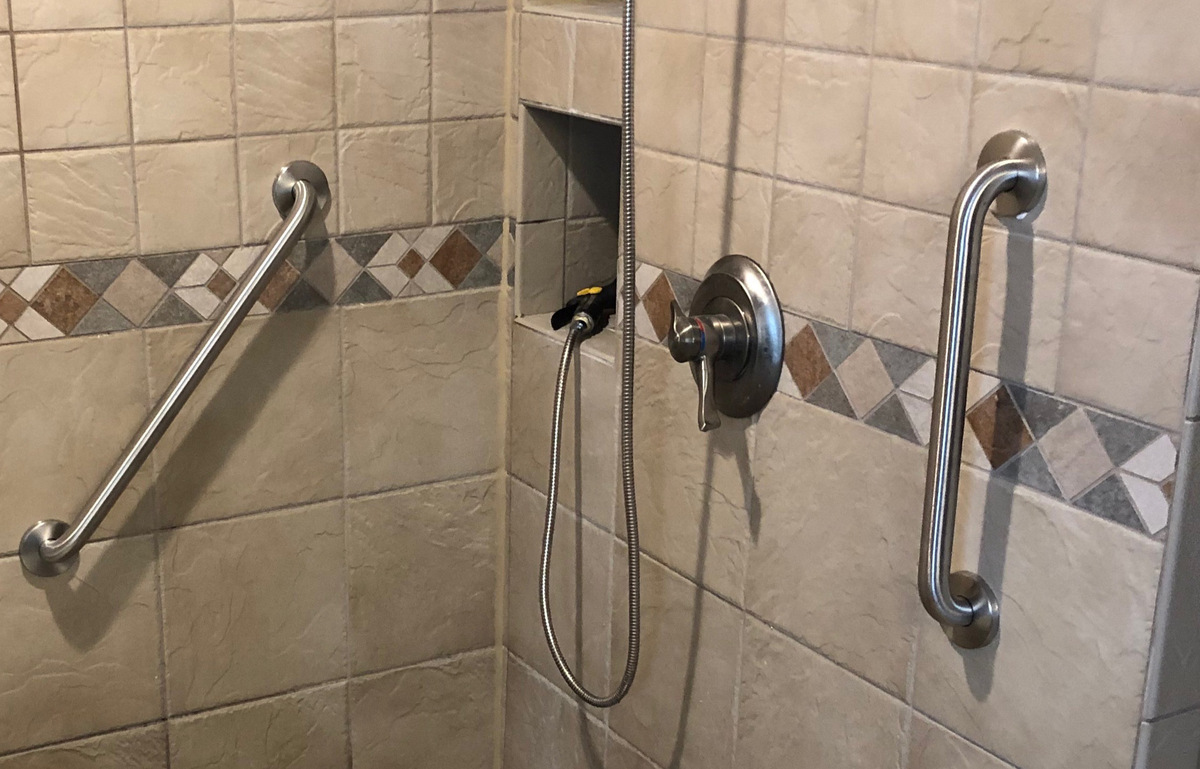
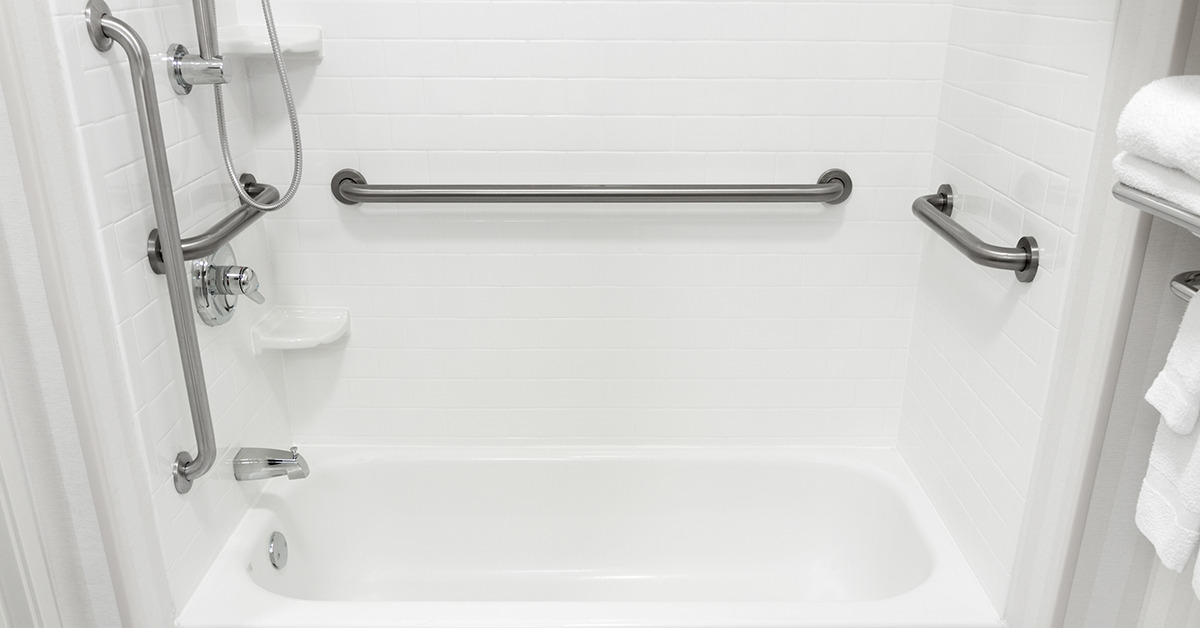
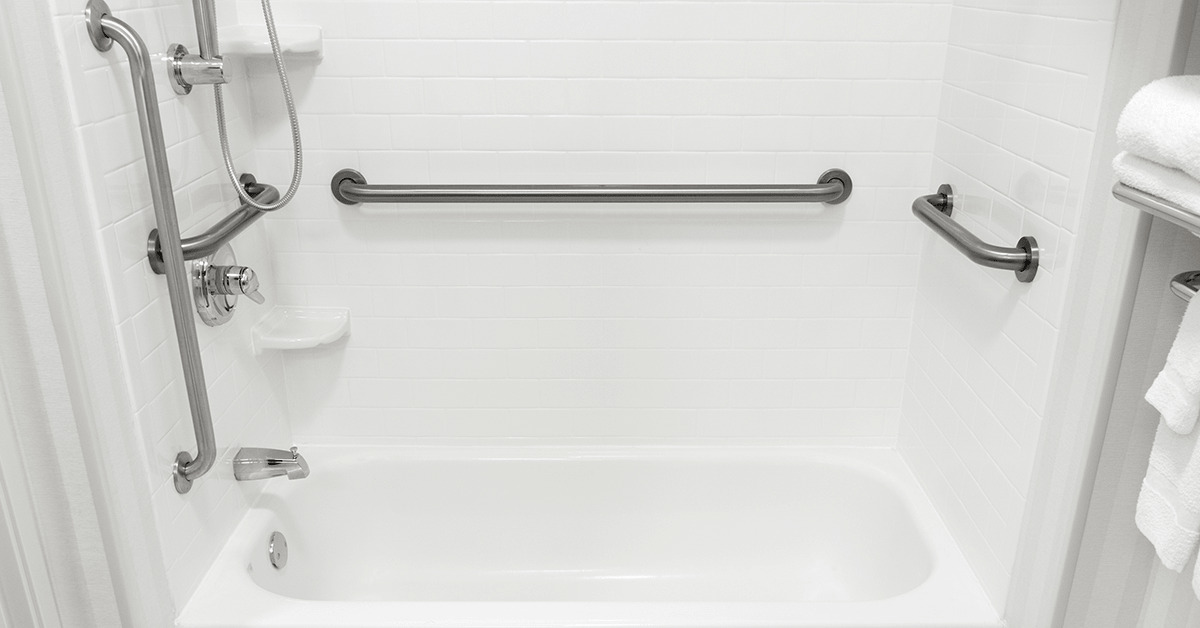
Installing grab bars on tile is a crucial step in creating a safe and accessible bathroom environment, especially for individuals with limited mobility or balance issues. These essential bathroom accessories provide stability and support, helping to prevent slips and falls while navigating the bathroom space. Whether it's for aging adults, individuals with disabilities, or simply for added safety, grab bars play a pivotal role in enhancing bathroom accessibility.
In this comprehensive guide, we will walk you through the step-by-step process of installing grab bars on tile. From gathering the necessary tools and materials to determining the ideal placement and executing the installation, we'll cover everything you need to know to ensure a secure and professional installation.
By following these instructions, you can take proactive measures to create a bathroom environment that promotes safety and independence for yourself, your loved ones, or your clients. With the right tools, a clear plan, and attention to detail, you can successfully install grab bars on tile, transforming the bathroom into a secure and supportive space for all who use it.
Key Takeaways:
- Installing grab bars on tile is crucial for creating a safe bathroom. By carefully marking, drilling, and securing the bars, you can transform the space into a secure and supportive environment for all users.
- Consider user needs and regulatory guidelines when installing grab bars. Thoughtful placement and secure attachment enhance safety and independence, creating a visually appealing and inclusive bathroom space.
Read more: Who Installs Grab Bars?
Step 1: Gather the necessary tools and materials
Before embarking on the installation of grab bars on tile, it's essential to gather the required tools and materials to ensure a smooth and efficient process. Here's a comprehensive list of items you'll need:
Tools:
- Measuring Tape: Accurately measure the placement of the grab bars to ensure proper positioning.
- Pencil: Use a pencil to mark the drilling points on the tile.
- Level: A level will help ensure that the grab bars are installed straight and aligned correctly.
- Power Drill: A quality drill equipped with a carbide-tipped masonry bit is essential for drilling into tile.
- Screwdriver: Depending on the type of screws provided with the grab bars, a screwdriver may be necessary for installation.
- Stud Finder (optional): If you plan to anchor the grab bars to wall studs, a stud finder can help locate the studs behind the tile.
Materials:
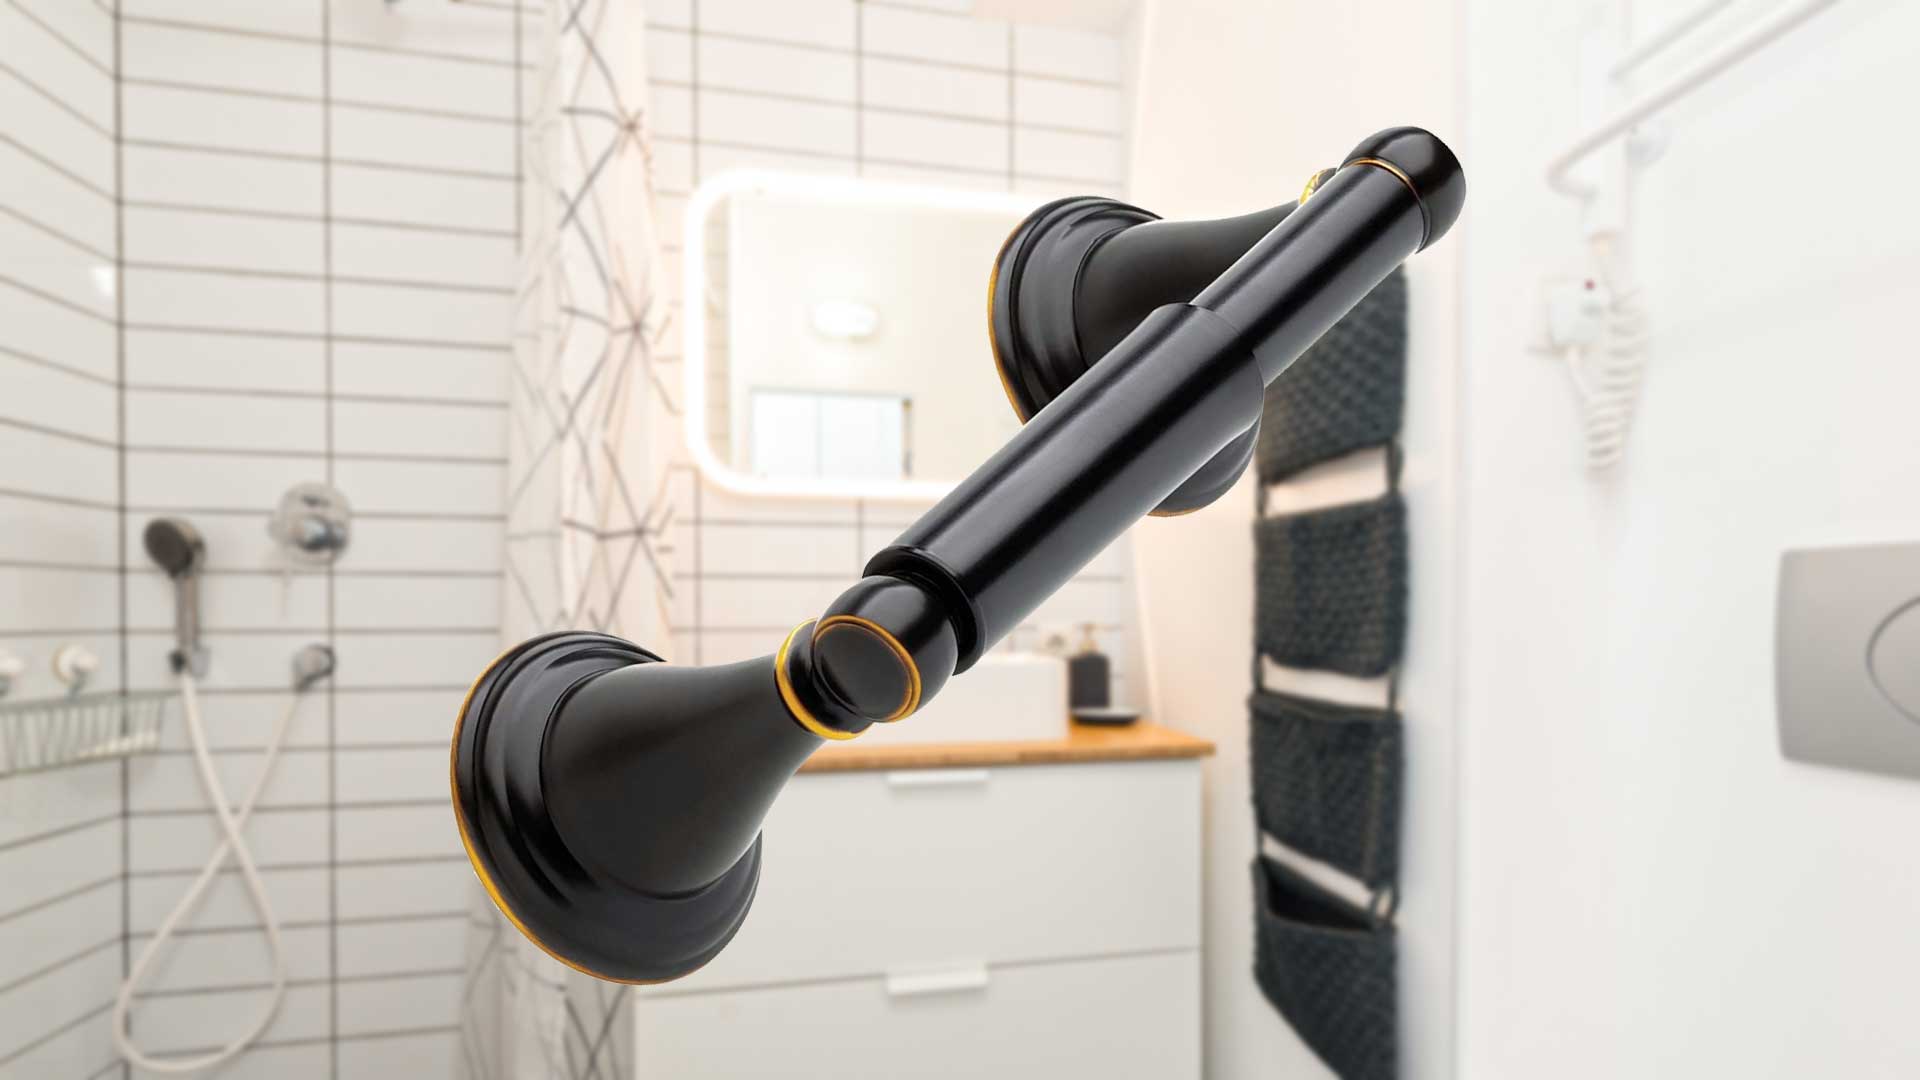
- Grab Bars: Select high-quality grab bars designed specifically for bathroom use, ensuring they are suitable for installation on tile.
- Mounting Hardware: Check that the grab bars come with the necessary screws and anchors for secure installation.
- Tile Drill Bit: Invest in a carbide-tipped masonry bit designed for drilling into tile without causing damage.
- Wall Anchors (if not included): Depending on the type of grab bars and the wall material, you may need to purchase wall anchors separately for added support.
- Safety Goggles: Protect your eyes while drilling into the tile by wearing safety goggles.
- Masking Tape (optional): Applying masking tape over the drilling area can help prevent the drill bit from slipping on the tile surface.
By ensuring that you have all the required tools and materials on hand, you can streamline the installation process and minimize interruptions. Proper preparation sets the stage for a successful and secure installation of grab bars on tile, ultimately contributing to a safer and more accessible bathroom environment.
Step 2: Determine the placement of the grab bars
The precise placement of grab bars is critical to ensure their effectiveness in providing support and stability. When determining the ideal placement of grab bars on tile, several factors should be taken into consideration to accommodate the specific needs of the individuals using the bathroom.
-
User's Height and Reach: Consider the height and reach of the primary users who will benefit from the grab bars. For individuals with mobility challenges, the bars should be positioned at a height that allows for comfortable and secure gripping without excessive strain.
-
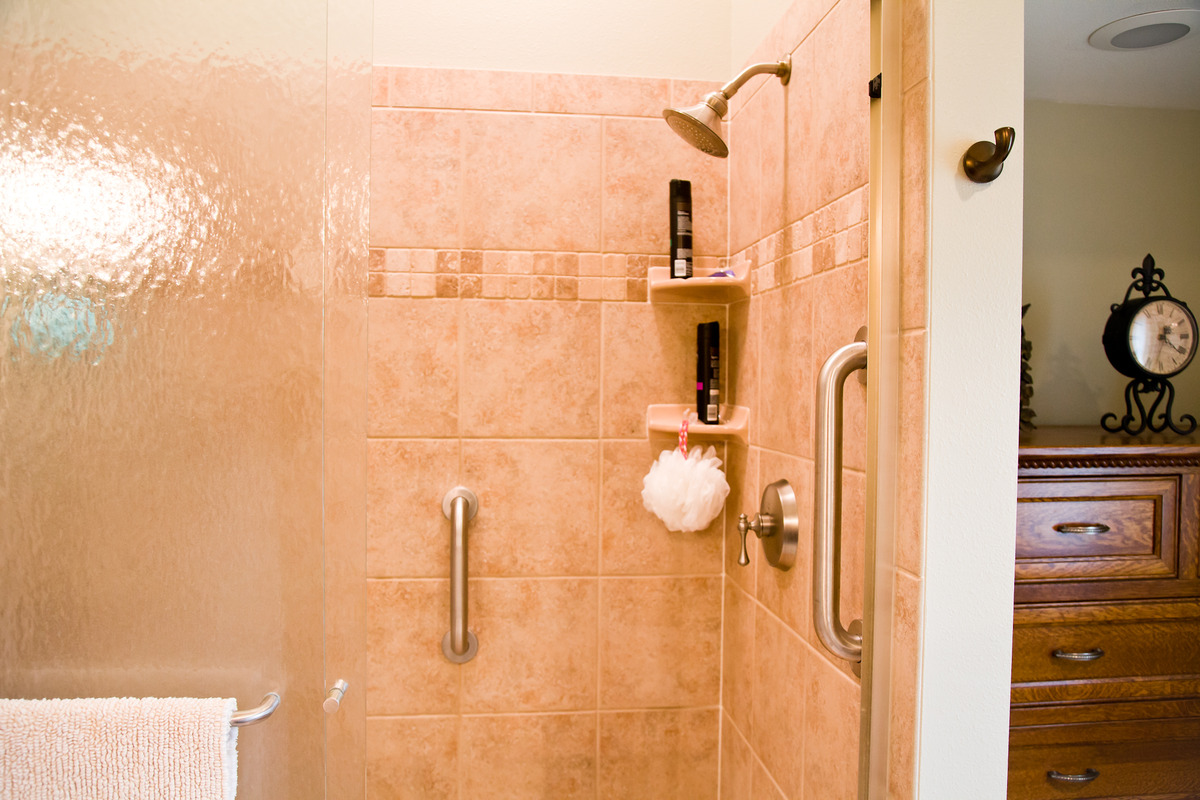
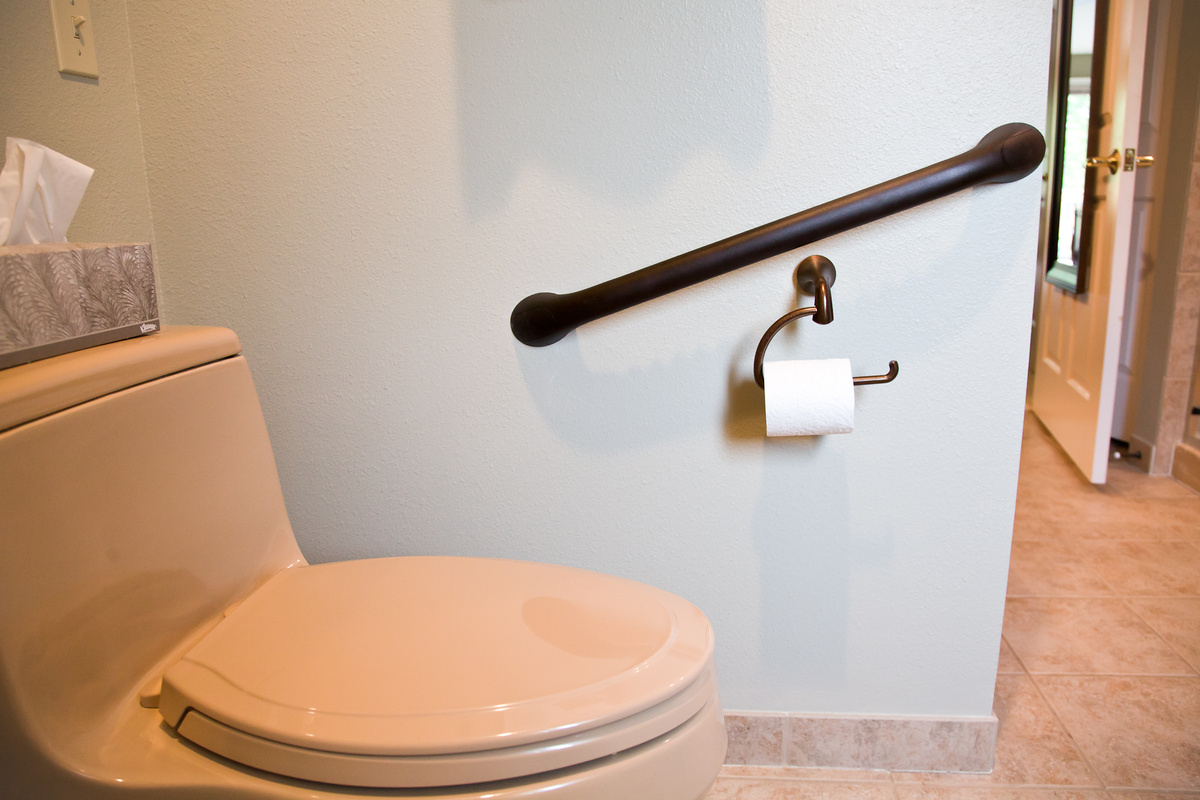
Accessibility and Maneuverability: Evaluate the areas within the bathroom where additional support is most needed. Common locations for grab bars include near the toilet, inside the shower or bathtub, and alongside the vanity or sink. Assess the flow of movement within the space to identify key areas where grab bars can enhance safety and accessibility.
-
Stud Placement: If possible, align the placement of the grab bars with wall studs to ensure maximum strength and stability. Wall studs provide a solid anchor for the installation, offering superior support compared to mounting the bars solely on the tile surface. Use a stud finder to locate the position of the studs behind the tile.
-
Regulatory Guidelines: Familiarize yourself with local building codes and accessibility standards related to grab bar placement. These guidelines often provide specific recommendations for the positioning and height of grab bars in bathrooms to comply with safety regulations and accessibility requirements.
-
Personal Preferences and Needs: Engage with the individuals who will be using the bathroom to understand their specific preferences and requirements. Tailoring the placement of grab bars to accommodate their needs can significantly enhance the overall usability and safety of the bathroom space.
Once these considerations have been taken into account, mark the precise locations for the installation of the grab bars using a pencil and a measuring tape. It's essential to ensure that the markings align with the chosen placement strategy and adhere to the recommended height and positioning guidelines. By thoughtfully determining the placement of the grab bars, you can customize the installation to best suit the unique needs of the users and create a bathroom environment that prioritizes safety and accessibility.
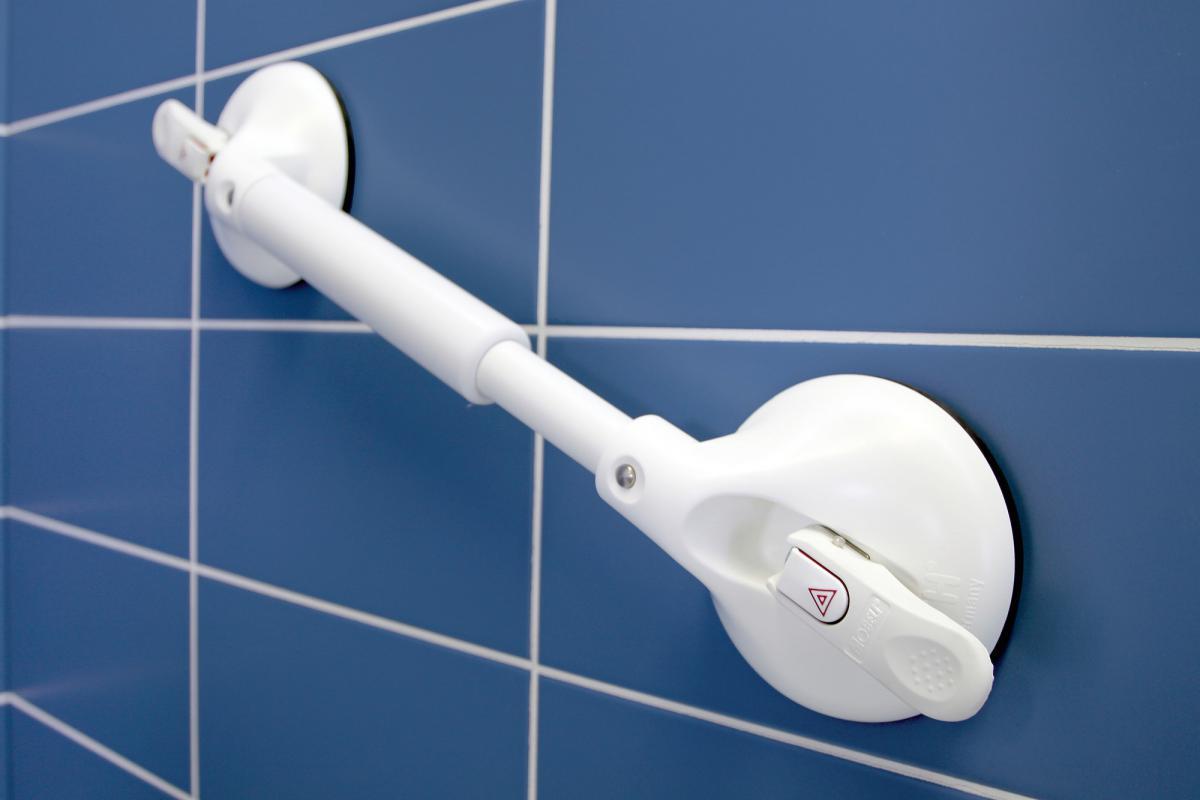
Read more: How To Install Suction Grab Bars
Step 3: Mark the drilling points
After determining the ideal placement of the grab bars, the next crucial step is to mark the drilling points on the tile surface. This process requires precision and attention to detail to ensure that the grab bars are securely anchored and aligned correctly. Here's a detailed guide on how to mark the drilling points effectively:
-
Use a Measuring Tape and Level: Begin by measuring the exact distances and positions for the drilling points based on the previously determined placement of the grab bars. Use a measuring tape to ensure accuracy, and employ a level to confirm that the markings align horizontally and vertically for a straight and balanced installation.
-
Mark the Tile Surface: With a pencil, carefully mark the drilling points on the tile where the screws or anchors will be inserted to secure the grab bars. It's essential to double-check the markings to verify that they correspond to the intended placement and align with the recommended height and positioning guidelines.
-
Consider Tile Patterns and Grout Lines: Take into account the tile patterns and grout lines when marking the drilling points. Aim to position the grab bars in areas where the tile and grout configuration allow for secure anchoring and stability. Avoid drilling directly into grout lines, as they may not provide adequate support for the installation.
-
Account for Wall Studs (if applicable): If the chosen placement aligns with wall studs, mark the drilling points accordingly to ensure that the screws or anchors will penetrate the studs for maximum strength and stability. Use a stud finder to locate the precise positions of the studs behind the tile and adjust the drilling points as needed.
-
Double-Check the Markings: Before proceeding to the drilling phase, carefully review and confirm the accuracy of the marked drilling points. Ensure that they align with the predetermined placement strategy and adhere to the recommended height and positioning guidelines for grab bars.
By meticulously marking the drilling points on the tile surface, you set the stage for a precise and secure installation of the grab bars. Attention to detail during this phase is crucial, as it directly impacts the stability and effectiveness of the grab bars in providing support and enhancing bathroom accessibility. With the drilling points accurately marked, you can proceed to the next step with confidence, knowing that the installation process is well-planned and tailored to meet the specific needs of the users.
Step 4: Drill the holes
With the drilling points accurately marked on the tile surface, the next critical step in the installation process is to drill the holes that will accommodate the screws or anchors for securing the grab bars. Drilling into tile requires precision, patience, and the right tools to ensure a clean and successful outcome. Here's a detailed guide on how to approach the drilling process effectively:
-
Prepare the Drill and Tile Drill Bit: Equip the power drill with a high-quality tile drill bit, preferably a carbide-tipped masonry bit designed specifically for drilling into tile without causing damage. Ensure that the drill bit size matches the diameter of the screws or anchors provided with the grab bars for a precise fit.
-
Wear Safety Goggles: Prioritize safety by wearing protective goggles to shield your eyes from any debris or tile fragments that may be generated during the drilling process. Safety goggles provide essential protection and minimize the risk of eye injuries.
-
Secure the Tile Surface: To prevent slippage and ensure stability during drilling, consider applying masking tape over the marked drilling points. The tape can help create a small indentation to guide the initial drill bit placement and reduce the likelihood of the drill bit slipping on the smooth tile surface.
-
Begin Drilling at a Low Speed: Start the drilling process at a low speed to create a pilot indentation at each marked point. This initial indentation serves as a guide for the subsequent drilling and helps prevent the drill bit from wandering off course. Apply gentle and consistent pressure to initiate the drilling process without exerting excessive force.
-
Maintain a Steady Hand and Angle: As you progress with the drilling, maintain a steady hand and a perpendicular angle to the tile surface. Consistent pressure and a controlled drilling angle contribute to a clean and precise hole formation, minimizing the risk of tile cracking or chipping.
-
Monitor Progress and Adjust Pressure: Continuously monitor the drilling progress and adjust the pressure as needed to maintain a steady and controlled pace. Avoid rushing the process, as gradual and deliberate drilling yields better results and reduces the likelihood of damaging the tile surface.
-
Clear Debris and Proceed Gradually: Periodically pause the drilling to clear away any accumulated debris from the hole using a gentle blowing motion or a small brush. Proceed with the drilling process gradually, allowing the drill bit to penetrate the tile surface without excessive force.
By following these detailed steps and exercising patience and precision, you can successfully drill the necessary holes in the tile to accommodate the installation of grab bars. The drilling process is a critical phase that sets the stage for the secure anchoring of the grab bars, ultimately contributing to a safe and supportive bathroom environment. With the holes accurately drilled, you are ready to proceed to the next step of installing the anchors for securing the grab bars in place.
When installing grab bars on tile, use a stud finder to locate the wall studs for secure mounting. Pre-drill holes with a carbide-tipped masonry bit to prevent cracking the tile. Use stainless steel screws for durability.
Step 5: Install the anchors
With the holes drilled into the tile surface, the next crucial step in the installation process is to secure the anchors that will provide a stable foundation for attaching the grab bars. Proper installation of anchors is essential to ensure the strength and reliability of the grab bars, especially in high-traffic areas of the bathroom where individuals rely on them for support and stability. Here's a detailed guide on how to effectively install the anchors for securing the grab bars:
-
Select the Appropriate Anchors: Depending on the type of grab bars and the wall material, choose the appropriate anchors that are designed to provide robust support when installed in tile. Common anchor options include toggle bolts, expansion anchors, or adhesive anchors, each offering distinct advantages based on the specific installation requirements.
-
Insert the Anchors into the Holes: Carefully insert the selected anchors into the drilled holes on the tile surface. Ensure that the anchors fit securely and snugly within the holes, providing a stable base for the subsequent attachment of the grab bars. Apply gentle pressure to seat the anchors firmly in place without causing damage to the surrounding tile.
-
Verify Anchor Alignment and Depth: Confirm that the anchors are aligned correctly with the drilled holes and are inserted to the appropriate depth for optimal stability. Proper alignment and depth ensure that the grab bars will be securely anchored to the tile, minimizing the risk of movement or instability during use.
-
Tighten the Anchors: Depending on the type of anchors used, follow the manufacturer's guidelines to tighten and secure the anchors in place. This may involve using a screwdriver, wrench, or other appropriate tools to ensure that the anchors are firmly seated within the drilled holes, ready to support the weight and pressure exerted on the grab bars.
-
Test the Anchor Stability: After installing the anchors, perform a gentle test to assess their stability and resistance to movement. Apply light pressure to the anchors to verify that they are securely fastened within the tile and can support the anticipated load when the grab bars are attached.
-
Ensure Even Distribution of Anchors: If multiple anchors are being installed for a single grab bar, ensure that they are evenly distributed to provide balanced support across the length of the bar. Even distribution minimizes stress concentration on individual anchor points, enhancing the overall stability and reliability of the installation.
By meticulously following these steps, you can effectively install the anchors that will serve as the foundation for securely attaching the grab bars to the tile. The proper installation of anchors is a critical aspect of the overall process, directly influencing the safety and functionality of the grab bars within the bathroom environment. With the anchors securely in place, you are ready to proceed to the final step of attaching the grab bars to the tile, completing the installation process with confidence and precision.
Step 6: Attach the grab bars to the tile
With the anchors securely installed, the final step in the installation process involves attaching the grab bars to the tile, ensuring a firm and reliable connection that enhances safety and accessibility within the bathroom. Here's a detailed guide on how to effectively attach the grab bars to the tile surface:
-
Position the Grab Bars: Carefully align the grab bars with the installed anchors, ensuring that they are positioned according to the previously determined placement strategy. Verify that the bars are level and straight, aligning with the markings and drilling points on the tile surface.
-
Secure the Screws or Fasteners: Depending on the design of the grab bars and the provided mounting hardware, use the appropriate screws or fasteners to secure the bars to the anchors. Apply gentle pressure to guide the screws into the anchors, ensuring a snug fit without over-tightening, which could potentially damage the anchors or the tile.
-
Utilize a Screwdriver or Wrench: Employ the necessary tools, such as a screwdriver or wrench, to tighten the screws or fasteners securely. Follow the manufacturer's guidelines to achieve the optimal level of tightness, ensuring that the grab bars are firmly attached to the tile and the anchors, providing reliable support and stability.
-
Perform Stability Checks: After attaching the grab bars, perform thorough stability checks to confirm that they are securely fastened and capable of supporting the anticipated weight and pressure. Apply gentle pressure to the bars in various directions to assess their stability and resistance to movement, ensuring that they provide the necessary support for users.
-
Evaluate Alignment and Appearance: Take a moment to evaluate the alignment and appearance of the installed grab bars. Confirm that they are level, straight, and aesthetically pleasing, seamlessly integrating into the bathroom environment. Attention to detail in this phase contributes to a professional and visually appealing installation.
-
Test Weight-Bearing Capacity: If possible, conduct a weight-bearing test by applying controlled pressure to the grab bars to verify their strength and stability. This test ensures that the installation can withstand the intended usage and provides peace of mind regarding the reliability of the grab bars in supporting individuals within the bathroom.
By meticulously following these steps, you can successfully attach the grab bars to the tile, completing the installation process with precision and attention to detail. The secure attachment of the grab bars ensures that they fulfill their essential role in enhancing bathroom accessibility and safety, providing individuals with the support and stability they need to navigate the space confidently. With the grab bars securely attached, the bathroom environment is transformed into a secure and supportive space for all who use it.
Read more: Where To Install Grab Bars In A Bathroom
Conclusion
In conclusion, the installation of grab bars on tile is a pivotal step in creating a safe and accessible bathroom environment, particularly for individuals with limited mobility or balance concerns. By following the comprehensive guide outlined in this article, you can successfully transform your bathroom into a secure and supportive space that prioritizes safety and independence.
From the initial step of gathering the necessary tools and materials to the final phase of attaching the grab bars to the tile, each stage of the installation process plays a crucial role in ensuring a professional and reliable outcome. By meticulously marking the drilling points, drilling the holes with precision, and installing the anchors securely, you lay the foundation for a stable and robust attachment of the grab bars to the tile surface.
The thoughtful consideration of factors such as user height and reach, accessibility needs, and regulatory guidelines for grab bar placement contributes to a customized installation tailored to the specific requirements of the individuals using the bathroom. This personalized approach enhances the usability and effectiveness of the grab bars, promoting a sense of confidence and security for users as they navigate the bathroom space.
Furthermore, the attention to detail in aligning the grab bars, securing the screws or fasteners, and conducting thorough stability checks ensures that the installation is not only functional but also visually appealing. The seamless integration of grab bars into the bathroom environment enhances the overall aesthetic while reinforcing the commitment to safety and accessibility.
By taking proactive measures to install grab bars on tile, you contribute to the creation of a bathroom environment that accommodates the diverse needs of individuals, whether it's aging adults, individuals with disabilities, or those seeking added safety measures. The installation of grab bars on tile serves as a testament to the dedication to promoting inclusivity and ensuring that the bathroom remains a secure and supportive space for all who use it.
In essence, the installation of grab bars on tile transcends the mere act of affixing essential bathroom accessories; it represents a commitment to fostering a culture of safety, independence, and inclusivity within the home. With the completion of the installation process, you can take pride in knowing that your bathroom is equipped with the necessary features to enhance accessibility and provide peace of mind for yourself, your loved ones, or your clients.
Frequently Asked Questions about How To Install Grab Bars On Tile
Was this page helpful?
At Storables.com, we guarantee accurate and reliable information. Our content, validated by Expert Board Contributors, is crafted following stringent Editorial Policies. We're committed to providing you with well-researched, expert-backed insights for all your informational needs.

0 thoughts on “How To Install Grab Bars On Tile”