Home>Furniture & Design>Bathroom Accessories>Where To Install Grab Bars In A Bathroom
Bathroom Accessories
Where To Install Grab Bars In A Bathroom
Modified: February 19, 2024
Discover the best locations to install grab bars in a bathroom for enhanced safety and accessibility. Explore essential bathroom accessories for a functional and stylish space.
(Many of the links in this article redirect to a specific reviewed product. Your purchase of these products through affiliate links helps to generate commission for Storables.com, at no extra cost. Learn more)
Introduction
When it comes to creating a safe and accessible bathroom environment, installing grab bars is a crucial consideration. These simple yet effective accessories provide stability and support, especially for individuals with limited mobility or those at risk of slips and falls. Whether it's for aging adults, individuals with disabilities, or simply for added peace of mind, strategically placing grab bars can significantly enhance the safety and functionality of a bathroom.
In this comprehensive guide, we will explore the optimal locations for installing grab bars in a bathroom, taking into account various safety considerations and practical tips for a successful installation. By understanding the importance of grab bars and where they should be placed, you can make informed decisions to create a secure and accommodating bathroom space for yourself, your loved ones, or your clients. So, let's delve into the world of bathroom safety and discover the key insights for effectively incorporating grab bars into this essential space.
Key Takeaways:
- Installing grab bars in key areas like the shower, toilet, and sink can make the bathroom safer and more accessible for everyone, especially those with mobility challenges. It’s like adding extra support where it’s needed most!
- When installing grab bars, make sure they can support the weight of the users and have a non-slip surface. It’s all about creating a bathroom that’s safe and easy to use for everyone!
Read more: Who Installs Grab Bars?
Safety Considerations
When considering the installation of grab bars in a bathroom, safety is paramount. Understanding the key safety considerations associated with grab bars is essential for ensuring their effectiveness and reliability in providing support and stability. Here are the critical safety considerations to keep in mind:
1. Weight Capacity:
It is crucial to ensure that the grab bars selected have a weight capacity suitable for the intended users. Different individuals may require varying levels of support, so choosing grab bars with adequate weight capacity is essential to prevent accidents or structural failures.
2. Slip-Resistant Grip:
Opt for grab bars with a slip-resistant grip surface to minimize the risk of hands slipping, especially in wet conditions. This feature enhances the overall safety and usability of the grab bars, providing a secure hold for users of all ages and abilities.
3. Proper Installation:
Correct installation is vital for the safety and stability of grab bars. It is recommended to secure the bars to wall studs or by using appropriate wall anchors to ensure they can support the weight and provide reliable assistance when needed. Improperly installed grab bars may pose significant safety hazards.
Read more: How To Install Grab Bars On Tile
4. Height and Placement:
Consider the height and placement of grab bars to accommodate the specific needs of the users. Bars should be positioned at a height that allows for comfortable and secure gripping, catering to individuals of varying heights and abilities. Additionally, the location of the grab bars should align with common movements and potential areas of instability within the bathroom.
5. ADA Compliance:
For commercial or public bathrooms, adherence to the guidelines outlined in the Americans with Disabilities Act (ADA) is crucial. Ensuring that grab bars meet the specified ADA requirements regarding height, length, and placement is essential for promoting accessibility and safety for all individuals.
By prioritizing these safety considerations, you can effectively integrate grab bars into a bathroom environment, promoting a secure and supportive space for users of all ages and abilities. These considerations lay the foundation for informed decision-making and the implementation of safety-focused solutions within the bathroom setting.
Recommended Grab Bar Locations
When determining the optimal locations for installing grab bars in a bathroom, it's essential to consider the specific needs and potential challenges of the individuals who will be using the space. By strategically placing grab bars in key areas, you can enhance safety and accessibility, providing essential support where it is most needed. Here are the recommended grab bar locations to consider for a comprehensive and secure bathroom environment:
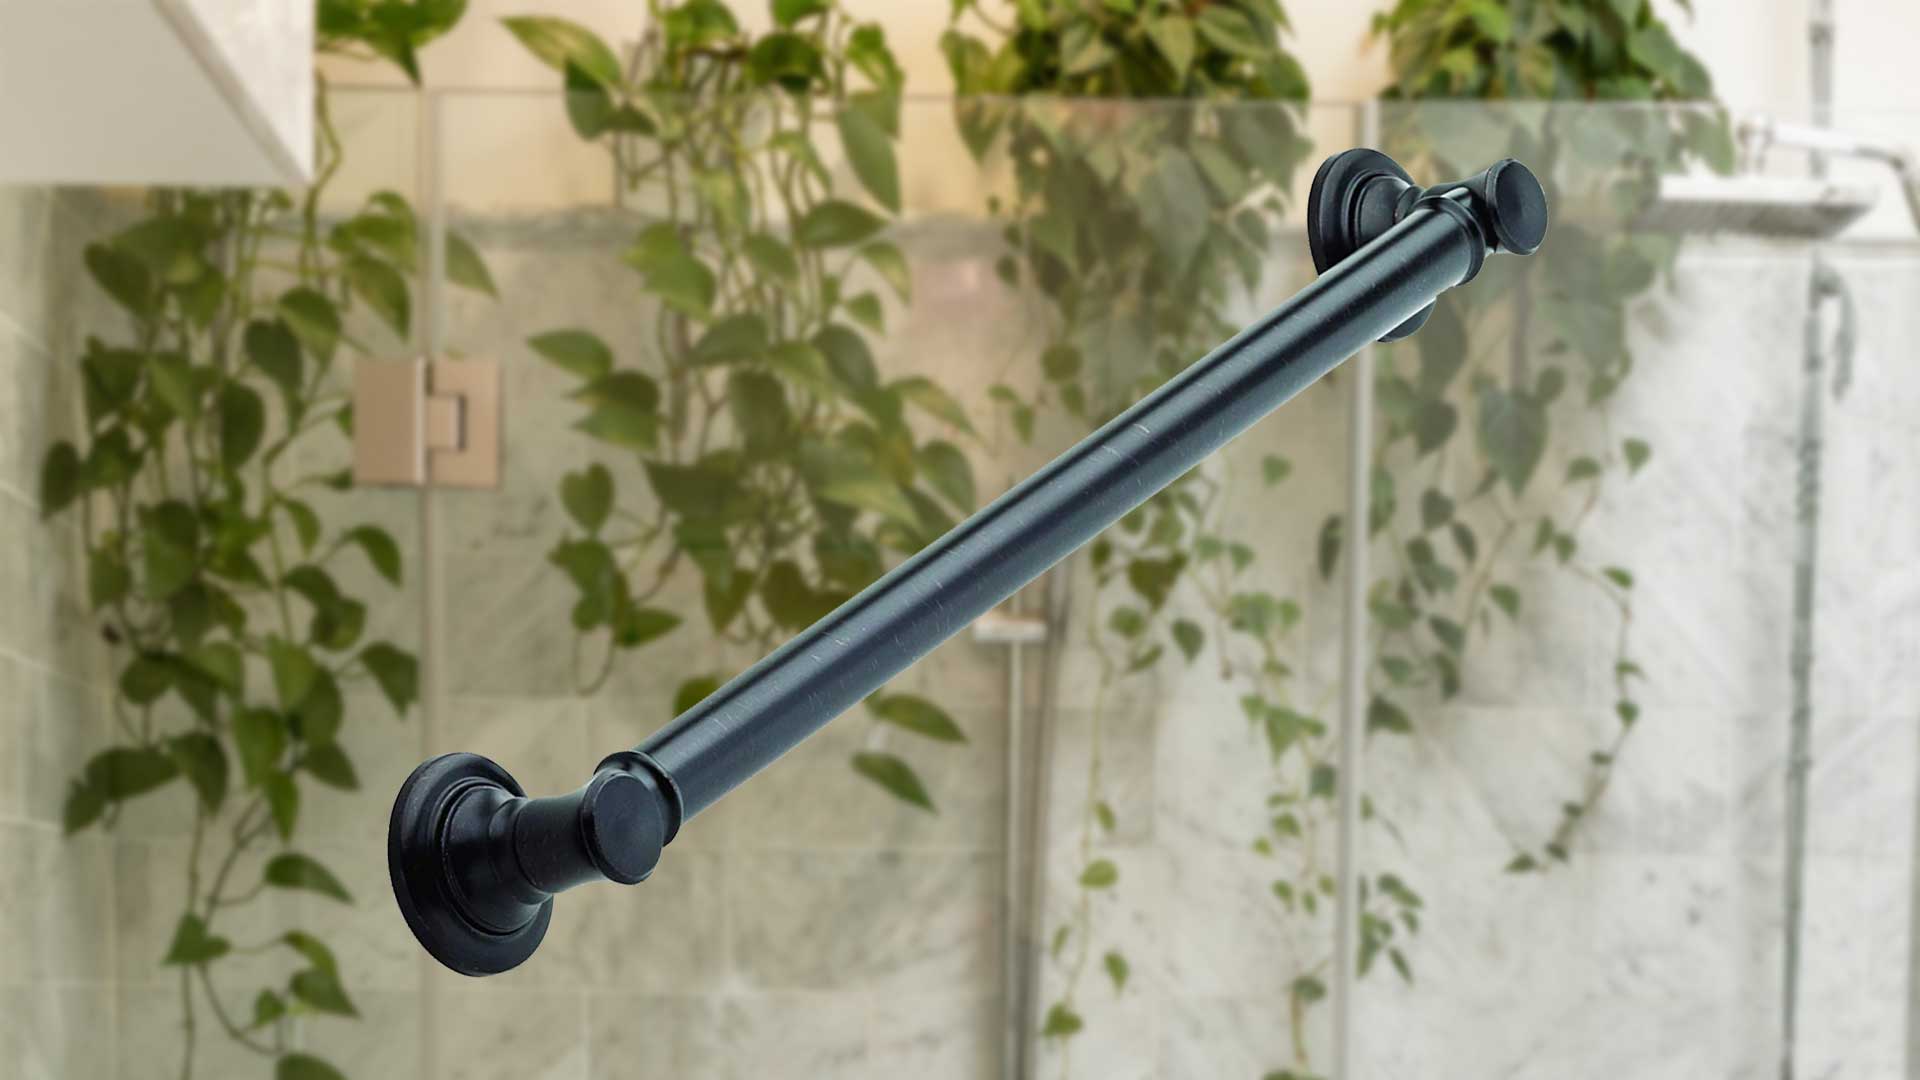
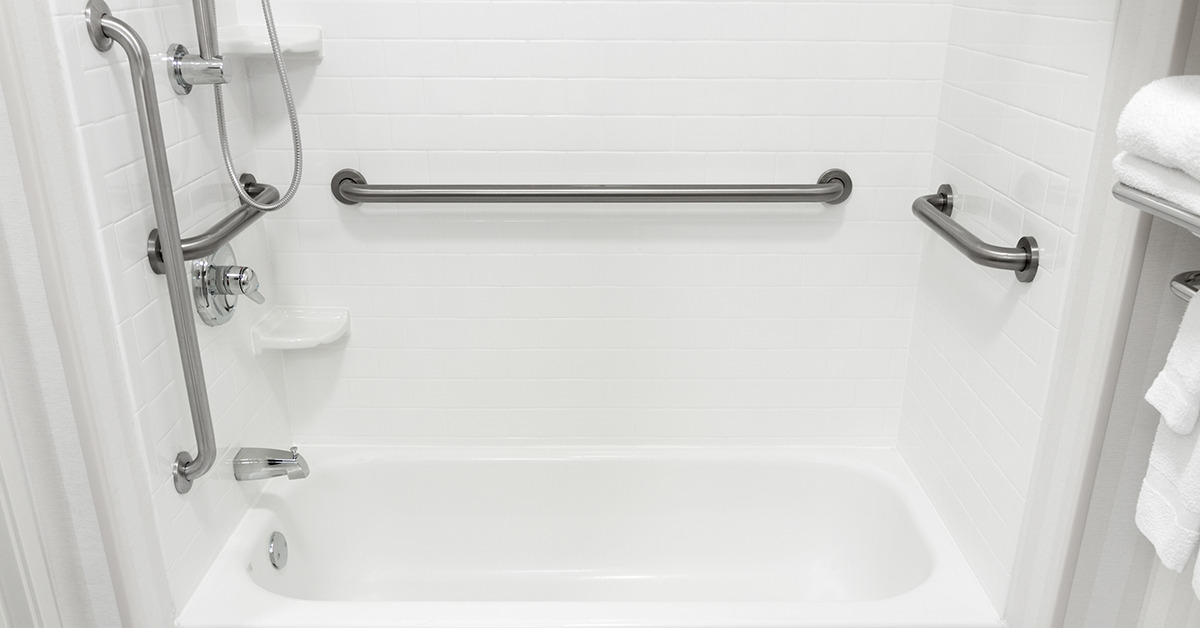
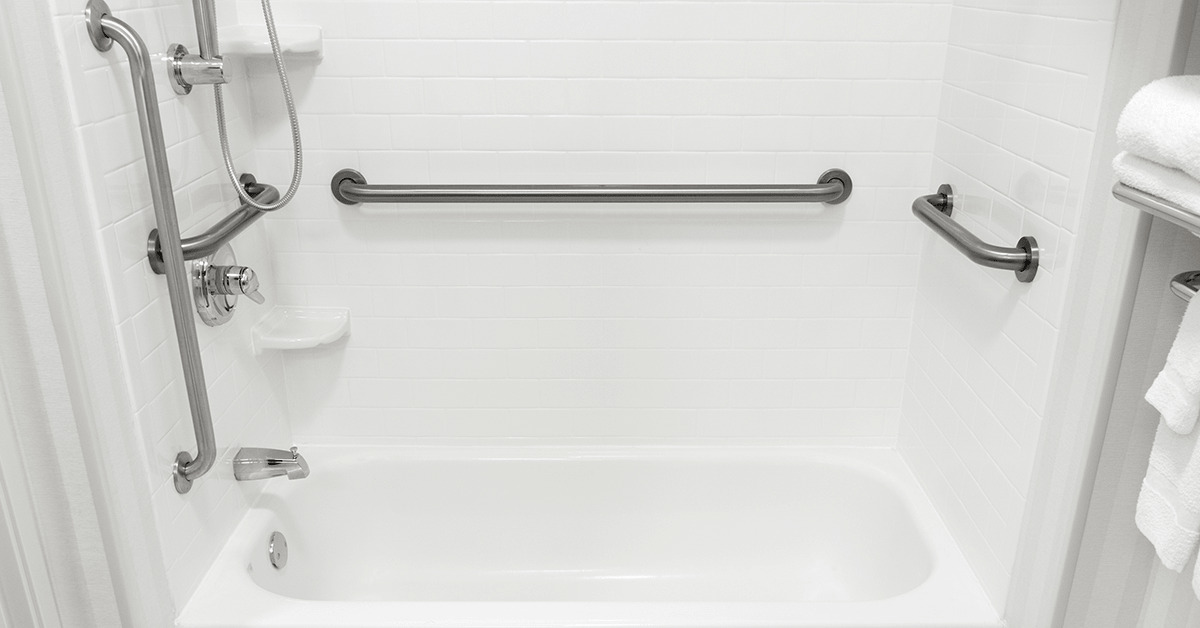
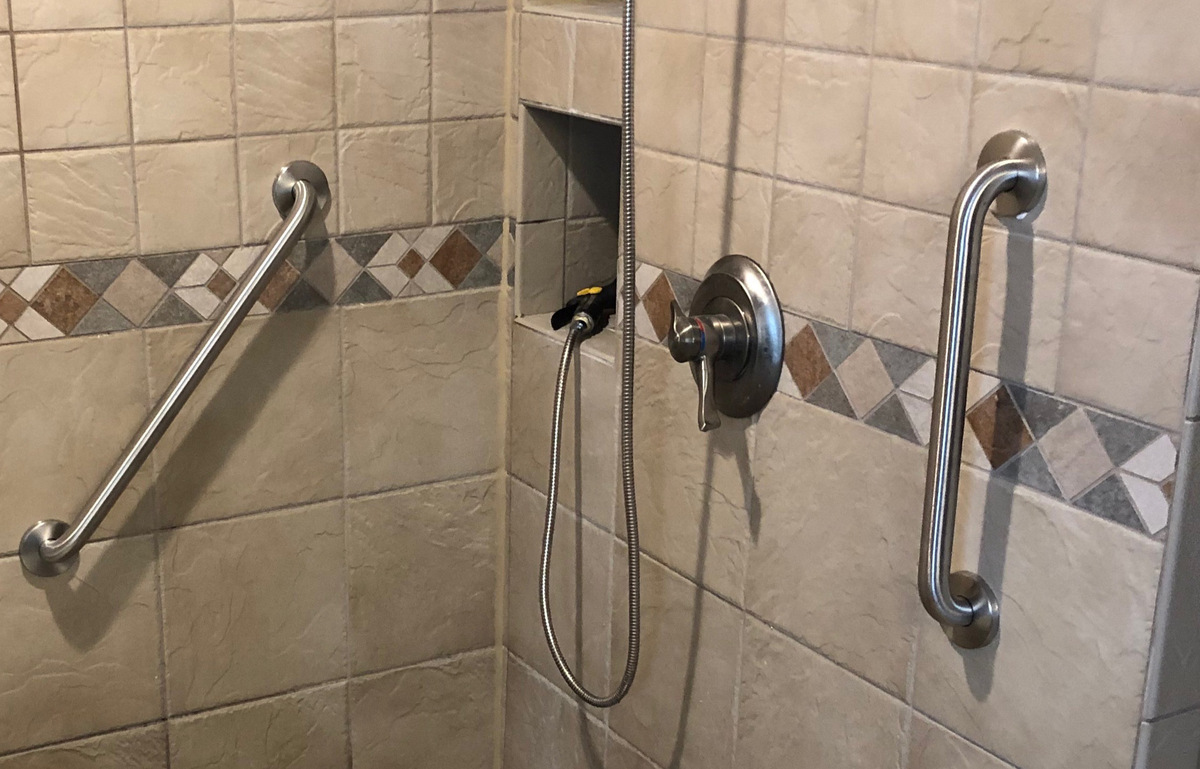
1. Shower or Bathtub
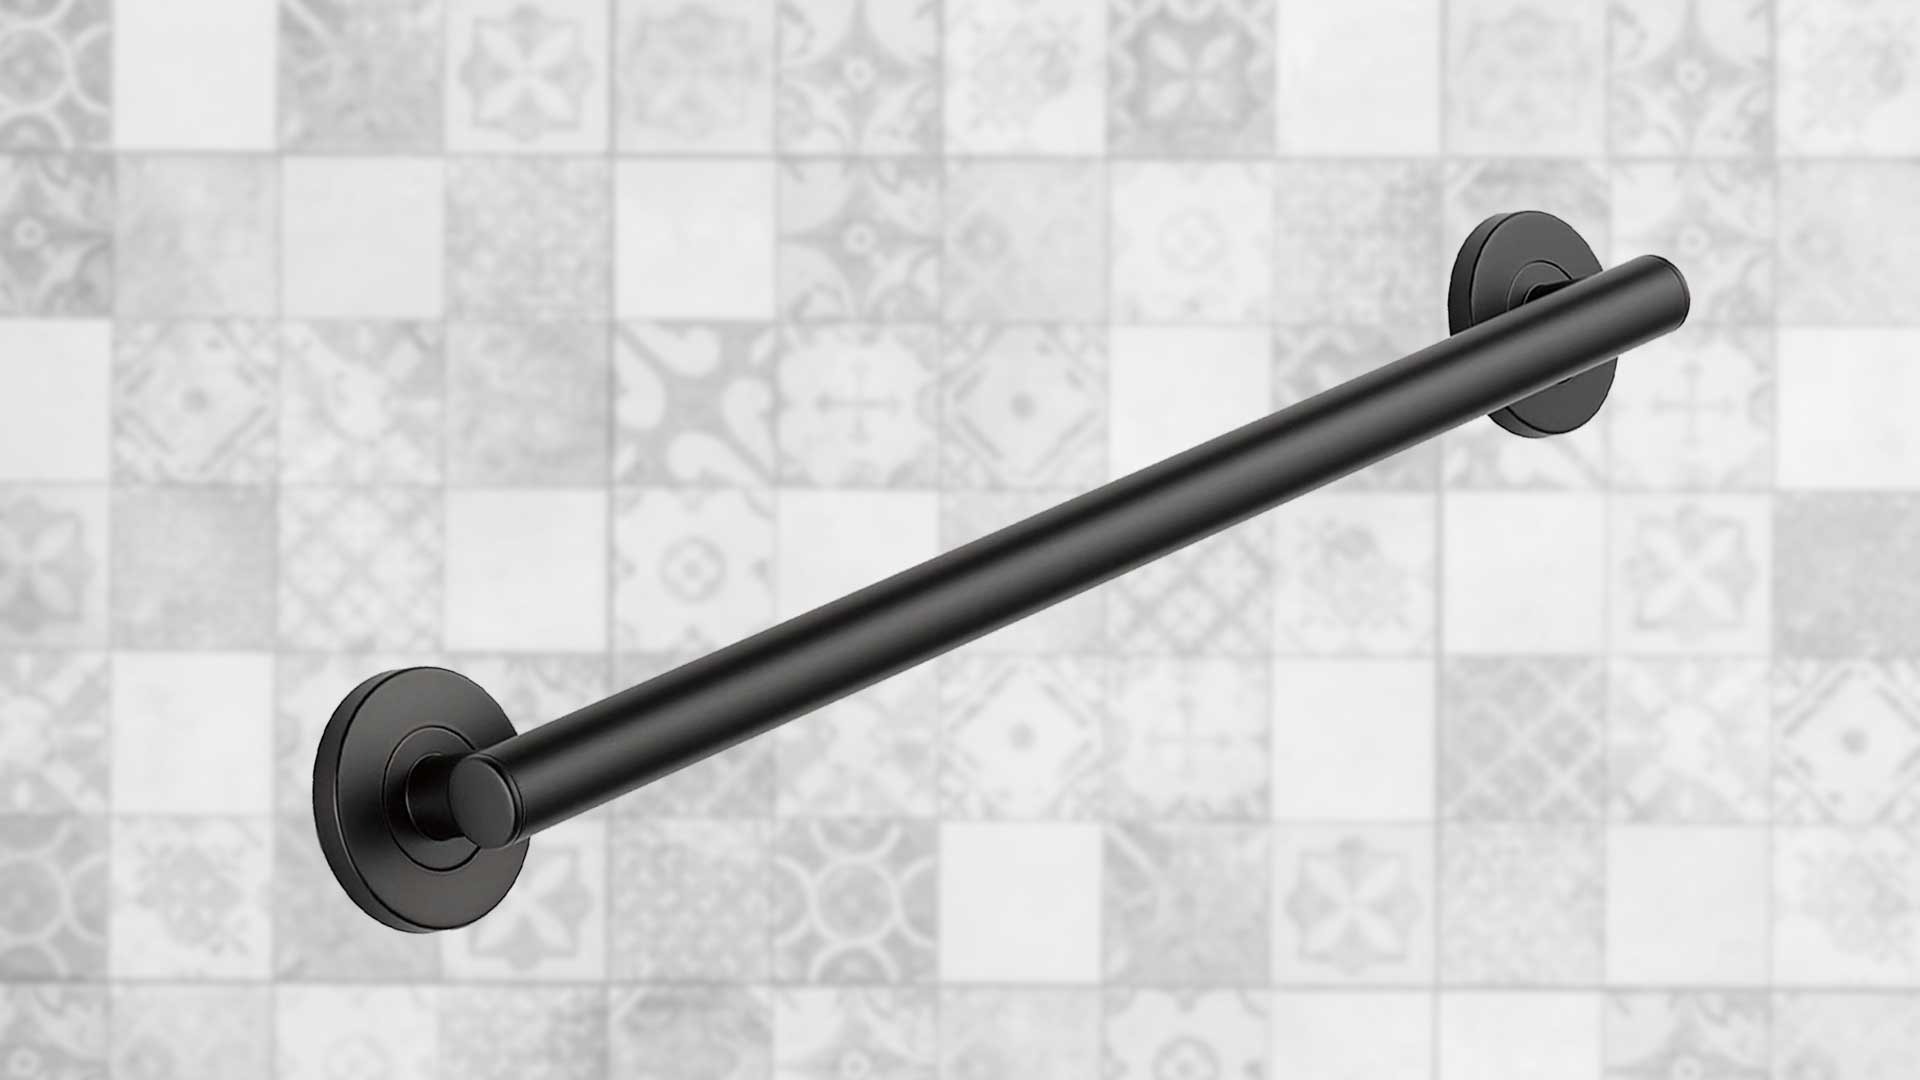
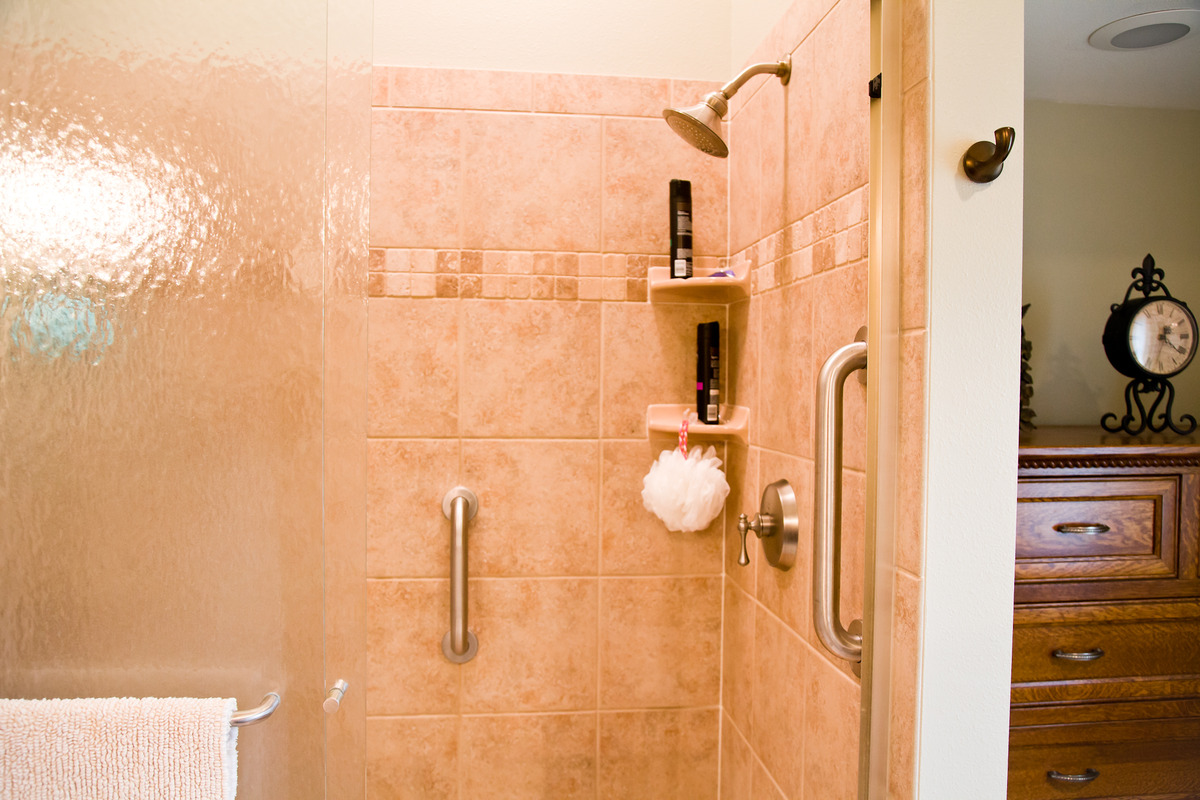
Installing grab bars near the shower or bathtub is crucial for providing stability and assistance during entry, exit, and while maneuvering within the bathing area. Vertical grab bars positioned on the wall adjacent to the shower or bathtub entrance can offer reliable support for individuals stepping in or out, especially when the floor may be slippery. Additionally, horizontal grab bars within the shower or bathtub area can provide a secure handhold for maintaining balance and stability during bathing.
Read more: How To Install Suction Grab Bars
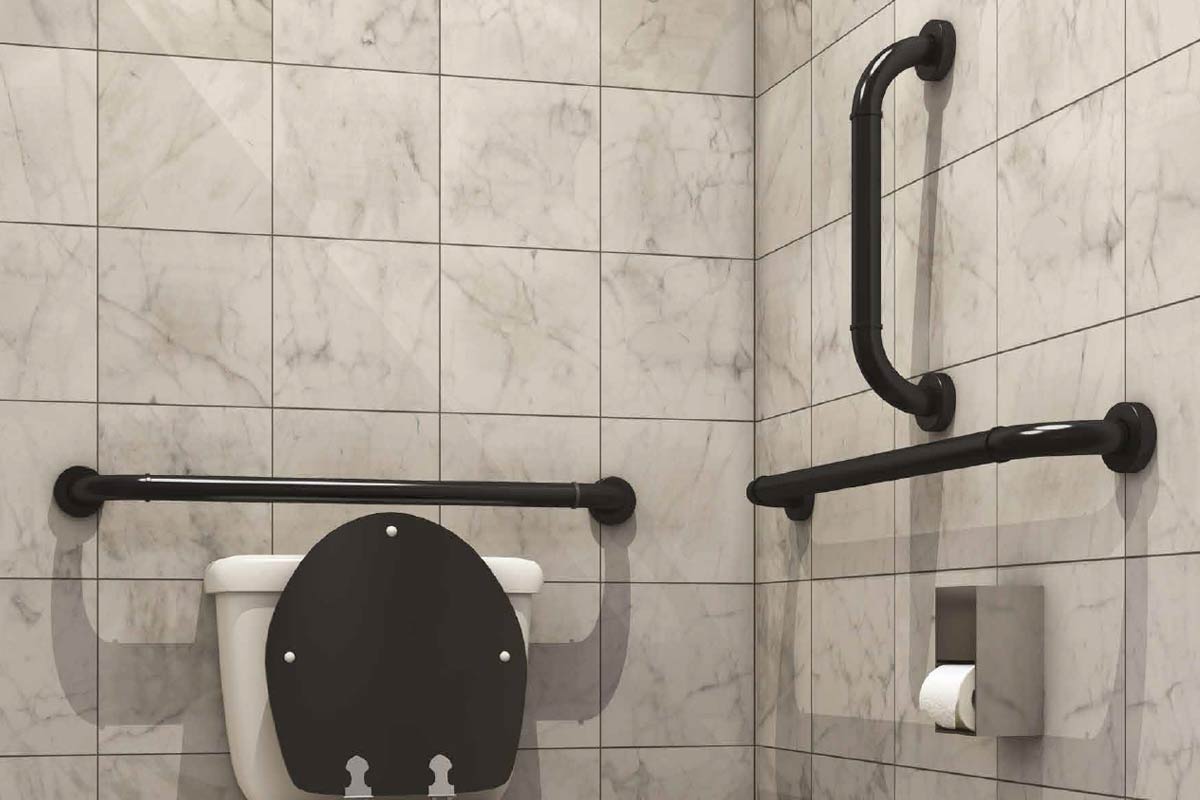
2. Toilet Area
Placing grab bars near the toilet area is essential for promoting independence and safety, particularly for individuals with mobility challenges. Horizontal grab bars installed on the wall behind and beside the toilet can assist with sitting down, standing up, and maintaining balance during use. These bars should be positioned at a height that allows for comfortable gripping and leverage, catering to the specific needs of the users.
3. Near the Sink or Vanity
Consider installing grab bars near the sink or vanity area to provide additional support for individuals while performing daily grooming and hygiene tasks. These bars can offer stability and assistance for standing, sitting, or maneuvering around the sink, enhancing accessibility and comfort within the bathroom space.
4. Transition Areas
Strategic placement of grab bars in transition areas within the bathroom, such as near doorways or between different flooring surfaces, can contribute to a safer and more accessible environment. These bars can aid individuals in navigating potential points of instability, providing support during movements in and out of the bathroom.
5. Customized Locations
In addition to the aforementioned key areas, it's important to consider customized grab bar locations based on the specific needs and preferences of the individuals using the bathroom. Assessing the unique requirements of the users and identifying areas where additional support may be beneficial can guide the installation of grab bars in personalized locations, tailored to enhance safety and convenience.
By strategically placing grab bars in these recommended locations, you can create a bathroom environment that prioritizes safety, accessibility, and independence for users of all ages and abilities. These carefully chosen placements aim to address common challenges and potential points of instability within the bathroom, ultimately promoting a secure and supportive space for individuals to confidently navigate and utilize.
Installation Tips
Ensuring the proper installation of grab bars is essential for their functionality and reliability in providing support and stability within a bathroom environment. By following these installation tips, you can effectively integrate grab bars into the space, promoting safety and accessibility for users of all ages and abilities.
-
Secure Mounting: When installing grab bars, it is crucial to secure them to wall studs or by using appropriate wall anchors. This ensures that the bars can support the weight and provide reliable assistance when needed. Avoid mounting grab bars solely to drywall, as it may not provide sufficient support, especially in the event of a fall or sudden weight-bearing.
-
Professional Installation: For complex installations or when dealing with challenging wall materials, such as tile or concrete, consider seeking professional assistance. Experienced installers can accurately assess the structural integrity of the walls and employ specialized techniques to securely mount grab bars, minimizing the risk of damage to the surrounding surfaces.
-
Height Considerations: When determining the height for installing grab bars, consider the specific needs and preferences of the intended users. Position the bars at a height that allows for comfortable and secure gripping, catering to individuals of varying heights and abilities. Additionally, ensure that the bars are within reach for individuals who may be sitting or maneuvering with mobility aids.
-
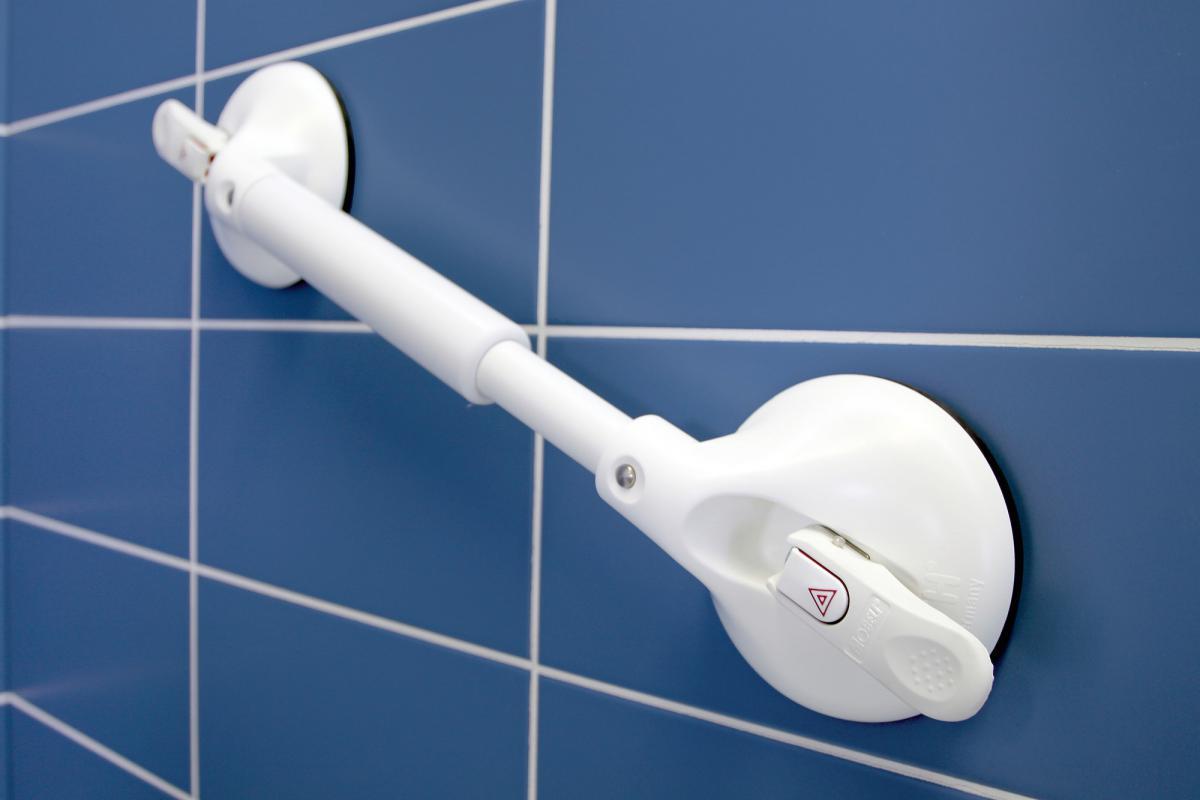
Use of Grab Bar Anchors: In cases where mounting to wall studs is not feasible, utilizing grab bar anchors designed for hollow walls can provide a secure and reliable installation. These anchors are specifically designed to distribute weight and provide stability, offering a practical solution for bathrooms with limited access to wall studs.
-
Adherence to Guidelines: When installing grab bars in commercial or public bathrooms, it is essential to adhere to the guidelines outlined in the Americans with Disabilities Act (ADA). Ensure that the grab bars meet the specified ADA requirements regarding height, length, and placement, promoting accessibility and safety for all individuals utilizing the facilities.
-
Regular Maintenance: After the installation of grab bars, incorporate regular maintenance checks to ensure their continued stability and functionality. Periodically inspect the mounting hardware and connections to identify any signs of loosening or wear, and promptly address any maintenance needs to uphold the safety and reliability of the grab bars.
By implementing these installation tips, you can effectively integrate grab bars into a bathroom environment, promoting a secure and supportive space for individuals to confidently navigate and utilize. Prioritizing proper installation techniques and adherence to safety guidelines contributes to the overall effectiveness and reliability of grab bars in enhancing the accessibility and safety of the bathroom.
Conclusion
In conclusion, the installation of grab bars in a bathroom is a proactive and essential step towards creating a safe, accessible, and supportive environment for individuals with diverse mobility needs. By strategically placing grab bars in key locations, such as near the shower or bathtub, toilet area, sink or vanity, and transition areas, the overall safety and functionality of the bathroom can be significantly enhanced. These carefully chosen placements aim to address common challenges and potential points of instability within the bathroom, ultimately promoting a secure and supportive space for individuals to confidently navigate and utilize.
The critical safety considerations associated with grab bars, including weight capacity, slip-resistant grip, proper installation, height and placement, and ADA compliance, serve as foundational principles for informed decision-making and the implementation of safety-focused solutions within the bathroom setting. Prioritizing these safety considerations ensures that grab bars effectively provide stability and support, catering to the specific needs of users while minimizing the risk of accidents or structural failures.
Furthermore, the installation tips outlined in this guide emphasize the importance of secure mounting, professional installation when necessary, height considerations, the use of grab bar anchors, adherence to guidelines, and regular maintenance. By following these tips, individuals and professionals can ensure the proper installation and ongoing reliability of grab bars, contributing to a secure and supportive bathroom environment.
It is important to recognize that the installation of grab bars not only promotes safety but also fosters independence and confidence for individuals with mobility challenges. By incorporating these simple yet impactful accessories into the bathroom space, individuals can maintain their autonomy and navigate the environment with greater ease and assurance. Additionally, for caregivers and family members, the presence of grab bars offers peace of mind, knowing that their loved ones have the necessary support to move safely within the bathroom.
In essence, the strategic installation of grab bars in a bathroom aligns with the broader goal of creating inclusive and accessible spaces that cater to the diverse needs of individuals. Whether for aging adults, individuals with disabilities, or individuals recovering from injuries, the presence of grab bars signifies a commitment to prioritizing safety, independence, and overall well-being within the bathroom environment. By embracing the principles of safety, accessibility, and thoughtful design, the integration of grab bars contributes to a more inclusive and supportive living environment for all.
Frequently Asked Questions about Where To Install Grab Bars In A Bathroom
Was this page helpful?
At Storables.com, we guarantee accurate and reliable information. Our content, validated by Expert Board Contributors, is crafted following stringent Editorial Policies. We're committed to providing you with well-researched, expert-backed insights for all your informational needs.

0 thoughts on “Where To Install Grab Bars In A Bathroom”