Home>Furniture & Design>Bathroom Accessories>How To Install Suction Grab Bars
Bathroom Accessories
How To Install Suction Grab Bars
Modified: October 20, 2024
Learn how to easily install suction grab bars in your bathroom for added safety and accessibility. Find out the best tips and techniques for installing bathroom accessories.
(Many of the links in this article redirect to a specific reviewed product. Your purchase of these products through affiliate links helps to generate commission for Storables.com, at no extra cost. Learn more)
Introduction
Installing suction grab bars in your bathroom can significantly enhance safety and accessibility, especially for individuals with limited mobility or balance issues. These versatile bathroom accessories provide a secure grip, offering support when entering or exiting the shower, bathtub, or toilet area. Whether you're a senior looking to age in place, a caregiver seeking to create a safer environment, or someone recovering from an injury, suction grab bars are a practical and cost-effective solution.
In this comprehensive guide, we will walk you through the step-by-step process of installing suction grab bars in your bathroom. By following these instructions, you can ensure a secure and reliable installation, providing peace of mind for yourself or your loved ones. With the right tools, materials, and proper placement, you can transform your bathroom into a safer and more accessible space.
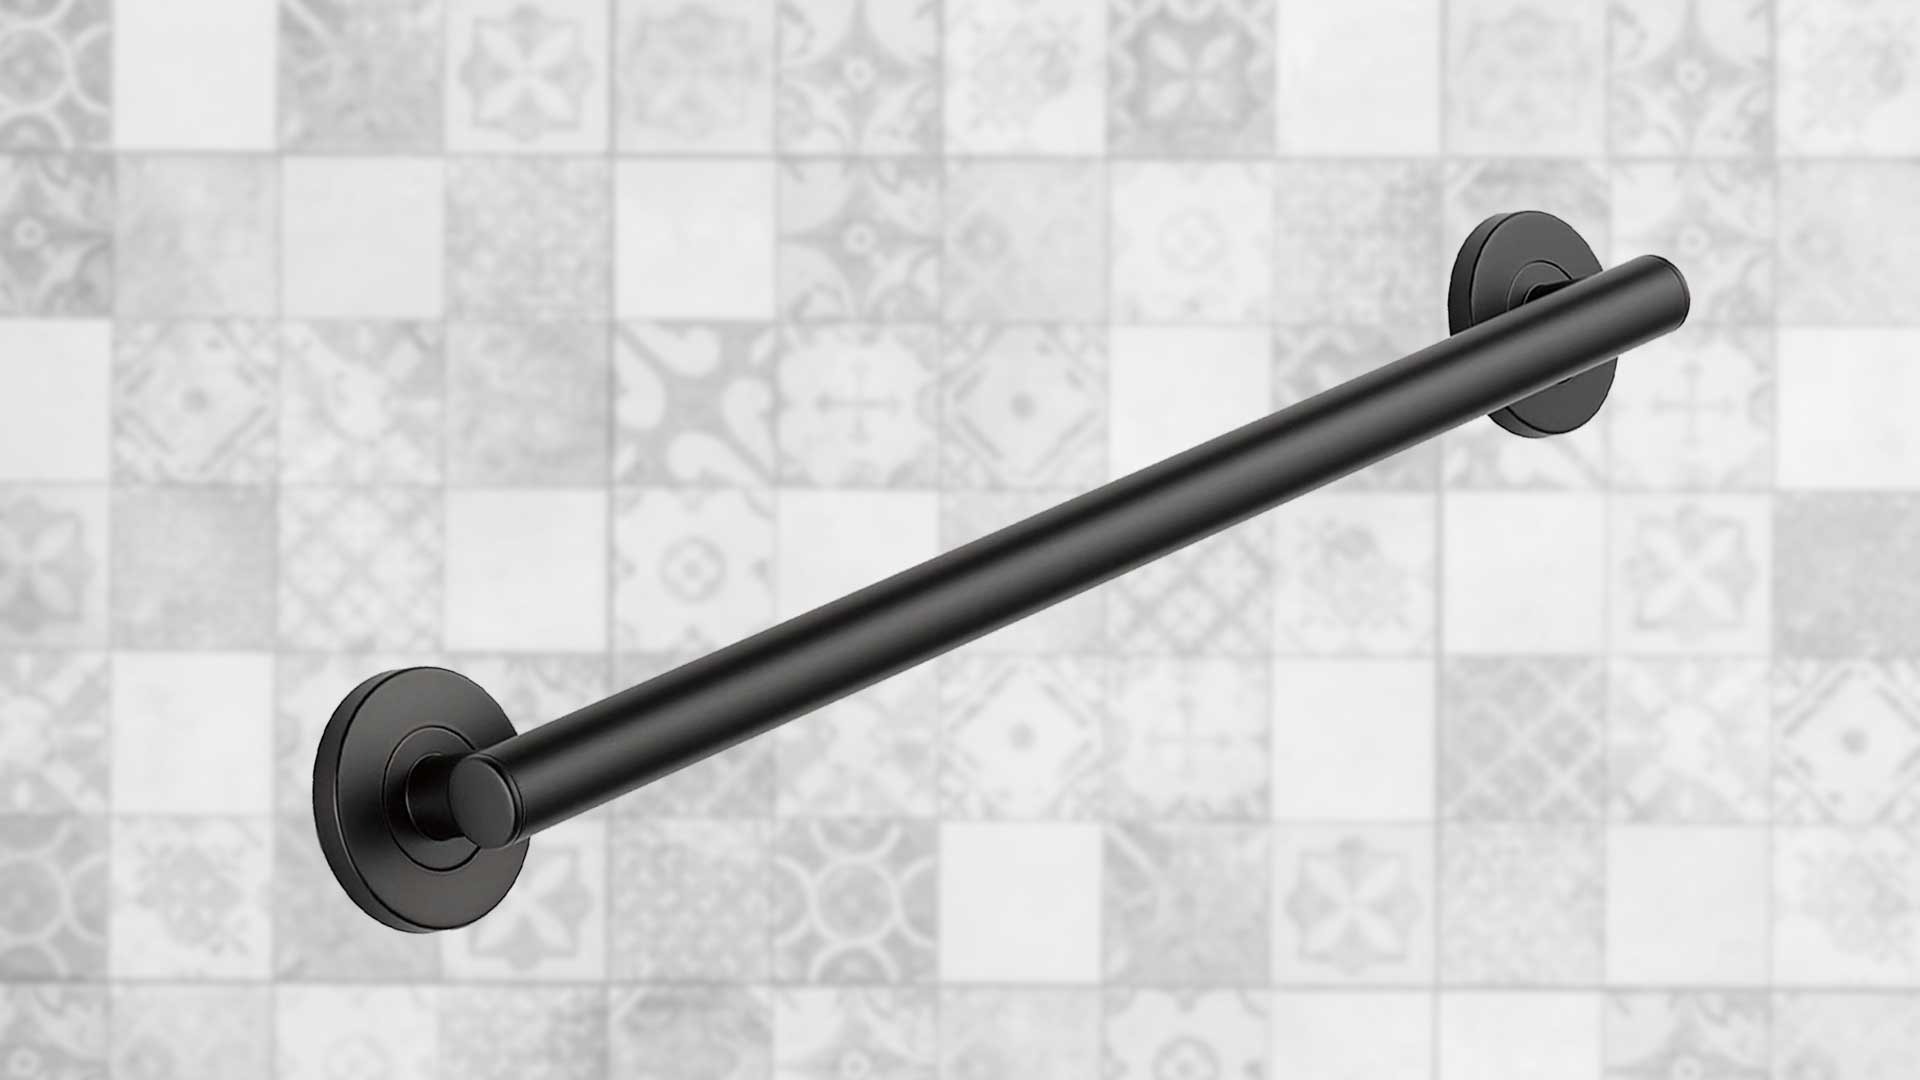
Suction grab bars are designed to adhere to smooth, non-porous surfaces such as tiles, glass, and fiberglass, making them an ideal option for rental properties or temporary installations. Unlike traditional grab bars that require drilling and permanent mounting, suction grab bars offer a non-invasive solution that can be easily repositioned or removed as needed. This flexibility makes them a popular choice for individuals seeking a temporary or portable accessibility solution without causing damage to the bathroom walls or tiles.
By understanding the importance of proper installation and placement, you can maximize the effectiveness of suction grab bars in providing stability and support. Whether you're looking to prevent slips and falls, improve accessibility, or simply add an extra layer of safety to your bathroom, this guide will equip you with the knowledge and confidence to complete the installation process successfully.
Now, let's dive into the step-by-step instructions for installing suction grab bars in your bathroom, ensuring a secure and reliable setup that enhances safety and accessibility for everyone.
Key Takeaways:
- Enhance Bathroom Safety with Suction Grab Bars
Installing suction grab bars provides secure support for individuals of all ages and abilities, promoting independence and peace of mind in the bathroom. - Easy Installation for Safer, More Accessible Bathrooms
By following simple steps and testing stability, anyone can install suction grab bars to create a secure and supportive bathroom environment.
Read more: Who Installs Grab Bars?
Step 1: Gather the Necessary Tools and Materials
Before embarking on the installation of suction grab bars in your bathroom, it's essential to gather all the required tools and materials. Having the right equipment at your disposal will streamline the installation process and ensure a secure and reliable outcome. Here's a comprehensive list of the necessary items you'll need:
Tools:
- Measuring Tape: Accurately measure the placement area to ensure proper positioning of the grab bars.
- Pencil: Use a pencil to mark the exact points where the grab bars will be installed.
- Level: Ensures that the grab bars are installed straight and aligned correctly.
- Towel: Keep a towel handy to wipe down the surface before installing the suction grab bars.
- Rubbing Alcohol: Use rubbing alcohol to clean the mounting surface thoroughly for optimal suction.
Materials:
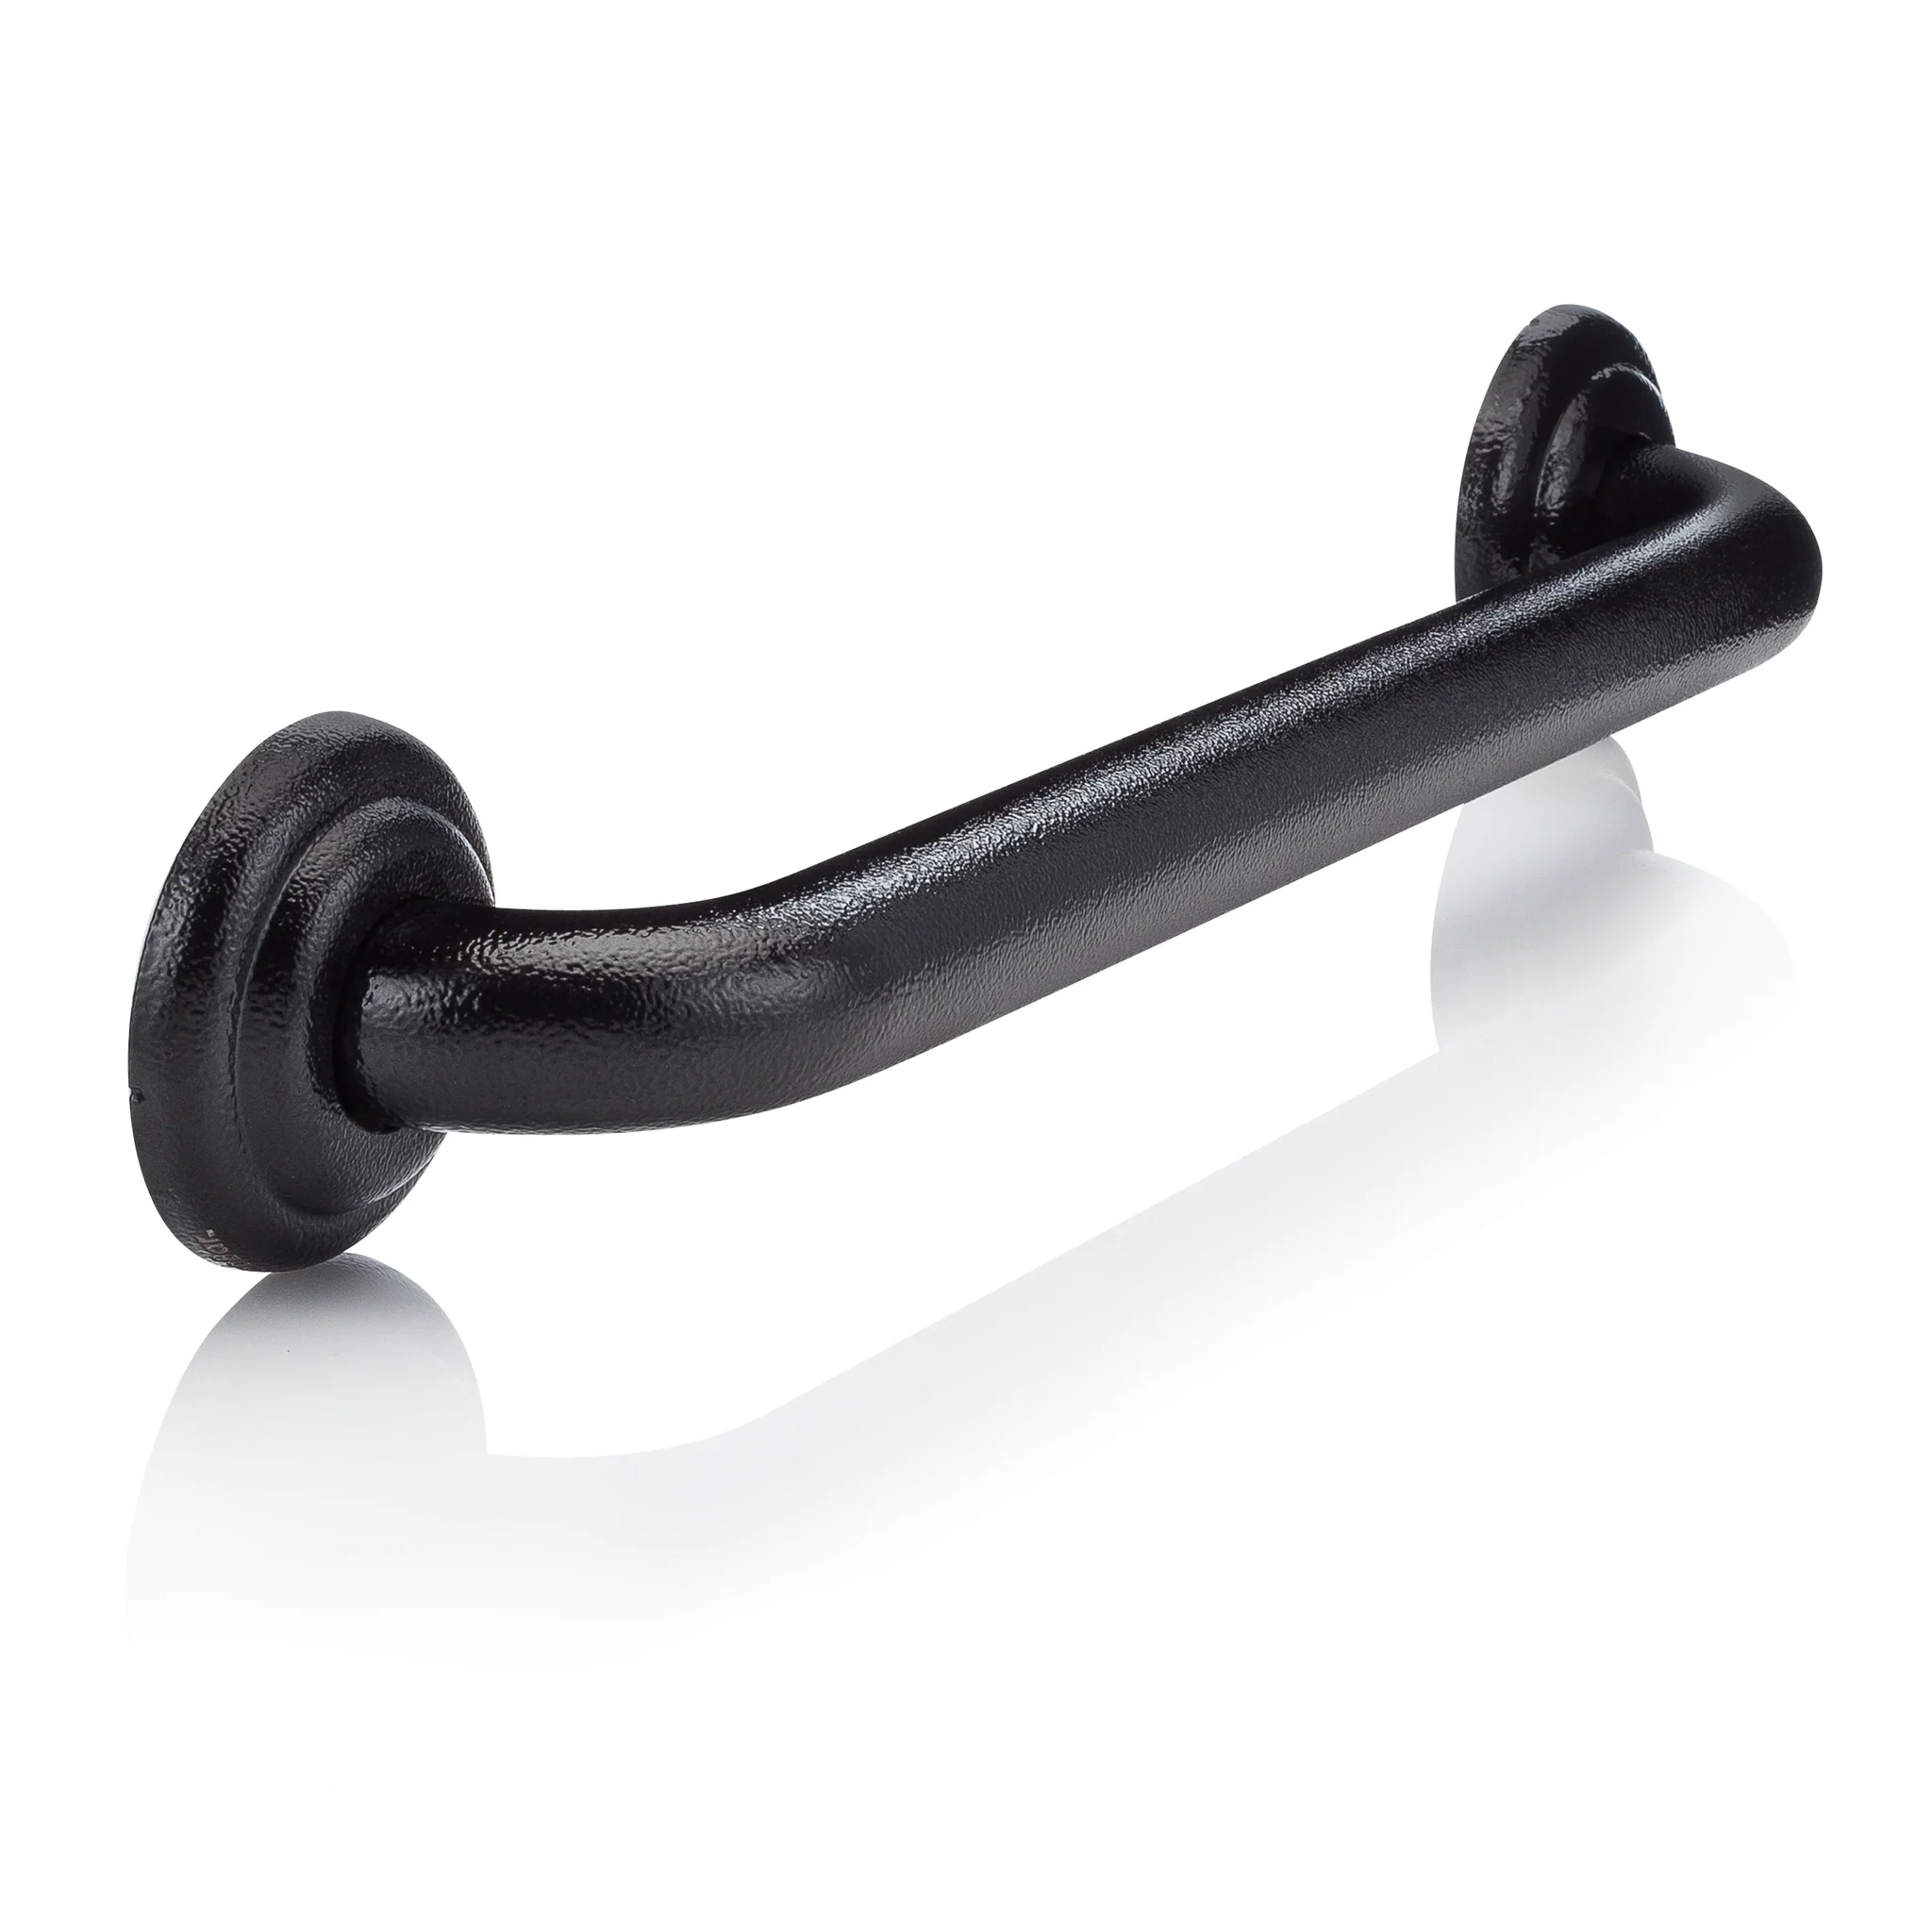
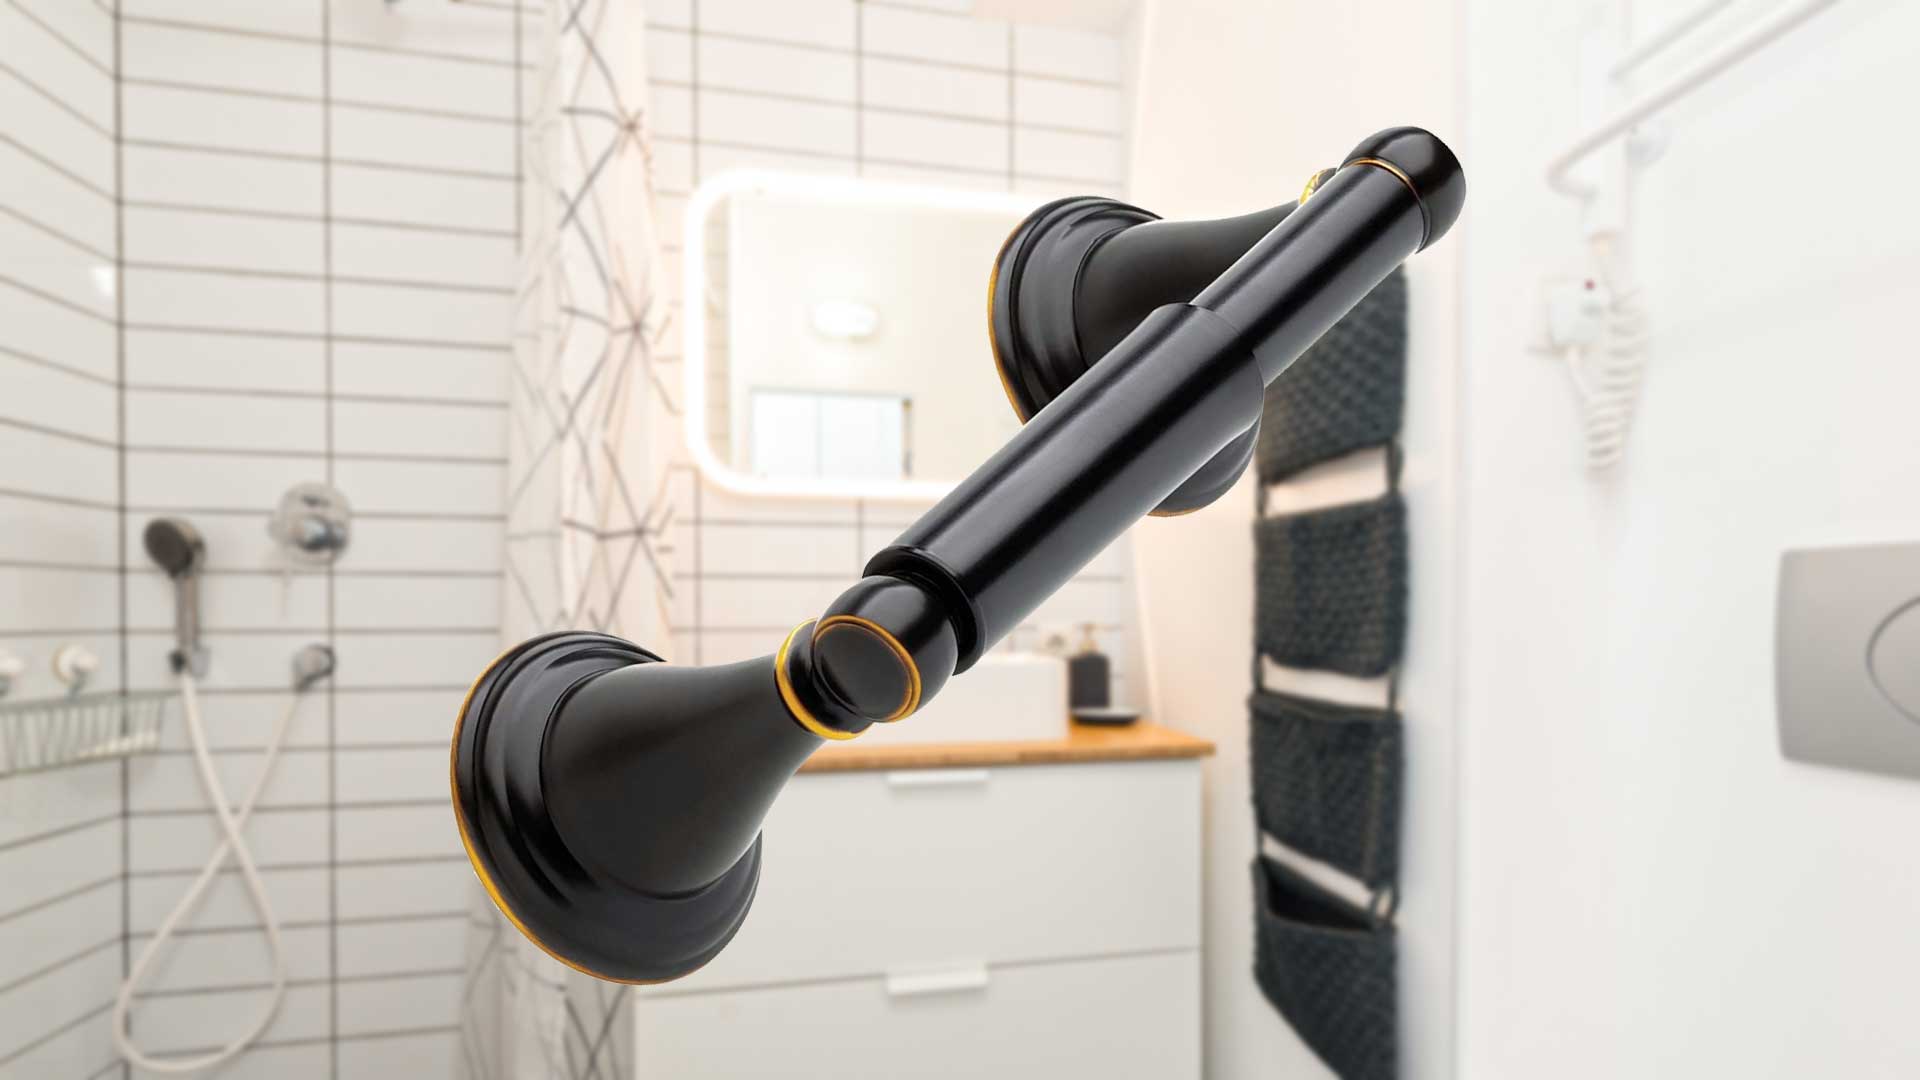
- Suction Grab Bars: Choose high-quality suction grab bars that are designed for bathroom use and have a strong suction capacity.
- User Manual: Refer to the user manual provided with the grab bars for specific installation instructions.
- Optional Backing Plate: Some suction grab bars come with an additional backing plate for enhanced stability.
- Cleaning Cloth: Use a clean cloth to wipe down the suction cups and ensure a secure grip.
- Optional Waterproof Adhesive: If desired, you can use waterproof adhesive for added stability, especially for long-term installations.
By ensuring that you have all the necessary tools and materials ready, you can proceed with confidence to the next step of the installation process. Proper preparation sets the stage for a successful and secure installation of suction grab bars in your bathroom, providing essential support and safety for everyday use.
Step 2: Choose the Right Location
Selecting the appropriate location for installing suction grab bars is crucial to ensure their effectiveness and provide optimal support in the bathroom. The chosen placement should cater to the specific needs of the individuals using the bathroom, considering factors such as accessibility, stability, and convenience. Here's a detailed guide to help you determine the right location for your suction grab bars:
Read more: How To Install Grab Bars On Tile
Consider User Needs
Before identifying the installation site, it's essential to consider the needs and requirements of the individuals who will be using the grab bars. Assess whether the primary purpose is to assist with entering or exiting the shower, bathtub, or toilet area. Additionally, take into account the height and reach of the users to determine the most suitable positioning for the grab bars.
Evaluate Accessibility
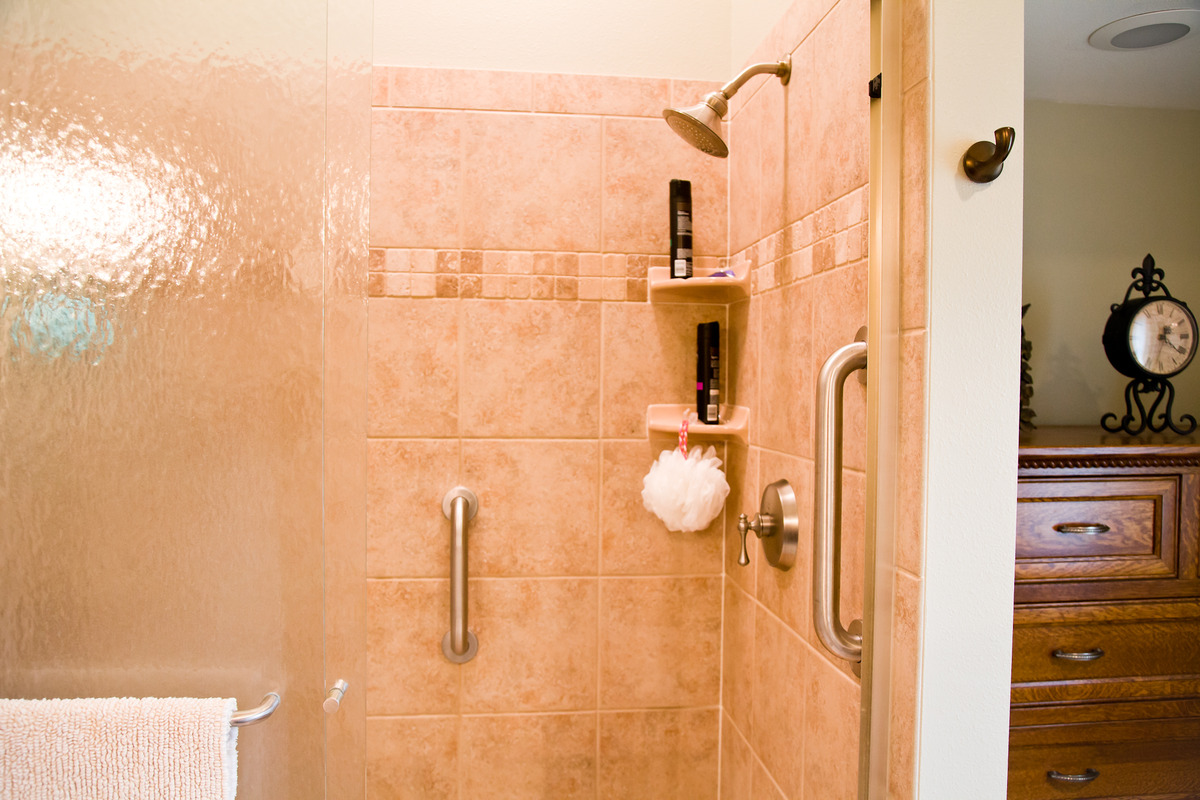
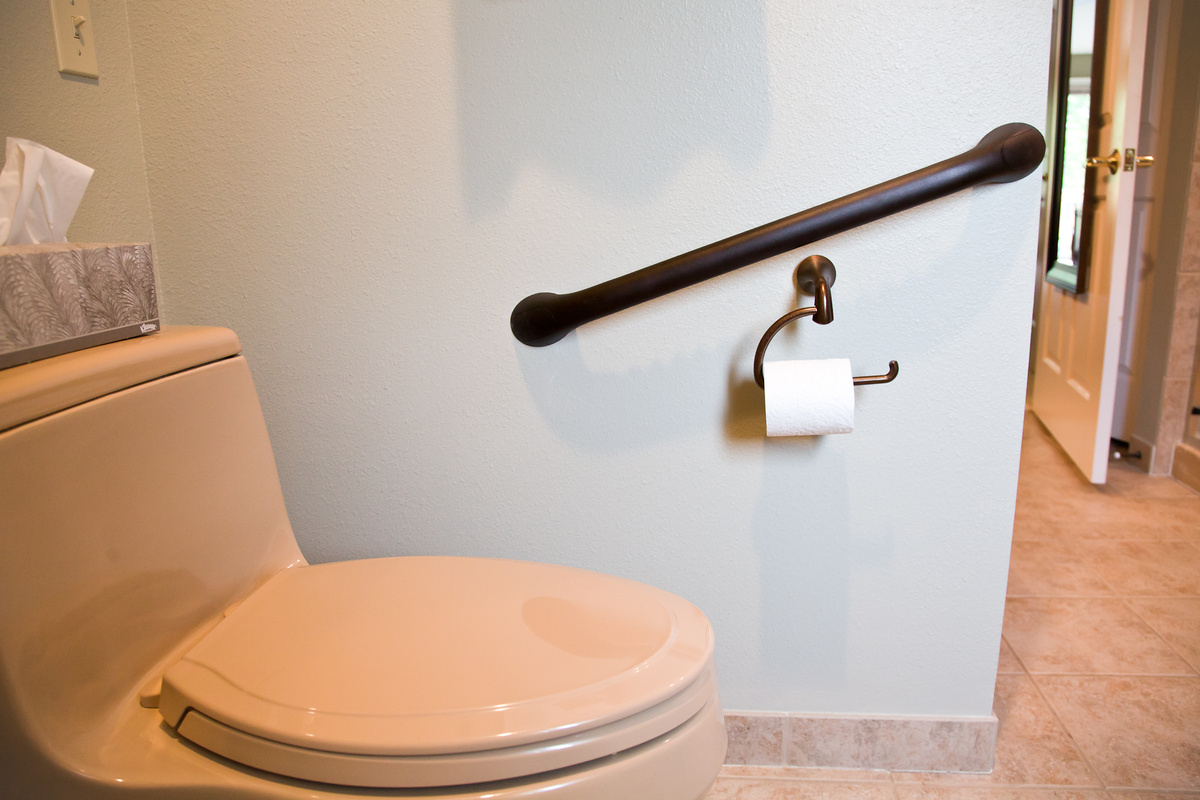
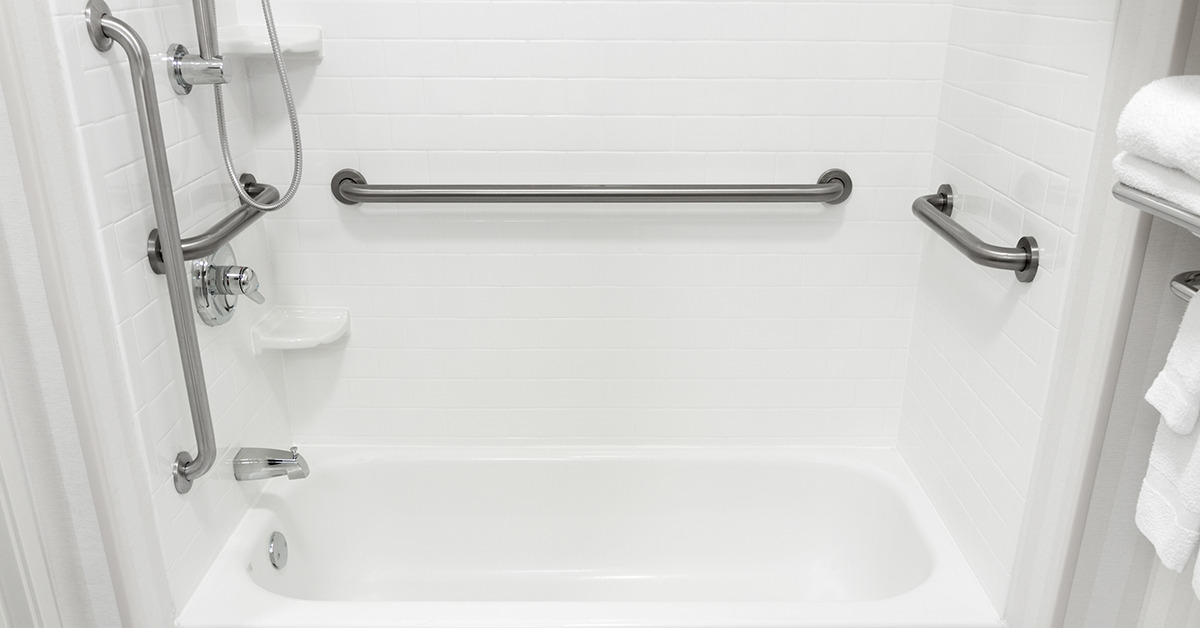
Evaluate the accessibility of the chosen location to ensure that the grab bars are easily reachable and provide support where it is most needed. For shower or bathtub installations, consider placing the grab bars at a height that allows users to maintain stability while standing or maneuvering in wet and slippery conditions. Similarly, for toilet areas, the grab bars should be strategically positioned to aid in sitting down and standing up comfortably.
Assess Wall Surface
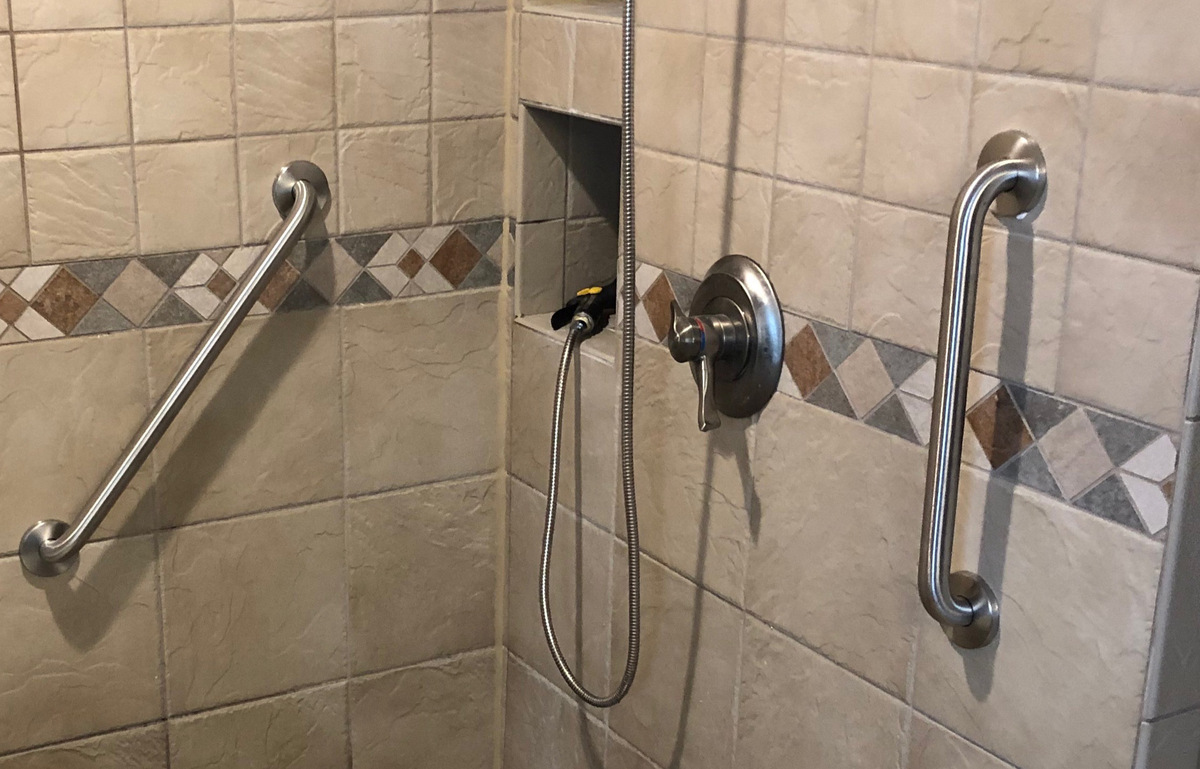
Examine the wall surface where the suction grab bars will be installed. Ensure that the area is smooth, non-porous, and free from any texture or irregularities that may affect the suction's grip. Ideally, tiles, glass, or fiberglass surfaces provide the best adherence for suction grab bars, offering a secure and reliable attachment.
Avoid Obstructions
Choose a location that is free from obstructions and allows sufficient space for the grab bars to be mounted securely. Avoid placing the grab bars behind shower curtains, near towel racks, or in areas where they may interfere with the opening and closing of doors. The goal is to create a clear and unobstructed path for individuals to access and utilize the grab bars without hindrance.
Read more: Where To Install Grab Bars In A Bathroom
Seek User Input
If the suction grab bars are being installed to accommodate specific individuals, such as seniors or individuals with mobility challenges, it's valuable to seek their input regarding the preferred location. Understanding their comfort and convenience preferences can guide the decision-making process and ensure that the grab bars are positioned in a manner that best meets their needs.
By carefully considering these factors and evaluating the specific requirements of the users, you can confidently choose the right location for installing suction grab bars in your bathroom. This thoughtful approach will result in a well-placed and functional installation that enhances safety and accessibility for everyone utilizing the space.
Step 3: Clean the Surface
Properly cleaning the surface where the suction grab bars will be installed is a critical step in ensuring a secure and reliable attachment. The cleanliness of the mounting surface directly impacts the suction's ability to form a strong grip, ultimately determining the stability and effectiveness of the grab bars. Here's a detailed guide on how to clean the surface before installing the suction grab bars:
-
Gather Cleaning Supplies: Begin by gathering the necessary cleaning supplies, including a clean towel and rubbing alcohol. The rubbing alcohol is particularly effective in removing any residue or oils that may hinder the suction's adherence to the surface.
-
Wipe Down the Surface: Use the clean towel to wipe down the area where the suction grab bars will be mounted. Ensure that the surface is free from dust, moisture, and any other particles that could interfere with the suction's grip. Thoroughly dry the area to prepare it for the next cleaning step.
-
Apply Rubbing Alcohol: Dampen a portion of the towel with rubbing alcohol and gently wipe the mounting surface. The rubbing alcohol effectively removes any lingering oils, soap scum, or dirt, creating an optimal environment for the suction cups to adhere securely.
-
Allow Surface to Dry: After cleaning the surface with rubbing alcohol, allow it to air dry completely. Ensuring that the surface is dry is essential for promoting maximum suction and preventing any slippage or instability once the grab bars are installed.
-
Inspect the Cleanliness: Take a moment to inspect the cleanliness of the mounting surface. Ensure that it is free from any residue or contaminants that could compromise the suction's effectiveness. A visually clean and dry surface indicates readiness for the installation of the suction grab bars.
By meticulously cleaning the surface using the aforementioned steps, you can create an ideal environment for the suction grab bars to form a strong and reliable attachment. This meticulous approach to surface preparation sets the stage for a successful installation, ensuring that the grab bars provide the necessary support and stability for their intended use.
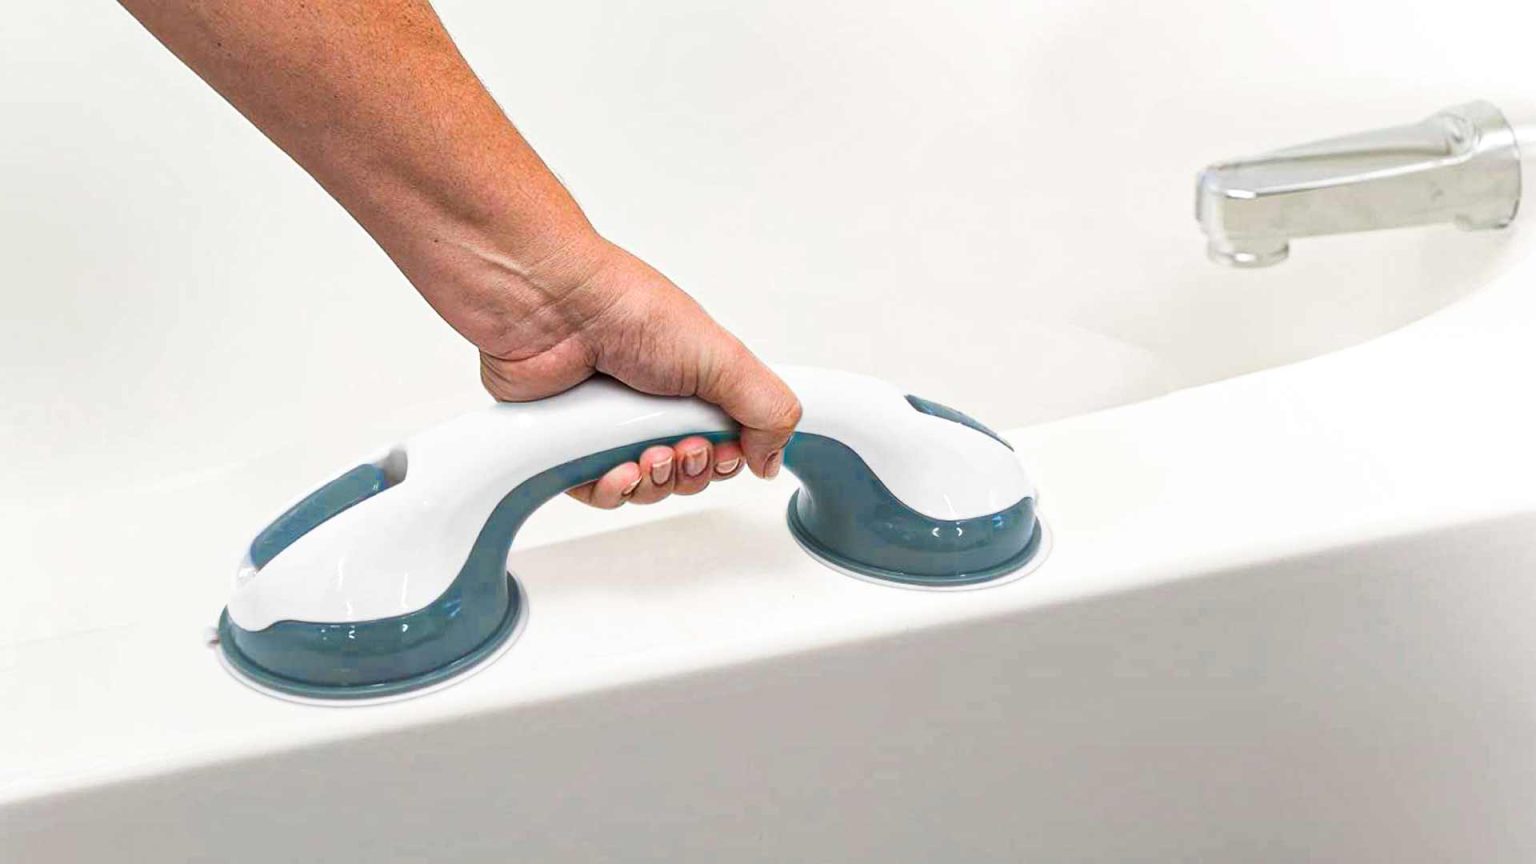
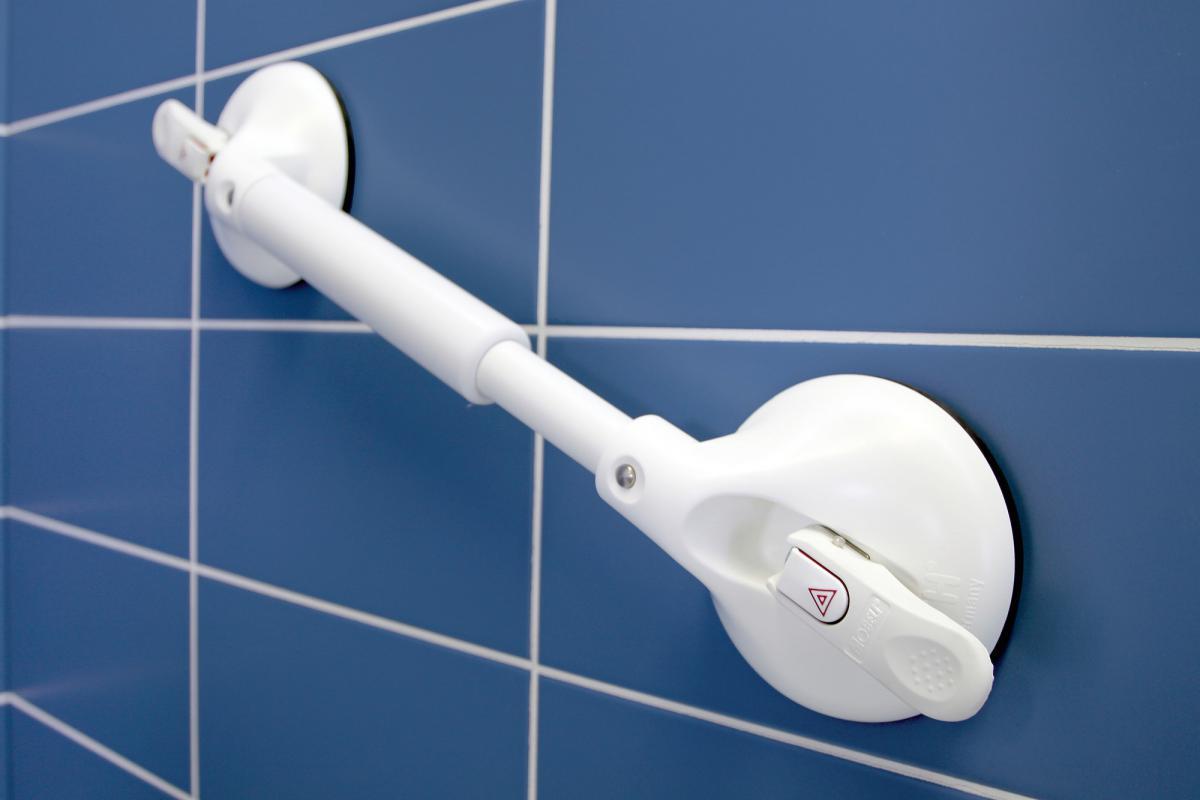
Step 4: Install the Suction Grab Bars
Installing the suction grab bars is a pivotal step that demands precision and attention to detail to ensure a secure and reliable attachment. Follow these step-by-step instructions to effectively install the suction grab bars in your bathroom:
-
Positioning the Grab Bars: Begin by determining the exact placement of the suction grab bars based on the previously chosen location. Use a measuring tape to ensure accurate positioning, and mark the points with a pencil. It's essential to maintain a level alignment for the grab bars to ensure stability and functionality.
-
Prepare the Suction Cups: Before attaching the grab bars, thoroughly clean the suction cups with a cleaning cloth to remove any dust or debris. This step is crucial in promoting optimal suction and adherence to the mounting surface.
-
Press and Secure: Firmly press the suction cups against the cleaned and dried mounting surface. Apply even pressure to ensure a tight seal, and activate the suction mechanism by flipping or pressing the designated lever or switch on the grab bars. This action creates a vacuum seal, securing the grab bars in place.
-
Optional Backing Plate: If your suction grab bars come with an optional backing plate, consider using it for added stability. The backing plate provides an extra layer of support and can enhance the overall reliability of the installation, especially for long-term use.
-
Test the Stability: Once the suction grab bars are installed, carefully test their stability by applying gentle pressure. Verify that the grab bars remain securely attached and do not shift or dislodge from the mounting surface. This step is crucial in ensuring the safety and reliability of the installation.
-
Optional Waterproof Adhesive: For additional security, especially in high-moisture environments, consider applying waterproof adhesive around the edges of the suction cups. This optional step can provide extra reassurance, particularly in situations where prolonged exposure to moisture may affect the suction's grip.
By following these detailed steps, you can effectively install the suction grab bars in your bathroom, creating a safer and more accessible environment. The proper installation of the grab bars ensures that they fulfill their intended purpose of providing stability and support, contributing to a more secure and user-friendly bathroom space.
Step 5: Test the Stability
After the installation of the suction grab bars, it is crucial to thoroughly test their stability to ensure that they provide the necessary support and safety. Testing the stability of the grab bars is a critical step that validates the effectiveness of the installation and provides confidence in their reliability. Here's a detailed guide on how to test the stability of the suction grab bars:
-
Gentle Pressure: Begin by applying gentle pressure to the grab bars in various directions. Test their resistance by pulling and pushing on the bars to assess their ability to remain securely attached to the mounting surface. This initial test helps evaluate the immediate stability of the grab bars and ensures that they can withstand typical user movements.
-
Weight-Bearing Test: To further assess the stability, gradually apply weight to the grab bars by leaning on them with your hands or forearms. This simulates the actual usage of the grab bars and allows you to gauge their ability to support body weight without shifting or detaching from the surface. It's essential to perform this test methodically to confirm the grab bars' capacity to provide reliable support.
-
Dynamic Movement: Engage in dynamic movements while holding onto the grab bars, such as gently pulling or shifting your body weight. This dynamic testing helps replicate real-life scenarios where individuals may rely on the grab bars for stability while maneuvering in the bathroom. By observing the grab bars' response to dynamic movements, you can ensure that they remain steadfast and secure during practical use.
-
Visual Inspection: Conduct a visual inspection of the grab bars and the mounting surface after performing the stability tests. Look for any signs of slippage, movement, or detachment. Additionally, verify that the suction cups maintain their seal and show no indications of air leakage or loss of suction. A thorough visual inspection provides valuable feedback on the grab bars' stability and the integrity of their attachment.
-
Repositioning Test (Optional): If you have installed the suction grab bars in multiple positions, consider repositioning them to different locations within the bathroom. This optional test allows you to assess the grab bars' adaptability to new mounting surfaces and ensures that they can be repositioned without compromising their stability. It also serves as a practical demonstration of the grab bars' versatility and reusability.
By meticulously testing the stability of the suction grab bars using the aforementioned methods, you can ascertain their reliability and effectiveness in providing essential support and safety in the bathroom. A thorough stability test instills confidence in the grab bars' ability to fulfill their intended purpose, ultimately contributing to a safer and more accessible bathroom environment.
Conclusion
In conclusion, the installation of suction grab bars in your bathroom represents a proactive and practical approach to enhancing safety and accessibility for individuals of all ages and abilities. By following the step-by-step process outlined in this guide, you have equipped yourself with the knowledge and confidence to successfully install suction grab bars, creating a secure and supportive environment within your bathroom.
The careful selection of the installation location, thorough cleaning of the mounting surface, and precise installation of the grab bars are essential elements that contribute to the overall effectiveness of this accessibility solution. By considering user needs, evaluating accessibility, and ensuring a clear and unobstructed placement, you have taken proactive steps to address the specific requirements of those utilizing the bathroom space.
Furthermore, the meticulous cleaning of the mounting surface and the strategic positioning of the suction grab bars have laid the foundation for a secure and reliable attachment. The thorough stability testing, including gentle pressure, weight-bearing assessments, dynamic movement tests, and visual inspections, has provided valuable assurance regarding the grab bars' ability to withstand real-life usage and provide essential support.
The versatility and non-invasive nature of suction grab bars make them an ideal choice for individuals seeking a temporary or portable accessibility solution without the need for permanent fixtures or alterations to the bathroom walls. Whether you are a senior looking to age in place, a caregiver creating a safer environment, or someone recovering from an injury, the installation of suction grab bars offers a practical and cost-effective means of enhancing safety and stability.
By incorporating these suction grab bars into your bathroom, you have taken a proactive step towards creating a more inclusive and secure space for everyone. The added layer of safety and support provided by these grab bars contributes to a sense of independence and confidence, allowing individuals to navigate the bathroom with greater ease and peace of mind.
In essence, the installation of suction grab bars is not merely a functional addition to the bathroom; it is a testament to your commitment to prioritizing safety, accessibility, and well-being. With the completion of this installation, you have transformed your bathroom into a more secure and accommodating environment, ensuring that individuals can navigate the space with confidence and independence.
Congratulations on successfully installing suction grab bars in your bathroom, and may this enhancement contribute to a safer and more accessible living environment for all who utilize the space.
Frequently Asked Questions about How To Install Suction Grab Bars
Was this page helpful?
At Storables.com, we guarantee accurate and reliable information. Our content, validated by Expert Board Contributors, is crafted following stringent Editorial Policies. We're committed to providing you with well-researched, expert-backed insights for all your informational needs.
0 thoughts on “How To Install Suction Grab Bars”