Home>Furniture & Design>Bathroom Accessories>How To Install Grab Bars On A Fiberglass Shower
Bathroom Accessories
How To Install Grab Bars On A Fiberglass Shower
Modified: February 18, 2024
Learn how to properly install grab bars on a fiberglass shower to enhance safety and accessibility in your bathroom. Find step-by-step instructions and tips for installing bathroom accessories.
(Many of the links in this article redirect to a specific reviewed product. Your purchase of these products through affiliate links helps to generate commission for Storables.com, at no extra cost. Learn more)
Introduction
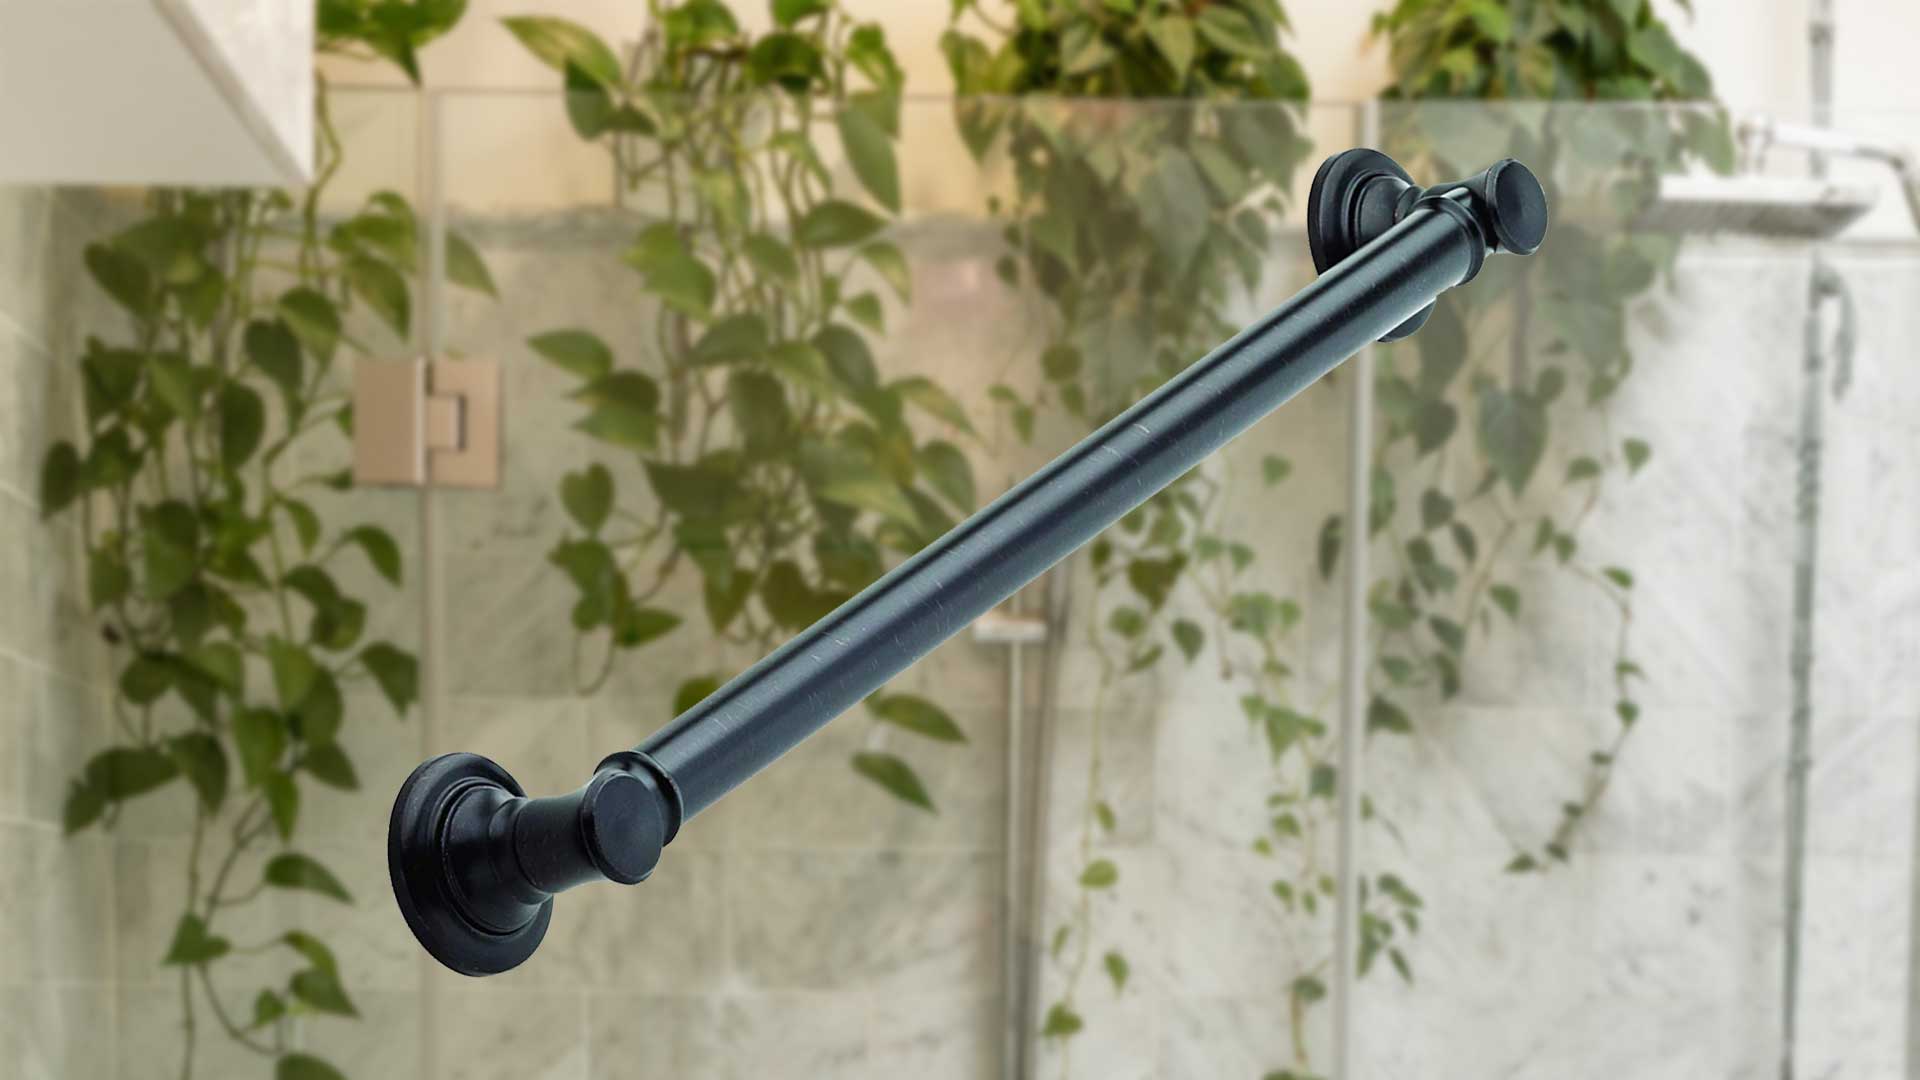
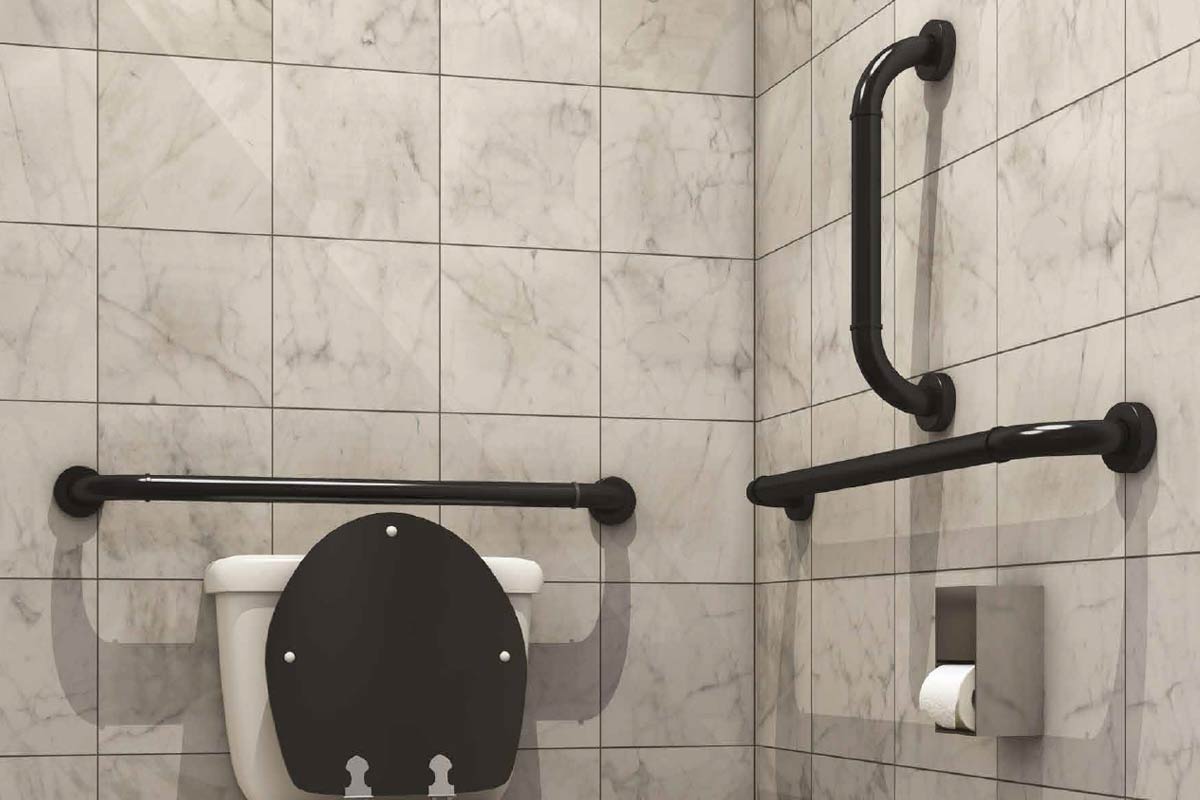
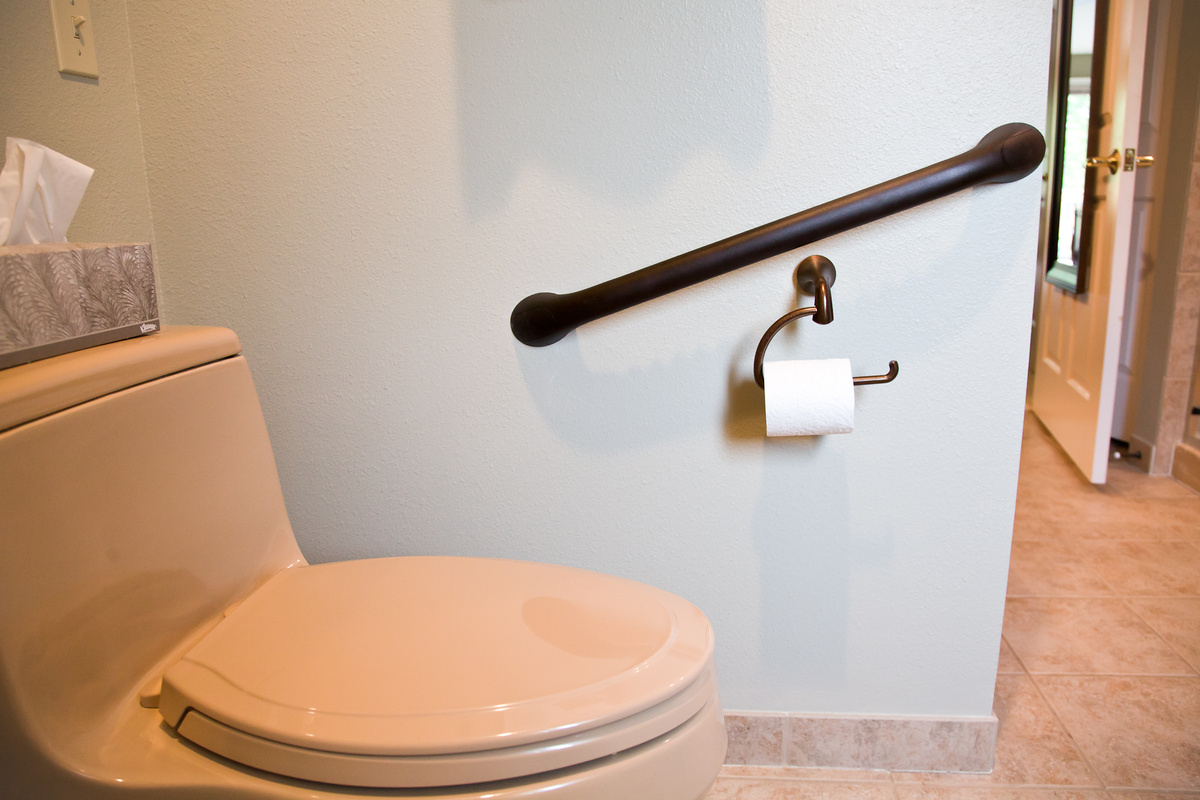
Installing grab bars in a fiberglass shower is a crucial step in creating a safe and accessible bathing environment, especially for individuals with limited mobility or balance issues. These sturdy bars provide essential support and stability, reducing the risk of slips and falls while enhancing overall safety. Whether you're a seasoned DIY enthusiast or a first-time homeowner looking to make your bathroom more accessible, this comprehensive guide will walk you through the step-by-step process of installing grab bars on a fiberglass shower.
By following these instructions and using the right tools and materials, you can successfully complete this project and significantly improve the safety and functionality of your bathroom. With careful attention to detail and a systematic approach, you'll be able to ensure that the grab bars are securely installed, providing reliable support for years to come.
In the following sections, we will outline the tools and materials needed for the installation, as well as provide a detailed breakdown of each step, from measuring and marking the placement of the grab bars to testing their stability. Whether you're installing grab bars for yourself, a family member, or a client, this guide will equip you with the knowledge and confidence to complete the installation with precision and care.
Let's dive into the process of installing grab bars on a fiberglass shower, empowering you to create a safer and more accessible bathroom environment for yourself or your loved ones.
Key Takeaways:
- Installing grab bars in a fiberglass shower enhances safety and accessibility, providing essential support for individuals with mobility challenges. Precise measurements, secure attachment, and thorough testing ensure reliable functionality.
- The installation of grab bars on a fiberglass shower reflects a commitment to inclusivity and thoughtful design, creating a more welcoming and supportive home environment. It promotes confidence, independence, and peace of mind for users.
Read more: Who Installs Grab Bars?
Tools and Materials Needed
Before embarking on the installation of grab bars in a fiberglass shower, it's essential to gather the necessary tools and materials to ensure a smooth and efficient process. Here's a comprehensive list of what you'll need:
Tools:
- Measuring Tape: Accurately measuring the placement of the grab bars is crucial for ensuring proper positioning and stability.
- Pencil or Marker: These will be used to mark the precise locations for drilling holes and mounting the grab bars.
- Level: A level will help ensure that the grab bars are installed straight and aligned correctly.
- Power Drill: A drill with the appropriate drill bits will be necessary for creating holes in the fiberglass shower for the mounting screws.
- Screwdriver: Depending on the type of screws provided with the grab bars, a screwdriver or screw gun may be required for installation.
- Adjustable Wrench: This tool will be used to tighten the mounting screws and secure the grab bars in place.
- Stud Finder (optional): If you plan to mount the grab bars to wall studs for added strength, a stud finder can help locate the studs behind the fiberglass walls.
Materials:
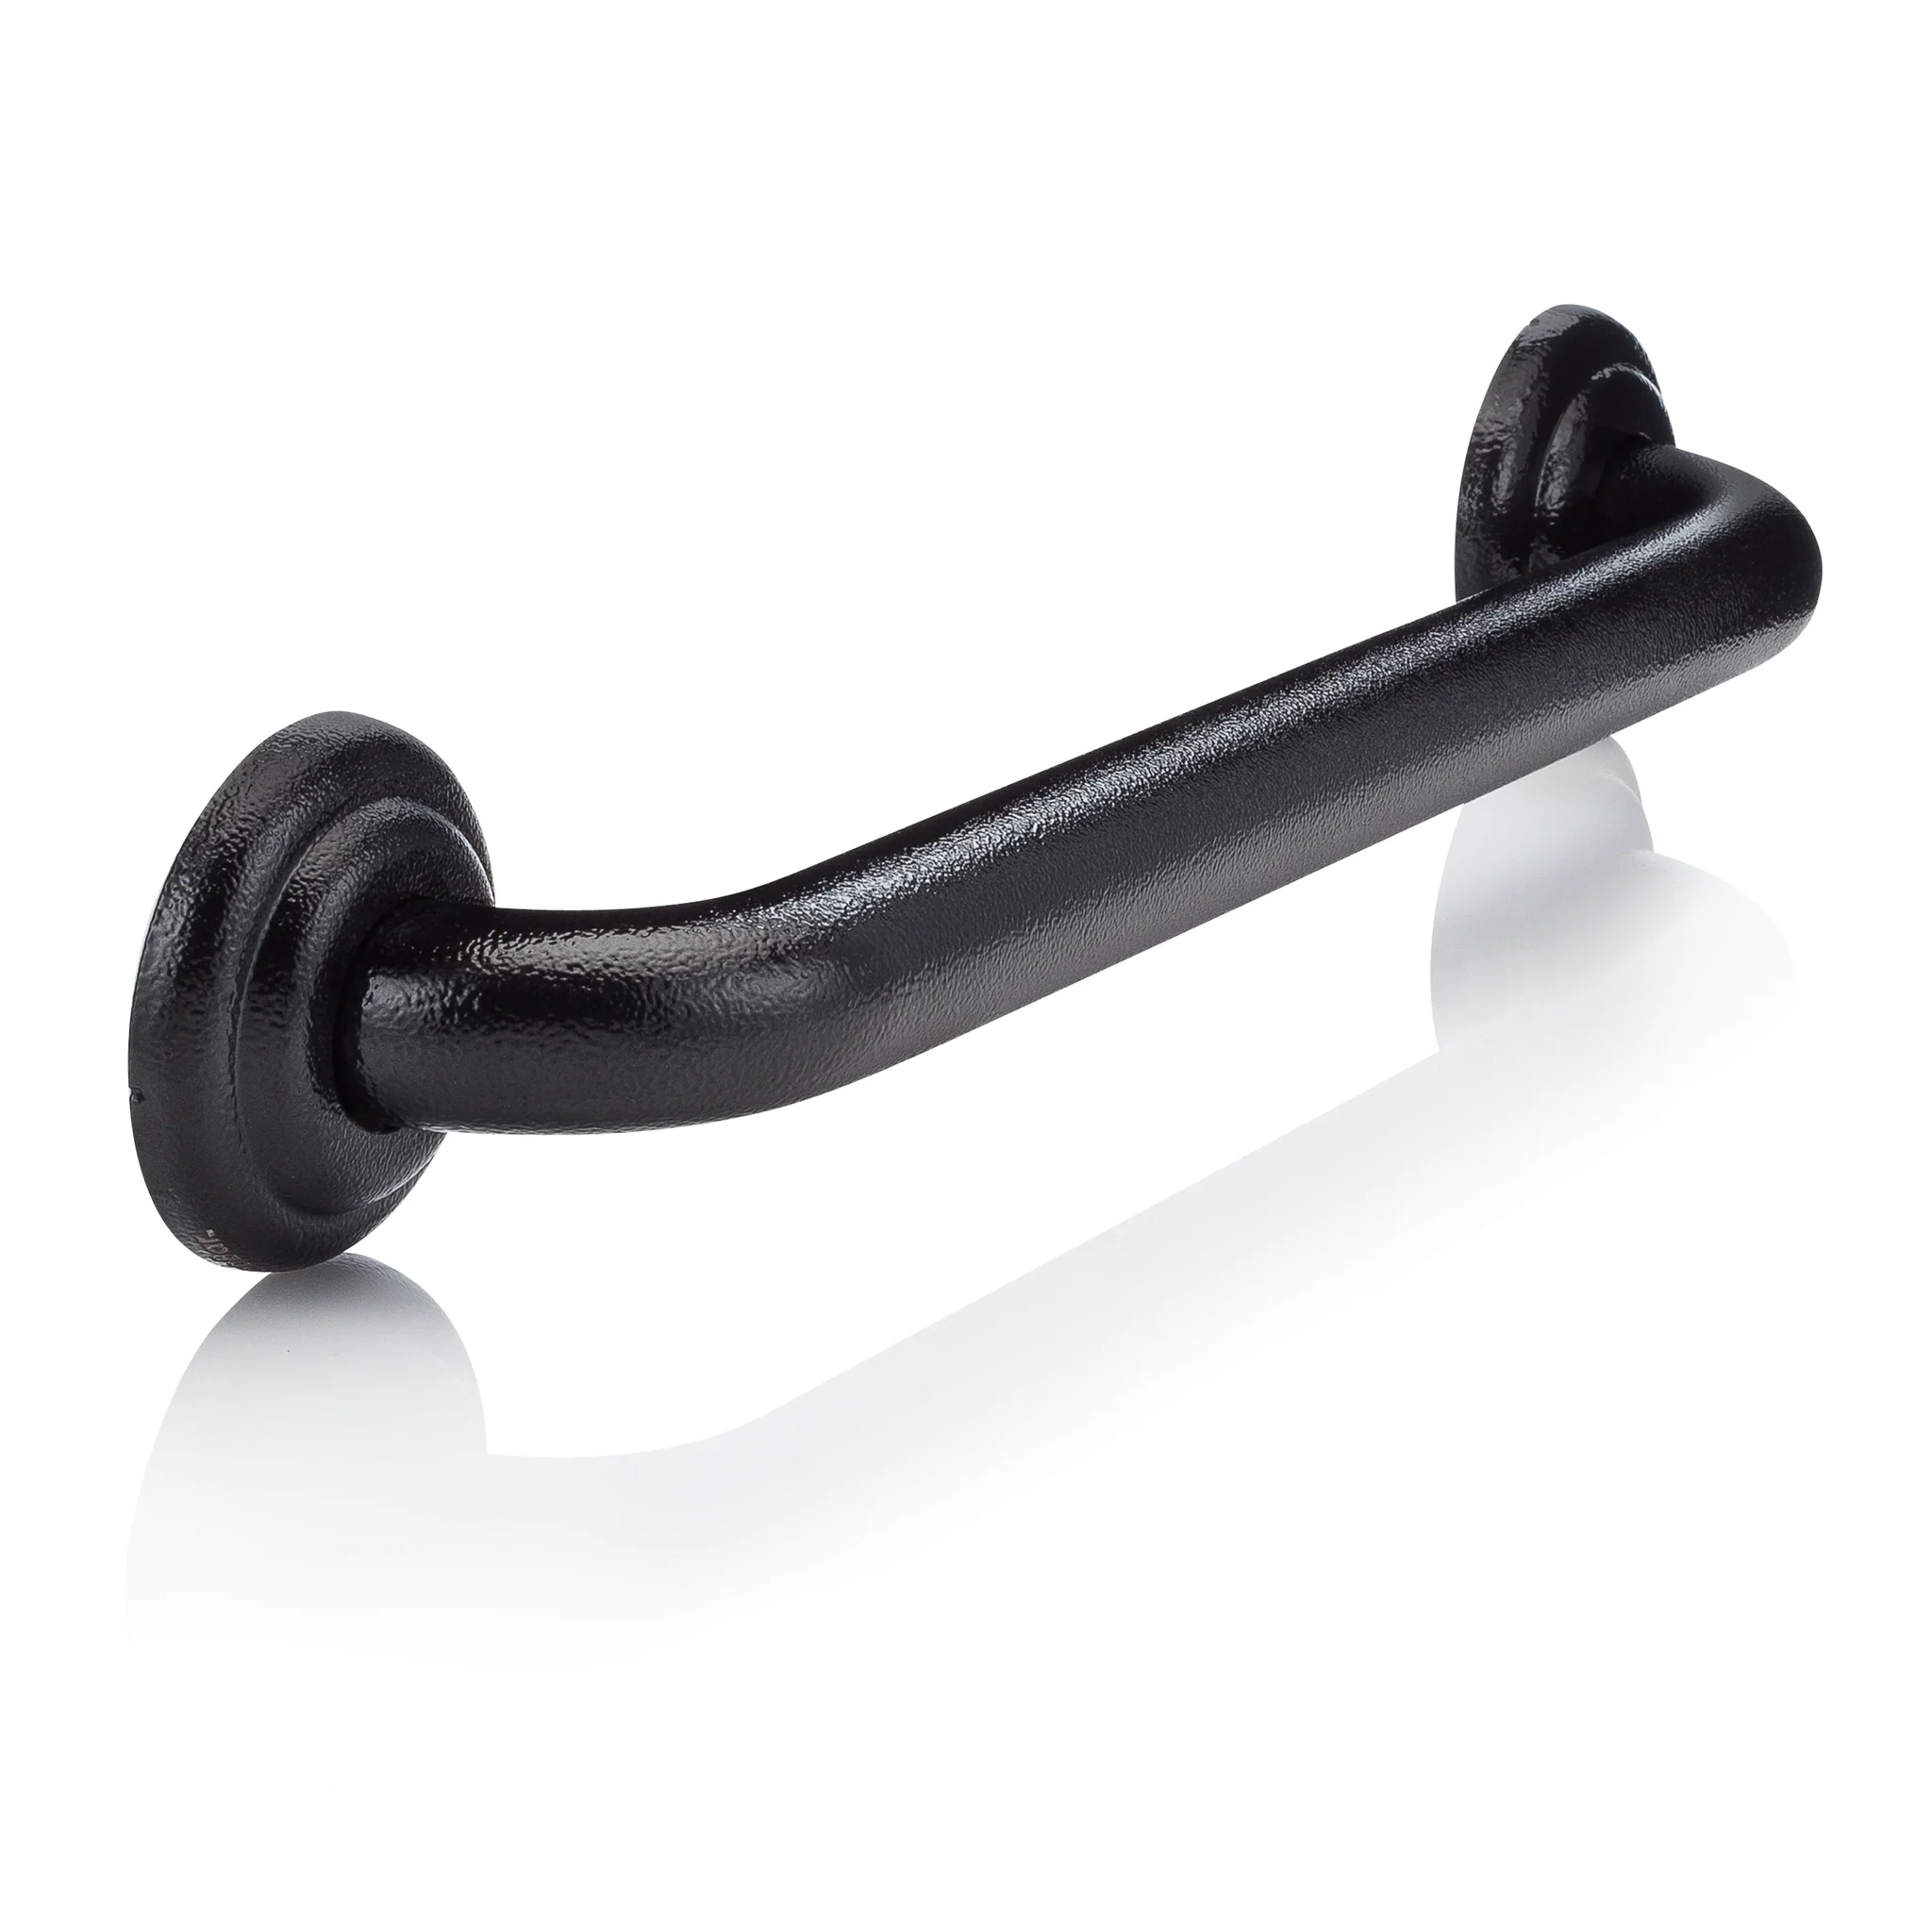
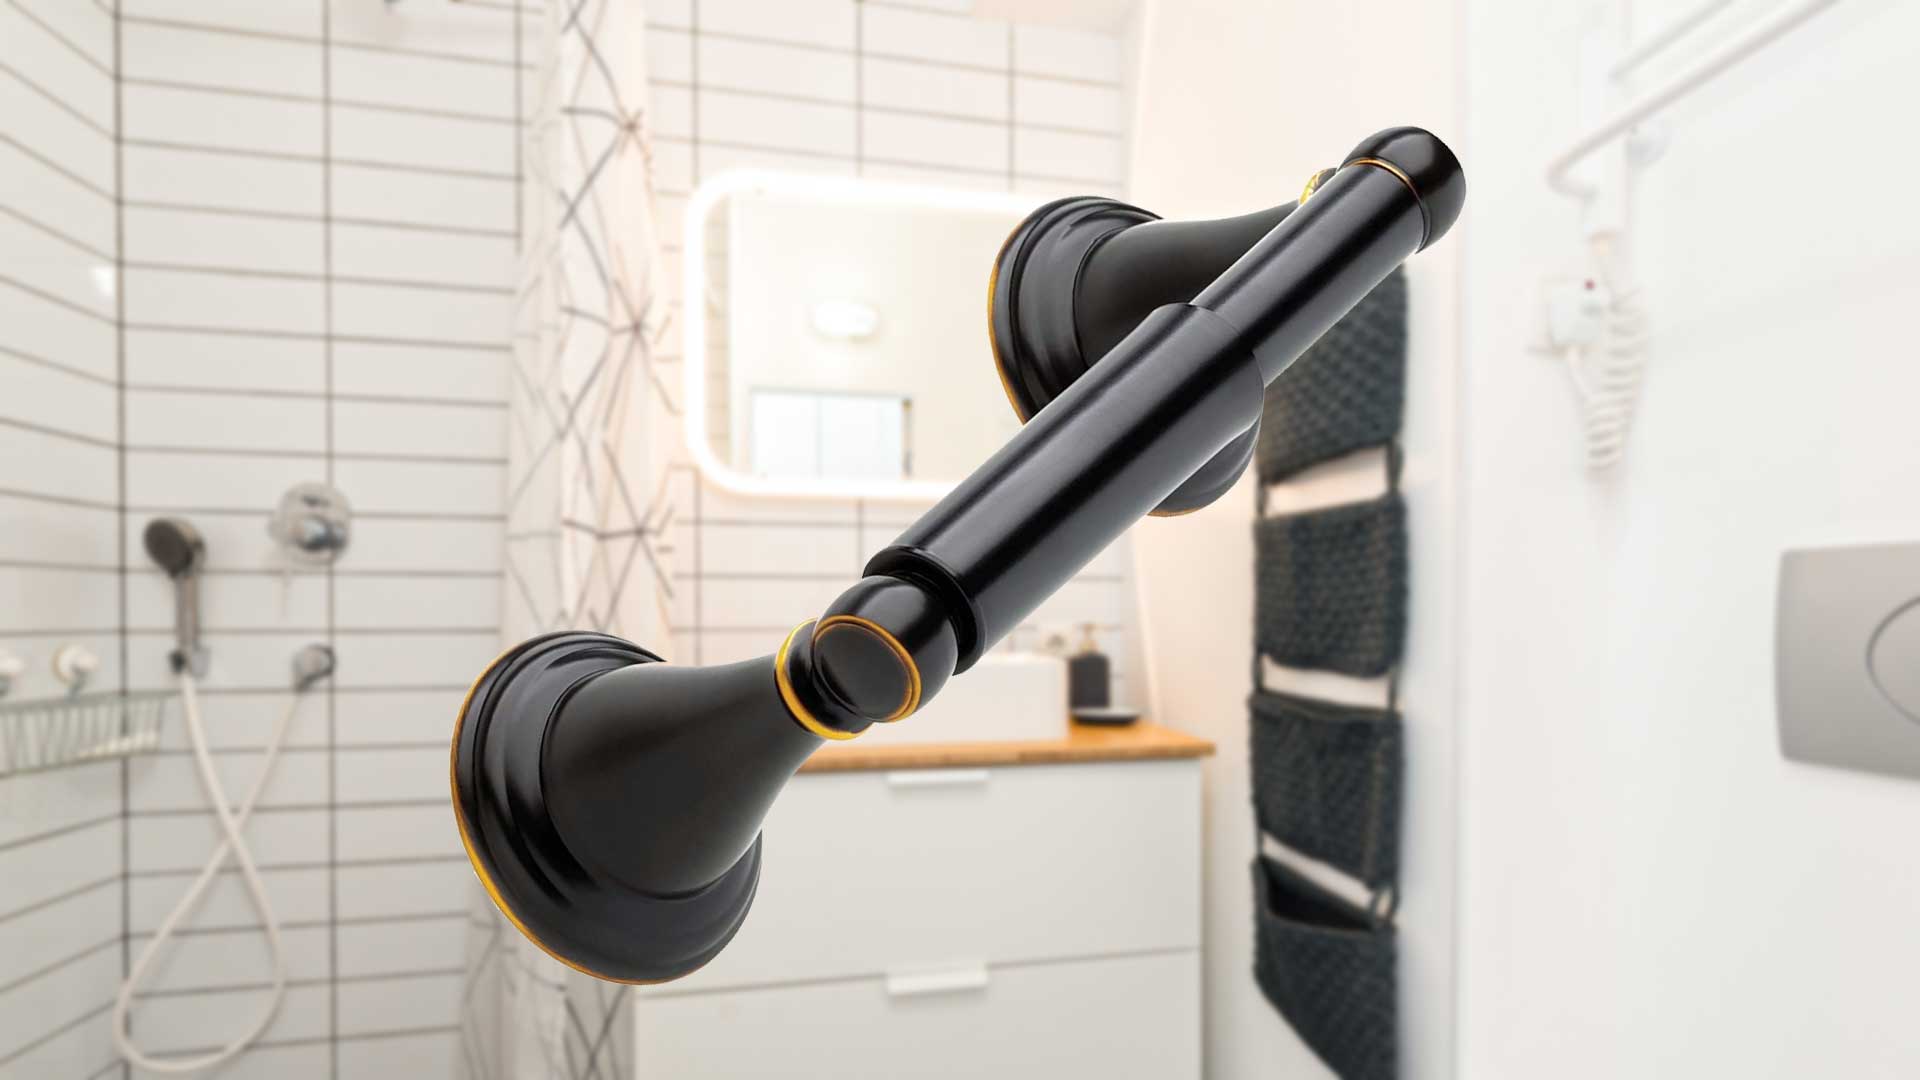
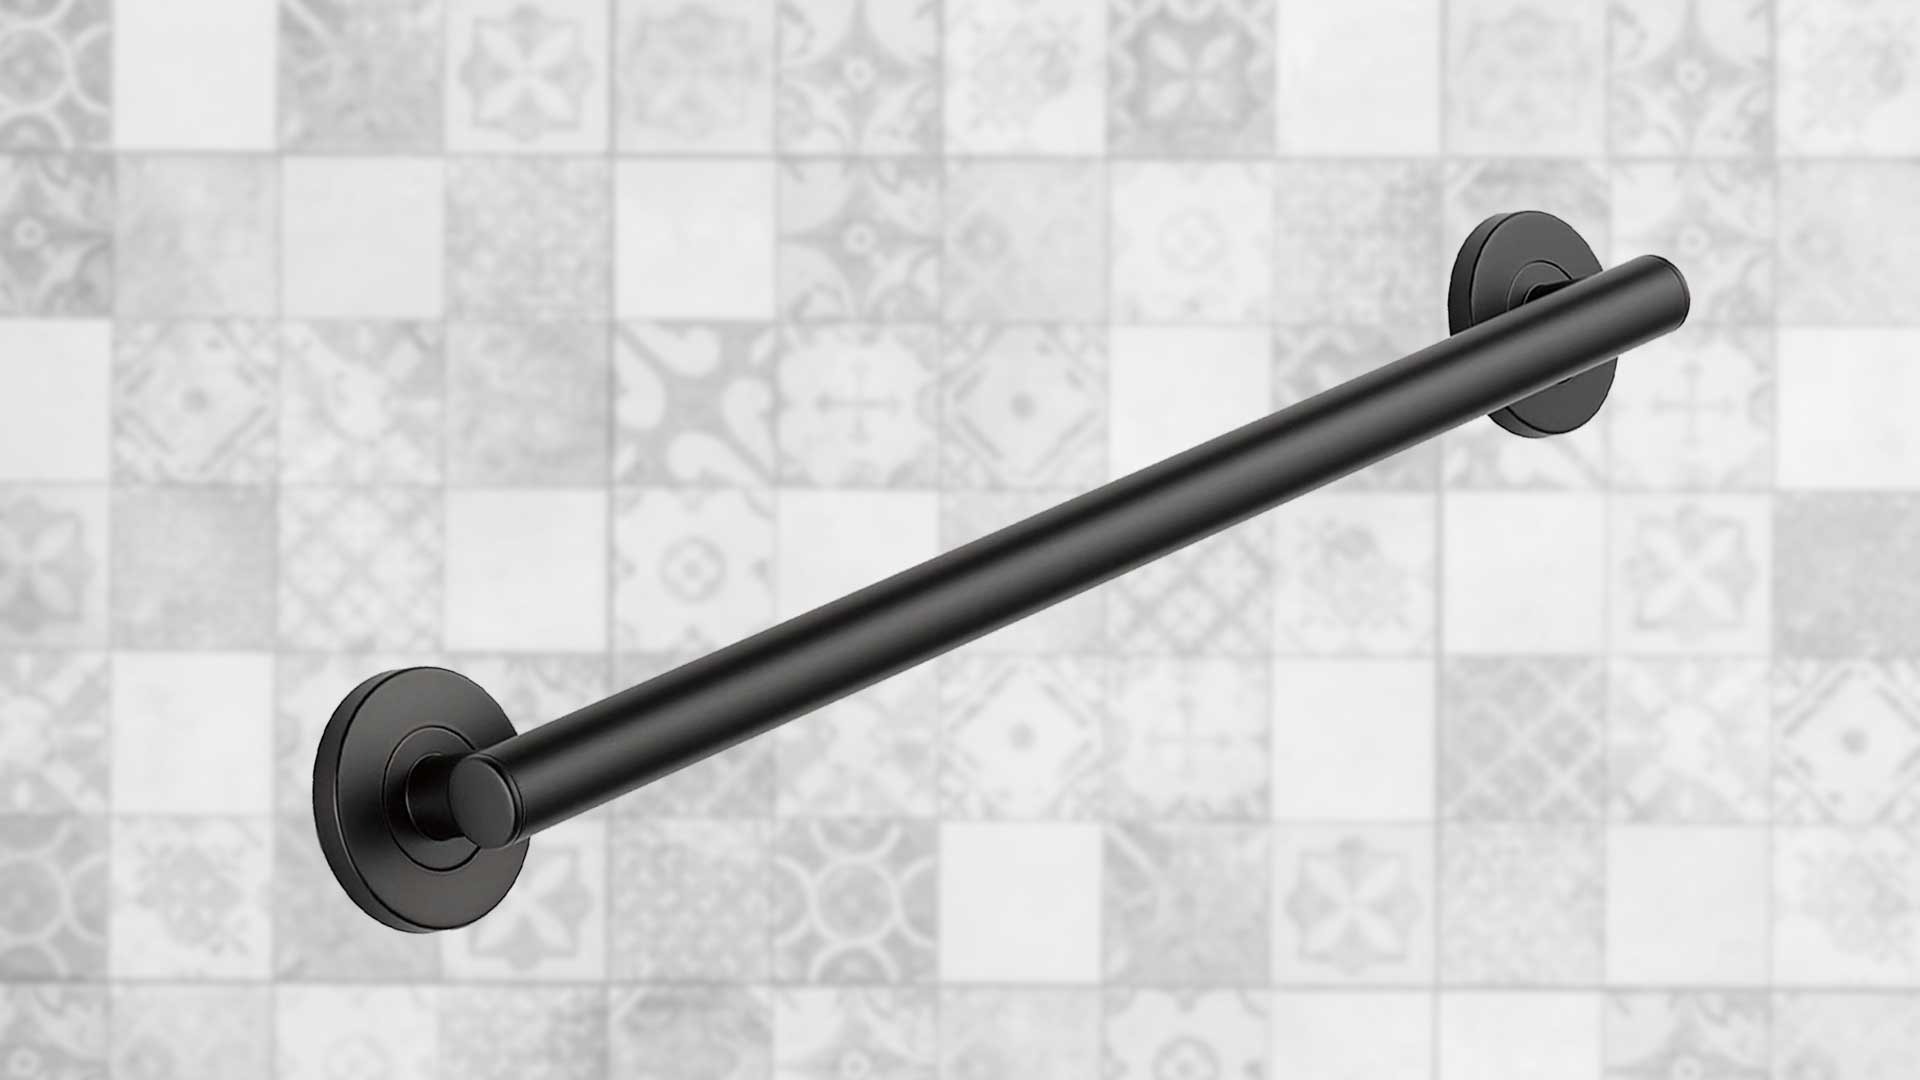
- Grab Bars: Select high-quality grab bars designed specifically for use in showers. These bars should be made of durable, rust-resistant materials such as stainless steel or aluminum.
- Mounting Screws: Ensure that the grab bars come with the necessary screws for installation. If not, purchase screws that are suitable for use in fiberglass and can support the weight of the user.
- Mounting Brackets (if required): Some grab bars may come with mounting brackets for additional support. If needed, ensure that these brackets are included in your materials.
- Wall Anchors (if not mounting to studs): If you're not mounting the grab bars to wall studs, you may need wall anchors to provide secure attachment to the fiberglass walls.
- Silicone Caulk: A waterproof silicone caulk will be used to seal around the grab bars, preventing water from seeping behind the bars and potentially causing damage to the walls.
By gathering these tools and materials before starting the installation process, you'll be well-prepared to tackle each step with confidence and precision. With the right equipment at your disposal, you can ensure that the grab bars are installed securely and will provide reliable support for years to come.
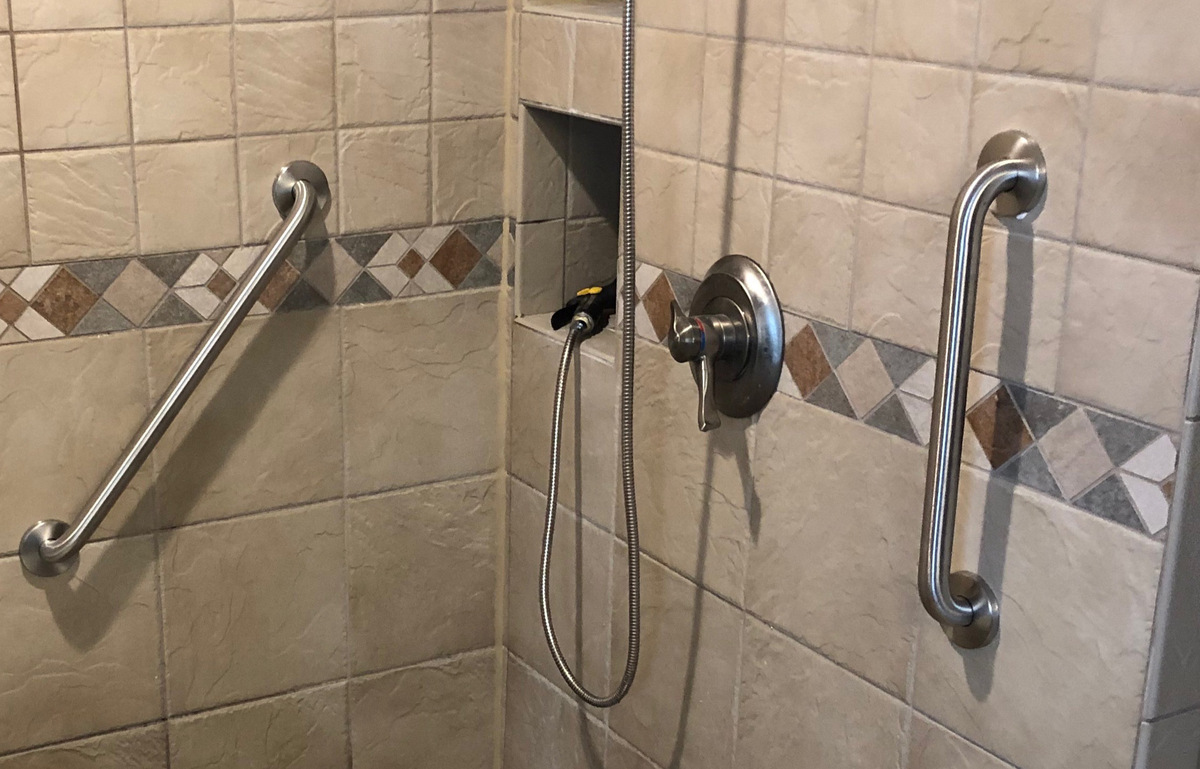
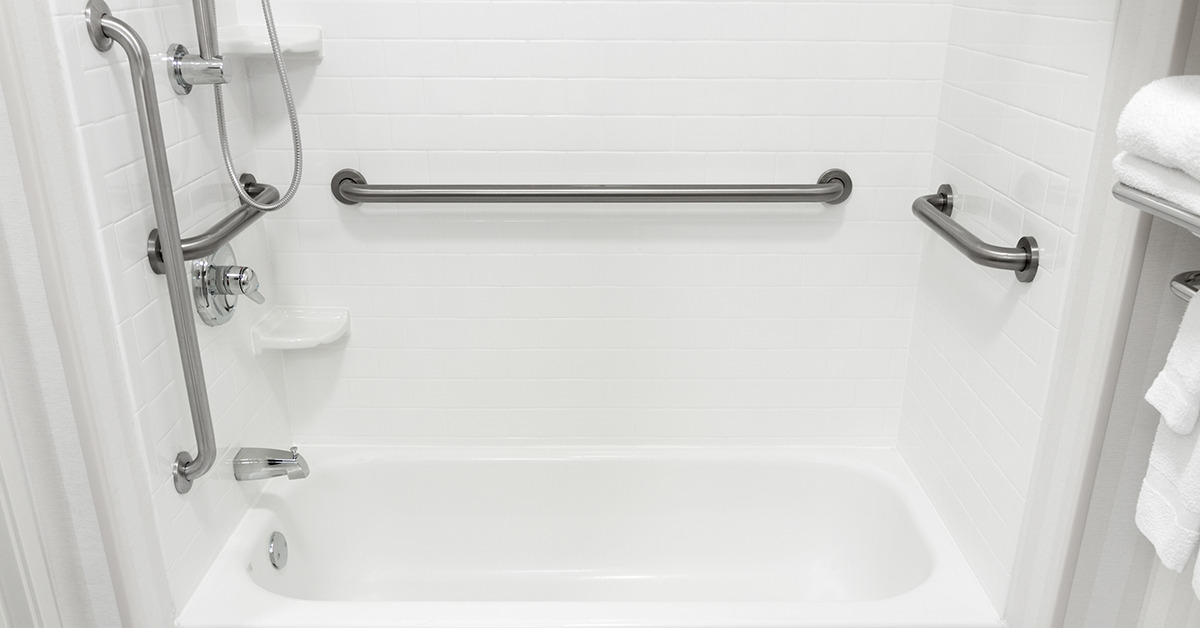
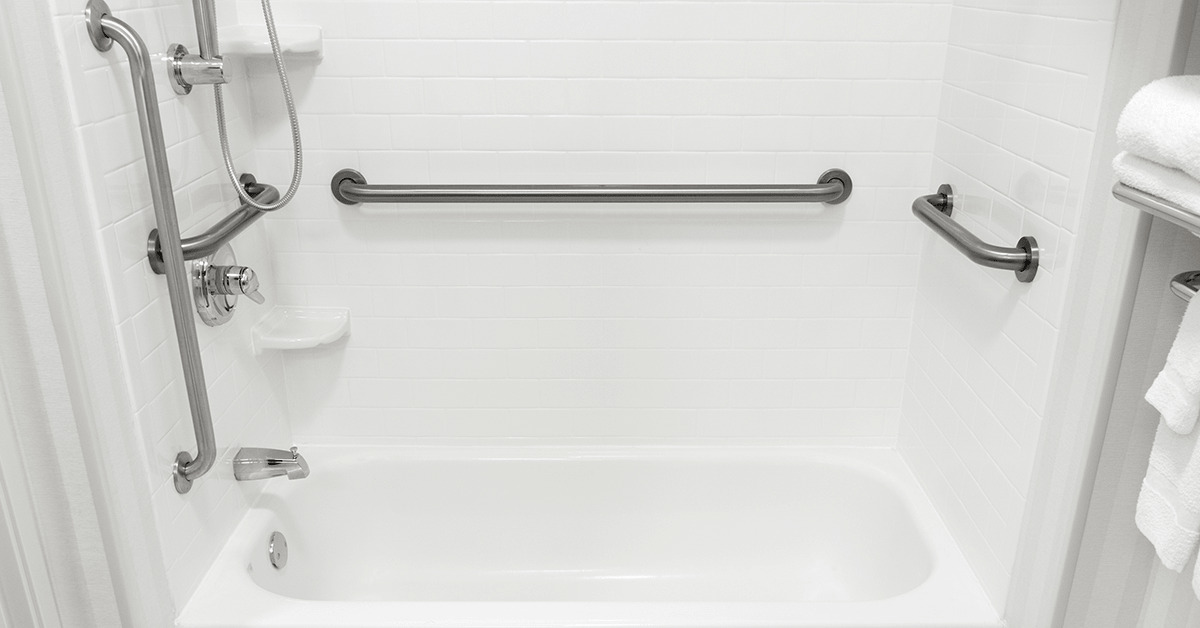
Step 1: Measure and Mark the Placement of the Grab Bars
Before diving into the physical installation of grab bars in a fiberglass shower, it's crucial to start with precise measurements and markings to ensure the proper placement of the bars. This initial step sets the foundation for a secure and functional installation, providing essential support for individuals using the shower.
Begin by determining the optimal locations for the grab bars based on the specific needs of the user. Consider factors such as height, accessibility, and areas where additional support is required. Typically, grab bars are installed vertically or horizontally, depending on the user's preferences and mobility challenges.
Using a measuring tape, identify the exact positions where the grab bars will be mounted. It's essential to measure and mark the locations with precision, taking into account the dimensions of the shower and the user's comfort and safety. For horizontal grab bars, ensure that they are positioned at a height that allows for comfortable gripping and support while standing or maneuvering within the shower.
Once the measurements are determined, use a pencil or marker to clearly mark the spots where the mounting screws will be placed. Double-check the markings to guarantee accuracy before proceeding to the next step. It's important to maintain a level of consistency and uniformity in the placement of the grab bars, especially if multiple bars are being installed within the same shower space.
Additionally, consider the structural integrity of the fiberglass walls and the potential presence of wall studs behind them. If possible, aim to align the grab bar mounting points with wall studs for added strength and stability. A stud finder can be used to locate the position of the studs, allowing for strategic placement of the grab bars.
By meticulously measuring and marking the placement of the grab bars, you lay the groundwork for a successful installation that prioritizes safety and functionality. This attention to detail ensures that the grab bars are positioned optimally, providing reliable support and enhancing the overall accessibility of the fiberglass shower.
Read more: How To Install Grab Bars On Tile
Step 2: Drill Holes for the Mounting Screws
With the precise placement of the grab bars marked on the fiberglass shower walls, the next critical step is to drill holes for the mounting screws. This step requires careful attention to detail and the use of the appropriate tools to ensure that the holes are created accurately and without causing damage to the shower walls.
Before drilling, it's essential to select the correct drill bit size based on the diameter of the mounting screws provided with the grab bars. Using a drill bit that matches the size of the screws will facilitate a secure and snug fit, preventing any unnecessary movement or instability once the grab bars are installed.
When drilling into fiberglass, it's important to use a steady hand and apply gentle, consistent pressure to avoid cracking or splintering the material. Start by positioning the drill bit at the marked locations for the mounting screws, ensuring that it is perpendicular to the surface of the fiberglass. Slowly begin drilling, allowing the bit to penetrate the material gradually.
As the drill bit advances, periodically pause to clear away any debris or fiberglass shavings that may accumulate in the holes. This will help maintain the cleanliness of the holes and prevent obstruction during the installation of the mounting screws.
It's crucial to drill the holes to the appropriate depth, taking into account the length of the mounting screws. The goal is to create holes that accommodate the screws securely without penetrating through the opposite side of the fiberglass walls. Careful attention to the drilling depth will ensure a stable and reliable attachment for the grab bars.
If you're mounting the grab bars to wall studs, it's important to adjust the drilling technique to align with the position of the studs. By using a stud finder and marking the locations of the studs, you can drill the holes with precision, ensuring that the screws will anchor firmly into the studs for added strength and stability.
By methodically drilling holes for the mounting screws, you pave the way for the secure installation of the grab bars in the fiberglass shower. This step sets the stage for the subsequent attachment of the mounting brackets and grab bars, ensuring that they are firmly anchored and capable of providing reliable support for users.
Step 3: Install the Mounting Brackets
With the holes drilled for the mounting screws and the precise placement of the grab bars marked on the fiberglass shower walls, the next crucial step is to install the mounting brackets. These brackets serve as the intermediary support structure, ensuring that the grab bars are securely attached to the walls and capable of withstanding the weight and pressure exerted during regular use.
Begin by aligning the mounting brackets with the pre-drilled holes, ensuring that they are positioned accurately according to the markings made earlier. Depending on the specific design of the grab bars and mounting brackets, you may need to insert the mounting screws through the brackets before securing them to the fiberglass walls.
Using a screwdriver or screw gun, carefully fasten the mounting brackets to the walls, ensuring that the screws are tightened securely. It's important to maintain a level of consistency and uniformity in the installation of the brackets, especially if multiple grab bars are being installed within the same shower space.
If the grab bars are designed to be mounted to wall studs for added strength, ensure that the mounting brackets are positioned to align with the studs. By doing so, you can leverage the structural support provided by the studs, enhancing the overall stability and reliability of the grab bars.
As you install the mounting brackets, periodically check for levelness and alignment to guarantee that they are positioned straight and parallel to the edges of the fiberglass walls. This attention to detail will contribute to the overall aesthetic appeal of the installation while ensuring that the grab bars are optimally positioned for effective support.
Once the mounting brackets are securely installed, double-check their stability and firm attachment to the fiberglass walls. Gently apply pressure to the brackets to test their resistance and ensure that they can support the weight and pressure that will be exerted on the grab bars during regular use.
By methodically installing the mounting brackets, you establish a solid foundation for the subsequent attachment of the grab bars. These brackets play a pivotal role in ensuring that the grab bars are securely anchored and capable of providing reliable support, contributing to the overall safety and accessibility of the fiberglass shower.
When installing grab bars on a fiberglass shower, make sure to use a stud finder to locate the wall studs for secure installation. Use a drill to create pilot holes and then attach the grab bars with stainless steel screws for durability.
Step 4: Attach the Grab Bars to the Mounting Brackets
With the mounting brackets securely in place, the next pivotal step in the installation process is to attach the grab bars to the brackets. This step involves carefully aligning the grab bars with the installed brackets and fastening them securely to create a robust and reliable support structure within the fiberglass shower.
Begin by positioning the grab bars over the installed mounting brackets, ensuring that they align perfectly with the pre-drilled holes and the attachment points on the brackets. Depending on the design of the grab bars and brackets, you may need to insert the mounting screws through the bars and into the brackets before tightening them in place.
Using a screwdriver or screw gun, carefully fasten the grab bars to the mounting brackets, ensuring that the screws are tightened securely. It's essential to apply even pressure while fastening the screws to create a stable and immovable connection between the grab bars and the brackets. This step is crucial in ensuring that the grab bars are firmly anchored and capable of withstanding the weight and pressure exerted during regular use.
As you attach the grab bars to the mounting brackets, periodically check for alignment and levelness to guarantee that they are positioned straight and parallel to the edges of the fiberglass walls. This attention to detail not only contributes to the visual appeal of the installation but also ensures that the grab bars are optimally positioned for effective support.
If the grab bars feature adjustable components or swivel mechanisms, ensure that they are positioned in a manner that accommodates the user's specific needs and preferences. This may involve adjusting the angle or orientation of the grab bars to provide the most comfortable and supportive configuration for individuals using the shower.
Once the grab bars are securely attached to the mounting brackets, perform a thorough inspection to confirm their stability and reliability. Gently apply pressure to the bars from various angles to test their resistance and ensure that they can support the weight and pressure that will be exerted during regular use. This step is crucial in verifying the integrity of the installation and guaranteeing the safety and functionality of the grab bars.
By methodically attaching the grab bars to the mounting brackets, you complete the physical installation process, creating a robust and dependable support system within the fiberglass shower. This step marks the culmination of the installation process, ensuring that the grab bars are securely anchored and ready to provide essential support and stability for individuals using the shower.
Step 5: Test the Grab Bars for Stability
After completing the physical installation of grab bars in a fiberglass shower, it is crucial to conduct a thorough stability test to ensure that the bars are securely anchored and capable of providing reliable support. This step serves as the final validation of the installation process, confirming that the grab bars are ready to fulfill their essential role in enhancing safety and accessibility within the shower space.
To begin the stability test, apply gradual and controlled pressure to the grab bars in various directions, simulating the movements and forces that will be exerted during regular use. This includes pulling on the bars horizontally, pushing down on them vertically, and applying diagonal pressure to assess their resistance and stability. By subjecting the grab bars to these simulated stressors, you can evaluate their ability to withstand the weight and pressure of individuals using the shower, providing confidence in their reliability.
As you conduct the stability test, pay close attention to any signs of movement, flexing, or shifting in the grab bars or their mounting points. Ideally, the grab bars should remain steadfast and immovable, demonstrating a secure attachment to the fiberglass walls and mounting brackets. Any noticeable movement or instability during the test indicates the need for adjustments or reinforcement to ensure the safety and functionality of the installation.
In addition to physical testing, visually inspect the grab bars and their attachment points for any signs of stress, strain, or damage. Look for indications of loosening screws, gaps between the bars and the walls, or any irregularities that may compromise the stability of the installation. Addressing these issues promptly will help maintain the integrity of the grab bars and prevent potential hazards in the future.
If the grab bars pass the stability test with flying colors, you can proceed with confidence, knowing that they are securely anchored and capable of providing reliable support within the fiberglass shower. However, if any concerns or issues arise during the stability test, take the necessary steps to rectify them, whether it involves tightening screws, reinforcing mounting points, or seeking professional assistance to address any underlying issues.
By diligently testing the grab bars for stability, you ensure that the installation process culminates in a safe, functional, and dependable support system within the fiberglass shower. This final step serves as a critical validation of the installation's success, providing peace of mind and assurance that the grab bars are ready to enhance the safety and accessibility of the bathroom environment.
Read more: How High Should Shower Grab Bars Be?
Conclusion
In conclusion, the installation of grab bars on a fiberglass shower represents a significant step towards creating a safer and more accessible bathing environment, particularly for individuals with mobility challenges or balance issues. By following the comprehensive guide outlined in this article, you have gained the knowledge and confidence to undertake this essential home improvement project with precision and care.
Throughout the installation process, careful attention to detail and the use of the right tools and materials have been emphasized to ensure a successful outcome. From measuring and marking the placement of the grab bars to drilling holes, installing mounting brackets, attaching the grab bars, and conducting a thorough stability test, each step has been meticulously outlined to guide you through the process.
By prioritizing precise measurements, strategic placement, and secure attachment, you have taken proactive steps to enhance the safety and functionality of the fiberglass shower. The installation of grab bars not only provides essential support and stability but also contributes to a sense of confidence and independence for individuals using the shower.
Moreover, the attention to detail in aligning the grab bars with the specific needs and preferences of the user underscores the commitment to creating a personalized and accommodating bathing space. Whether it's ensuring the optimal height and positioning of the grab bars or adjusting their orientation for maximum comfort, your dedication to meeting the unique requirements of the user has been evident throughout the installation process.
As a result of your efforts, the fiberglass shower now boasts a reliable and robust support system, capable of providing essential assistance and enhancing the overall safety of the bathroom environment. The successful installation of grab bars represents a tangible improvement in accessibility, promoting confidence and peace of mind for individuals using the shower.
In essence, the installation of grab bars on a fiberglass shower transcends the physical act of mounting support structures. It embodies a commitment to inclusivity, safety, and thoughtful design, ensuring that the bathroom remains a welcoming and accommodating space for individuals with diverse needs.
By completing this installation, you have not only enhanced the functionality of the fiberglass shower but also contributed to the creation of a more inclusive and supportive home environment. Your dedication to this project reflects a genuine concern for the well-being and comfort of those who will benefit from the added safety and accessibility provided by the grab bars.
In closing, the successful installation of grab bars on the fiberglass shower stands as a testament to your commitment to creating a safe, welcoming, and inclusive home environment. Your proactive approach and attention to detail have resulted in a tangible improvement that will positively impact the daily lives of those utilizing the shower, fostering a sense of confidence, independence, and security.
Frequently Asked Questions about How To Install Grab Bars On A Fiberglass Shower
Was this page helpful?
At Storables.com, we guarantee accurate and reliable information. Our content, validated by Expert Board Contributors, is crafted following stringent Editorial Policies. We're committed to providing you with well-researched, expert-backed insights for all your informational needs.

0 thoughts on “How To Install Grab Bars On A Fiberglass Shower”