Home>Furniture & Design>Bathroom Accessories>How To Put A Shower Curtain Around A Clawfoot Tub

Bathroom Accessories
How To Put A Shower Curtain Around A Clawfoot Tub
Modified: October 18, 2024
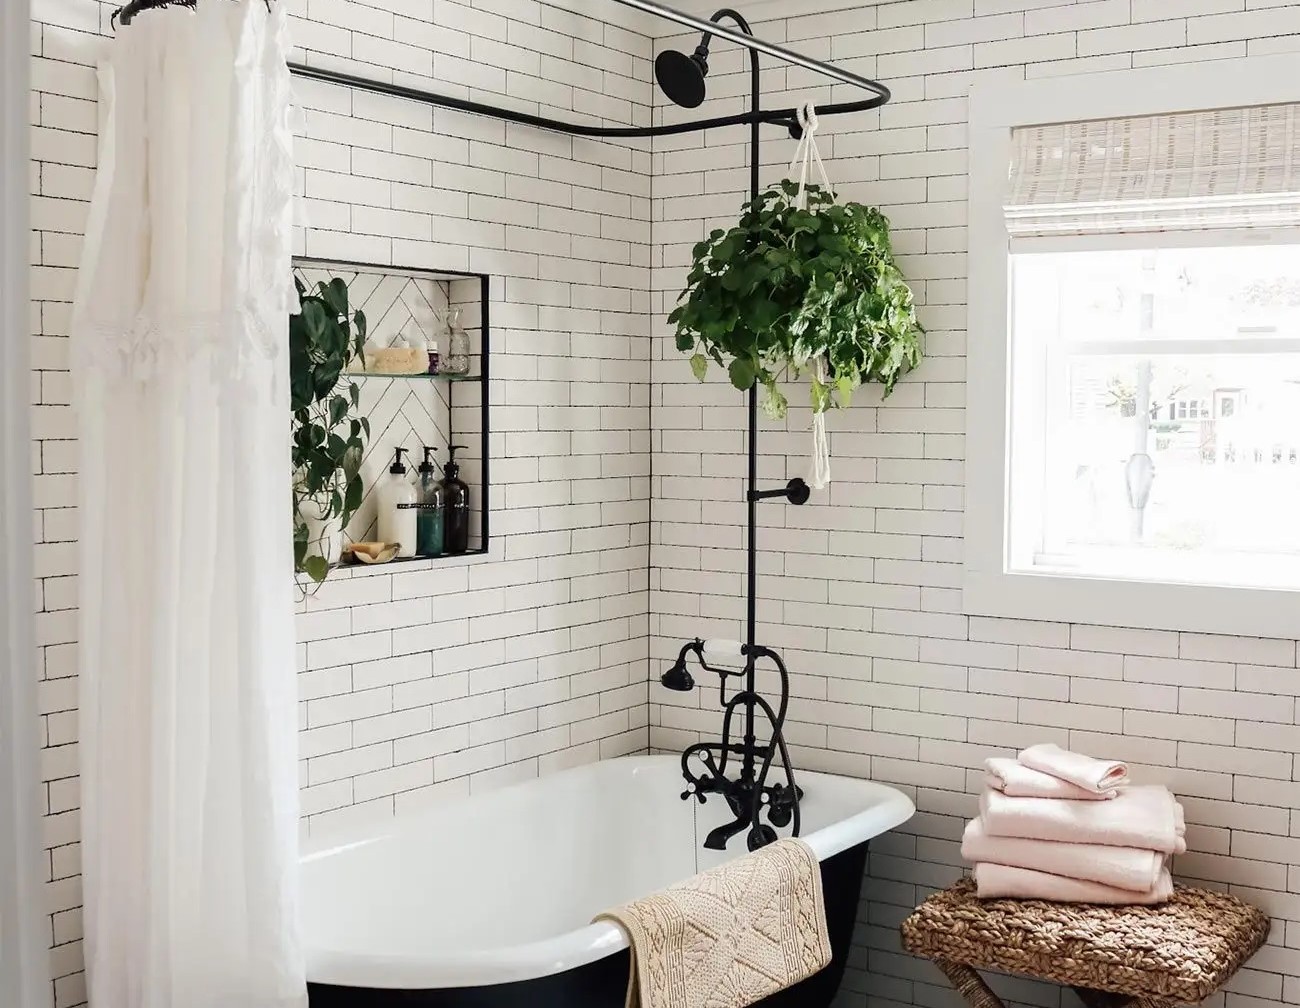
Learn how to elegantly hang a shower curtain around your clawfoot tub with the right bathroom accessories. Create a stylish and functional space effortlessly.
(Many of the links in this article redirect to a specific reviewed product. Your purchase of these products through affiliate links helps to generate commission for Storables.com, at no extra cost. Learn more)
Introduction
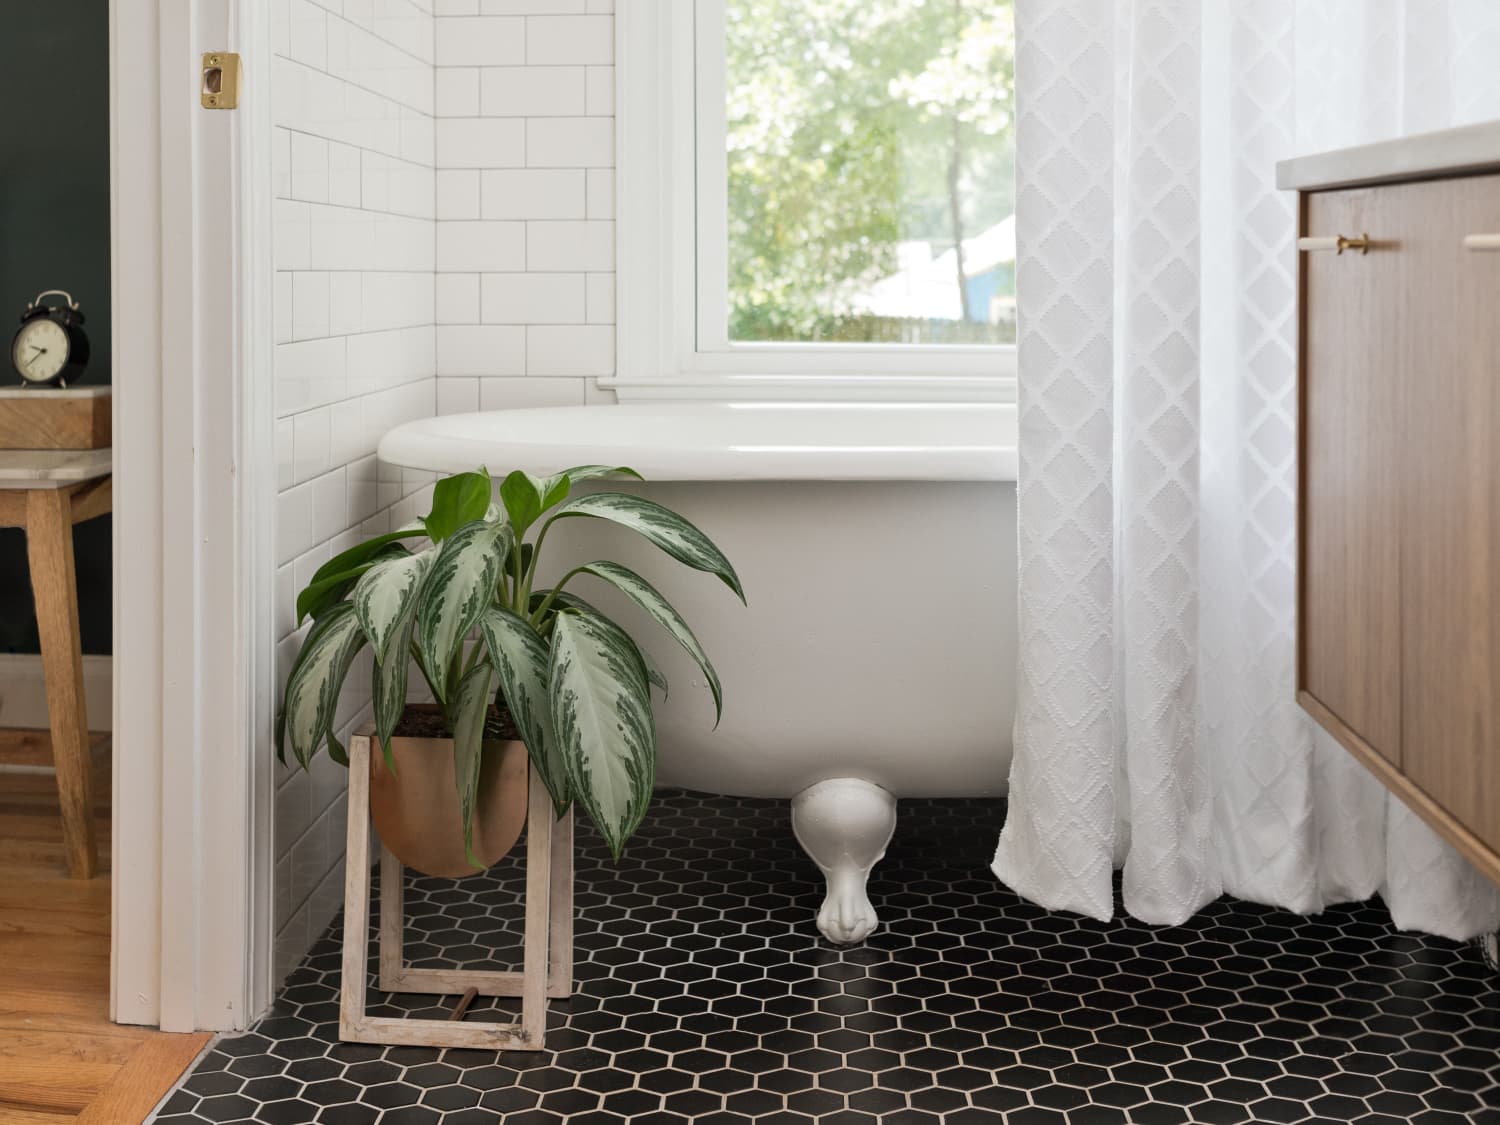
When it comes to adding a touch of elegance and functionality to your bathroom, a clawfoot tub stands out as a timeless and luxurious choice. These freestanding tubs exude a classic charm and are often the focal point of a bathroom. However, incorporating a shower curtain around a clawfoot tub can be a practical solution for those who prefer to have the option of showering without the need for a separate shower enclosure.
Installing a shower curtain around a clawfoot tub not only adds versatility to your bathing space but also serves as a stylish accent, enhancing the overall aesthetic appeal of the bathroom. Whether you're looking to preserve the vintage charm of your clawfoot tub or aiming to create a modern and functional bathing area, the process of adding a shower curtain can be both straightforward and rewarding.
In this comprehensive guide, we will walk you through the step-by-step process of putting a shower curtain around a clawfoot tub. From measuring the tub to selecting the right shower curtain and installing a suitable shower curtain rod, we'll cover everything you need to know to accomplish this task with ease. By the end of this guide, you'll have the knowledge and confidence to transform your clawfoot tub into a versatile bathing haven that seamlessly combines style and practicality. So, let's dive into the details and embark on this exciting journey of enhancing your bathroom space with a beautifully draped shower curtain around your clawfoot tub.
Key Takeaways:
- Transform your clawfoot tub into a versatile bathing haven by adding a shower curtain. Follow simple steps to measure, choose, install, and adjust for a seamless blend of style and functionality.
- Celebrate the timeless charm of your clawfoot tub while embracing modern convenience. With the right shower curtain, rod, and adjustments, create a visually captivating and practical bathing space.
Read more: How To Put Up A Shower Curtain
Step 1: Measure the Tub
Before you begin the process of adding a shower curtain to your clawfoot tub, it's crucial to accurately measure the dimensions of the tub. This step is essential for ensuring that the shower curtain you choose will fit perfectly and provide effective coverage. Here's a detailed breakdown of how to measure your clawfoot tub:
1. Measure the Length and Width
Start by measuring the length and width of your clawfoot tub. Use a tape measure to determine the distance from one end of the tub to the other, capturing the full length. Next, measure the width of the tub from side to side. These measurements will serve as the foundation for selecting a suitable shower curtain that offers adequate coverage.
2. Consider the Height
In addition to the length and width, it's important to consider the height of the clawfoot tub. Measure the height from the base of the tub to the top rim. This measurement will help you determine the ideal length for the shower curtain, ensuring that it hangs at the appropriate height to contain water effectively.
3. Account for Curtain Overhang
When measuring the tub, take into account any overhang or extension of the shower curtain that you desire. Some individuals prefer a curtain that extends beyond the edges of the tub to provide extra coverage and a decorative touch. If you plan to incorporate an overhang, factor this into your measurements to ensure the curtain will drape as intended.
Read more: How To Do Clawfoot Tub Plumbing
4. Verify the Measurements
Once you have gathered the length, width, and height measurements, it's important to double-check their accuracy. Ensuring precise measurements will enable you to select a shower curtain that fits flawlessly and complements the aesthetic of your clawfoot tub.
By meticulously measuring your clawfoot tub, you set the stage for a seamless and visually appealing shower curtain installation. These measurements will serve as the foundation for selecting the right shower curtain and ensuring that it provides the desired coverage and functionality. With the tub dimensions in hand, you're ready to move on to the next step of choosing the perfect shower curtain to enhance your bathing space.
Step 2: Choose the Right Shower Curtain
Selecting the right shower curtain is a pivotal step in the process of enhancing your clawfoot tub with a functional and visually appealing addition. When choosing a shower curtain for a clawfoot tub, several factors come into play, including material, length, design, and practical features. Here's a detailed exploration of the key considerations to keep in mind as you embark on the quest for the perfect shower curtain:
1. Material and Durability
The material of the shower curtain plays a significant role in its performance and longevity. Opt for a durable and water-resistant material that can withstand the moisture-rich environment of the bathroom. Vinyl, polyester, and nylon are popular choices known for their water-repellent properties, making them ideal for a shower curtain. These materials are easy to clean and maintain, ensuring that your shower curtain remains in top condition for an extended period.
2. Length and Coverage
Considering the measurements of your clawfoot tub, it's essential to choose a shower curtain that offers adequate length and coverage. The curtain should be long enough to reach the floor, effectively containing water and providing privacy while you shower. Additionally, selecting a curtain with a width that matches or slightly exceeds the width of the tub ensures comprehensive coverage and a visually balanced appearance.
3. Design and Aesthetic Appeal
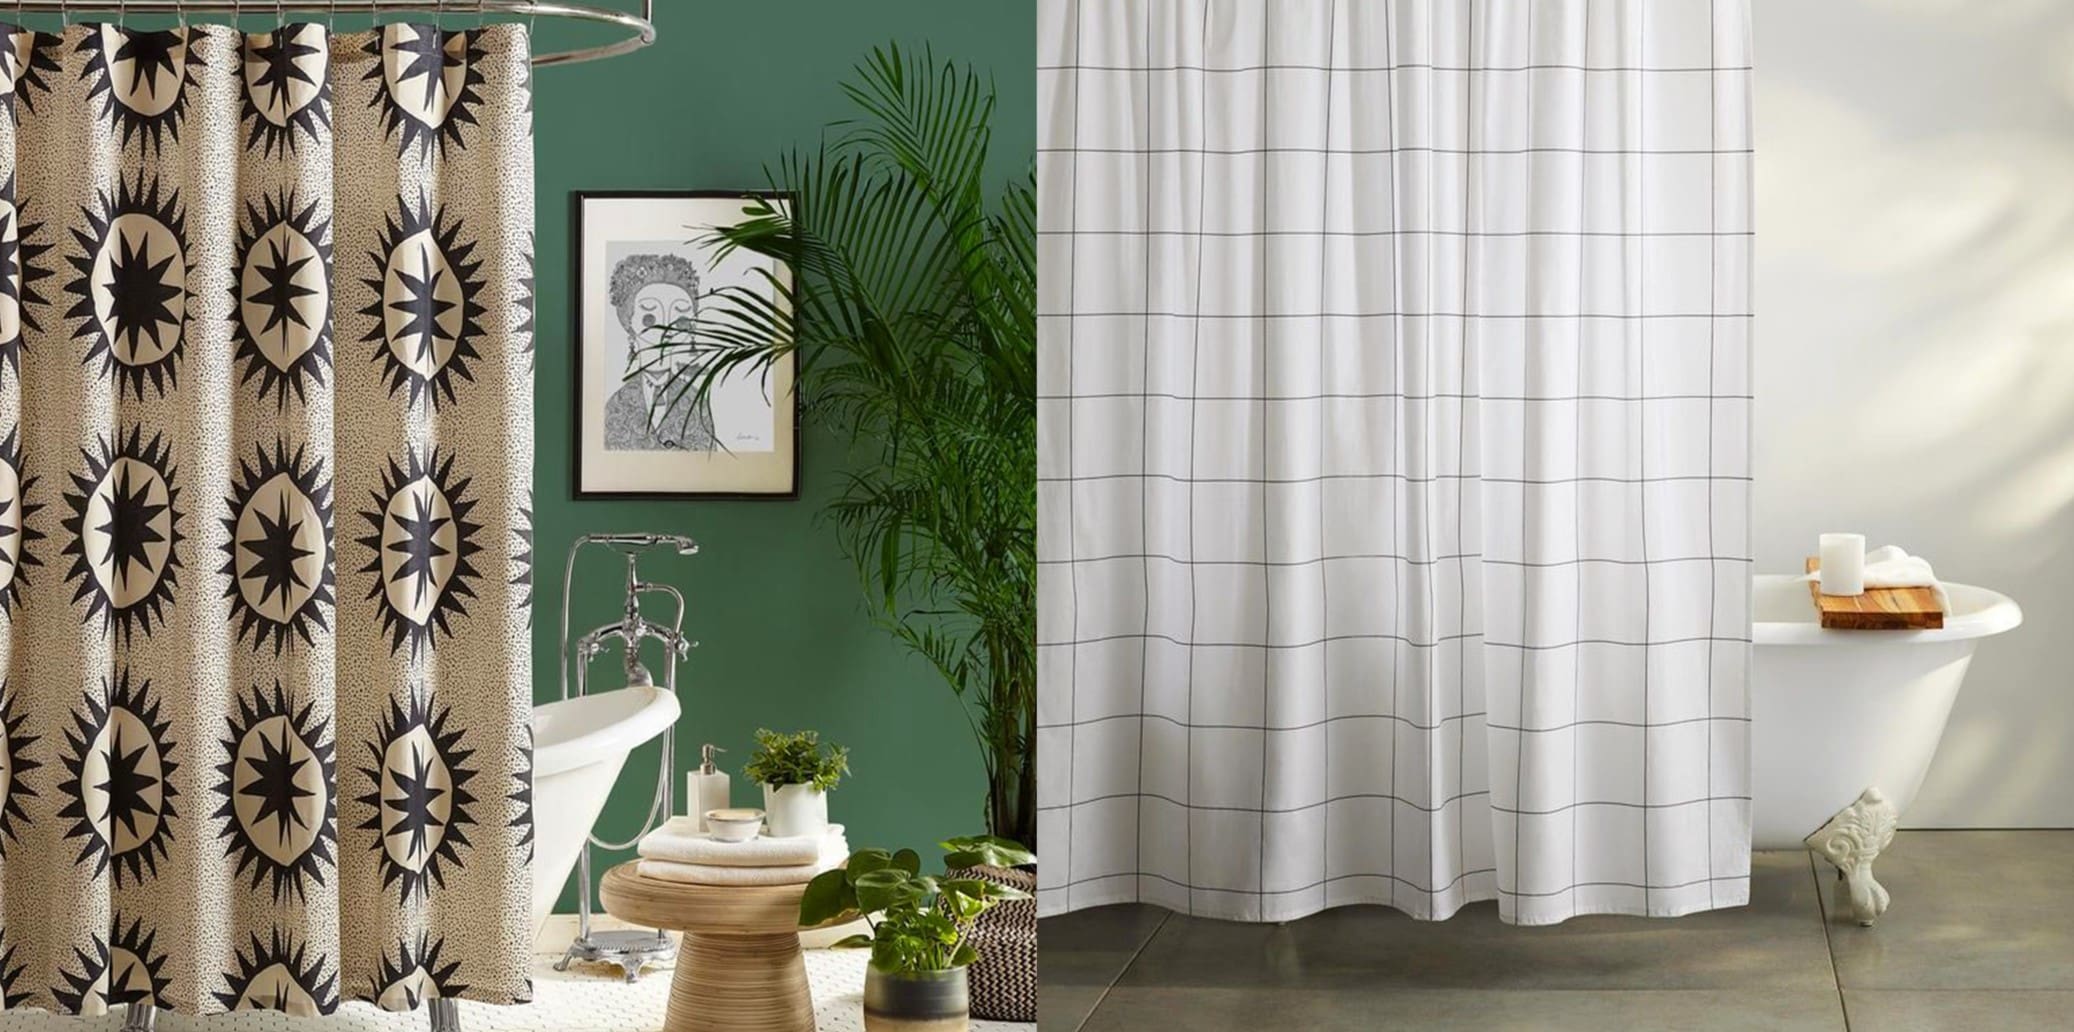
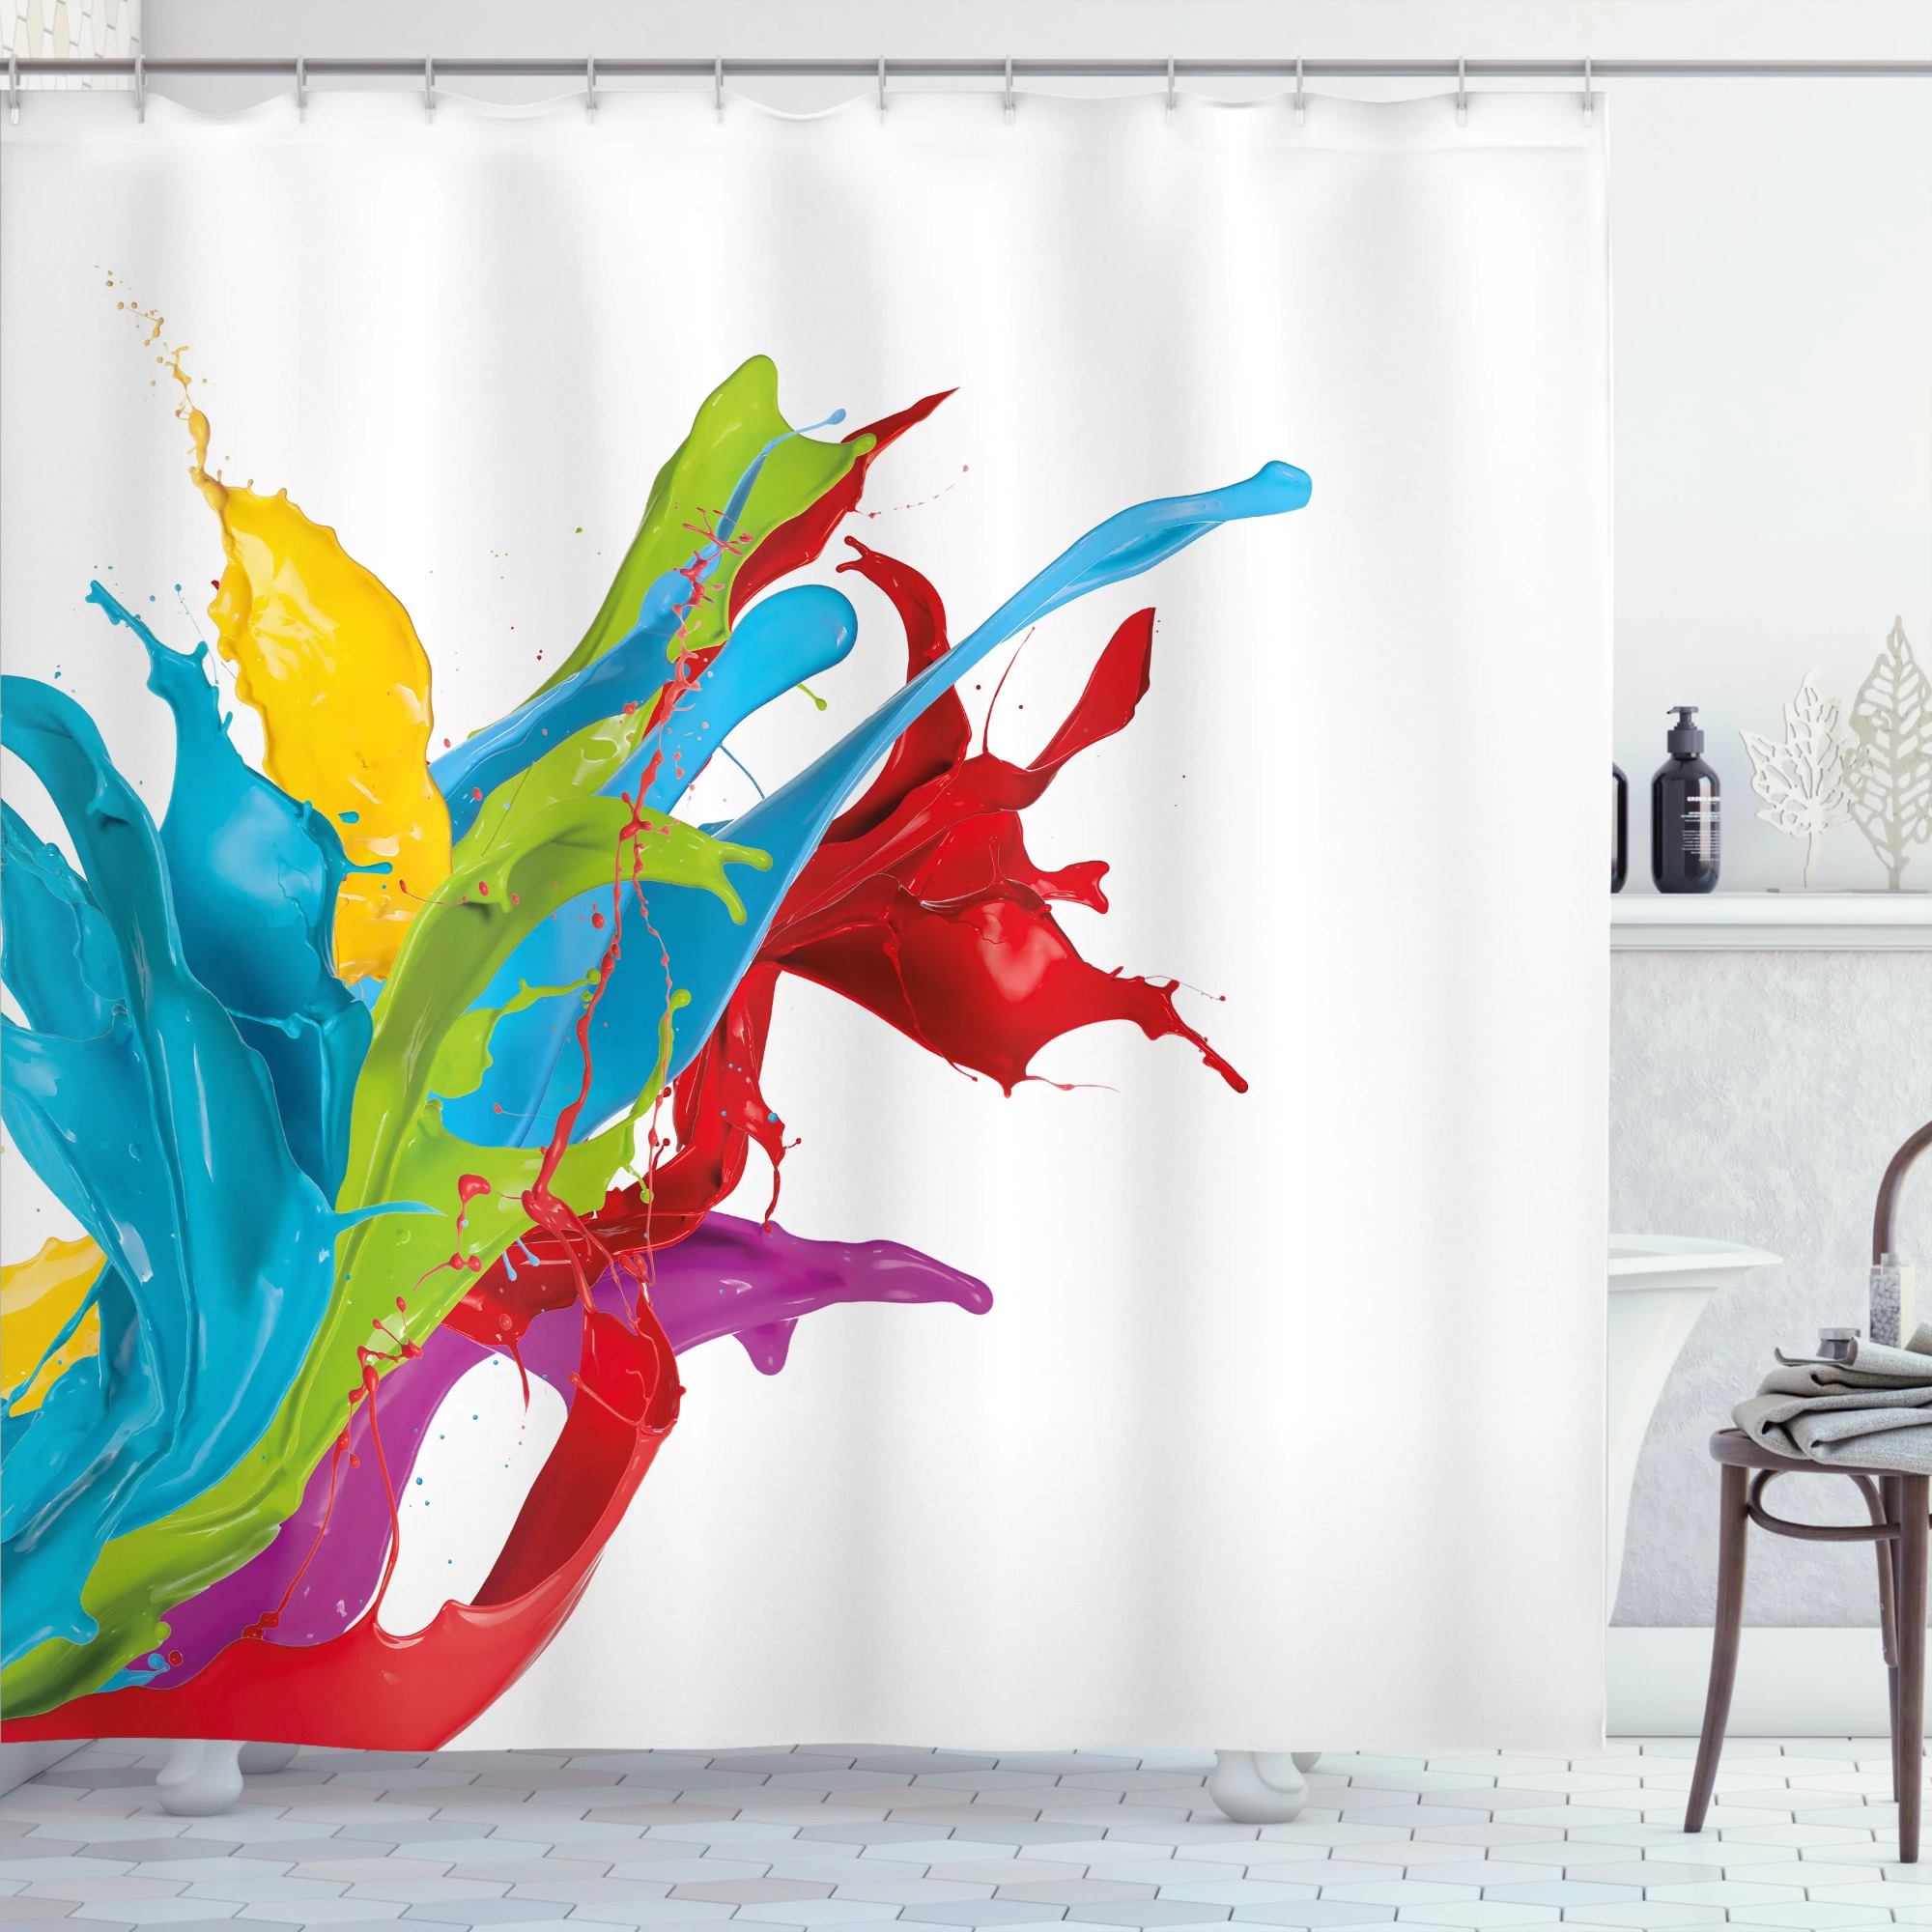
The design of the shower curtain can significantly impact the overall ambiance of your bathroom. Whether you prefer a minimalist, classic, or vibrant look, there are countless design options to explore. From solid colors and subtle patterns to bold prints and decorative accents, the design of the shower curtain allows you to infuse your personal style into the space. Consider the existing decor and color scheme of your bathroom to select a shower curtain that harmonizes with the surroundings and elevates the visual appeal of the area.
4. Practical Features
Incorporating practical features into your shower curtain can enhance its functionality and convenience. Look for features such as reinforced grommets for easy hanging, weighted hems to prevent billowing, and machine-washable materials for effortless maintenance. Additionally, consider opting for a shower curtain with a built-in liner or purchasing a separate liner to provide an extra layer of protection against water splashes and ensure a water-tight enclosure.
5. Personal Preferences and Style
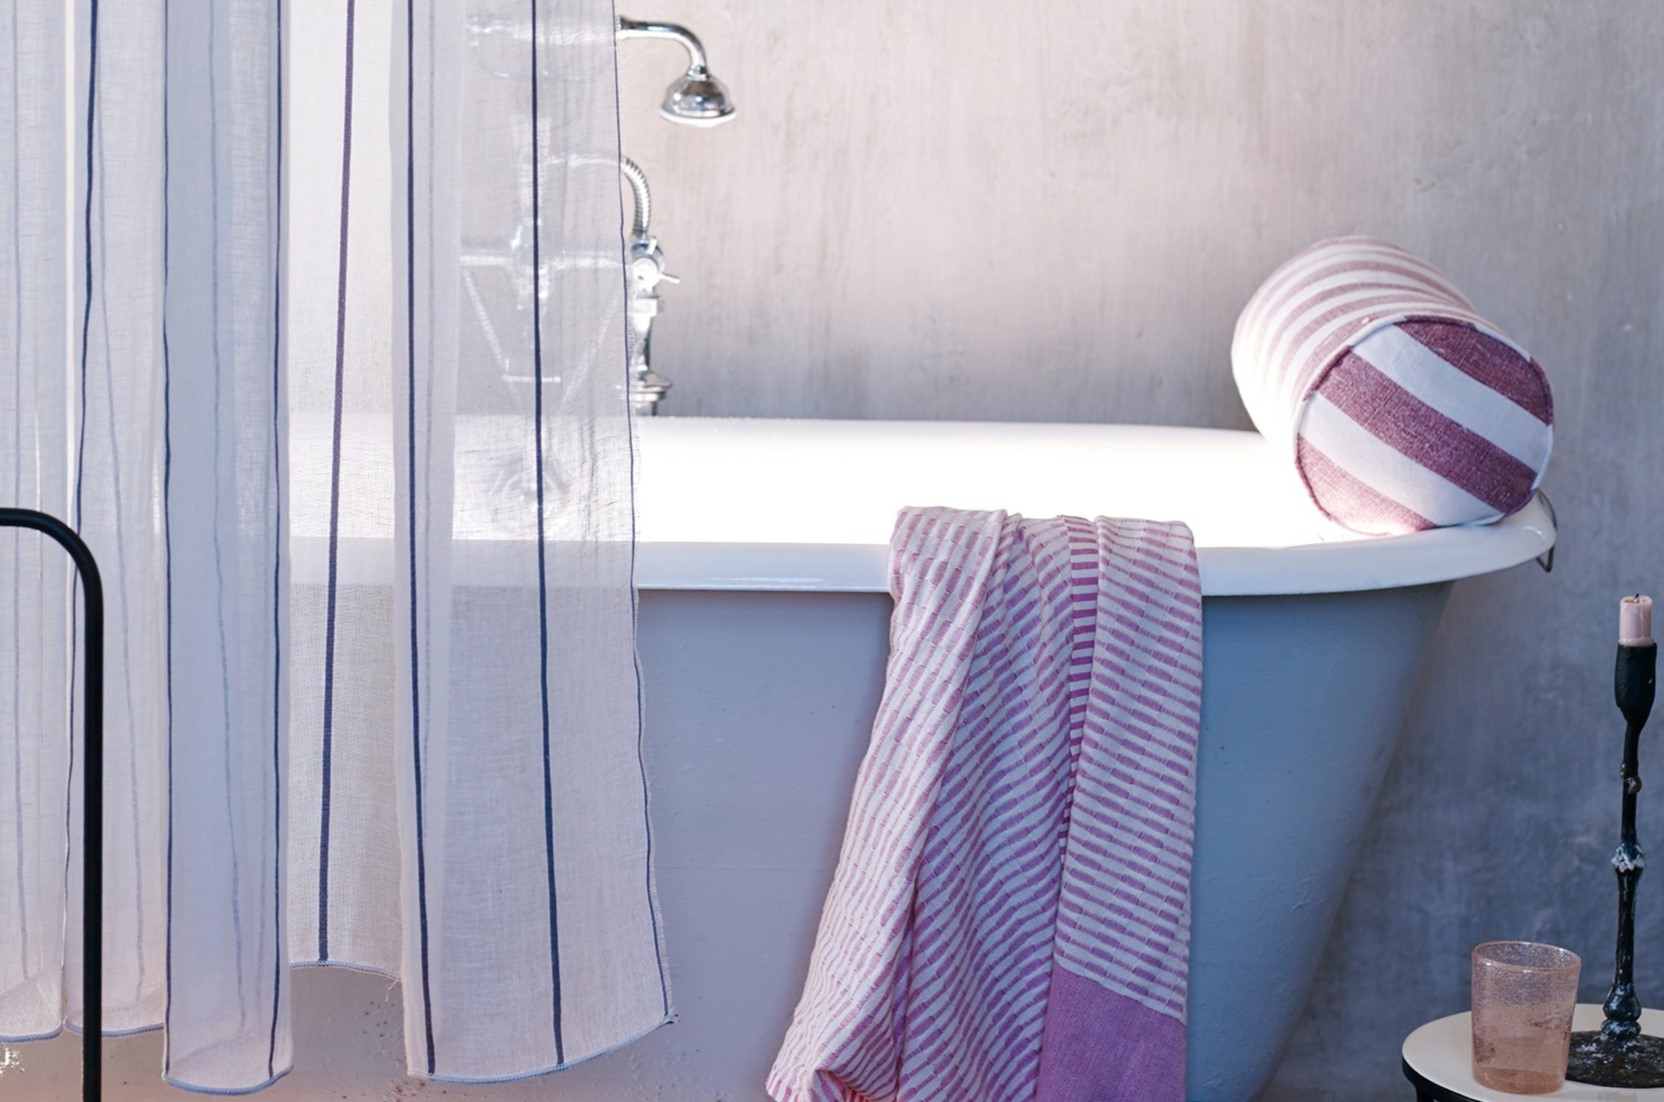
Ultimately, your personal preferences and style preferences should guide the selection of the shower curtain. Whether you aim to preserve the vintage charm of your clawfoot tub with a classic white curtain or introduce a pop of color and pattern for a contemporary twist, aligning the curtain choice with your unique taste and vision is key to achieving a cohesive and inviting bathroom aesthetic.
By carefully considering the material, length, design, practical features, and personal preferences, you can confidently choose a shower curtain that complements your clawfoot tub and transforms your bathing space into a harmonious blend of functionality and style. With the perfect shower curtain in hand, you're ready to proceed to the next step of installing a suitable shower curtain rod to bring your vision to life.
Step 3: Install a Shower Curtain Rod
Installing a shower curtain rod is a crucial step in the process of adding a shower curtain to your clawfoot tub. The right shower curtain rod not only provides structural support for the curtain but also contributes to the overall aesthetic of the bathing space. When it comes to selecting and installing a shower curtain rod for a clawfoot tub, there are several options to consider, each offering unique benefits and visual appeal.
Read also: 14 Best Clawfoot Tub Faucet for 2025
1. Choose the Right Type of Rod
There are various types of shower curtain rods available, each catering to different preferences and installation requirements. For a clawfoot tub, a popular choice is a freestanding shower curtain rod, which is designed to stand independently without the need for wall attachments. This type of rod typically features a curved or straight design, allowing you to select the option that best suits the layout and style of your bathroom. Alternatively, ceiling-mounted shower curtain rods offer a sleek and modern look, suspending the curtain from the ceiling to create a luxurious and spacious feel within the bathing area.
2. Consider Material and Finish
When selecting a shower curtain rod, consider the material and finish that align with your desired aesthetic and practical needs. Common materials for shower curtain rods include stainless steel, aluminum, and brass, each offering durability and resistance to moisture. Additionally, the finish of the rod, such as chrome, brushed nickel, or oil-rubbed bronze, can complement the existing fixtures and decor in your bathroom, creating a cohesive and polished look.
3. Measure and Position the Rod
Before installing the shower curtain rod, carefully measure the length and width of your clawfoot tub to determine the ideal placement for the rod. For freestanding rods, ensure that the length and curvature align with the dimensions of the tub to provide optimal coverage and support for the shower curtain. If opting for a ceiling-mounted rod, accurately measure the distance from the ceiling to the tub to achieve the desired curtain height and enclosure.
4. Secure the Rod in Place
Once you have selected the appropriate shower curtain rod and determined the positioning, follow the manufacturer's instructions to securely install the rod. For freestanding rods, ensure that the base is stable and level, providing a sturdy foundation for the curtain. Ceiling-mounted rods require proper anchoring to the ceiling joists or the use of reliable mounting hardware to support the weight of the curtain and maintain stability.
By carefully selecting and installing a shower curtain rod that complements your clawfoot tub, you can elevate the functionality and visual appeal of your bathing space. With the rod in place, you're ready to proceed to the next step of hanging the shower curtain, bringing your vision of a stylish and versatile bathroom to fruition.
Read more: How To Make A Shower Curtain
Step 4: Hang the Shower Curtain
With the shower curtain rod securely installed, it's time to bring your vision of a stylish and functional bathing space to life by hanging the shower curtain around your clawfoot tub. This step involves carefully positioning the curtain to ensure proper coverage, functionality, and aesthetic appeal. Here's a detailed guide on how to hang the shower curtain with precision and finesse:
-
Prepare the Shower Curtain: Before hanging the curtain, ensure that it is free of wrinkles and creases. If the curtain is machine-washable, consider giving it a quick wash and ironing to achieve a smooth and pristine appearance. This preparation step sets the stage for a polished and visually appealing curtain display.
-
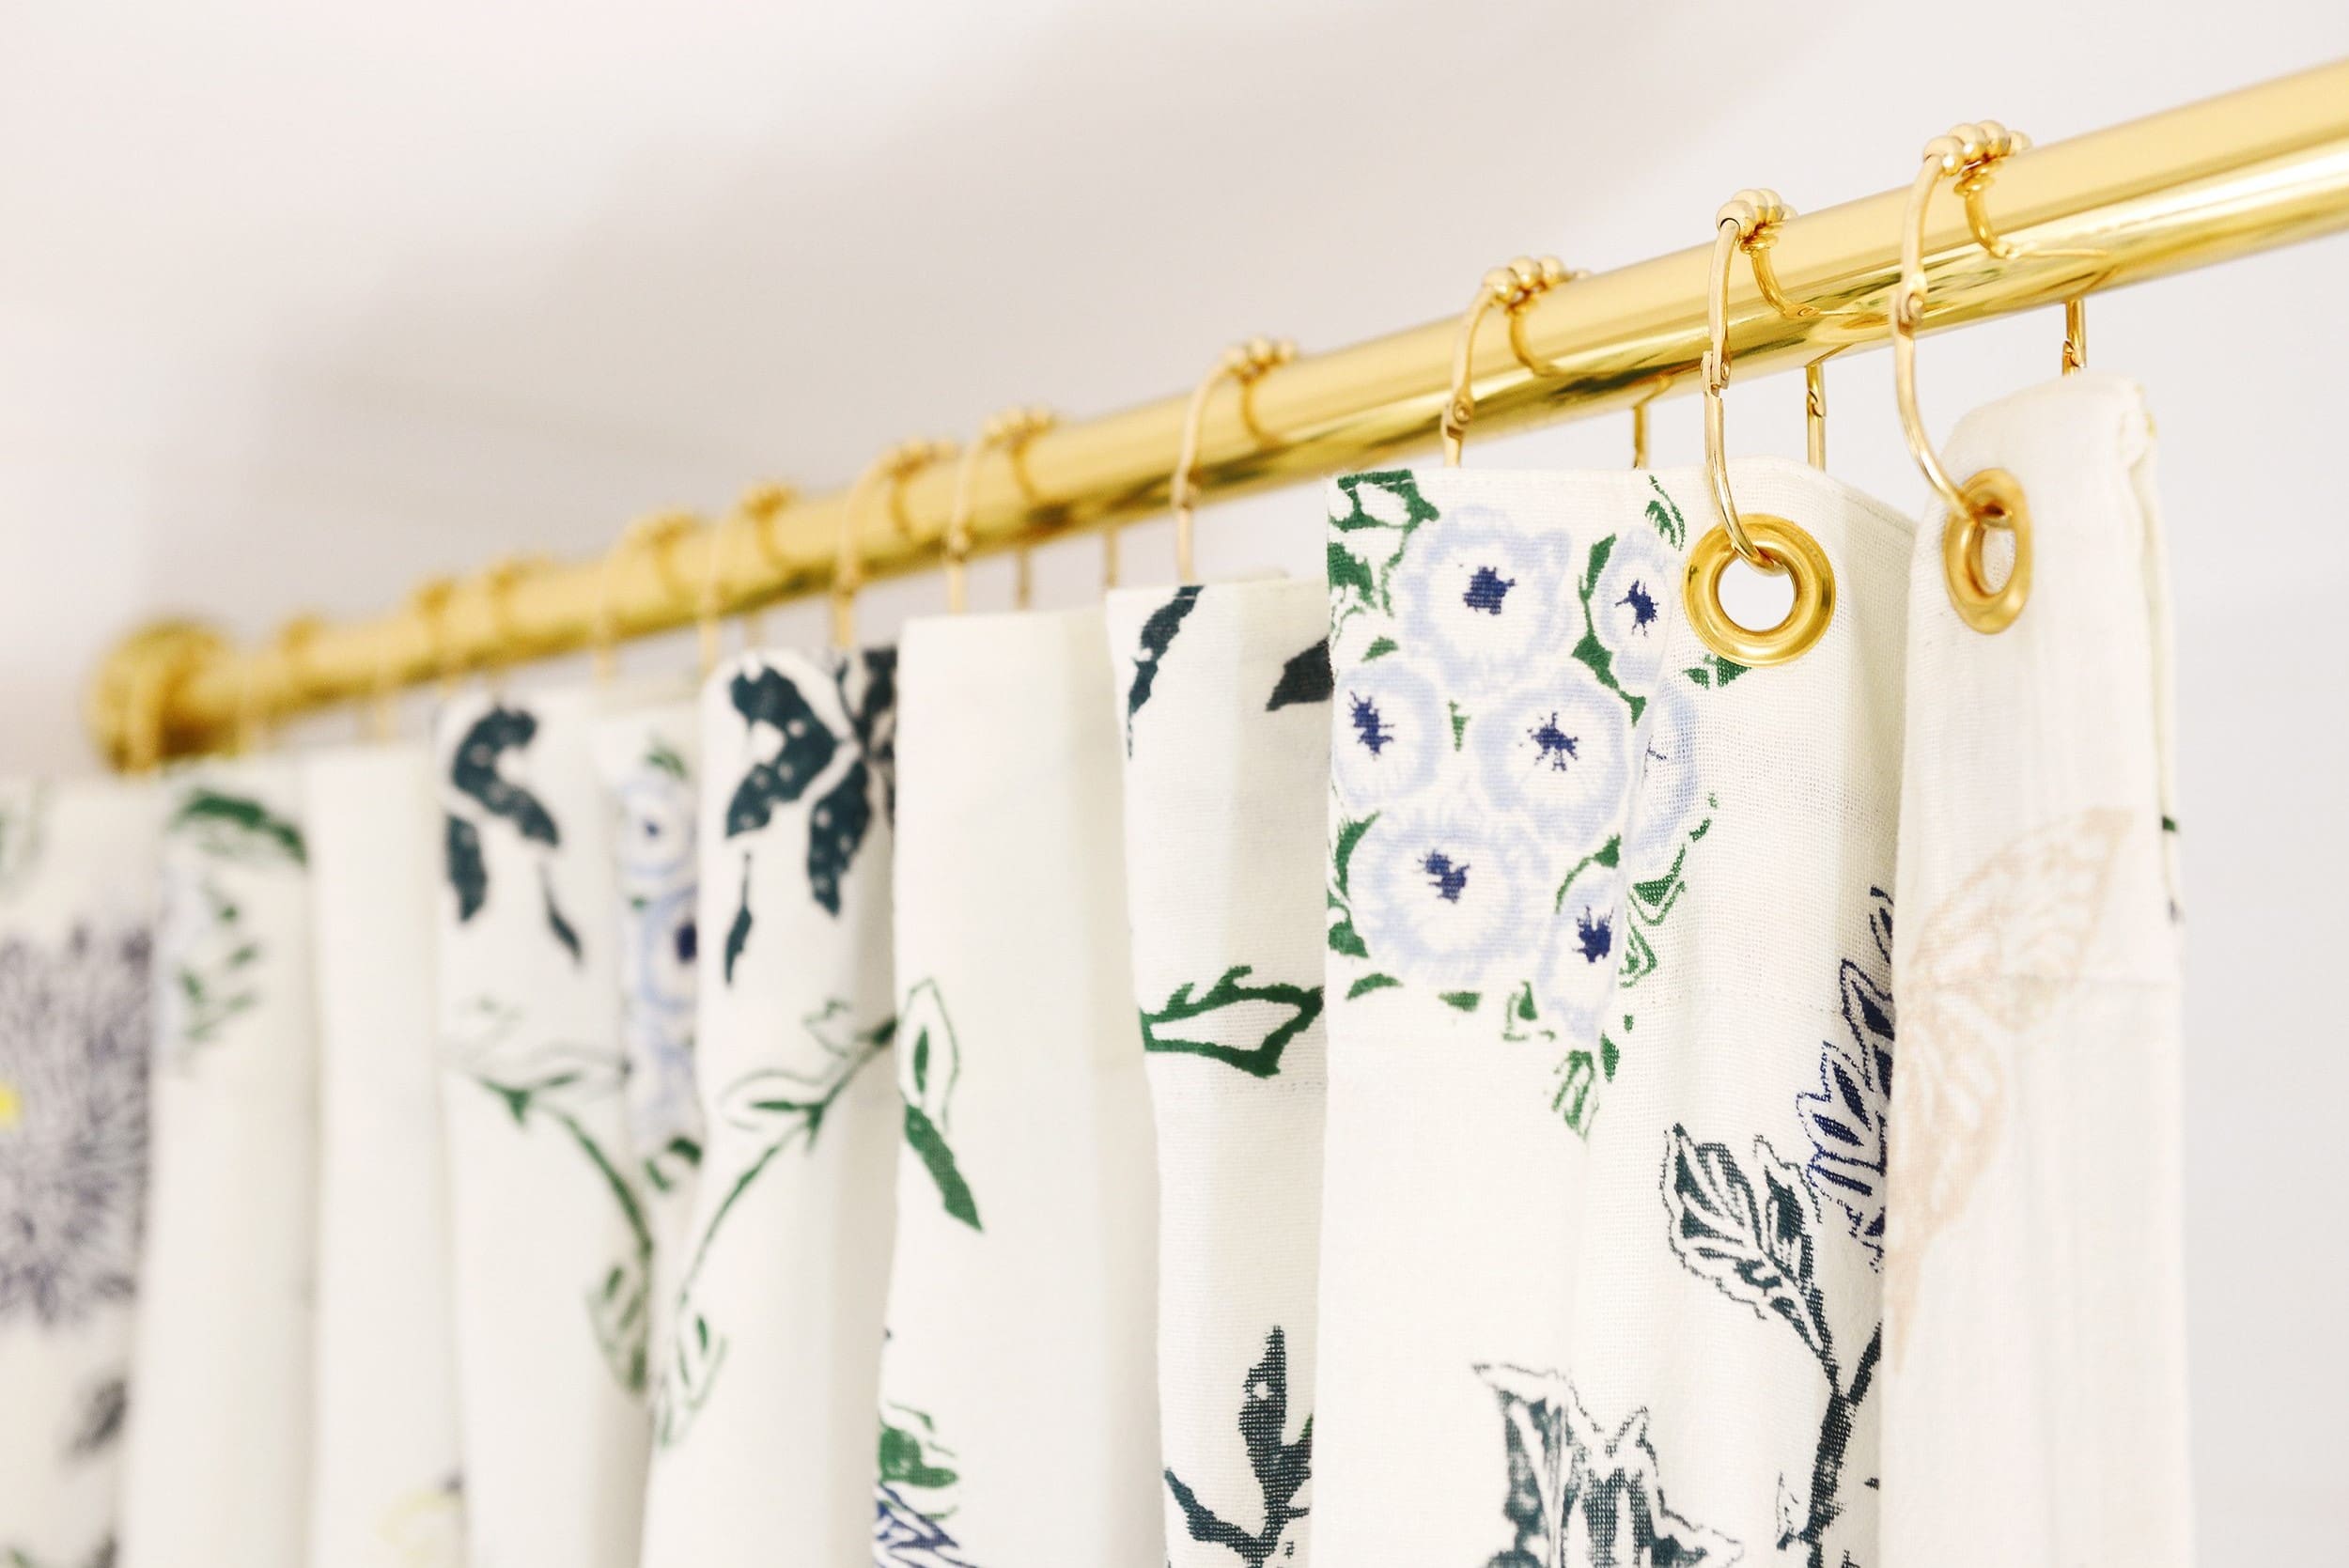
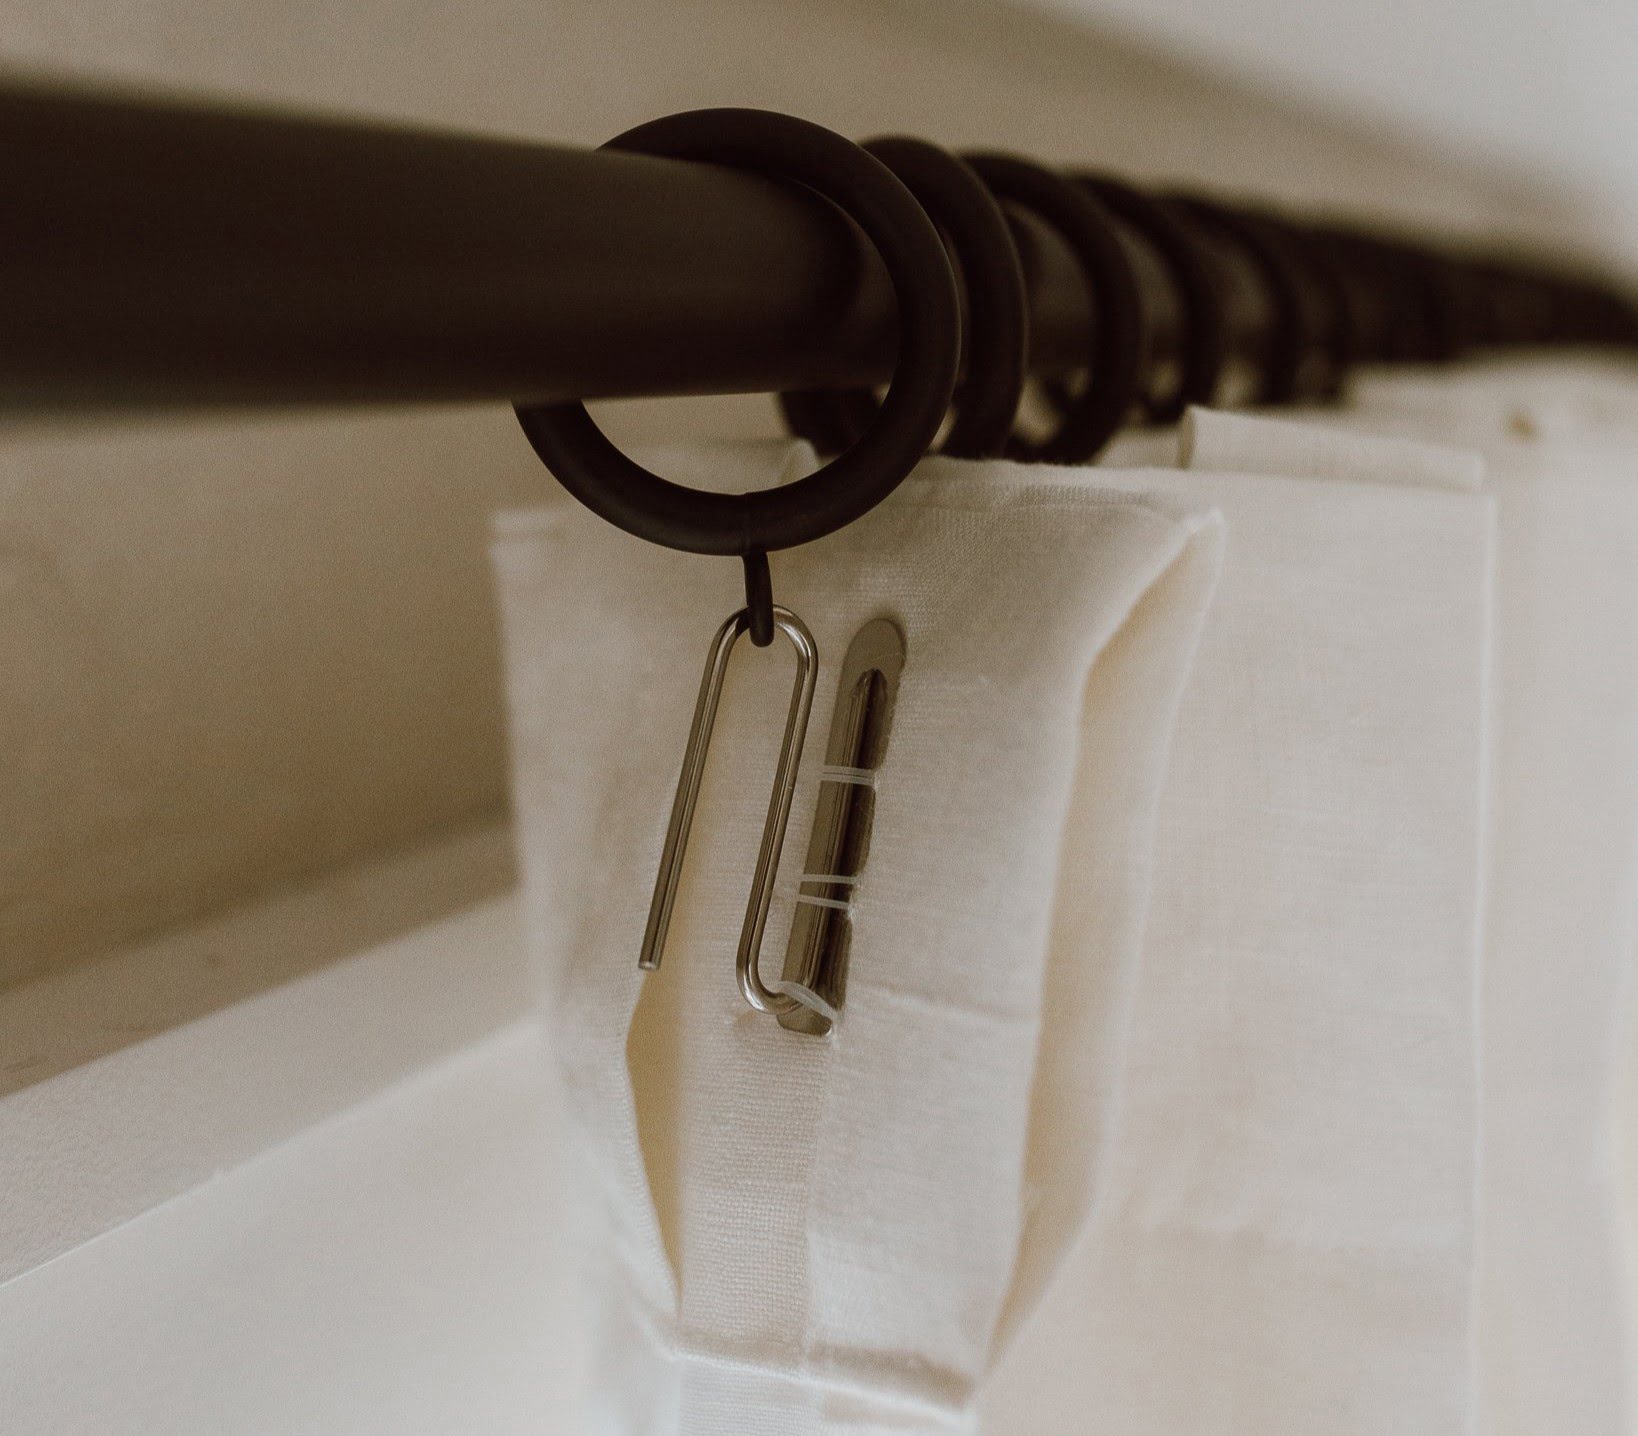
Open the Curtain Rings or Hooks: If your shower curtain utilizes rings or hooks for hanging, gently open them to create an opening for the curtain. This step simplifies the process of threading the curtain onto the rod and ensures a seamless hanging experience.
-
Thread the Curtain Onto the Rod: Starting at one end of the shower curtain rod, carefully thread the curtain onto the rod, ensuring that the rings or hooks glide smoothly along the length of the rod. As you progress, adjust the gathers and spacing of the curtain to achieve a balanced and even distribution along the rod.
-
Position the Curtain for Optimal Coverage: Once the curtain is evenly distributed on the rod, position it to provide comprehensive coverage around the clawfoot tub. Ensure that the curtain reaches the desired height, extending to the floor to contain water effectively and maintain privacy during showering.
-
Secure the Curtain in Place: If your shower curtain features clips or clamps to secure it in place, utilize these attachments to prevent the curtain from shifting or billowing during use. This step enhances the functionality of the curtain and contributes to a neat and tidy appearance.
-
Adjust for Aesthetic Appeal: Take a step back to assess the overall look of the shower curtain around the clawfoot tub. Make any necessary adjustments to ensure that the curtain hangs evenly, exhibits a pleasing drape, and complements the surrounding decor and fixtures.
By following these steps, you can expertly hang the shower curtain around your clawfoot tub, transforming the bathing space into a harmonious blend of practicality and style. With the curtain elegantly adorning the tub, you're one step closer to enjoying the versatility and visual allure of your enhanced bathroom environment.
Step 5: Adjust as Needed
After hanging the shower curtain around your clawfoot tub, it's essential to assess the overall arrangement and make any necessary adjustments to ensure optimal functionality and visual appeal. This step involves fine-tuning the positioning of the curtain and addressing any potential issues that may affect its performance. Here's a detailed exploration of how to adjust the shower curtain as needed to achieve a seamless and polished presentation:
-
Evaluate the Draping: Step back and observe how the shower curtain drapes around the clawfoot tub. Ensure that the curtain exhibits a smooth and even drape, with no excessive gathering or sagging. Adjust the positioning of the curtain on the rod to achieve a balanced and visually pleasing arrangement.
-
Check for Proper Coverage: Verify that the shower curtain provides comprehensive coverage around the tub, effectively containing water and maintaining privacy. Pay attention to the bottom hem of the curtain to ensure it reaches the floor, preventing water from escaping and creating a cohesive enclosure for showering.
-
Address Any Unevenness: If you notice any areas where the curtain appears uneven or asymmetrical, take the time to redistribute the fabric along the rod. Gently adjust the gathers and spacing to create a consistent and harmonious display, enhancing the overall aesthetic of the curtain arrangement.
-
Test for Functionality: Simulate the experience of showering to assess the functionality of the curtain. Look for any signs of water splashing outside the enclosure and address potential gaps or inadequacies in coverage. Making adjustments at this stage can significantly enhance the effectiveness of the shower curtain in containing water during use.
-
Consider Decorative Elements: If your shower curtain features decorative elements such as tiebacks, tassels, or embellishments, ensure that they are positioned in a visually appealing manner. Fine-tune the placement of these decorative accents to add a touch of elegance and charm to the overall curtain presentation.
-
Ensure Smooth Operation: If your shower curtain incorporates rings, hooks, or gliders for hanging, confirm that they move smoothly along the rod without any obstructions. Lubricate the moving parts if necessary to facilitate effortless opening and closing of the curtain for a seamless showering experience.
By meticulously adjusting the shower curtain as needed, you can elevate the functionality and visual allure of your clawfoot tub's bathing space. This attention to detail ensures that the curtain not only serves its practical purpose but also contributes to the overall ambiance and aesthetic harmony of the bathroom. With the curtain perfectly adjusted, you can revel in the seamless integration of style and functionality in your enhanced bathing environment.
Conclusion
In conclusion, the process of putting a shower curtain around a clawfoot tub encompasses a series of meticulous steps that culminate in the transformation of the bathing space into a versatile and visually captivating environment. By embarking on this journey, you have delved into the art of seamlessly integrating functionality and style, enhancing the timeless allure of the clawfoot tub while embracing the practicality of a shower enclosure.
From the initial step of measuring the tub to the final adjustments made to ensure a polished presentation, each stage of the process has been a testament to the attention to detail and the pursuit of a harmonious bathing experience. By meticulously selecting the right shower curtain, installing a suitable shower curtain rod, and expertly hanging and adjusting the curtain, you have embarked on a journey that goes beyond mere functionality. You have crafted a space that reflects your unique style and elevates the everyday ritual of bathing into a delightful and immersive experience.
As you stand back and admire the elegantly draped shower curtain around your clawfoot tub, you witness the seamless fusion of practicality and aesthetics. The curtain not only serves as a barrier against water splashes but also adds a touch of elegance and charm to the bathroom, enhancing its visual appeal and creating a welcoming ambiance. The careful consideration given to the material, length, design, and practical features of the shower curtain has resulted in a cohesive and inviting bathing space that harmonizes with your personal style and preferences.
Furthermore, the installation of a shower curtain around a clawfoot tub represents a celebration of versatility and adaptability. It signifies the ability to preserve the classic charm of the tub while embracing modern convenience, offering the flexibility to indulge in both luxurious baths and invigorating showers within the same space. This seamless integration of the old and the new encapsulates the essence of timeless design and functional innovation, creating a bathroom environment that transcends trends and stands the test of time.
In essence, the process of putting a shower curtain around a clawfoot tub is a testament to the transformative power of thoughtful design and meticulous execution. It is a journey that culminates in the creation of a bathing space that not only meets practical needs but also resonates with personal style and aesthetic sensibilities. As you revel in the seamless blend of functionality and elegance, you have redefined the bathing experience, infusing it with a sense of luxury, comfort, and timeless allure.
Frequently Asked Questions about How To Put A Shower Curtain Around A Clawfoot Tub
Was this page helpful?
At Storables.com, we guarantee accurate and reliable information. Our content, validated by Expert Board Contributors, is crafted following stringent Editorial Policies. We're committed to providing you with well-researched, expert-backed insights for all your informational needs.


0 thoughts on “How To Put A Shower Curtain Around A Clawfoot Tub”