Home>Furniture & Design>Bathroom Accessories>How To Put Up A Shower Curtain

Bathroom Accessories
How To Put Up A Shower Curtain
Modified: October 18, 2024
Learn how to properly install a shower curtain and other bathroom accessories with our step-by-step guide. Create a stylish and functional bathroom space effortlessly.
(Many of the links in this article redirect to a specific reviewed product. Your purchase of these products through affiliate links helps to generate commission for Storables.com, at no extra cost. Learn more)
Introduction
Installing a shower curtain may seem like a simple task, but it can make a significant difference in the overall look and functionality of your bathroom. Whether you're replacing an old curtain or setting up a new one, this process requires careful consideration and attention to detail. A well-installed shower curtain not only adds a touch of style to your bathroom but also serves a practical purpose by preventing water from splashing onto the floor.
In this comprehensive guide, we will walk you through the step-by-step process of putting up a shower curtain. From gathering the necessary materials to adjusting and securing the curtain, we will cover everything you need to know to complete this task with ease and confidence. By following these instructions, you can ensure that your shower curtain is installed securely and looks visually appealing in your bathroom space.
Whether you're a seasoned DIY enthusiast or a novice homeowner looking to tackle a new project, this guide is designed to provide clear and actionable instructions for installing a shower curtain. With a few basic tools and a systematic approach, you can transform your bathroom into a more functional and aesthetically pleasing space. So, let's dive in and learn how to put up a shower curtain like a pro!
Key Takeaways:
- Properly measuring the space and selecting the right materials are crucial for a successful shower curtain installation. Attention to detail ensures a polished and functional bathroom upgrade.
- Hanging and adjusting the shower curtain with care not only adds style to your bathroom but also prevents water splashes. A well-installed curtain reflects your commitment to a welcoming home.
Read more: How To Put Up Curtains In An Apartment
Step 1: Gather the necessary materials
Before you begin the process of putting up a shower curtain, it's essential to gather all the necessary materials and tools. Having everything at hand will streamline the installation process and ensure that you can complete the task without interruptions. Here's a comprehensive list of the materials and tools you'll need:
Materials:
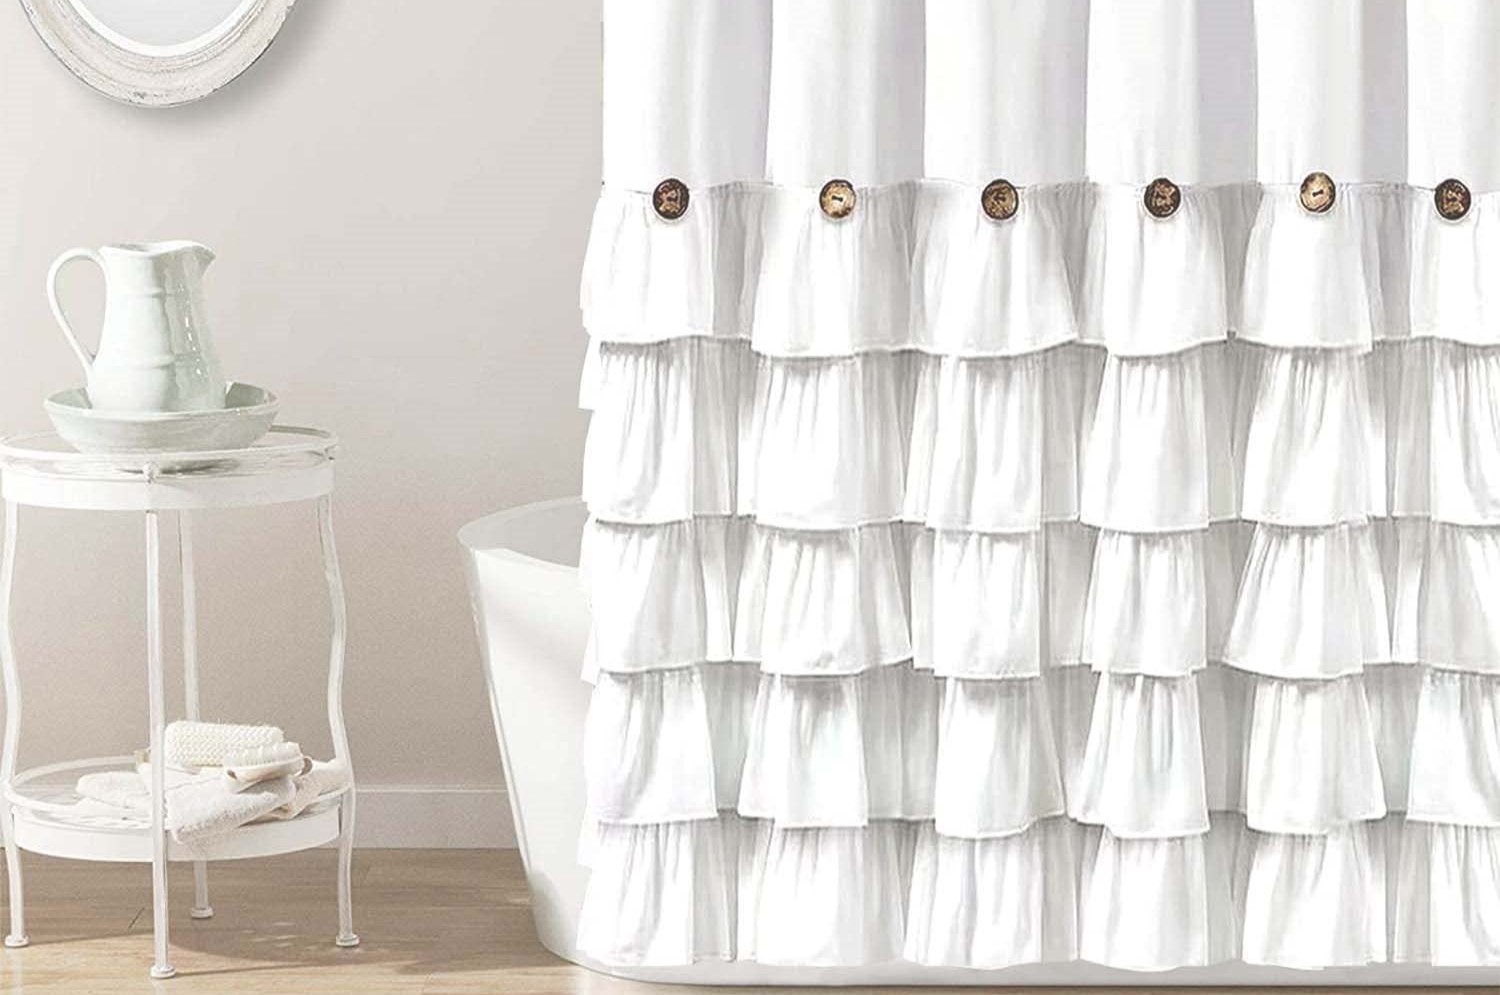
- Shower Curtain: Select a shower curtain that complements the decor of your bathroom and fits the dimensions of your shower or bathtub area.
- Curtain Liner: A waterproof curtain liner is essential for preventing water from seeping through the main shower curtain and onto the bathroom floor.
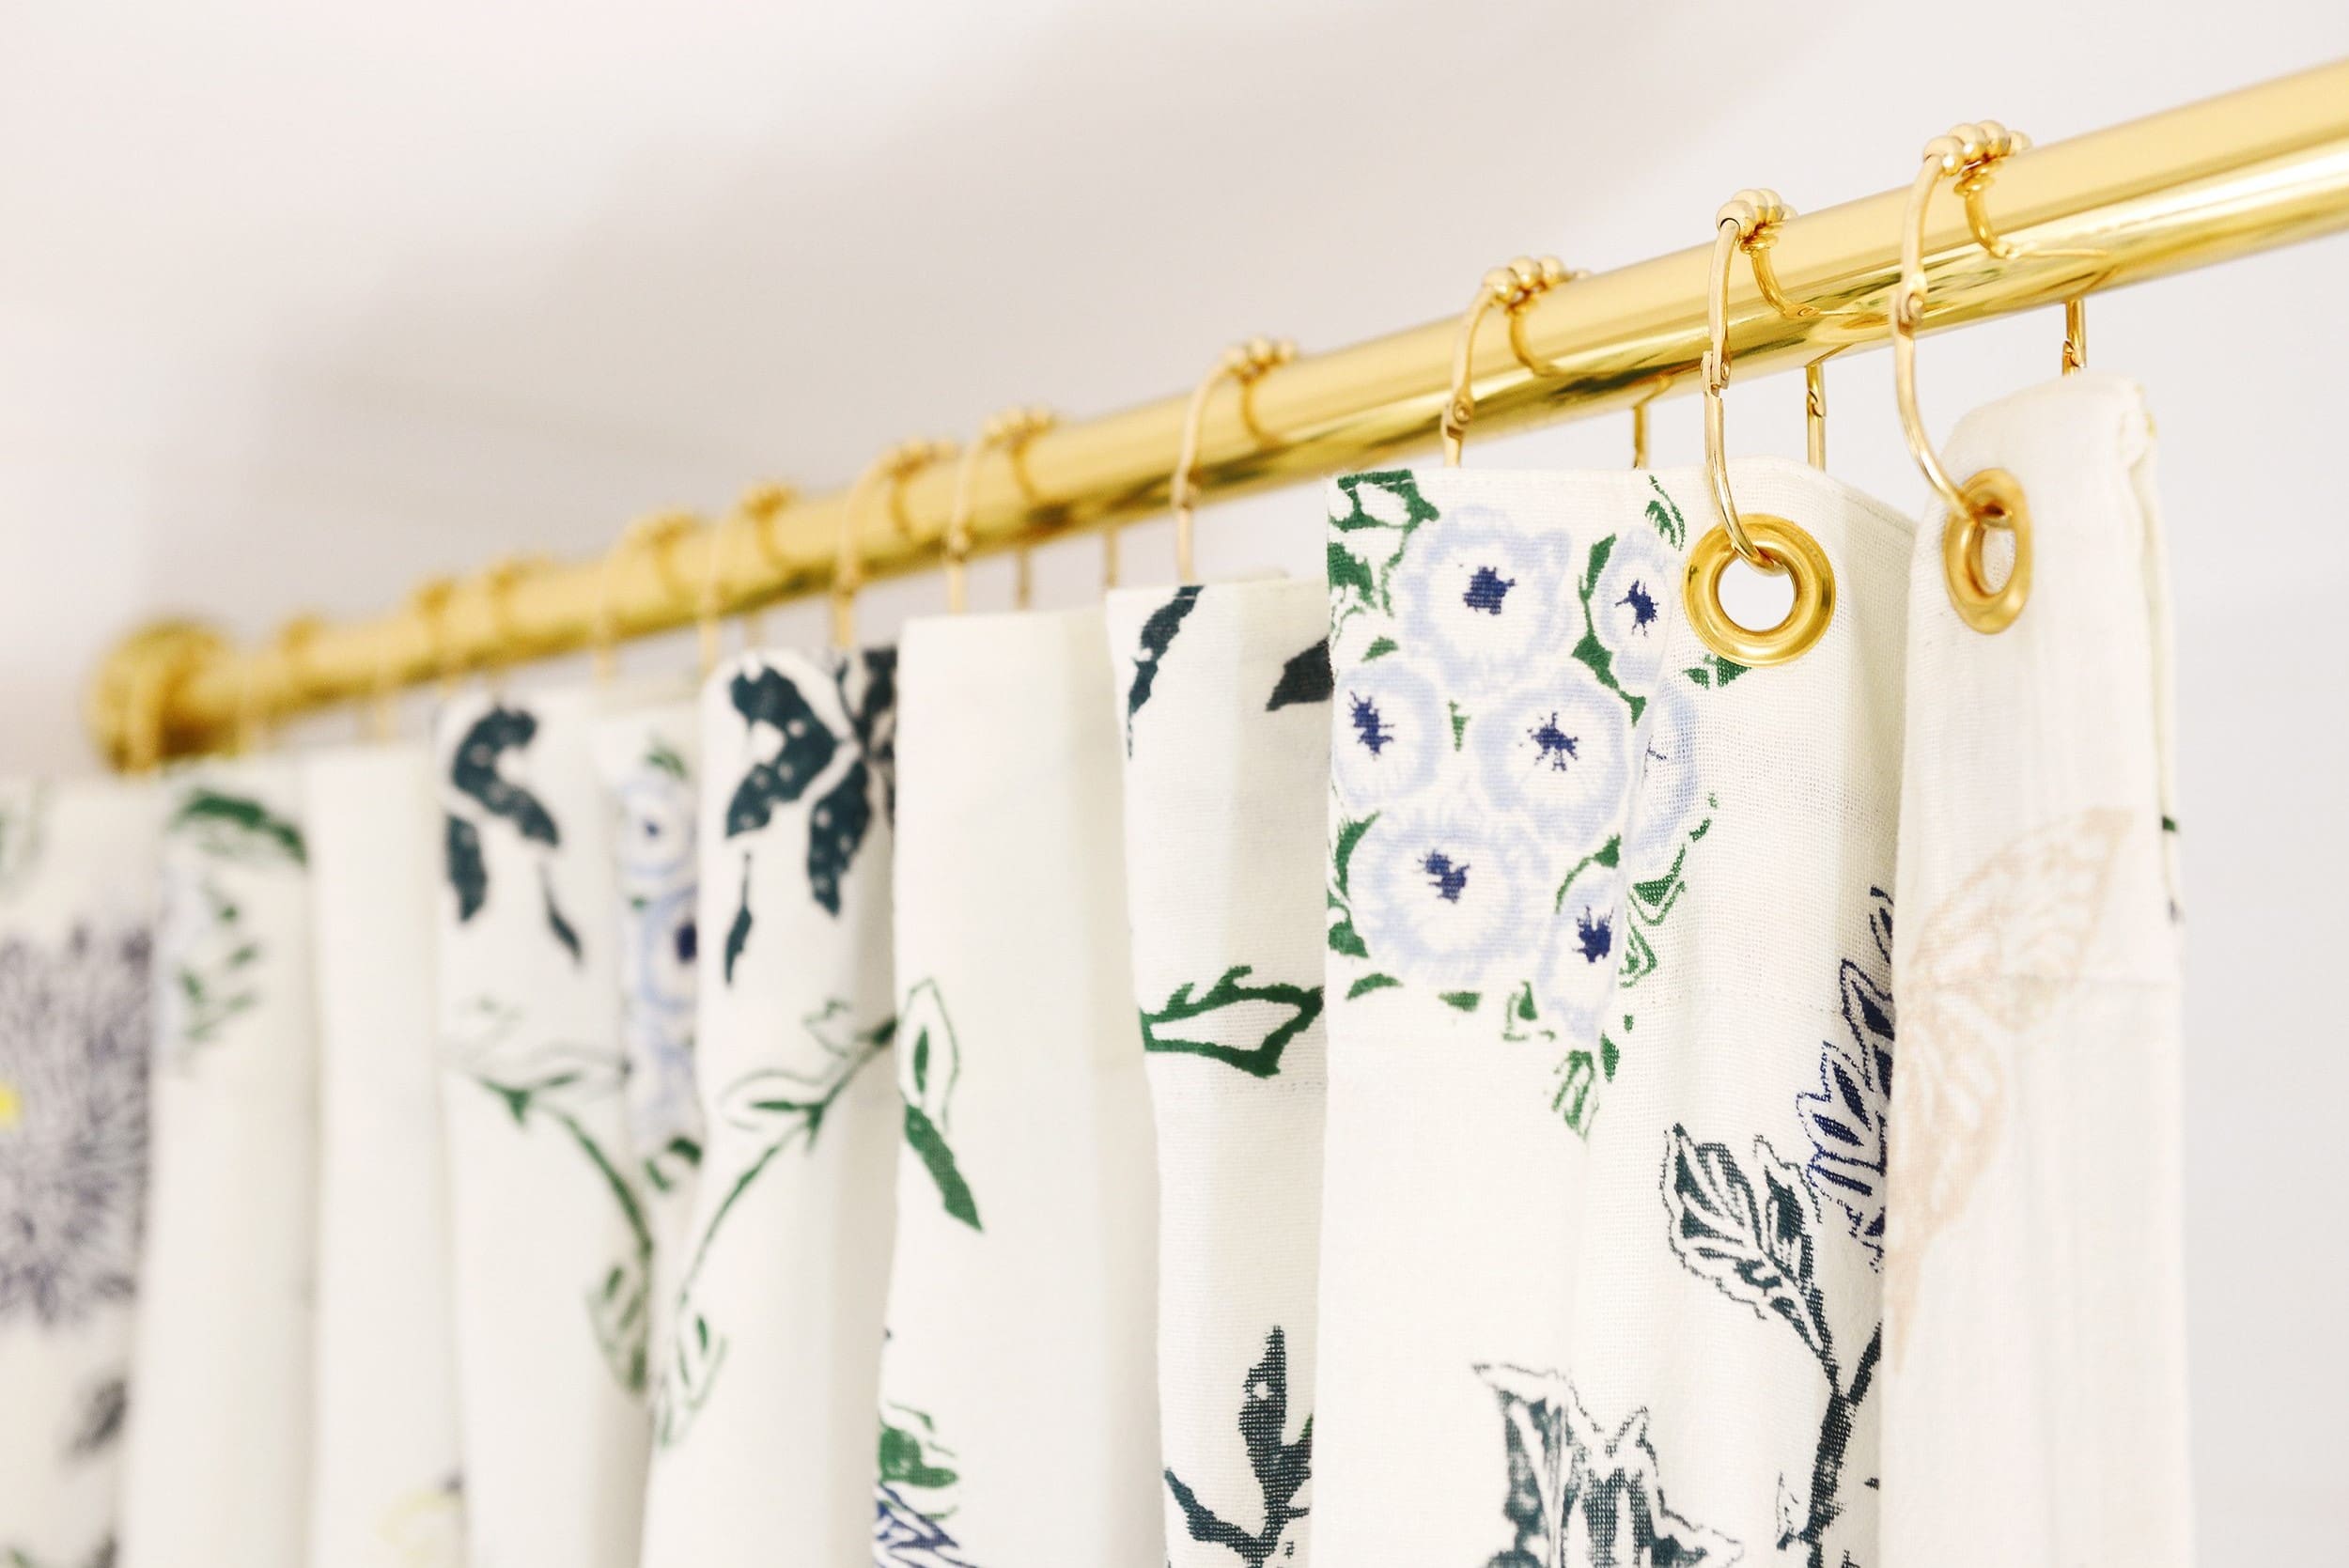
- Curtain Rings or Hooks: Choose either curtain rings or hooks to hang the shower curtain. Opt for a style that aligns with your aesthetic preferences and the design of the curtain.
- Curtain Rod: If you don't already have a curtain rod in place, you'll need to purchase one that fits the width of your shower or bathtub area.
- Level: A small spirit level will help ensure that the curtain rod is installed straight and level.
Tools:
- Measuring Tape: Use a measuring tape to determine the width and height of your shower or bathtub area, allowing you to select a curtain and rod of the appropriate size.
- Screwdriver: Depending on the type of curtain rod you have, you may need a screwdriver to secure it in place.
- Pencil: Marking the positions for the curtain rod brackets on the wall will require a pencil for accuracy.
- Step Stool or Ladder: If your shower area is tall or out of reach, a step stool or ladder will facilitate safe and convenient installation.
By ensuring that you have all these materials and tools ready, you can proceed to the next step of measuring the space and preparing for the installation of the shower curtain. With everything in place, you'll be well-equipped to carry out the subsequent steps with efficiency and precision.
Step 2: Measure the space
Before diving into the installation process, it's crucial to accurately measure the space where the shower curtain will be placed. This step is essential for ensuring that the curtain and rod fit perfectly, creating a polished and functional look for your bathroom. Here's a detailed guide on how to measure the space effectively:
Read more: How To Put Up Curtains Over Blinds
1. Measure the Width:
Using a measuring tape, determine the width of your shower or bathtub area. Start by measuring the entire length from one end to the other, ensuring that the tape is taut and straight. Take note of this measurement, as it will help you select a curtain rod that spans the entire width without leaving gaps.
2. Measure the Height:
Next, measure the height from the top of the shower or bathtub to the desired length where you want the curtain to hang. This measurement will guide you in choosing a curtain of the appropriate length, preventing it from dragging on the floor or hanging too high above the shower area.
3. Consider Overhang:
If you prefer a curtain that extends beyond the width of the shower or bathtub, add a few extra inches to the width measurement. This overhang will help prevent water from splashing outside the shower area, enhancing the functionality of the curtain.
4. Check for Obstructions:
While measuring the space, take note of any obstructions such as light fixtures, towel bars, or shower caddies that could interfere with the installation of the curtain rod. Adjust your measurements accordingly to accommodate these obstructions and ensure a seamless installation process.
By meticulously measuring the width, height, and any potential obstructions in the shower or bathtub area, you can proceed to the next step with confidence, knowing that the curtain and rod will fit perfectly. This attention to detail will contribute to a visually appealing and well-executed installation, setting the stage for the subsequent steps in putting up your shower curtain.
Step 3: Install the curtain rod
With the measurements in hand and the necessary materials and tools at your disposal, it's time to move on to the pivotal step of installing the curtain rod. This step is crucial as it sets the foundation for hanging the shower curtain securely and ensuring a polished, professional finish for your bathroom space.
1. Select the Mounting Height:
Begin by determining the ideal height for mounting the curtain rod. Typically, the rod should be positioned at least 1-2 inches above the top edge of the shower or bathtub enclosure to prevent water from escaping. Use a pencil to mark the mounting height on both sides of the wall, ensuring that the marks are level and aligned.
2. Position the Brackets:
Next, position the brackets for the curtain rod at the marked locations on the wall. Ensure that the brackets are evenly spaced and aligned with the markings. If your curtain rod requires brackets with screws, use a screwdriver to secure them in place, ensuring a firm and stable attachment to the wall.
3. Install the Curtain Rod:
Once the brackets are securely in place, it's time to install the curtain rod. Depending on the type of rod you have, whether it's a tension rod or one that requires mounting hardware, follow the manufacturer's instructions for proper installation. For tension rods, simply extend the rod to the desired width and twist it into place within the shower or bathtub area. If your rod requires mounting hardware, carefully position it within the brackets and ensure that it is level before tightening any screws.
Read more: How To Make A Shower Curtain
4. Check for Stability:
After installing the curtain rod, give it a gentle tug to ensure that it is securely anchored and can support the weight of the shower curtain and liner. Stability is key to preventing the rod from sagging or coming loose over time, so take the time to verify its strength and durability.
By following these steps and paying attention to detail, you can successfully install the curtain rod, laying the groundwork for the final stages of hanging the shower curtain and achieving a well-appointed, functional bathroom space. With the rod securely in place, you're ready to move on to the next step of hanging the shower curtain and bringing the installation process to fruition.
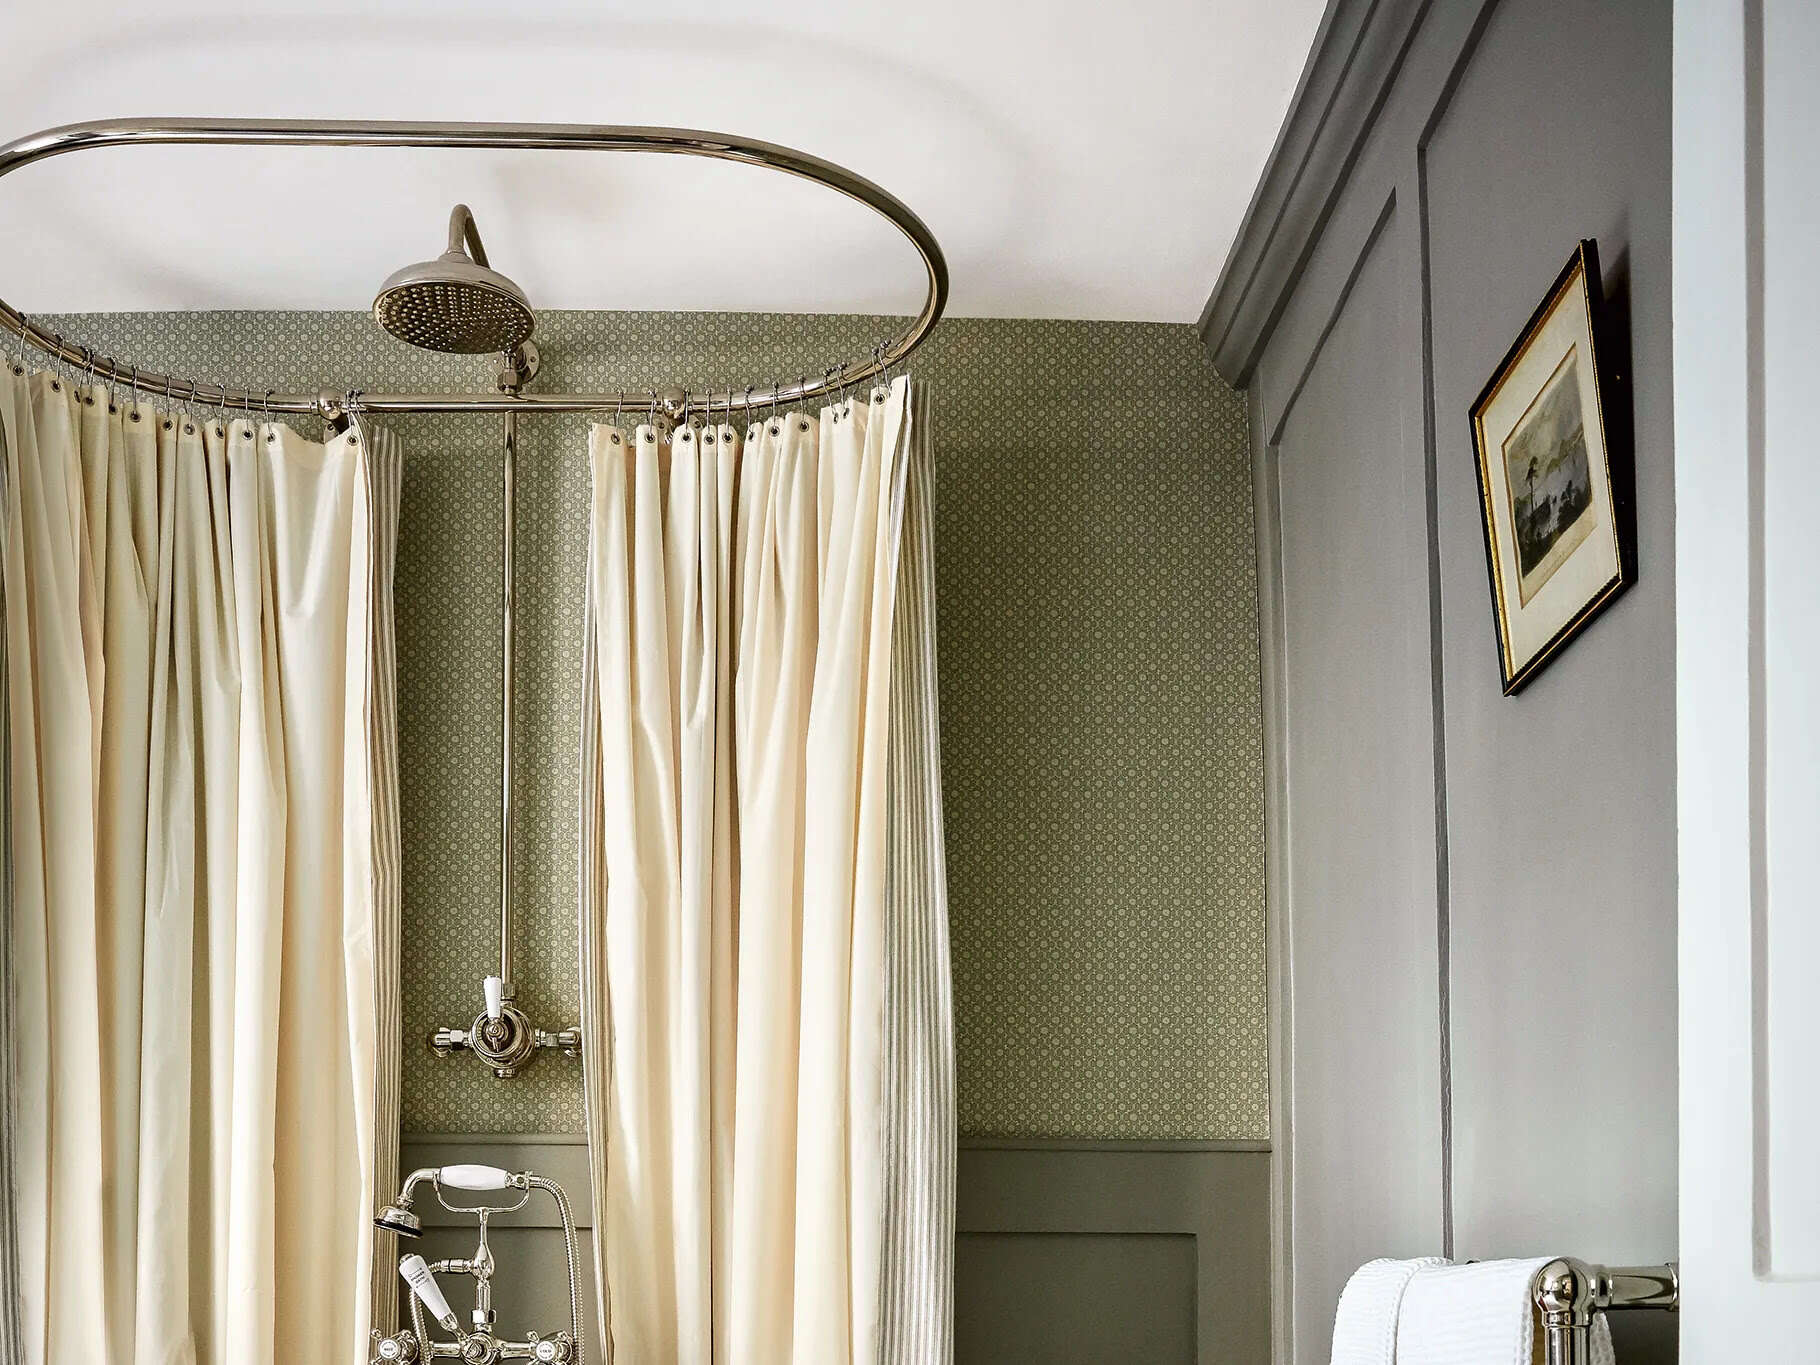
Step 4: Hang the shower curtain
With the curtain rod securely installed, the next step is to hang the shower curtain, transforming your bathroom space and adding a touch of style and functionality. This phase of the installation process requires attention to detail and a keen eye for achieving a visually appealing and well-hung curtain. Here's a detailed guide on how to hang the shower curtain with precision and finesse:
-
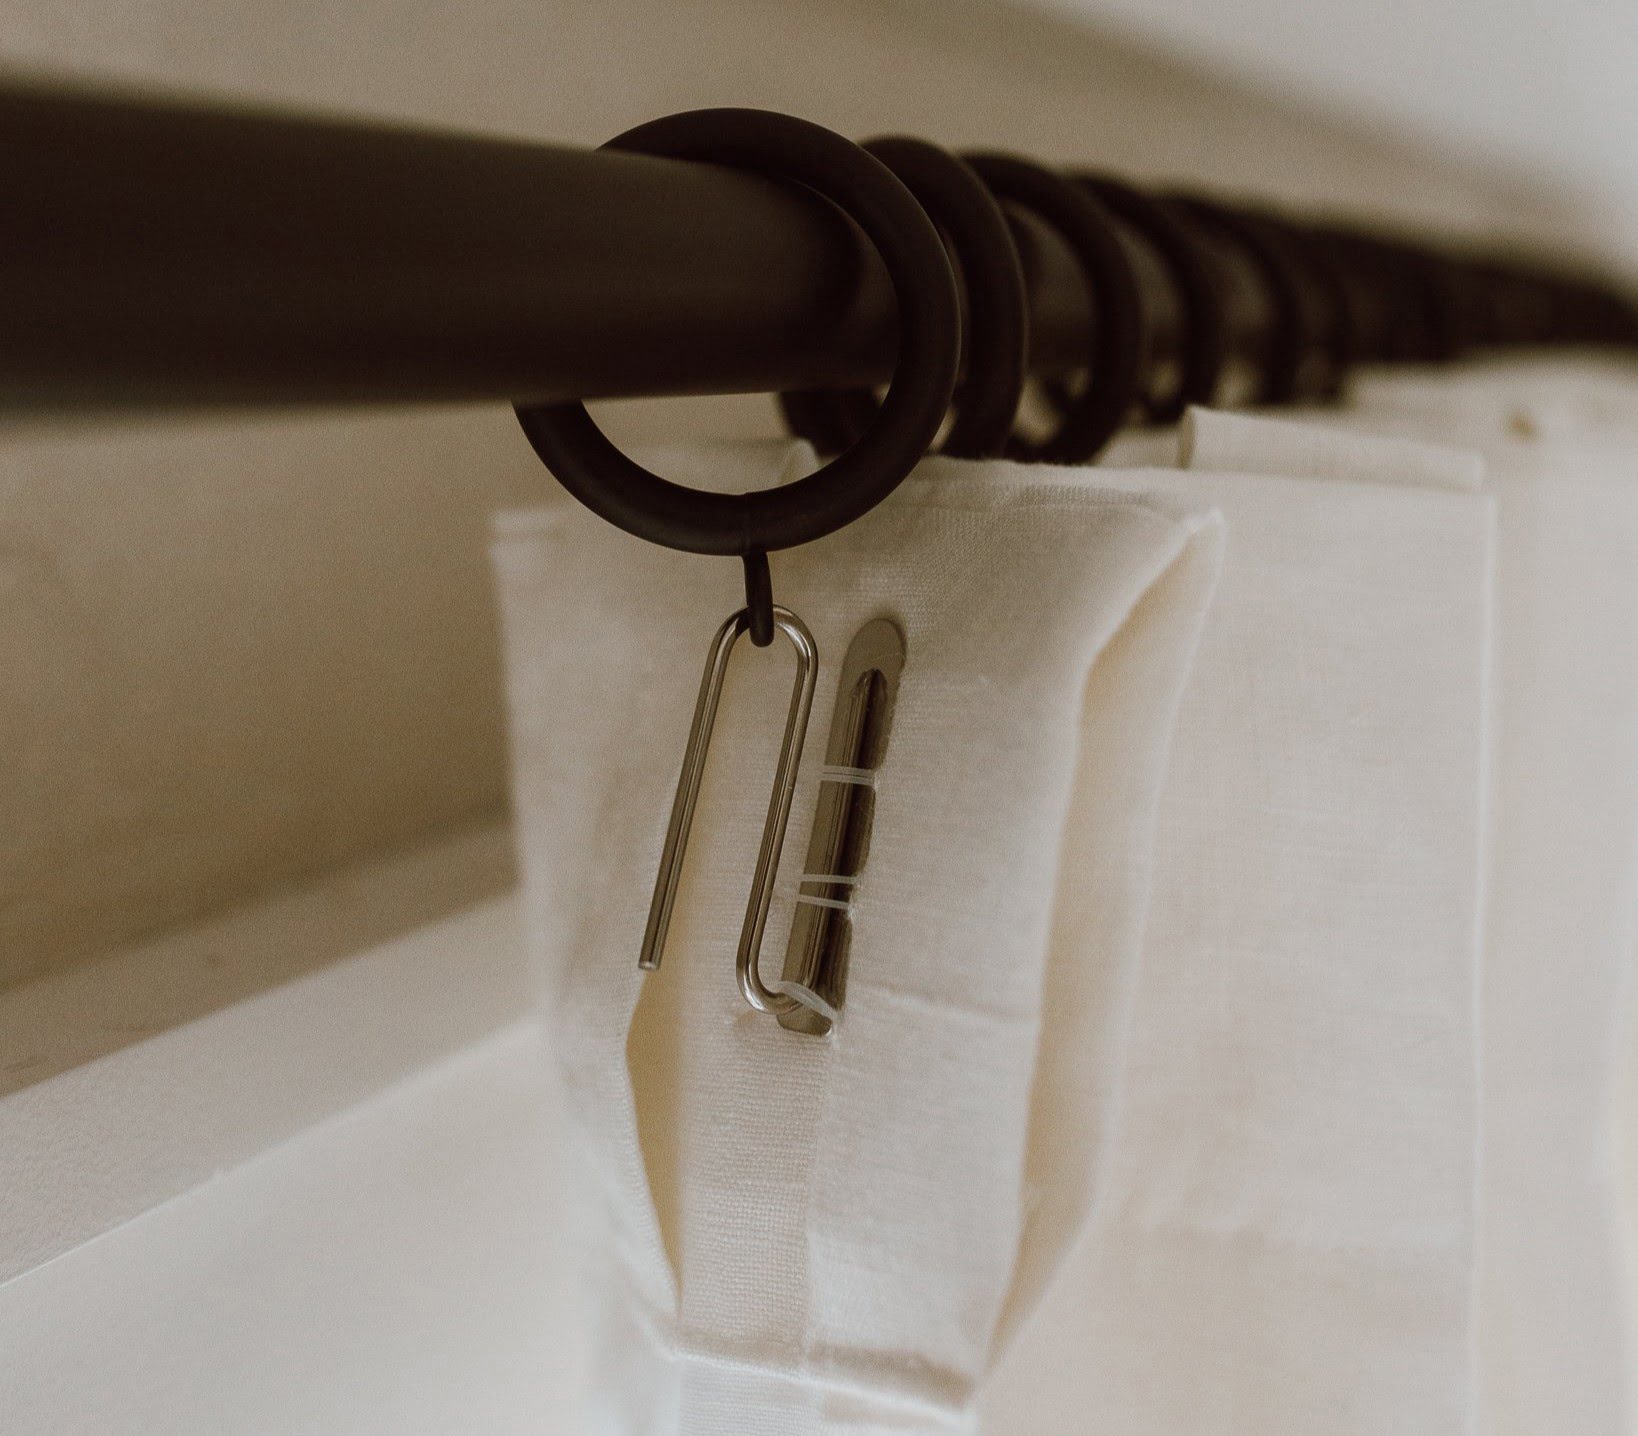
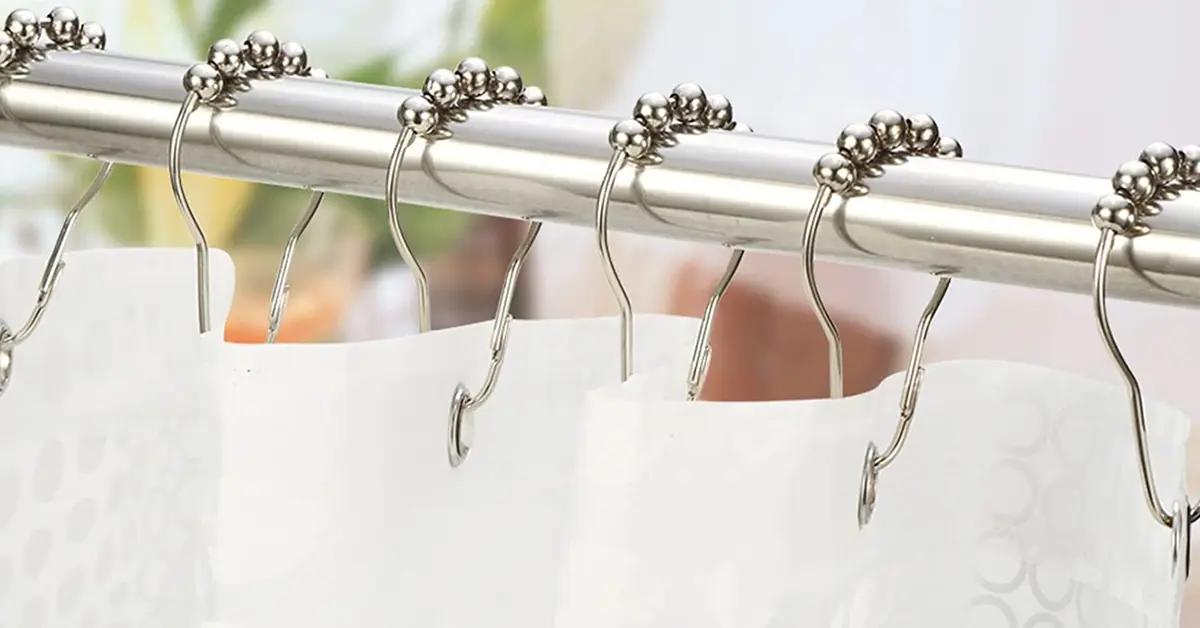
Prepare the Curtain Rings or Hooks:
If your shower curtain requires rings or hooks for hanging, prepare them by ensuring that each one is open and ready to receive the curtain. This preparation will streamline the hanging process and prevent any interruptions as you proceed. -
Attach the Curtain to the Rings or Hooks:
Begin by attaching the shower curtain to the rings or hooks. If the curtain features grommets, simply slide the rings through the grommets along the top edge of the curtain. For curtains with built-in loops, hook the rings or hooks through the loops securely. -
Evenly Space the Rings or Hooks:
As you attach the curtain to the rings or hooks, ensure that they are evenly spaced along the entire width of the curtain. This even distribution will prevent the curtain from bunching up in certain areas and create a balanced, visually pleasing appearance. -
Hang the Curtain on the Rod:
With the curtain fully attached to the rings or hooks, it's time to hang it on the installed rod. Carefully lift the curtain and place each ring or hook onto the rod, ensuring that the curtain hangs evenly without any areas of imbalance. -
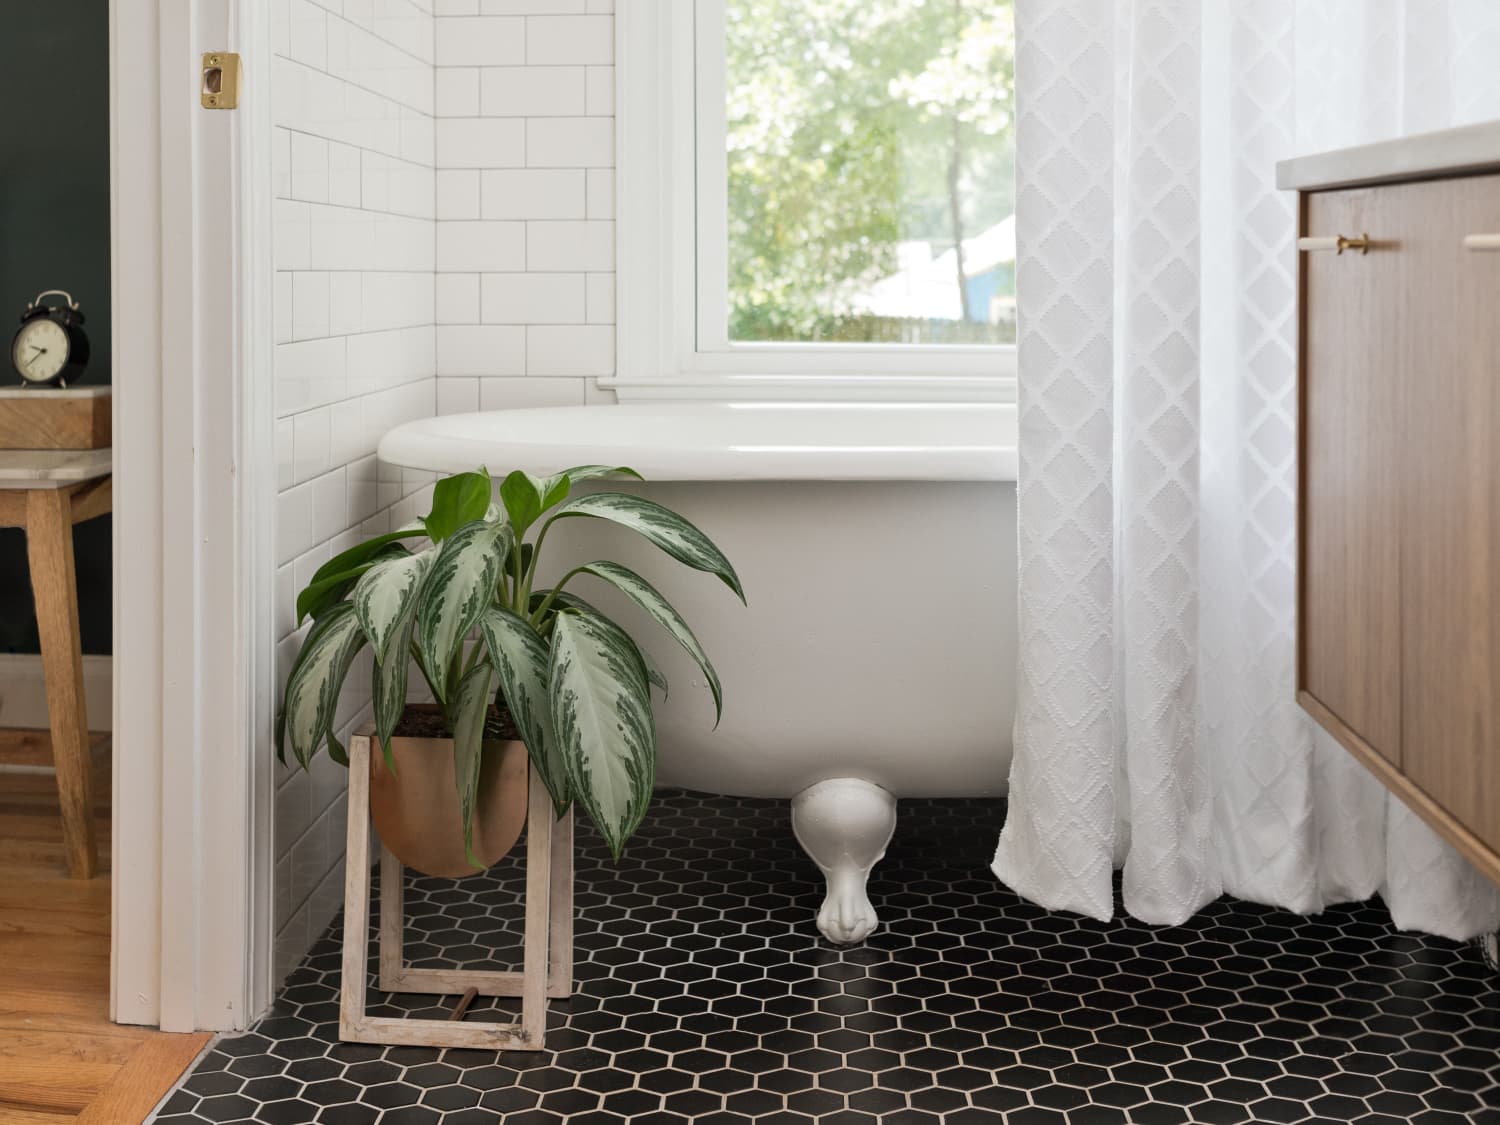
Check the Length and Alignment:
Once the curtain is hung, step back and assess its length and alignment. Ensure that the bottom edge of the curtain falls to the desired length, whether it's just above the floor or slightly overlapping the edge of the bathtub. Additionally, verify that the curtain is level and straight across the rod for a polished and professional appearance. -
Attach the Curtain Liner:
If you're using a separate curtain liner, hang it on the rod behind the main shower curtain. The liner should align with the curtain and fall to the same length, providing an additional layer of protection against water splashing outside the shower or bathtub area.
By following these detailed steps, you can successfully hang the shower curtain, elevating the visual appeal of your bathroom and completing the installation process with finesse. With the curtain and liner securely in place, your bathroom will exude a sense of style and functionality, showcasing your attention to detail and commitment to creating a well-appointed living space.
Step 5: Adjust and secure the curtain
After hanging the shower curtain and liner, the final step involves adjusting and securing them to ensure a polished and functional installation. This phase is essential for fine-tuning the appearance of the curtain and enhancing its effectiveness in containing water within the shower or bathtub area. Here's a detailed guide on how to adjust and secure the curtain with precision and attention to detail:
-
Even Out the Folds: Begin by carefully adjusting the folds and pleats of the shower curtain to create a uniform and visually appealing appearance. Smooth out any wrinkles or uneven sections, ensuring that the curtain hangs gracefully and complements the overall aesthetic of your bathroom.
-
Check for Clearance: Verify that the bottom edge of the curtain and liner clears the floor or the edge of the bathtub without dragging excessively. Adequate clearance prevents the curtain from collecting water or coming into contact with potentially dirty surfaces, maintaining its cleanliness and longevity.
-
Secure the Liner: If you're using a separate curtain liner, ensure that it is securely positioned behind the main shower curtain. The liner should align with the curtain and remain tucked within the confines of the shower or bathtub area, preventing it from protruding and disrupting the visual cohesiveness of the installation.
-
Inspect the Rod and Brackets: Take a moment to inspect the curtain rod and brackets to ensure that they are securely fastened to the wall. Tighten any screws or adjustments as needed, reaffirming the stability of the rod and its ability to support the weight of the curtain and liner without sagging or shifting.
-
Test the Movement: Gently tug on the curtain to test its movement and stability. The curtain should glide smoothly along the rod without any resistance, indicating that it is properly hung and free from any potential snags or obstructions.
-
Final Adjustments: Step back and assess the overall appearance of the installed curtain. Make any final adjustments to the positioning, folds, or alignment to achieve a visually pleasing and well-coordinated look that enhances the ambiance of your bathroom.
By meticulously adjusting and securing the shower curtain and liner, you can elevate the overall presentation of your bathroom while ensuring that the installation is both visually appealing and functional. This attention to detail reflects your commitment to creating a well-appointed living space, where every element, including the shower curtain, contributes to a cohesive and inviting environment.
Conclusion
In conclusion, the process of putting up a shower curtain involves a series of meticulous steps that culminate in a visually appealing and functional installation. By following the comprehensive guide outlined in this article, you can transform your bathroom space with a well-hung shower curtain that not only adds a touch of style but also serves a practical purpose in containing water within the shower or bathtub area.
From the initial step of gathering the necessary materials and tools to the final adjustments and securing of the curtain, each stage of the installation process contributes to the overall success of the project. By meticulously measuring the space, installing the curtain rod with precision, and hanging the shower curtain and liner with attention to detail, you can achieve a polished and professional look for your bathroom.
The careful consideration of factors such as clearance, alignment, and stability ensures that the shower curtain not only enhances the visual appeal of the bathroom but also functions effectively in preventing water from splashing onto the floor. Additionally, the inclusion of a separate curtain liner provides an extra layer of protection, reinforcing the functionality of the installation.
By approaching the installation process with a systematic and detail-oriented mindset, you can create a bathroom space that exudes a sense of style, functionality, and attention to detail. The successful installation of a shower curtain reflects your commitment to maintaining a well-appointed living environment, where every element contributes to a cohesive and inviting ambiance.
Ultimately, the installation of a shower curtain is a testament to your dedication to enhancing the functionality and aesthetic appeal of your home. With the completion of this project, you can take pride in knowing that your bathroom space has been elevated with a carefully installed shower curtain that reflects your attention to detail and commitment to creating a welcoming and visually appealing living space.
Frequently Asked Questions about How To Put Up A Shower Curtain
Was this page helpful?
At Storables.com, we guarantee accurate and reliable information. Our content, validated by Expert Board Contributors, is crafted following stringent Editorial Policies. We're committed to providing you with well-researched, expert-backed insights for all your informational needs.


0 thoughts on “How To Put Up A Shower Curtain”