Articles
How To Put Hooks On Curtains
Modified: October 20, 2024
Learn how to easily put hooks on curtains with our informative articles. Enhance your home decor and achieve the perfect window treatment effortlessly.
(Many of the links in this article redirect to a specific reviewed product. Your purchase of these products through affiliate links helps to generate commission for Storables.com, at no extra cost. Learn more)
Introduction
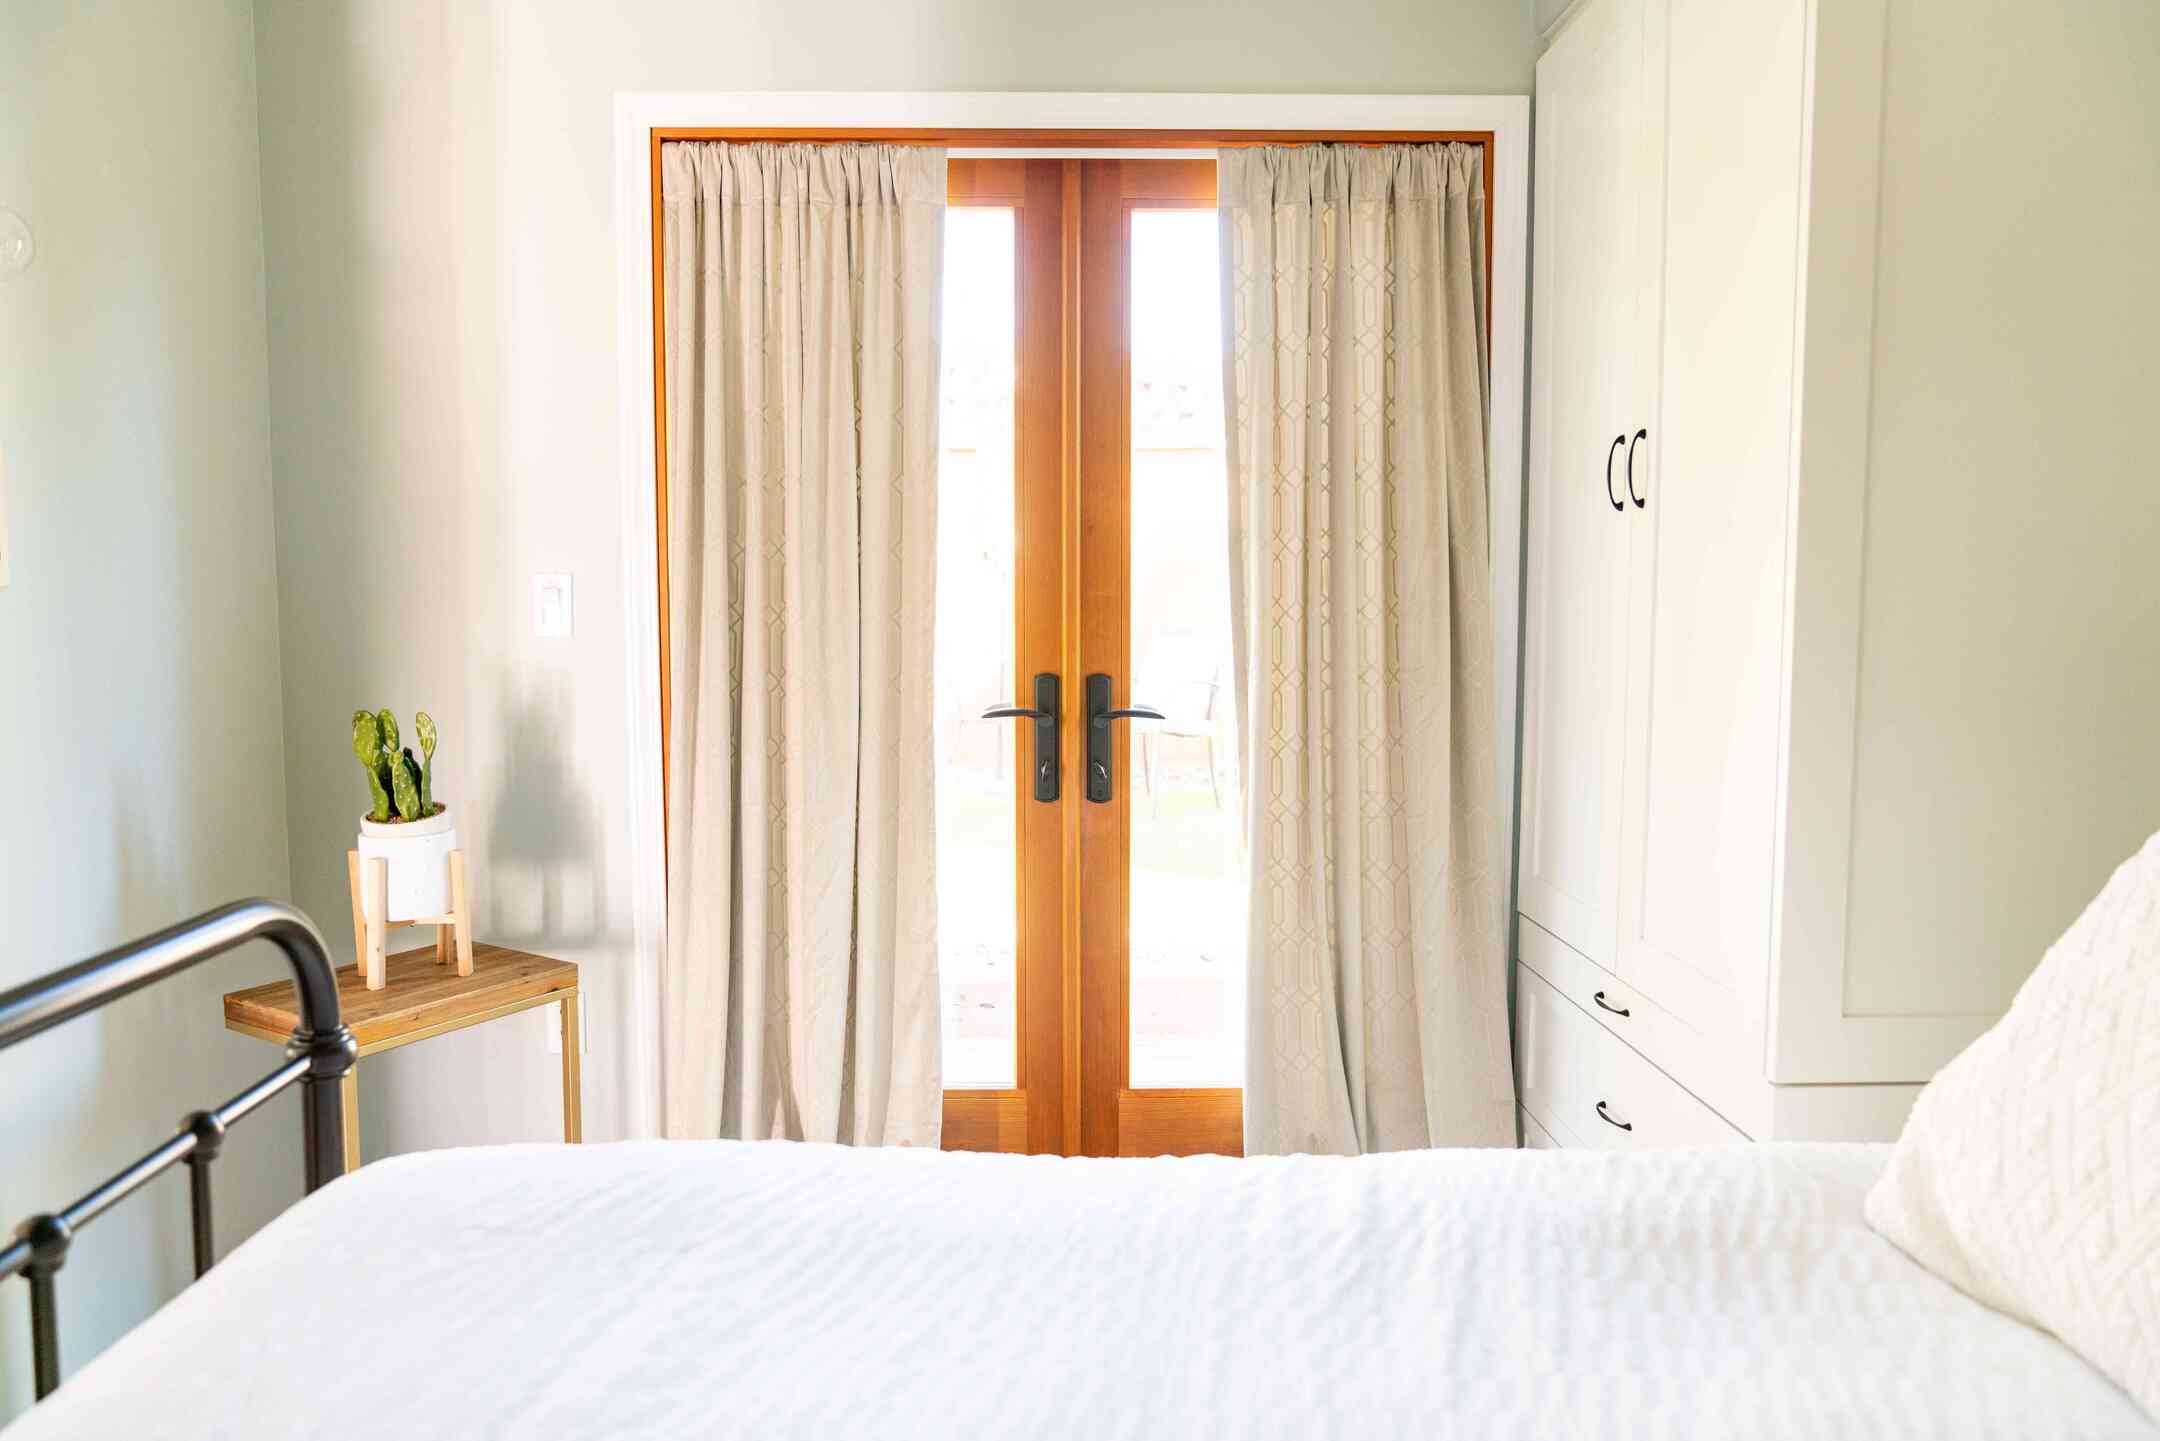
Curtains are not only functional but also serve as an essential element in home décor. They add privacy, control light, and enhance the overall aesthetic of a room. While there are various ways to hang curtains, using hooks is a popular and convenient option. Hooks offer a secure and adjustable method to attach curtains to the rod, ensuring a neat and polished look.
If you’re looking to give your curtains a makeover or want to change the way they hang, this article will guide you through the process of putting hooks on curtains. With a few simple steps, you can achieve a professional-looking result without the need for any specialized tools or expertise.
In this comprehensive guide, we will explain each step clearly, providing you with the necessary information to complete the task successfully. Whether you are a seasoned DIY enthusiast or a beginner tackling your first home improvement project, you’ll find this article helpful.
Key Takeaways:
- Easily achieve a professional look by following simple steps to hang curtains with hooks. Enjoy the flexibility to update and experiment with different styles and patterns for a personalized touch.
- Enhance your space with functional and aesthetically pleasing curtains. Gain the confidence to tackle future projects and create a stylish ambiance that reflects your unique personality.
Read more: What Are Curtains With Hooks Called
Step 1: Gather the necessary materials
Before you begin putting hooks on your curtains, ensure that you have all the materials and tools at hand. This will make the process smoother and more efficient. Here are the items you will need:
- Curtains: Choose curtains that you want to hang using hooks. They can be pre-made curtains or ones you have sewn yourself.
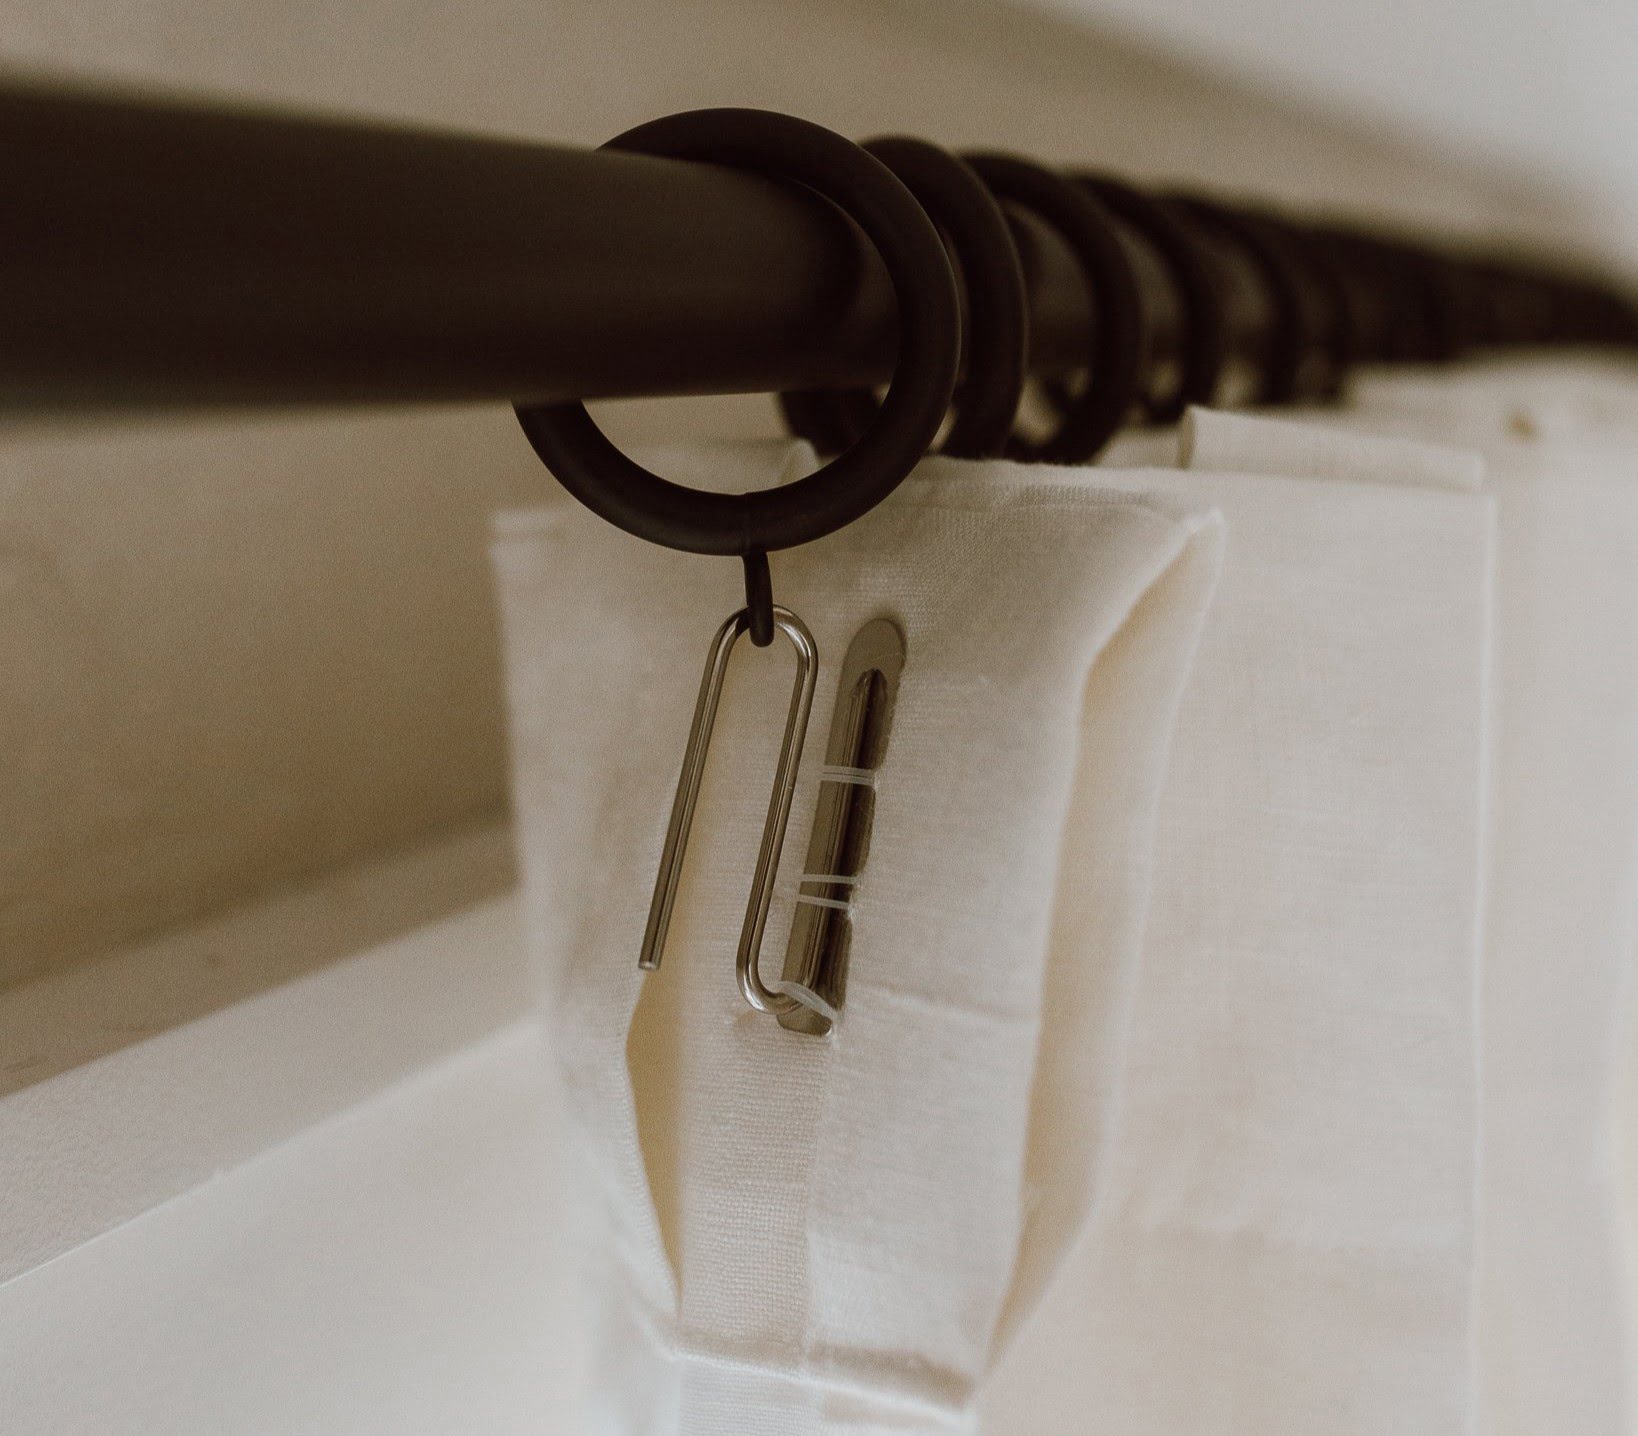
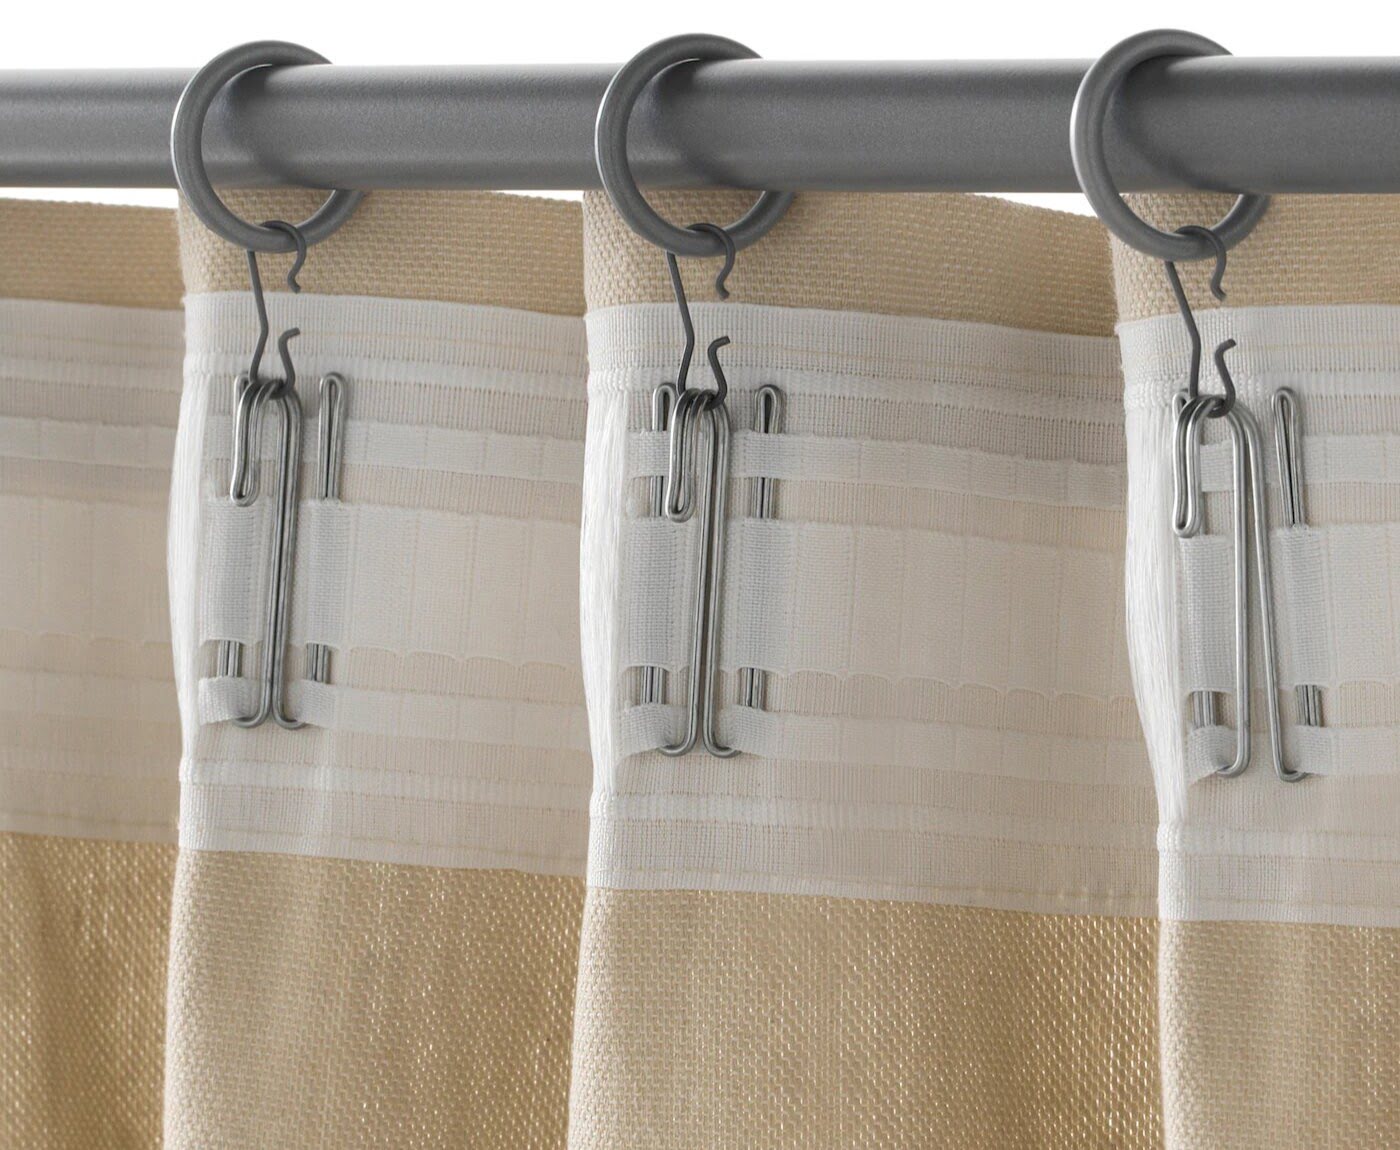
- Curtain hooks: Purchase curtain hooks that are suitable for the type of curtains you have. There are various types available, including pinch pleat hooks, S-hooks, and drapery pins. Make sure to choose hooks that will fit your curtain fabric and rod.
- Curtain rod: Ensure you have a curtain rod installed or ready to install. The rod should be sturdy enough to hold the weight of the curtains.
- Tape measure: Use a tape measure to determine the ideal height for the hooks and ensure uniform placement.
- Pencil or marker: Mark the position of the hooks on the curtains and the rod.
- Step ladder or stool: Use a step ladder or stool to reach higher areas if needed.
Once you have gathered all the necessary materials, double-check to make sure you have everything before proceeding to the next step. Having everything within easy reach will save you time and prevent interruptions during the installation process.
Step 2: Measure and mark the ideal height for the hooks
One of the key aspects of hanging curtains with hooks is getting the height right. Proper placement of the hooks ensures that the curtains hang at the desired length and create an aesthetically pleasing look. Follow these steps to measure and mark the ideal height for the hooks:
- Start by deciding the desired height at which you want your curtains to hang. This will depend on personal preference and the overall style of the room.
- Using a tape measure, measure the distance from the top of the window frame or the ceiling to the chosen height. Ensure that you take accurate measurements, as this will determine where the hooks will be placed.
- Mark the measurement using a pencil or marker on both sides of the window or wall. This will serve as a guide for placing the hooks evenly.
- If you have multiple windows in the room, repeat the measurement and marking process for each window.
It’s important to note that the ideal height for the hooks may vary depending on the curtain style and the desired look. For example, if you prefer curtains that puddle on the floor, you may want to add a few extra inches to the measured height. However, if you prefer a clean and tailored look, you may opt for a shorter length.
Once you have measured and marked the ideal height for the hooks on each window, you are ready to move on to the next step. Properly measuring and marking ensures that the curtains will hang at the desired length and create a visually appealing effect in the room.
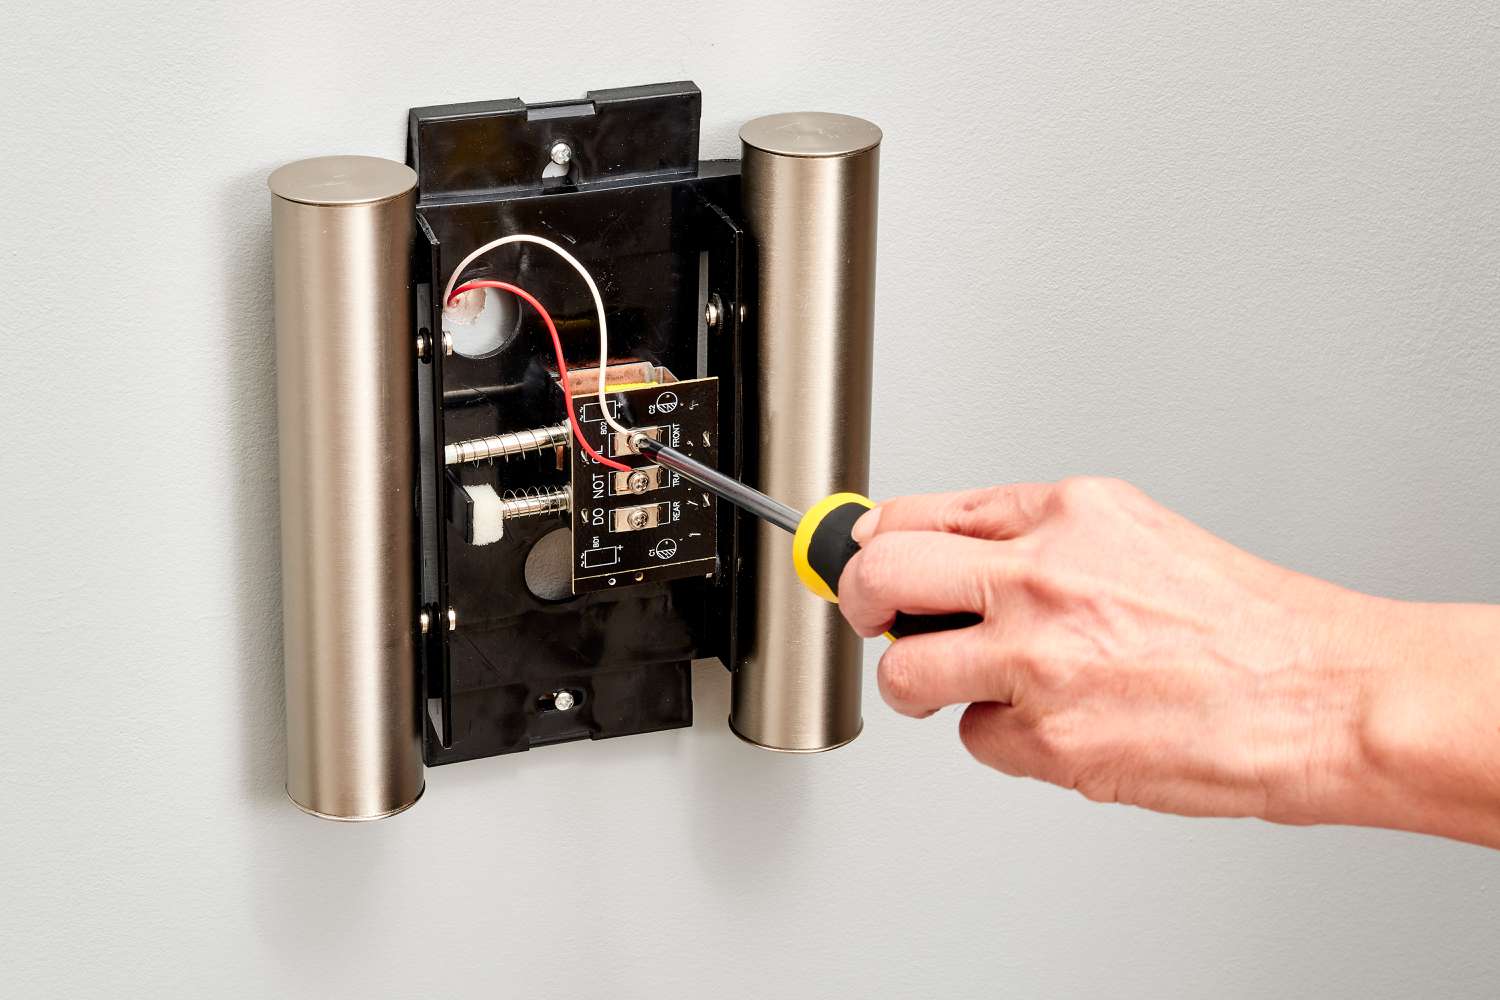
Step 3: Install the curtain rod
Now that you have determined the ideal height for the hooks, it’s time to install the curtain rod. Follow these steps to ensure a secure and stable installation:
- Start by selecting the appropriate curtain rod for your windows. Consider the width of the window and the weight of the curtains to ensure the rod can support them.
- Using a tape measure, measure the width of the window frame or the desired width for the curtains. Make sure to leave some extra space on each side to accommodate the curtains when they are fully drawn.
- Hold the curtain rod against the wall or window frame at the desired height, aligning it with the marked height from the previous step. Make sure it is level by using a spirit level.
- Once you have determined the correct position, use a pencil or marker to mark the placement of the rod brackets on the wall or window frame. Ensure that the marks are evenly spaced and aligned with the marked height for the hooks.
- Using a drill and the appropriate size drill bit, carefully create pilot holes at the marked positions for the brackets. Make sure the pilot holes are deep enough to hold the screws securely.
- Attach the rod brackets to the wall or window frame using screws or brackets provided with the curtain rod. Make sure they are securely fastened and level.
- Slide the curtain rod into the brackets and ensure it is properly seated and level. Some rods may require additional tightening or adjustments to secure them in place.
Installing the curtain rod is an important step in ensuring that the curtains hang properly. Take your time to measure, mark, and install the rod correctly to create a solid foundation for hanging the curtains with hooks.
Once the curtain rod is securely installed, you are ready to move on to the next step, which involves determining the placement of the hooks on the curtains.
Step 4: Determine the hook placement
Now that you have the curtain rod installed, it’s time to determine the placement of the hooks on the curtains. The correct placement is crucial for achieving a balanced and visually pleasing look. Follow these steps to determine the hook placement:
- Lay out your curtains on a flat surface, such as a table or the floor, with the backside facing up.
- Measure the width of the curtain panel and divide it by the desired number of hooks. This will give you the approximate spacing between each hook.
- Using a tape measure, starting from the edge of the curtain panel, mark the calculated distance for the first hook placement.
- Continue marking the remaining hook placements, ensuring that they are evenly spaced and aligned with the marking on the first curtain panel.
- If you have multiple curtain panels, repeat the process for each panel, maintaining consistent spacing between the hooks.
It’s important to note that the number of hooks you use will depend on the width and weight of your curtains. Heavier curtains may require more hooks to ensure proper support and prevent sagging.
Additionally, consider the style of your curtains when determining hook placement. For example, pinch pleat curtains may require hooks to be placed closer together to create evenly spaced pleats, while rod pocket curtains may have hooks placed further apart.
Once you have determined the hook placement on each curtain panel, you are ready to move on to the next step, which involves attaching the hooks to the curtains.
When putting hooks on curtains, make sure to space them evenly to ensure the curtain hangs properly. Use a ruler or measuring tape to help maintain consistency.
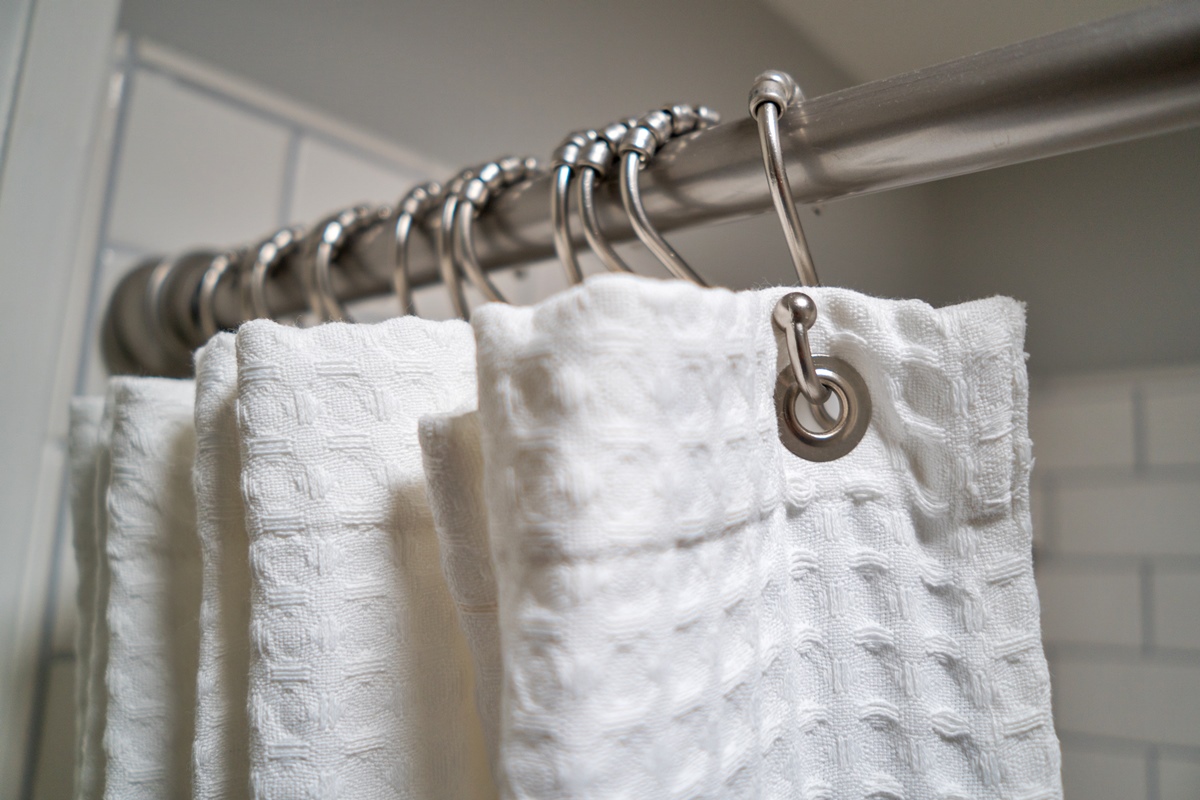
Read more: How Many Hooks For A Shower Curtain
Step 5: Attach the hooks to the curtains
With the hook placements marked on your curtains, it’s time to attach the hooks. This step is essential in ensuring that the curtains hang securely and create a polished look. Follow these steps to attach the hooks to your curtains:
- Begin by folding the top edge of the curtain panel over, creating a loop or pocket where the hooks will be inserted.
- Take the first hook and slide it through the fabric at the marked placement. Make sure to catch both layers of the fabric if your curtains have a double layer.
- Secure the hook by closing the hook mechanism or by fastening the hook as per the manufacturer’s instructions.
- Continue attaching the remaining hooks to the marked placements on the curtain panel, ensuring that they are aligned and evenly spaced.
- Once all the hooks are attached, give the curtain panel a gentle tug to ensure that they are securely in place.
It’s important to handle the curtain fabric with care to avoid any rips or tears during the process. Take your time and be gentle when inserting the hooks to maintain the integrity of the fabric.
If your curtains have intricate pleats or specific patterns, make sure to align the hooks with the desired sections of the fabric to maintain the intended design.
Once you have attached all the hooks to your curtain panels, you are ready to move on to the next step, which involves hanging the curtains on the rod.
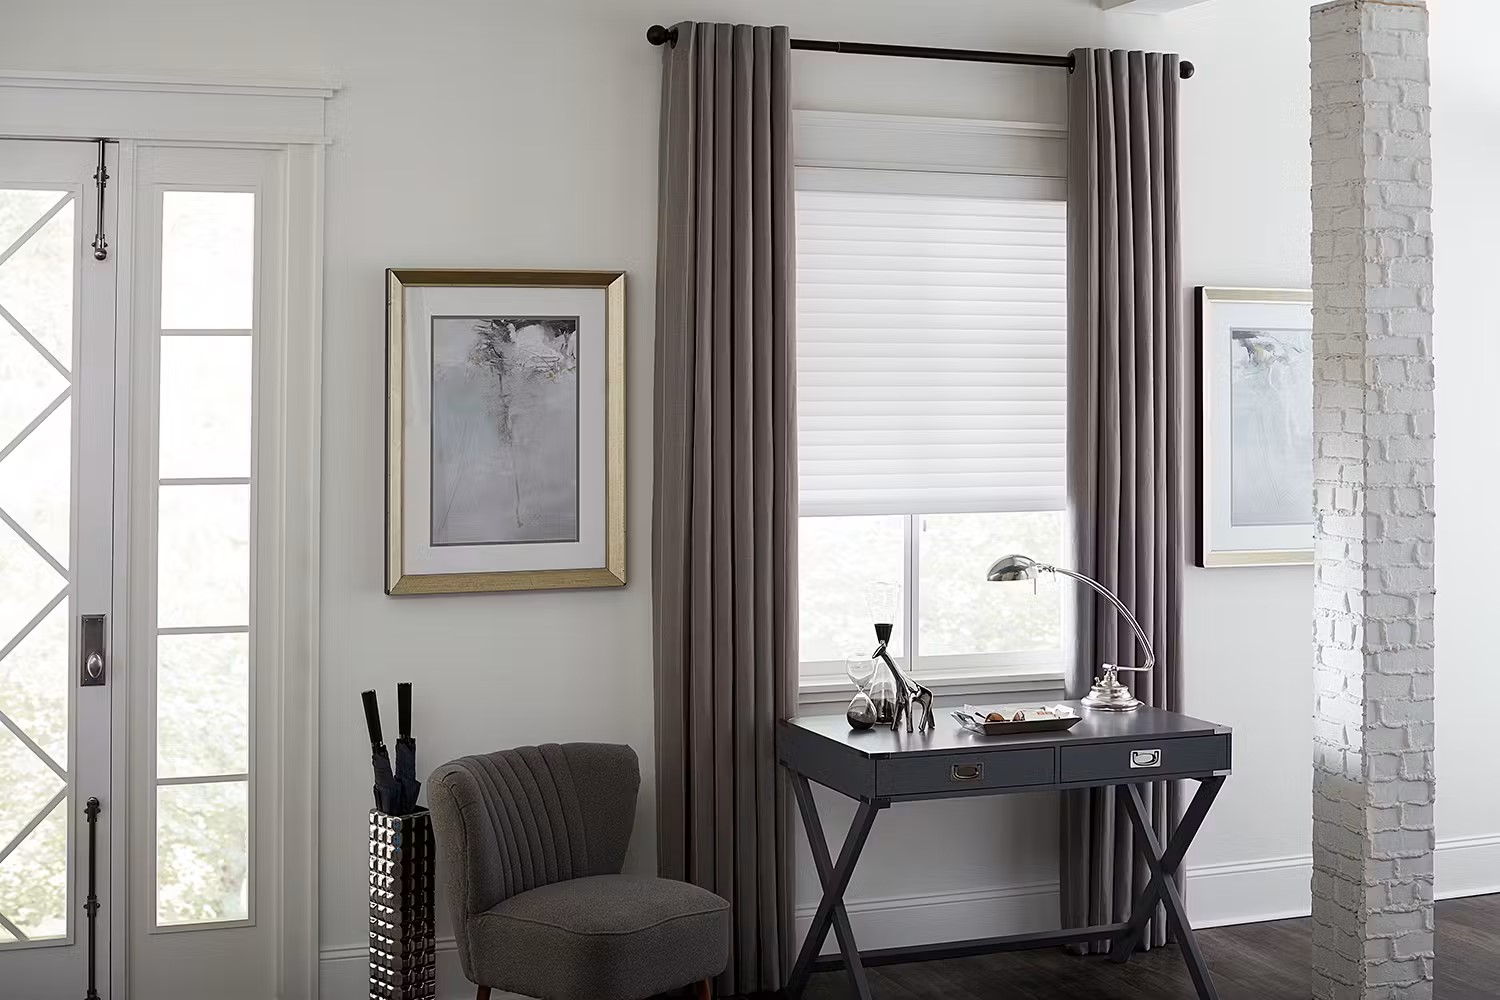
Step 6: Hang the curtains on the rod
Now that the hooks are securely attached to the curtains, it’s time to hang them on the curtain rod. Follow these steps to ensure a smooth and seamless process:
- Start by opening the curtain rod brackets and removing the rod if necessary.
- Hold one end of the curtain rod and carefully insert it into one of the rod brackets.
- Slide the curtain rod into the other bracket, ensuring that it is level and properly aligned.
- If your curtain rod has additional support brackets in the middle, insert the rod into those brackets as well, following the same process.
- Once the curtain rod is securely in place, grab the curtains with the attached hooks and gently slide each hook onto the rod, starting from one side and working your way across.
- Ensure that each hook is properly seated on the rod and that the curtains hang evenly.
It’s important to handle the curtains with care as you slide the hooks onto the rod to avoid any damage to the fabric or the hooks themselves. Take your time and make sure each hook is securely in place before moving on to the next one.
If you are hanging multiple curtain panels, ensure that they are aligned and evenly spaced on the rod for a cohesive and symmetrical look.
Once the curtains are hanging on the rod, you are ready to move on to the final step, which involves adjusting and straightening the curtains for a finished appearance.
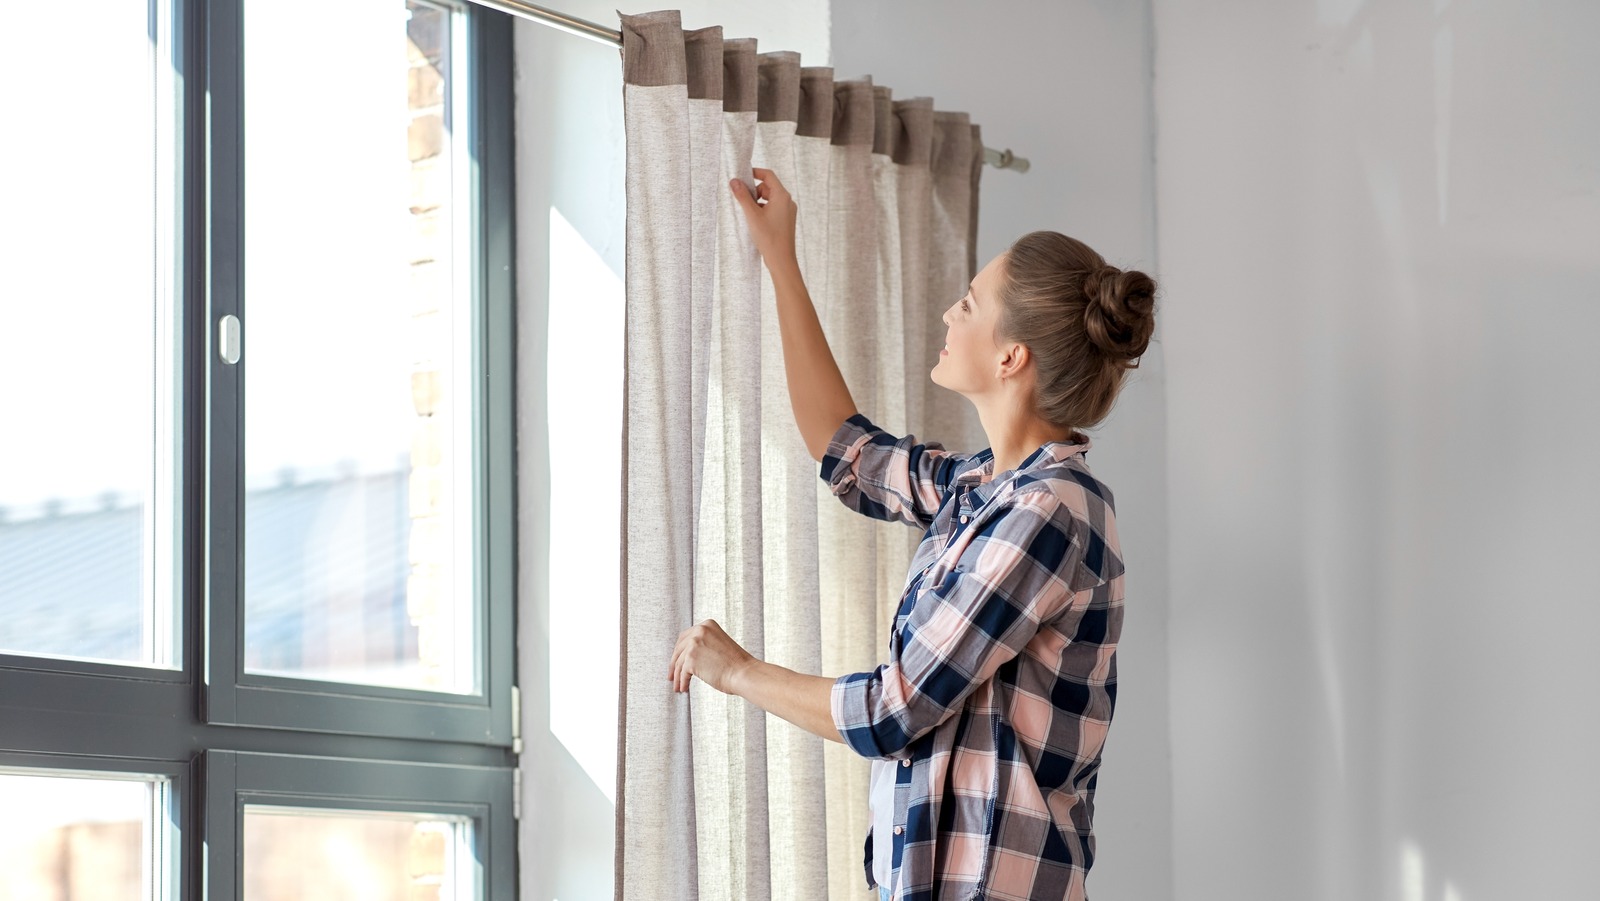
Step 7: Adjust and straighten the curtains
With the curtains hung on the rod, it’s time to give them a final touch by adjusting and straightening them. This step will ensure that your curtains look neat, balanced, and visually appealing. Follow these steps to achieve the desired result:
- Step back and take a look at the curtains from a distance to assess their overall appearance and alignment.
- If necessary, gently tug on the curtains or adjust the position of the hooks to ensure that they are evenly spaced and hanging at the desired length.
- Smooth out any wrinkles or folds in the fabric by gently pulling on the edges of the curtains or using your hands to smooth them out.
- Check that all the pleats, if applicable, are properly formed and evenly distributed. Use your fingers to adjust and define the pleats if needed.
- Ensure that the curtains are hanging straight and level. You can use a small level or spirit level to help you achieve a balanced appearance.
Take your time during this step to achieve the desired look for your curtains. Adjusting and straightening the curtains will significantly enhance their visual impact, making your room look more refined and stylish.
Once you are satisfied with the appearance of your curtains, stand back and admire your work. You have successfully put hooks on your curtains and achieved a professional-looking result. Now you can enjoy the privacy, light control, and aesthetic value that your beautifully hung curtains provide.
Conclusion
Congratulations! You have successfully learned how to put hooks on curtains, giving them a fresh new look and enhancing the overall aesthetic of your space. By following the steps outlined in this comprehensive guide, you have gained the knowledge and skills to hang curtains with hooks like a pro.
Through this process, you have gathered the necessary materials, measured and marked the ideal height for the hooks, installed the curtain rod, determined the hook placement, attached the hooks to the curtains, hung the curtains on the rod, and adjusted and straightened them for a polished finish. Each step was crucial in achieving a balanced and visually pleasing look for your curtains.
Remember, the placement of the hooks, the style of the curtains, and the overall design of the room can greatly influence the final outcome. Take your time and consider these factors to ensure that your curtains reflect your personal style and contribute to the overall ambiance of the space.
By implementing hooks on your curtains, you have not only added functionality but also elevated the decorative appeal of your windows. The flexibility that hooks offer allows you to easily adjust and change your curtains whenever you desire, giving you the freedom to experiment with different styles and patterns.
With your newfound knowledge and skills, you can confidently tackle future curtain projects, whether it’s updating curtains in other rooms or trying out different hanging techniques. Remember to consider the specific needs of each room and select the appropriate hooks and curtains to achieve the desired effect.
Now it’s time to sit back, relax, and enjoy your beautifully hung curtains. Let them enhance the ambiance of your space, provide privacy, and control the flow of natural light. With your newly acquired expertise, you can continue to explore and enhance your home decor, making it a reflection of your unique style and personality.
Now that you've mastered hooking up curtains, why not spruce up your space even further? Dive into our guide on DIY home decor to discover creative and budget-friendly ways to personalize your living area. Wondering about hanging curtains correctly? Our experts share designer-approved rules to elevate your room's aesthetics effortlessly. For renters seeking inspiration, our compilation of decorating tips offers practical advice to make any rental feel like home, without breaking the bank or your lease agreement.
Frequently Asked Questions about How To Put Hooks On Curtains
Was this page helpful?
At Storables.com, we guarantee accurate and reliable information. Our content, validated by Expert Board Contributors, is crafted following stringent Editorial Policies. We're committed to providing you with well-researched, expert-backed insights for all your informational needs.


0 thoughts on “How To Put Hooks On Curtains”