Home>Furniture & Design>Bathroom Accessories>How To Paint A Shower Curtain
Bathroom Accessories
How To Paint A Shower Curtain
Modified: October 21, 2024
Learn how to transform your bathroom accessories with our step-by-step guide on painting a shower curtain. Elevate your bathroom decor today!
(Many of the links in this article redirect to a specific reviewed product. Your purchase of these products through affiliate links helps to generate commission for Storables.com, at no extra cost. Learn more)
Introduction
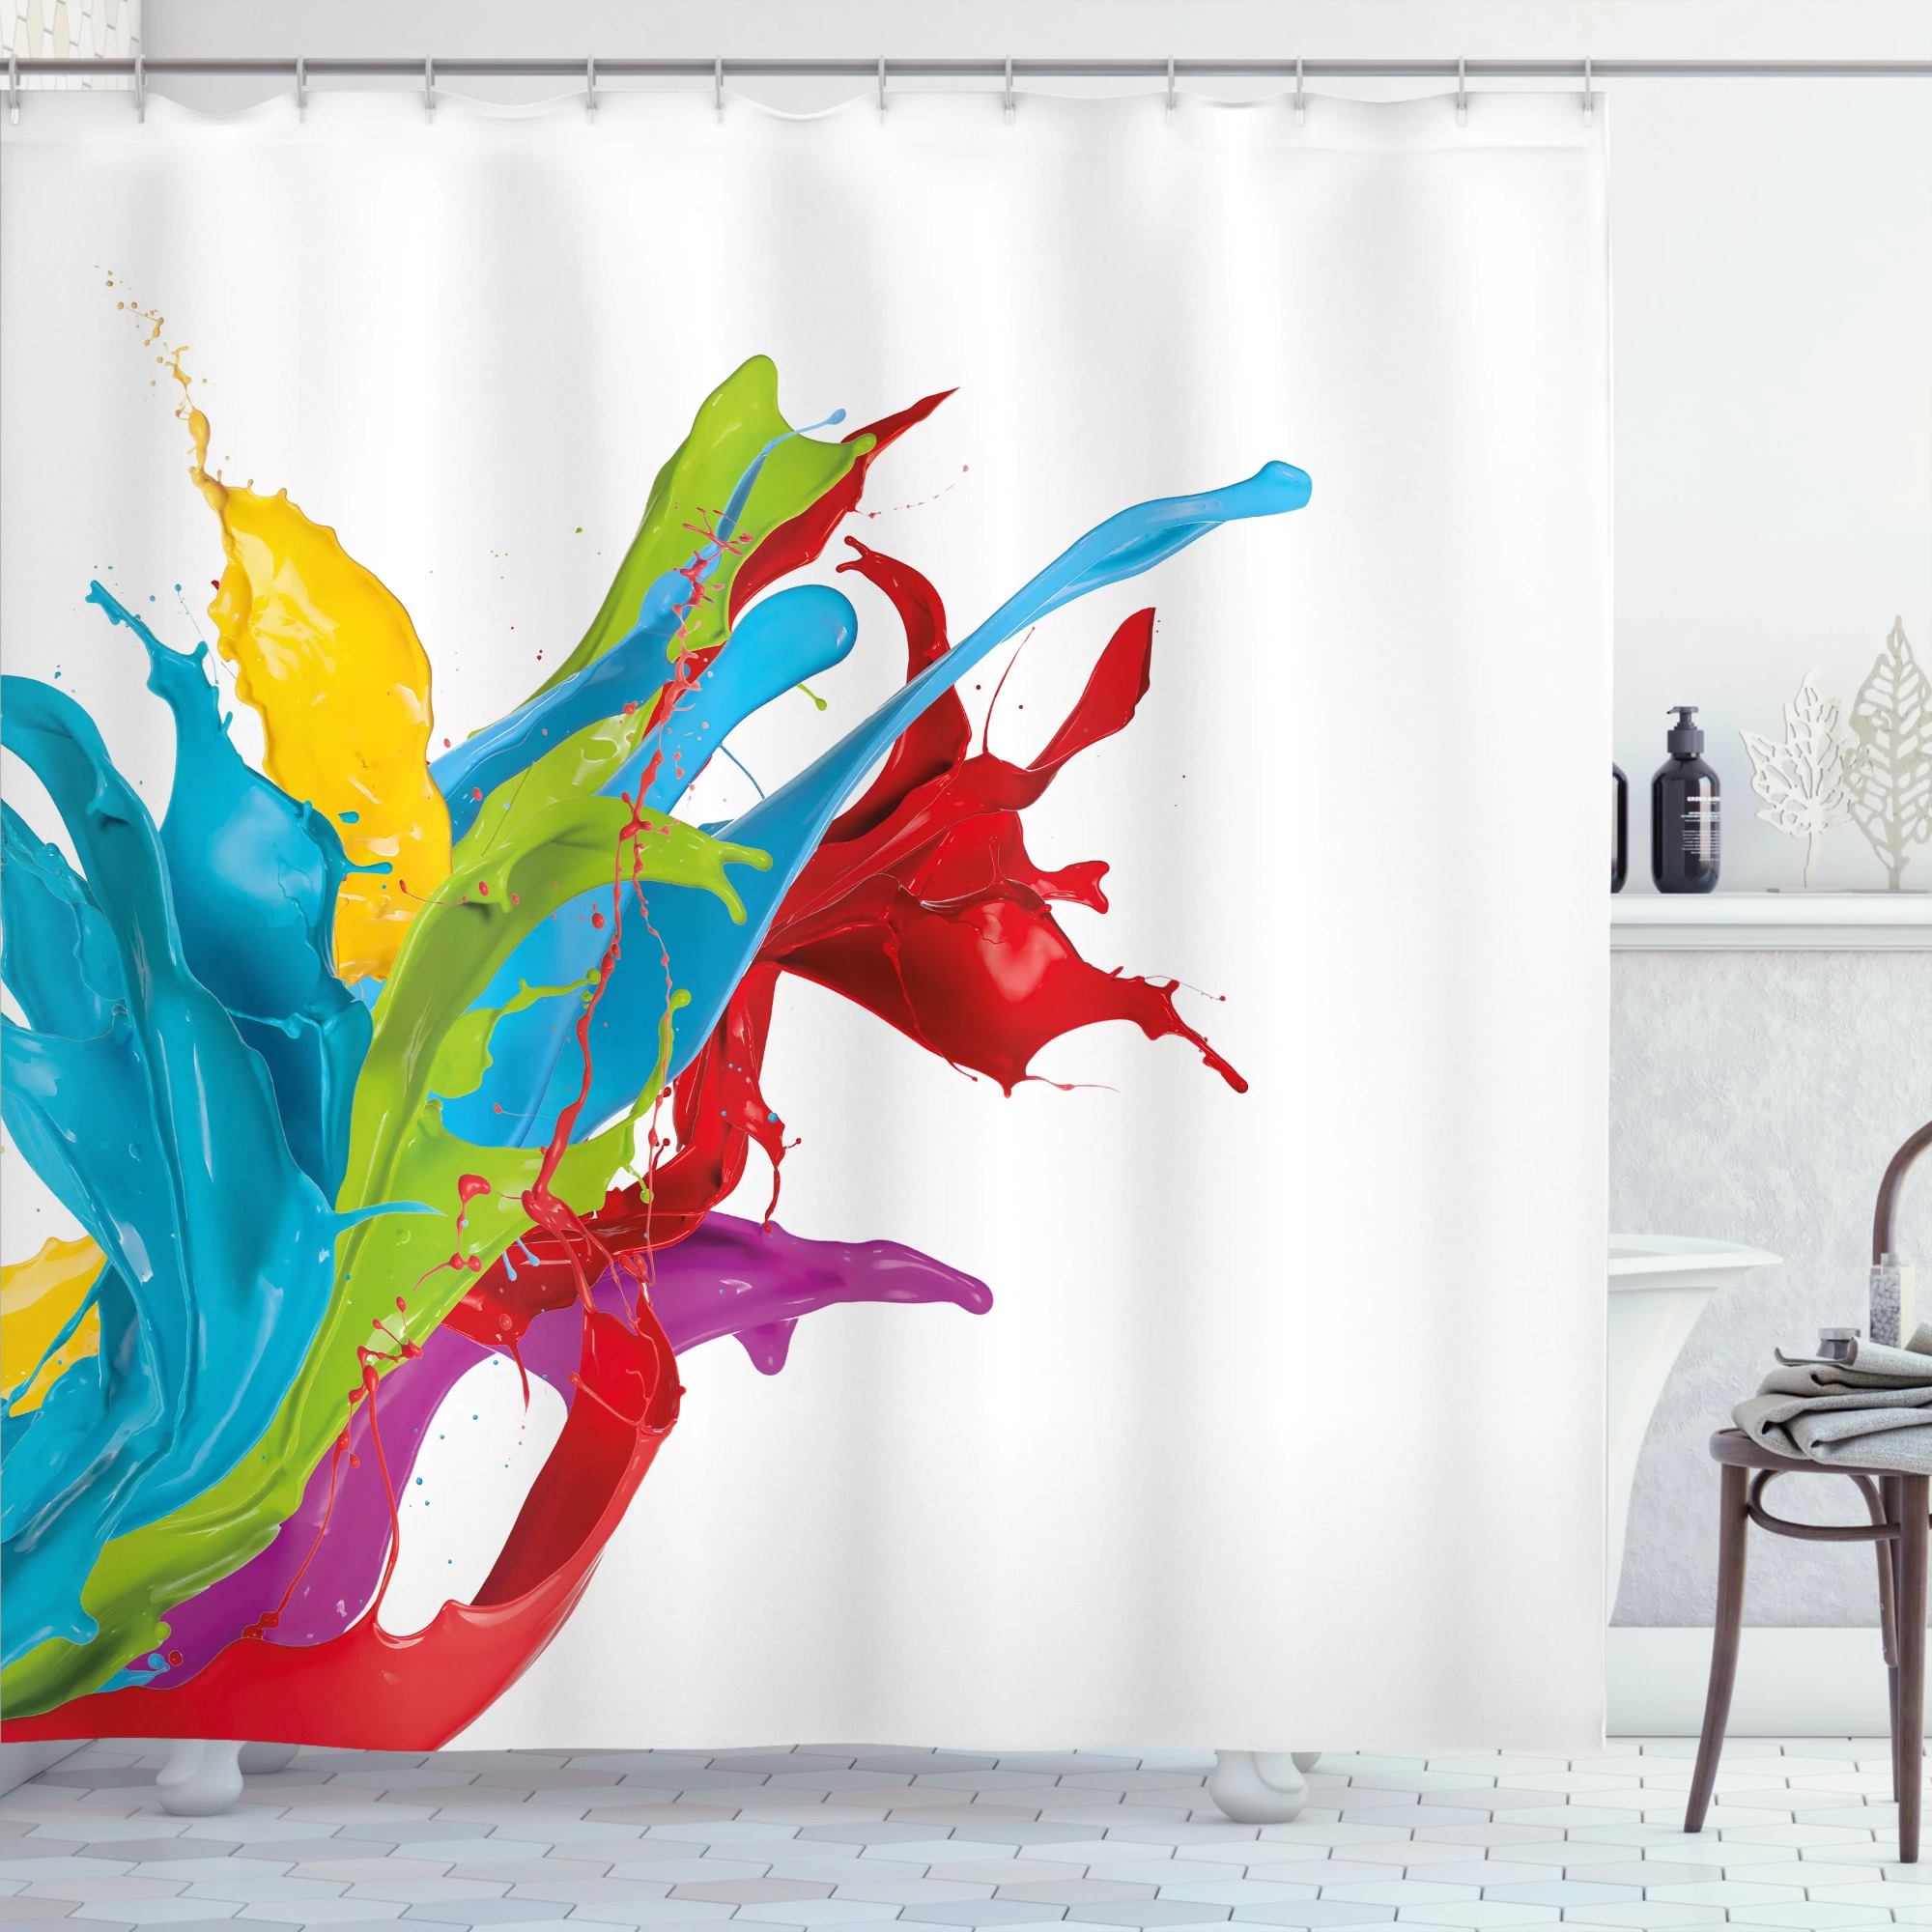
When it comes to bathroom decor, the shower curtain plays a pivotal role in setting the tone for the entire space. While there are countless options available for purchase, sometimes the perfect shower curtain simply cannot be found. This is where the idea of painting a shower curtain comes into play. Not only does this DIY project offer a creative outlet, but it also allows for complete customization to match the specific aesthetic and color scheme of the bathroom.
Painting a shower curtain provides an opportunity to infuse personal style and creativity into the bathroom, transforming a mundane necessity into a unique piece of functional art. Whether aiming for a bold, vibrant design or a subtle, elegant pattern, the possibilities are endless when it comes to customizing a shower curtain through painting.
In this comprehensive guide, we will delve into the step-by-step process of painting a shower curtain, from selecting the right materials to hanging the finished product. By the end of this tutorial, you will be equipped with the knowledge and confidence to embark on this creative endeavor, adding a personal touch to your bathroom decor while achieving a one-of-a-kind look that cannot be found in stores.
Now, let's dive into the exciting world of DIY shower curtain painting and unleash your creativity to breathe new life into your bathroom space.
Key Takeaways:
- Personalize your bathroom with a unique touch by painting a fabric shower curtain. Choose the right curtain, prepare it properly, and unleash your creativity to create a one-of-a-kind piece of functional art.
- After painting and drying your shower curtain, hang it with care to showcase your personalized design. Select a sturdy rod, install it securely, and enjoy the visual transformation of your bathroom space.
Read more: How To Make A Shower Curtain
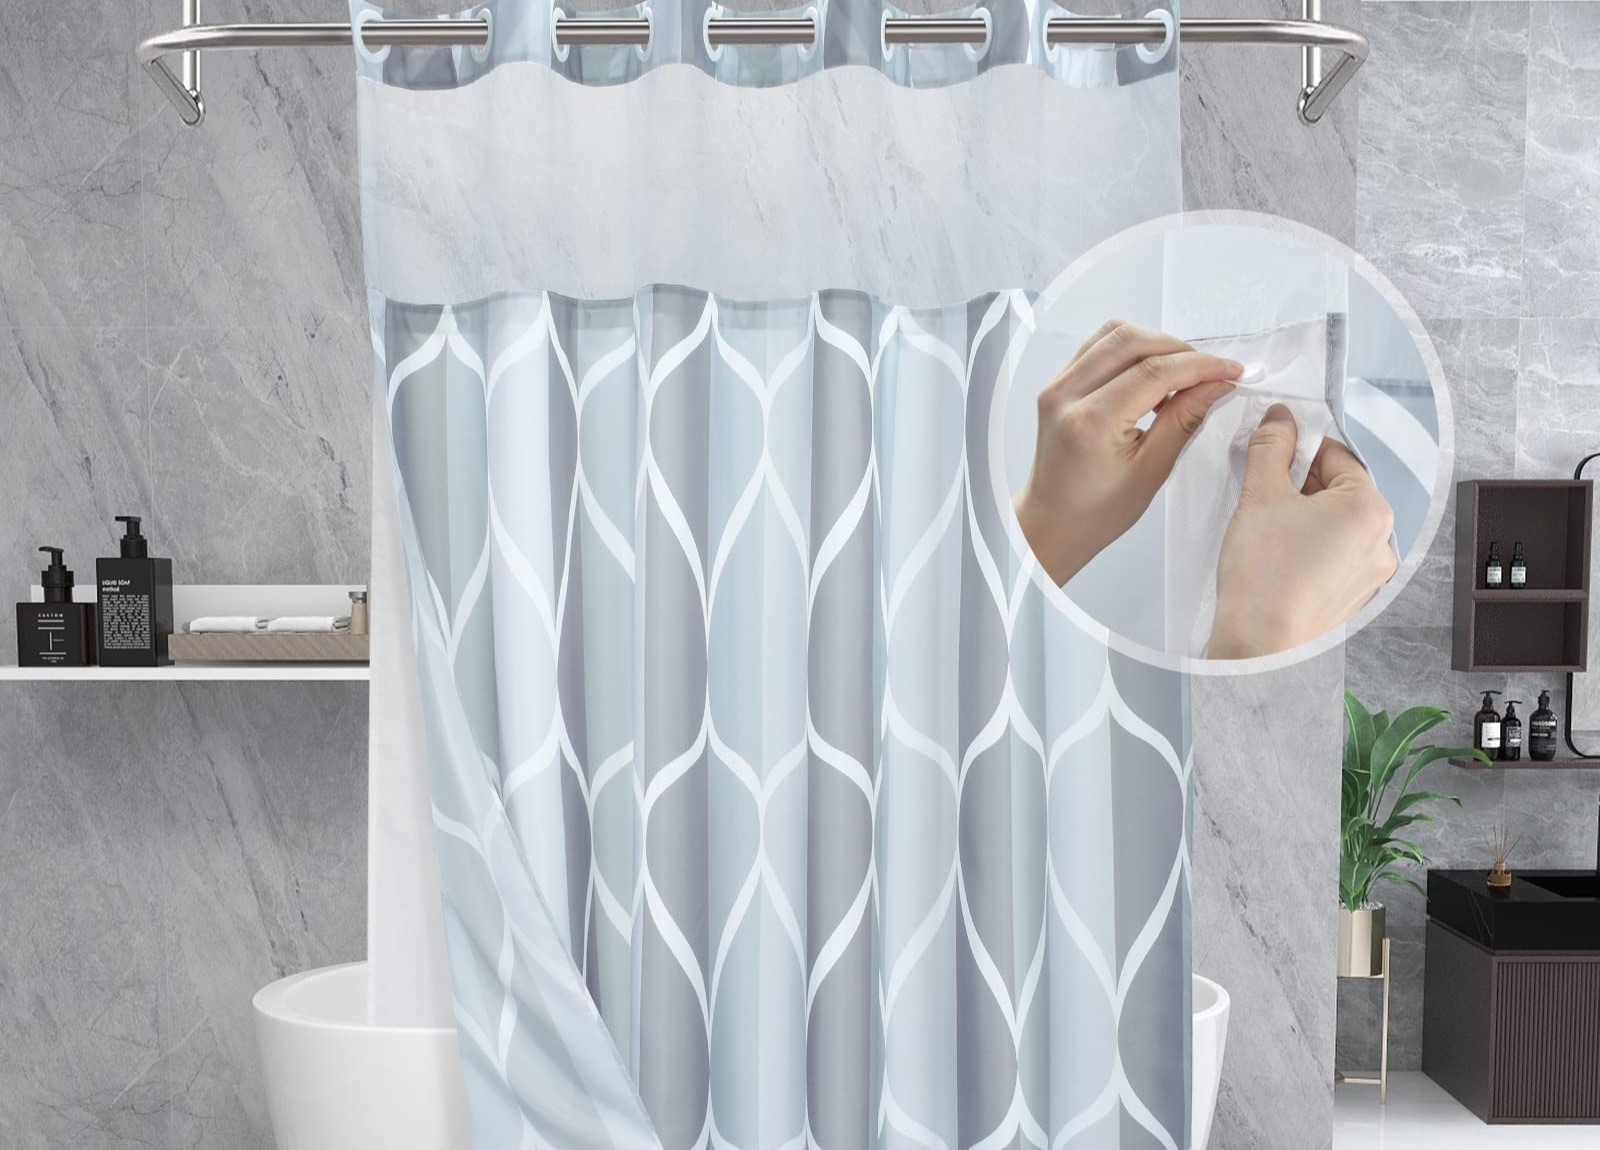
Choosing the Right Shower Curtain
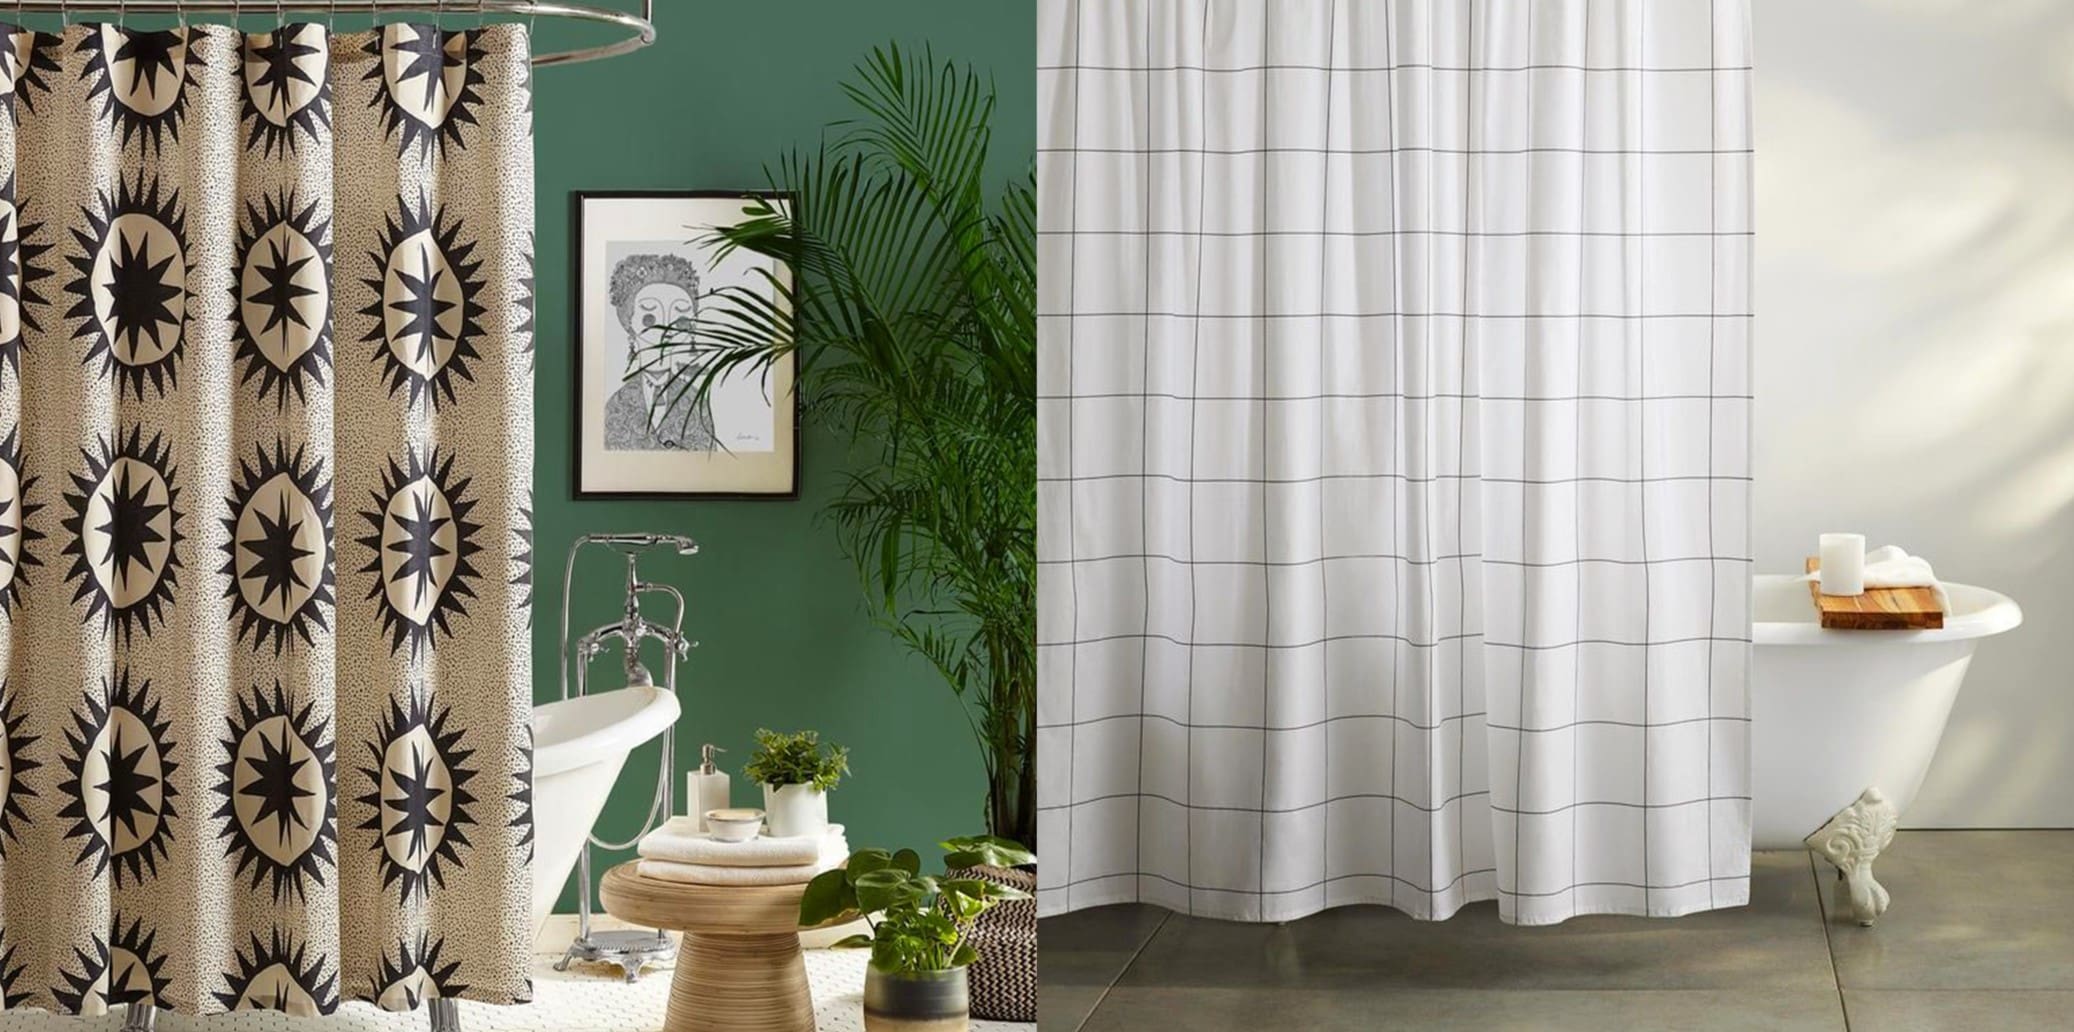
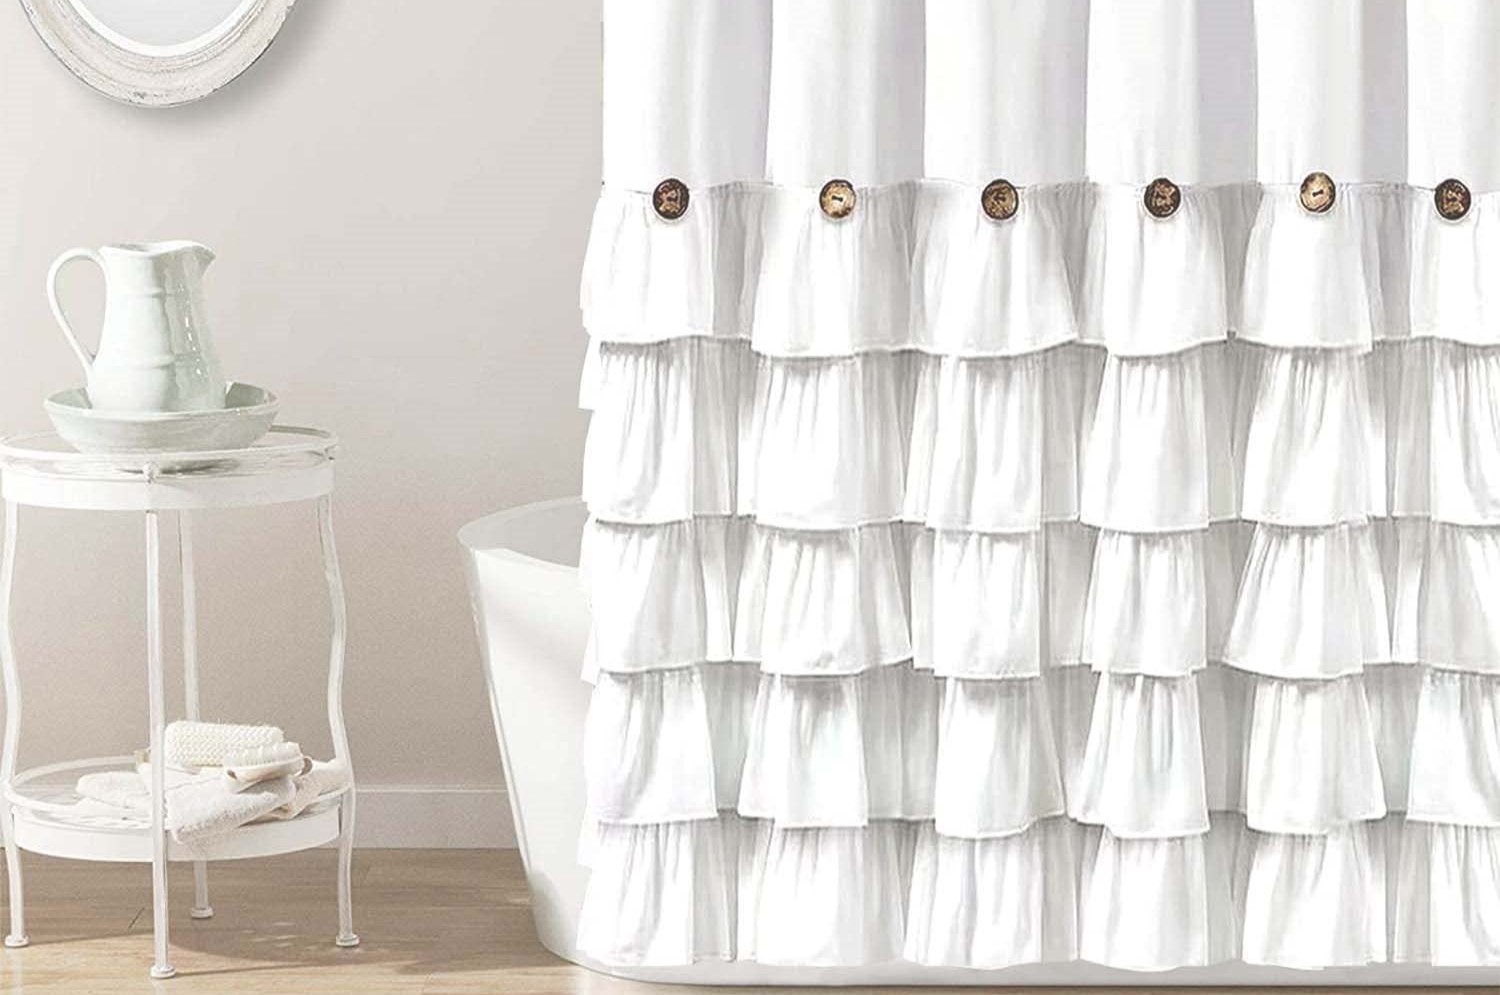
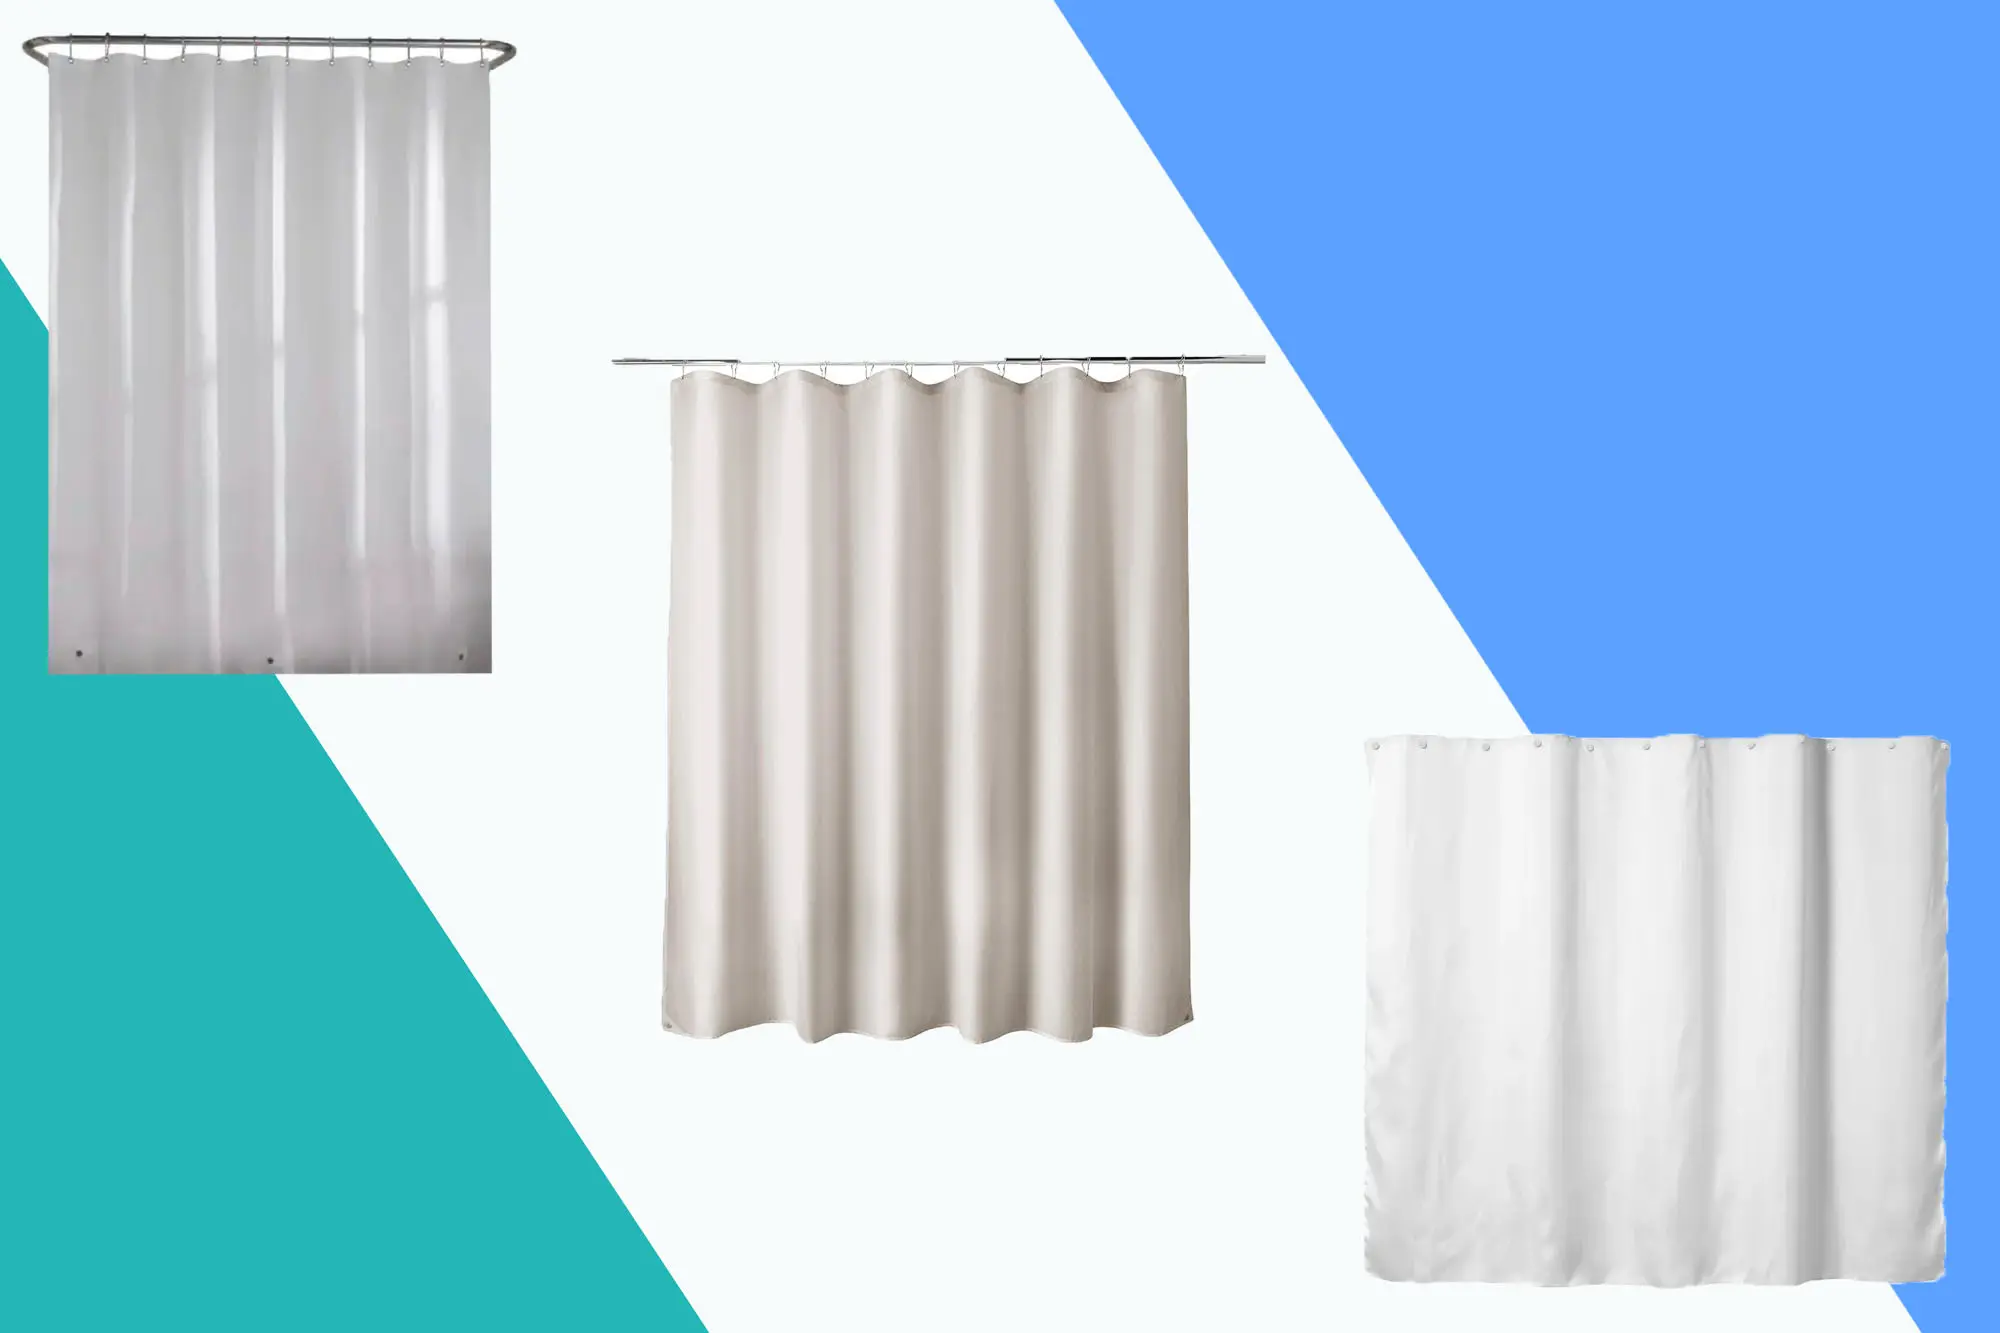
Selecting the ideal shower curtain is the crucial first step in the process of painting a shower curtain. When choosing a shower curtain for painting, it is essential to opt for a fabric curtain rather than a plastic one. Fabric shower curtains provide a suitable surface for paint adhesion and are more receptive to the painting process. Additionally, fabric curtains offer a more luxurious and high-end appearance, elevating the overall aesthetic of the painted design.
Consider the color and pattern of the fabric shower curtain. If the intention is to create a design with light or pastel colors, a white or neutral-colored fabric curtain would be an excellent choice as it provides a blank canvas for the paint. On the other hand, if the design calls for darker or bolder colors, a fabric curtain in a corresponding hue can serve as a base for the painting process, reducing the amount of paint required to achieve the desired look.
Furthermore, the fabric's texture should be taken into account. A smooth, tightly woven fabric is preferable as it allows for smooth brush strokes and precise detailing during the painting process. Avoid heavily textured fabrics, as they may interfere with the application of paint and result in an uneven or distorted design.
It is important to ensure that the selected fabric shower curtain is machine washable. This feature is essential for maintaining the longevity of the painted design, as it allows for easy cleaning and upkeep. Prior to purchasing the fabric curtain, check the care instructions to confirm that it can be safely laundered in a washing machine without compromising the integrity of the fabric or the painted design.
In summary, when choosing the right shower curtain for painting, opt for a fabric curtain in a suitable color and pattern, with a smooth texture that is machine washable. By carefully selecting the appropriate shower curtain, you are laying the foundation for a successful and visually stunning DIY painting project that will breathe new life into your bathroom space.
Preparing the Shower Curtain
Before diving into the painting process, it is crucial to properly prepare the fabric shower curtain to ensure optimal paint adhesion and long-lasting results. The preparation phase sets the stage for a smooth and successful painting experience, allowing the paint to adhere to the fabric effectively and withstand regular use and laundering. Here's a detailed overview of the essential steps involved in preparing the shower curtain for painting:
-
Washing and Drying: Begin by thoroughly washing the fabric shower curtain according to the care instructions provided by the manufacturer. Use a mild detergent and cold water to remove any dirt, dust, or sizing agents that may be present on the fabric. Avoid using fabric softeners or dryer sheets, as they can leave a residue that interferes with paint adhesion. Once washed, allow the curtain to air dry completely or tumble dry on a low heat setting. This step ensures that the fabric is clean and free from any substances that could hinder the paint from adhering properly.
-
Ironing: After the curtain is dry, iron it to remove any wrinkles and creases. A smooth, wrinkle-free surface is essential for achieving a flawless and professional-looking painted design. Set the iron to the appropriate temperature for the fabric type and gently press out any wrinkles, taking care to avoid scorching or damaging the fabric. Pay special attention to the areas where the paint will be applied, ensuring that the fabric is smooth and taut for an even painting surface.
-
Surface Preparation: Lay the fabric shower curtain on a flat and clean surface, such as a large table or the floor, ensuring that it is spread out evenly without any folds or wrinkles. Use painter's tape to secure the edges of the curtain to the surface, preventing any movement or shifting during the painting process. This step creates a stable and controlled environment for painting, allowing for precise brushwork and preventing the fabric from bunching up or moving while the paint is applied.
By meticulously following these preparatory steps, you are setting the stage for a successful and enjoyable painting experience. Properly preparing the shower curtain ensures that the paint adheres flawlessly to the fabric, resulting in a beautifully customized shower curtain that adds a personal touch to your bathroom decor.
Painting the Shower Curtain
With the shower curtain fully prepared, it's time to embark on the exciting phase of painting the fabric to bring your envisioned design to life. This step allows for the expression of creativity and personal style, transforming the plain fabric into a captivating and unique piece of functional art. Here's a detailed guide on the process of painting the shower curtain, ensuring a seamless and visually stunning outcome.
Gather Your Painting Supplies
Before commencing the painting process, gather all the necessary supplies to ensure a smooth and efficient workflow. Essential painting supplies include high-quality fabric paint in the desired colors, various sizes of paintbrushes suitable for fabric painting, a palette for mixing colors, and a water cup for rinsing brushes between color changes. Additionally, have a pencil or fabric marker on hand for sketching the design onto the curtain before painting.
Sketching the Design
Using a pencil or fabric marker, lightly sketch the intended design onto the fabric shower curtain. This initial sketch serves as a guideline for the painting process, allowing for precise placement of elements and ensuring a cohesive and balanced composition. Whether it's a floral pattern, geometric shapes, or a free-flowing abstract design, the sketch provides a roadmap for the subsequent application of paint.
Applying the Paint
Dip the appropriate paintbrush into the selected fabric paint, ensuring that the brush is fully saturated but not overloaded with paint. Begin applying the paint to the fabric, following the sketched design with steady and deliberate brushstrokes. Take care to maintain a consistent pressure and stroke direction, ensuring even coverage and smooth color transitions. For intricate details or fine lines, utilize a smaller, precision brush to achieve precise and intricate elements within the design.
Layering and Blending Colors
For multi-colored designs or gradient effects, layering and blending colors is a key technique in achieving depth and dimension within the painted design. Work in layers, allowing each color to dry before applying subsequent layers to prevent smudging or color bleeding. Blend colors seamlessly by gently overlapping wet paint edges, creating smooth transitions and captivating color gradients within the design.
Adding Textural Elements
To enhance the visual interest of the painted design, consider incorporating textural elements using specialized fabric paint mediums. These mediums can create raised textures, metallic accents, or shimmering effects, adding depth and tactile appeal to the painted surface. Experiment with different textures and finishes to elevate the overall aesthetic of the design, infusing the shower curtain with a captivating tactile dimension.
Read more: How Long Is A Shower Curtain
Touch-Ups and Fine-Tuning
Once the main design is complete, carefully inspect the painted curtain for any areas that may require touch-ups or fine-tuning. Use a small brush to refine details, correct any imperfections, or add additional accents to enhance the overall visual impact of the design. This meticulous attention to detail ensures a polished and professional-looking painted shower curtain.
By following these detailed steps and techniques, you can confidently paint a shower curtain that reflects your personal style and adds a unique touch to your bathroom decor. The painting process offers a creative and fulfilling experience, allowing for endless possibilities in customizing the shower curtain to perfectly complement your desired aesthetic.
Drying and Sealing the Paint
Once the painting process is complete, allowing the fabric paint to thoroughly dry is essential to ensure the longevity and durability of the painted design. Proper drying and sealing techniques contribute to preserving the vibrancy of the colors and protecting the painted surface from wear and tear. Here's a detailed overview of the crucial steps involved in drying and sealing the paint on the shower curtain:
Allowing Sufficient Drying Time
After the final brushstroke is applied, it is imperative to allow the painted shower curtain to dry completely before proceeding with the sealing process. The drying time varies depending on the type of fabric paint used and the thickness of the paint layers. Typically, fabric paint manufacturers provide specific drying time recommendations on the product packaging. It is advisable to follow these guidelines to ensure that the paint cures thoroughly, preventing smudging or color transfer during subsequent handling or hanging.
Heat Setting the Paint
To set the fabric paint and enhance its washability, heat setting is a crucial step in the drying process. This can be achieved by using a household iron to heat set the painted design. Place a clean cloth over the painted areas to protect the paint surface, then iron the fabric using a dry, medium heat setting for a few minutes. The application of heat helps to bond the paint to the fabric fibers, ensuring colorfastness and durability when the curtain is laundered in the future.
Read more: How To Paint Curtains
Sealing the Paint
To further protect the painted design and enhance its longevity, consider applying a fabric sealant or clear topcoat specifically designed for fabric painting. These sealants provide an additional layer of protection, guarding the painted surface against fading, abrasion, and moisture. Follow the manufacturer's instructions for the application of the fabric sealant, ensuring even coverage over the entire painted area. Once applied, allow the sealant to dry completely according to the recommended drying time.
Laundering Precautions
After the paint has dried and been sealed, it is important to take appropriate laundering precautions to maintain the integrity of the painted design. When washing the shower curtain, follow the care instructions provided by the fabric paint manufacturer. Use a gentle cycle and mild detergent, and avoid using bleach or harsh chemicals that may compromise the painted surface. Additionally, refrain from wringing or twisting the curtain excessively to prevent damage to the painted design.
By meticulously following these drying and sealing techniques, you can ensure that the painted shower curtain retains its vibrant colors and visual appeal over time. Properly dried and sealed fabric paint results in a durable and washable painted design, allowing you to enjoy your customized shower curtain as a stunning and long-lasting addition to your bathroom decor.
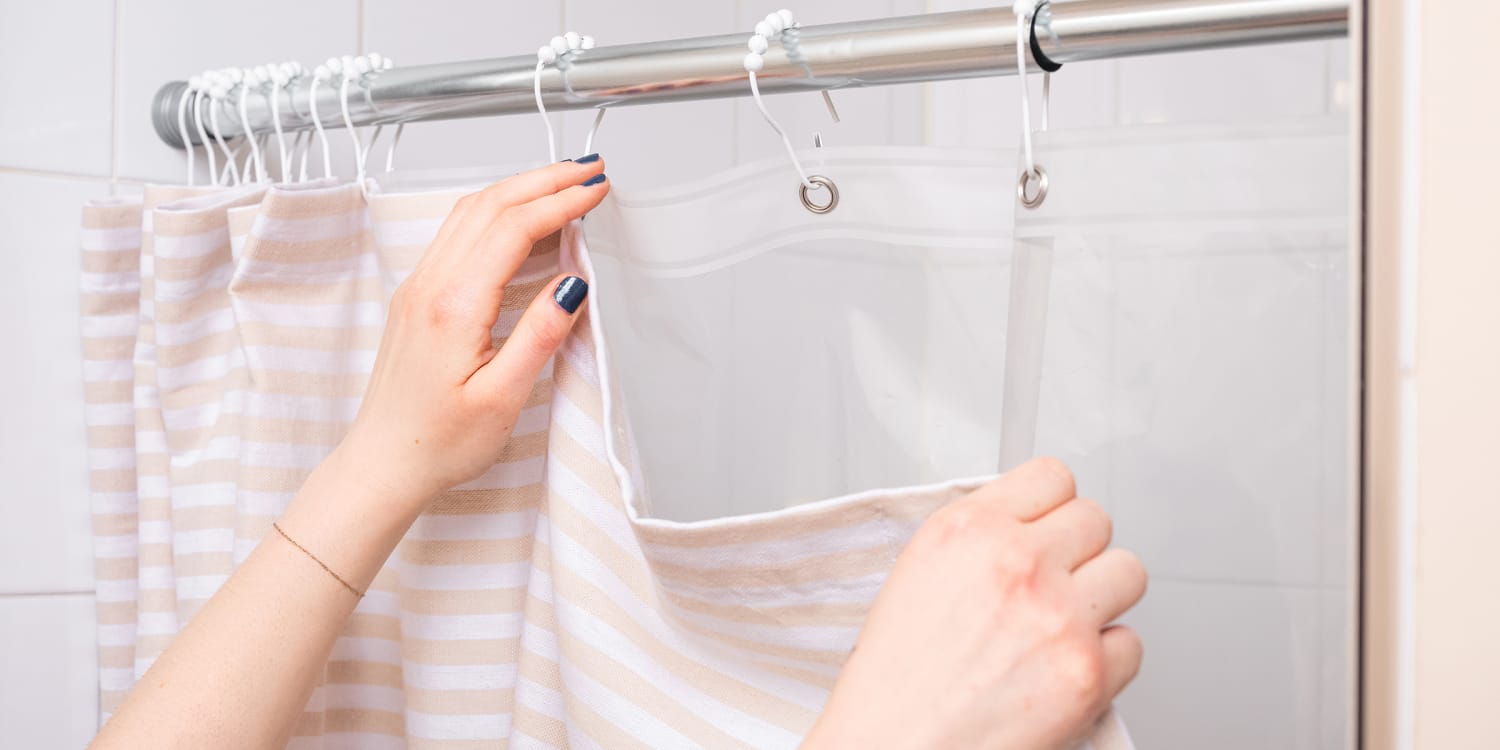
Hanging the Painted Shower Curtain
After the painting and drying processes are successfully completed, the final step involves hanging the painted shower curtain to showcase the customized design and elevate the overall aesthetic of the bathroom. Properly hanging the painted shower curtain ensures that the design is prominently displayed while maintaining functionality and visual appeal. Here's a detailed guide on the process of hanging the painted shower curtain, allowing you to seamlessly integrate the personalized artwork into your bathroom decor.
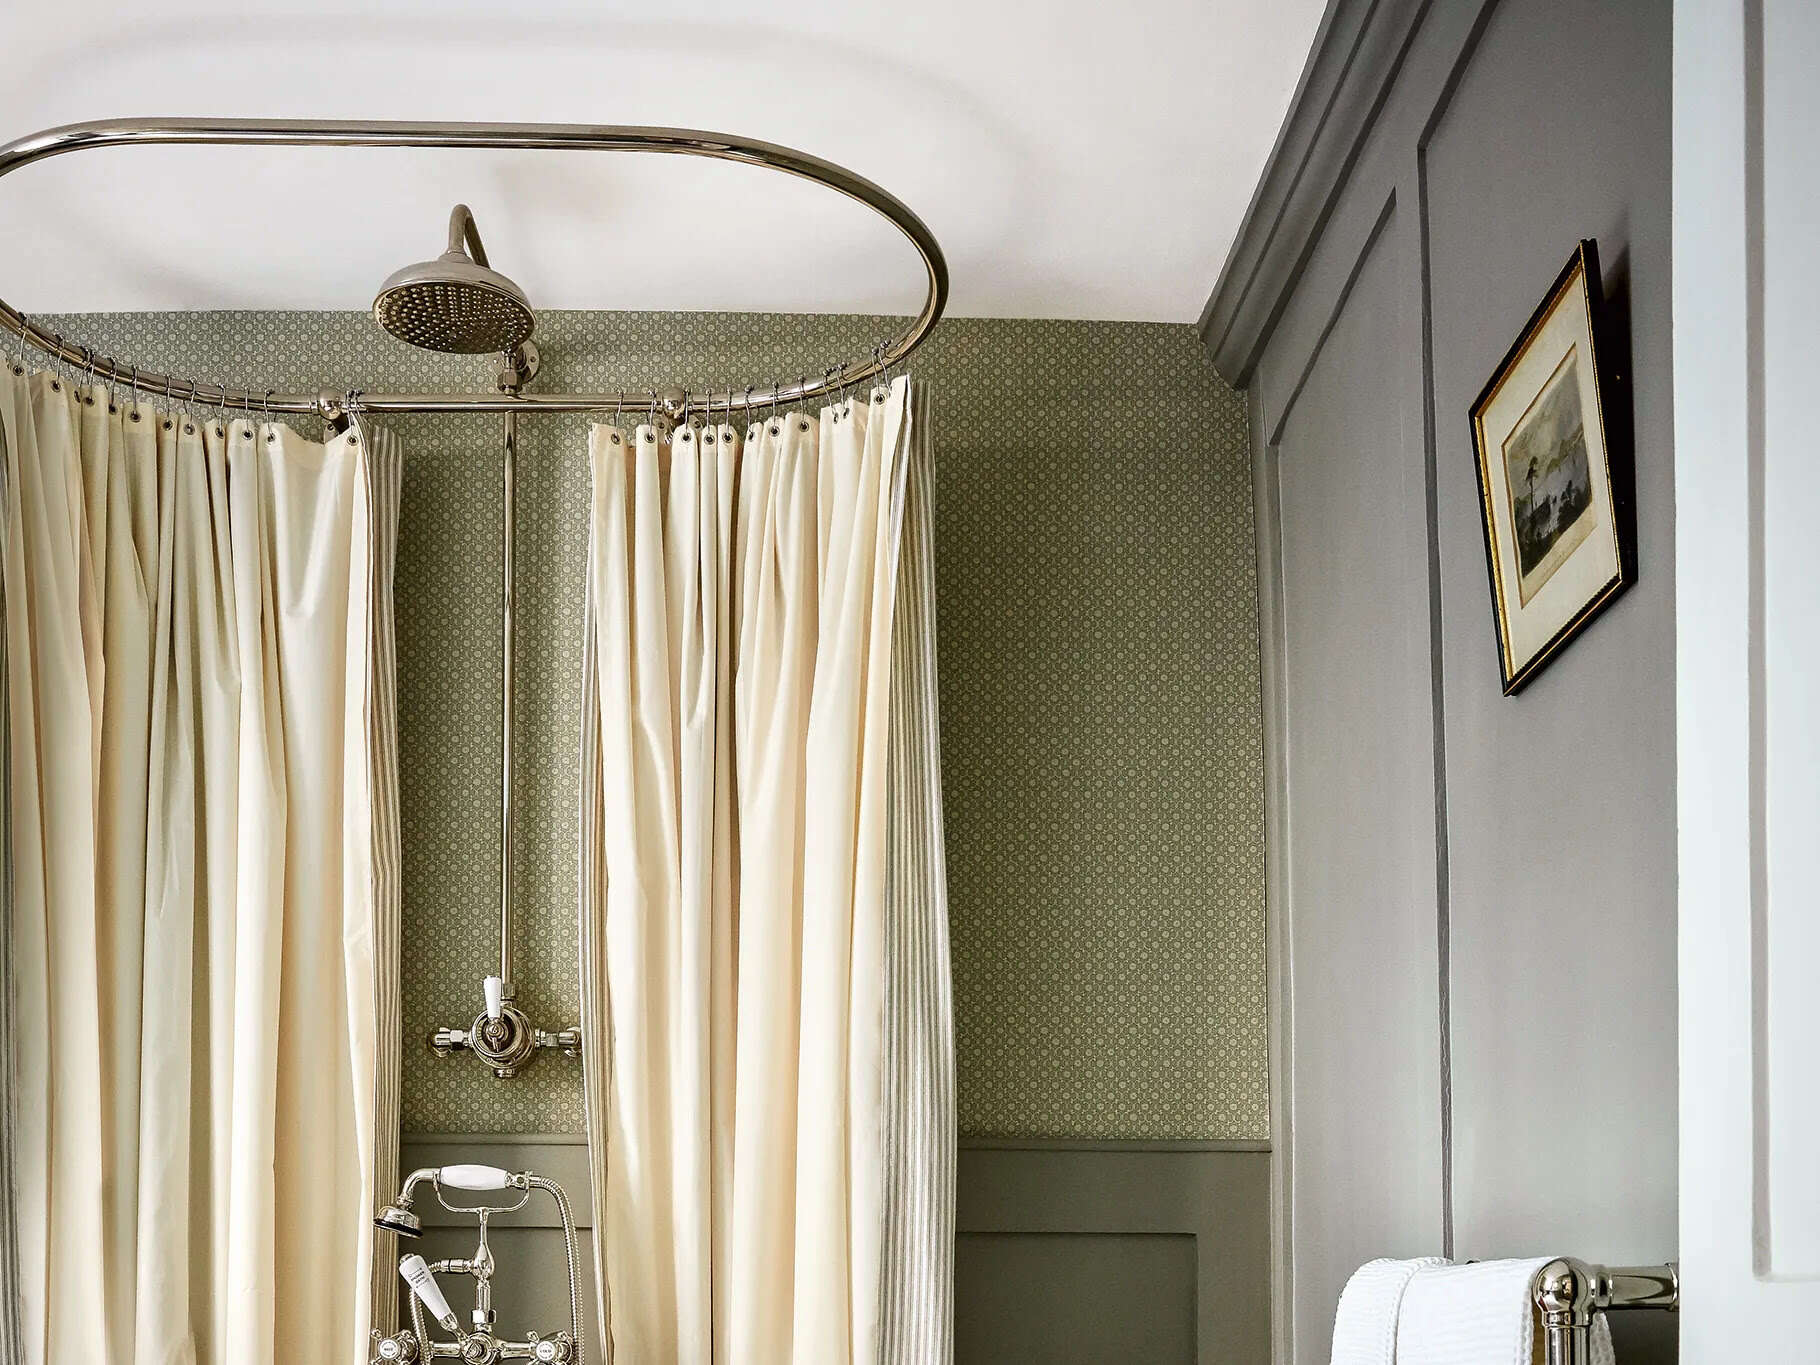
Selecting the Curtain Rod
Begin by selecting a suitable curtain rod that complements the style and color scheme of the bathroom. Opt for a high-quality and sturdy curtain rod that can adequately support the weight of the fabric shower curtain. Consider the finish of the curtain rod, whether it's polished chrome, brushed nickel, or matte black, to harmonize with the existing fixtures and hardware in the bathroom. Additionally, ensure that the curtain rod is of an appropriate length to span the width of the shower or bathtub area, providing ample coverage for the painted shower curtain.
Read more: How To Shorten A Shower Curtain
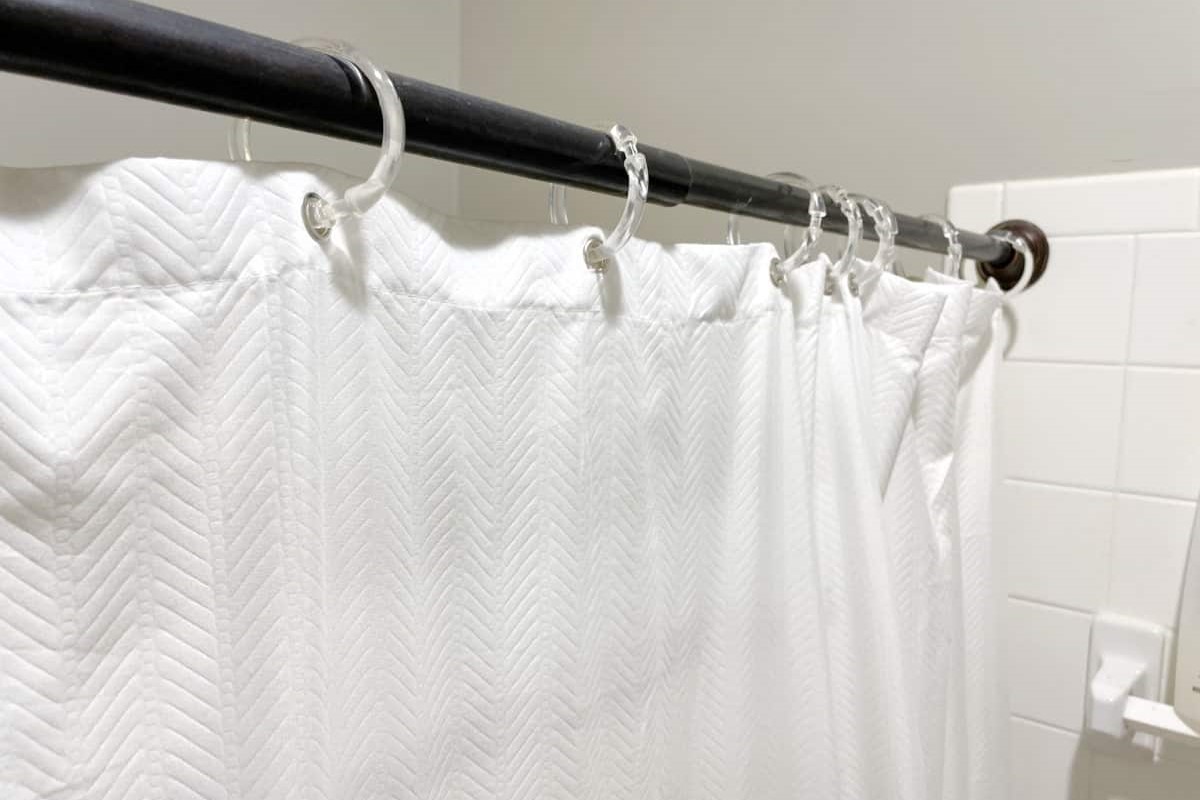
Installing the Curtain Rod
Once the curtain rod is selected, proceed with the installation process. Use a level to ensure that the curtain rod is mounted evenly and securely, preventing any slanting or misalignment. Follow the manufacturer's instructions for installing the curtain rod brackets, ensuring that they are anchored firmly to the wall for stability. Whether it's a tension rod or a wall-mounted rod, verify that the installation is secure and capable of supporting the weight of the painted shower curtain.
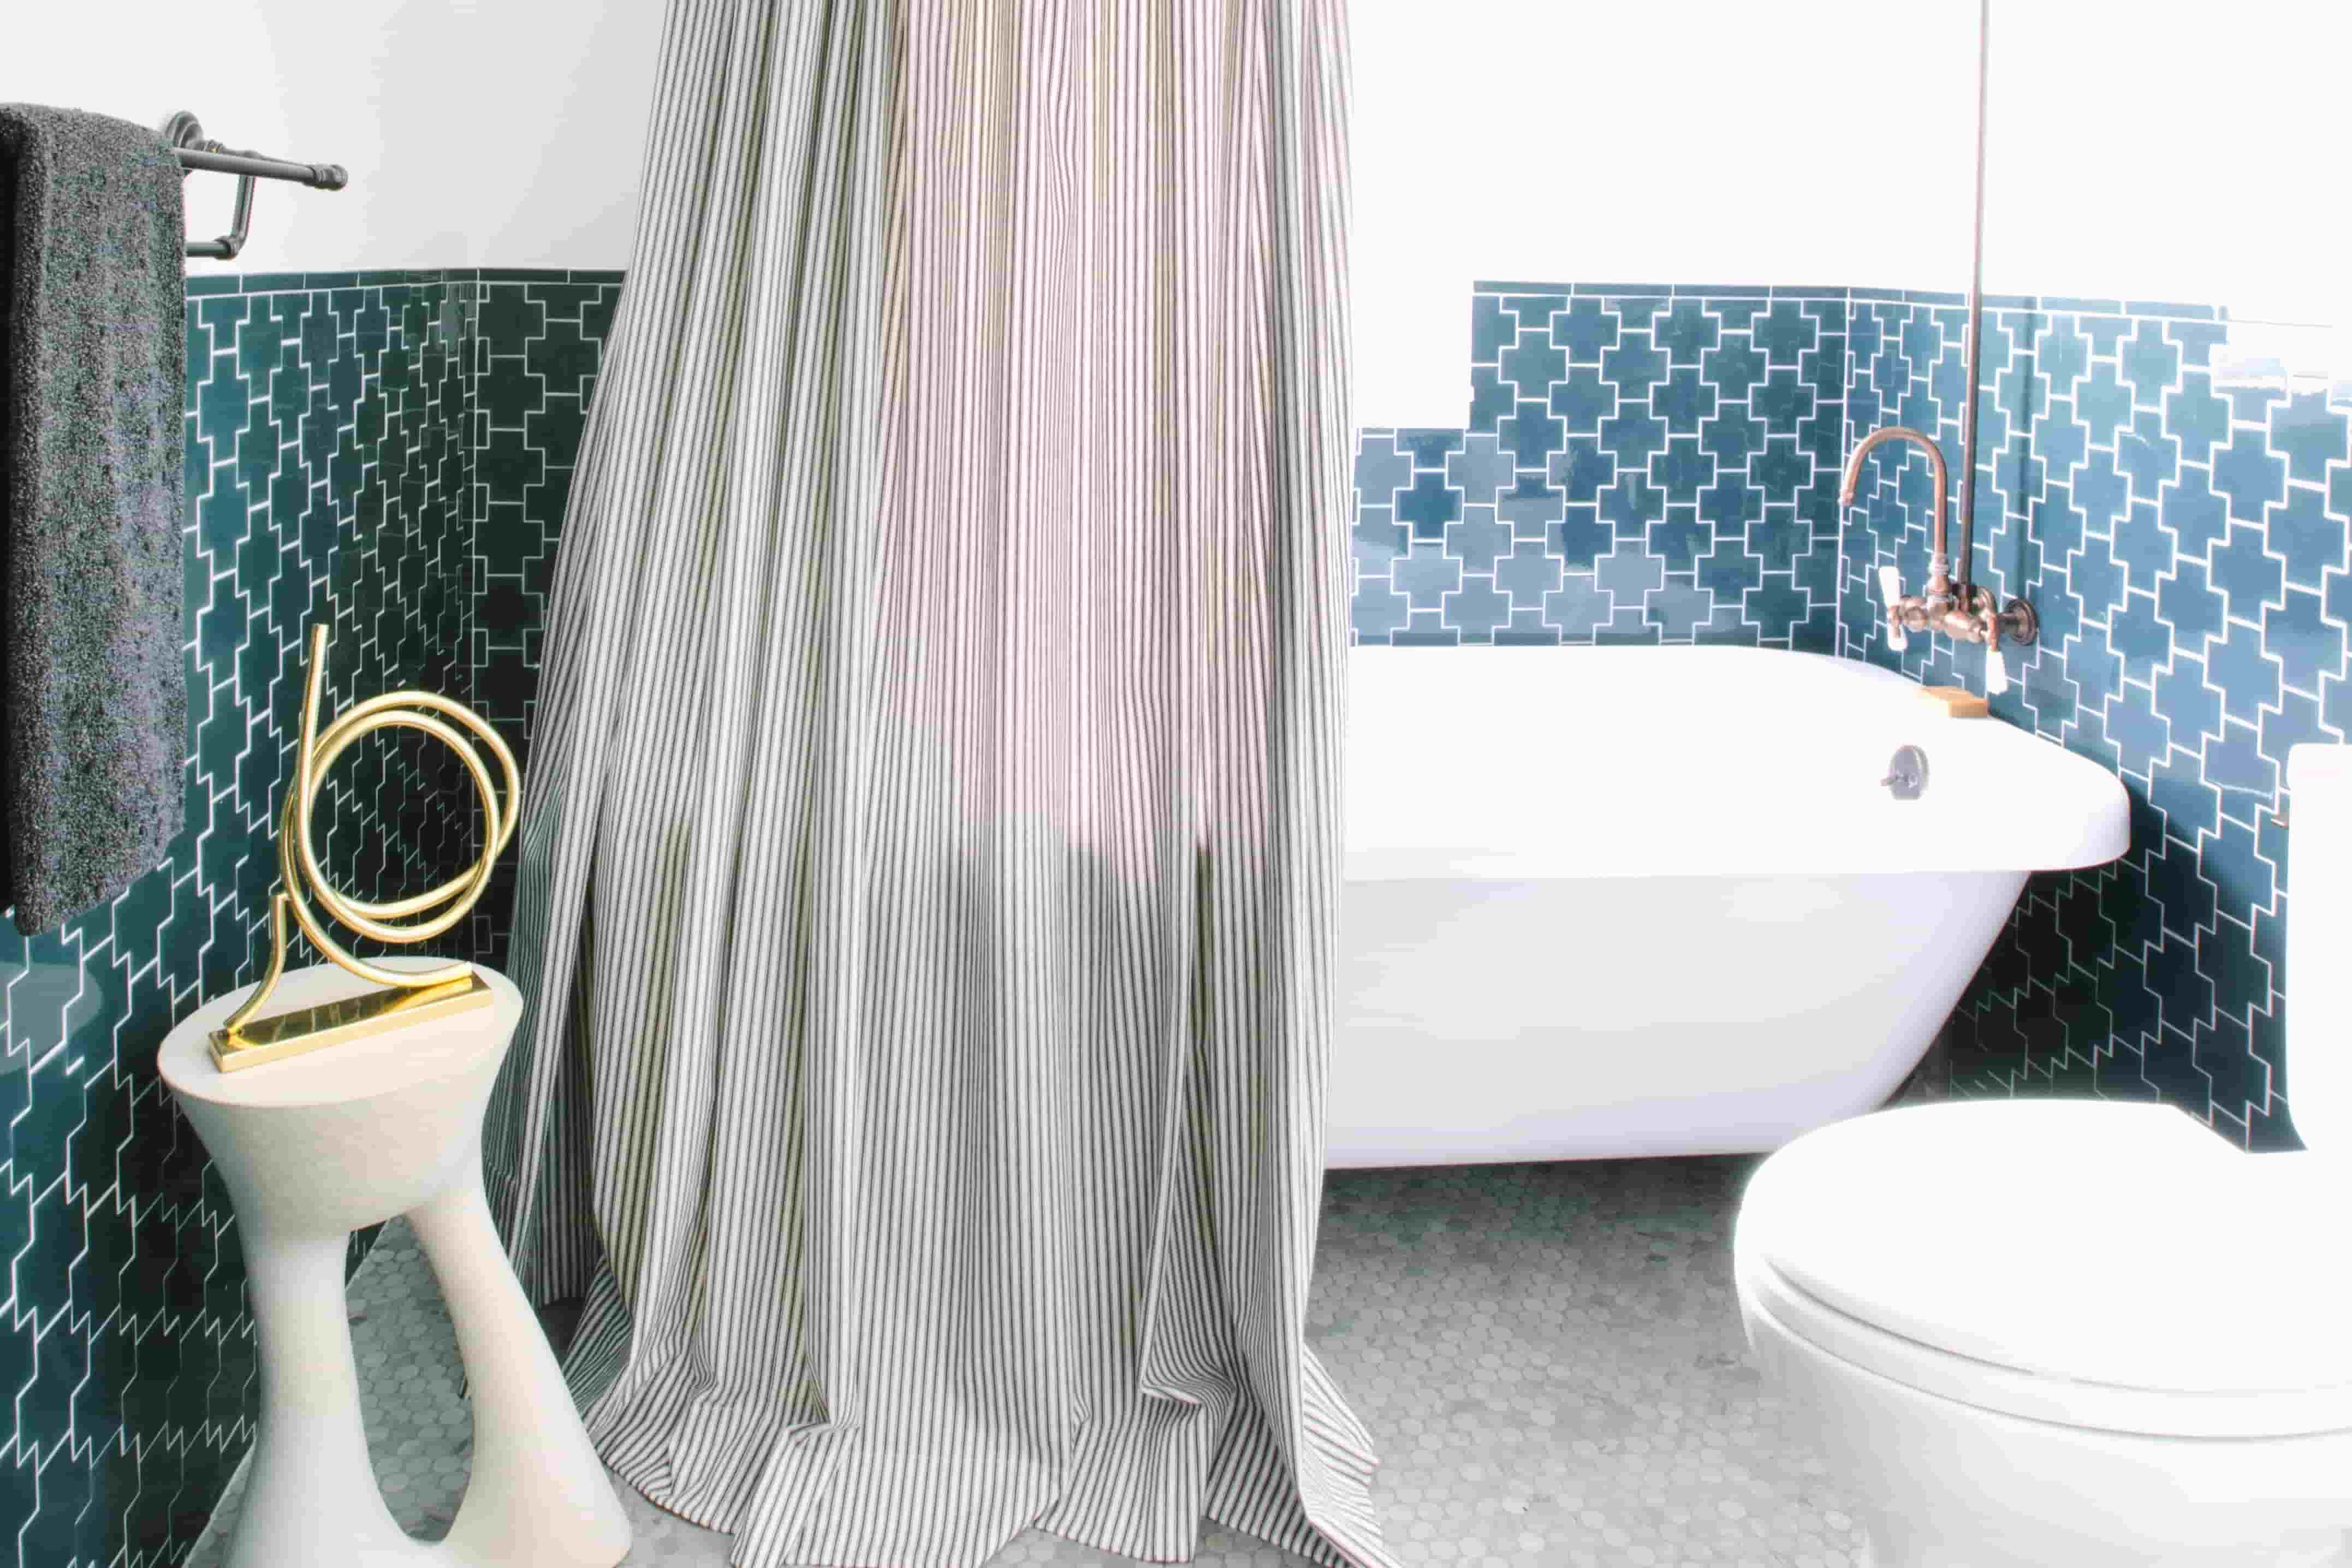
Hanging the Shower Curtain
With the curtain rod in place, it's time to hang the painted shower curtain. Carefully thread the fabric curtain onto the rod, ensuring that the painted design is facing outward and prominently displayed. Smooth out any wrinkles or folds in the fabric, allowing the painted design to be showcased in its full glory. Once the curtain is evenly distributed along the rod, adjust the positioning to achieve a balanced and visually appealing display.
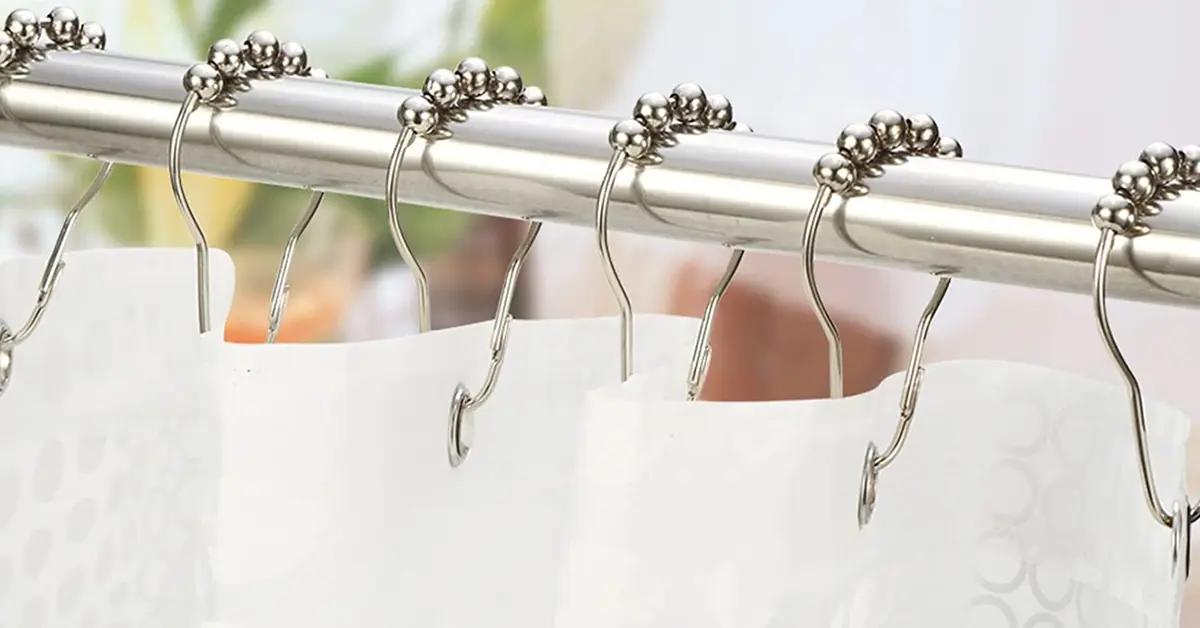
Finishing Touches
To complete the hanging process, consider adding decorative curtain hooks or rings that complement the style of the painted shower curtain. These accessories not only serve a functional purpose but also contribute to the overall aesthetic by adding a touch of elegance or charm. Additionally, ensure that the bottom hem of the shower curtain falls to the desired length, providing adequate coverage while maintaining a polished and tailored appearance.
By following these steps, you can seamlessly hang the painted shower curtain, transforming the bathroom space with a personalized and visually captivating design. The process of hanging the painted shower curtain marks the culmination of the DIY project, allowing you to admire and enjoy the custom artwork as a focal point of your bathroom decor.
Frequently Asked Questions about How To Paint A Shower Curtain
Was this page helpful?
At Storables.com, we guarantee accurate and reliable information. Our content, validated by Expert Board Contributors, is crafted following stringent Editorial Policies. We're committed to providing you with well-researched, expert-backed insights for all your informational needs.


0 thoughts on “How To Paint A Shower Curtain”