Home>Furniture & Design>Interior Design Trends>How To Remove Shower Glass From U Channel
Interior Design Trends
How To Remove Shower Glass From U Channel
Modified: May 6, 2024
Learn the latest interior design trends for removing shower glass from U channel. Get expert tips and tricks for a stylish bathroom renovation.
(Many of the links in this article redirect to a specific reviewed product. Your purchase of these products through affiliate links helps to generate commission for Storables.com, at no extra cost. Learn more)
Introduction
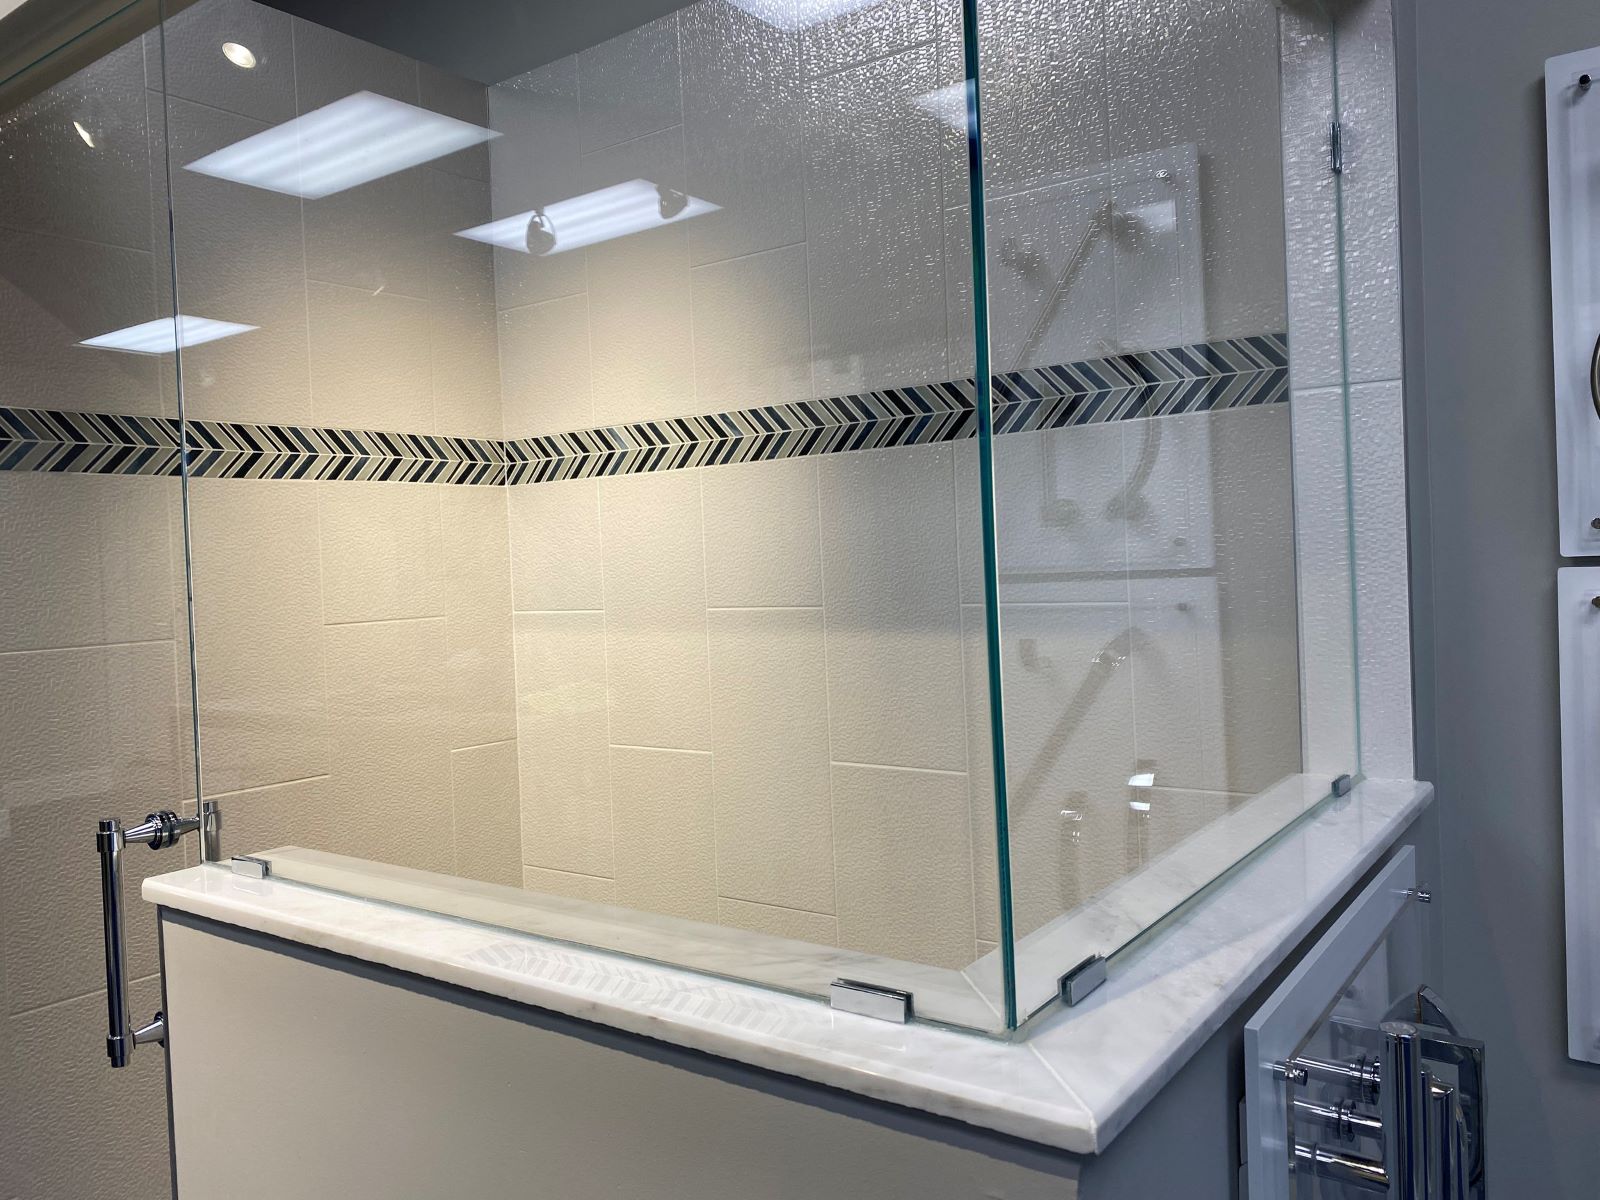
Removing a shower glass panel from a U channel may seem like a daunting task, but with the right tools and a systematic approach, it can be accomplished with relative ease. Whether you're renovating your bathroom, replacing the glass panel, or simply performing maintenance, understanding the proper steps for removing the glass from the U channel is essential.
The U channel, also known as a U-shaped track, is a common installation method for securing shower glass panels. It provides stability and support for the glass while maintaining a sleek and minimalist aesthetic. However, when it comes time to remove the glass, it's important to follow a methodical process to ensure safety and prevent damage to the surrounding area.
By following the steps outlined in this guide, you'll gain the confidence and know-how to tackle this task effectively. From removing the silicone sealant to safely loosening the U channel and extracting the glass panel, each step plays a crucial role in the overall process. Additionally, proper cleaning and preparation for reinstallation will set the stage for a seamless transition to the next phase of your project.
Whether you're a seasoned DIY enthusiast or a homeowner looking to take on a new challenge, mastering the art of removing a shower glass panel from a U channel is a valuable skill. With the right guidance and a willingness to learn, you'll be well-equipped to tackle this task and achieve professional-looking results. So, gather your tools, prepare your workspace, and let's dive into the step-by-step process of removing a shower glass panel from a U channel.
Key Takeaways:
- Removing a shower glass panel from a U channel requires careful steps like removing silicone sealant, loosening the U channel, and safely extracting the glass. It’s a meticulous process that demands precision and patience.
- Cleaning and preparing the glass panel and U channel for reinstallation is crucial for a seamless and secure reassembly. Thoroughly clean, inspect for damage, and prepare for the reapplication of sealant to ensure professional-looking results.
Tools and Materials Needed
Before embarking on the task of removing a shower glass panel from a U channel, it's essential to gather the necessary tools and materials to ensure a smooth and efficient process. Having the right equipment at your disposal will not only make the job easier but also contribute to the overall safety and precision of the task. Here's a comprehensive list of tools and materials you'll need:
Tools:
-
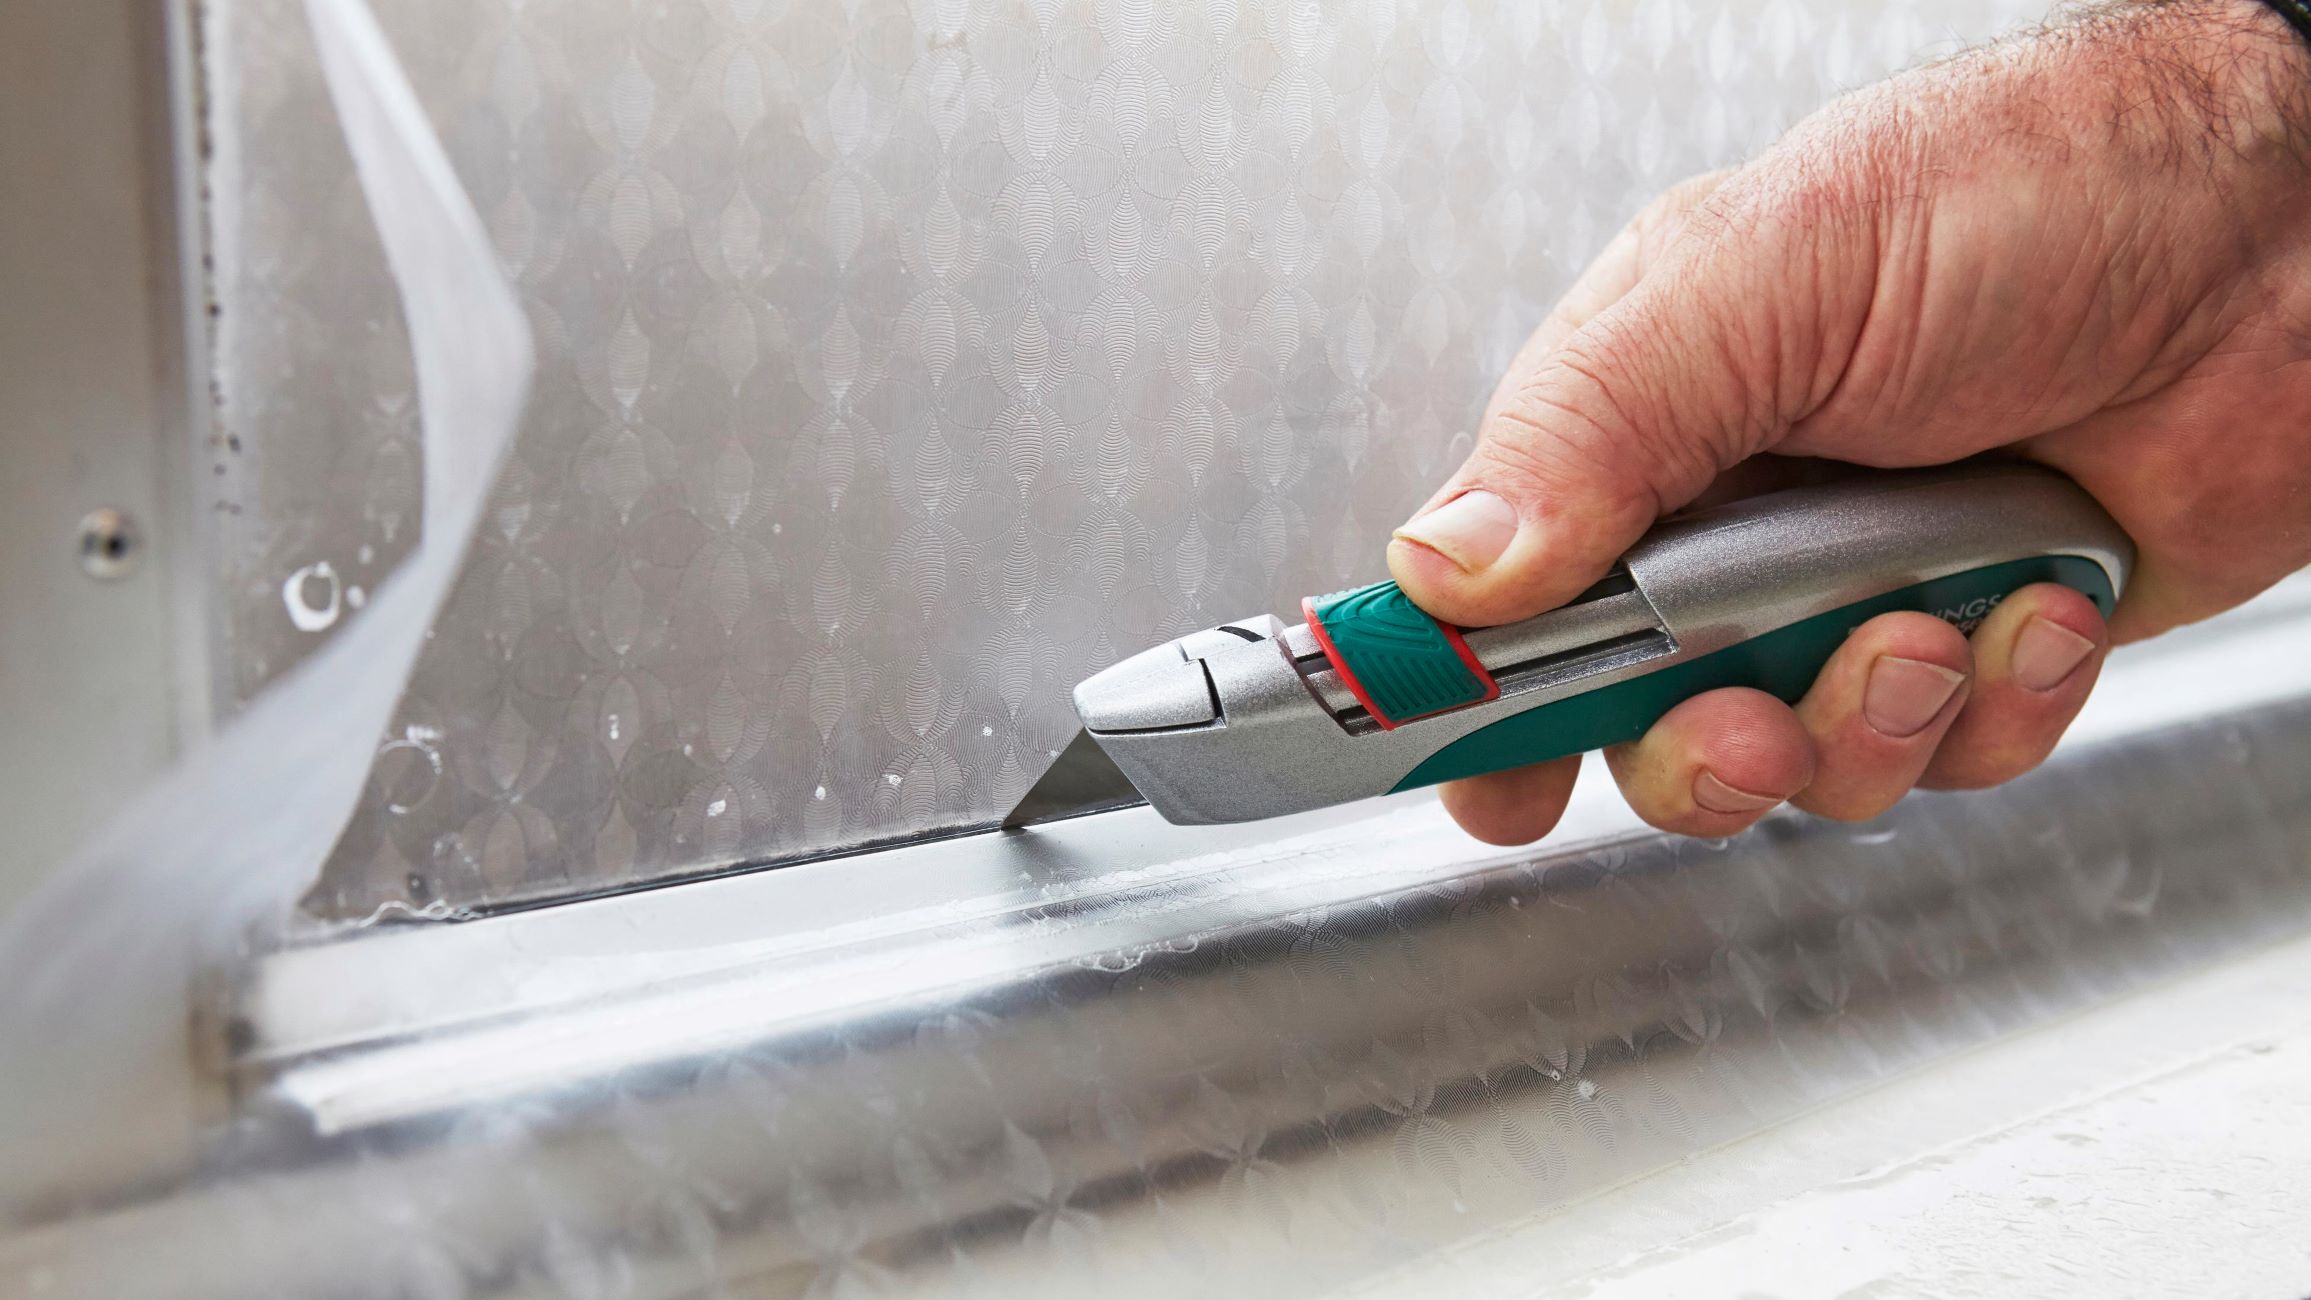
Utility Knife: A sharp utility knife will be indispensable for cutting through the silicone sealant that secures the glass panel to the U channel. Opt for a retractable blade for safety and ease of use.
-
Caulking Gun: This tool will be used to apply new silicone sealant during the reinstallation process. Ensure that the caulking gun is in good working condition to achieve clean and consistent application.
-
Screwdriver: Depending on the type of fasteners used to secure the U channel, a screwdriver may be required to loosen and remove the screws or bolts. It's advisable to have both flat-head and Phillips-head screwdrivers on hand to accommodate different fastener types.
-
Rubber Mallet: A rubber mallet will come in handy for gently tapping and loosening the U channel from its position. Opt for a non-marring rubber mallet to prevent damage to the U channel or surrounding surfaces.
-
Putty Knife: Use a putty knife with a flexible yet sturdy blade to aid in the removal of the silicone sealant and to pry the U channel away from the wall or floor. Look for a putty knife with a comfortable grip for better control.
-
Protective Gloves and Safety Glasses: Prioritize safety by wearing protective gloves and safety glasses throughout the process. These items will shield your hands and eyes from potential hazards such as sharp edges and debris.
-
Measuring Tape: A measuring tape will be useful for taking precise measurements of the glass panel and U channel, especially if you plan to reinstall the same panel or U channel.
Materials:
-
Silicone Sealant Remover: Invest in a high-quality silicone sealant remover to effectively dissolve and soften the existing sealant. This will facilitate the safe removal of the glass panel from the U channel without causing damage.
-
Replacement Silicone Sealant: Depending on the condition of the existing sealant and your reinstallation plans, you may need to have a tube of high-quality silicone sealant on hand. Choose a waterproof and mold-resistant formula for long-lasting results.
-
Cleaning Solution: Prepare a mild cleaning solution or purchase a suitable glass cleaner to thoroughly clean the glass panel and U channel after removal. This will ensure that the surfaces are free from residue and ready for reinstallation.
-
Lint-Free Cloths or Paper Towels: Stock up on lint-free cloths or paper towels to dry and polish the glass panel and U channel after cleaning. Avoid using materials that may leave behind lint or fibers.
-
Plastic Sheeting or Tarp: To protect the surrounding area from debris and potential damage, lay down plastic sheeting or a tarp to create a designated workspace for the removal process.
By assembling these essential tools and materials, you'll be well-prepared to tackle the task of removing a shower glass panel from a U channel with confidence and precision. With safety in mind and the right equipment at your disposal, you're ready to proceed to the next steps of the removal process.
Step 1: Remove the Silicone Sealant
The first step in removing a shower glass panel from a U channel involves the careful removal of the silicone sealant that bonds the glass to the channel. This process requires precision and patience to ensure that the sealant is effectively dissolved and softened for safe detachment of the glass panel. Here's a detailed guide on how to remove the silicone sealant:
-
Assess the Sealant: Begin by inspecting the perimeter of the glass panel to identify the extent of the silicone sealant. Use a utility knife to carefully score along the edges of the sealant, allowing for easier access during the removal process.
-
Apply Silicone Sealant Remover: Apply a high-quality silicone sealant remover along the edges of the glass panel where the sealant is located. Ensure that the remover is evenly distributed and covers the entire length of the sealant. Allow the remover to penetrate and soften the sealant as per the manufacturer's instructions.
-
Gently Pry the Sealant: Once the silicone sealant remover has had time to work its magic, use a putty knife to gently pry and lift the softened sealant from the U channel and the glass panel. Exercise caution to avoid damaging the glass or the channel during this process. Work methodically around the entire perimeter of the glass panel to ensure that all areas of the sealant are addressed.
-
Clean the Residue: After successfully removing the bulk of the silicone sealant, use a clean cloth or paper towel to wipe away any remaining residue. If necessary, reapply the silicone sealant remover to stubborn areas and repeat the gentle prying process until the glass panel is free from the majority of the sealant.
-
Inspect for Complete Removal: Thoroughly inspect the U channel and the glass panel to ensure that all traces of the silicone sealant have been removed. Any residual sealant left behind may hinder the subsequent steps of the removal process and compromise the reinstallation of the glass panel.
By meticulously following these steps, you'll effectively remove the silicone sealant and prepare the glass panel for the next phase of the removal process. This meticulous approach sets the stage for a seamless transition to the subsequent steps, ensuring that the glass panel can be safely and efficiently detached from the U channel.
Read more: How To Remove Glass Shower Doors
Step 2: Loosen the U Channel
With the silicone sealant successfully removed, the next crucial step in the process of removing a shower glass panel from a U channel is to loosen the U channel from its secured position. This step requires careful maneuvering and gentle force to ensure that the U channel is detached without causing damage to the surrounding surfaces or the glass panel. Here's a detailed guide on how to effectively loosen the U channel:
-
Assess the Fasteners: Begin by identifying the fasteners that secure the U channel to the wall or floor. Depending on the installation, the U channel may be fastened with screws, bolts, or other types of fastening hardware. Use a screwdriver appropriate for the fastener type to carefully inspect and locate the attachment points.
-
Loosen the Fasteners: Once the fasteners are located, gently loosen them using the appropriate screwdriver. It's important to exercise caution and avoid applying excessive force, as this may lead to damage or distortion of the U channel. If the fasteners are rusted or difficult to loosen, consider applying a penetrating lubricant to facilitate the process.
-
Tap and Loosen: In cases where the U channel is secured with adhesive or is particularly snug against the wall or floor, utilize a rubber mallet to gently tap and loosen the channel. Work methodically along the length of the U channel, applying light and even pressure to gradually disengage it from its position. Take care to avoid striking the U channel with excessive force, as this may cause dents or deformation.
-
Pry if Necessary: If the U channel proves resistant to tapping and loosening, use a putty knife to carefully pry the channel away from the surface. Insert the putty knife between the U channel and the wall or floor, applying gentle pressure to create separation. Work slowly and attentively to prevent damage to the U channel or the surrounding area.
-
Check for Full Loosening: Once the U channel has been sufficiently loosened, carefully lift it away from the wall or floor. Inspect the channel and the attachment area to ensure that it is completely detached. Any remaining adhesion or fasteners should be addressed to facilitate the safe removal of the glass panel.
By following these meticulous steps, you'll effectively loosen the U channel from its position, setting the stage for the final phase of removing the glass panel. This methodical approach ensures that the U channel can be detached with precision and care, paving the way for a seamless transition to the subsequent steps of the removal process.
Step 3: Remove the Glass Panel
With the silicone sealant removed and the U channel loosened, the pivotal moment arrives to delicately remove the glass panel from its position within the U channel. This step demands precision, patience, and a keen eye for detail to ensure the safe extraction of the glass panel without causing damage to the panel itself or the surrounding area. Here's a comprehensive guide on how to proficiently remove the glass panel:
-
Assess the Panel: Before proceeding, carefully inspect the glass panel to identify any potential obstructions or areas of concern. Take note of any protruding hardware, such as screws or brackets, that may be securing the panel within the U channel. Additionally, ensure that the panel is structurally sound and free from any defects that may complicate the removal process.
-
Lift and Angle: With a firm grip on the glass panel, gently lift and angle it to create a slight separation from the U channel. It's crucial to maintain a steady and controlled motion to prevent sudden shifts or jolts that could lead to unintended consequences. If the panel is particularly large or heavy, consider enlisting the assistance of a second person to ensure stability and safety.
-
Check for Resistance: As the panel is lifted and angled, pay close attention to any resistance or binding within the U channel. If the panel encounters significant resistance, carefully lower it back into position and reassess for potential obstructions or areas of adhesion that may require further attention.
-
Gradual Extraction: Once any potential obstructions have been addressed, continue to gradually extract the glass panel from the U channel. Maintain a steady and controlled motion, ensuring that the panel remains aligned and balanced throughout the process. Avoid sudden or jerky movements that could lead to instability or damage.
-
Secure Removal: As the glass panel nears complete extraction, exercise caution to prevent it from slipping or tilting unexpectedly. Once fully removed from the U channel, carefully place the panel in a secure and stable location to prevent accidental damage or breakage.
By meticulously following these steps, you'll successfully remove the glass panel from the U channel, marking a significant milestone in the overall process. This meticulous approach ensures that the glass panel can be safely and efficiently detached, setting the stage for the subsequent steps of cleaning and preparation for reinstallation.
Use a rubber mallet to gently tap the bottom of the glass panel to loosen it from the U channel. Then, carefully lift the glass out of the channel to remove it.
Step 4: Clean and Prepare for Reinstallation
With the glass panel successfully removed from the U channel, the focus now shifts to the crucial task of cleaning and preparing both the panel and the channel for reinstallation. This step is essential to ensure that the surfaces are free from residue, debris, and any remnants of the previous installation, setting the stage for a seamless and secure reassembly. Here's a comprehensive guide on how to effectively clean and prepare for reinstallation:
-
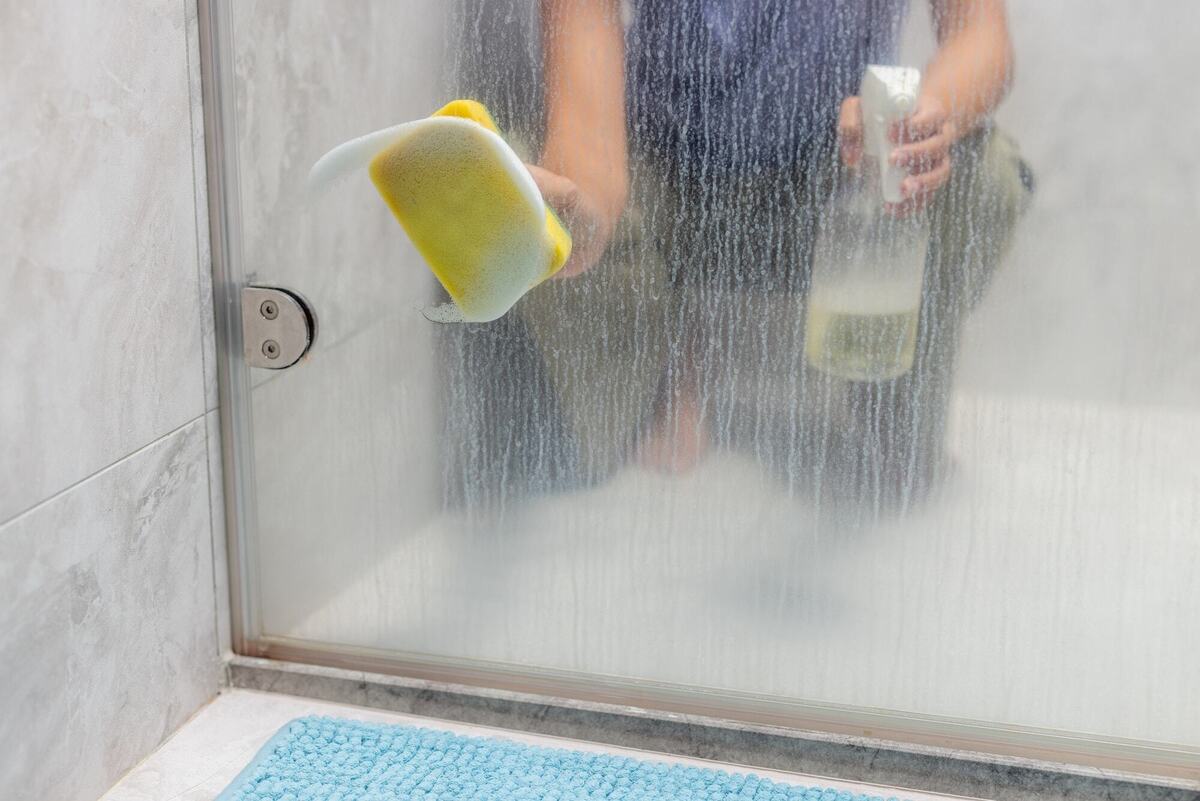
Clean the Glass Panel: Begin by thoroughly cleaning the glass panel to remove any accumulated dirt, grime, or residual sealant. Use a mild cleaning solution or a specialized glass cleaner to achieve a streak-free and polished finish. Ensure that the cleaning solution is compatible with the type of glass used in the panel to prevent damage or discoloration.
-
Inspect for Damage: While cleaning the glass panel, take the opportunity to inspect it for any signs of damage, such as chips, cracks, or scratches. Addressing any issues at this stage will prevent complications during the reinstallation process and ensure that the panel is in optimal condition for continued use.
-
Clean the U Channel: Turn your attention to the U channel and thoroughly clean its interior and exterior surfaces. Remove any residual silicone sealant, adhesive, or debris that may impede the proper seating of the glass panel during reinstallation. Use a suitable cleaning solution and a lint-free cloth to achieve a clean and smooth surface.
-
Dry and Polish: After cleaning both the glass panel and the U channel, use lint-free cloths or paper towels to dry and polish the surfaces. This step is crucial to remove any remaining moisture and ensure that the surfaces are pristine and ready for the reinstallation process.
-
Prepare for Reapplication of Sealant: If the existing silicone sealant is damaged or compromised, consider applying a fresh bead of high-quality silicone sealant to the U channel. Ensure that the channel is dry and free from residue before proceeding with the reapplication of sealant. Use a caulking gun to achieve a consistent and even application along the length of the channel.
-
Measure and Align: Take precise measurements of the glass panel and the U channel to ensure proper alignment and fit during reinstallation. This step is particularly important if the panel or the channel has undergone any modifications or adjustments during the removal process.
By meticulously following these steps, you'll effectively clean and prepare the glass panel and the U channel for reinstallation. This meticulous approach ensures that the surfaces are pristine, free from residue, and optimally prepared for the next phase of the installation process.
Conclusion
In conclusion, the process of removing a shower glass panel from a U channel encompasses a series of meticulous steps that require precision, patience, and attention to detail. By following the systematic approach outlined in this guide, homeowners and DIY enthusiasts can confidently tackle this task and achieve professional-looking results.
The initial step of removing the silicone sealant is crucial, as it sets the foundation for the subsequent phases of the removal process. By carefully assessing the sealant, applying a high-quality silicone sealant remover, and gently prying and cleaning the residue, the glass panel is prepared for safe detachment from the U channel.
Loosening the U channel demands careful maneuvering and a gentle touch to ensure that the channel is detached without causing damage to the surrounding surfaces or the glass panel. By assessing the fasteners, tapping and loosening the channel, and addressing any resistance or adhesion, the U channel can be safely disengaged from its position.
The pivotal moment arrives with the delicate removal of the glass panel from the U channel. This step demands precision, patience, and a keen eye for detail to ensure the safe extraction of the panel without causing damage to the panel itself or the surrounding area. By lifting, angling, and gradually extracting the panel, homeowners can successfully remove it from the U channel.
Following the successful removal of the glass panel, the focus shifts to the crucial task of cleaning and preparing both the panel and the channel for reinstallation. Thoroughly cleaning the glass panel, inspecting for damage, cleaning the U channel, and preparing for the reapplication of sealant are essential steps to ensure a seamless and secure reassembly.
By meticulously following each step of the removal process and paying attention to the details, homeowners and DIY enthusiasts can accomplish the task of removing a shower glass panel from a U channel with confidence and precision. Whether the goal is to renovate the bathroom, replace the glass panel, or perform maintenance, mastering this skill is a valuable asset for anyone seeking to enhance their home with a touch of elegance and functionality.
Ready to tackle more around your home? If DIY projects catch your interest, our guide on how to DIY home improvement offers practical steps to enhance your living space yourself. For those curious about time frames, our detailed overview on how long a bathroom renovation takes provides clarity and planning insights. And if repairs are on your agenda, don't miss our comprehensive tips on how to do home repair, ensuring you're well-equipped to handle common issues effectively.
Frequently Asked Questions about How To Remove Shower Glass From U Channel
Was this page helpful?
At Storables.com, we guarantee accurate and reliable information. Our content, validated by Expert Board Contributors, is crafted following stringent Editorial Policies. We're committed to providing you with well-researched, expert-backed insights for all your informational needs.


0 thoughts on “How To Remove Shower Glass From U Channel”