Home>Furniture & Design>Bathroom Accessories>How To Stop Water From Dripping In Bathtub
Bathroom Accessories
How To Stop Water From Dripping In Bathtub
Modified: August 27, 2024
Learn effective ways to prevent water from dripping in your bathtub with the right bathroom accessories. Stop leaks and keep your bathroom dry!
(Many of the links in this article redirect to a specific reviewed product. Your purchase of these products through affiliate links helps to generate commission for Storables.com, at no extra cost. Learn more)
Introduction
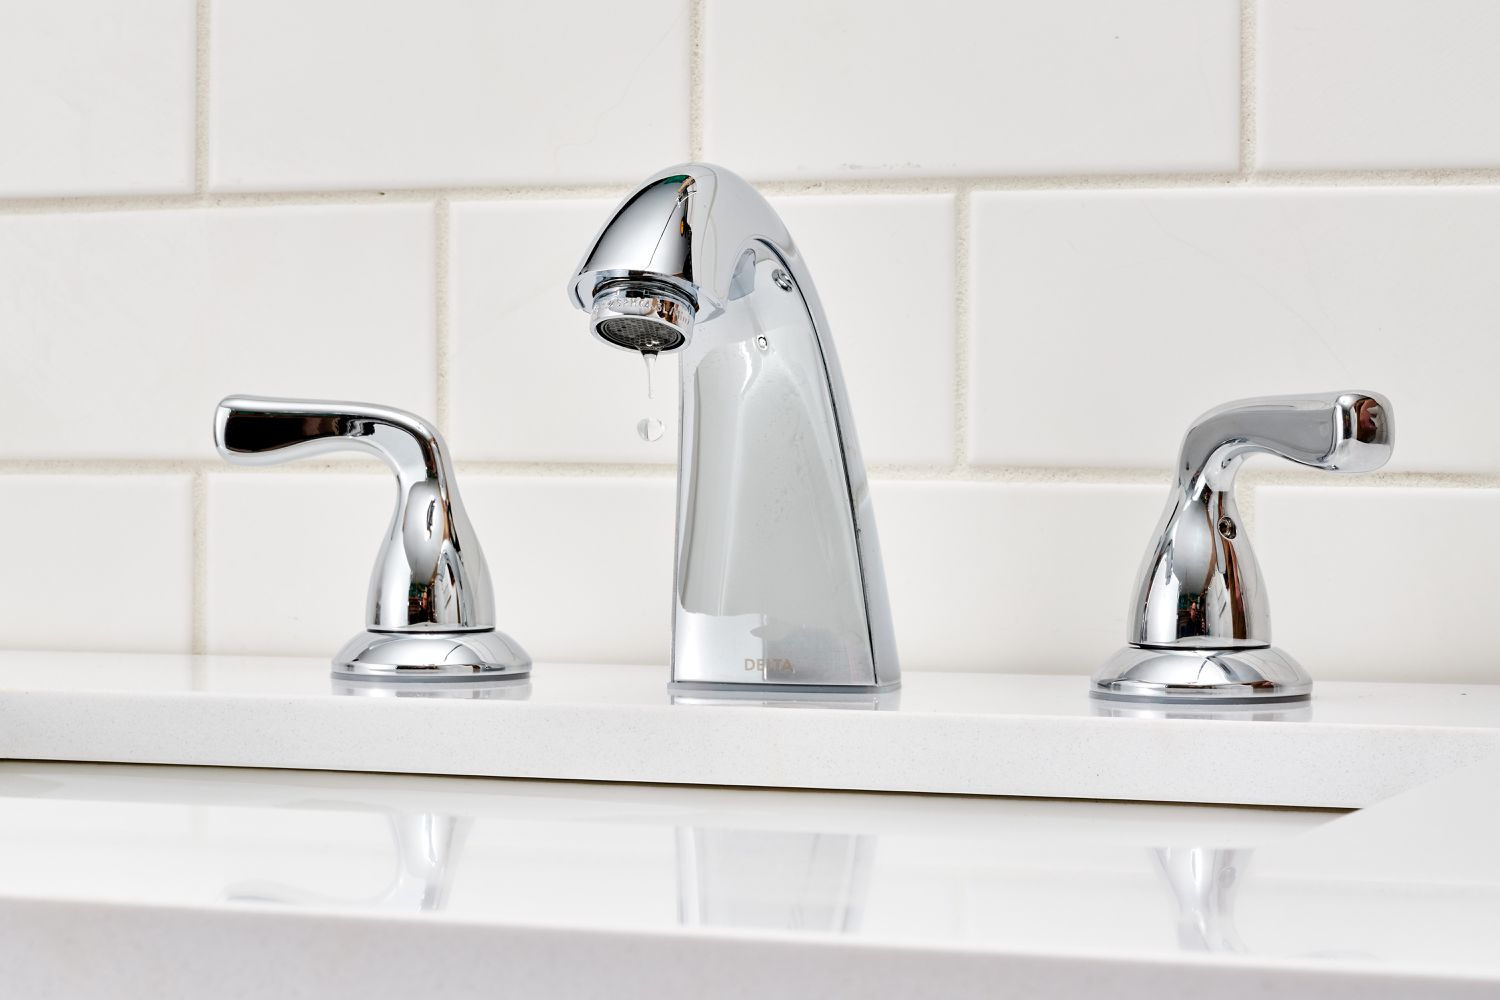
Dealing with a dripping bathtub can be a frustrating and persistent issue for many homeowners. The constant sound of water droplets hitting the tub can be an annoyance, not to mention the potential for water wastage and the risk of water damage to the surrounding areas. Fortunately, there are several effective methods to address this common problem and restore peace and functionality to your bathroom.
In this comprehensive guide, we will explore the various causes of water dripping in the bathtub and provide practical solutions to resolve the issue. Whether it's a faulty faucet, leaking seals, or a worn-out showerhead, we will cover the steps you can take to stop the incessant dripping and regain a tranquil bathing experience.
By identifying the source of the dripping and implementing the appropriate fixes, you can not only eliminate the bothersome sound of water droplets but also prevent potential water damage and reduce your water consumption. With the right knowledge and tools at your disposal, you can tackle this issue with confidence and restore your bathtub to its optimal condition.
So, if you're tired of the persistent dripping in your bathtub and eager to reclaim a serene and functional bathing space, read on to discover the effective strategies for addressing this common household nuisance. Let's dive into the solutions and bid farewell to the irksome sound of water dripping in your bathtub.
Key Takeaways:
- Stop bathtub dripping by fixing faulty faucets, sealing leaks, and replacing worn-out showerheads. Enjoy a peaceful bathing experience and prevent water wastage with proactive maintenance.
- Identify the source of bathtub dripping, such as faulty faucets and leaking seals, and take proactive steps to address the issue. Restore tranquility to your bathing space and prevent water damage.
Read more: How To Stop A Sink From Dripping
Identifying the Source of the Dripping
When faced with the persistent annoyance of water dripping in your bathtub, the first step towards finding a solution is to identify the source of the issue. Understanding the potential causes of the dripping will enable you to pinpoint the specific area that requires attention and repair. Here are the common culprits behind bathtub dripping:
-
Faulty Faucet: A malfunctioning faucet is a frequent cause of water dripping in bathtubs. Over time, the internal components of the faucet, such as the washers and O-rings, can wear out, leading to leaks. To determine if the faucet is the source of the dripping, observe the area around the faucet for any visible signs of water accumulation or dampness.
-
Leaking Seals: The seals around the bathtub fixtures, including the faucet handles and spout, can degrade over time, resulting in leaks. Inspect these areas for any moisture or water seepage, as this could indicate compromised seals that need to be replaced.
-
Worn-out Showerhead: If the dripping occurs when the shower is in use, the showerhead itself could be the culprit. Check for any visible leaks or drips from the showerhead while the water is running. Additionally, mineral deposits or sediment buildup within the showerhead can disrupt the water flow, leading to irregular dripping.
-
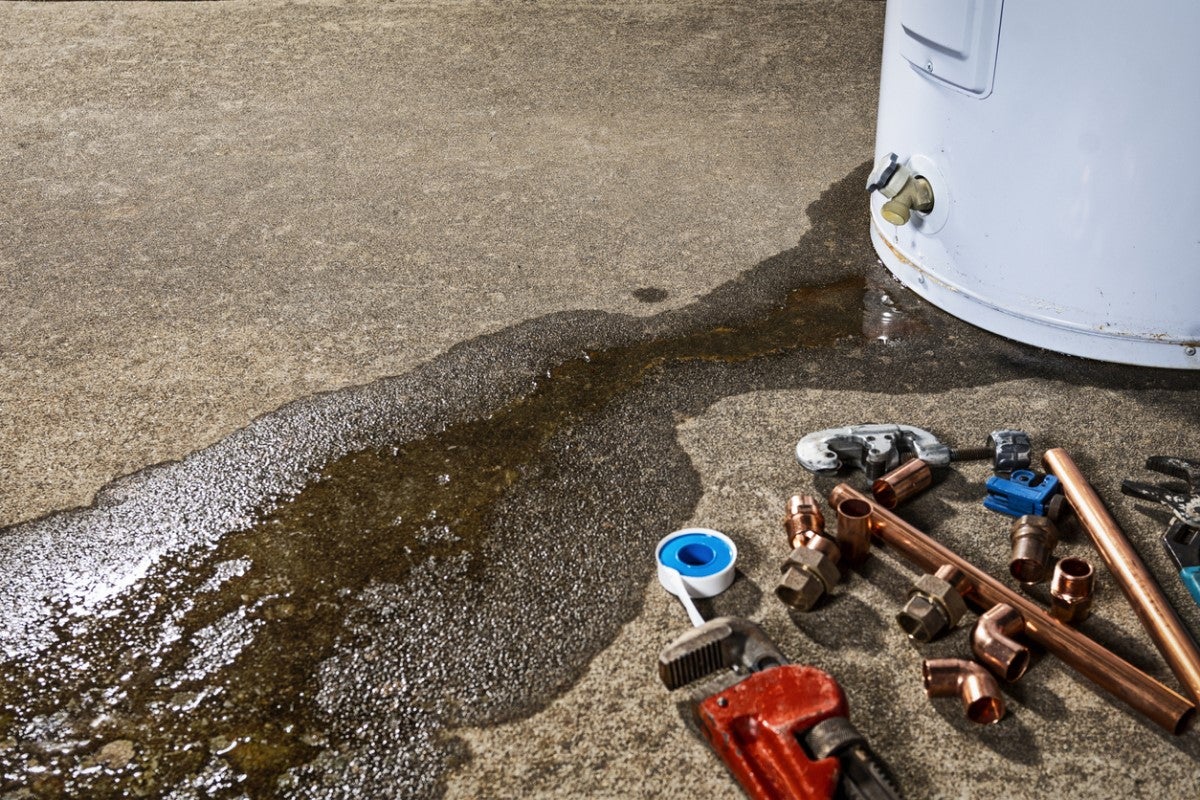
Cracked or Damaged Pipes: In some cases, the source of the dripping may be hidden within the plumbing system. Inspect the visible pipes connected to the bathtub for any signs of cracks, corrosion, or water stains, as these could indicate a more serious underlying issue.
By carefully examining these potential sources of the dripping, you can narrow down the cause and proceed with the appropriate corrective measures. Identifying the specific area of concern will lay the groundwork for effectively addressing the issue and implementing the necessary repairs to stop the water from dripping in your bathtub.
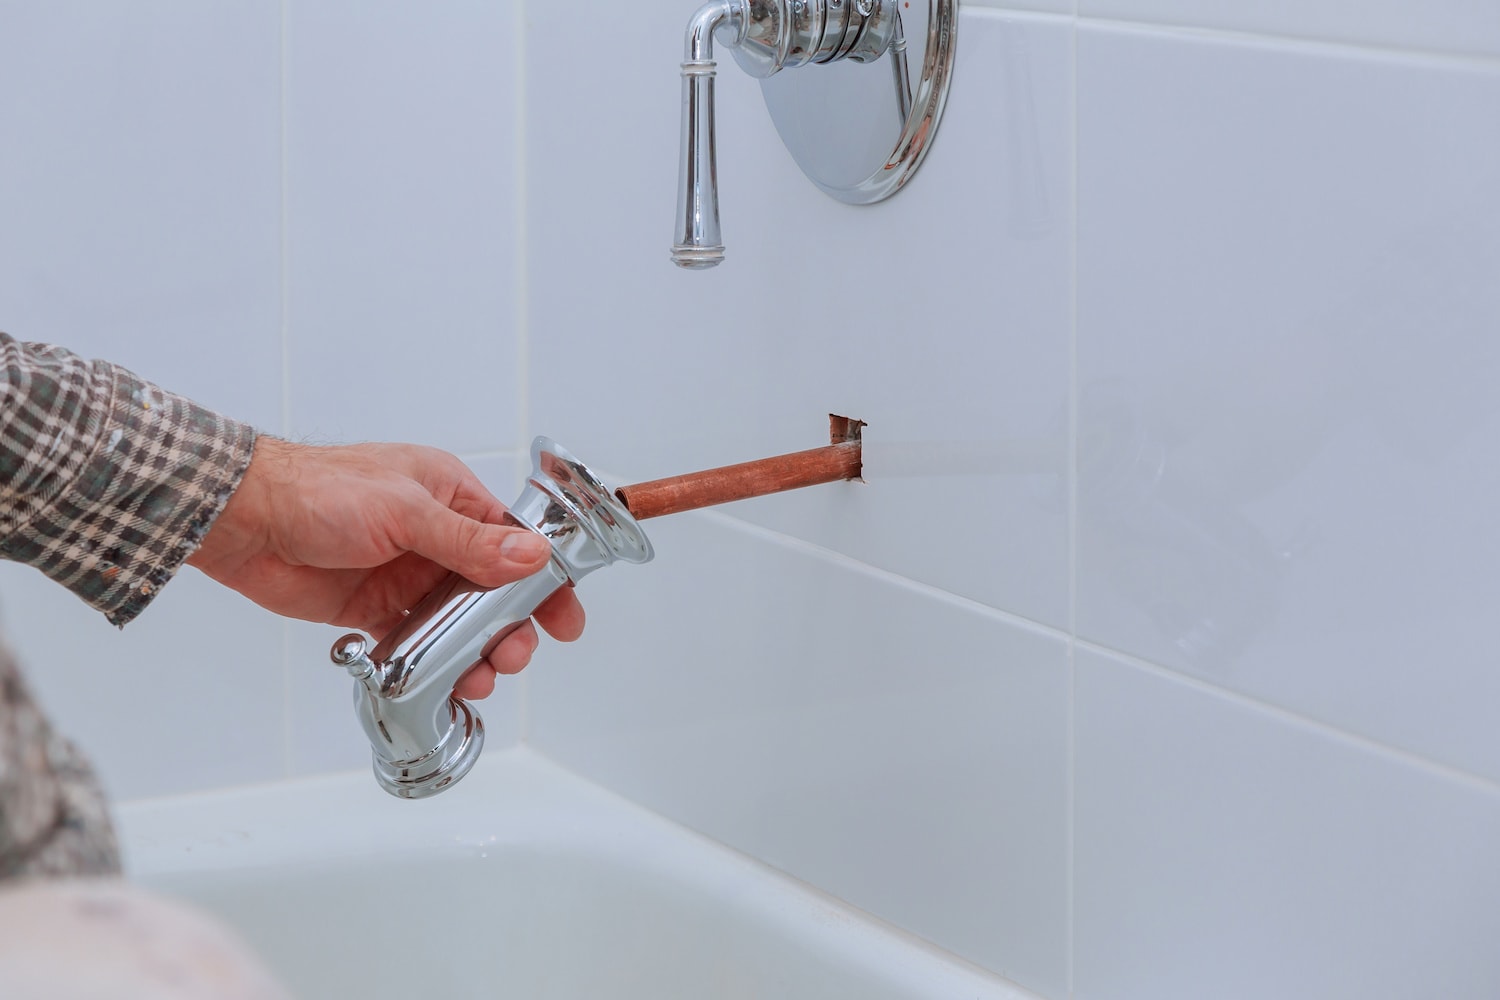
Fixing the Faucet
A faulty faucet is a common culprit behind the persistent dripping in bathtubs. Over time, the internal components of the faucet, such as washers and O-rings, can wear out, leading to leaks. To address this issue and put an end to the incessant dripping, you can follow these steps to fix the faucet:
-
Gather the Necessary Tools: Before beginning the repair, ensure you have the required tools on hand. These may include an adjustable wrench, screwdriver, replacement washers and O-rings, plumber's grease, and a cloth for cleaning.
-
Turn Off the Water Supply: Locate the shut-off valves for the bathtub's water supply and turn them off to prevent any water flow during the repair process. It's essential to ensure that the water is completely shut off before proceeding.
-
Disassemble the Faucet: Use a screwdriver to remove the faucet handle and any decorative caps or covers. Once exposed, carefully detach the faucet components, such as the stem and cartridge, to access the internal parts that may be causing the leaks.
-
Inspect and Replace Worn-Out Parts: Examine the removed components for any signs of wear, damage, or mineral buildup. If the washers, O-rings, or other seals appear worn or degraded, replace them with new, compatible parts. Apply plumber's grease to the new components before reassembling to ensure a proper seal and smooth operation.
-
Reassemble and Test: Once the worn-out parts have been replaced, carefully reassemble the faucet components in the reverse order of disassembly. Ensure that each part is securely fitted and aligned. Turn the water supply back on and test the faucet for any signs of dripping. If the dripping persists, double-check the assembly and consider seeking professional assistance if needed.
By following these steps to fix the faucet, you can effectively address the common issue of water dripping in the bathtub. Regular maintenance and prompt repairs can help prolong the lifespan of your faucet and prevent water wastage. With a properly functioning faucet, you can enjoy a peaceful and leak-free bathing experience, free from the annoyance of persistent dripping.
Remember, if you encounter challenges during the repair process or if the dripping issue persists despite your efforts, it's advisable to seek the expertise of a professional plumber to ensure a thorough and lasting solution.
Sealing Leaks in the Bathtub
Sealing leaks in the bathtub is crucial for preventing water damage and maintaining a functional bathing space. Leaks around the bathtub fixtures, such as the faucet handles and spout, can lead to water seepage and persistent dripping. Addressing these leaks promptly is essential to preserve the integrity of your bathroom and prevent potential structural issues. Here's a detailed guide on how to seal leaks in the bathtub effectively:
-
Identify the Leaks: Begin by inspecting the areas around the bathtub fixtures for any signs of moisture, water stains, or visible leaks. Pay close attention to the base of the faucet handles, the spout, and any other fixtures connected to the bathtub. Identifying the specific areas of leakage will guide your repair efforts and ensure comprehensive sealing.
-
Shut Off the Water: Before proceeding with the repair, turn off the water supply to the bathtub. Locate the shut-off valves and ensure that the water flow is completely stopped. This precautionary step is essential to prevent any water-related mishaps during the repair process.
-
Remove the Fixtures: Use appropriate tools to carefully remove the fixtures that are exhibiting leaks. This may involve unscrewing the faucet handles, detaching the spout, or disassembling any other relevant components. Take care not to damage the surrounding surfaces during this process.
-
Inspect and Clean: Once the fixtures are removed, inspect the exposed areas for any signs of damage, corrosion, or worn-out seals. Clean the surfaces thoroughly to remove any accumulated grime, mineral deposits, or old sealant. This step is crucial for ensuring a proper seal when reassembling the fixtures.
-
Replace Seals and Apply Sealant: If the seals around the fixtures are worn or damaged, replace them with new, high-quality seals that are compatible with your bathtub's design. Apply a suitable waterproof sealant around the base of the fixtures to create a secure and watertight barrier. Ensure that the sealant is evenly applied and covers any gaps or potential entry points for water.
-
Reassemble and Test: Carefully reassemble the fixtures, ensuring that each component is securely fitted and aligned. Turn the water supply back on and test the fixtures for any signs of leakage. Monitor the repaired areas closely to confirm that the sealing has effectively addressed the leaks.
By following these steps to seal leaks in the bathtub, you can effectively mitigate the risk of water damage and eliminate the source of persistent dripping. Regular maintenance and proactive sealing measures can contribute to a watertight and durable bathtub, providing you with a serene and worry-free bathing environment.
Remember, if you encounter challenges during the repair process or if the leaks persist despite your efforts, consider seeking professional assistance to ensure a thorough and lasting solution.
Replacing the Showerhead
When dealing with a dripping bathtub, the showerhead can often be the overlooked culprit. Over time, mineral deposits and sediment buildup within the showerhead can disrupt the water flow, leading to irregular dripping during and after showers. If you've identified the showerhead as the source of the dripping, replacing it can be an effective solution to restore a consistent and leak-free bathing experience. Here's a detailed guide on how to replace the showerhead and address the issue of water dripping in your bathtub.
Read more: How To Stop A Bathtub From Draining
Assessing the Existing Showerhead
Before proceeding with the replacement, it's essential to assess the existing showerhead and determine the type of fixture you have. Different showerheads may require specific removal and installation methods, so understanding the design and attachment mechanism is crucial. Additionally, inspect the area around the showerhead for any signs of leakage or water seepage, as this can indicate underlying issues that need to be addressed.
Gathering the Necessary Tools and Materials
To replace the showerhead, gather the necessary tools and materials, including an adjustable wrench, plumber's tape, a new showerhead, and a cloth for cleaning. Ensure that the new showerhead is compatible with your existing plumbing and meets your preferences in terms of water flow and spray pattern.
Shutting Off the Water Supply
Before beginning the replacement process, turn off the water supply to the shower. Locate the shut-off valves or the main water supply for the bathroom and ensure that the water flow is completely stopped. This precautionary step is essential to prevent any water spillage or leaks during the removal and installation of the showerhead.
Removing the Existing Showerhead
Use an adjustable wrench to carefully unscrew and remove the existing showerhead. Take care not to damage the surrounding tiles or wall surfaces during this process. If the showerhead is tightly secured, applying penetrating oil to the threads can help loosen it for easier removal.
Read more: How To Fix Water Dripping From Bathroom Fan
Cleaning and Preparing the Connection Point
Once the old showerhead is removed, clean the exposed pipe threads and inspect the connection point for any signs of corrosion or damage. Applying a small amount of plumber's tape to the threads can help create a secure and watertight seal when installing the new showerhead.
Installing the New Showerhead
Carefully attach the new showerhead to the cleaned and prepared connection point, ensuring a snug and secure fit. Use the adjustable wrench to tighten the showerhead, taking care not to over-tighten and potentially damage the plumbing connections. Confirm that the showerhead is aligned properly and facing the desired direction for optimal water flow.
Testing the New Showerhead
Once the new showerhead is installed, turn the water supply back on and test the shower for any signs of leakage or dripping. Adjust the water flow and spray pattern to ensure that the new showerhead functions as intended. Monitor the area around the showerhead for any indications of water seepage or irregular dripping.
By following these steps to replace the showerhead, you can effectively address the issue of water dripping in your bathtub and restore a consistent and leak-free bathing experience. Regular maintenance and proactive replacement of worn-out showerheads can contribute to a rejuvenated and enjoyable showering environment, free from the annoyance of persistent dripping.
Remember, if you encounter challenges during the replacement process or if the dripping issue persists despite your efforts, consider seeking professional assistance to ensure a thorough and lasting solution.
Conclusion
In conclusion, addressing the issue of water dripping in your bathtub requires a systematic approach to identify the source of the problem and implement the appropriate solutions. By understanding the common culprits behind bathtub dripping, including faulty faucets, leaking seals, and worn-out showerheads, you can effectively troubleshoot and resolve this persistent nuisance.
Throughout this comprehensive guide, we have explored practical methods to stop water from dripping in the bathtub. From fixing a faulty faucet to sealing leaks and replacing the showerhead, each step is aimed at restoring a serene and functional bathing space while mitigating the risks associated with water wastage and potential damage.
It's important to emphasize the significance of regular maintenance and proactive repairs in preserving the integrity of your bathtub and its fixtures. By promptly addressing any signs of leakage or dripping, you can prevent the escalation of issues and maintain a reliable and efficient bathing environment.
Furthermore, the proactive replacement of worn-out components, such as showerheads and seals, can contribute to a rejuvenated and enjoyable bathing experience, free from the annoyance of persistent dripping. These preventive measures not only enhance the functionality of your bathtub but also promote water conservation and reduce the likelihood of costly repairs in the future.
In the event that you encounter challenges during the repair or replacement processes, or if the dripping issue persists despite your efforts, seeking professional assistance from a qualified plumber is advisable. Their expertise and experience can ensure a thorough and lasting solution, providing you with peace of mind and a fully restored bathtub.
By taking a proactive and attentive approach to addressing water dripping in your bathtub, you can enjoy a tranquil and leak-free bathing experience while safeguarding the longevity of your bathroom fixtures. With the knowledge and strategies outlined in this guide, you are well-equipped to tackle this common household issue and restore your bathtub to its optimal condition.
So, armed with these effective solutions, bid farewell to the irksome sound of water dripping in your bathtub and embrace a serene and functional bathing space. Here's to many relaxing and uninterrupted baths in the future!
Frequently Asked Questions about How To Stop Water From Dripping In Bathtub
Was this page helpful?
At Storables.com, we guarantee accurate and reliable information. Our content, validated by Expert Board Contributors, is crafted following stringent Editorial Policies. We're committed to providing you with well-researched, expert-backed insights for all your informational needs.
0 thoughts on “How To Stop Water From Dripping In Bathtub”