Articles
How To Stop A Sink From Dripping
Modified: October 28, 2024
Learn effective techniques to stop a sink from dripping with our helpful articles. Fix the annoying drip and save water today!
(Many of the links in this article redirect to a specific reviewed product. Your purchase of these products through affiliate links helps to generate commission for Storables.com, at no extra cost. Learn more)
Introduction
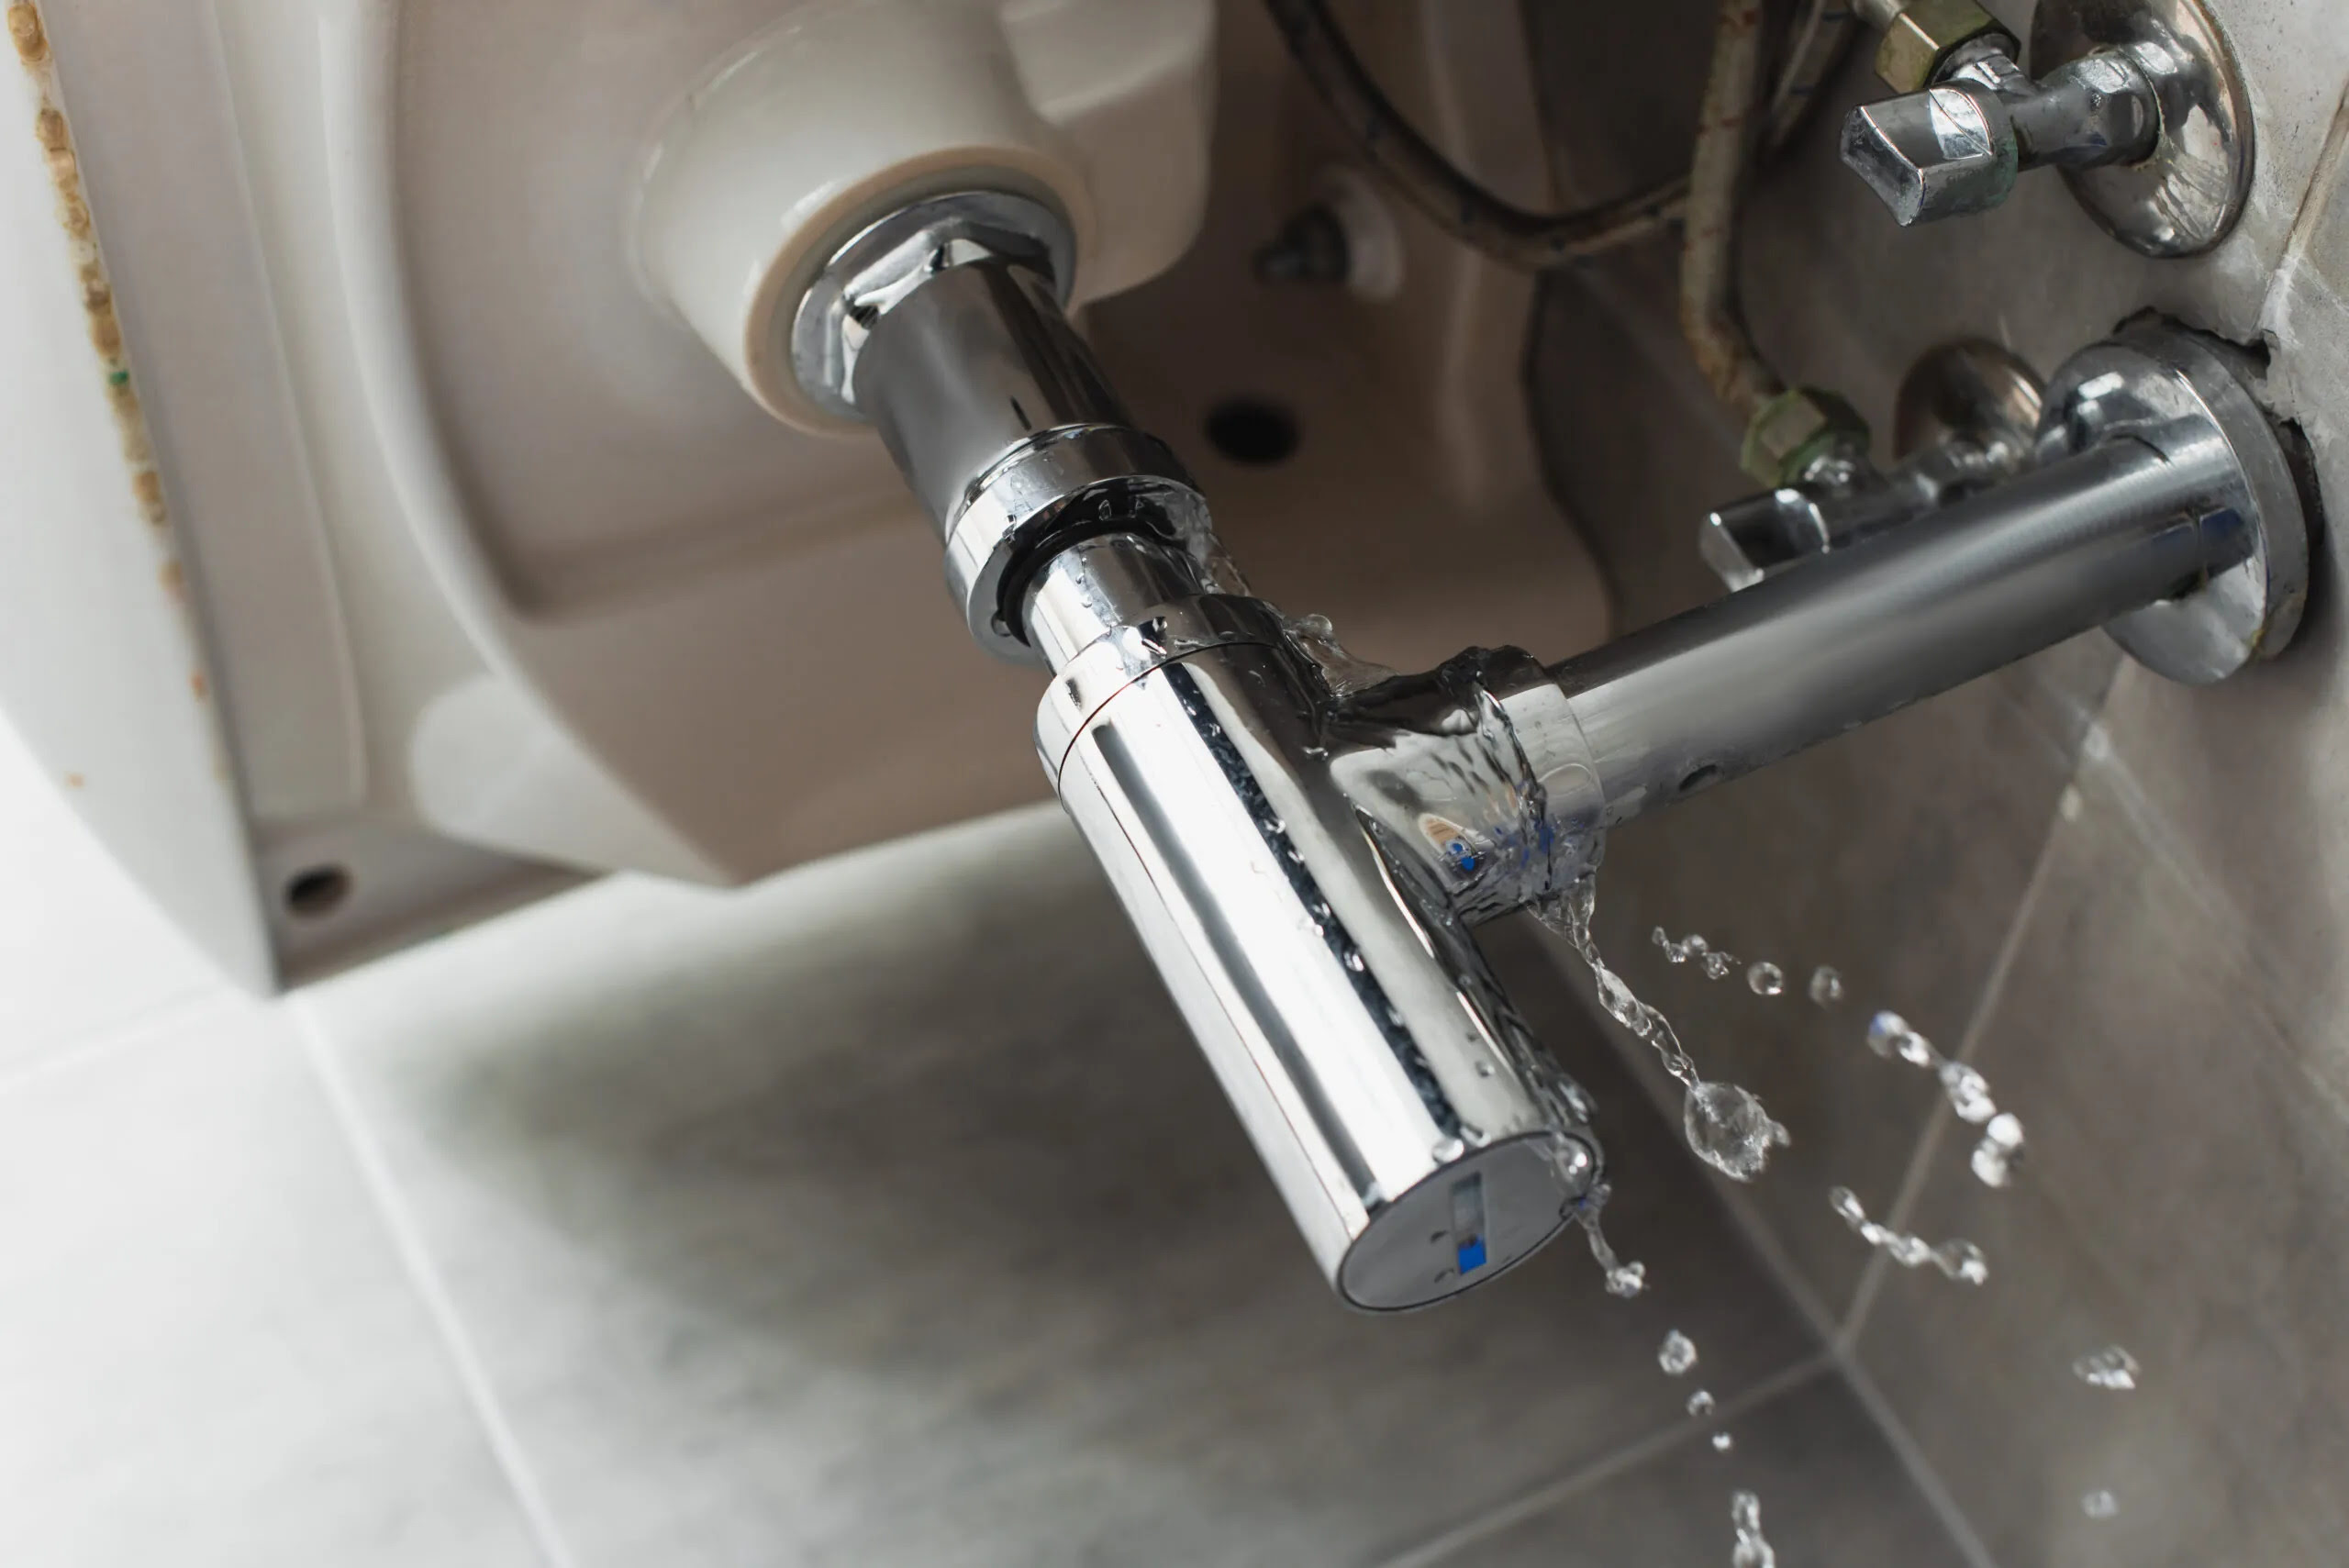
A dripping sink can be a frustrating and costly ordeal. Not only does it waste water, but the constant drip-drip-drip sound can drive you crazy! Fortunately, fixing a dripping sink is a DIY project that can save you money and eliminate that annoying sound.
In this article, we will guide you through the step-by-step process of stopping a sink from dripping. From gathering the necessary tools to assessing the type of faucet and making the necessary repairs, we’ve got you covered.
Before we dive into the details, it’s important to note that different types of faucets may require different repair methods. The most common types include washer-type, cartridge-type, and ball-type faucets. By identifying the type of faucet you have, you can easily follow the specific repair instructions.
So, let’s roll up our sleeves, gather our tools, and put an end to that annoying drip!
Key Takeaways:
- Say goodbye to the annoying drip! Learn how to identify, repair, and test different faucet types to stop your sink from wasting water and driving you crazy.
- Gather your tools, shut off the water, and get ready to tackle that dripping sink. With the right knowledge and steps, you can fix it yourself and enjoy a quiet, efficient faucet.
Read more: How To Stop Water From Dripping In Bathtub
Step 1: Gathering the necessary tools
Before you begin repairing a dripping sink, it’s important to gather the necessary tools. Here’s a list of items you’ll need:
- Adjustable wrench
- Flathead screwdriver
- Phillips-head screwdriver
- Replacement washers or cartridges (depending on the faucet type)
- Plumber’s tape
- Lubricating oil or grease
- Clean cloth or towel
- Bucket or container
Having these tools at hand will ensure you’re prepared for any repairs that need to be made. The adjustable wrench will help with removing and tightening parts, while the screwdrivers are essential for loosening and tightening screws.
The replacement washers or cartridges are crucial for fixing the specific faucet type, so make sure you have the correct ones on hand. Plumber’s tape will come in handy for sealing any connections, preventing leaks in the future.
Additionally, a clean cloth or towel will be useful for wiping away any excess water or debris, ensuring a clean and dry working environment. And don’t forget to have a bucket or container nearby to catch any water that may leak during the repair process.
Once you have gathered all the necessary tools, you’ll be ready to move on to the next step of shutting off the water supply.
Step 2: Shutting off the water supply
Before you begin any repairs on a dripping sink, it is essential to shut off the water supply to avoid any flooding or water damage. Here’s how to do it:
- Locate the water shut-off valves under the sink. These valves are typically located on the pipes leading to the faucet. There are usually two valves – one for hot water and one for cold water.
- Turn the valves clockwise (to the right) to shut off the water supply. You may need to use an adjustable wrench to assist with turning the valves, as they can be tight.
- Once the water supply is shut off, test the faucets to ensure that no water is flowing.
By shutting off the water supply, you eliminate the risk of water leakage and make it safe to proceed with repairing the sink. It is important to note that if you are unable to locate the shut-off valves or if they are not functioning properly, you may need to shut off the main water supply to your home.
Now that you have successfully shut off the water supply, it’s time to move on to the next step: assessing the type of faucet you have.
Step 3: Assessing the type of faucet
Before you can proceed with repairing a dripping sink, it’s important to correctly identify the type of faucet you have. The most common types of faucets are washer-type, cartridge-type, and ball-type. Each type requires different repair techniques, so let’s take a closer look at each one:
- Washer-type faucet: This type of faucet has a rubber or neoprene washer that forms a seal to prevent water from flowing when the faucet is closed. If you have a washer-type faucet, the dripping is likely caused by a worn-out washer that needs to be replaced.
- Cartridge-type faucet: A cartridge-type faucet uses a cartridge to control the flow of water. It is a more modern and durable design than the washer-type faucet. If you have a cartridge-type faucet, the dripping may be caused by a faulty cartridge that needs to be replaced.
- Ball-type faucet: This type of faucet has a ball inside the faucet body that controls the flow and temperature of the water. If you have a ball-type faucet, the dripping may be caused by worn-out seals or O-rings that need to be replaced.
Now that you have a basic understanding of the different types of faucets, take a closer look at your sink and determine the type of faucet you have. This will help you choose the correct repair method and proceed with confidence.
Once you have identified the type of faucet, you’re ready to move on to the specific repair instructions. In the following steps, we will guide you through the repair process for each type of faucet.
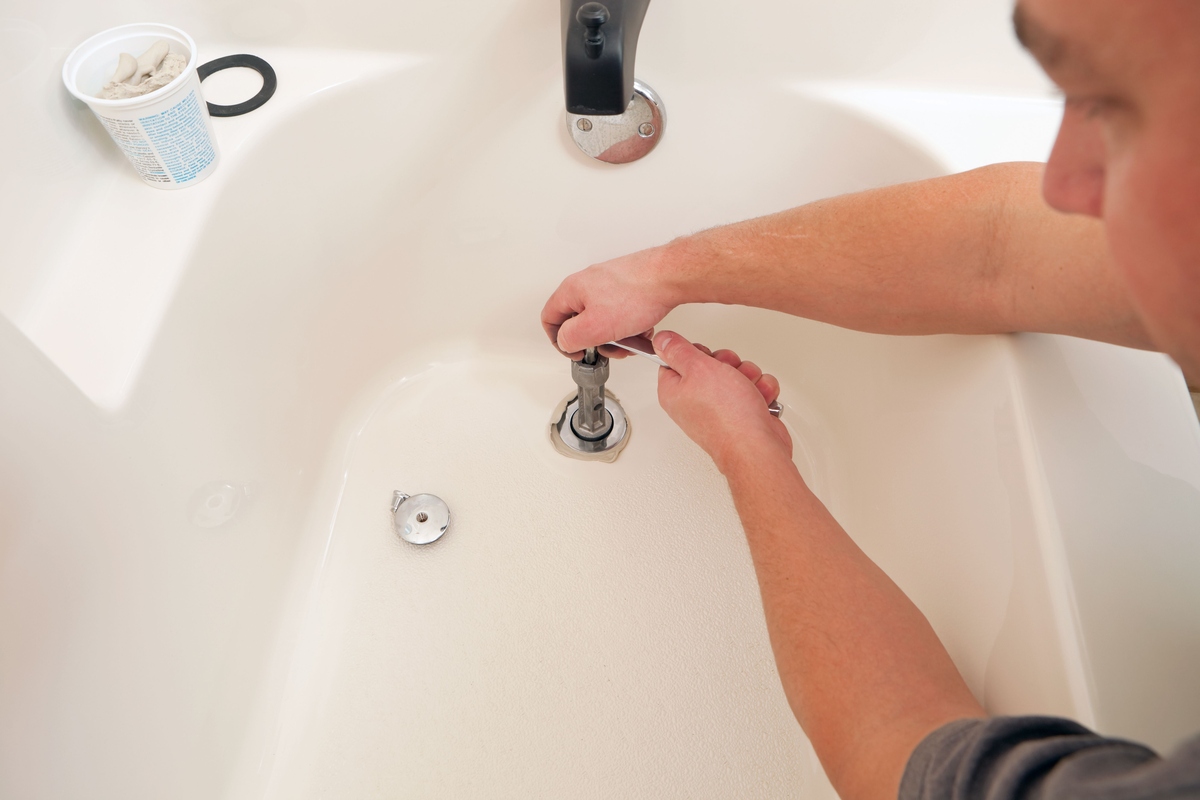
Step 4: Replacing a washer-type faucet
If you have determined that your dripping sink has a washer-type faucet, here’s a step-by-step guide on how to replace the washer and stop the drip:
- Start by closing the drain to prevent any small parts from falling into it.
- Use a flathead screwdriver or a knife to pry off the decorative cap on the handle of the faucet.
- Once the cap is removed, use a Phillips-head screwdriver to unscrew the screw that holds the handle in place.
- After removing the handle, use an adjustable wrench to unscrew the packing nut located just below the handle.
- Once the packing nut is removed, you will see the stem assembly. Carefully remove the stem assembly by pulling it straight out.
- Inspect the washer at the bottom of the stem assembly. If it is worn out or damaged, it needs to be replaced.
- Remove the old washer by unscrewing the small brass screw that holds it in place.
- Replace the old washer with a new one of the same size and type. If necessary, take the old washer to a hardware store to find a matching replacement.
- Reassemble the faucet by following the steps in reverse. Make sure to tighten all screws and nuts securely.
- Once the faucet is reassembled, turn on the water supply and test the faucet. If the drip has stopped, congratulations! You have successfully replaced the washer and fixed the dripping sink.
Replacing the washer in a washer-type faucet is a common and straightforward repair. However, if you encounter any difficulties or the drip persists, it may be best to consult a professional plumber for further assistance.
Now that you know how to replace a washer-type faucet, you can move on to the next step if your sink has a cartridge-type faucet.
To stop a sink from dripping, try tightening the faucet handle or replacing the worn-out washer. If the problem persists, consider calling a plumber to fix any underlying issues.
Read more: How To Stop Dripping Sound In Gutters
Step 5: Repairing a cartridge-type faucet
If you have determined that your dripping sink has a cartridge-type faucet, here’s a step-by-step guide on how to repair it:
- Close the drain to prevent any small parts from falling into it.
- Use a flathead screwdriver or a knife to remove any decorative caps or covers on the handle of the faucet.
- Once the covers are removed, use a Phillips-head screwdriver or an Allen wrench (depending on the type of screw) to unscrew the screw that holds the handle in place.
- After removing the handle, locate the cartridge inside the faucet body. Some cartridges may require additional parts to be removed, such as a retaining clip or a collar nut.
- Once the cartridge is accessible, use pliers or an adjustable wrench to carefully remove it by twisting it counterclockwise.
- Inspect the cartridge for any wear, damage, or buildup. If necessary, clean the cartridge with a vinegar solution or replace it with a new one.
- Insert the new or cleaned cartridge back into the faucet body, making sure it is properly aligned.
- If there were any additional parts removed, such as a retaining clip or collar nut, reassemble them according to the manufacturer’s instructions.
- Reattach the handle and tighten the screw to secure it in place.
- Turn on the water supply and test the faucet. If the drip has stopped, congratulations! You have successfully repaired the cartridge-type faucet.
Repairing a cartridge-type faucet requires a bit more effort compared to a washer-type faucet, but with the right tools and patience, you can easily fix the drip. However, if you are unsure or encounter any difficulties during the process, don’t hesitate to seek professional assistance.
Now that you know how to repair a cartridge-type faucet, you’re ready to move on to the next step if your sink has a ball-type faucet.
Step 6: Fixing a ball-type faucet
If you have determined that your dripping sink has a ball-type faucet, follow these steps to fix it:
- Start by closing the drain to prevent any small parts from falling into it.
- Use a flathead screwdriver or a knife to remove any decorative caps or covers on the handle of the faucet.
- Once the covers are removed, use a Phillips-head screwdriver or an Allen wrench (depending on the type of screw) to unscrew the screw that holds the handle in place.
- After removing the handle, locate the rounded ball-shaped cap that sits on top of the faucet body. Use pliers or an adjustable wrench to grip the cap and turn it counterclockwise to remove it.
- Underneath the cap, you will find the cam and the ball assembly. Carefully remove them and set them aside.
- Inspect the ball assembly for any worn-out seals or O-rings. If necessary, replace the seals or the entire ball assembly.
- Clean any residue or buildup from the faucet body, the cam, and the ball assembly using a vinegar solution or a mild cleaner.
- If the seals or O-rings are damaged, apply a small amount of lubricating oil or grease to the new ones before installing them.
- Reassemble the ball assembly, cam, and ball-shaped cap in the reverse order and tighten them securely.
- Reattach the handle and tighten the screw to secure it in place.
- Turn on the water supply and test the faucet. If the drip has stopped, congratulations! You have successfully fixed the ball-type faucet.
Fixing a ball-type faucet may require a bit more effort and attention to detail. Take your time and ensure that all components are properly aligned and tightened. If you are uncertain or encounter any difficulties during the process, consider seeking professional assistance.
Now that you have repaired a ball-type faucet, let’s move on to the next step to address any other possible causes for the dripping sink.
Step 7: Addressing other possible causes for dripping
If you have followed the previous steps but are still experiencing a dripping sink, there may be other underlying causes that need to be addressed. Here are a few common issues to consider:
- Loose connections: Check all the connections, such as the handle, spout, and other parts of the faucet, to ensure they are tightly secured. Use an adjustable wrench to tighten any loose connections.
- Worn-out seals or O-rings: Inspect the seals and O-rings throughout the faucet for signs of wear or damage. If necessary, replace them with new ones to create a proper seal and eliminate the drip.
- Water pressure: High water pressure can put additional strain on the faucet, leading to leaks and drips. Consider installing a pressure regulator or contacting a professional to adjust the water pressure in your home.
- Mineral buildup: Over time, mineral deposits can accumulate in the faucet, affecting its functionality. Use a vinegar solution or a specialized faucet cleaner to remove any mineral buildup and restore proper water flow.
- Leaky pipes: Sometimes, the cause of a dripping sink may not be the faucet itself but a leaky pipe underneath the sink. Inspect the pipes for any signs of leakage and contact a plumber if necessary to address the issue.
By addressing these other possible causes, you can determine if there are any additional repairs or adjustments needed to stop the sink from dripping. It’s important to be thorough in your inspection to ensure a long-lasting solution.
If you have completed all the previous steps and addressed any other possible causes, it’s time to move on to the final step: testing the faucet.
Step 8: Testing the faucet
After completing the necessary repairs or adjustments to fix a dripping sink, it’s crucial to test the faucet to ensure that the issue has been resolved. Follow these steps to test the faucet:
- Turn on the water supply to the sink.
- Slowly open the faucet and let the water flow for a few moments.
- Observe the faucet closely to check for any signs of dripping or leakage.
- Listen for any unusual sounds or vibrations coming from the faucet.
- Run both the hot and cold water to ensure that there are no issues with either temperature.
- Check underneath the sink for any signs of water leakage or moisture.
If you don’t notice any dripping, leakage, or unusual sounds during the testing process, congratulations! You have successfully fixed the dripping sink. Enjoy the satisfaction of a quiet and efficient faucet.
However, if you still notice any issues or the drip persists, it may be necessary to revisit the previous steps to ensure that all repairs were carried out correctly. You may also consider seeking professional assistance if you are unable to resolve the problem on your own.
Remember, regular maintenance and inspection of your faucet can help prevent future issues and prolong its lifespan. Wipe away any excess water, clean the faucet regularly, and address any minor leaks or drips promptly to avoid larger problems down the road.
With your newly acquired knowledge and skills, you can confidently address dripping sinks and enjoy a hassle-free plumbing experience.
Thank you for reading this comprehensive guide on how to stop a sink from dripping!
Read more: How To Stop Your Heels From Sinking In Grass
Conclusion
A dripping sink can be a frustrating and wasteful problem, but with the right knowledge and tools, you can easily fix it yourself. By following the step-by-step guide outlined in this article, you have learned how to stop a sink from dripping and eliminate that annoying sound.
We started by gathering the necessary tools, shutting off the water supply, and assessing the type of faucet. Then, we walked through the specific repair methods for different faucet types, including washer-type, cartridge-type, and ball-type faucets.
We also explored other possible causes for dripping, such as loose connections, worn-out seals, high water pressure, mineral buildup, and leaky pipes. By addressing these issues, you can ensure a thorough repair and prevent future problems.
Finally, we emphasized the importance of testing the faucet to confirm that your repairs have been successful. By running the water, listening for any abnormalities, and checking for leaks or drips, you can ensure a job well done.
Remember, regular maintenance and prompt attention to any plumbing issues will help keep your sink functioning properly and prevent costly water wastage.
With the knowledge and skills you have gained from this article, you can confidently tackle dripping sinks and enjoy the satisfaction of a well-functioning and leak-free plumbing system.
Thank you for reading, and we hope this guide has been helpful in your pursuit of fixing a dripping sink!
Frequently Asked Questions about How To Stop A Sink From Dripping
Was this page helpful?
At Storables.com, we guarantee accurate and reliable information. Our content, validated by Expert Board Contributors, is crafted following stringent Editorial Policies. We're committed to providing you with well-researched, expert-backed insights for all your informational needs.


0 thoughts on “How To Stop A Sink From Dripping”