Articles
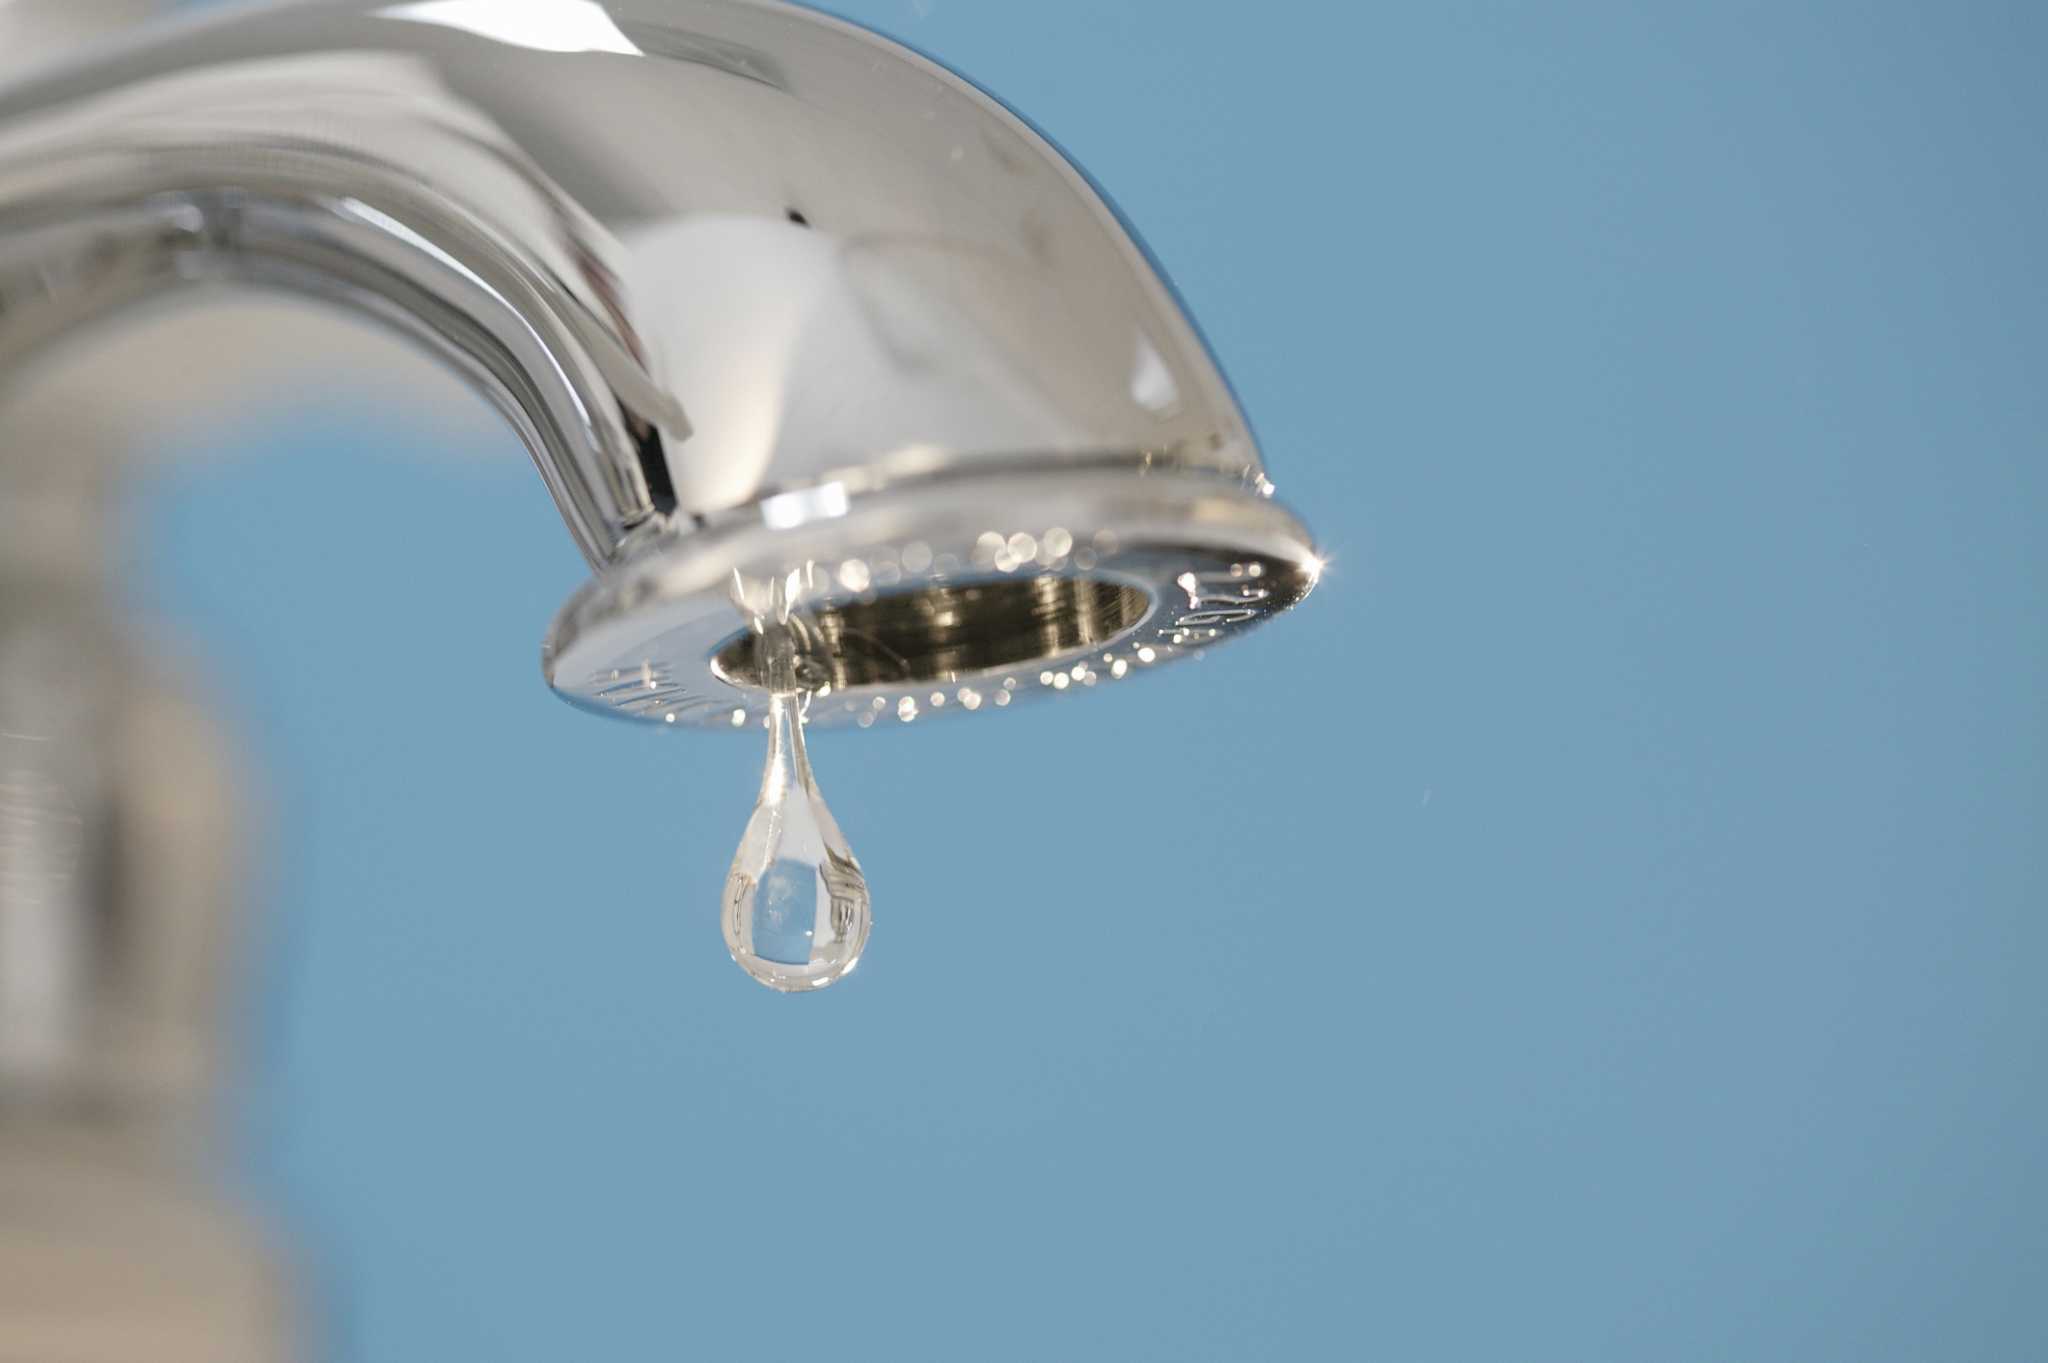
How Do You Stop A Dripping Faucet
Modified: March 1, 2024
Learn effective strategies to stop a dripping faucet in this informative article. Find practical solutions and tips to fix the problem and save water.
(Many of the links in this article redirect to a specific reviewed product. Your purchase of these products through affiliate links helps to generate commission for Storables.com, at no extra cost. Learn more)
Introduction
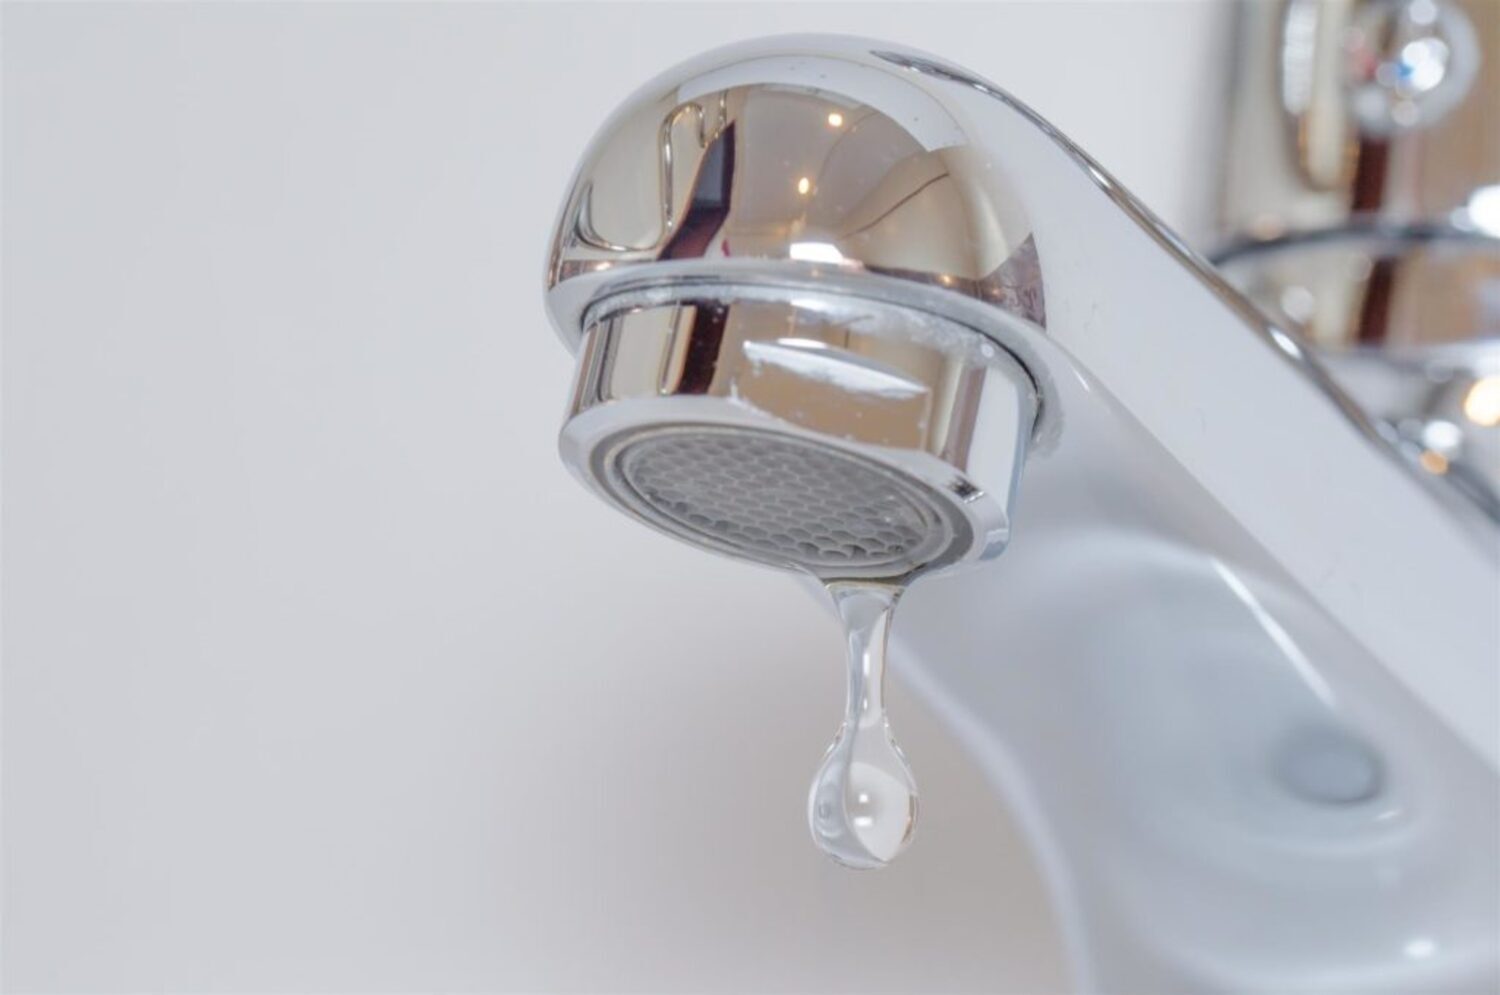
A dripping faucet can be a major annoyance in any household. Not only does it waste water, but the constant sound of the dripping can drive you to the brink of insanity. Fortunately, fixing a dripping faucet is a relatively simple task that you can do yourself, saving you money on a plumber’s visit.
In this article, we will guide you through the process of stopping a dripping faucet. You will learn the common causes of a dripping faucet, the tools and materials needed for the job, and a step-by-step guide on how to fix it. We will also explore alternative methods for fixing a dripping faucet if the traditional approach doesn’t work for you.
By the end of this article, you will have the knowledge and confidence to tackle a dripping faucet and restore peace and quiet to your home while saving water in the process.
Key Takeaways:
- Save money and restore peace at home by fixing a dripping faucet yourself. Understand the causes, gather tools, and follow the step-by-step guide for a successful DIY repair.
- If traditional methods fail, try alternative approaches like cleaning the aerator or adjusting water pressure before considering professional help or faucet replacement.
Read more: How Do You Fix A Dripping Faucet
Understanding the Causes of a Dripping Faucet
Before we delve into the process of fixing a dripping faucet, it’s important to understand the common causes behind this pesky problem. By identifying the root cause, you can better address the issue and ensure a successful fix.
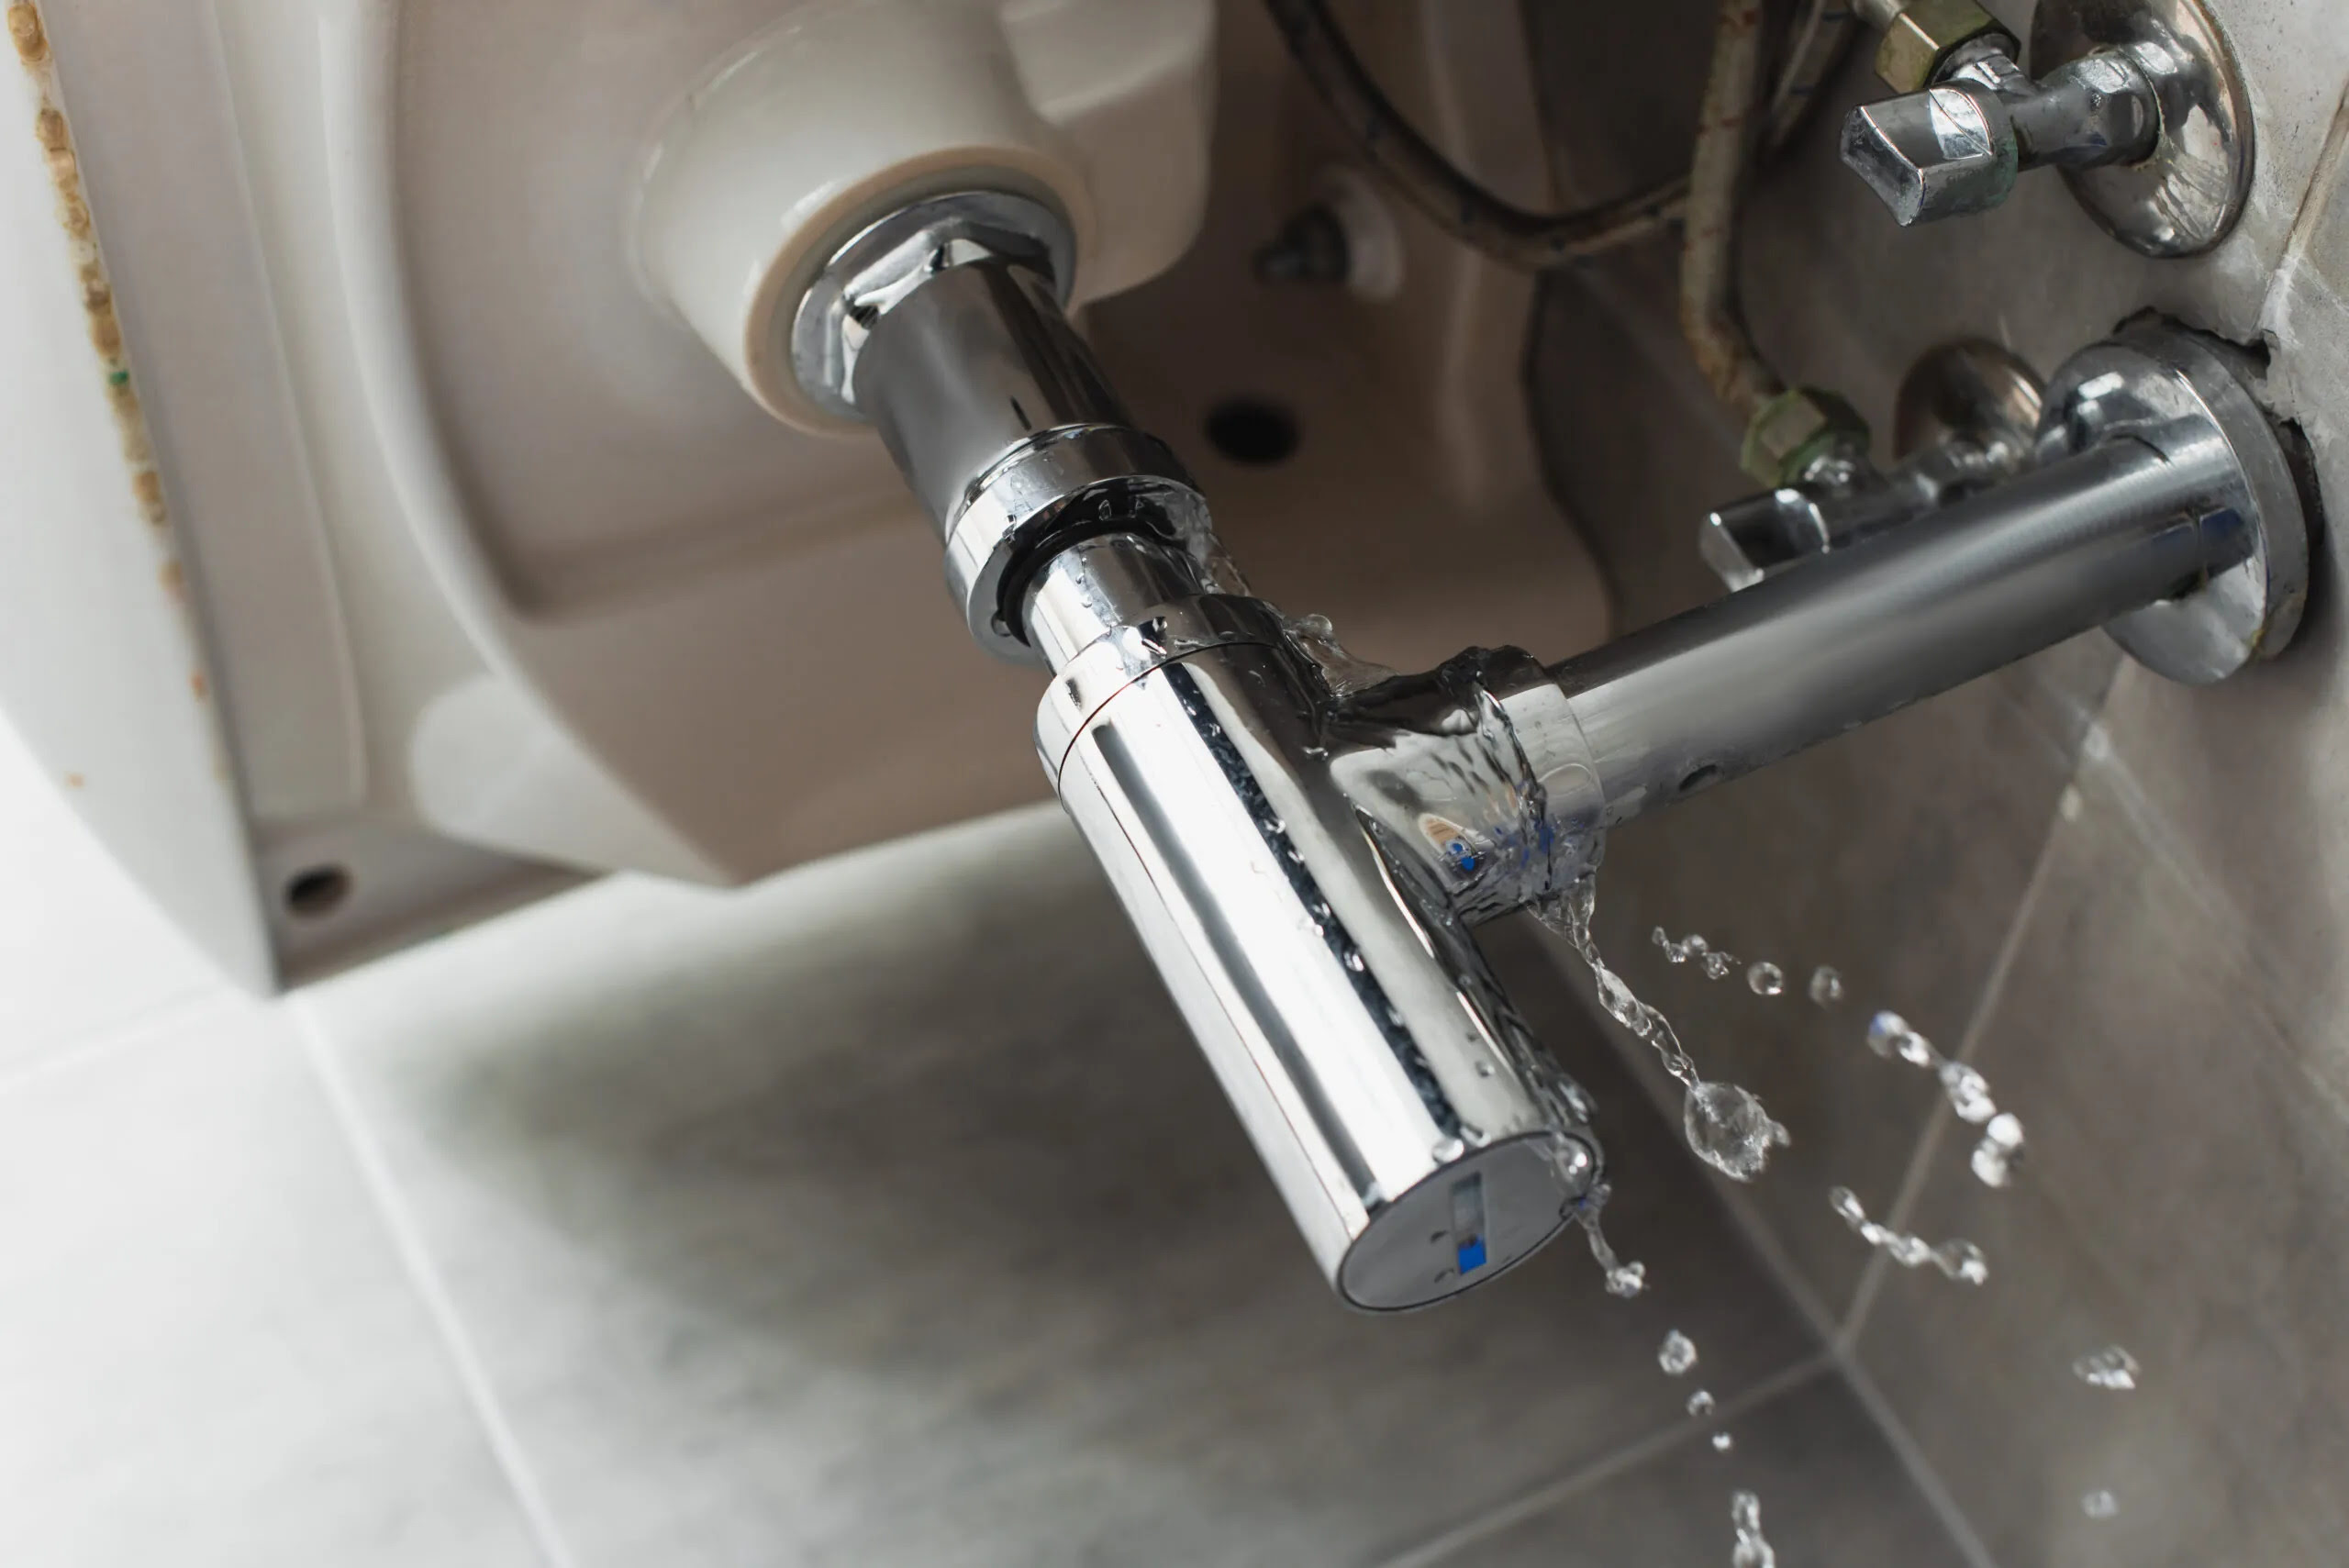
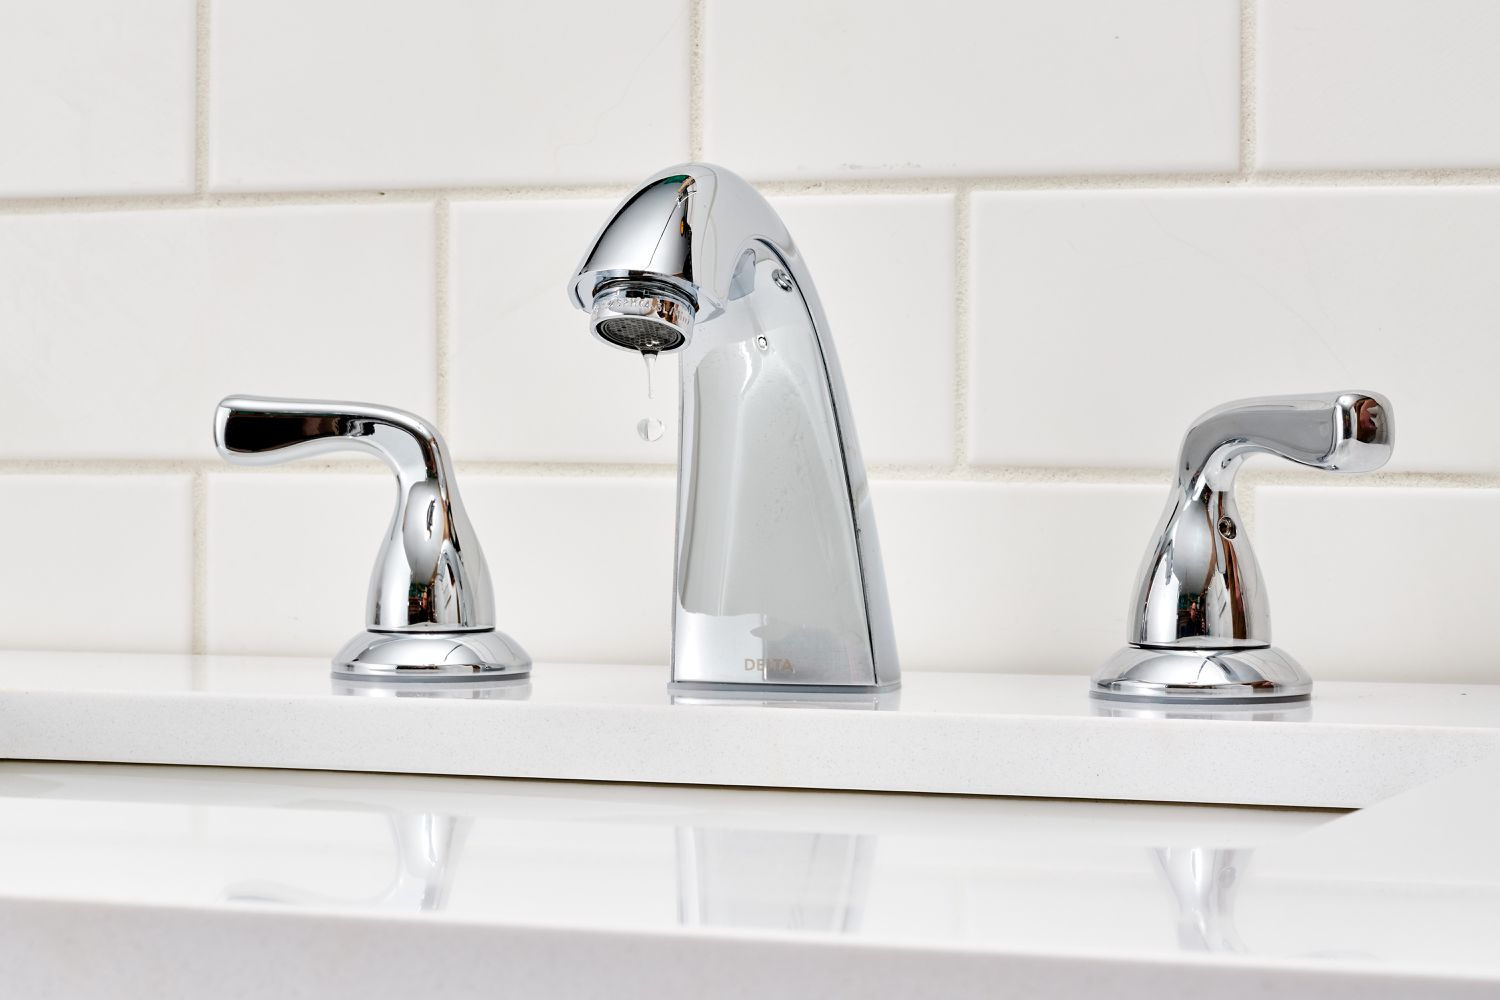
One of the most common causes of a dripping faucet is a worn-out or faulty washer. Inside the faucet, there is a rubber or plastic washer that forms a watertight seal when the handle is tightened. Over time, this washer can become worn, torn, or damaged, leading to leaks. Similarly, if the washer is not properly aligned or seated, it can cause water to leak out even when the faucet is tightly closed.
Another culprit behind a dripping faucet can be a faulty cartridge or valve stem. In some faucets, instead of a washer, a cartridge or valve stem controls the flow of water. If these components wear out, become corroded, or develop cracks, they can also lead to leaks.
Excessive water pressure is another cause of a dripping faucet. If the water pressure in your plumbing system is too high, it can put strain on the internal components of the faucet, causing them to wear out quicker. This can result in leaks and drips.
In some cases, a dripping faucet may be caused by a loose or worn-out O-ring. The O-ring is a small rubber ring that helps create a watertight seal around the base of the faucet handle. If the O-ring is loose or damaged, it can cause water to leak out.
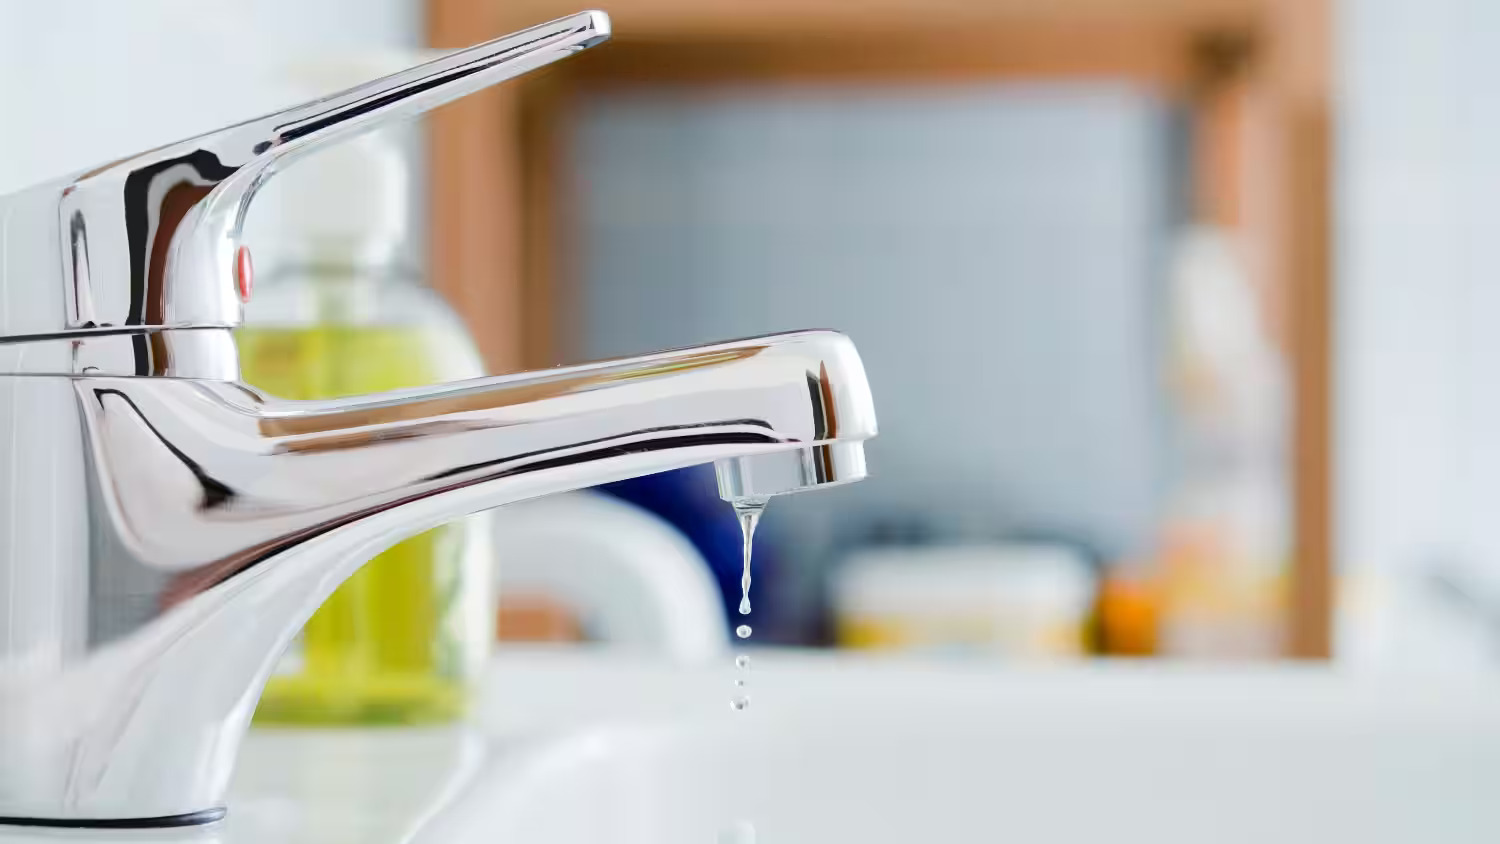
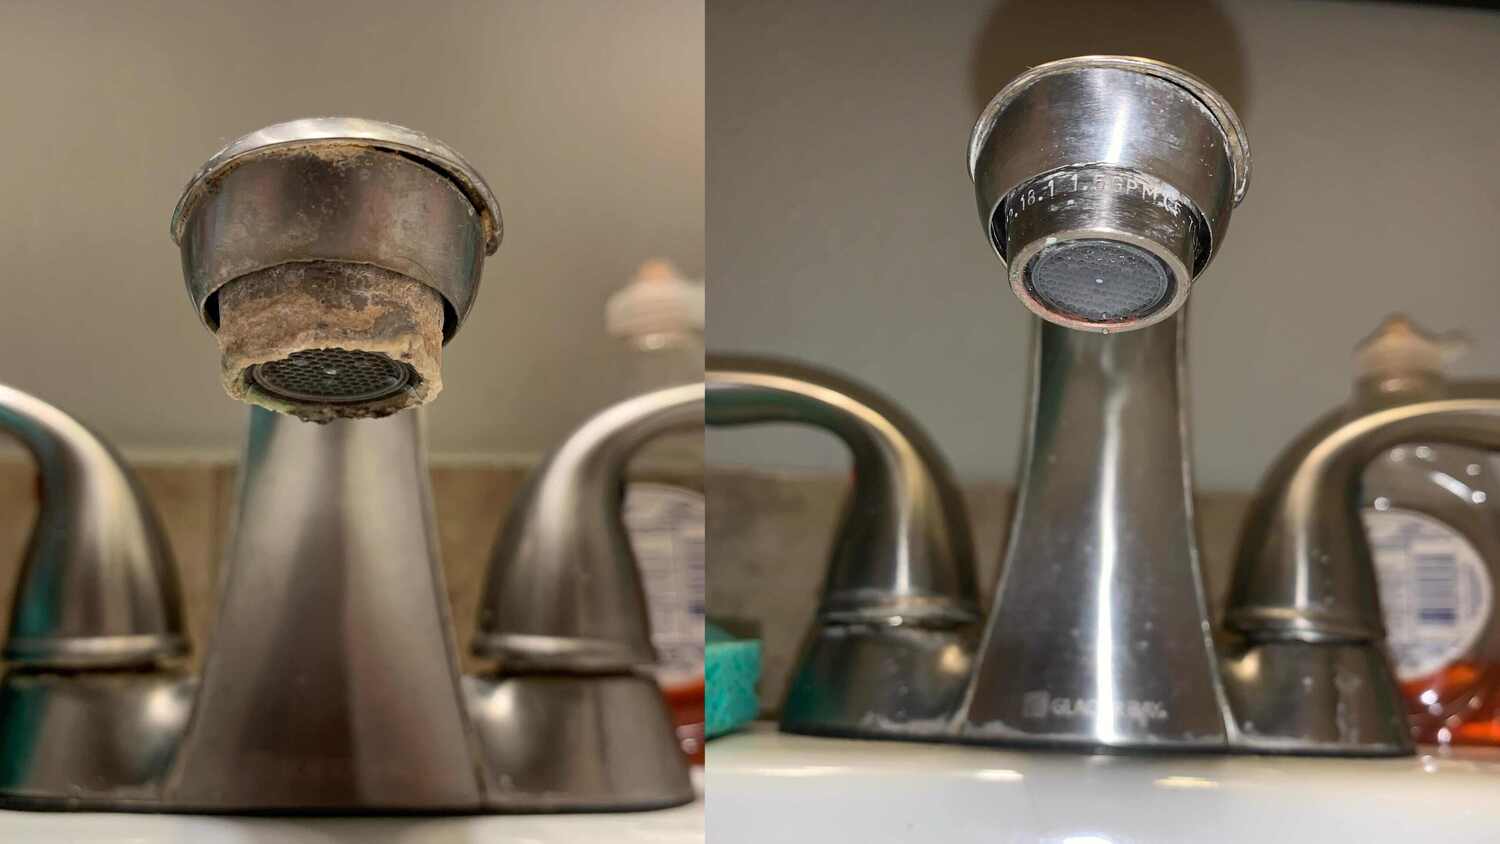
Lastly, mineral buildup and sediment can also contribute to a dripping faucet. When minerals in the water, such as calcium and magnesium, accumulate over time, they can create blockages and impair the proper functioning of the faucet, leading to leaks and drips.
Understanding these common causes of a dripping faucet will help you narrow down the problem and choose the appropriate method for fixing it. In the next section, we will discuss the tools and materials you will need to successfully stop a dripping faucet.
Tools and Materials Needed
Before you begin fixing a dripping faucet, it’s important to gather the necessary tools and materials. Having everything ready beforehand will make the process smoother and more efficient.
Here’s a list of the tools and materials you’ll need:
- Adjustable wrench
- Screwdriver (flathead or Phillips, depending on your faucet)
- Pliers
- New washers or cartridges (depending on your faucet type)
- Teflon tape
- Bucket or towel to catch any water
The adjustable wrench is essential for loosening and tightening the faucet components, while the screwdriver will be used to remove any screws or fasteners. Pliers may come in handy for removing stubborn parts or gripping small components.
When it comes to replacing the faulty parts of your faucet, you’ll need to have new washers or cartridges on hand. It’s important to choose the correct type and size that matches your specific faucet model. You can find these replacement parts at your local hardware store or online.
Teflon tape is a thin, white tape that is used to create a tight seal between threaded connections. It can help prevent leaks and ensure a watertight connection when reassembling the faucet.
Finally, be prepared to catch any water that may spill during the repair process. A bucket or towel can be placed under the sink to prevent water damage to the surrounding area.
By having these tools and materials ready, you’ll be fully equipped to fix your dripping faucet efficiently and effectively. In the next section, we will guide you through the step-by-step process of stopping a dripping faucet.
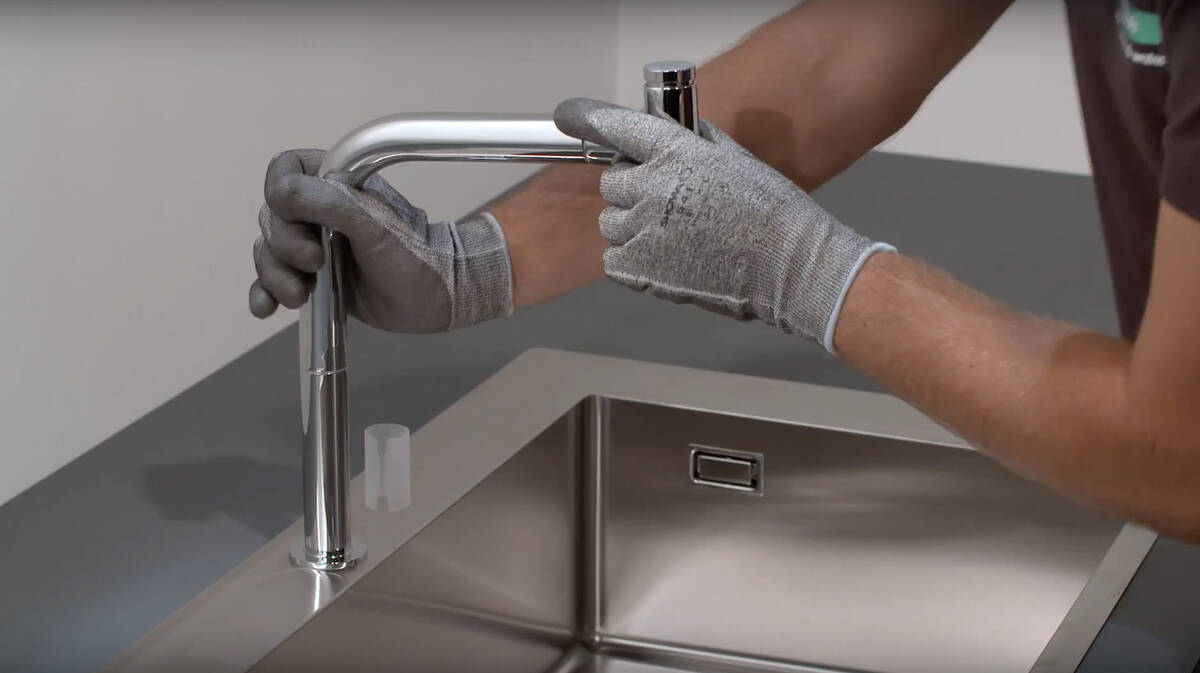
Step-by-Step Guide to Stop a Dripping Faucet
Now that you have gathered the necessary tools and materials, it’s time to dive into the step-by-step process of stopping a dripping faucet. Follow these instructions carefully to successfully fix the problem:
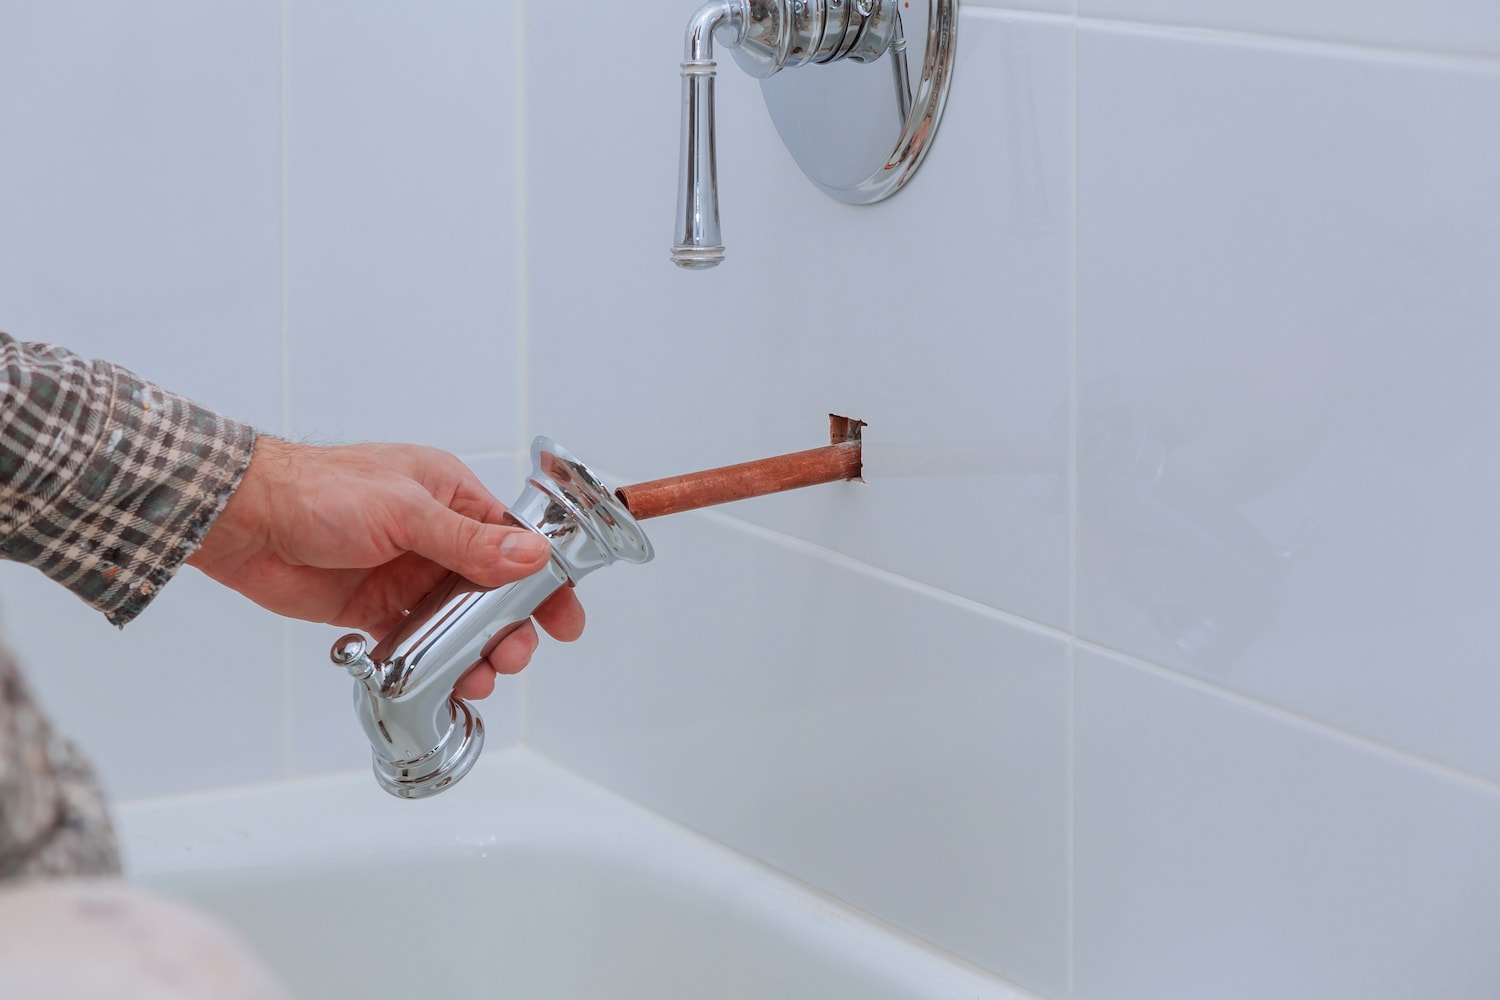
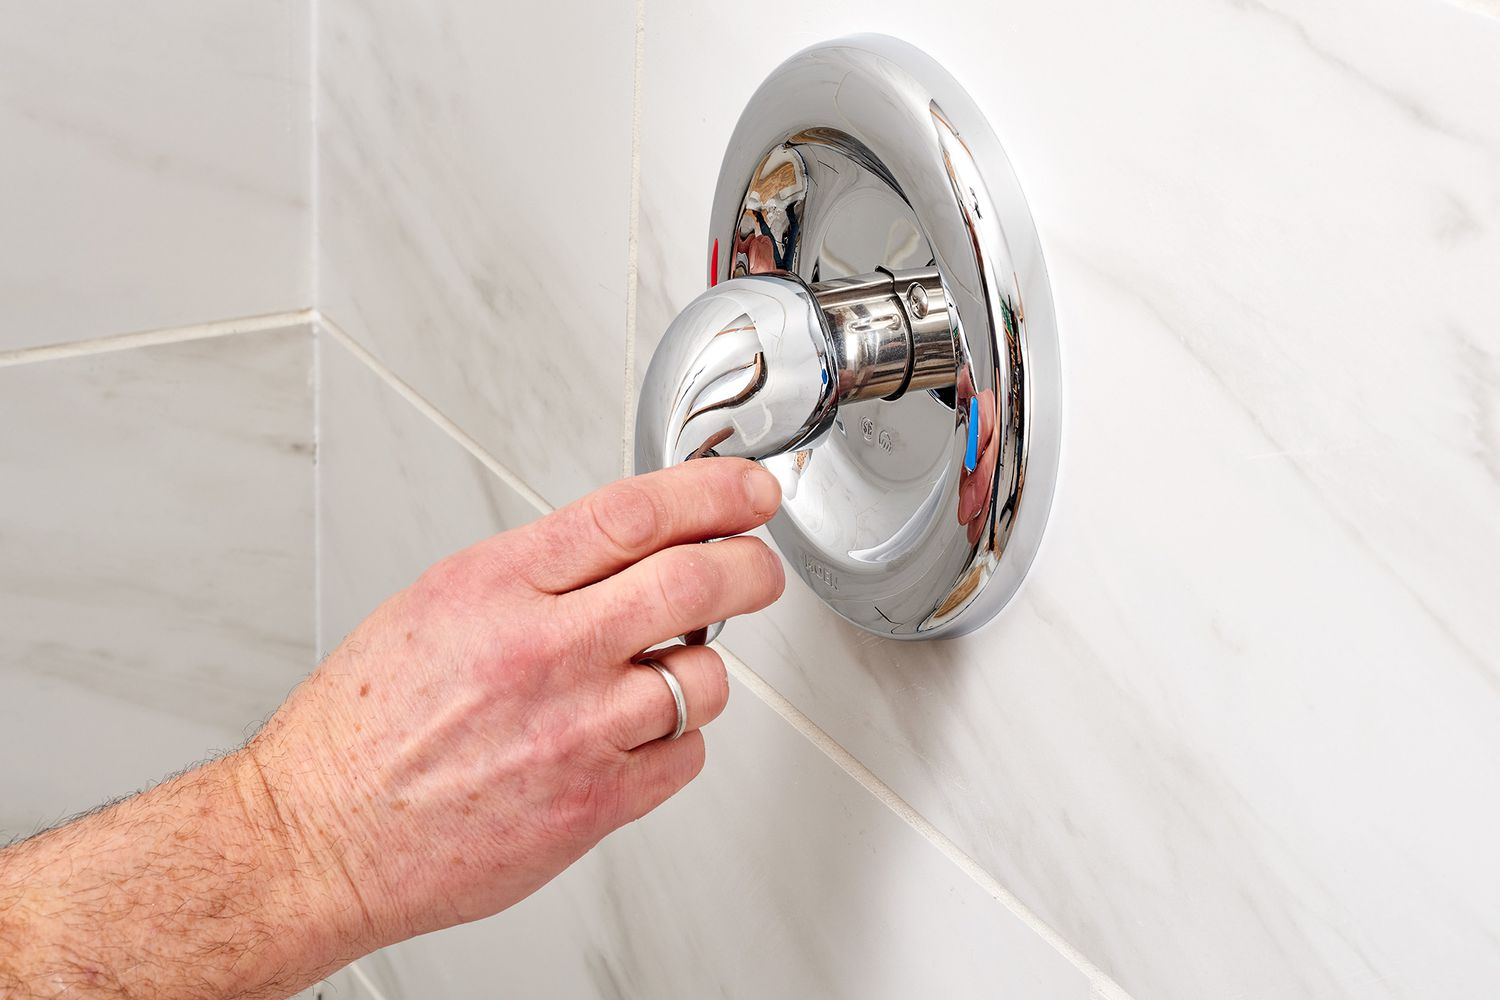
- Turn off the water supply: Before you begin any work on the faucet, it’s important to turn off the water supply. Locate the shut-off valves under the sink and turn them clockwise until the water flow stops. If you cannot find the shut-off valves, you may need to turn off the main water supply to your home.
- Release any pressure: To ensure no water is left in the pipes, open the faucet by turning the handle to the “on” position.
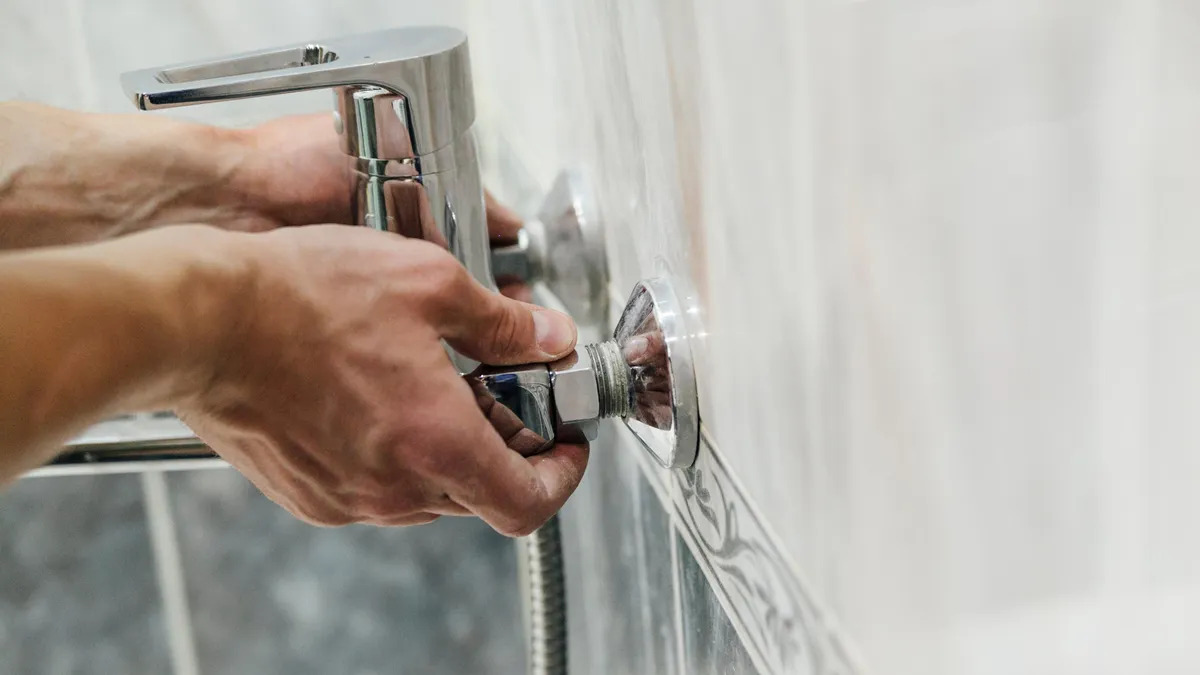
- Dismantle the faucet handle: Depending on your faucet type, you may need to remove a screw or cap to access the handle. Use a screwdriver or pliers to carefully remove any fasteners or decorative caps.
- Remove the internal components: Once the handle is exposed, you can remove the internal components. This may include a decorative cover, a retaining nut, a cartridge, or a stem. Follow the specific instructions for your faucet model to safely remove these parts.
- Inspect and replace faulty parts: Examine the removed parts for any signs of wear, damage, or corrosion. If you find a worn-out washer, a faulty cartridge, or any other faulty component, replace it with a new one. Make sure to choose the correct type and size that matches your faucet model.
- Apply Teflon tape: If necessary, wrap the threaded connections with Teflon tape. This will help create a secure and watertight seal when reassembling the faucet.
- Reassemble the faucet: Carefully reassemble the faucet by following the reverse order of the disassembly. Make sure each component fits snugly and securely. Use your adjustable wrench and screwdriver to tighten any fasteners.
- Turn on the water supply: Once everything is reassembled, turn on the water supply by turning the shut-off valves counterclockwise. Slowly open the faucet to let the water flow and check for any leaks or drips.
- Test and make adjustments: Test the faucet by turning it on and off a few times to ensure it is working properly. If you notice any leaks, tighten the connections or replace any faulty parts as needed.
- Clean up and enjoy your drip-free faucet: Finally, clean up any tools, materials, or debris from the repair process. Now you can enjoy the satisfaction of a successfully fixed, drip-free faucet!
By following these step-by-step instructions, you will be able to stop a dripping faucet and restore functionality to your plumbing fixtures. However, in some cases, alternative methods may be necessary if the traditional approach does not work. Let’s explore some of these alternatives in the next section.
Alternative Methods for Fixing a Dripping Faucet
If the traditional step-by-step guide mentioned earlier doesn’t solve your dripping faucet issue, don’t worry. There are alternative methods you can try before calling a professional plumber. Let’s explore some of these alternative methods:
1. Cleaning the Faucet Aerator:
In some cases, a clogged or dirty faucet aerator can lead to a dripping faucet. The aerator is a small screen located at the end of the faucet. Mineral deposits and debris can accumulate in this area, obstructing the flow of water and causing leaks. Try removing the aerator, cleaning it with mild soap and a brush, and then reinstalling it. This simple maintenance step may resolve the dripping issue.
2. Adjusting the Water Pressure:
If excessive water pressure is the culprit behind your dripping faucet, you can adjust the water pressure regulator to mitigate the problem. Locate the water pressure regulator, usually found near the main water supply valve, and use a screwdriver to adjust the pressure setting according to the manufacturer’s instructions. Lowering the water pressure can help alleviate strain on the faucet and potentially stop the dripping.
3. Replacing the Entire Faucet:
If all else fails and your faucet continues to drip, you may need to consider replacing the entire faucet. Over time, faucets can become worn out, corroded, or damaged beyond repair. Upgrading to a new faucet can not only fix the dripping issue but also give your bathroom or kitchen a fresh, updated look. Consider consulting with a professional plumber or doing research to find a suitable replacement faucet.
4. Seeking Professional Help:
If you have attempted various methods and the dripping faucet persists, it may be time to seek the help of a professional plumber. They have the expertise and knowledge to diagnose and resolve complex faucet issues. While it may involve an additional cost, a professional plumber can ensure a long-term and effective solution to your dripping faucet problem.
Remember, alternative methods should be tried after the initial step-by-step guide. If you are uncertain or uncomfortable with any of the methods, it is always best to consult a professional to avoid causing further damage.
Now that you are armed with these alternative methods, you can tackle a dripping faucet from various angles. Remember to be patient and persistent, as fixing a dripping faucet requires some trial and error. With determination, you’ll be able to resolve the issue and enjoy a fully functional and leak-free faucet.
If your faucet is dripping, try tightening the handle or replacing the worn-out washer inside. If the problem persists, consider calling a plumber to fix any underlying issues.
Read more: How To Drip Faucet
Conclusion
A dripping faucet may seem like a small inconvenience, but it can waste water, drive up your utility bills, and disrupt your peace at home. Fortunately, with some basic knowledge and a few simple tools, you can easily fix a dripping faucet yourself. By following the step-by-step guide provided in this article, you can identify the causes of the problem, gather the required tools and materials, and successfully stop the faucet from dripping.
Throughout the article, we’ve discussed the common causes of a dripping faucet, such as faulty washers, cartridges, or O-rings, as well as mineral buildup and excessive water pressure. Understanding these causes allows you to accurately diagnose the issue and choose the appropriate method for fixing it.
We’ve also covered the tools and materials needed for the job, including an adjustable wrench, screwdriver, pliers, new washers or cartridges, Teflon tape, and a bucket or towel to catch any water. Having these items ready beforehand ensures a smooth and efficient repair process.
The step-by-step guide provided detailed instructions on how to stop a dripping faucet, from turning off the water supply to reassembling the faucet and testing for leaks. Following these steps carefully will help you successfully fix your dripping faucet and restore functionality to your plumbing fixtures.
In case the traditional approach doesn’t work, we’ve explored alternative methods, such as cleaning the faucet aerator, adjusting the water pressure, or even considering replacing the entire faucet. These alternatives provide additional options to tackle the problem before seeking professional assistance.
Remember, while fixing a dripping faucet can be a DIY task, if you are unsure or uncomfortable with any step, it’s always best to seek the help of a professional plumber. They can provide expert guidance and ensure a long-term solution.
By taking the necessary steps to fix a dripping faucet, you not only save water and money but also bring peace and quiet back to your home. So don’t delay any longer, gather your tools, and get ready to put an end to that annoying drip once and for all!
Frequently Asked Questions about How Do You Stop A Dripping Faucet
Was this page helpful?
At Storables.com, we guarantee accurate and reliable information. Our content, validated by Expert Board Contributors, is crafted following stringent Editorial Policies. We're committed to providing you with well-researched, expert-backed insights for all your informational needs.
0 thoughts on “How Do You Stop A Dripping Faucet”