Home>Articles>How To Take The Water Saver Out Of A Waterpik Showerhead
Articles
How To Take The Water Saver Out Of A Waterpik Showerhead
Modified: March 1, 2024
Learn how to easily remove the water saver from your Waterpik showerhead with our detailed step-by-step articles. Increase water flow for a more invigorating shower experience.
(Many of the links in this article redirect to a specific reviewed product. Your purchase of these products through affiliate links helps to generate commission for Storables.com, at no extra cost. Learn more)
Introduction
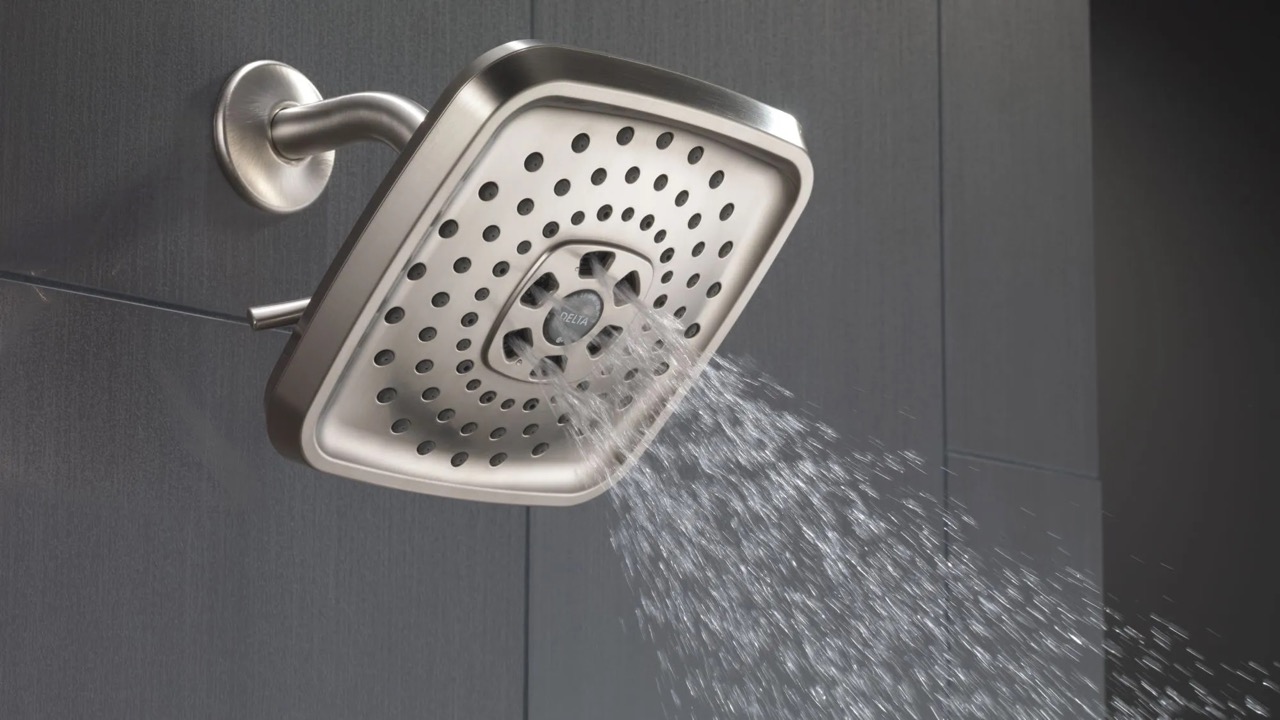
Are you tired of weak water pressure in your shower? Do you want to increase the water flow and enjoy a more invigorating shower experience? One simple solution is to remove the water saver from your Waterpik showerhead.
Waterpik showerheads are known for their quality and innovative features, including water-saving technology. While this feature is beneficial for conserving water and reducing utility bills, some users prefer a stronger water flow. Fortunately, removing the water saver is a straightforward process that can be done at home with basic tools.
In this article, we will guide you through the step-by-step process of taking the water saver out of a Waterpik showerhead. By following these simple instructions, you’ll be on your way to enjoying a more powerful and refreshing shower experience.
Key Takeaways:
- Easily enhance your shower experience by removing the water saver from your Waterpik showerhead. Follow simple steps, gather tools, and enjoy a more invigorating water flow without the need for professional assistance.
- Take control of your shower’s water pressure by removing the water saver from your Waterpik showerhead. Enjoy a revitalizing shower experience with increased water flow, all achieved through a straightforward DIY process.
Read more: How To Disassemble Waterpik Showerhead
Step 1: Gather the necessary tools
Before you begin, make sure you have the following tools handy:
- Adjustable wrench
- Pipe tape
- Soft cloth or towel
The adjustable wrench will be used to loosen and tighten the showerhead, while the pipe tape will help ensure a secure and leak-free connection when you reassemble the showerhead. The soft cloth or towel will come in handy for protecting the finish of the showerhead during the removal process.
Once you have these tools ready, you’re all set to move on to the next step.
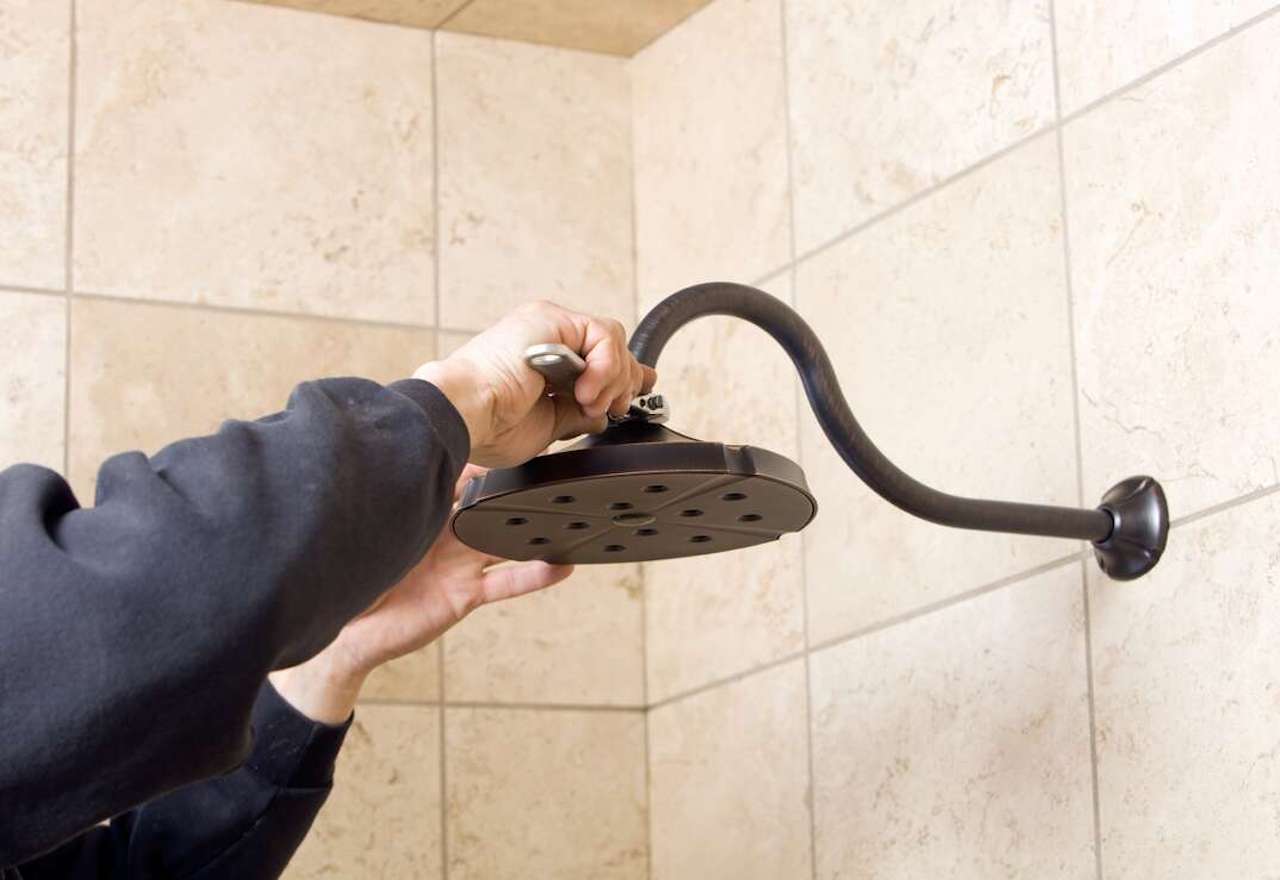
Step 2: Remove the showerhead
Now that you have gathered the necessary tools, it’s time to remove the showerhead from the shower arm. Follow these steps:
- Locate the shower arm protruding from the wall.
- Using the adjustable wrench, grip the base of the showerhead where it connects to the shower arm.
- Turn the wrench counterclockwise to loosen the showerhead.
- Once the showerhead is loose, continue unscrewing it by hand until it is completely detached from the shower arm.
It’s important to be gentle while removing the showerhead to avoid damaging the shower arm or the showerhead itself. If the showerhead is stuck or difficult to remove, you can try using a bit of WD-40 or similar lubricant to loosen it. Remember to protect the showerhead’s finish by wrapping it in a soft cloth or towel before applying any lubricant.
With the showerhead now removed, you can proceed to the next step of removing the water saver.
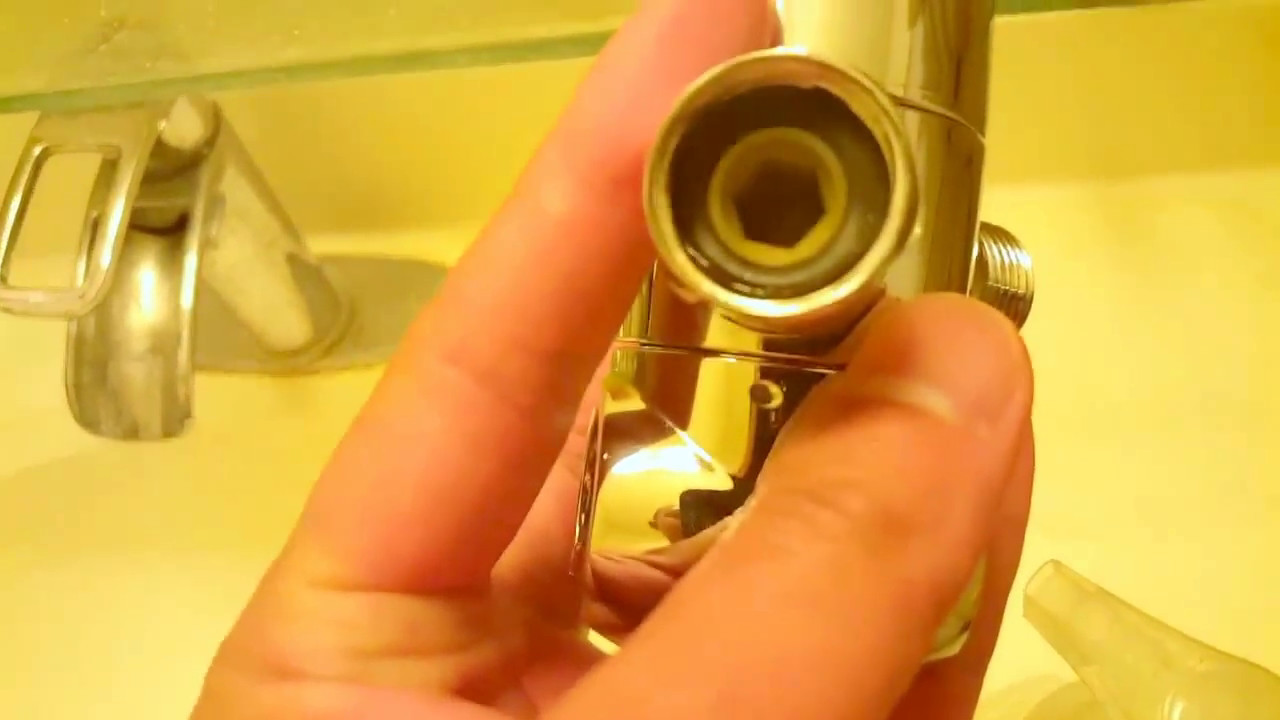
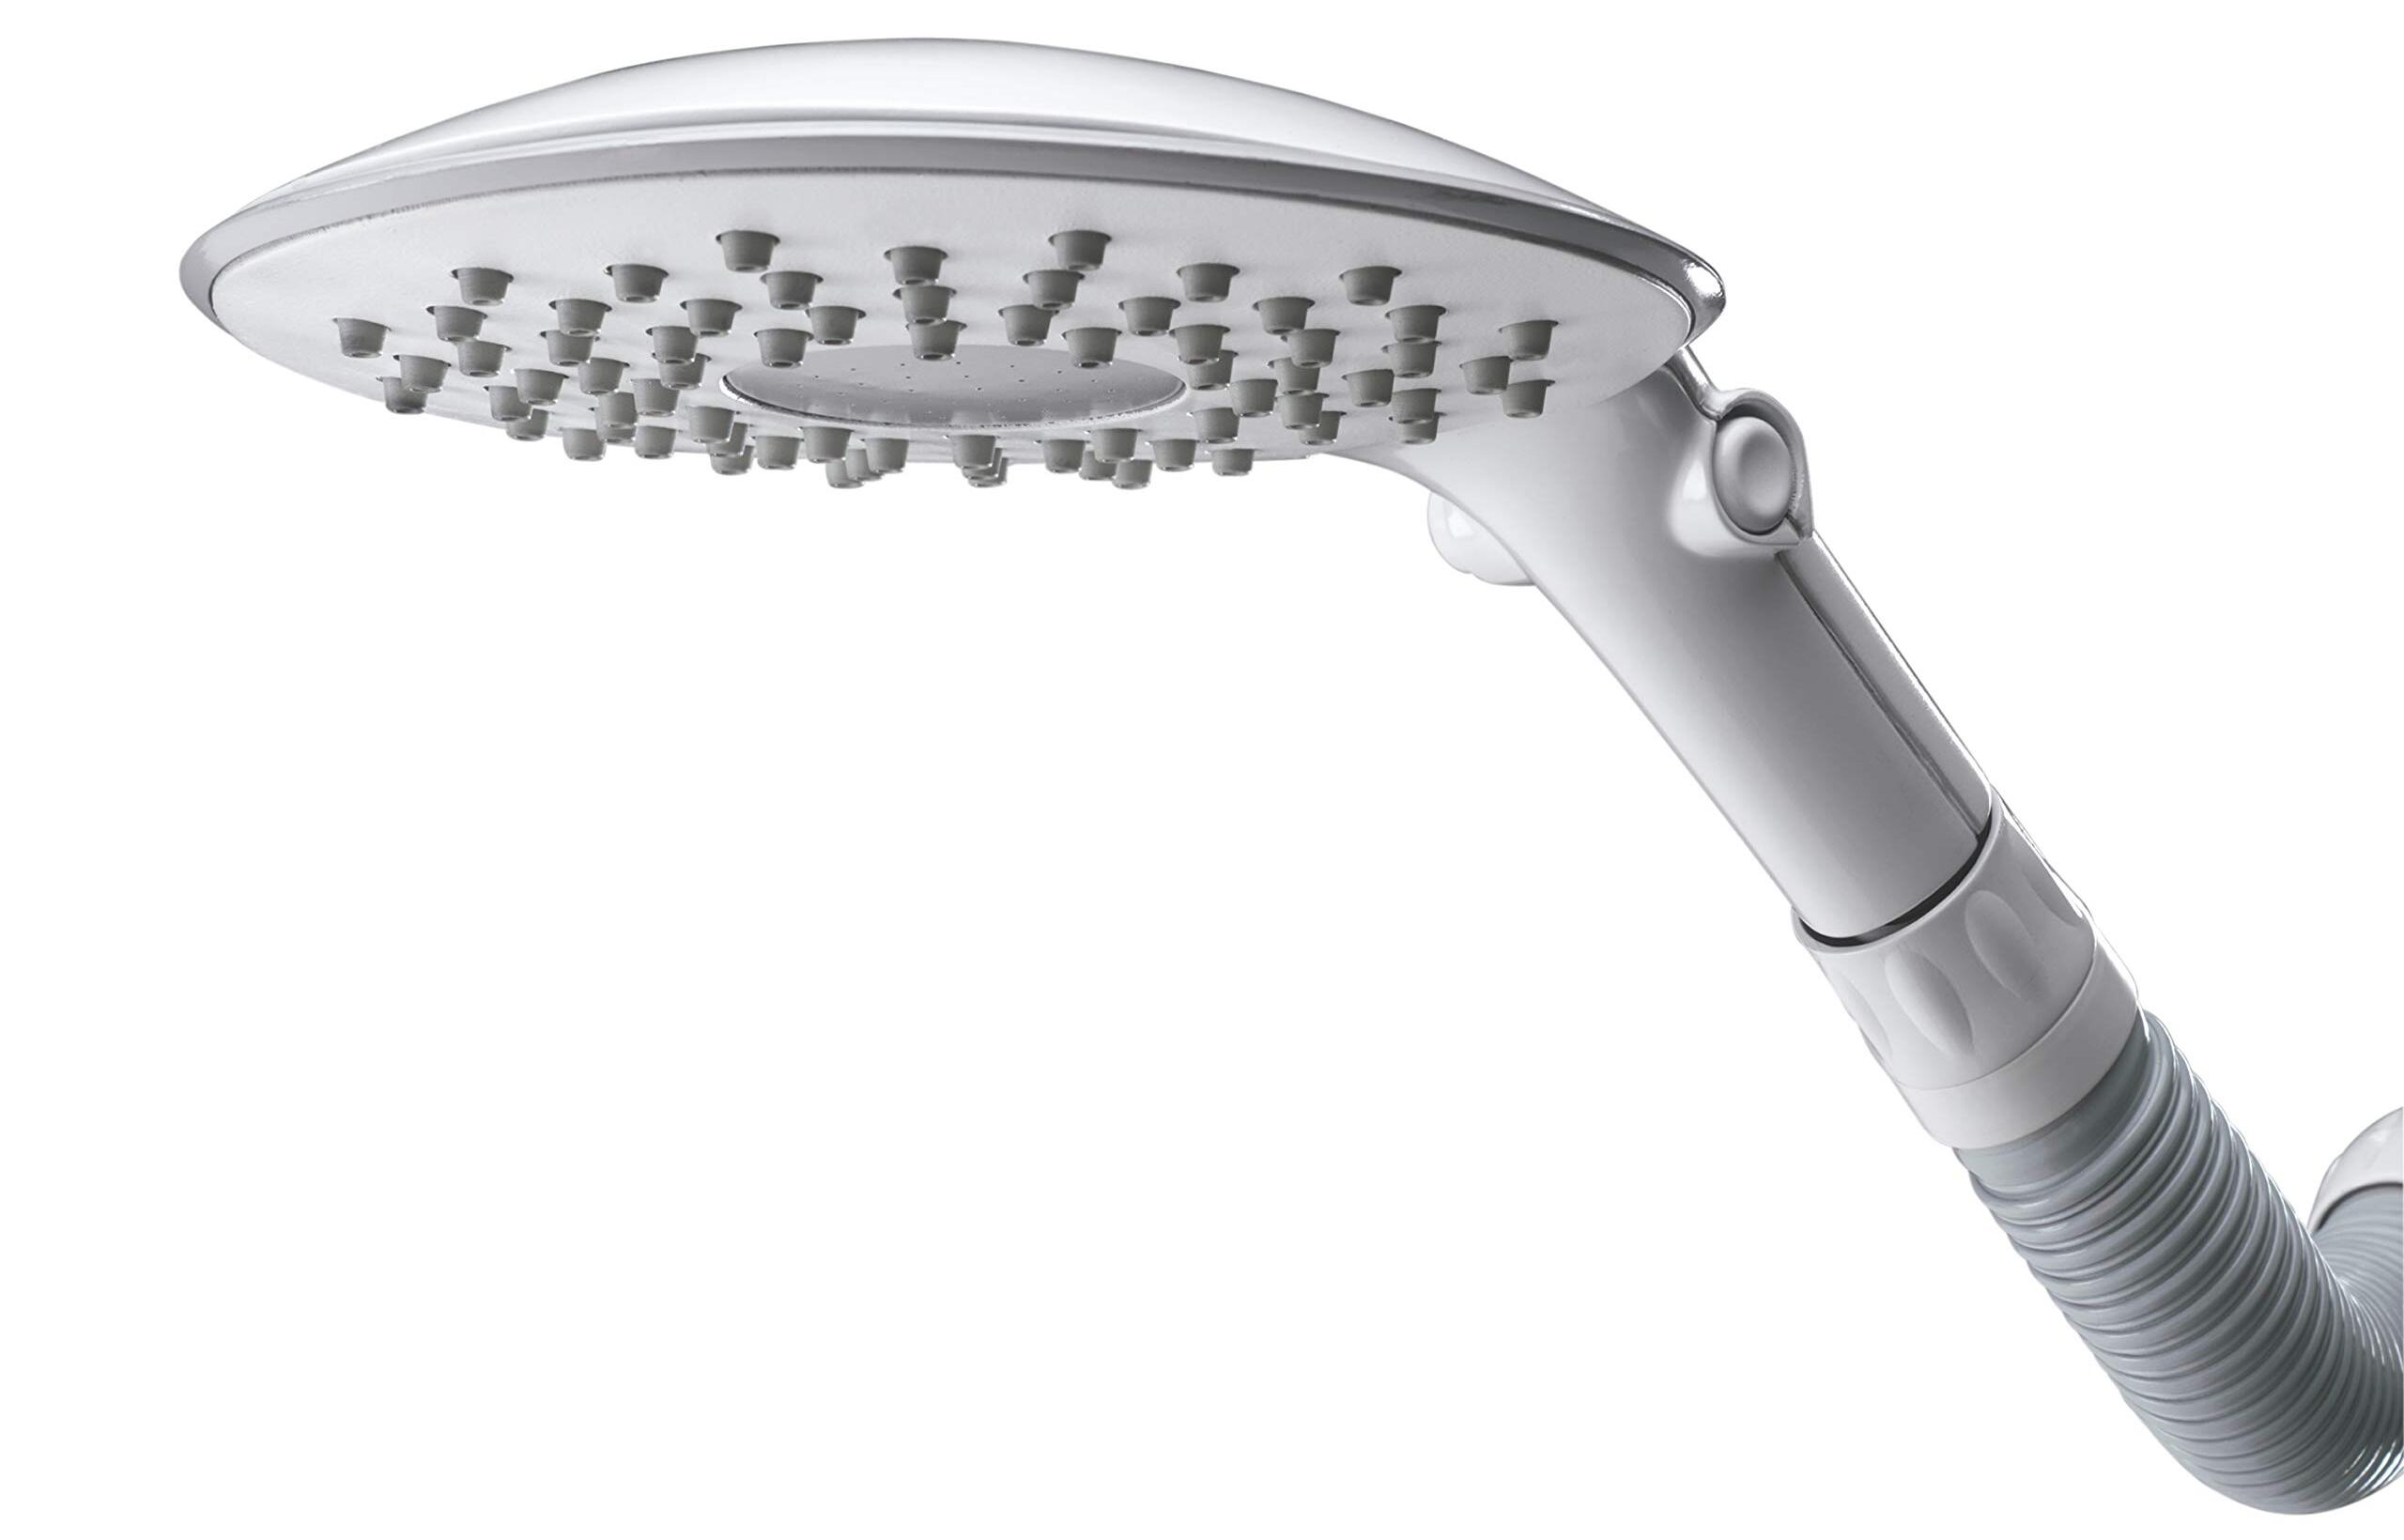
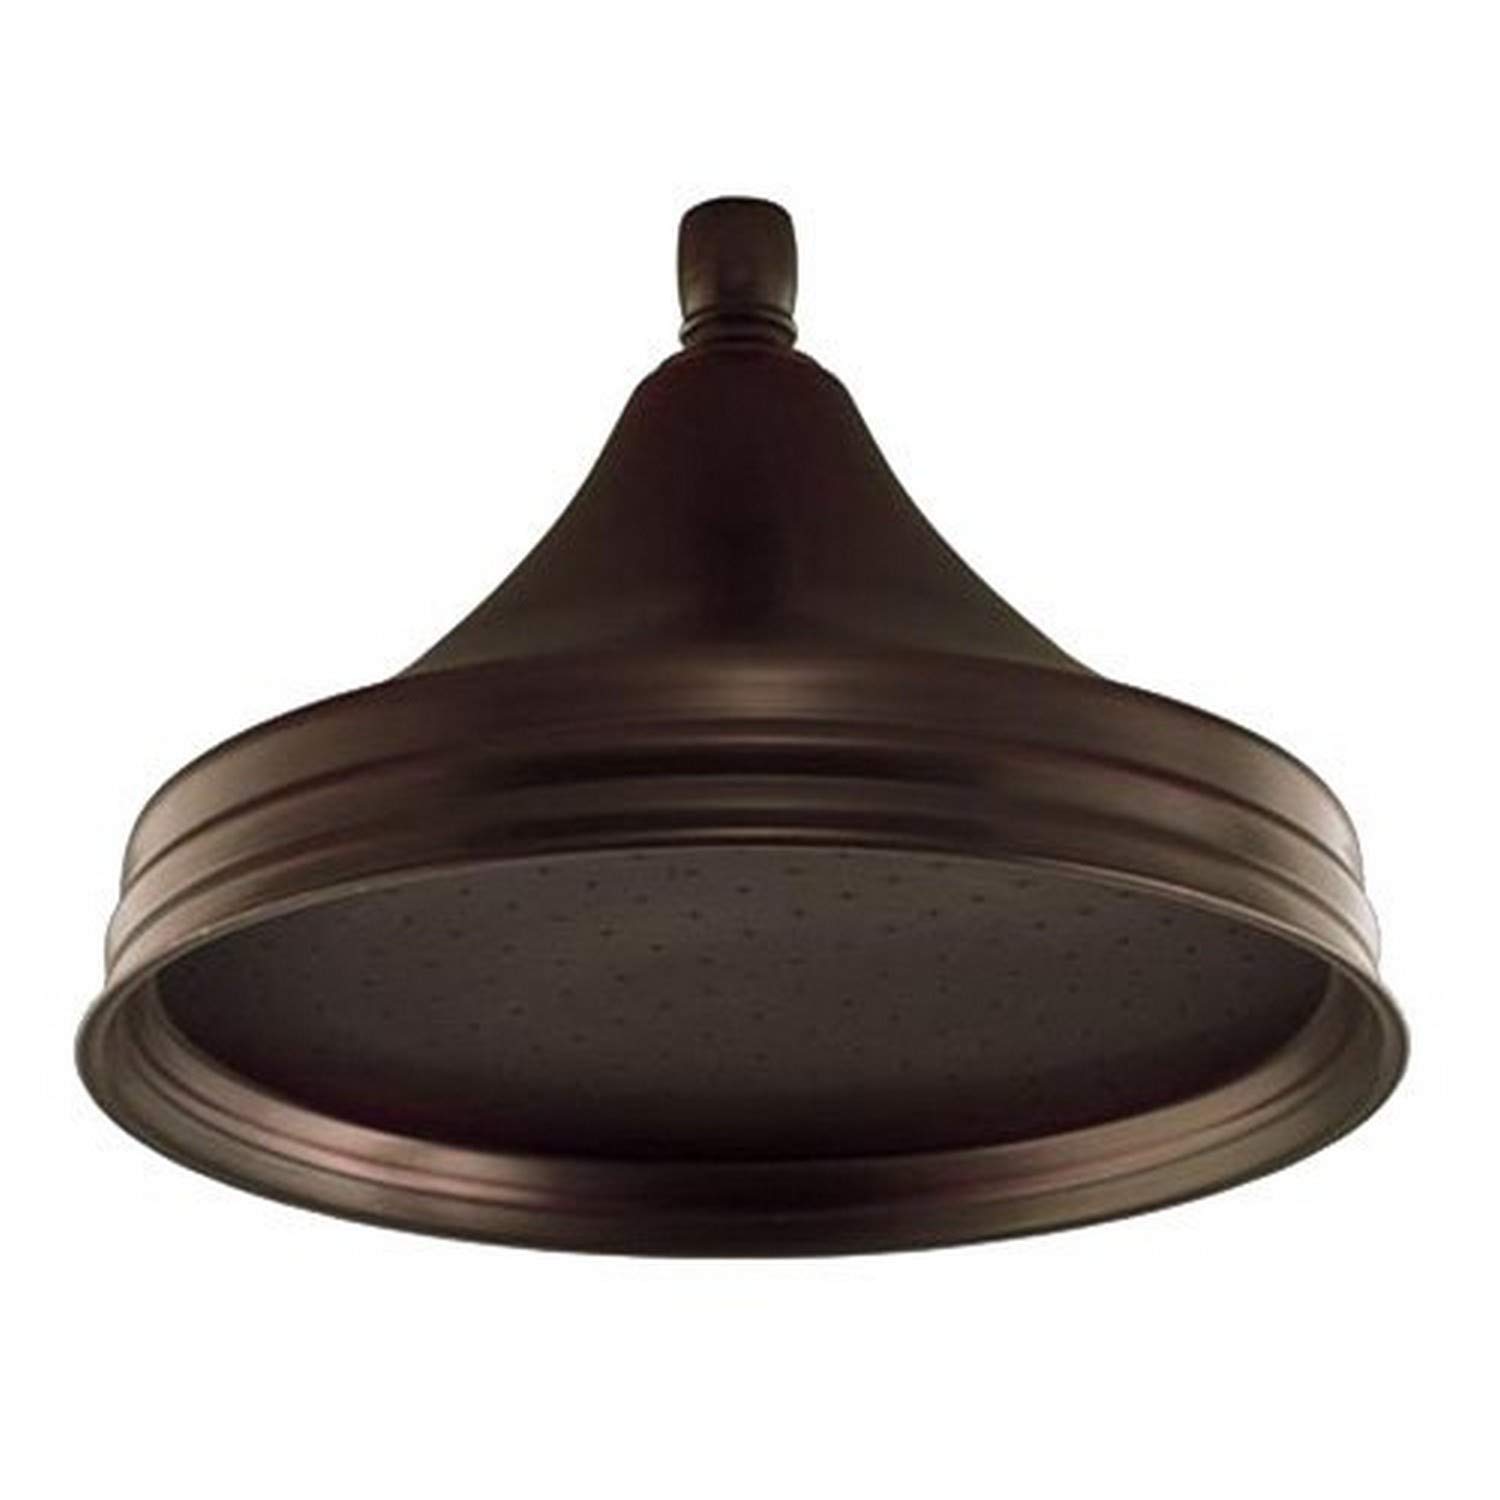
Step 3: Locate the water saver
Now that you have removed the showerhead, it’s time to locate the water saver. The water saver is a small disk or piece located inside the showerhead that restricts the water flow to conserve water. Follow these steps to find the water saver:
- Inspect the inner part of the showerhead where the water comes out.
- You may need to use a flashlight to get a clear view inside.
- Look for a small plastic or rubber piece that obstructs the water flow.
- This is the water saver that you are looking for.
Some showerheads have a visible water saver that is easily accessible, while others may have the water saver hidden behind a removable plate or cover. If you cannot locate the water saver or are unsure whether your showerhead has one, refer to the manufacturer’s manual or contact customer support for assistance.
Once you have found the water saver, you can proceed to the next step of removing it.
To remove the water saver from a Waterpik showerhead, unscrew the showerhead from the pipe, then use pliers to gently remove the water saver from the inside of the showerhead. Be careful not to damage the showerhead during this process.
Step 4: Remove the water saver
Now that you have located the water saver inside the showerhead, it’s time to remove it. Follow these steps to take out the water saver:
- Using a pair of needle-nose pliers or your fingers, grip the water saver firmly.
- Apply gentle pressure and twist it counterclockwise to unscrew and remove it.
- Be careful not to damage the surrounding components or threads as you remove the water saver.
If the water saver is tightly secured or difficult to remove, you can try using a small amount of lubricant such as WD-40 to loosen it. Apply the lubricant and allow it to penetrate for a few minutes before attempting to remove the water saver again.
Once the water saver is successfully removed, you can proceed to the next step of reassembling the showerhead.
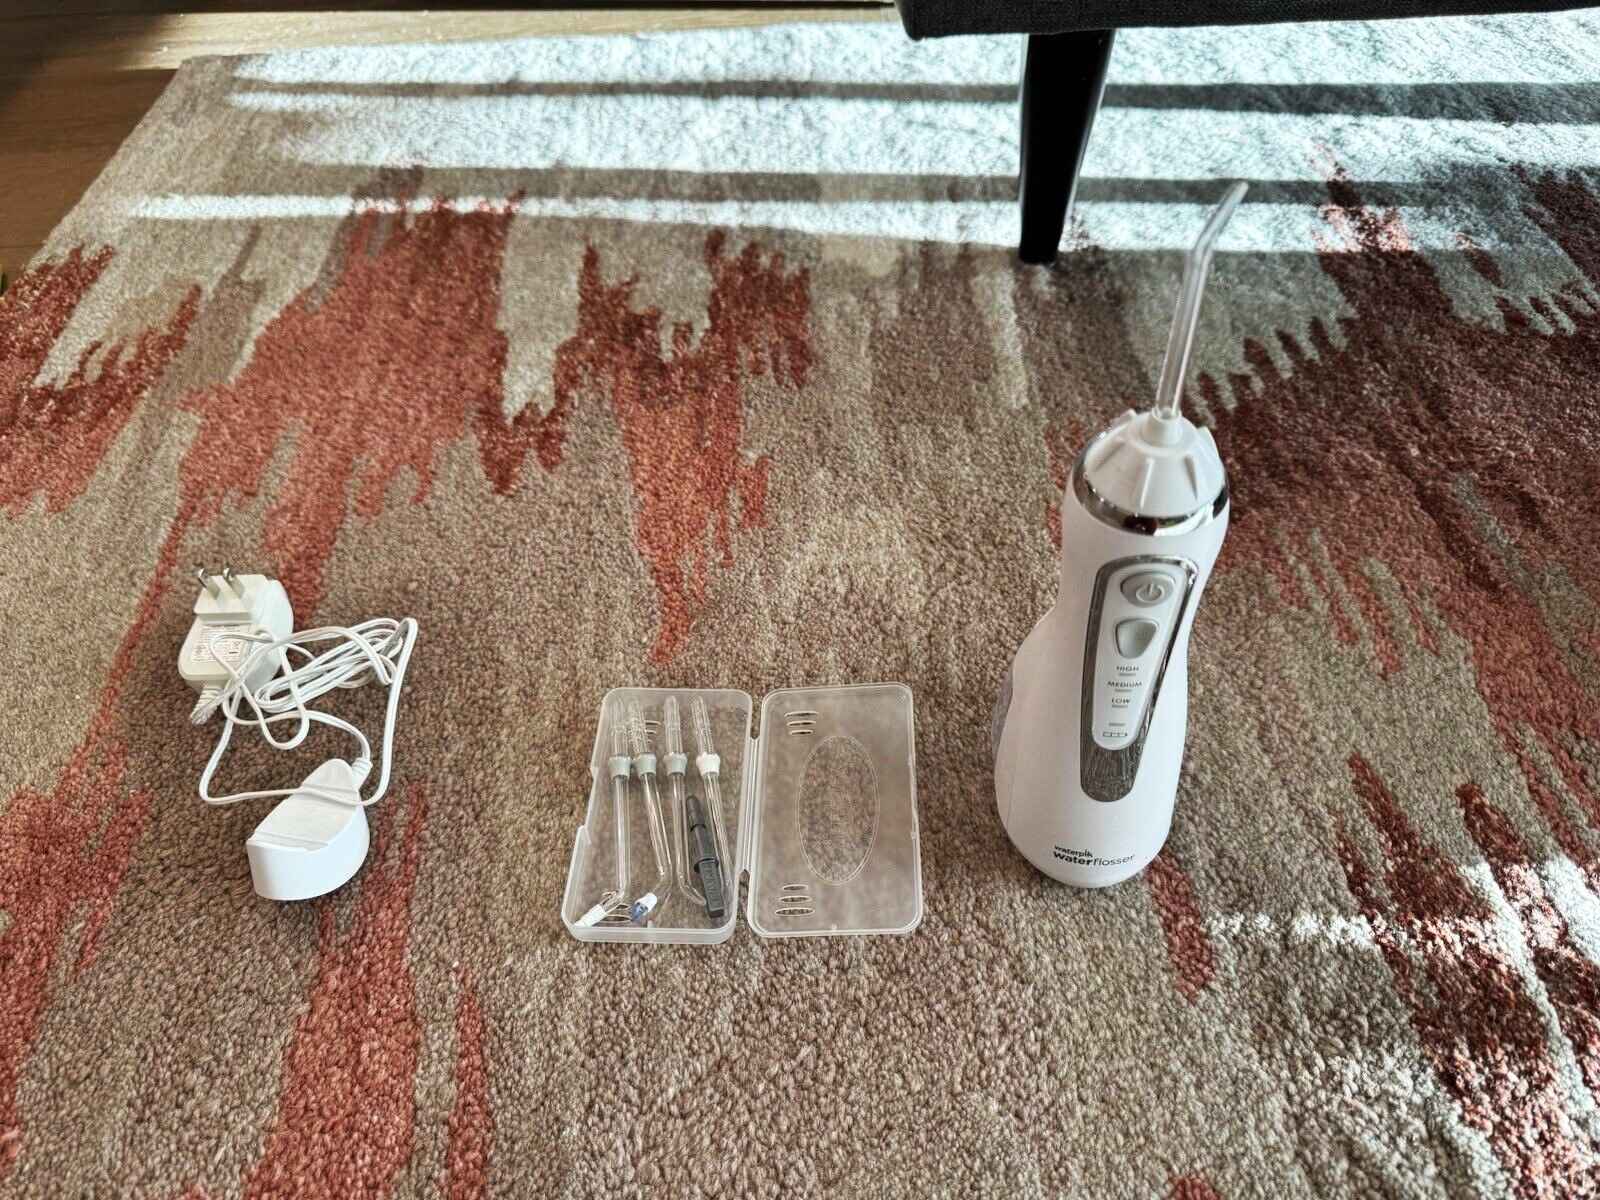
Read more: How To Take Apart A Waterpik Water Flosser
Step 5: Reassemble the showerhead
Now that you have removed the water saver, it’s time to reassemble the showerhead. Follow these steps to put everything back together:
- Take the showerhead and inspect the threads at the base.
- Clean any debris or old pipe tape from the threads using a soft cloth or brush.
- Wrap a few layers of fresh pipe tape around the threads in a clockwise direction.
- Ensure that the pipe tape covers the entire threaded portion of the showerhead.
- Position the showerhead on the shower arm and hand-tighten it in a clockwise direction.
- Use the adjustable wrench to give the showerhead a final snug turn, being careful not to overtighten.
It’s important to make sure the showerhead is securely attached to prevent any leaks once the water is turned on. The pipe tape helps create a tight and watertight seal between the showerhead and the shower arm.
Once you have reassembled the showerhead, you’re ready for the final step of testing the water flow.
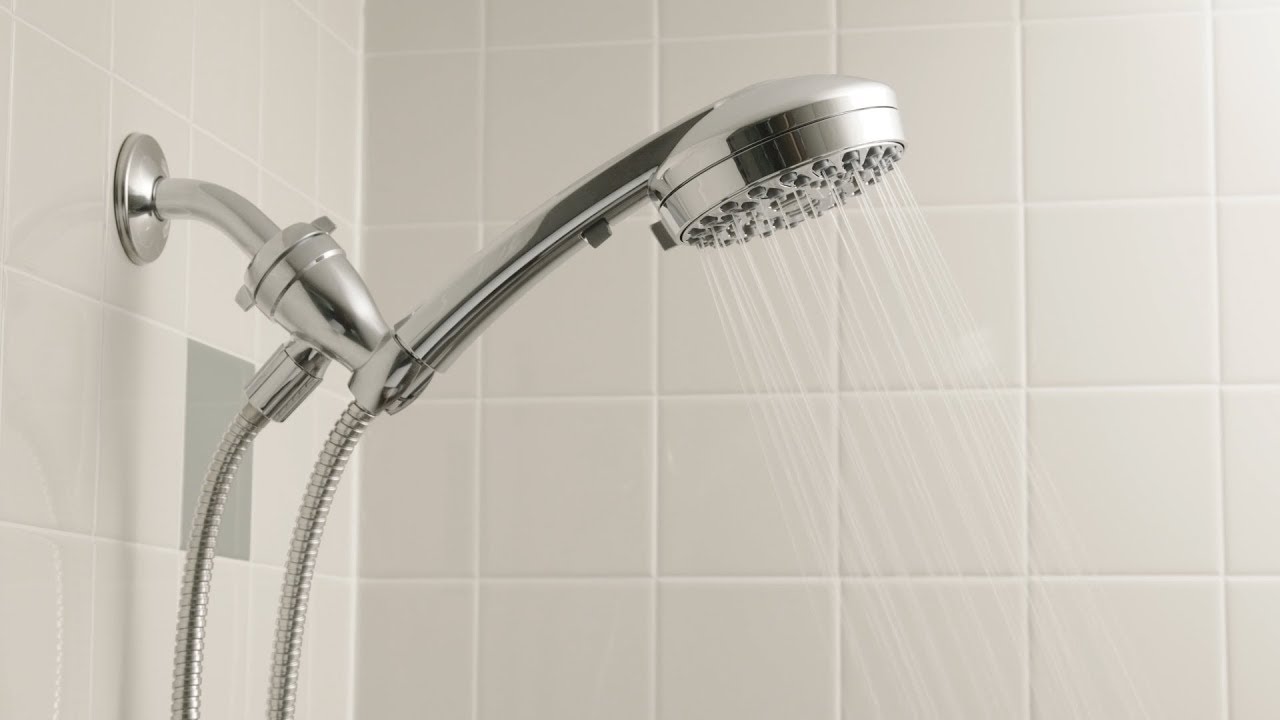
Step 6: Test the water flow
Now that you have reassembled the showerhead, it’s time to test the water flow and ensure that the removal of the water saver has resulted in the desired increase in water pressure. Follow these steps to test the water flow:
- Turn on the water supply to the showerhead.
- Start with the showerhead set to a low water pressure setting.
- Gradually increase the water pressure to a comfortable level.
- Observe the water flow and feel the difference in pressure.
- If the water flow is noticeably stronger and meets your expectations, congratulations!
- If the water flow is still not satisfactory, you may consider repeating the process of removing the water saver or exploring alternative options such as purchasing a different showerhead model.
Remember, everyone’s preferences for water flow and pressure may vary, so it’s important to find the optimal setting that suits your needs. Enjoy your revitalizing shower experience with the increased water flow!
Conclusion
Removing the water saver from a Waterpik showerhead is a simple and effective way to increase water flow and enhance your showering experience. By following the step-by-step process outlined in this article, you can easily remove the water saver and enjoy a more invigorating shower.
Remember to gather the necessary tools, including an adjustable wrench, pipe tape, and a soft cloth or towel to protect the showerhead during the removal process. Take care when removing the showerhead to avoid damaging any components, and use lubricant if necessary to loosen a stubborn water saver.
After removing the water saver, reassemble the showerhead using fresh pipe tape to ensure a secure and leak-free fit. Finally, test the water flow to confirm the desired increase in water pressure.
It’s important to note that removing the water saver may result in higher water consumption. If water conservation is a priority, consider exploring other water-saving options or consulting with a professional plumber for alternative solutions.
By following the steps outlined in this article, you can transform your Waterpik showerhead into a powerful and rejuvenating source of relaxation. Enjoy your enhanced shower experience with the increased water flow!
Frequently Asked Questions about How To Take The Water Saver Out Of A Waterpik Showerhead
Was this page helpful?
At Storables.com, we guarantee accurate and reliable information. Our content, validated by Expert Board Contributors, is crafted following stringent Editorial Policies. We're committed to providing you with well-researched, expert-backed insights for all your informational needs.
0 thoughts on “How To Take The Water Saver Out Of A Waterpik Showerhead”