Home>Furniture & Design>Interior Design Trends>How To Clean Glass Bottles With Narrow Necks
Interior Design Trends
How To Clean Glass Bottles With Narrow Necks
Modified: April 22, 2024
Learn the best techniques for cleaning glass bottles with narrow necks and keep up with the latest interior design trends. Discover how to maintain a stylish and functional home decor.
(Many of the links in this article redirect to a specific reviewed product. Your purchase of these products through affiliate links helps to generate commission for Storables.com, at no extra cost. Learn more)
Introduction
Cleaning glass bottles with narrow necks can be a challenging task, often requiring a combination of patience and the right techniques to achieve a sparkling result. Whether you're repurposing glass bottles for decorative purposes, home brewing, or simply looking to reuse them for storage, ensuring they are thoroughly cleaned is essential. The narrow neck of these bottles presents a unique cleaning challenge, as traditional cleaning tools may not effectively reach the interior surfaces.
In this comprehensive guide, we will explore various methods and tips to effectively clean glass bottles with narrow necks. From utilizing specialized tools to simple household ingredients, you'll discover practical and efficient ways to restore your glass bottles to their pristine condition. By following these step-by-step instructions, you can maintain the cleanliness and clarity of your glass bottles, ensuring they are ready for their next use.
Let's delve into the materials and methods needed to tackle this cleaning task effectively.
Key Takeaways:
- Cleaning glass bottles with narrow necks requires patience and the right tools. Methods like using a bottle brush, rice and vinegar, or baking soda and vinegar can effectively remove residue and stains, ensuring the bottles are ready for reuse.
- Thoroughly drying glass bottles after cleaning is crucial to prevent water spots and mold. Proper drying preserves the cleanliness and visual appeal of the bottles, ensuring they are ready for storage or immediate use.
Read more: How To Dispose Of Glass Bottles
Materials Needed
Before embarking on the task of cleaning glass bottles with narrow necks, it's essential to gather the necessary materials to ensure a thorough and efficient cleaning process. Here's a comprehensive list of items you'll need:
-
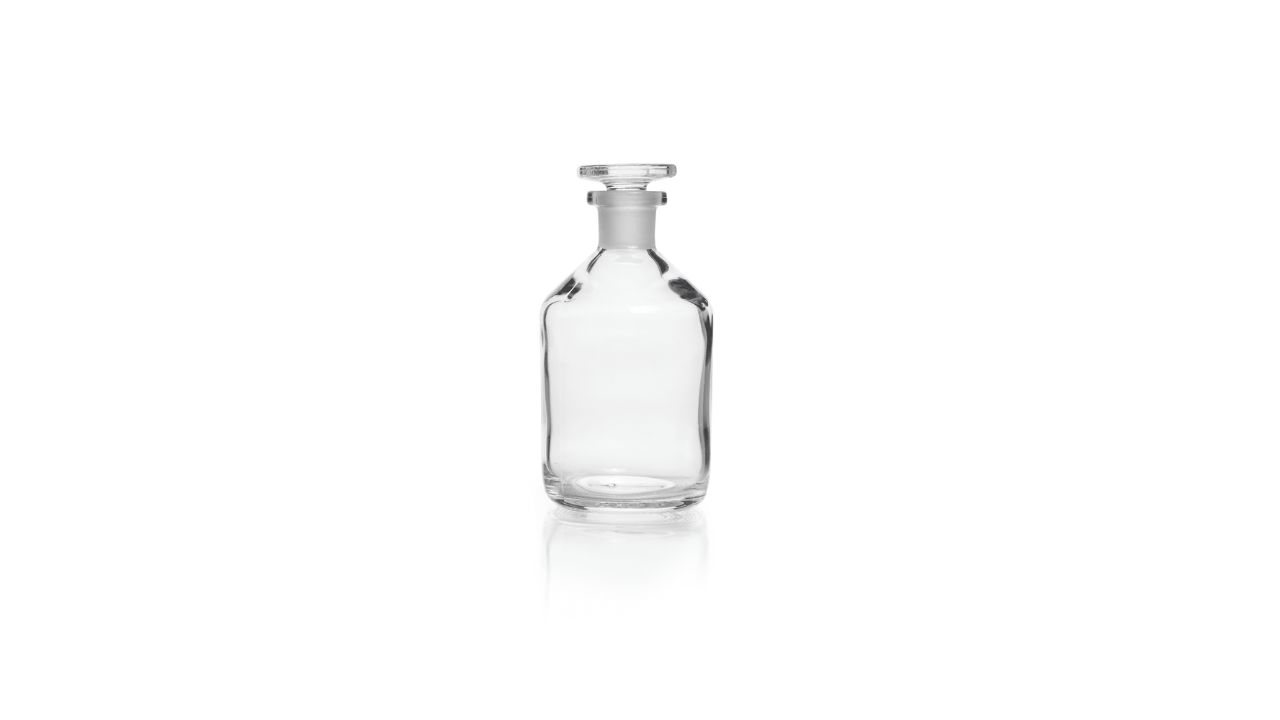
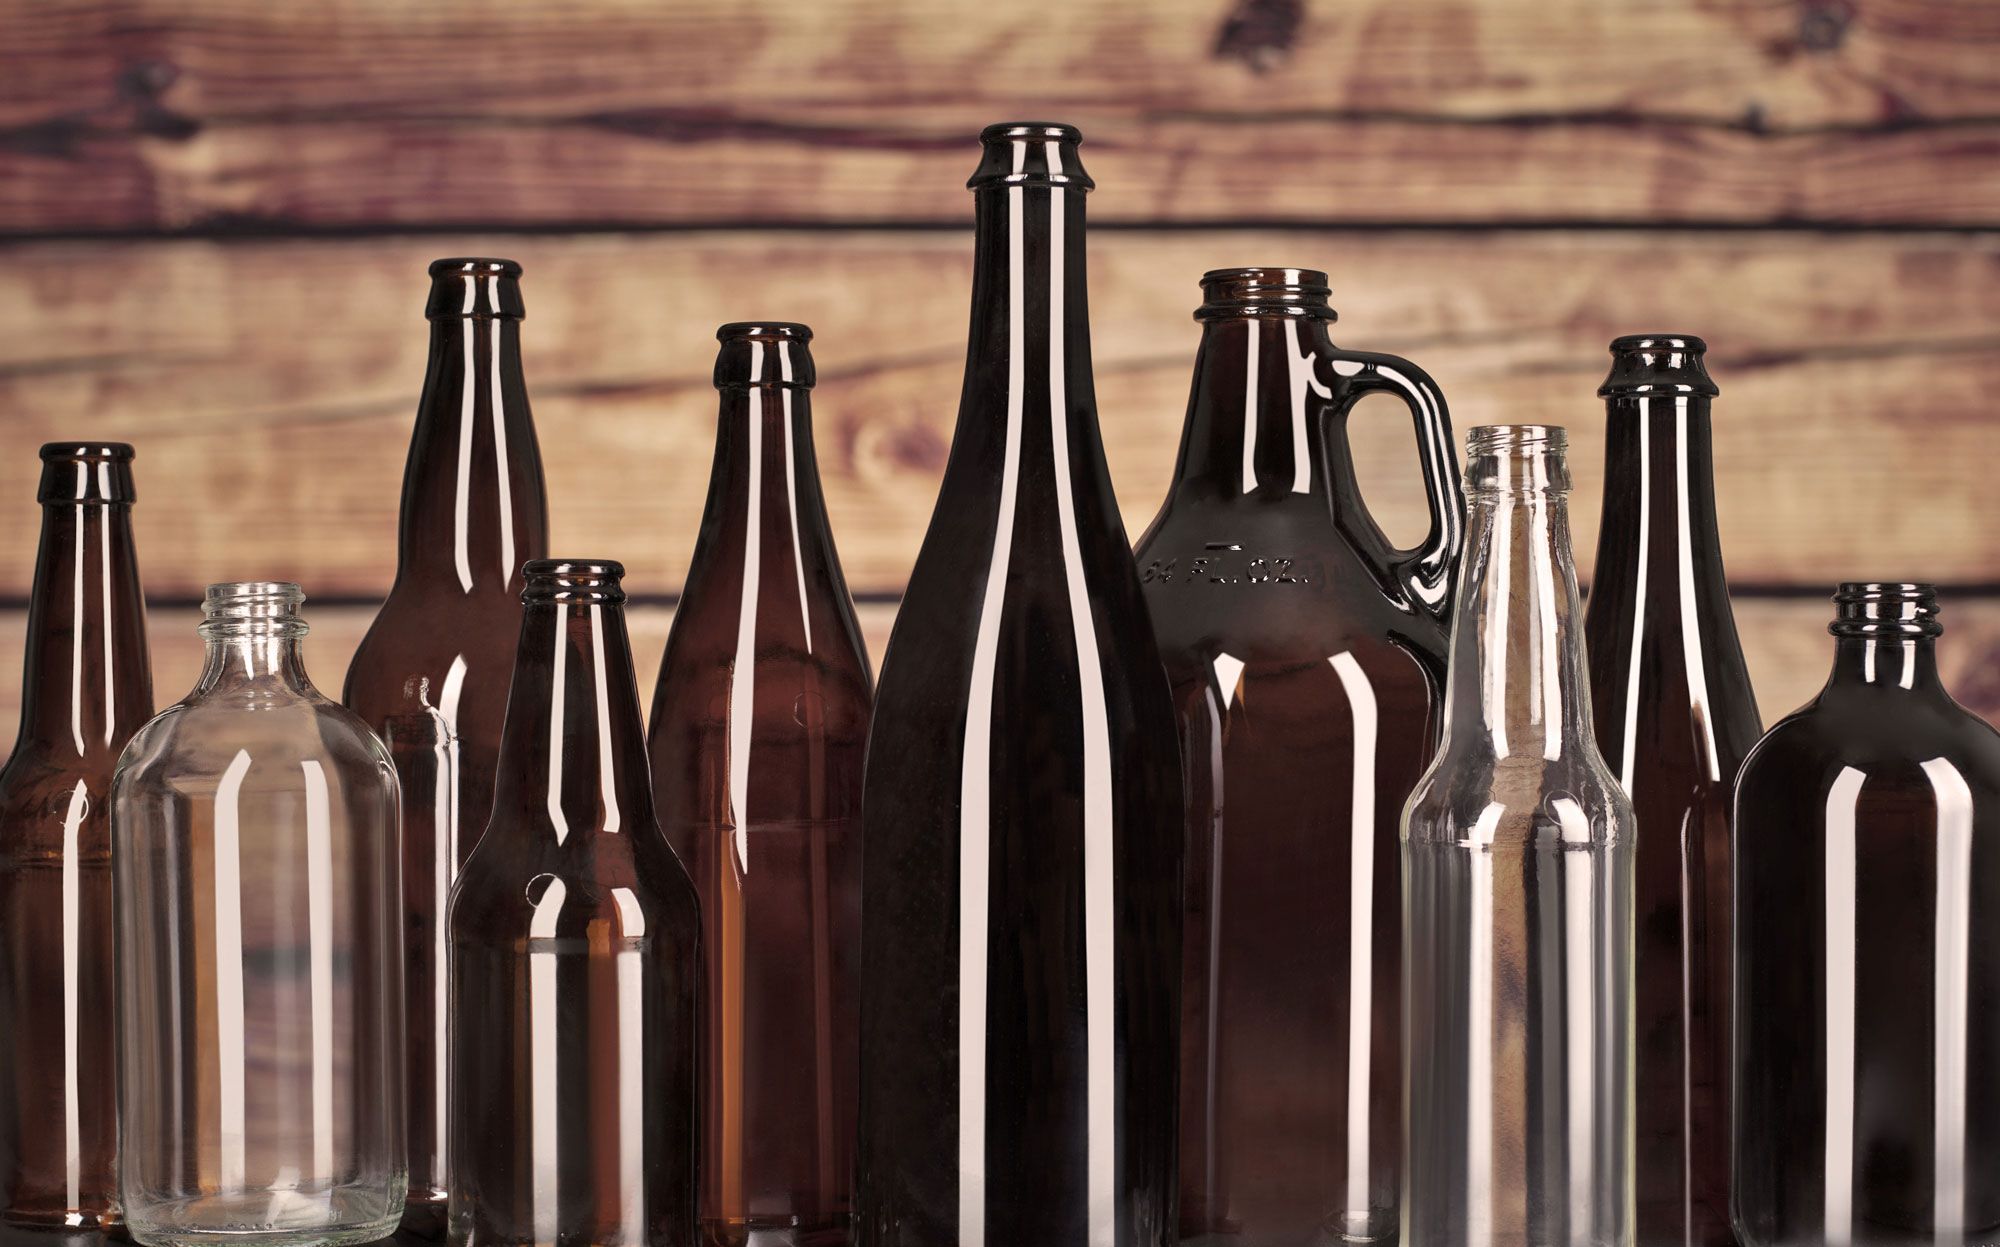
Glass Bottles: Gather the glass bottles that require cleaning. These may include narrow-necked bottles such as wine bottles, sauce bottles, or decorative glassware.
-
Warm Water: Ensure access to a reliable source of warm water, as it is a fundamental component in the cleaning process.
-
Dish Soap: Choose a mild dish soap that effectively cuts through grease and grime. Opt for a gentle formula to avoid leaving behind residue or odors.
-
Bottle Brush: Invest in a high-quality bottle brush with a long, slender handle and soft bristles. This specialized tool is designed to navigate the narrow necks of bottles, ensuring thorough cleaning.
-
Rice: Keep a small quantity of uncooked rice on hand. This common kitchen staple will serve as an effective agitator to dislodge stubborn residue from the interior surfaces of the bottles.
-
Vinegar: White vinegar is a versatile cleaning agent that can effectively dissolve mineral deposits and stains. It also helps eliminate odors, leaving the bottles fresh and clean.
-
Baking Soda: This household staple is renowned for its abrasive and deodorizing properties. It serves as an excellent natural scrubbing agent for removing tough stains and residue from glass surfaces.
-
Drying Rack or Towel: Prepare a drying rack or a clean, lint-free towel to air-dry the bottles after cleaning. Proper drying is crucial to prevent water spots and ensure a pristine finish.
By ensuring you have these materials at your disposal, you'll be well-equipped to tackle the task of cleaning glass bottles with narrow necks using a variety of effective methods. With these items in hand, you can proceed to the next steps, where we will explore the detailed process of preparing the bottles and employing various cleaning techniques to achieve optimal results.
Step 1: Preparing the Bottles
Before diving into the cleaning process, it's crucial to prepare the glass bottles for thorough cleaning. This initial step sets the foundation for effective removal of dirt, residue, and odors from the narrow-necked bottles. Here's a detailed guide on how to prepare the bottles for the cleaning process:
Inspecting the Bottles
Begin by inspecting the glass bottles for any visible residue, such as dried liquids, sediment, or debris. Check the interior and exterior surfaces, paying close attention to the narrow necks where residue tends to accumulate. Identifying the extent of the cleaning task will help determine the most suitable cleaning method to employ.
Removing Labels and Adhesives
If the bottles have labels or adhesive residues, it's essential to remove them before proceeding with the cleaning process. To do this, soak the bottles in warm, soapy water to loosen the adhesive. Once the labels are sufficiently soaked, gently peel them off, taking care to avoid leaving behind any sticky residue.
Read more: How To Sanitize Glass Bottles
Rinsing the Bottles
Thoroughly rinse the bottles with warm water to eliminate any loose debris and surface impurities. This initial rinse helps prepare the bottles for the subsequent cleaning methods, ensuring that the cleaning agents can effectively target stubborn residue and stains.
Allowing the Bottles to Air Dry
After rinsing, allow the bottles to air dry completely. Placing them upside down on a drying rack or a clean towel facilitates efficient drying and helps prevent water spots. Ensuring the bottles are completely dry before proceeding to the next cleaning steps is essential for achieving optimal results.
By meticulously preparing the glass bottles for the cleaning process, you set the stage for a successful cleaning endeavor. This preparatory phase ensures that the subsequent cleaning methods can effectively target and eliminate stubborn residue, leaving the bottles impeccably clean and ready for their next use. With the bottles prepared, you can now proceed to the next steps, where we will explore various cleaning techniques tailored to narrow-necked glass bottles.
Step 2: Using a Bottle Brush
When it comes to cleaning glass bottles with narrow necks, utilizing a bottle brush is a highly effective method to ensure thorough cleaning of the interior surfaces. The slender, elongated design of a bottle brush allows it to navigate the confined space of the bottle neck, reaching areas that conventional cleaning tools cannot access. Here's a detailed guide on how to effectively use a bottle brush to clean glass bottles with narrow necks:
-
Selecting the Right Bottle Brush: Begin by choosing a bottle brush specifically designed for cleaning narrow-necked bottles. Opt for a brush with soft, flexible bristles and a long, slender handle to facilitate easy maneuvering. The bristles should be gentle enough to avoid scratching the glass while effectively dislodging residue and stains.
-
Wetting the Bottle Brush: Before proceeding, wet the bristles of the bottle brush with warm, soapy water. This initial step helps prepare the brush for effective cleaning and ensures that it can easily glide along the interior surfaces of the bottle.
-
Applying Dish Soap: Apply a small amount of mild dish soap to the wet bristles of the bottle brush. The dish soap serves as a gentle yet effective cleaning agent, helping to break down grease, residue, and odors trapped inside the bottle.
-
Inserting the Bottle Brush: Gently insert the wet, soapy bottle brush into the narrow neck of the glass bottle. Use a twisting motion and gentle pressure to navigate the brush along the interior walls, ensuring that it reaches all areas, including the bottom and corners of the bottle.
-
Scrubbing and Rinsing: With the bottle brush inside the bottle, gently scrub the interior surfaces using back-and-forth and circular motions. Pay special attention to areas where residue and stains are concentrated. Once the interior surfaces are thoroughly scrubbed, rinse the bottle and the brush with warm water to remove the loosened debris and soap residue.
-
Inspecting and Drying: After cleaning, inspect the bottle to ensure that all residue and stains have been effectively removed. If necessary, repeat the process to target stubborn areas. Once satisfied with the cleanliness, allow the bottle to air dry completely before use or storage.
By following these steps and utilizing a bottle brush, you can effectively clean glass bottles with narrow necks, ensuring that they are free from residue, odors, and stains. This method provides a practical and efficient way to maintain the cleanliness and clarity of glass bottles, preparing them for various uses, such as storing beverages, creating decorative pieces, or showcasing homemade concoctions. With the bottles impeccably clean, you can explore additional methods to further enhance their pristine condition.
Step 3: Using Rice and Vinegar
Cleaning glass bottles with narrow necks using a simple yet effective combination of rice and vinegar offers a natural and efficient method to dislodge stubborn residue and stains from the interior surfaces. This method harnesses the abrasive action of rice and the cleansing properties of vinegar to achieve a thorough cleaning outcome. Here's a detailed guide on how to utilize rice and vinegar to clean glass bottles with narrow necks:
-
Gathering the Materials: Begin by gathering the necessary materials, including uncooked rice, white vinegar, warm water, and the glass bottles requiring cleaning. Ensure that the bottles have been prepared by removing labels and rinsed thoroughly with warm water.
-
Adding Rice and Vinegar: Start by placing a small amount of uncooked rice into the glass bottle, using a funnel if necessary to prevent spillage. The rice serves as a natural agitator, effectively dislodging residue and stains from the interior surfaces. Next, pour a generous amount of white vinegar into the bottle, ensuring that it covers the rice and reaches the narrow neck of the bottle.
-
Sealing and Agitating: Securely seal the bottle with its cap or a stopper to prevent leakage, and then gently swirl the bottle to agitate the rice and vinegar mixture. The abrasive action of the rice, combined with the acidic properties of the vinegar, works to loosen and dislodge stubborn residue and stains from the interior surfaces of the bottle.
-
Soaking and Shaking: Allow the bottle to sit undisturbed for a period of time, typically 30 minutes to an hour, to facilitate the cleaning action. Periodically shake the bottle to ensure that the rice and vinegar mixture reaches all areas inside the bottle, effectively targeting any remaining residue and stains.
-
Rinsing and Drying: After the soaking period, thoroughly rinse the bottle with warm water to remove the rice and vinegar mixture, along with the dislodged residue and stains. Inspect the interior surfaces to ensure that they are clean, and then allow the bottle to air dry completely before use or storage.
By employing this method, you can harness the natural cleaning power of rice and vinegar to effectively clean glass bottles with narrow necks, ensuring that they are free from stubborn residue, stains, and odors. This simple yet impactful technique offers a natural and eco-friendly approach to maintaining the cleanliness and clarity of glass bottles, preparing them for a variety of uses in your home or creative projects.
Read more: How To Drill Glass Bottles
Step 4: Using Baking Soda and Vinegar
Utilizing a powerful combination of baking soda and vinegar presents an effective and natural method for cleaning glass bottles with narrow necks. This dynamic duo, renowned for its cleaning and deodorizing properties, offers a gentle yet potent approach to dislodging stubborn residue and eliminating lingering odors from the interior surfaces of glass bottles.
Here's a detailed guide on how to employ baking soda and vinegar to achieve a thorough cleaning outcome:
Gathering the Materials
Begin by gathering the necessary materials, including baking soda, white vinegar, warm water, and the glass bottles requiring cleaning. Ensure that the bottles have been prepared by removing labels and rinsed thoroughly with warm water.
Creating the Cleaning Solution
Start by preparing a cleaning solution by combining a tablespoon of baking soda with a generous amount of white vinegar in a bowl. The mixture will begin to fizz, indicating the natural reaction between the two ingredients. This effervescent action helps dislodge residue and stains while neutralizing odors trapped inside the bottles.
Applying the Cleaning Solution
Carefully pour the fizzing cleaning solution into the glass bottle, ensuring that it reaches the narrow neck and covers the interior surfaces. The foaming action of the solution works to penetrate and lift stubborn residue, while the combined cleansing properties of baking soda and vinegar effectively break down grease and grime.
Read more: How To Flatten A Glass Bottle
Swirling and Soaking
Once the cleaning solution is added, securely seal the bottle with its cap or a stopper, and gently swirl the bottle to ensure the solution reaches all areas inside. Allow the bottle to sit undisturbed for a period of time, typically 15-30 minutes, to maximize the cleaning action. This soaking period allows the solution to work its magic, targeting tough stains and residue.
Rinsing and Drying
After the soaking period, thoroughly rinse the bottle with warm water to remove the cleaning solution and dislodged residue. Inspect the interior surfaces to ensure that they are clean and free from odors. Finally, allow the bottle to air dry completely, either by placing it upside down on a drying rack or using a clean, lint-free towel.
By following these steps and harnessing the natural cleaning power of baking soda and vinegar, you can effectively restore glass bottles with narrow necks to a pristine condition. This method offers a gentle yet potent approach to eliminating residue, stains, and odors, ensuring that the bottles are ready for their next use, whether for decorative purposes, storage, or creative projects.
Step 5: Drying the Bottles
Properly drying glass bottles with narrow necks is a crucial final step in the cleaning process, ensuring that they are free from water spots and ready for their next use or storage. Effective drying not only enhances the visual appeal of the bottles but also prevents the formation of mold or mildew due to residual moisture. Here's a detailed guide on how to ensure thorough drying of glass bottles after the cleaning process:
Air Drying Method
After the bottles have been thoroughly rinsed and cleaned using the chosen method, it's essential to allow them to air dry completely. To facilitate this, place the bottles upside down on a clean drying rack or a lint-free towel. Positioning the bottles upside down allows any remaining water droplets to drain out, ensuring that the interior surfaces dry completely. It's important to choose a well-ventilated area for drying to expedite the process and prevent the accumulation of moisture.
Read more: How To Sterilize Glass Bottles
Patience and Time
Proper drying of glass bottles with narrow necks requires patience and adequate time. Depending on the ambient humidity and temperature, the drying process may take several hours to complete. It's essential to resist the temptation to use the bottles before they are fully dry, as premature use may compromise the cleanliness achieved during the cleaning process.
Inspection and Storage
Once the bottles have air-dried thoroughly, it's important to inspect them to ensure that no water spots or residual moisture remain. Check the interior and exterior surfaces, including the narrow necks, to verify that they are completely dry and free from water marks. If any moisture is detected, allow the bottles to continue drying until they are pristine.
Storage Considerations
After the bottles have been confirmed to be completely dry, they are ready for storage or immediate use. If storing the bottles, ensure that they are kept in a clean and dry environment to maintain their cleanliness. Avoid sealing the bottles with caps or stoppers until you are certain that they are entirely dry to prevent the accumulation of moisture in the enclosed space.
By following these steps and allowing the glass bottles to air dry thoroughly, you can ensure that they are free from water spots and residual moisture, ready to be utilized for various purposes. This meticulous approach to drying preserves the cleanliness and clarity of the bottles, allowing you to fully appreciate their pristine condition and prepare them for their intended use.
Conclusion
In conclusion, the process of cleaning glass bottles with narrow necks encompasses a blend of meticulous preparation, effective cleaning methods, and thorough drying to achieve optimal results. By employing the techniques outlined in this comprehensive guide, you can restore glass bottles to a pristine condition, ensuring they are free from residue, stains, and odors.
From the initial steps of inspecting the bottles, removing labels, and rinsing them thoroughly, to the utilization of specialized tools such as bottle brushes and natural cleaning agents like rice, vinegar, baking soda, and white vinegar, each method offers a unique approach to addressing the cleaning challenges posed by narrow-necked bottles. The use of a bottle brush allows for targeted cleaning of interior surfaces, while the combination of rice and vinegar or baking soda and vinegar harnesses the natural cleaning power of common household ingredients.
Furthermore, the meticulous process of drying the bottles ensures that they are free from water spots and residual moisture, preserving their cleanliness and visual appeal. Proper drying also prevents the formation of mold or mildew, contributing to the overall hygiene of the bottles.
By following these step-by-step instructions and utilizing the recommended materials and methods, you can maintain the cleanliness and clarity of glass bottles, preparing them for various uses, including storage, decoration, or showcasing homemade creations. Whether repurposing wine bottles for DIY projects, preparing decorative glassware, or storing homemade infusions, the cleanliness achieved through these methods enhances the versatility and aesthetic appeal of the glass bottles.
In essence, the art of cleaning glass bottles with narrow necks is a blend of practicality, creativity, and attention to detail. By incorporating these cleaning techniques into your routine, you can ensure that glass bottles remain a versatile and visually appealing element in your home, ready to serve a multitude of purposes with their pristine cleanliness and clarity.
Frequently Asked Questions about How To Clean Glass Bottles With Narrow Necks
Was this page helpful?
At Storables.com, we guarantee accurate and reliable information. Our content, validated by Expert Board Contributors, is crafted following stringent Editorial Policies. We're committed to providing you with well-researched, expert-backed insights for all your informational needs.


0 thoughts on “How To Clean Glass Bottles With Narrow Necks”