Home>Furniture & Design>Interior Design Trends>How To Clean A Glass Bubbler
Interior Design Trends
How To Clean A Glass Bubbler
Published: February 6, 2024
Learn how to clean a glass bubbler and keep up with the latest interior design trends. Discover expert tips and tricks for maintaining your glass bubbler in style.
(Many of the links in this article redirect to a specific reviewed product. Your purchase of these products through affiliate links helps to generate commission for Storables.com, at no extra cost. Learn more)
Introduction
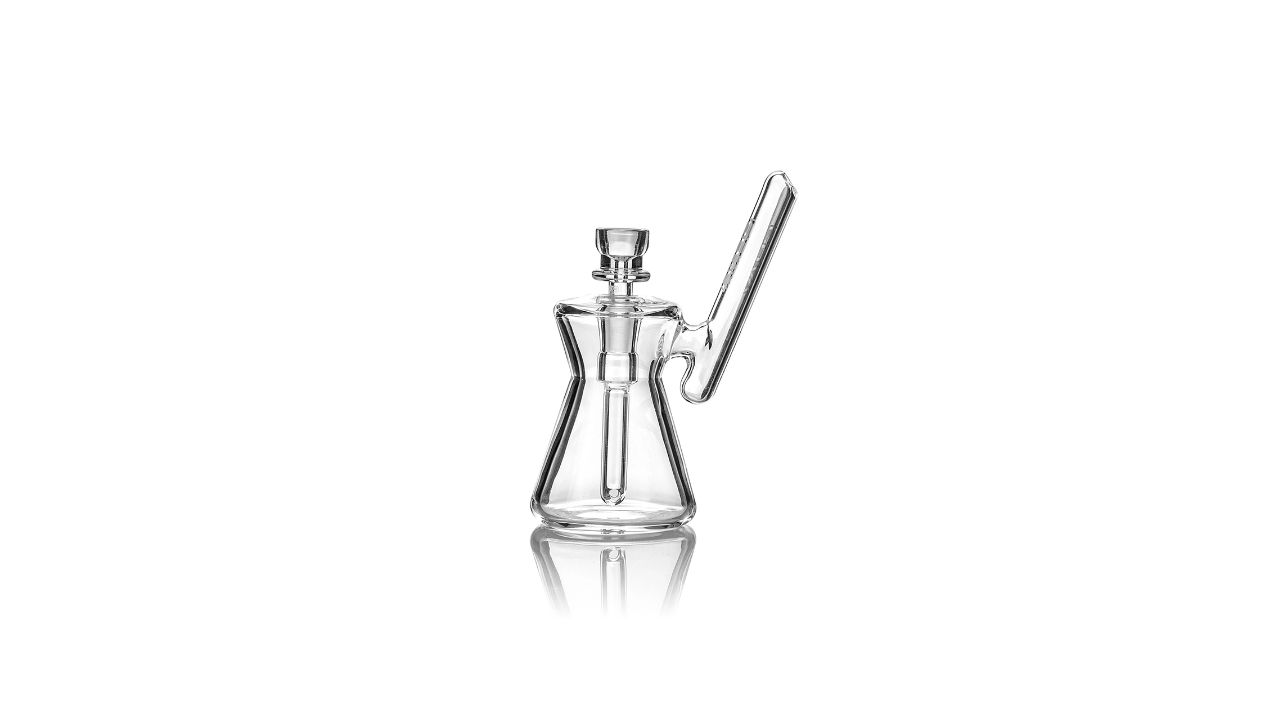
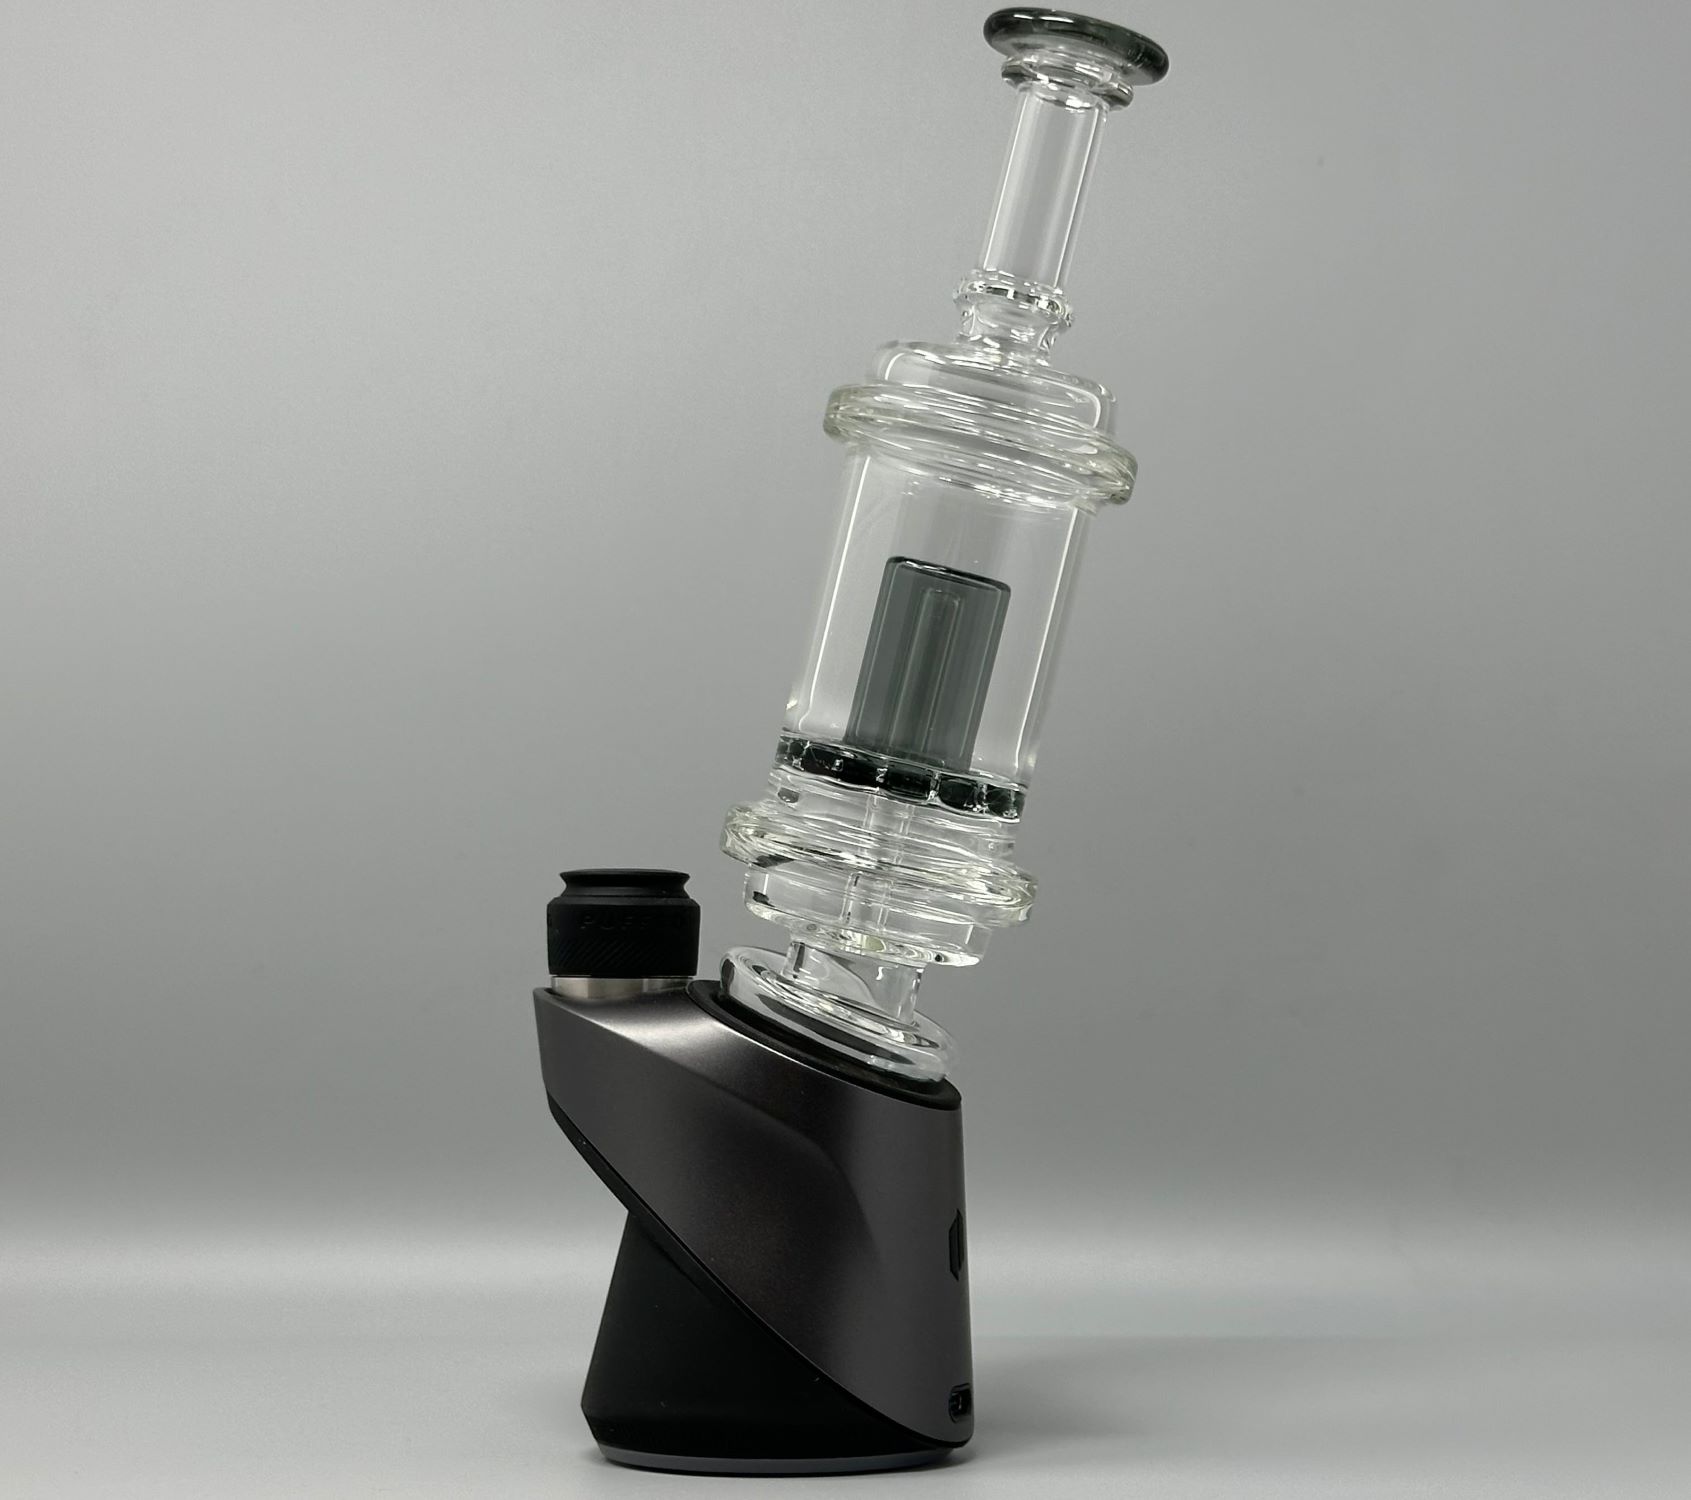
Cleaning a glass bubbler is an essential part of maintaining its functionality and preserving its aesthetic appeal. Over time, residue from smoke and water can build up, affecting the taste of your smoke and diminishing the visual allure of the bubbler. By following a few simple steps, you can restore your glass bubbler to its pristine condition, ensuring an enjoyable smoking experience every time.
A glass bubbler, with its intricate design and delicate structure, requires gentle yet thorough cleaning to remove any accumulated residue. Whether you're a seasoned smoker or new to the world of glass bubblers, understanding the cleaning process is crucial for maximizing the longevity of your beloved piece.
In the following guide, we will walk you through the step-by-step process of cleaning your glass bubbler, providing valuable tips and insights to help you achieve optimal results. From gathering the necessary supplies to disassembling, soaking, scrubbing, and reassembling your bubbler, each stage of the cleaning process plays a vital role in revitalizing your smoking apparatus.
By investing a little time and effort into cleaning your glass bubbler, you can ensure that it continues to deliver smooth, flavorful hits while maintaining its captivating appearance. So, let's dive into the cleaning process and discover how to restore your glass bubbler to its former glory.
Key Takeaways:
- Cleaning your glass bubbler is like giving it a spa day! By soaking, scrubbing, and reassembling, you can restore its sparkle and enjoy a smooth smoking experience. It’s like a makeover for your bubbler!
- Gathering the right supplies and taking the time to clean your glass bubbler is worth it. The process rejuvenates your bubbler, ensuring it remains a reliable and visually appealing part of your smoking routine.
Read more: How To Clean Glass Cleaning Cloth
Step 1: Gather Your Supplies
Before embarking on the cleaning process, it's essential to gather the necessary supplies to ensure a thorough and effective cleaning of your glass bubbler. Here's a comprehensive list of items you'll need:
-
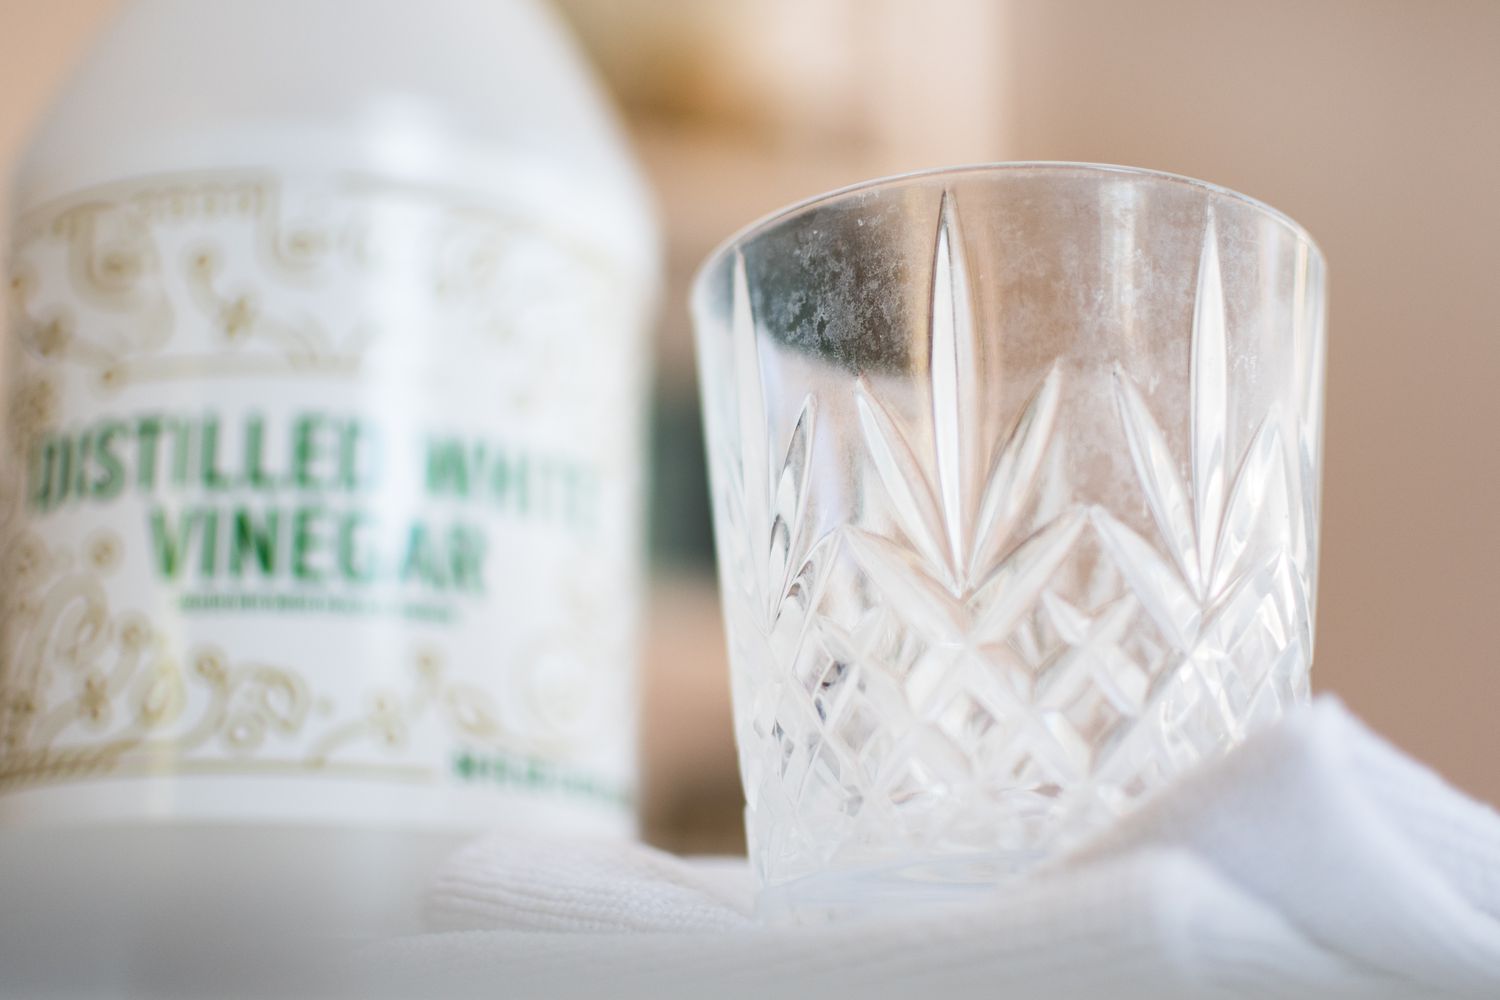
Rubbing Alcohol (Isopropyl Alcohol): This is a key ingredient for breaking down and dissolving the resin and residue that accumulates inside the bubbler. Opt for a higher concentration, such as 90% or above, for more effective cleaning.
-
Coarse Salt: Coarse salt serves as an abrasive agent that aids in dislodging stubborn residue from the interior surfaces of the bubbler. Its granular texture enhances the scrubbing action when combined with the alcohol.
-
Cotton Swabs and Pipe Cleaners: These are essential for reaching and cleaning narrow and intricate parts of the bubbler, such as the downstem and the mouthpiece. They allow for precise cleaning in areas that may be challenging to access.
-
Sealable Plastic Bags or Containers: These are used for soaking the disassembled parts of the bubbler in the alcohol and salt solution. Ensure that the bags or containers are large enough to accommodate the pieces and allow for easy shaking to facilitate the cleaning process.
-
Warm Water: You'll need warm water for rinsing the bubbler and its components after the initial cleaning process. The warm temperature helps to dislodge any remaining residue and ensures a more thorough rinse.
-
Protective Gloves: Since you'll be working with rubbing alcohol and other cleaning agents, it's advisable to wear protective gloves to shield your skin from prolonged exposure to these substances.
-
Paper Towels or Microfiber Cloth: These are used for drying the cleaned components and wiping away any residual moisture. Opt for lint-free materials to prevent leaving behind any fibers or lint on the glass surfaces.
By ensuring that you have all these supplies on hand, you'll be well-prepared to initiate the cleaning process with confidence and thoroughness. With the right tools at your disposal, you can proceed to disassemble the bubbler and commence the cleaning procedure, setting the stage for a successful restoration of your glass bubbler's pristine condition.
Step 2: Disassemble the Bubbler
Disassembling the glass bubbler is a crucial initial step in the cleaning process, as it allows for thorough access to all its components, ensuring a comprehensive cleaning. Here's a detailed guide on how to disassemble the bubbler:
-
Empty the Water: Begin by emptying any water or residual liquid from the bubbler. Hold the bubbler over a sink and carefully pour out the water, ensuring that all excess liquid is removed.
-
Remove the Bowl: If your bubbler is equipped with a removable bowl, gently unscrew or detach it from the downstem. Place the bowl in a safe location, as it will also require cleaning.
-
Detach the Downstem: The downstem is a crucial component that requires careful removal. Hold the bubbler securely and gently wiggle the downstem to detach it from the main chamber. Exercise caution to avoid any undue force that may cause damage to the glass.
-
Separate Additional Attachments: Some bubblers may feature additional attachments or percolators. If applicable, carefully detach these components according to the manufacturer's instructions. Take note of the arrangement and orientation of each piece to facilitate reassembly later.
-
Inspect for Residue: Once the bubbler is disassembled, take a moment to inspect each component for any visible residue or buildup. This initial assessment will help determine the extent of cleaning required for each part.
By methodically disassembling the glass bubbler, you pave the way for a meticulous cleaning process that addresses every nook and cranny of the apparatus. With the bubbler's components separated, you can proceed to the next step of soaking the pieces in a cleaning solution, effectively preparing them for thorough scrubbing and revitalization.
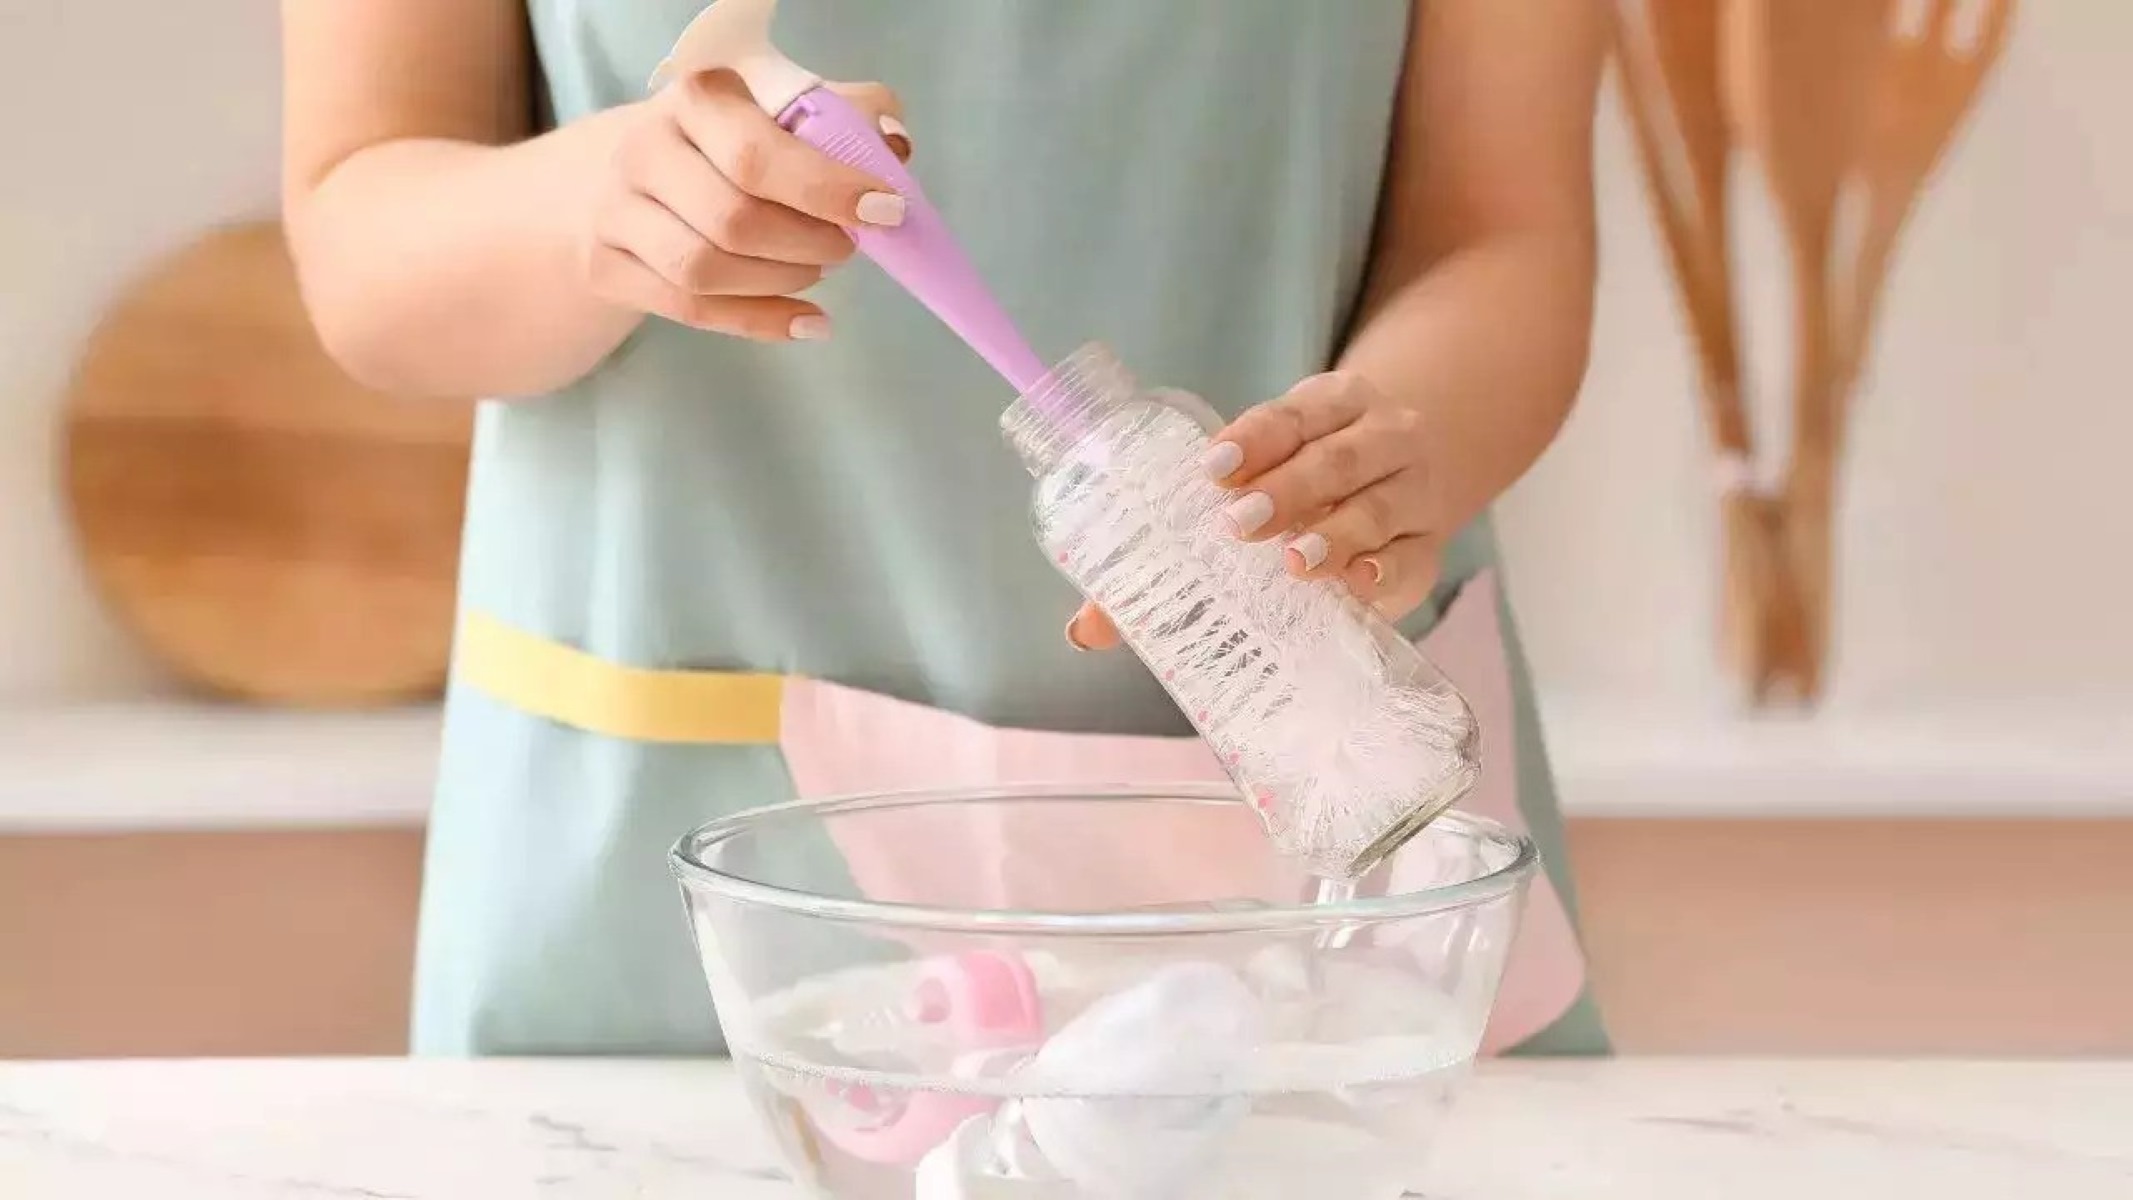
Step 3: Soak the Pieces
Once the glass bubbler and its components are disassembled, the next pivotal step in the cleaning process involves soaking the pieces in a potent cleaning solution. This soaking phase is instrumental in loosening and dissolving the stubborn residue and buildup that may have accumulated over time. By immersing the components in a carefully prepared solution, you can effectively prime them for thorough scrubbing and cleansing.
To create the cleaning solution, begin by pouring a sufficient amount of rubbing alcohol (isopropyl alcohol) into a sealable plastic bag or container. The alcohol should be of a high concentration, preferably 90% or above, to ensure optimal cleaning efficacy. Next, add a generous amount of coarse salt to the alcohol, as the abrasive nature of the salt granules will aid in dislodging the persistent residue from the glass surfaces.
Carefully place the disassembled components of the glass bubbler into the prepared solution, ensuring that they are fully submerged. Seal the bag or container securely, and gently shake it to facilitate the distribution of the alcohol and salt mixture, allowing it to penetrate and begin breaking down the accumulated residue.
The soaking duration is a critical factor in this process, as it allows the cleaning solution to effectively penetrate and dissolve the stubborn buildup. Ideally, the components should be left to soak for a minimum of 30 minutes to an hour, depending on the severity of the residue. This duration ensures that the alcohol and salt solution has ample time to work its magic, preparing the components for the subsequent scrubbing and rinsing stages.
During the soaking period, the chemical reaction between the rubbing alcohol and salt works to disintegrate the resin and residue, gradually loosening its grip on the glass surfaces. This transformative process sets the stage for a more manageable and thorough cleaning experience, ultimately leading to the revitalization of your glass bubbler.
By allowing the components to soak in the potent cleaning solution, you are laying the groundwork for a successful restoration of your bubbler's pristine condition. This crucial phase sets the tone for the subsequent scrubbing and rinsing steps, ensuring that the cleaning process unfolds with maximum effectiveness and efficiency.
To clean a glass bubbler, fill a plastic bag with isopropyl alcohol and salt, then place the bubbler inside and shake it. Let it sit for 30 minutes, then rinse with warm water. Repeat if necessary.
Step 4: Scrub and Rinse
After the components of the glass bubbler have undergone the soaking process and the potent cleaning solution has worked its magic, it's time to proceed with the crucial steps of scrubbing and rinsing. This phase is where the meticulous removal of residual buildup and the restoration of the glass surfaces take center stage.
To commence the scrubbing process, carefully remove each component from the soaking solution, ensuring that they are handled with care to prevent any accidental damage. With the components now exposed, you can begin the meticulous task of scrubbing away the loosened residue and revitalizing the glass surfaces.
Using cotton swabs and pipe cleaners, meticulously scrub the interior and exterior surfaces of each component, focusing on areas where residue may be particularly stubborn or hard to reach. The abrasive action of the coarse salt, combined with the dissolving properties of the rubbing alcohol, facilitates the dislodging of the residue, allowing for more effective scrubbing.
As you scrub each component, pay close attention to the gradual transformation taking place. The once-clouded and tainted surfaces begin to reveal their original clarity and luster, a testament to the efficacy of the cleaning process. Continue the scrubbing process until all visible residue has been thoroughly removed, ensuring that each component is restored to its pristine state.
Following the scrubbing phase, it's essential to proceed with a thorough rinsing to eliminate any remaining traces of the cleaning solution and dislodged residue. Rinse each component under warm running water, ensuring that all surfaces are thoroughly flushed to remove any lingering residue and cleaning agents.
As the water cascades over the components, a renewed brilliance emerges, signaling the successful culmination of the cleaning process. The revitalized glass surfaces glisten under the flow of water, reflecting a renewed sense of purity and cleanliness.
Once rinsed, carefully inspect each component to confirm that all residue has been effectively removed, leaving behind only the immaculate glass surfaces. Pat the components dry using paper towels or a microfiber cloth, ensuring that any residual moisture is absorbed, and the surfaces are left pristine and gleaming.
With the scrubbing and rinsing process completed, the revitalized components of the glass bubbler stand as a testament to the transformative power of meticulous cleaning. The once-clouded and tainted surfaces have been rejuvenated, ready to be reassembled into a fully restored glass bubbler, poised to deliver a smooth and enjoyable smoking experience once again.
Read more: How To Clean Glass Pipes
Step 5: Dry and Reassemble
With the components of your glass bubbler now thoroughly cleaned and rinsed, the final step involves ensuring that each part is impeccably dried and reassembled. Proper drying is crucial to prevent any residual moisture from compromising the cleanliness of the components, while reassembly is the pivotal stage that brings your revitalized glass bubbler back to its functional and visually appealing state.
To initiate the drying process, carefully place each cleaned component on a clean, lint-free surface, allowing them to air dry naturally. It's essential to position the components in a well-ventilated area to expedite the drying process and ensure that no moisture lingers on the surfaces. Patience is key during this phase, as allowing the components to thoroughly dry sets the stage for a seamless reassembly and the resumption of your smoking rituals.
As the components air dry, take a moment to appreciate the transformative journey they have undergone. The once-clouded and tainted surfaces have been meticulously cleansed and revitalized, ready to reclaim their role in delivering a smooth and enjoyable smoking experience. The glistening glass surfaces stand as a testament to the efficacy of the cleaning process, reflecting a renewed sense of purity and clarity.
Once the components are completely dry, proceed with the meticulous reassembly of your glass bubbler. Carefully align each part, ensuring a snug and secure fit to guarantee the integrity of the assembled bubbler. If your bubbler features additional attachments or percolators, reattach them according to the manufacturer's instructions, taking care to restore the original configuration of the apparatus.
As each component seamlessly falls into place, a sense of satisfaction accompanies the reassembly, signifying the successful restoration of your glass bubbler. The revitalized apparatus stands as a testament to the transformative power of meticulous cleaning, ready to once again elevate your smoking experience with its pristine condition and captivating allure.
With the drying and reassembly process completed, your glass bubbler is now poised to reclaim its role as a cherished smoking companion, delivering smooth, flavorful hits while exuding its captivating visual appeal. By investing the time and effort into the comprehensive cleaning process, you have ensured that your glass bubbler remains a reliable and aesthetically pleasing part of your smoking repertoire, ready to accompany you on many more enjoyable sessions in the future.
Conclusion
In conclusion, the process of cleaning a glass bubbler is not merely a routine maintenance task; it is a transformative journey that revitalizes both the functionality and visual allure of this beloved smoking apparatus. By following the step-by-step guide outlined in this comprehensive cleaning manual, you have embarked on a meticulous endeavor to restore your glass bubbler to its pristine condition, ensuring that it continues to deliver a smooth and enjoyable smoking experience.
Throughout the cleaning process, from gathering the essential supplies to disassembling, soaking, scrubbing, and reassembling the bubbler, you have witnessed the remarkable impact of thorough and methodical cleaning. The once-clouded and tainted surfaces have been rejuvenated, reflecting a renewed sense of purity and clarity. The transformative power of the cleaning solution, combined with the meticulous scrubbing and rinsing, has culminated in the revitalization of your glass bubbler, ensuring that it stands as a testament to the efficacy of the cleaning process.
As you carefully reassemble the revitalized components, a sense of satisfaction accompanies the seamless integration of each part, signifying the successful restoration of your glass bubbler. The revitalized apparatus is now poised to reclaim its role as a cherished smoking companion, ready to deliver smooth, flavorful hits while exuding its captivating visual appeal.
By investing the time and effort into the comprehensive cleaning process, you have not only preserved the functionality and aesthetic allure of your glass bubbler but also reaffirmed your commitment to elevating your smoking experience. The revitalized glass bubbler stands as a symbol of your dedication to maintaining the integrity of your smoking apparatus, ensuring that it remains a reliable and aesthetically pleasing part of your smoking repertoire.
As you embark on future smoking sessions with your revitalized glass bubbler, may the pristine surfaces and captivating allure serve as a reminder of the transformative power of meticulous cleaning. With each smooth and flavorful hit, you can revel in the rejuvenated state of your glass bubbler, appreciating the enhanced smoking experience that meticulous cleaning has facilitated.
In essence, the cleaning process has not only revitalized your glass bubbler but has also reaffirmed the bond between you and this cherished smoking apparatus. Through the transformative power of meticulous cleaning, your glass bubbler continues to stand as a testament to the enduring pleasure and satisfaction derived from a well-maintained and visually captivating smoking companion.
Frequently Asked Questions about How To Clean A Glass Bubbler
Was this page helpful?
At Storables.com, we guarantee accurate and reliable information. Our content, validated by Expert Board Contributors, is crafted following stringent Editorial Policies. We're committed to providing you with well-researched, expert-backed insights for all your informational needs.


0 thoughts on “How To Clean A Glass Bubbler”