Home>Furniture & Design>Interior Design Trends>How To Tighten Glass Shower Door Handle
Interior Design Trends
How To Tighten Glass Shower Door Handle
Modified: March 5, 2024
Learn how to tighten your glass shower door handle with our expert interior design tips. Keep up with the latest interior design trends for a stylish and functional bathroom.
(Many of the links in this article redirect to a specific reviewed product. Your purchase of these products through affiliate links helps to generate commission for Storables.com, at no extra cost. Learn more)
Introduction
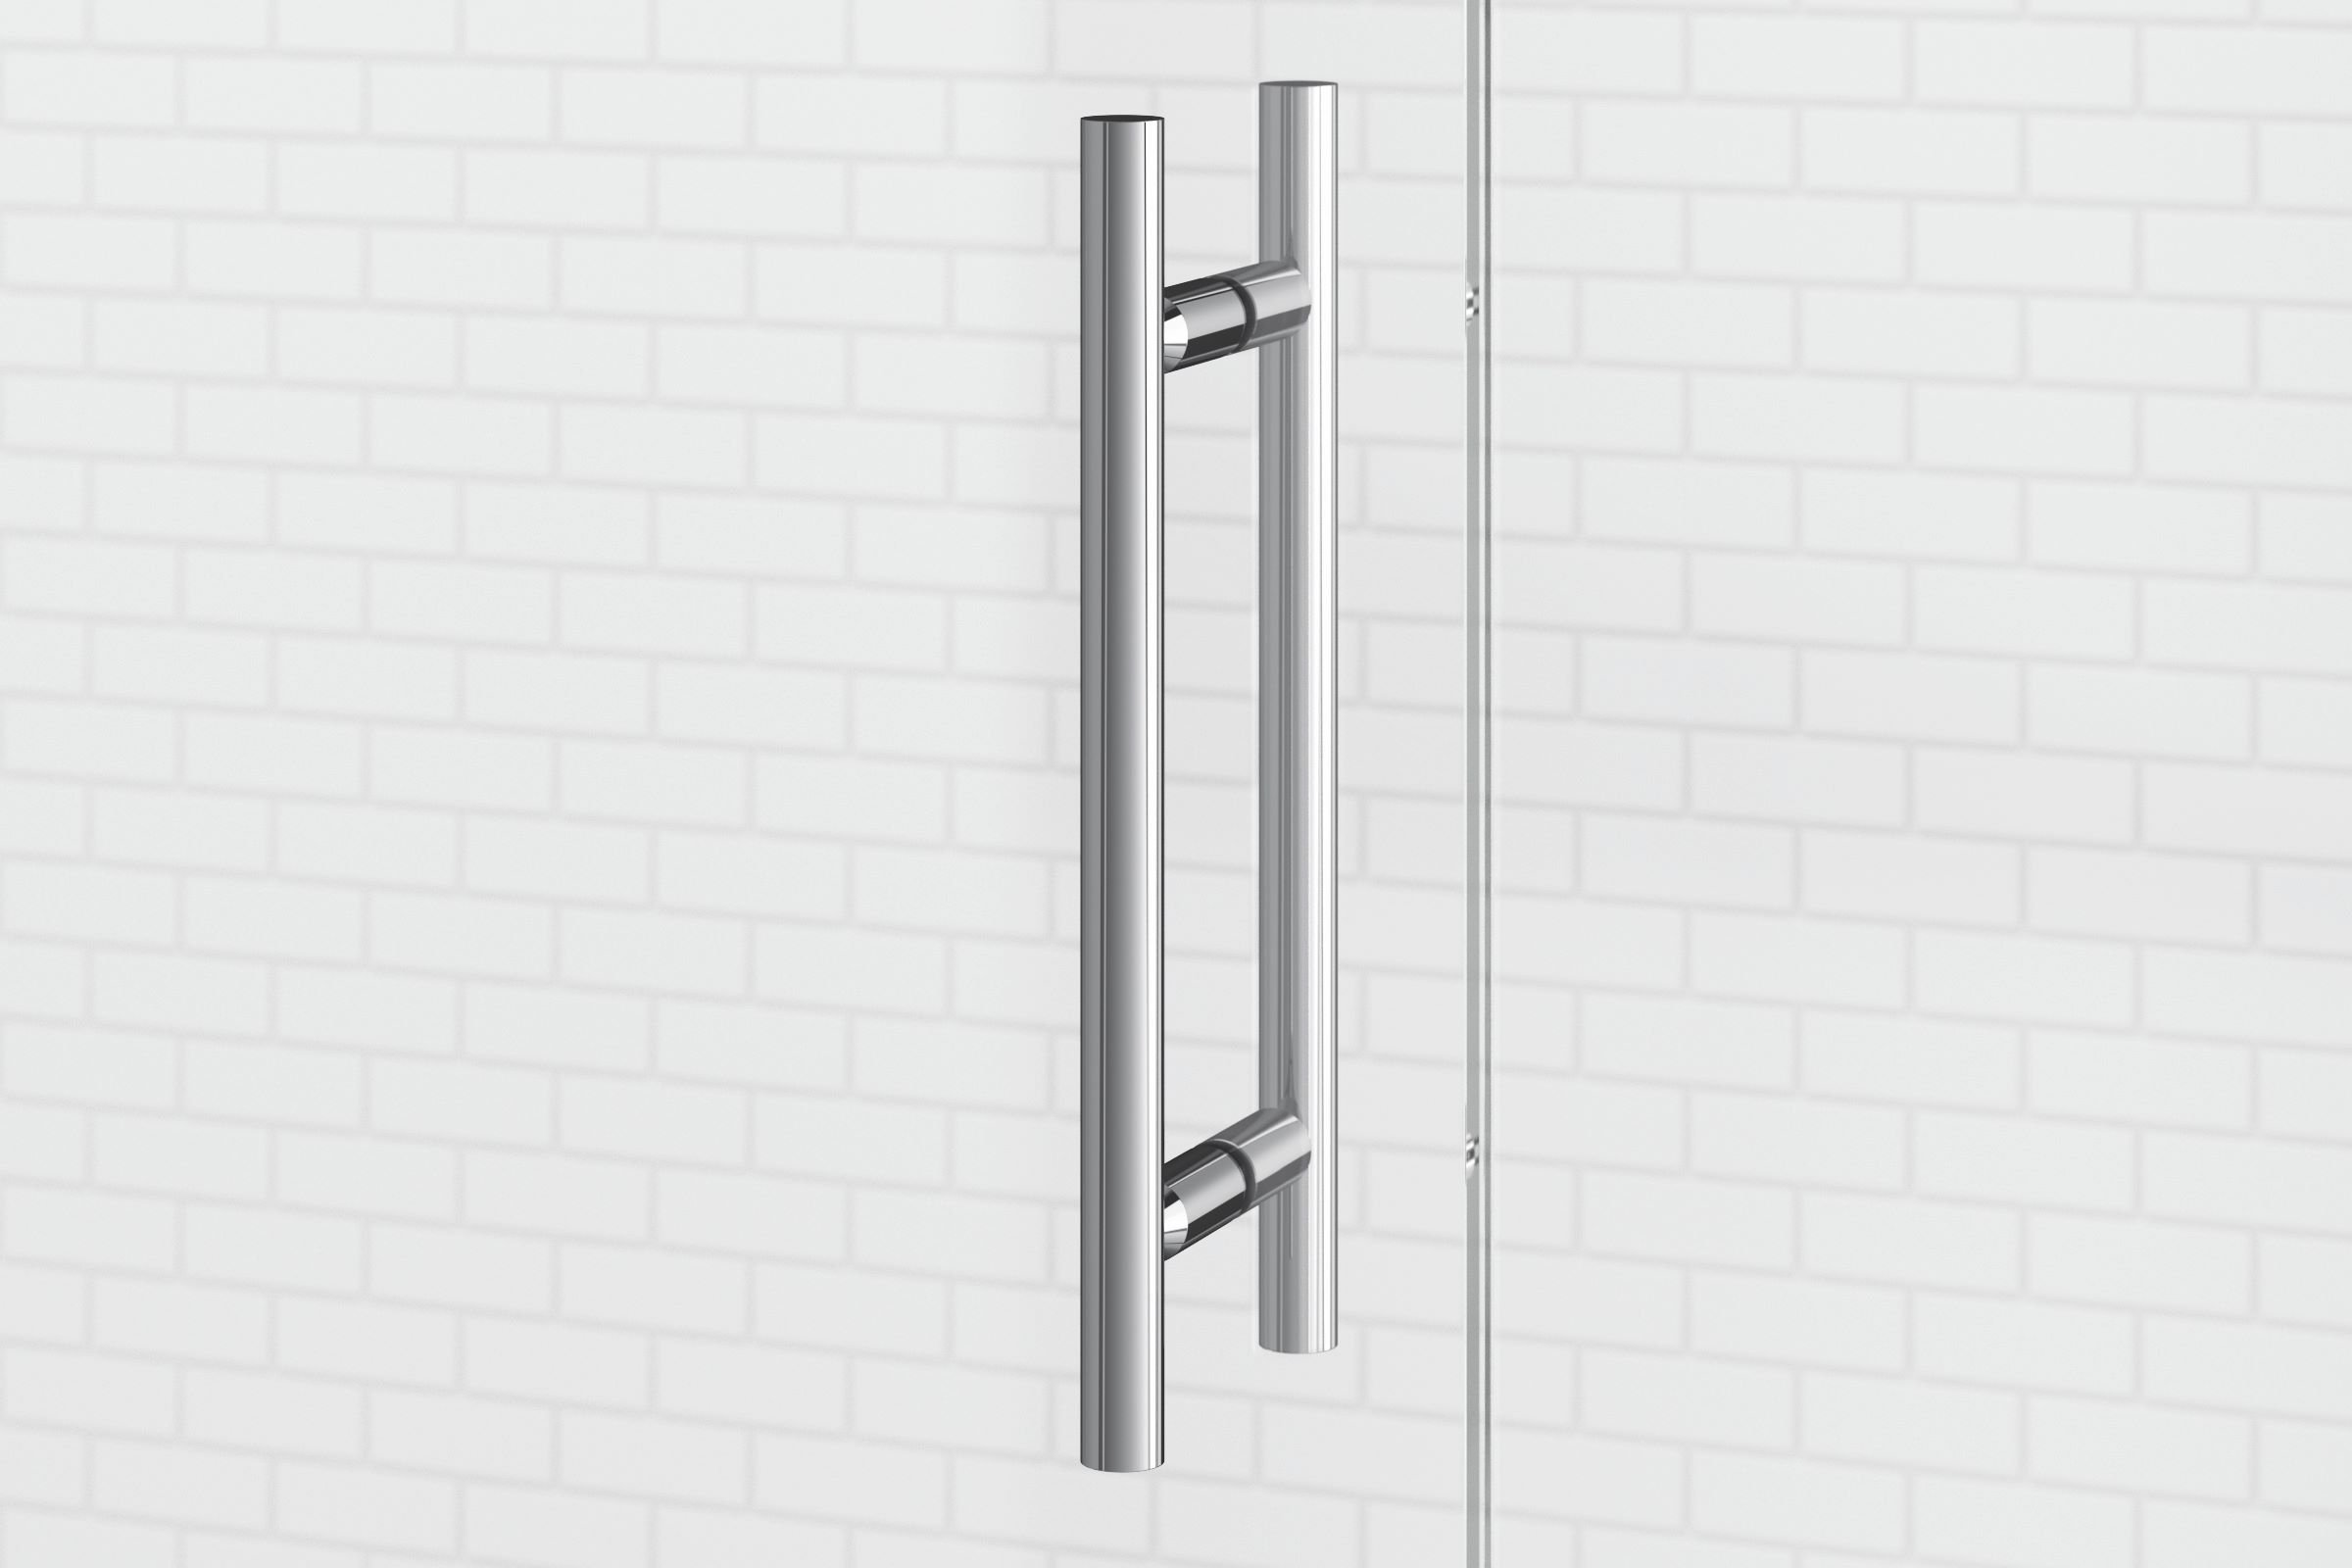
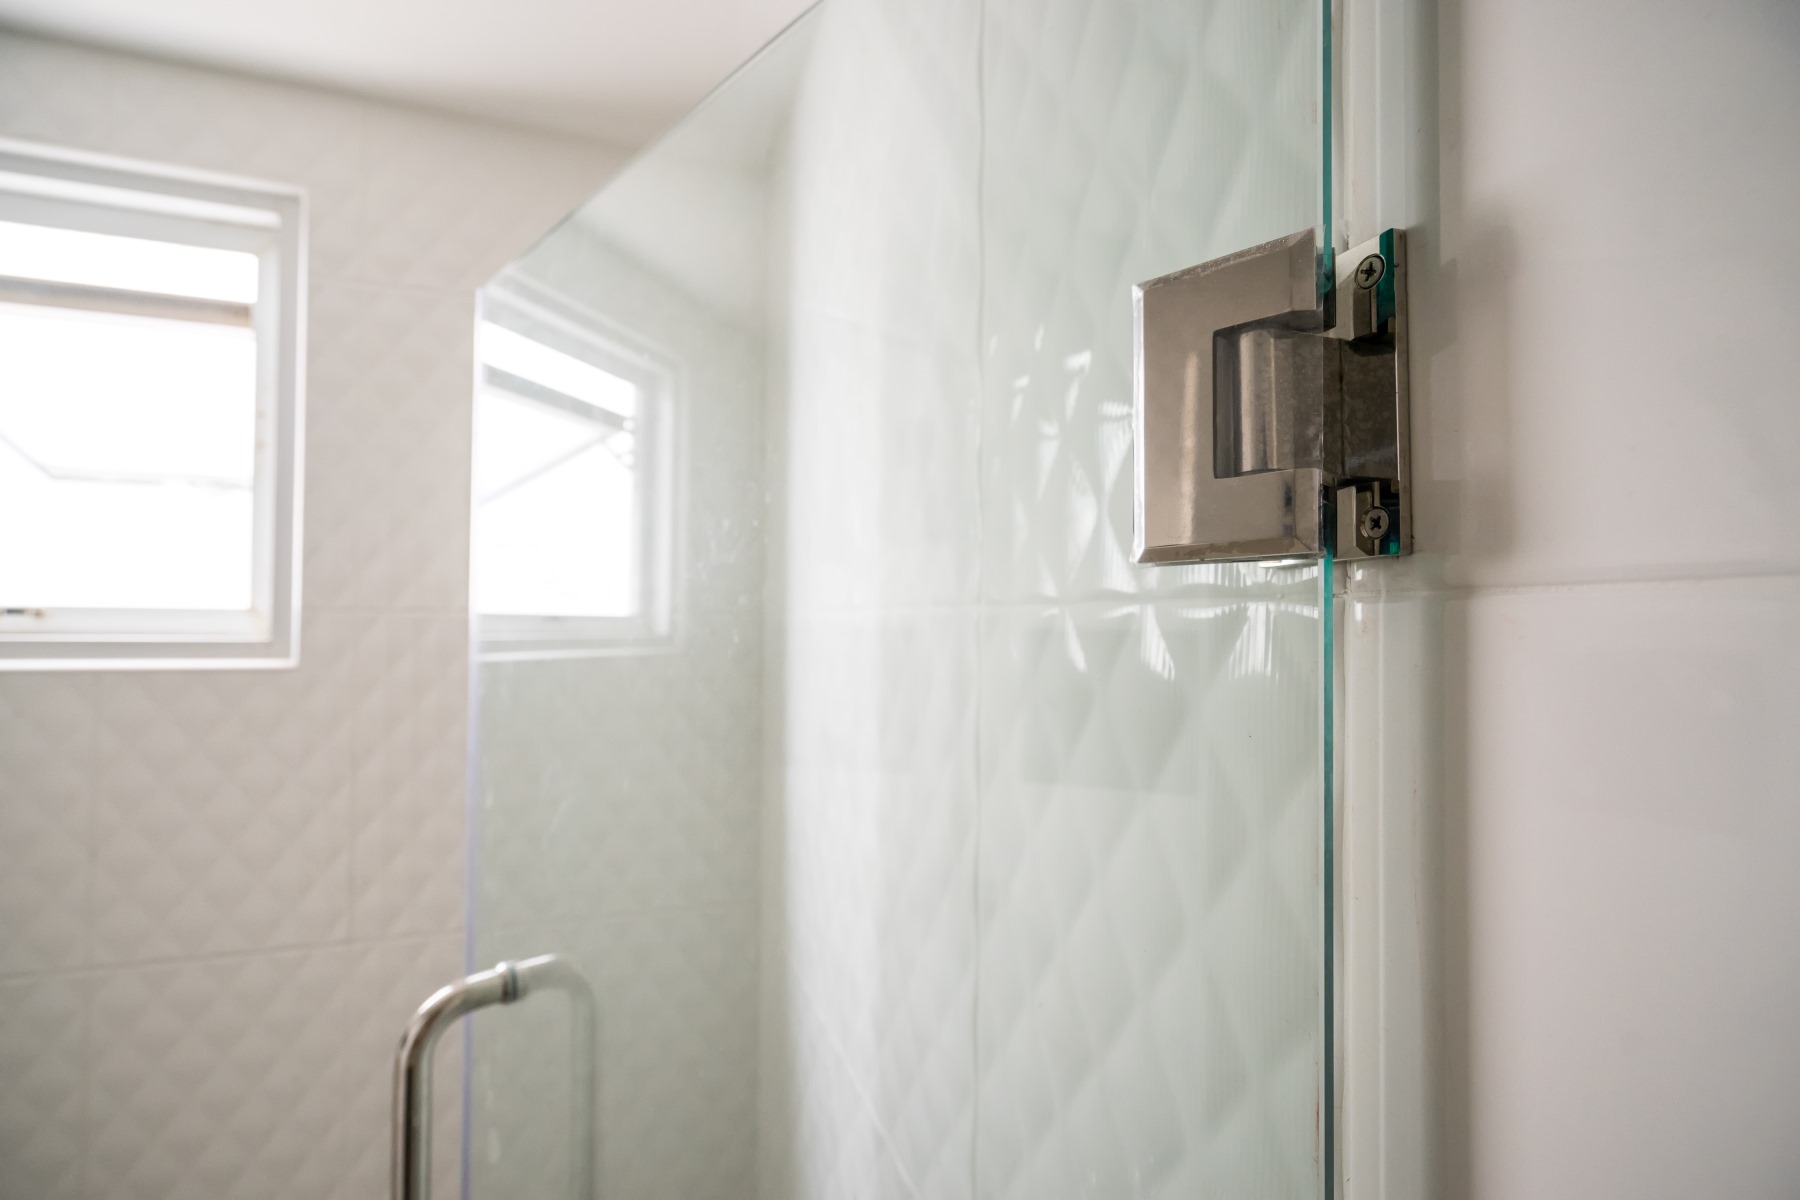
A loose glass shower door handle can be a frustrating inconvenience. Not only does it compromise the aesthetics of your bathroom, but it can also pose safety risks. Fortunately, tightening a glass shower door handle is a relatively simple task that can be accomplished with the right tools and a systematic approach.
In this guide, we will walk you through the step-by-step process of tightening a glass shower door handle. Whether you're a seasoned DIY enthusiast or a novice homeowner looking to tackle a minor household repair, this comprehensive tutorial will equip you with the knowledge and confidence to address this common issue.
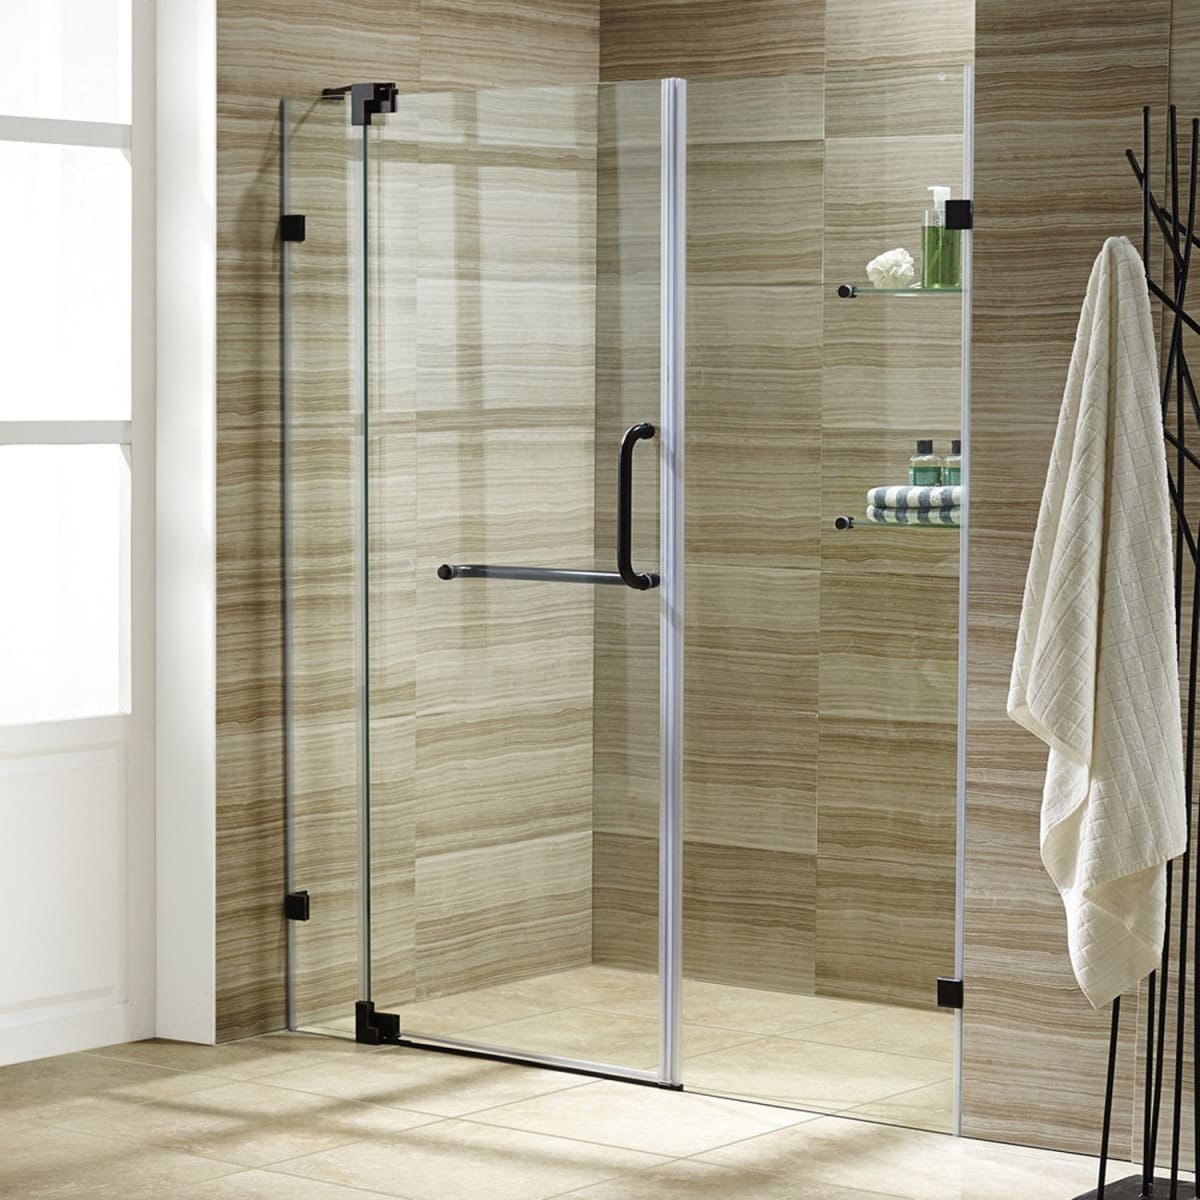
By following these instructions, you can restore the functionality and visual appeal of your glass shower door, ensuring that it remains a secure and stylish feature of your bathroom. So, gather your tools and let's get started on tightening that pesky glass shower door handle!
Key Takeaways:
- Keep your glass shower door handle secure by removing, cleaning, applying threadlocker, reattaching, and testing its tightness. This ensures a safe and stylish bathroom feature for years to come.
- With the right tools and systematic approach, tightening a loose glass shower door handle is a manageable DIY task that enhances both functionality and visual appeal.
Read more: How To Tighten Loose Faucet Handle
Tools and Materials Needed
When it comes to tightening a glass shower door handle, having the right tools and materials at your disposal is essential for a successful outcome. Here's a comprehensive list of what you'll need to complete this task effectively:
Tools:
- Phillips Head Screwdriver: This tool is crucial for removing and reattaching the screws that secure the handle to the glass door.
- Hex Key (Allen Wrench): Depending on the type of handle, a hex key may be required to access and tighten the set screws that hold the handle in place.
- Soft Cloth: A soft, lint-free cloth will be useful for cleaning the handle and the surrounding area before applying threadlocker.
- Rubbing Alcohol: This is an effective cleaning agent for removing any dirt, grime, or residue from the handle and the glass surface.
- Threadlocker: A high-quality threadlocker, such as Loctite or similar product, is necessary to secure the screws and prevent them from loosening over time.
Materials:
- Threadlocker: As mentioned above, a reliable threadlocker is essential for ensuring the long-term stability of the handle's attachment to the glass door.
- Clean Cloth or Paper Towels: These will be used to apply the rubbing alcohol and threadlocker, as well as for general cleaning purposes.
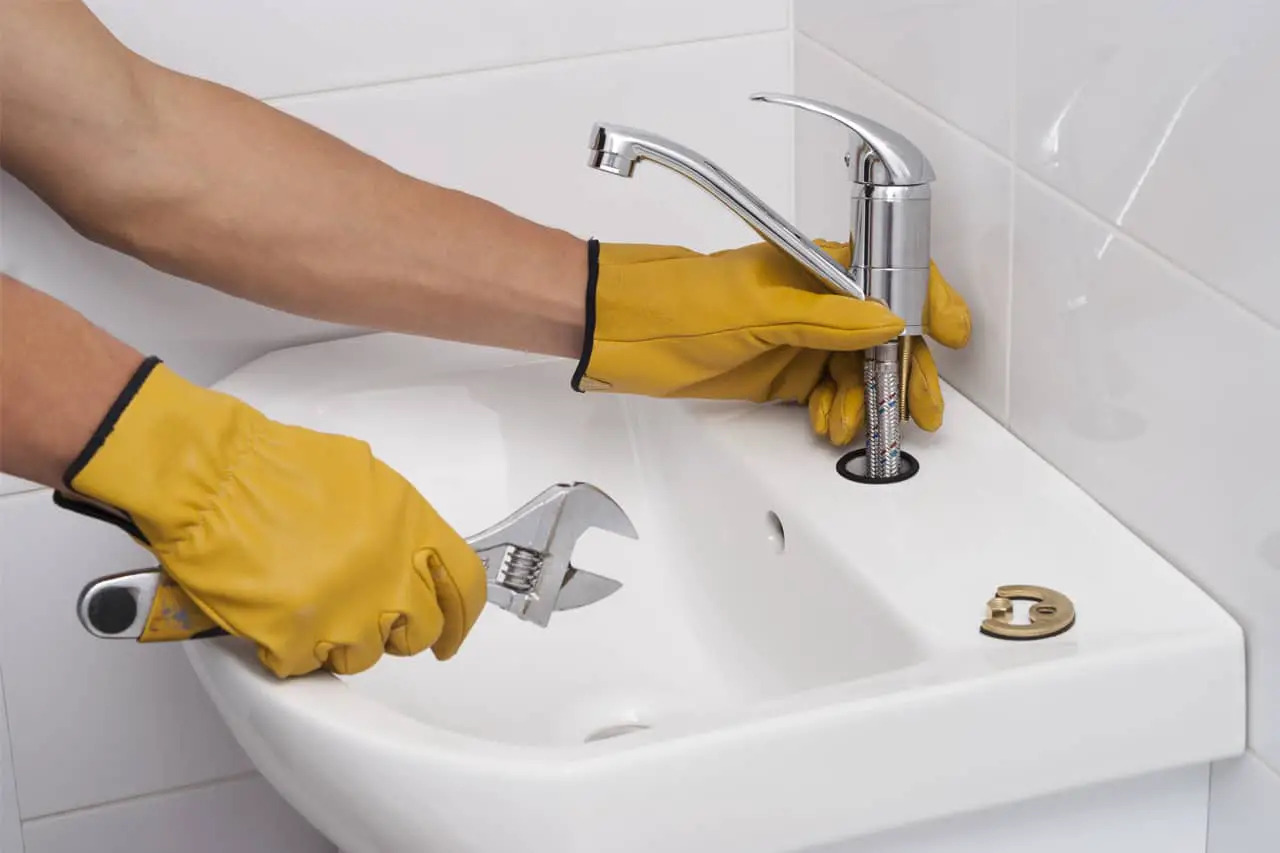
- Gloves (Optional): While not mandatory, wearing gloves can protect your hands from any sharp edges or potential chemical exposure during the process.
By having these tools and materials on hand, you'll be well-prepared to tackle the task of tightening your glass shower door handle with confidence and precision. Now that you're equipped with everything you need, let's move on to the step-by-step process of tightening the handle and restoring the functionality of your shower door.
Step 1: Remove the Handle
Before you can begin tightening a loose glass shower door handle, the first step is to remove the handle from the door. This process allows for easier access to the mounting screws and ensures that you can thoroughly clean the area before applying the threadlocker. Here's a detailed guide on how to remove the handle:
-
Identify the Mounting Screws: Inspect the handle to locate the mounting screws that secure it to the glass door. In most cases, these screws are located on the interior side of the handle, often concealed beneath a cover plate or decorative cap.
-
Use the Phillips Head Screwdriver: Once you've identified the mounting screws, use a Phillips head screwdriver to carefully remove them. Turn the screws counterclockwise to loosen and eventually detach them from the handle. It's important to exercise caution and apply gentle pressure to avoid damaging the screws or the surrounding glass surface.
-
Set Screws (If Applicable): Some glass shower door handles are secured in place by set screws, which require a hex key (Allen wrench) for removal. If your handle features set screws, locate the corresponding key size and carefully loosen and remove the set screws to release the handle from the door.
-
Handle Removal: With the mounting screws or set screws removed, gently lift the handle away from the glass door. Be mindful of any washers or spacers that may be present between the handle and the glass, as these components should be kept together for reassembly.
-
Place the Handle in a Safe Location: Once the handle is removed, place it on a soft, clean surface to prevent any scratches or damage. This is also a good opportunity to inspect the handle for any signs of wear, damage, or corrosion that may have contributed to the loosening issue.
By following these steps, you can successfully remove the glass shower door handle, setting the stage for the subsequent cleaning and tightening procedures. With the handle safely detached, you can proceed to the next steps with confidence, knowing that you have prepared the area for optimal maintenance and repair.
Read more: How To Tighten Sink Faucet Handle
Step 2: Clean the Area
Once the glass shower door handle has been removed, it's essential to thoroughly clean the area to ensure a secure and durable reattachment. Cleaning the handle and the surrounding glass surface serves multiple purposes, including the removal of dirt, grime, and residue that may have accumulated over time. Additionally, a clean and dry surface is crucial for the effective application of threadlocker, which is essential for preventing future loosening of the handle.
Here's a detailed guide on how to clean the area effectively:
-
Inspect the Handle and Glass Surface: Begin by carefully examining the handle and the area of the glass door where the handle is mounted. Look for any signs of corrosion, mineral deposits, or residual adhesive from previous installations. Identifying and addressing these issues during the cleaning process will contribute to a more secure and long-lasting reattachment.
-
Use Rubbing Alcohol: Apply a small amount of rubbing alcohol to a clean, lint-free cloth or paper towel. Gently wipe the handle and the surrounding glass surface to remove any accumulated dirt, oils, or residues. The rubbing alcohol effectively dissolves and lifts away contaminants, preparing the surface for the application of threadlocker.
-
Inspect for Residue: After cleaning with rubbing alcohol, inspect the handle and glass surface to ensure that all residues and contaminants have been effectively removed. Pay close attention to areas around screw holes and mounting points, as these are critical areas for achieving a secure attachment.
-
Dry the Area: Once the cleaning process is complete, use a dry cloth or paper towel to thoroughly dry the handle and the glass surface. Any remaining moisture or residue should be removed to create an optimal environment for the application of threadlocker.
By meticulously cleaning the handle and the surrounding glass surface, you are setting the stage for a successful reattachment process. The removal of dirt, grime, and residue not only contributes to a more aesthetically pleasing appearance but also ensures that the threadlocker can adhere effectively to the surfaces, providing a strong and durable bond. With the area cleaned and prepared, you are now ready to proceed to the next step of applying threadlocker to secure the glass shower door handle.
Step 3: Apply Threadlocker
With the glass shower door handle removed and the area thoroughly cleaned, the next crucial step in tightening the handle involves the application of threadlocker. Threadlocker is a specialized adhesive designed to prevent screws and bolts from loosening due to vibration, shock, or thermal cycling. By applying threadlocker to the mounting screws of the handle, you can significantly enhance the stability and longevity of the attachment, ensuring that the handle remains securely in place over time.
Here's a detailed guide on how to apply threadlocker effectively:
-
Select the Appropriate Threadlocker: Threadlockers are available in different strengths and formulations, typically categorized as low, medium, or high strength. For the mounting screws of a glass shower door handle, a medium-strength threadlocker is generally recommended. Ensure that the selected threadlocker is compatible with the materials involved, particularly the metal of the screws and the surface of the glass door.
-
Prepare the Threadlocker: Prior to application, it's essential to prepare the threadlocker according to the manufacturer's instructions. This may involve shaking the bottle to ensure uniform consistency or activating the threadlocker by applying pressure to the container. Following the recommended preparation steps will optimize the adhesive properties of the threadlocker.
-
Apply a Controlled Amount: Using a clean cloth, paper towel, or applicator, carefully apply a controlled amount of threadlocker to the threads of each mounting screw. It's important to avoid excessive application, as this can lead to excess adhesive seeping out and potentially affecting the appearance of the handle and the glass surface. A small drop or thin coating of threadlocker on the threads is typically sufficient for effective bonding.
-
Distribute the Threadlocker: Once applied, gently distribute the threadlocker along the entire length of the screw threads. This ensures that the adhesive is evenly distributed and fully coats the threads, maximizing its bonding effectiveness. Take care to avoid any contact with the cleaned glass surface, as any excess threadlocker should be confined to the screw threads.
-
Allow for Curing Time: After applying the threadlocker, allow sufficient time for it to cure and bond effectively. Refer to the manufacturer's instructions for the recommended curing time, which may vary based on the specific formulation of the threadlocker. During this curing period, it's important to avoid any handling or disturbance of the treated screws to ensure optimal bonding.
By following these steps, you can effectively apply threadlocker to the mounting screws of the glass shower door handle, significantly enhancing the stability and longevity of the attachment. With the threadlocker in place, you are now ready to reattach the handle and complete the tightening process, ensuring a secure and durable solution for your glass shower door handle.
To tighten a glass shower door handle, use a screwdriver to tighten the screws on the inside of the handle. If the screws are stripped, replace them with longer ones for a better grip.
Step 4: Reattach the Handle
With the mounting screws treated with threadlocker and the glass door surface meticulously cleaned, it's time to reattach the glass shower door handle. This step is crucial for restoring the functionality and aesthetic appeal of the shower door while ensuring a secure and durable attachment. Here's a detailed guide on how to reattach the handle effectively:
-
Position the Handle: Carefully position the handle against the glass door, aligning it with the original mounting points. Take note of any washers or spacers that were present during the removal process, ensuring that they are properly positioned to maintain the handle's alignment and stability.
-
Insert the Mounting Screws: Using the Phillips head screwdriver, begin inserting the treated mounting screws into their respective holes on the handle. Apply gentle pressure and rotate the screws clockwise to initiate the threading process. It's important to avoid over-tightening at this stage, as the goal is to secure the handle in place before making final adjustments.
-
Set Screws (If Applicable): For handles secured with set screws, use the hex key to carefully insert and tighten the set screws. Ensure that they are securely fastened without exerting excessive force, as overtightening can lead to stress on the glass door and potential damage.
-
Check Alignment and Tightness: Once the mounting screws are in place, verify the alignment and positioning of the handle. Ensure that it sits flush against the glass door without any wobbling or misalignment. At this stage, the handle should be snug but not fully tightened, allowing for minor adjustments if necessary.
-
Final Tightening: With the handle properly aligned, proceed to tighten the mounting screws using the Phillips head screwdriver. Apply controlled force to securely fasten the screws, taking care not to overtighten, which can lead to potential damage to the glass door or the handle itself.
-
Inspect for Stability: After tightening the mounting screws, gently test the stability of the handle by applying light pressure in various directions. The handle should remain firm and secure, with no noticeable movement or loosening. If any instability is detected, revisit the tightening process to ensure a secure attachment.
By following these steps, you can effectively reattach the glass shower door handle, ensuring a secure and stable connection to the glass door. With the handle securely in place, you have successfully completed the tightening process, restoring the functionality and visual appeal of your glass shower door while mitigating the risk of future loosening issues.
Step 5: Test the Tightness
After reattaching the glass shower door handle and ensuring that the mounting screws are securely fastened, it is essential to perform a thorough test of the handle's tightness. This step is crucial for verifying the effectiveness of the tightening process and confirming that the handle remains stable and secure in its newly restored position.
To test the tightness of the handle, begin by applying varying degrees of pressure and force to different areas of the handle. Gently grasp the handle and attempt to move it in different directions, including pulling, pushing, and twisting motions. The goal is to assess the handle's stability and resistance to movement, ensuring that it remains firmly attached to the glass door without any signs of loosening or instability.
As you test the tightness of the handle, pay close attention to any subtle movements or shifts in the handle's position. Even the slightest wobble or play in the handle's movement can indicate potential issues with the tightening process. By conducting a comprehensive assessment of the handle's tightness, you can identify and address any remaining concerns before concluding the repair process.
In addition to manual testing, it is advisable to operate the glass shower door as you normally would during daily use. Open and close the door while paying attention to the handle's performance and stability. Listen for any unusual sounds or vibrations that may indicate inadequate tightening or potential points of weakness.
If, during the testing process, you detect any signs of loosening, movement, or instability in the handle, it is essential to revisit the tightening process and make necessary adjustments. This may involve re-tightening the mounting screws or reapplying threadlocker to ensure a secure and durable attachment.
Ultimately, the goal of testing the tightness of the glass shower door handle is to confirm that the repair has been successful and that the handle remains steadfast and reliable in its function. By conducting a comprehensive assessment and addressing any potential issues, you can achieve peace of mind knowing that your glass shower door handle is securely tightened and ready for long-term use.
With the handle passing the rigorous testing process and demonstrating stability and resilience, you can confidently conclude the tightening process, knowing that your glass shower door is equipped with a securely attached and reliable handle.
Read more: How To Tighten Bathroom Faucet Handle
Conclusion
In conclusion, addressing a loose glass shower door handle is a manageable task that can be accomplished with the right tools, materials, and a systematic approach. By following the step-by-step process outlined in this guide, you can effectively tighten the handle, restoring both its functionality and aesthetic appeal.
The initial steps of removing the handle and cleaning the area are essential for preparing the surface and ensuring a secure reattachment. Thoroughly cleaning the handle and the surrounding glass surface not only contributes to a visually appealing result but also creates an optimal environment for the application of threadlocker.
The application of threadlocker is a critical step in the tightening process, as it significantly enhances the stability and longevity of the handle's attachment. By effectively applying and distributing the threadlocker, you can prevent future loosening of the mounting screws, providing a durable and reliable solution for your glass shower door handle.
Reattaching the handle and testing its tightness are the final steps in the process, allowing you to verify the effectiveness of the repair and confirm that the handle remains securely fastened. Through careful alignment, controlled tightening, and comprehensive testing, you can ensure that the handle is stable and resilient, ready to withstand the demands of daily use.
By successfully tightening your glass shower door handle, you not only address a common household inconvenience but also contribute to the overall safety and functionality of your bathroom. A securely attached handle enhances the user experience and provides peace of mind, knowing that your glass shower door is equipped with a reliable and stable fixture.
In essence, this guide empowers homeowners and DIY enthusiasts to tackle a loose glass shower door handle with confidence and precision. By following these detailed instructions and leveraging the right tools and materials, you can achieve a successful tightening outcome, ensuring that your glass shower door remains a secure and stylish feature of your bathroom for years to come.
Frequently Asked Questions about How To Tighten Glass Shower Door Handle
Was this page helpful?
At Storables.com, we guarantee accurate and reliable information. Our content, validated by Expert Board Contributors, is crafted following stringent Editorial Policies. We're committed to providing you with well-researched, expert-backed insights for all your informational needs.


0 thoughts on “How To Tighten Glass Shower Door Handle”