Home>Home Maintenance>How To Clean Burnt Stove Burners
Home Maintenance
How To Clean Burnt Stove Burners
Modified: February 29, 2024
Discover effective articles on how to get burnt off stove burners. Keep your kitchen clean and safe with these helpful tips and tricks.
(Many of the links in this article redirect to a specific reviewed product. Your purchase of these products through affiliate links helps to generate commission for Storables.com, at no extra cost. Learn more)
Introduction
Dealing with burnt stove burners can be frustrating and unsightly. Whether it’s due to a cooking mishap or overuse, burnt-on residue can accumulate on the surface of stove burners, making them look dirty and affecting their efficiency. Fortunately, with the right materials and a little elbow grease, you can easily restore your stove burners to their former glory.
In this article, we will guide you through a step-by-step process to get rid of all that burnt gunk and restore your stove burners to their original shine. From removing the burners to applying the right cleaning solution, we’ll walk you through each stage of the process, ensuring that you can tackle this task with confidence.
Before we jump into the cleaning process, it’s essential to understand what causes burn marks on stove burners. When food or grease spills onto the burner surface and isn’t cleaned promptly, it can burn and stick to the metal. Over time, these burnt-on stains become harder to remove and can affect the heat distribution and cooking performance of your stove.
To tackle this issue effectively, you’ll need to gather a few materials and tools. Don’t worry; these are common household items you likely already have on hand. Once you have everything ready, we can begin the process of removing burnt residue from your stove burners.
Key Takeaways:
- Say goodbye to burnt-on residue on stove burners with simple household items and a systematic cleaning process. Enjoy a sparkling clean stove and efficient cooking once again!
- Regular maintenance and periodic cleaning can prevent future build-up, ensuring your stove burners remain in excellent condition for years to come. Happy cooking!
Understanding the Burnt Stove Burners
Before diving into the cleaning process, it’s important to have a clear understanding of the burnt stove burners. When food particles, spills, and grease accumulate on the burner surface and are exposed to heat, they can burn and form a stubborn layer of residue.
These burnt deposits can negatively impact the appearance and functionality of your stove burners. Not only do they make your kitchen look dirty and unkempt, but they can also affect the even distribution of heat, leading to uneven cooking.
Furthermore, burnt-on residue can emit unpleasant odors and smoke when the burners are in use. This can not only be a nuisance but may also affect the quality of your cooked food.
Additionally, neglecting to clean burnt stove burners can lead to more serious issues. The residue can become hardened over time, making it even more challenging to remove. This can result in permanent stains or damage to the burner’s surface.
Understanding the nature of burnt stove burners is crucial as it helps to emphasize the importance of regular cleaning and maintenance. By adopting proper cleaning techniques and addressing the burnt-on residue promptly, you can extend the lifespan of your stove burners and ensure their optimal performance.
Now that you have a better understanding of the burnt stove burners, let’s move on to the materials and tools you’ll need to effectively clean them.
Materials and Tools Needed
Before you start cleaning your burnt stove burners, gather the following materials and tools:
- Dish soap
- Warm water
- Non-abrasive sponge
- Baking soda
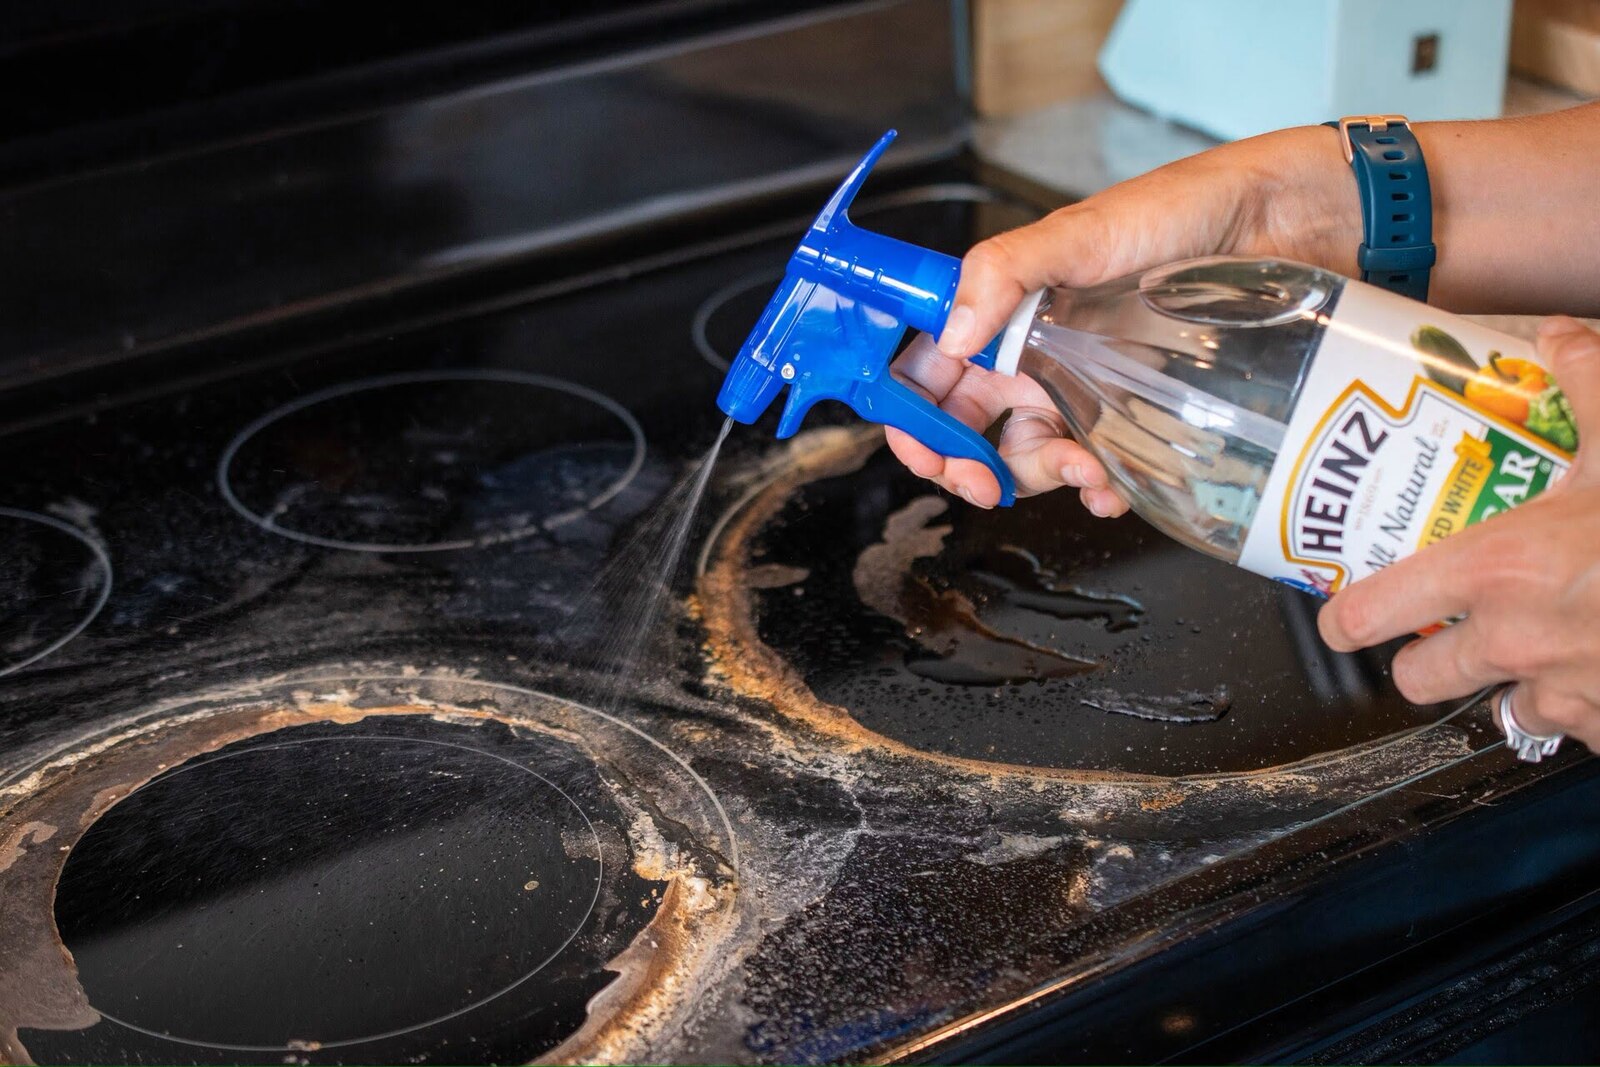
- Vinegar
- Plastic ziplock bags (large enough to fit the burners)
- Paper towels or clean cloth
Having these items readily available will make the cleaning process much smoother and more efficient. Most of these materials can be found in your kitchen or easily purchased from a local store.
The dish soap and warm water will be used to soak and loosen the burnt-on residue. The non-abrasive sponge will help scrub away the stains without damaging the burner surfaces.
Baking soda and vinegar are powerful cleaning agents that can help break down tough stains and grease. These natural ingredients work together to create a paste that will aid in the removal of burnt-on residue.
Plastic ziplock bags are useful for soaking the burners in the cleaning solution, allowing for maximum contact and thorough cleaning. Finally, keep some paper towels or a clean cloth nearby for wiping off excess moisture and residue.
Once you have gathered all the necessary materials and tools, you are now ready to begin the cleaning process. Let’s move onto the first step: removing the burners from the stove.
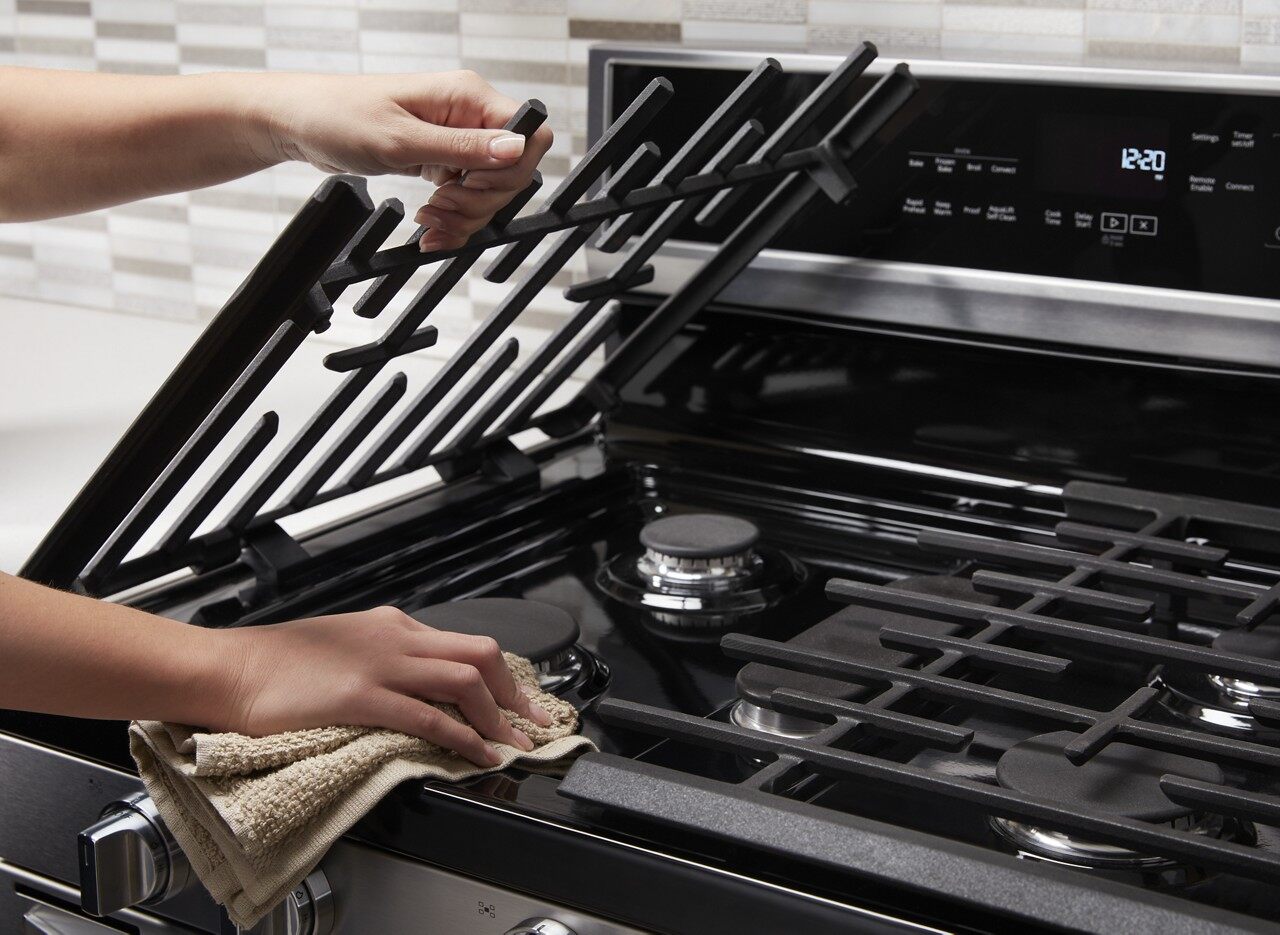
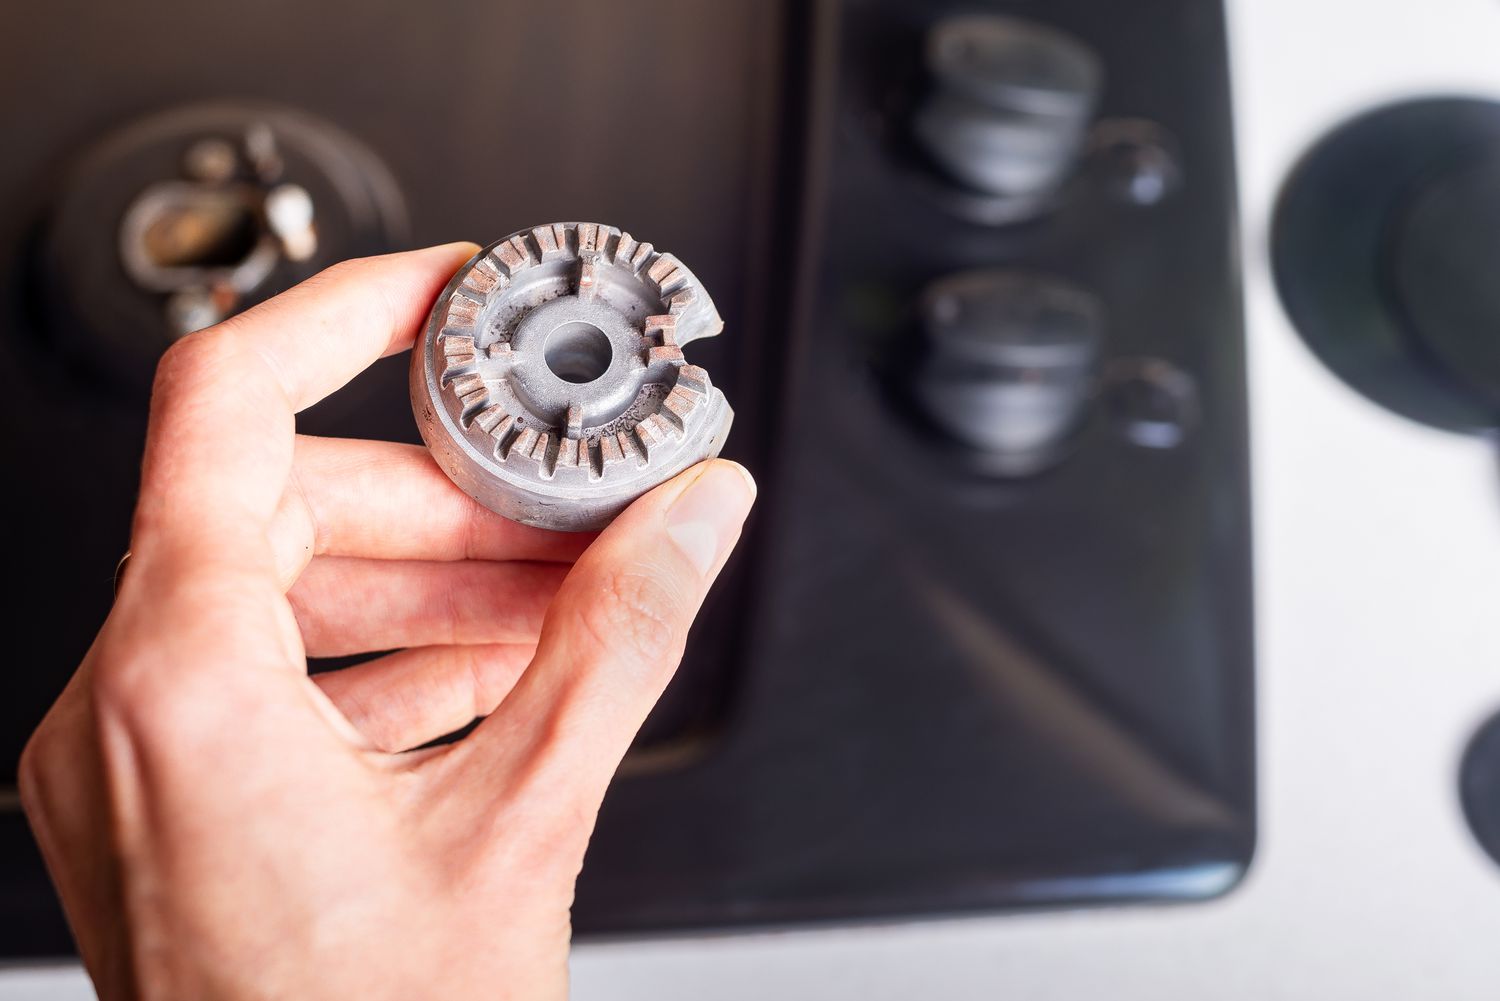
Step 1: Removing the Burners
The first step in cleaning your burnt stove burners is to carefully remove them from the stove. This will allow you to have better access to the burners and clean them more effectively.
Before you start, make sure the stove is turned off and cooled down completely to avoid any accidents. Follow these steps to remove the burners:
- Locate the burner knobs or switches and turn them to the “off” position.
- Find the burner grates that sit on top of the burners. Gently lift them off and set them aside.
- Now, you’ll be able to see the burners themselves. Depending on your stove model, the burners may be held in place by screws or spring clips.
- If your burners are secured with screws, use a screwdriver to carefully unscrew them. Keep the screws in a safe place for reinstallation later.
- If your burners have spring clips, gently press them inward and lift the burners up. Be cautious not to damage the clips.
- Once the burners are free, lift them off the stove’s surface and place them on a clean and stable surface. This will make it easier to clean them.
Make sure to handle the burners with care to avoid any damage or injury. If the burners are particularly dirty, you may want to wear gloves for added protection.
Now that you have successfully removed the burners from the stove, you can proceed to the next step: soaking the burners in dish soap and water.
Step 2: Soaking in Dish Soap and Water
Now that you have removed the burners from the stove, it’s time to give them a good soak to loosen the burnt-on residue. Soaking the burners in a mixture of dish soap and water will help soften and dissolve the stains, making them easier to remove.
Follow these steps to soak the burners:
- Fill a sink or basin with warm water.
- Add a generous amount of dish soap to the water and mix it well to create a soapy solution.
- Gently place the burners into the soapy water. Make sure they are fully submerged.
- Allow the burners to soak for at least 30 minutes. This will give the dish soap enough time to break down the burnt-on residue.
While the burners are soaking, you can take this time to clean the burner grates using the same dish soap and water solution. Scrub them gently with a non-abrasive sponge to remove any dirt or grease.
Note: If your sink or basin is not large enough to accommodate the burners, you can use a plastic ziplock bag instead. Place the burners inside the bag and pour the soapy water into it. Seal the bag tightly and gently mix the contents to ensure the burners are properly coated with the solution.
Once the soak time is complete, remove the burners from the soapy water and move on to the next step: scrubbing with a non-abrasive sponge.
Read more: How To Clean Kitchen Stove Burners
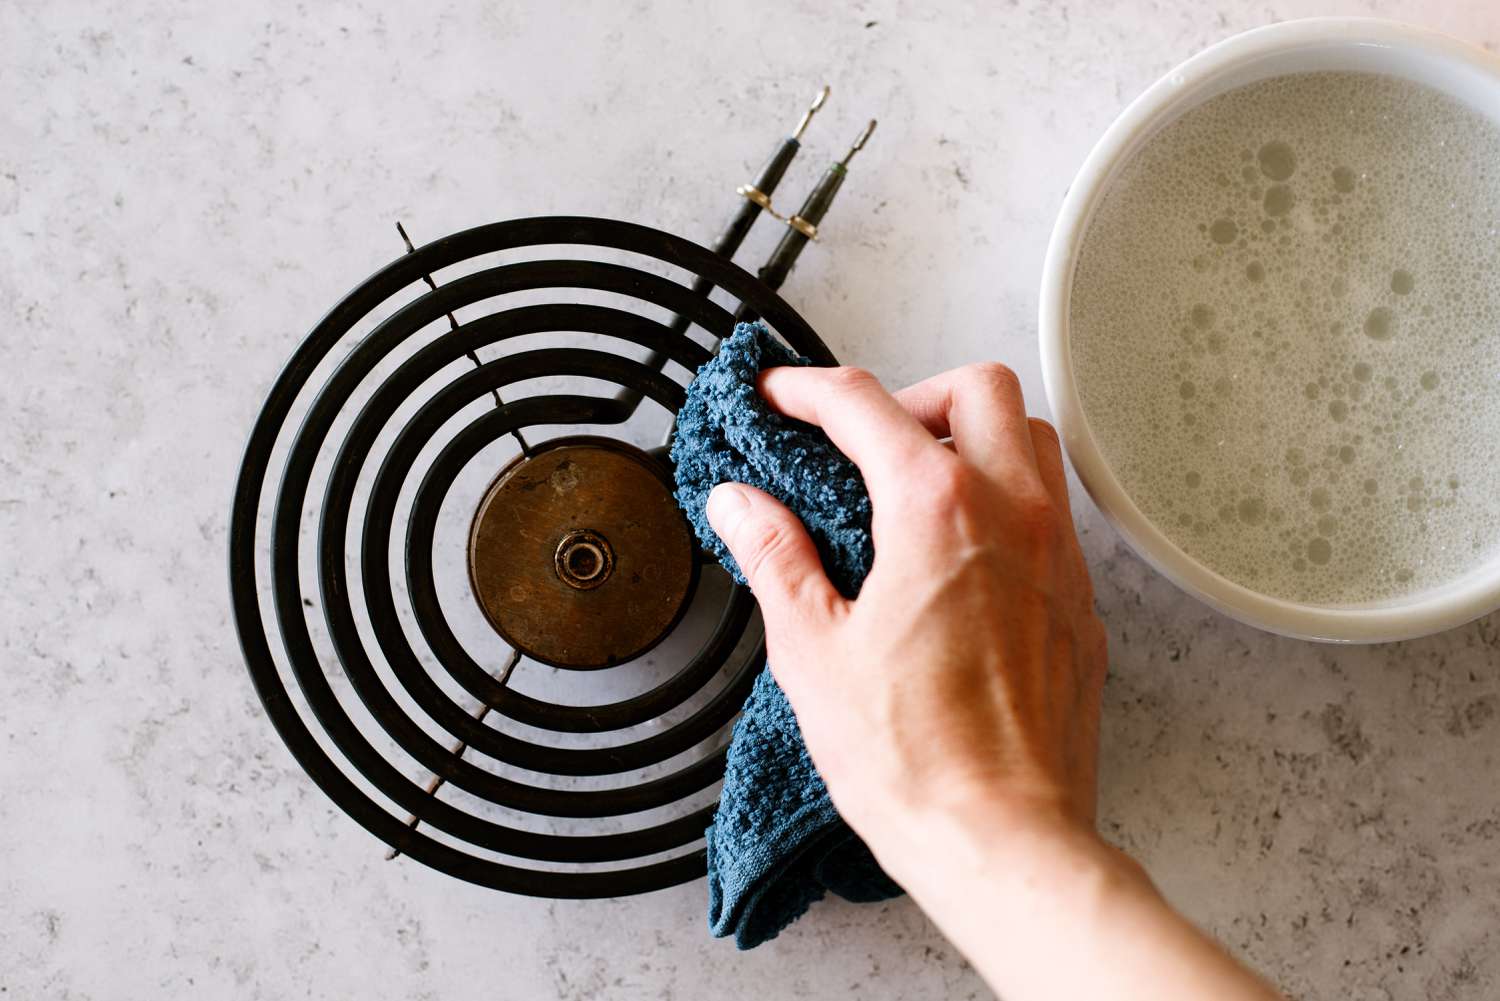
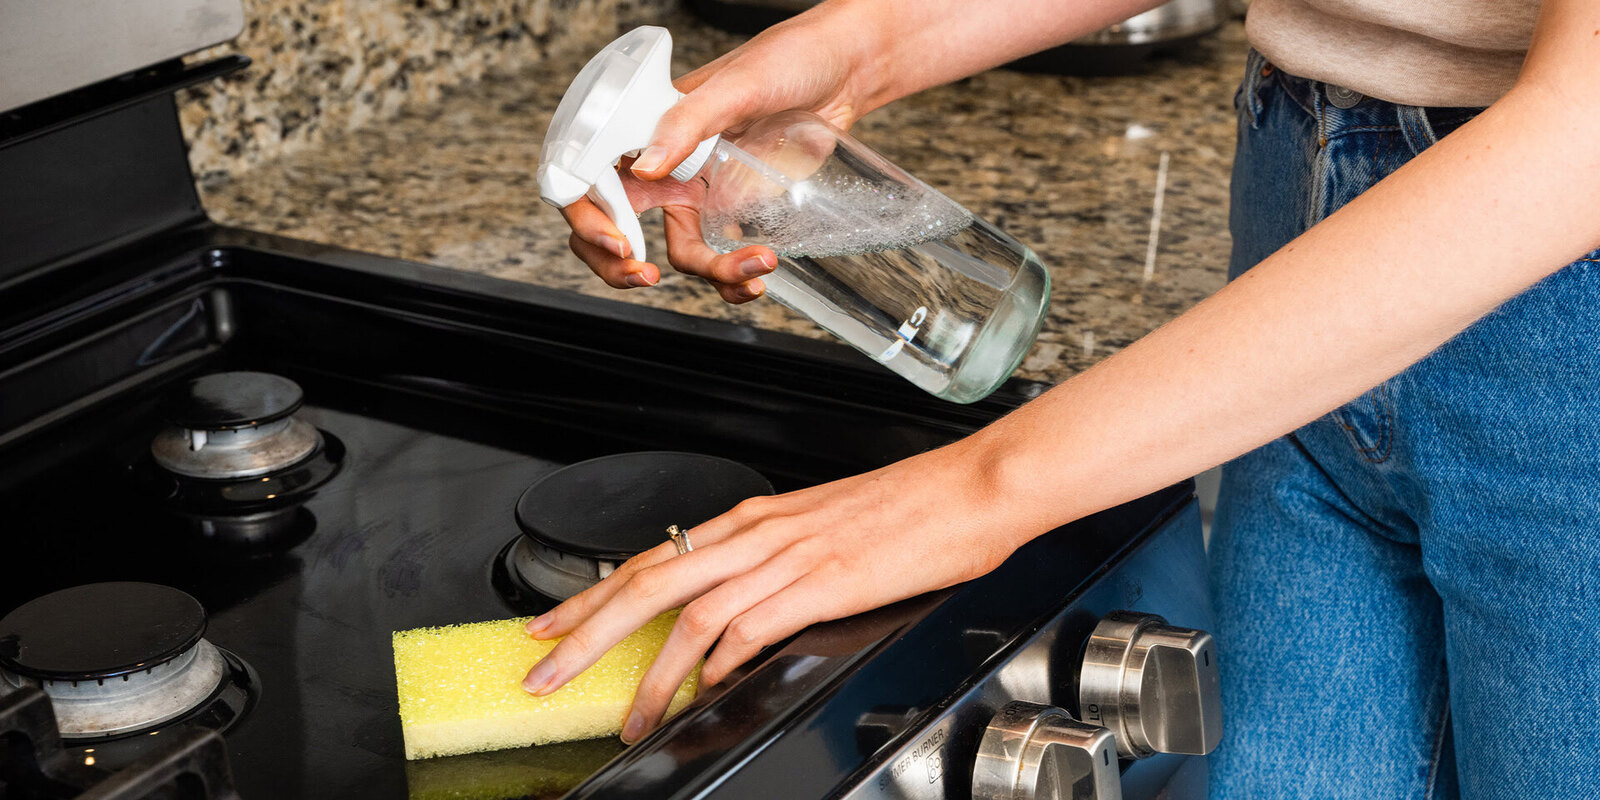
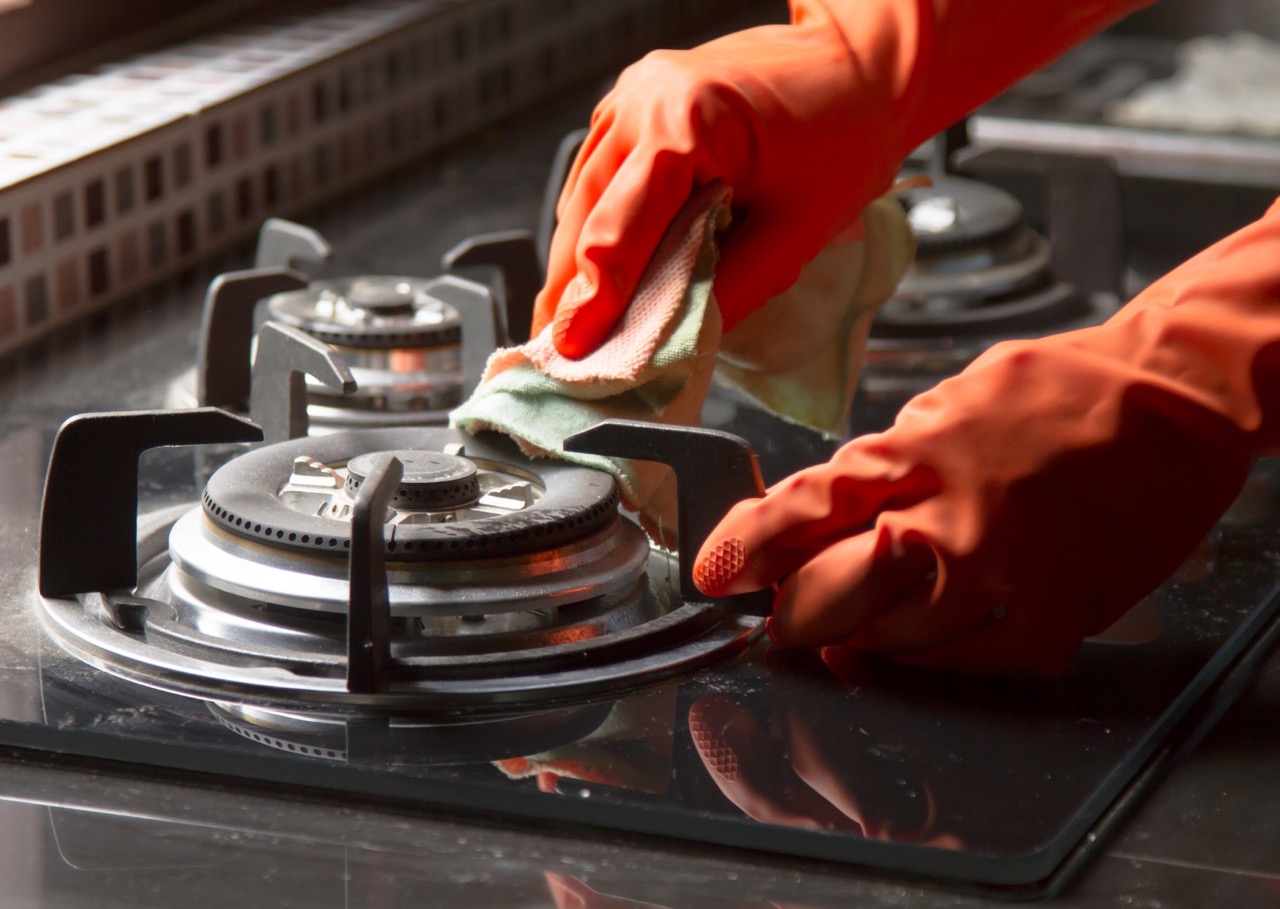
Step 3: Scrubbing with a Non-Abrasive Sponge
After soaking the burners in dish soap and water, it’s time to scrub away the remaining burnt-on residue using a non-abrasive sponge. This step will help lift off any loosened stains and grime, revealing a cleaner surface.
Follow these steps to scrub the burners:
- Take one of the soaked burners and rinse it under running water to remove any excess soap.
- Dampen a non-abrasive sponge and gently scrub the entire surface of the burner. Apply light pressure to remove the burnt residue without scratching the metal.
- Focus on the areas with stubborn stains and build-up. Use small circular motions to help break down the residue.
- If needed, you can apply a small amount of dish soap directly to the sponge to create a mild cleaning solution.
- Rinse the burner under running water again to remove any debris or soap residue.
- Inspect the burner to see if any stains remain. If necessary, repeat the scrubbing process until the burner is clean.
- Once you are satisfied with the cleanliness of the first burner, set it aside and repeat the process for the remaining burners.
Remember to be gentle while scrubbing to avoid damaging the burners. The non-abrasive sponge will help remove the burnt-on residue without scratching or harming the surface.
Once all the burners have been scrubbed clean, you can proceed to the next step: applying a baking soda and vinegar paste.
To remove burnt-on residue from stove burners, soak them in a mixture of hot water and dish soap for at least 30 minutes, then scrub with a non-abrasive sponge or brush. For tougher stains, use a paste of baking soda and water.
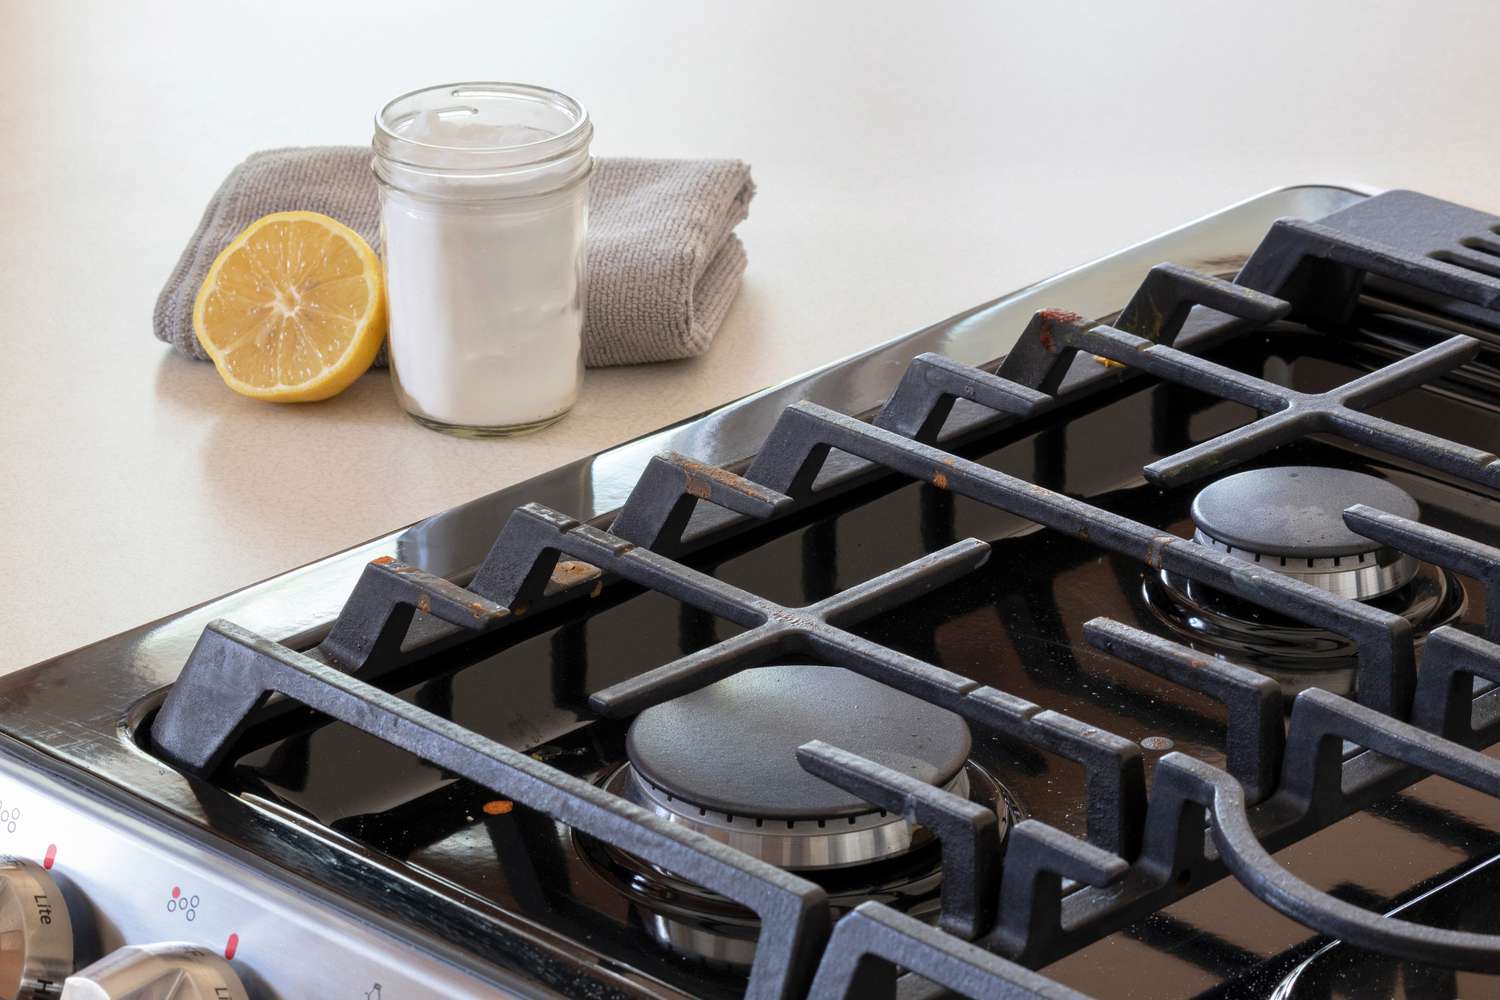
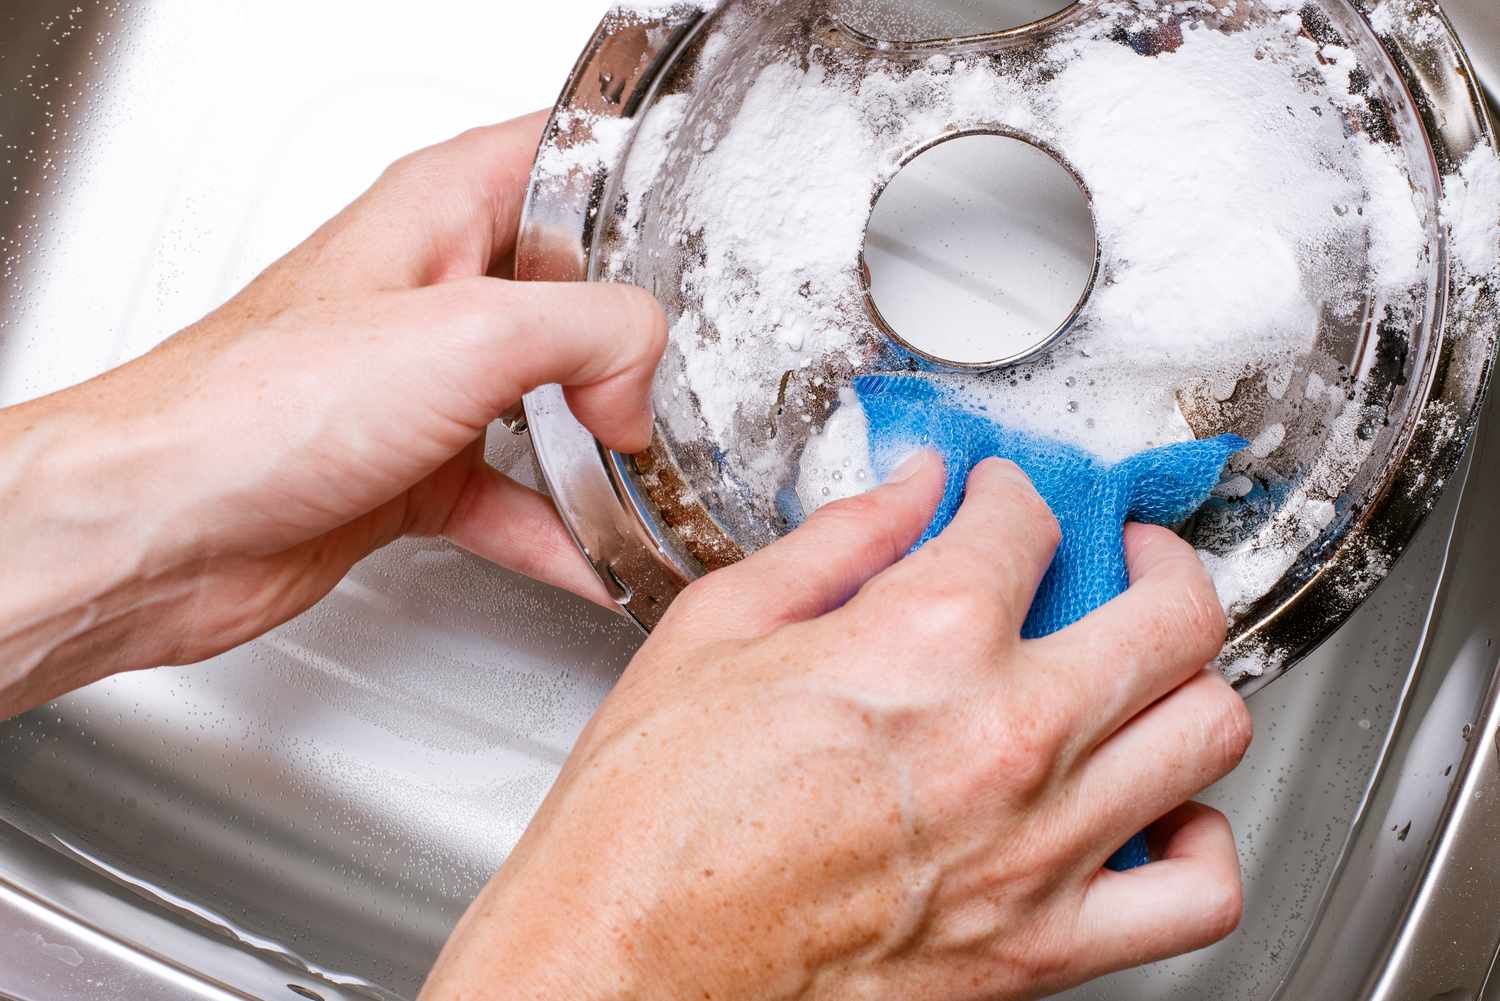
Step 4: Applying Baking Soda and Vinegar Paste
Applying a baking soda and vinegar paste is an effective way to tackle stubborn burnt-on residue on stove burners. The combination of these two natural ingredients creates a powerful cleaning agent that helps dissolve and lift away tough stains.
Follow these steps to create and apply the baking soda and vinegar paste:
- In a small bowl, mix equal parts baking soda and vinegar to form a thick paste. The paste should be thick enough to spread easily but not too runny.
- Take one of the cleaned burners and apply the baking soda and vinegar paste to the surface. Use a spoon or your fingers to spread the paste evenly over the burners.
- Pay special attention to areas with stubborn residue or stains. Make sure to cover the entire surface of the burner with the paste.
- Allow the baking soda and vinegar paste to sit on the burners for approximately 15-20 minutes. This will give the paste enough time to penetrate and break down the burnt-on residue.
- While the paste is sitting, you can use this time to clean other parts of your stove or take a well-deserved break.
The combination of baking soda and vinegar creates a reaction that helps loosen and dissolve the burnt-on residue. The paste works by gently lifting the stains and making them easier to wipe away.
Once the paste has had sufficient time to work its magic, proceed to the next step: drying the burners and letting the paste sit.
Step 5: Letting the Paste Sit and Drying the Burners
After applying the baking soda and vinegar paste to the burners, it’s important to let it sit for some time to allow the ingredients to work their magic. This step allows the paste to further penetrate and break down the remaining burnt-on residue.
Follow these steps to let the paste sit and dry the burners:
- Leave the baking soda and vinegar paste on the burner surfaces for approximately 30 minutes. This will give it enough time to work its cleaning magic.
- While the paste sits, you can take this time to clean other parts of your stove or tend to other household tasks.
- After the designated time has passed, use a clean cloth or paper towels to carefully wipe away the dried paste from the burners.
- Pay special attention to any remaining stubborn stains. Gently scrub the area with a soft, damp cloth to remove any remaining residue.
- Once the burners are clean and free of the baking soda and vinegar paste, set them aside to air dry completely.
Allowing the paste to sit on the burners and dry not only helps break down stubborn residue but also provides an opportunity for a thorough cleaning and drying process. This step ensures that the burners are ready for the final cleaning step.
Now that the paste has sat and the burners are drying, it’s time to move on to the next step: wiping off the burnt residue.
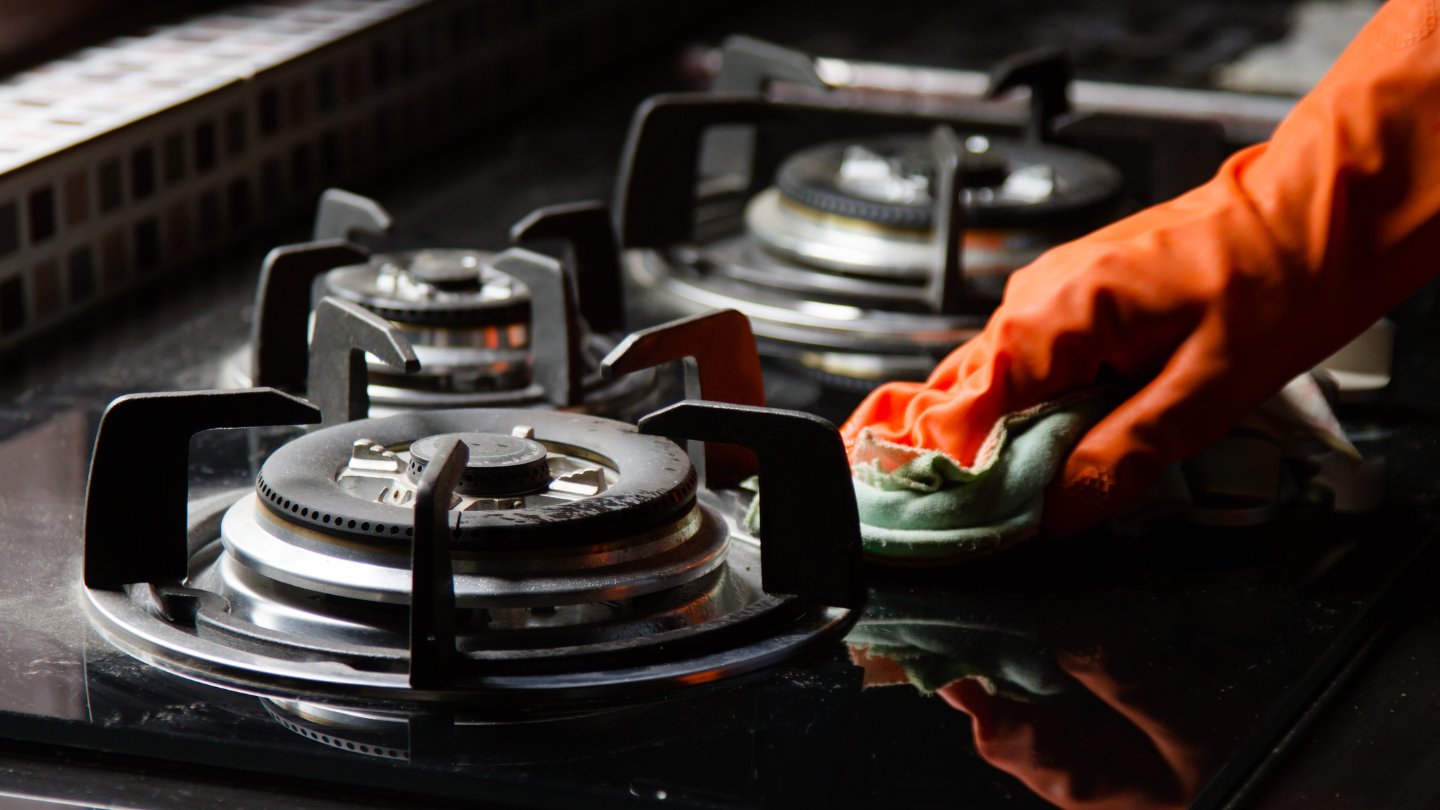
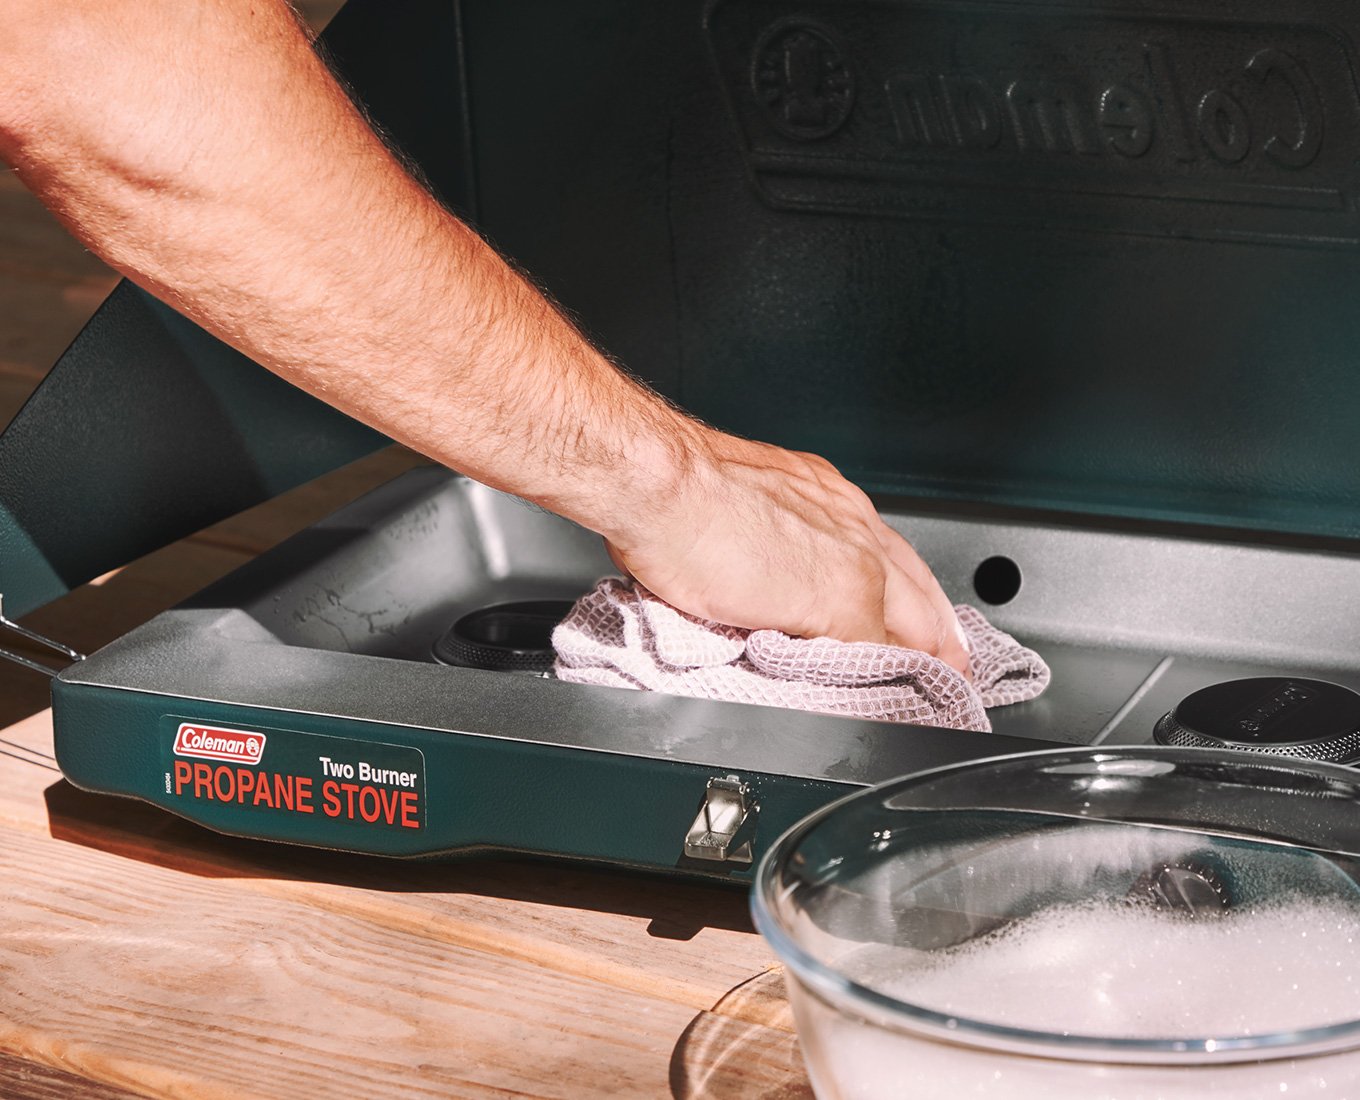
Step 6: Wiping Off the Burnt Residue
Now that the baking soda and vinegar paste has done its job of breaking down the burnt-on residue, it’s time to wipe it off and reveal the clean surface of the burners. This step will help remove any remaining stains and residue, leaving your burners looking as good as new.
Follow these steps to wipe off the burnt residue:
- Take a clean cloth or some paper towels and dampen them slightly with water. Make sure they are not soaking wet but moist enough to effectively clean the burners.
- Gently wipe the surface of each burner, paying attention to any remaining stains or residue. Use circular motions and apply light pressure as needed.
- If you encounter stubborn stains, you can apply a small amount of dish soap to the cloth or paper towel to aid in the cleaning process. Continue to gently scrub the affected areas until the stains are removed.
- Once you have wiped off all the burnt residue and the burners are clean, use a dry cloth or paper towels to thoroughly dry the burners. This will prevent any moisture from causing rust or damage.
Take your time in this step to ensure that all the burnt residue is removed. The combination of the baking soda and vinegar paste and gentle wiping should help lift away even the toughest stains.
Once the burners are wiped clean and thoroughly dried, you can proceed to the final step: reinstalling the cleaned burners.
Read more: How To Clean Brass Stove Burners
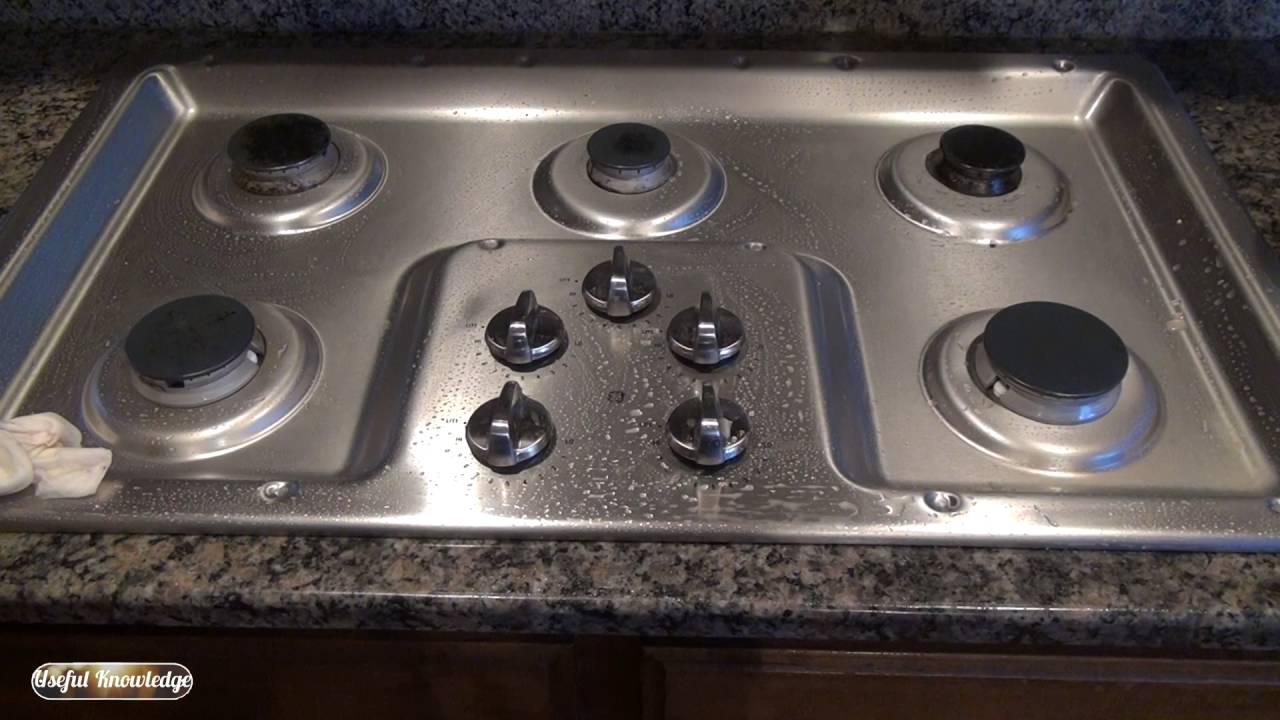
Step 7: Reinstalling the Cleaned Burners
Now that you have successfully cleaned and dried the burners, it’s time to reinstall them back into your stove. This final step will allow you to enjoy the fruits of your labor and restore the full functionality of your stove.
Follow these steps to reinstall the cleaned burners:
- Ensure that the stove is turned off and cool before proceeding with the reinstallation.
- Take one of the cleaned burners and carefully align it with its designated spot on the stove. Make sure the burner is properly positioned.
- If your burners are secured with screws, insert the screws back into their respective holes and tighten them with a screwdriver. Be careful not to overtighten.
- If your burners have spring clips, press them inward and lower the burner onto the stove. Ensure that the clips securely hold the burner in place.
- Repeat the process for each burner, ensuring that all burners are correctly aligned and properly secured.
- Finally, place the burner grates back on top of the burners. Ensure that they are properly positioned and sit securely on the burners.
Take a moment to admire your sparkling clean burners as they are now ready for use. Reinstalling the burners completes the cleaning process and allows you to enjoy efficient cooking once again.
Congratulations! You have successfully cleaned and reinstalled your stove burners. Regular maintenance and periodic cleaning will help prevent future build-up and keep your burners looking and functioning at their best.
By following these steps and investing a little bit of time and effort, you can ensure that your stove burners remain in excellent condition for years to come.
Thank you for following this guide. Happy cooking!
Conclusion
Cleaning burnt stove burners may seem like a daunting task, but with the right materials and a systematic approach, you can easily restore them to their original shine and functionality. By following the step-by-step process outlined in this article, you can effectively remove stubborn burnt-on residue, improve the appearance of your burners, and ensure even heat distribution during cooking.
Understanding the nature of burnt stove burners and the importance of regular cleaning and maintenance is crucial in maintaining their optimal performance. Neglecting to clean burnt-on residue can lead to more serious issues, such as permanent stains or damage to the burner’s surface.
By gathering the necessary materials and tools, removing the burners from the stove, soaking them in dish soap and water, scrubbing with a non-abrasive sponge, applying a baking soda and vinegar paste, letting it sit and dry, wiping off the burnt residue, and reinstalling the cleaned burners, you can achieve impressive results.
Remember to be patient and thorough throughout the cleaning process, giving each step the time it needs to effectively remove the burnt-on residue. Take care when handling the burners and ensure your safety by turning off and cooling the stove before starting the cleaning process.
By taking the time to clean your stove burners regularly, you not only maintain a clean and visually appealing kitchen but also ensure that your burners function efficiently, providing you with reliable cooking performance and delicious meals.
With this comprehensive guide, you now have the knowledge and tools to tackle the task of cleaning burnt stove burners. So, roll up your sleeves and get ready to enjoy the satisfaction of a sparkling clean stove!
Frequently Asked Questions about How To Clean Burnt Stove Burners
Was this page helpful?
At Storables.com, we guarantee accurate and reliable information. Our content, validated by Expert Board Contributors, is crafted following stringent Editorial Policies. We're committed to providing you with well-researched, expert-backed insights for all your informational needs.


0 thoughts on “How To Clean Burnt Stove Burners”