Home>Home Appliances>Kitchen Appliances>How To Get Burnt Plastic Off Glass Stove
Kitchen Appliances
How To Get Burnt Plastic Off Glass Stove
Published: February 4, 2024
Learn how to safely remove burnt plastic from your glass stove using simple kitchen appliances. Get your stove looking brand new again with these easy tips.
(Many of the links in this article redirect to a specific reviewed product. Your purchase of these products through affiliate links helps to generate commission for Storables.com, at no extra cost. Learn more)
Introduction
Dealing with burnt plastic on a glass stove can be a frustrating and daunting task. Whether it's the result of a forgotten plastic spatula melting onto the hot surface or a plastic container accidentally placed on a still-warm burner, the unsightly mess can seem like a permanent blemish. However, fear not! With the right approach and a few simple materials, you can effectively remove the burnt plastic and restore the pristine appearance of your glass stove.
The process of removing burnt plastic from a glass stove involves a combination of patience, gentle techniques, and the application of heat. It's essential to approach the task with care to avoid damaging the delicate glass surface. By following the step-by-step guide outlined in this article, you'll be equipped with the knowledge and methods to tackle this common kitchen mishap with confidence.
In the following sections, we will explore the materials needed for the task, along with a detailed breakdown of each step. From allowing the stove to cool down to applying heat and performing a thorough cleaning, every stage of the process is crucial for achieving optimal results. Additionally, we'll discuss final touches and ongoing maintenance to keep your glass stove looking its best long after the burnt plastic has been successfully removed.
So, roll up your sleeves, gather the necessary materials, and let's embark on the journey to restore the pristine beauty of your glass stove. With a positive mindset and the right approach, you'll soon bid farewell to the stubborn remnants of burnt plastic and welcome back the sleek, unblemished surface of your beloved appliance.
Key Takeaways:
- Say goodbye to burnt plastic on your glass stove by patiently scraping, applying heat, and thorough cleaning. Keep it pristine with regular maintenance and protective products.
- Removing burnt plastic from your glass stove is a rewarding achievement. Follow the steps, be patient, and enjoy a gleaming, resilient appliance for years to come.
Read more: How To Get Burnt On Sugar Off Glass Cooktop
Materials Needed
To effectively tackle the task of removing burnt plastic from a glass stove, you'll need a few essential materials. These items are readily available and, when used in combination, will facilitate the safe and successful removal of the stubborn residue. Here's a detailed list of the materials required for this undertaking:
-
Plastic Scraper: A plastic scraper or spatula is an indispensable tool for gently removing the burnt plastic from the glass surface. It's crucial to opt for a plastic scraper to prevent scratching or damaging the delicate glass.
-
Rubbing Alcohol: This common household item is highly effective for dissolving and loosening the burnt plastic residue. It's recommended to use rubbing alcohol with a concentration of at least 70% for optimal results.
-
Microfiber Cloth: A soft microfiber cloth is ideal for wiping and cleaning the glass stove surface. Its gentle texture helps to avoid scratching while effectively removing any remaining traces of burnt plastic.
-
Baking Soda: Known for its versatile cleaning properties, baking soda is a natural and non-abrasive substance that can aid in lifting and loosening the burnt plastic. It's a safe and effective option for restoring the pristine appearance of the glass stove.
-
Cooktop Cleaner: Specifically formulated for glass stoves, a cooktop cleaner is designed to remove tough stains and residues without causing damage. Look for a cleaner that is suitable for glass surfaces and compatible with the materials used in your appliance.
-
Heat Source: A heat source, such as a hairdryer or heat gun, will be utilized to apply controlled heat to the burnt plastic. This gentle application of heat helps to soften the residue, making it easier to remove without causing damage to the glass surface.
-
Protective Gloves: It's advisable to wear protective gloves to shield your hands during the cleaning process. Opt for gloves made of a material that provides both dexterity and protection, allowing you to handle the materials and tools comfortably and safely.
By ensuring that you have these materials at your disposal, you'll be well-prepared to embark on the journey of removing burnt plastic from your glass stove. With these essential items in hand, you're ready to proceed with the step-by-step process, equipped to tackle the task with confidence and precision.
Step 1: Let the Stove Cool Down
Before initiating the process of removing burnt plastic from your glass stove, it is imperative to allow the appliance to cool down completely. This crucial step serves multiple purposes, all of which contribute to the safe and effective removal of the stubborn residue.
When plastic comes into contact with a hot glass stove, it adheres to the surface and hardens as it cools, creating a challenging mess. Allowing the stove to cool down fully is essential to ensure that the burnt plastic is in its most stable state. Attempting to remove the residue while the stove is still warm can lead to the plastic smearing or spreading, making the cleaning process more difficult and potentially causing damage to the glass surface.
Furthermore, working with a cool stove reduces the risk of accidental burns or injuries during the cleaning process. The glass surface retains heat for a significant period after use, and attempting to remove burnt plastic while the stove is still warm poses a safety hazard. By exercising patience and allowing the stove to cool down completely, you create a safer environment for yourself and minimize the risk of burns or discomfort.
In addition to safety considerations, allowing the stove to cool down provides you with a clear and undistorted view of the burnt plastic residue. A cooled surface allows for better visibility and assessment of the extent of the mess, enabling you to plan and execute the subsequent steps with precision.
By patiently waiting for the stove to cool down, you set the stage for a methodical and effective cleaning process. This initial step lays the foundation for the successful removal of burnt plastic from your glass stove, ensuring a safer, more controlled, and ultimately more successful cleaning experience.
Step 2: Scrape off the Burnt Plastic
Once the glass stove has cooled down completely, it's time to begin the process of scraping off the burnt plastic. This step requires precision and a gentle touch to avoid damaging the delicate surface of the stove. Here's a detailed breakdown of the process:
-
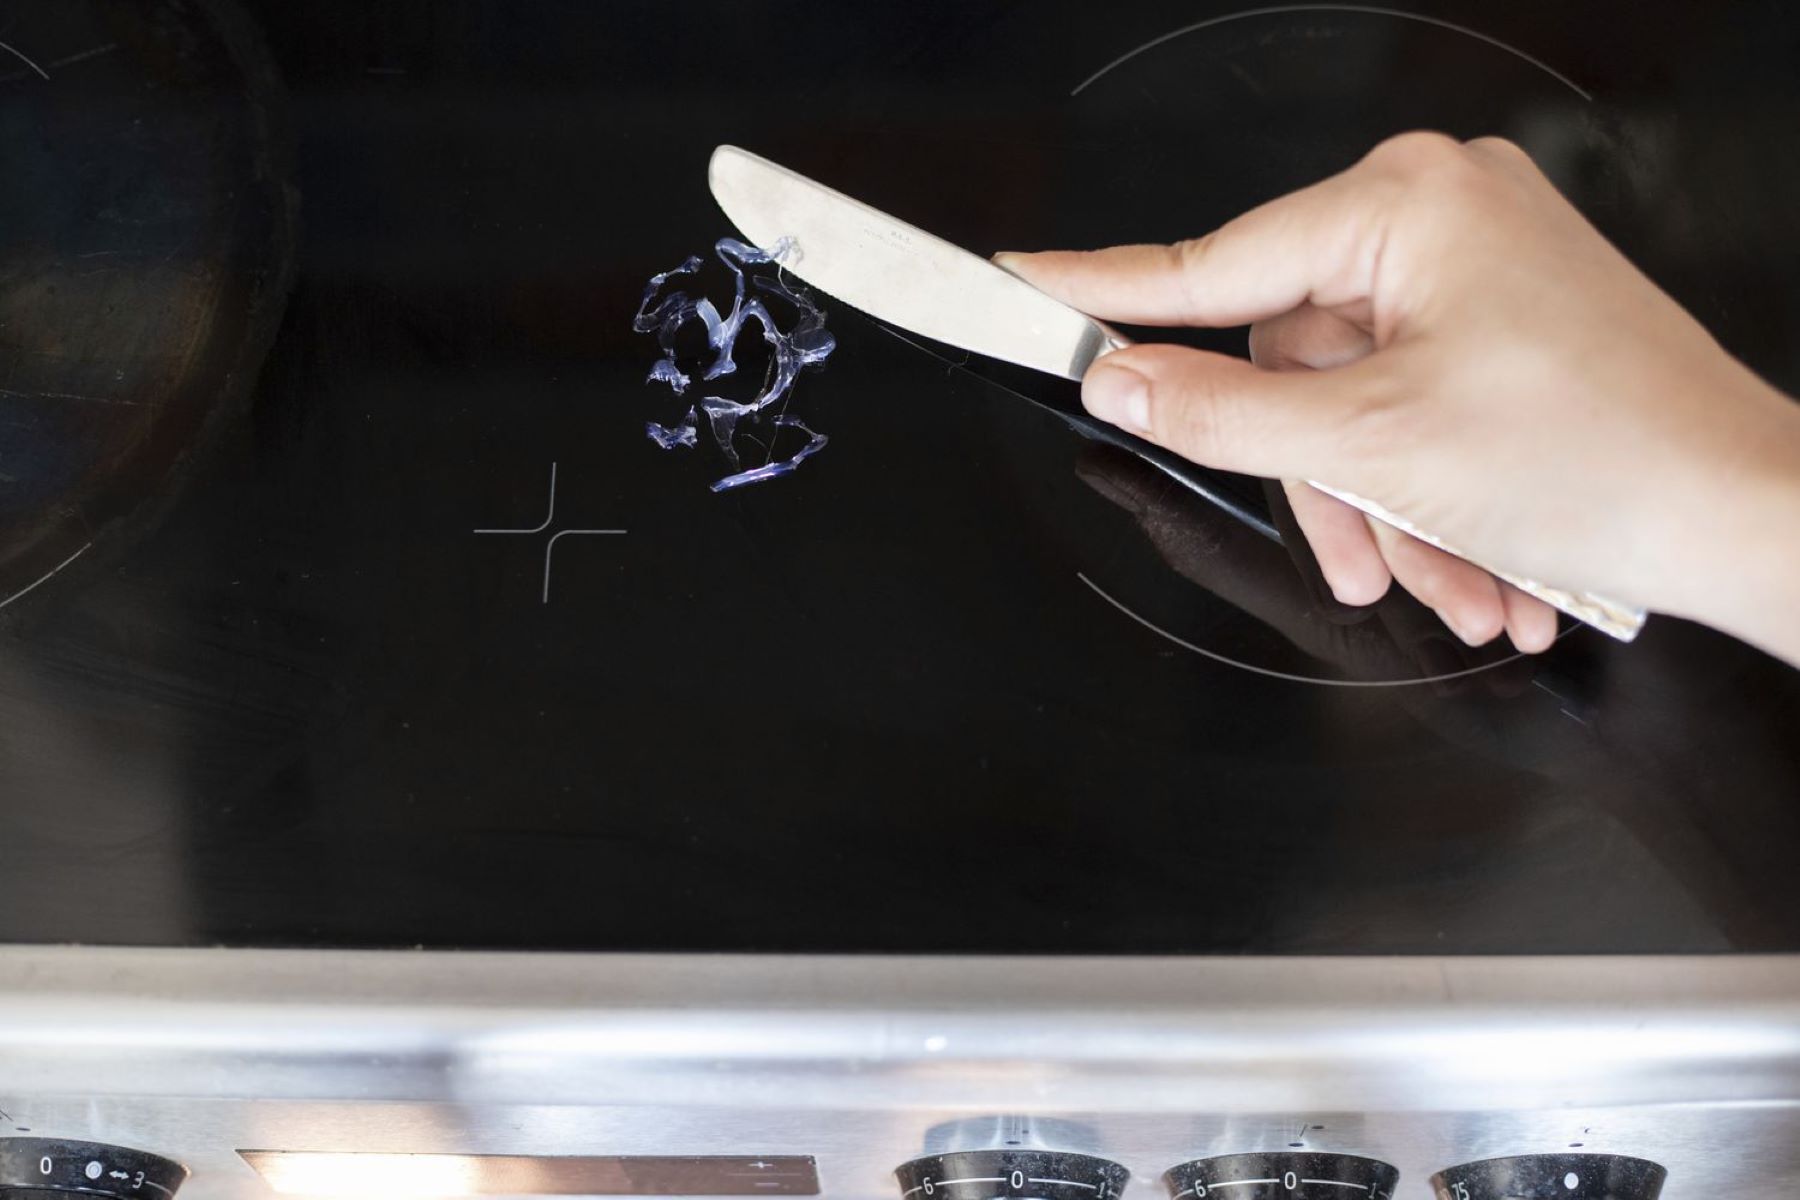
Use a Plastic Scraper: Begin by gently using a plastic scraper to lift and remove as much of the burnt plastic as possible. Hold the scraper at a low angle to the surface to avoid scratching the glass. Apply light pressure and use short, controlled strokes to gradually lift the residue. It's important to exercise patience during this phase, as rushing the process can lead to unintended damage to the glass surface.
-
Work in Sections: If the burnt plastic covers a large area, it's advisable to work in small sections. Focus on a manageable area at a time, ensuring thorough removal of the residue before moving on to the next section. This approach allows for better control and precision, minimizing the risk of spreading the burnt plastic or causing accidental damage.
-
Avoid Abrasive Tools: It's crucial to refrain from using abrasive tools or harsh materials during the scraping process. Abrasive substances can scratch the glass surface, compromising its appearance and integrity. By sticking to a plastic scraper and gentle, controlled movements, you can effectively remove the burnt plastic without causing harm to the stove.
-
Inspect and Repeat as Needed: After scraping off the initial layer of burnt plastic, carefully inspect the area to identify any remaining residue. If traces of burnt plastic persist, continue using the plastic scraper to lift and remove the remaining remnants. This meticulous approach ensures that the glass surface is thoroughly cleaned and prepared for the subsequent steps.
By following these detailed steps and exercising patience and precision, you can effectively scrape off the burnt plastic from your glass stove without causing damage or compromising its appearance. This methodical approach sets the stage for the subsequent stages of the cleaning process, bringing you one step closer to restoring the pristine beauty of your appliance.
Use a razor blade or scraper to carefully remove the burnt plastic from the glass stove. Be sure to hold the blade at a low angle to avoid scratching the surface. After scraping, use a glass cleaner to remove any remaining residue.
Step 3: Apply Heat
After successfully scraping off the majority of the burnt plastic from the glass stove, the next crucial step involves the application of controlled heat to soften and further loosen any remaining residue. This gentle application of heat plays a pivotal role in facilitating the removal of stubborn remnants while minimizing the risk of damage to the delicate glass surface.
To apply heat effectively, you can utilize a heat source such as a hairdryer or a heat gun. These tools provide a controlled and directed flow of heat, allowing you to target specific areas of the burnt plastic residue without subjecting the entire stove to excessive heat. Here's a detailed breakdown of the process:
-
Prepare the Heat Source: Before initiating the application of heat, ensure that the selected heat source is set to a moderate temperature. For a hairdryer, opt for a medium heat setting to avoid excessive heat exposure. Similarly, if using a heat gun, adjust the temperature to a low to medium level for a gentle and controlled flow of heat.
-
Direct the Heat: Hold the heat source at a safe distance from the glass surface and direct the airflow or heat towards the remaining burnt plastic residue. Maintain a consistent distance to prevent overheating or causing thermal stress to the glass. By directing the heat towards the residue, you aim to soften the plastic without subjecting the entire stove to unnecessary heat exposure.
-
Observe and Monitor: As you apply heat to the burnt plastic, closely observe the changes in the residue's texture and consistency. The gentle application of heat should gradually soften the plastic, making it easier to lift and remove. It's essential to monitor the process carefully, ensuring that the heat application remains controlled and targeted.
-
Test and Proceed: Periodically test the softened residue with the plastic scraper to gauge its responsiveness to the heat. If the plastic becomes noticeably softer and more pliable, proceed with gentle scraping to lift and remove the softened remnants. Exercise caution and patience during this phase, ensuring that the heat application and scraping are performed with precision.
By applying controlled heat to the remaining burnt plastic, you can effectively soften the residue, making it more manageable to remove without causing damage to the glass surface. This methodical approach sets the stage for the final cleaning steps, bringing you closer to the successful restoration of your glass stove's pristine appearance.
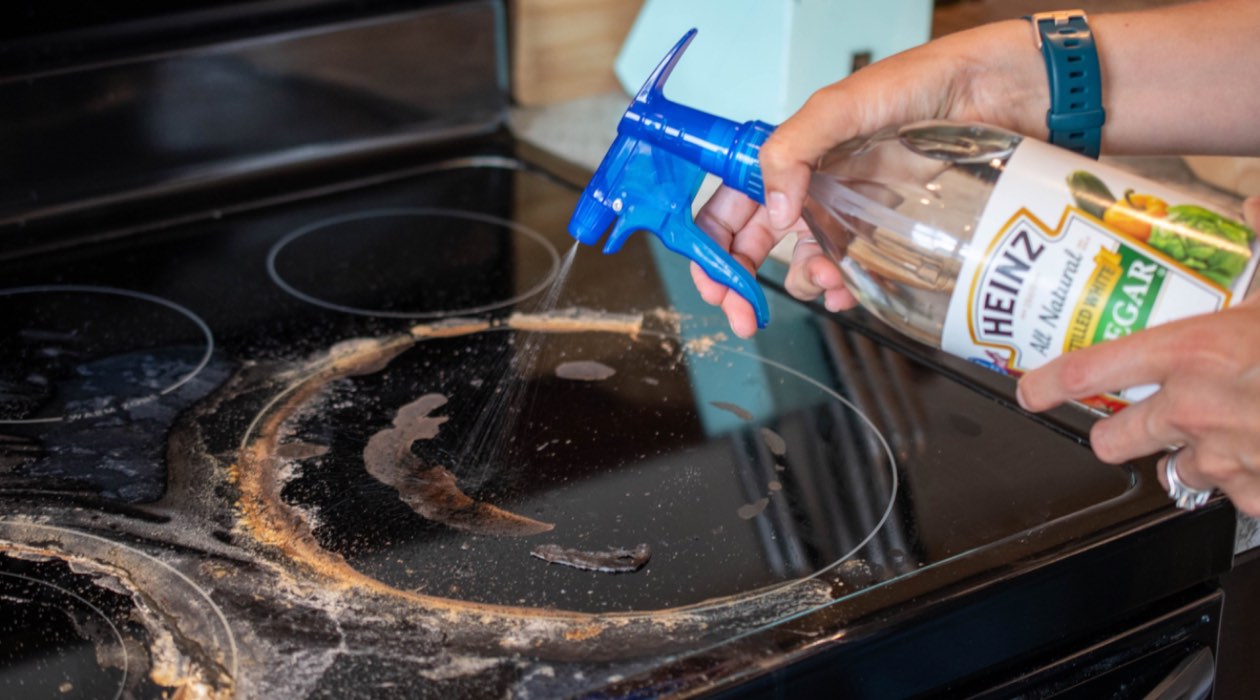
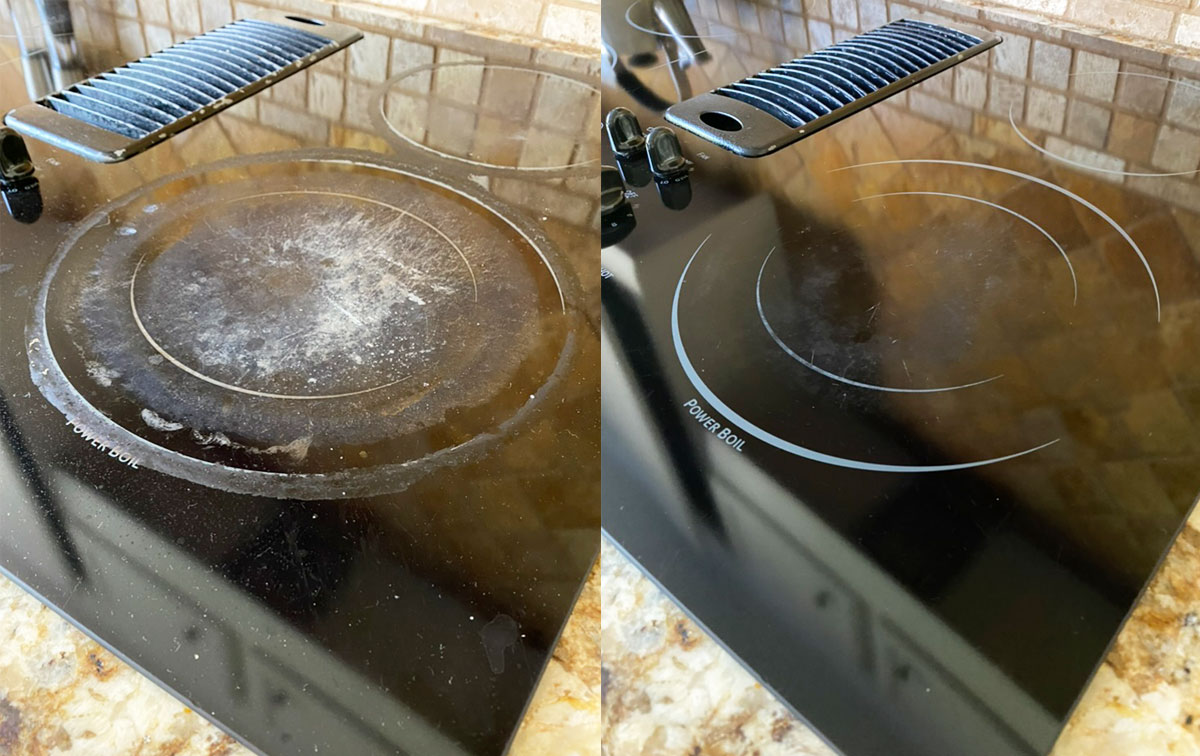
Step 4: Clean the Stove Surface
With the majority of the burnt plastic successfully removed and the residue softened through the application of controlled heat, the next critical step involves thoroughly cleaning the glass stove surface. This pivotal phase is essential for eliminating any remaining traces of the burnt plastic and restoring the pristine appearance of the appliance.
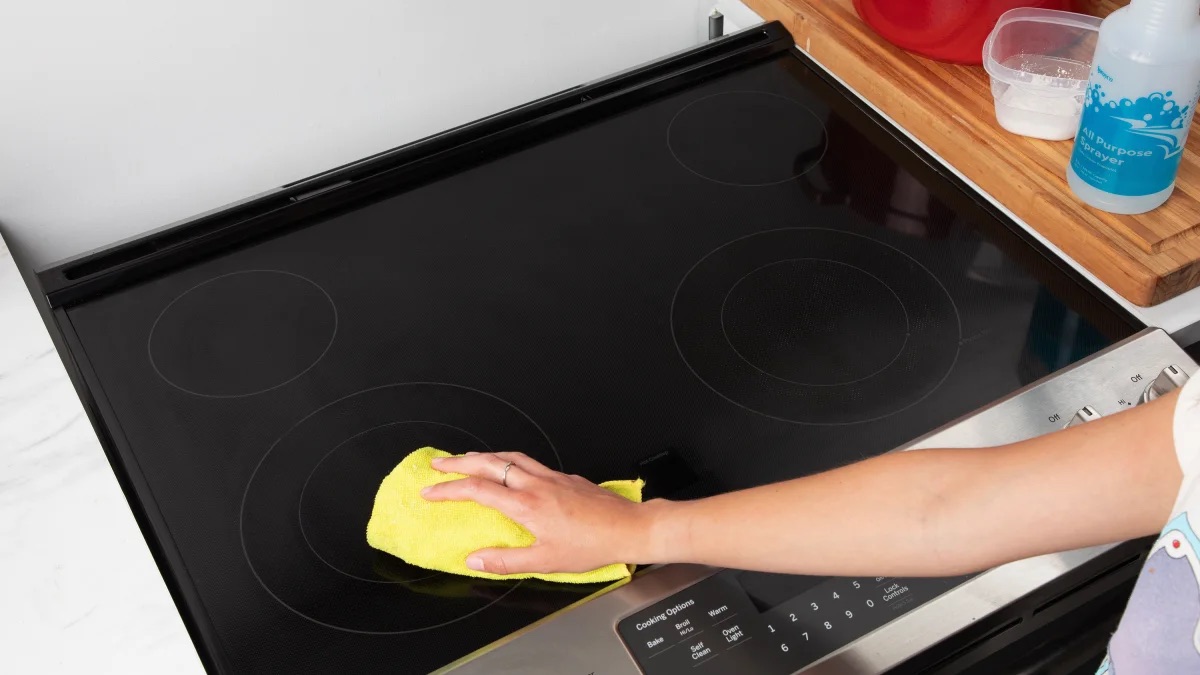
To initiate the cleaning process, begin by applying rubbing alcohol to a soft microfiber cloth. The rubbing alcohol acts as a solvent, effectively dissolving and lifting any residual plastic remnants from the glass surface. Gently wipe the affected areas with the alcohol-dampened cloth, ensuring thorough coverage and attention to detail. This meticulous approach allows for the effective removal of any remaining traces of burnt plastic, preparing the surface for the subsequent cleaning steps.
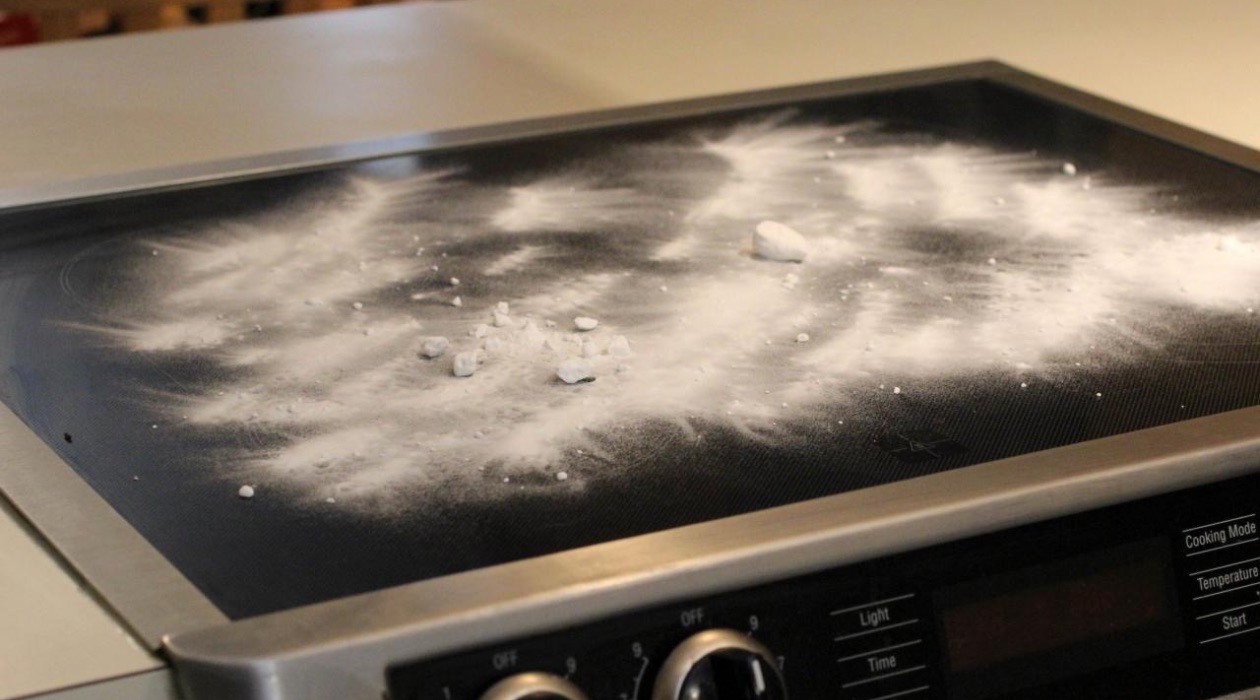
Following the application of rubbing alcohol, sprinkle a small amount of baking soda onto the glass stove surface. Baking soda, renowned for its non-abrasive cleaning properties, serves as a gentle yet effective abrasive agent. Using a damp microfiber cloth, carefully scrub the surface in circular motions, focusing on the areas previously affected by the burnt plastic. The combination of rubbing alcohol and baking soda works synergistically to lift and eliminate any residual residue, leaving the glass surface clean and refreshed.
Once the affected areas have been thoroughly cleaned with rubbing alcohol and baking soda, it's time to utilize a specialized cooktop cleaner. Select a cooktop cleaner specifically formulated for glass stoves, ensuring compatibility with the appliance's materials. Apply a small amount of the cleaner to a clean microfiber cloth and gently polish the glass surface, focusing on the previously affected areas. The cooktop cleaner effectively removes any remaining stains or marks, leaving the glass stove surface gleaming and free from the remnants of burnt plastic.
After completing the cleaning process, carefully inspect the glass stove surface to ensure that all traces of the burnt plastic have been successfully eliminated. Any remaining residue or marks can be addressed by repeating the targeted cleaning steps, using rubbing alcohol, baking soda, and the cooktop cleaner as needed. Once satisfied with the cleanliness of the glass surface, use a dry microfiber cloth to gently buff and polish the stove, leaving it with a pristine, streak-free finish.
By meticulously cleaning the stove surface using the combination of rubbing alcohol, baking soda, and a specialized cooktop cleaner, you can effectively eliminate any remaining traces of burnt plastic and restore the glass stove to its original, unblemished state. This thorough cleaning process sets the stage for the final touches and ongoing maintenance, ensuring that your glass stove maintains its pristine appearance long after the removal of the burnt plastic residue.
Step 5: Final Touches and Maintenance
With the burnt plastic successfully removed and the glass stove restored to its pristine state, it's essential to address final touches and implement ongoing maintenance practices to preserve the appliance's appearance and functionality.
To complete the restoration process, thoroughly inspect the glass stove surface to ensure that all remnants of the burnt plastic have been effectively eliminated. Take a moment to appreciate the renewed beauty of the appliance, free from the unsightly residue that once marred its appearance.
Following the successful removal of the burnt plastic, it's advisable to apply a thin layer of glass stove conditioner or ceramic cooktop protectant to the cleaned surface. These specialized products provide an additional layer of protection, helping to guard the glass against future stains and residues. Apply the conditioner or protectant as per the manufacturer's instructions, ensuring even coverage across the entire stove surface.
In addition to the application of a protective product, it's important to implement ongoing maintenance practices to preserve the pristine appearance of the glass stove. After each use, gently wipe the stove surface with a soft microfiber cloth to remove any spills or splatters. Regular maintenance not only keeps the appliance looking its best but also prevents the accumulation of stubborn residues that may require intensive cleaning in the future.
Furthermore, exercise caution when using the glass stove to prevent future incidents of burnt plastic or other stubborn residues. Avoid placing plastic items directly on the hot surface and use appropriate cookware to minimize the risk of accidental spills or messes. By practicing care and mindfulness during cooking and food preparation, you can reduce the likelihood of encountering similar cleaning challenges in the future.
By addressing final touches and implementing ongoing maintenance practices, you can ensure that your glass stove maintains its pristine appearance long after the successful removal of the burnt plastic. With the application of a protective product and the commitment to regular maintenance, your glass stove will continue to shine as a focal point of your kitchen, free from the remnants of past mishaps.
This comprehensive approach to final touches and maintenance marks the culmination of the restoration process, leaving you with a gleaming and resilient glass stove that is ready to serve you for years to come.
Conclusion
In conclusion, successfully removing burnt plastic from a glass stove is a rewarding achievement that restores the appliance's pristine appearance and ensures its continued functionality. The step-by-step process outlined in this guide empowers individuals to tackle this common kitchen mishap with confidence and precision, utilizing gentle techniques and essential materials to achieve optimal results.
By allowing the stove to cool down completely before initiating the cleaning process, individuals create a safer and more controlled environment for removing the burnt plastic. This initial step sets the stage for a methodical and effective cleaning experience, minimizing the risk of accidental damage to the delicate glass surface.
The meticulous approach to scraping off the burnt plastic, working in sections and avoiding abrasive tools, ensures that the glass stove is cleaned without compromising its integrity. The application of controlled heat softens the remaining residue, making it more manageable to remove without causing harm to the appliance.
Thoroughly cleaning the stove surface with rubbing alcohol, baking soda, and a specialized cooktop cleaner eliminates any remaining traces of burnt plastic, leaving the glass surface gleaming and refreshed. This comprehensive cleaning process restores the appliance's pristine appearance, setting the stage for the implementation of final touches and ongoing maintenance practices.
Addressing final touches, such as the application of a protective product and the commitment to regular maintenance, ensures that the glass stove maintains its pristine appearance long after the successful removal of the burnt plastic. By practicing care and mindfulness during cooking and food preparation, individuals can reduce the likelihood of encountering similar cleaning challenges in the future.
In essence, the successful removal of burnt plastic from a glass stove is a testament to patience, precision, and the effective utilization of essential materials. By following the detailed steps outlined in this guide and embracing ongoing maintenance practices, individuals can enjoy the enduring beauty and functionality of their glass stove, free from the remnants of past mishaps.
Frequently Asked Questions about How To Get Burnt Plastic Off Glass Stove
Was this page helpful?
At Storables.com, we guarantee accurate and reliable information. Our content, validated by Expert Board Contributors, is crafted following stringent Editorial Policies. We're committed to providing you with well-researched, expert-backed insights for all your informational needs.

0 thoughts on “How To Get Burnt Plastic Off Glass Stove”