Articles
How To Clean Burnt Oven Floor
Modified: August 26, 2024
Learn effective and easy methods to clean your burnt oven floor with our comprehensive articles. Say goodbye to stubborn stains and restore your oven's shine.
(Many of the links in this article redirect to a specific reviewed product. Your purchase of these products through affiliate links helps to generate commission for Storables.com, at no extra cost. Learn more)
Introduction
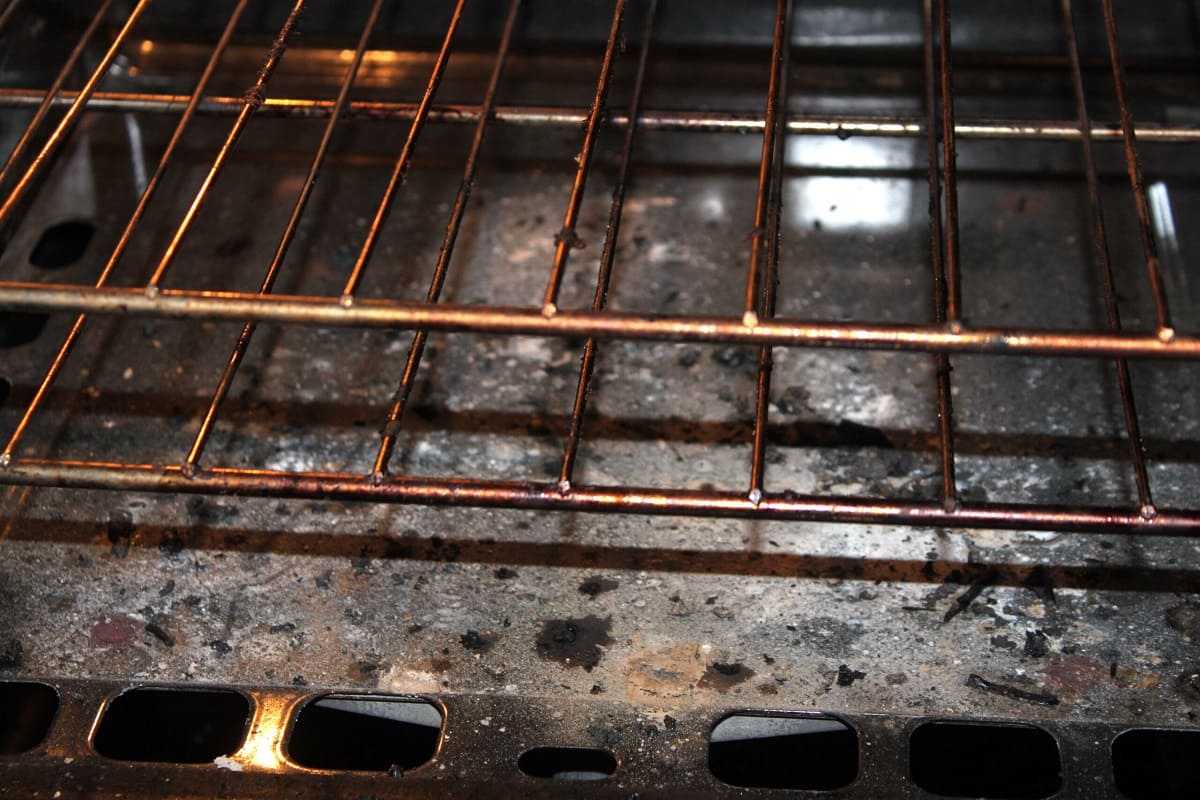
Dealing with a burnt oven floor can be a frustrating and challenging task. Whether it’s a result of spilled food, drippings or accidental spills, a burnt oven floor can leave unsightly stains and lingering odor that can affect the taste of your future cooking endeavors. However, with the right supplies and a little bit of elbow grease, you can easily restore your oven floor to its pristine condition.
In this article, we will guide you through the step-by-step process of cleaning a burnt oven floor. From removing loose debris to tackling stubborn stains, we will provide you with all the necessary information and tips to make this cleaning task a breeze.
Before we dive into the cleaning process, it’s essential to gather the supplies you will need. Having these items on hand will ensure a smooth and efficient cleaning experience. Let’s take a look at the supplies you’ll need:
Key Takeaways:
- Easily restore your oven floor to its pristine condition by following a step-by-step process using simple household supplies like vinegar, baking soda, and a little elbow grease.
- Prioritize safety, patience, and thoroughness when tackling stubborn stains and burnt-on residue. Maintain a clean oven floor for optimal cooking performance and hygiene, ensuring a fresh and inviting cooking space.
Read more: How To Clean Burnt Glass
Supplies Needed
To effectively clean a burnt oven floor, you will need the following supplies:
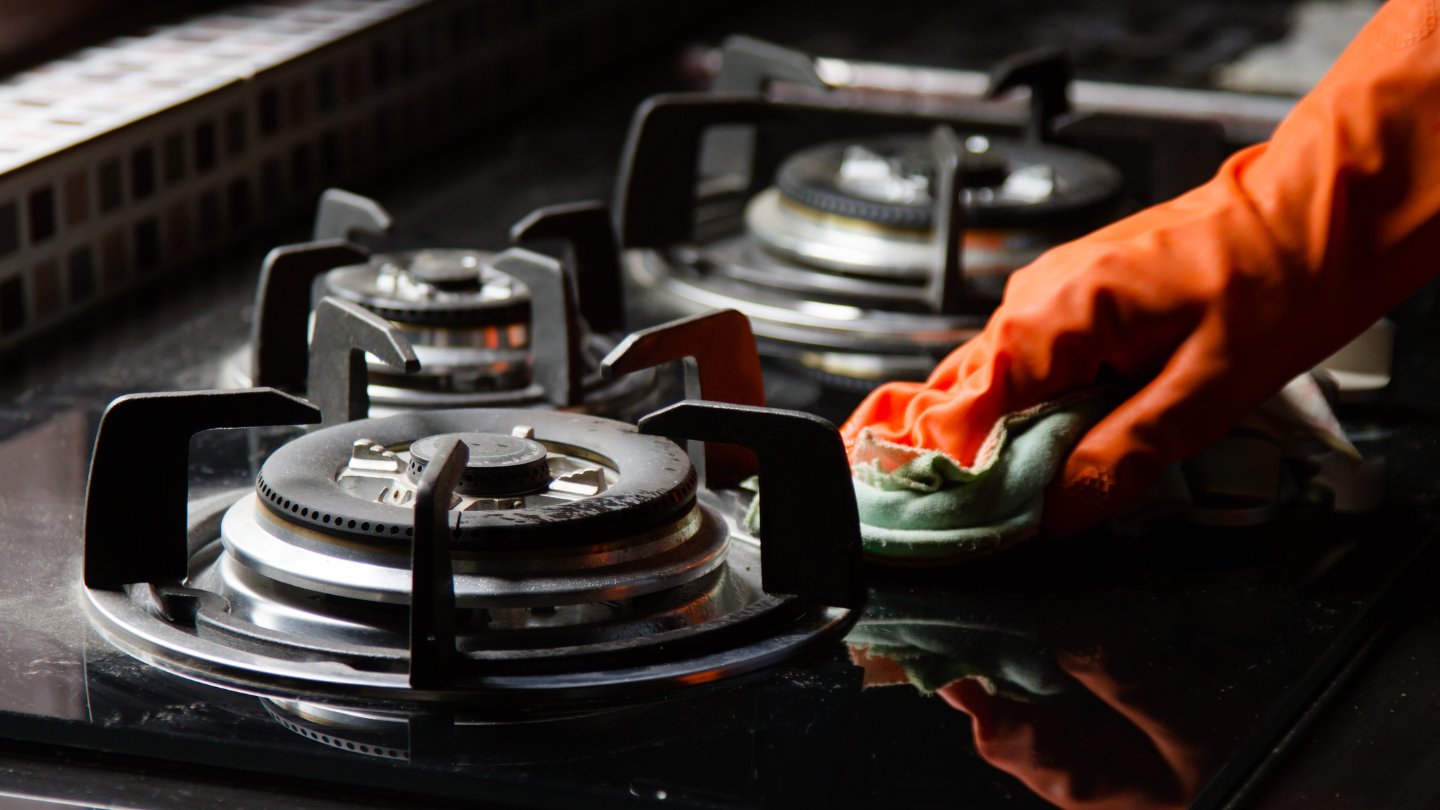
- A pair of rubber gloves: These will protect your hands from harsh chemicals and hot water during the cleaning process.
- A face mask: This will prevent you from inhaling any harmful fumes or particles during the cleaning.
- A plastic scraper or spatula: This will help you remove any loose debris or food particles from the oven floor.
- A bucket of warm water: This will be used to mix the cleaning solution and to rinse the oven floor.
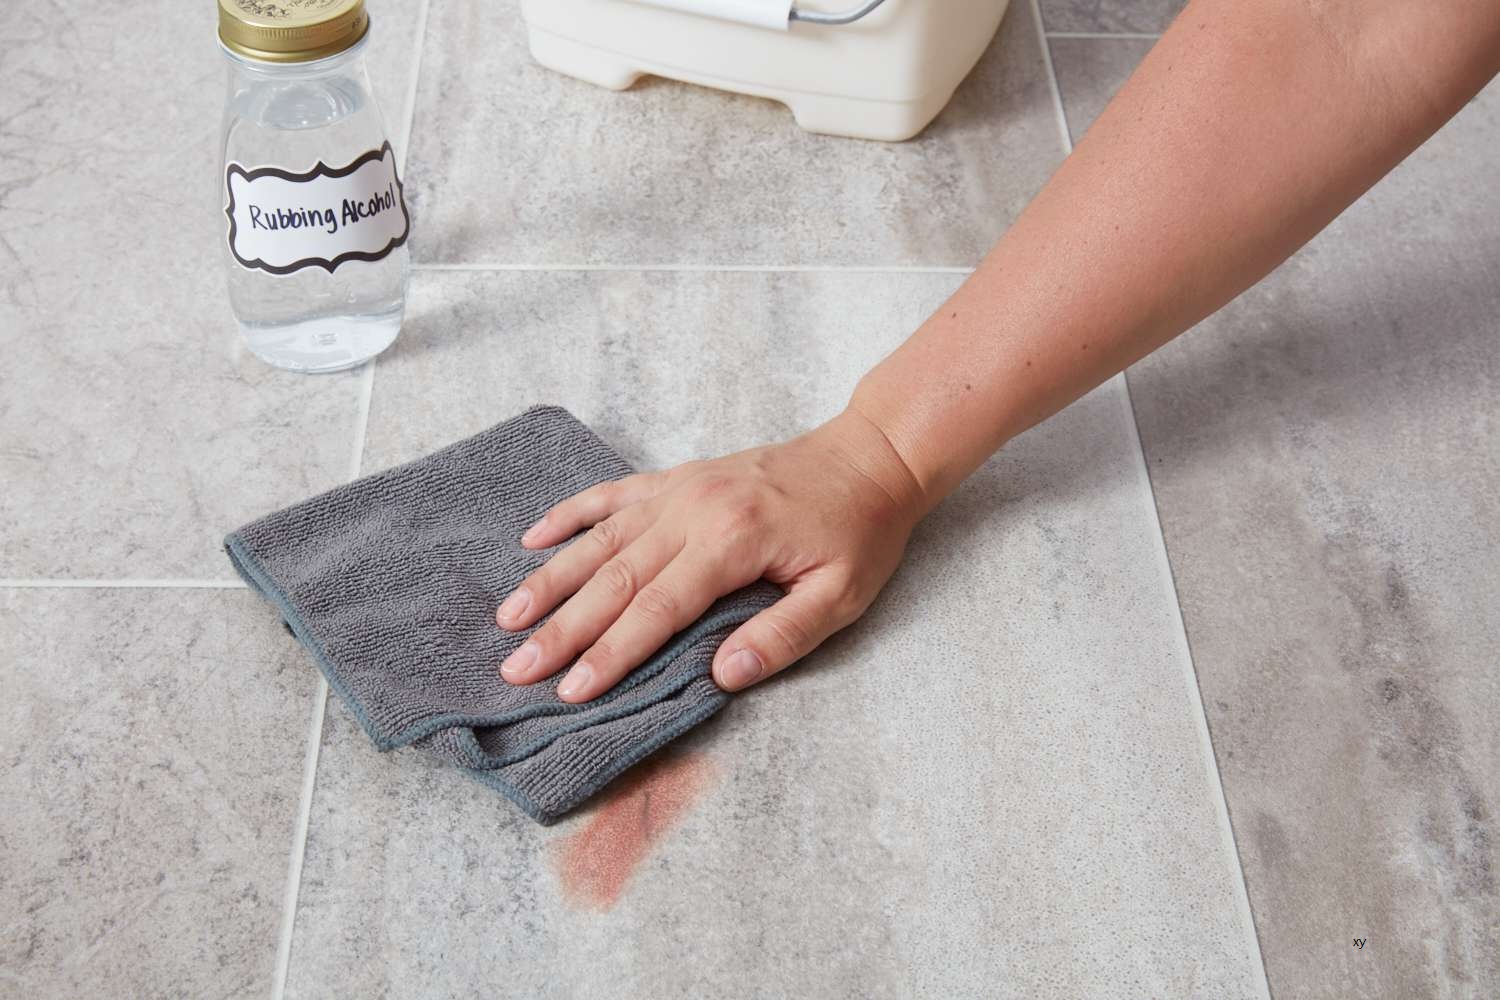
- White vinegar: This natural cleaning agent is highly effective in breaking down grease and stains.
- Baking soda: A versatile household ingredient, baking soda acts as a gentle abrasive and helps to neutralize odors.
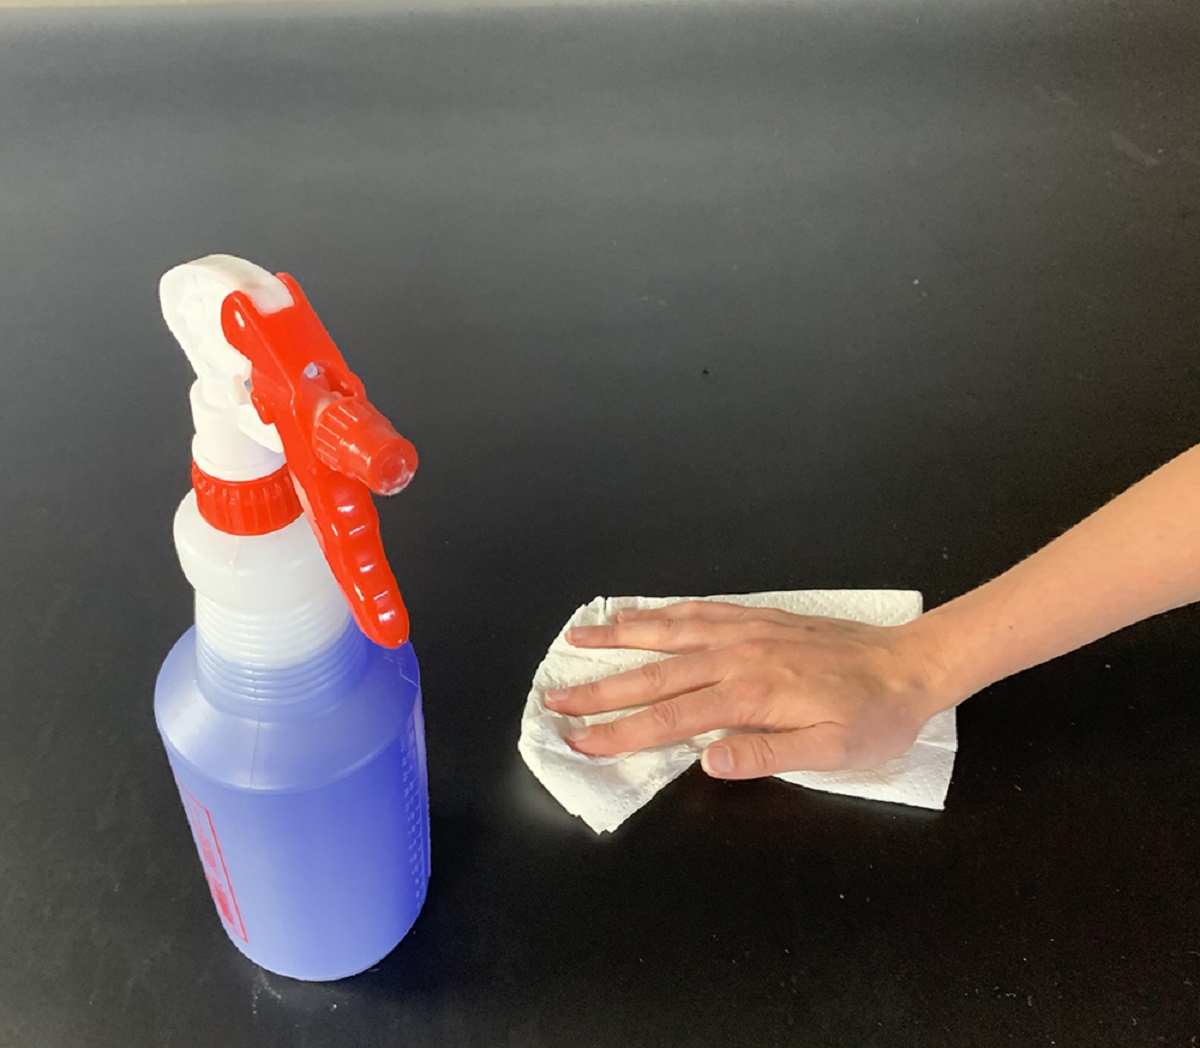
- A spray bottle: This will be used to apply the cleaning solution onto the oven floor.
- A soft scrub brush or sponge: These will help you scrub away stubborn stains and grime without scratching the oven floor.
- Microfiber cloths: These lint-free cloths are excellent for wiping and drying the oven floor, leaving it sparkling clean.
Once you have gathered these supplies, you are ready to begin the cleaning process. So, put on your gloves, mask up, and let’s get started!
Step 1: Removing Loose Debris
The first step in cleaning a burnt oven floor is to remove any loose debris or food particles that may be present. This will make the subsequent cleaning process more effective and efficient.
Start by ensuring that your oven is completely cooled down. This will prevent any risk of burning yourself during the cleaning process. Once the oven is cool, open the door and inspect the oven floor.
Using a plastic scraper or spatula, gently scrape away any loose debris or food remnants from the oven floor. Take your time and be careful not to scratch the surface of the oven. Dispose of the debris in a trash bag or bin.
If you feel that there are still stubborn remnants stuck to the oven floor, you can lightly dampen a microfiber cloth with warm water and gently wipe the area to loosen them. However, avoid using excessive water as it may make the cleaning process more challenging.
Once you have removed all the loose debris, you are ready to move on to the next step of creating a homemade cleaning solution.
Step 2: Creating a Homemade Cleaning Solution
Now that you’ve cleared the oven floor of loose debris, it’s time to create a homemade cleaning solution that will effectively tackle the burnt stains and grime. The combination of white vinegar and baking soda will work wonders in this process.
Fill a spray bottle with equal parts white vinegar and warm water. Vinegar is a natural cleaning agent that helps break down grease and stains, while also eliminating any lingering odors in the oven.
In a small bowl, mix baking soda with enough water to create a thick paste. Baking soda acts as a gentle abrasive and helps to remove stubborn stains without damaging the surface of the oven floor.
Now, it’s time to combine the cleaning power of vinegar and baking soda. Spray the vinegar and water mixture evenly over the burnt areas of the oven floor. Be generous with the spray, ensuring that the entire surface is covered.
Next, apply the baking soda paste directly onto the sprayed areas. Use a soft scrub brush or sponge to gently spread the paste and work it into the stains. Allow the vinegar and baking soda mixture to sit on the oven floor for at least 15-20 minutes. This will allow the cleaning solution to penetrate and loosen the burnt-on residue.
With the homemade cleaning solution applied, you’re now ready to move on to the next step of scrubbing and soaking the oven floor.
Step 3: Applying the Cleaning Solution
After allowing the homemade cleaning solution to sit on the oven floor for 15-20 minutes, it’s time to give it a thorough scrub and soak. This step will help to further break down the burnt-on residue and loosen any stubborn stains.
Using a soft scrub brush or sponge, start scrubbing the oven floor in circular motions. Pay extra attention to the areas with heavy stains or burnt-on residue. The combination of the vinegar and baking soda will create a foaming action that helps to lift and remove the grime.
If you encounter any particularly stubborn stains, you can apply a bit more of the baking soda paste directly to those areas and continue scrubbing. The abrasive nature of the baking soda will help break down the stains.
As you scrub, you’ll notice that the cleaning solution may begin to turn brown or discolored. This is a good sign, as it indicates that the solution is working to break down the burnt residue.
Once you’ve thoroughly scrubbed the oven floor, it’s time to let the cleaning solution soak. Close the oven door and let the mixture sit undisturbed for at least 30 minutes. This will further loosen any remaining stains and make them easier to remove.
While the cleaning solution is soaking, make sure to avoid using the oven to prevent any interference with the cleaning process. You can take this opportunity to clean other parts of your kitchen or simply relax while waiting for the solution to work its magic.
After the soaking period, it’s time to move on to the next step of removing stubborn stains.
Sprinkle baking soda on the burnt areas, then spray with vinegar. Let it sit for 15 minutes, then scrub with a sponge or brush. Wipe clean with a damp cloth.
Read more: How To Clean Burnt On Waffle Iron
Step 4: Scrubbing and Soaking
By now, the homemade cleaning solution has had time to work its magic and loosen the burnt-on residue on your oven floor. In this step, we will focus on scrubbing and soaking to ensure that even the most stubborn stains are removed.
Start by opening the oven door and inspecting the oven floor. You may notice that some areas still have residue or stains. Don’t worry, we will tackle them in this step.
Using a soft scrub brush or sponge, apply moderate pressure and scrub the entire surface of the oven floor. Pay extra attention to the areas with stubborn stains or remaining residue. Work in circular motions and continue scrubbing until the oven floor starts to appear clean and free from burnt-on debris.
If you encounter any particularly stubborn stains that are not coming off easily, you can try using the baking soda paste once again. Simply apply a small amount of the paste directly onto the stain, let it sit for a few minutes, and then scrub it with the soft brush or sponge. The baking soda’s abrasive nature will help break down the stains, making them easier to remove.
As you scrub, periodically rinse the scrub brush or sponge in warm water to remove any built-up residue. This will prevent transferring the residue back onto the oven floor and ensure more effective cleaning.
If necessary, you can also soak the scrub brush or sponge in warm, soapy water to help remove stubborn residue from the bristles.
Once you are satisfied with the scrubbing, it’s time to move on to the next step of removing any remaining stubborn stains.
Step 5: Removing Stubborn Stains
Despite your best scrubbing efforts, you may still encounter a few stubborn stains that refuse to come off the oven floor. In this step, we will focus on removing those stubborn stains and ensuring a completely clean oven floor.
Start by examining the remaining stains on the oven floor. These stains may be particularly tough, so we will need to use targeted cleaning techniques to remove them.
To tackle these stubborn stains, create a paste using baking soda and water. Apply the paste directly onto the stained areas and let it sit for about 15-30 minutes. The baking soda will work as a gentle abrasive and help lift the stubborn stains.
After the paste has had time to work its magic, take a scrub brush or sponge and scrub the stained areas. Apply gentle pressure and work in circular motions to gradually remove the stains. If necessary, you can dampen the scrub brush or sponge with warm water to help with the scrubbing process.
If the stubborn stains are particularly resistant, you can also try using a small amount of white vinegar as a spot treatment. Apply the vinegar directly onto the stain and let it sit for a few minutes before scrubbing it with the brush or sponge.
Continue scrubbing until the stubborn stains are lifted. Be patient, as it may take a bit of time and effort to completely remove them. Remember to rinse the scrub brush or sponge periodically in warm water to remove any residue.
Once the stains have been successfully removed, it’s time to move on to the final step of wiping and drying the oven floor.
Step 6: Wiping and Drying the Oven Floor
With the stubborn stains removed, it’s time to give your oven floor a final wipe down and ensure it is completely dry. This step will leave your oven looking clean, fresh, and ready for your next culinary masterpiece.
Start by rinsing the scrub brush or sponge in warm water to remove any remaining cleaning solution or residue. Use the rinsed brush or sponge to thoroughly rinse the oven floor, making sure to remove any leftover cleaning solution or baking soda paste.
After rinsing, take a clean microfiber cloth and dampen it with fresh warm water. Wipe the entire oven floor, ensuring that you remove any remaining residue or debris. Pay attention to the edges and corners of the oven floor as well.
Once you have wiped the oven floor, take another clean and dry microfiber cloth and gently dry the surface. This will prevent any moisture from lingering, which can lead to unpleasant odors or bacteria growth.
Avoid using paper towels or regular towels as they may leave lint or fibers behind. Microfiber cloths are lint-free and perfect for leaving a streak-free, clean finish.
After drying the oven floor, give it a final inspection to ensure that it is clean and free from any stains or residue. If necessary, you can repeat the cleaning process in specific areas that still need attention.
Finally, dispose of any used cleaning materials and properly clean and dry your scrub brush or sponge. This will ensure that they are ready for future cleaning tasks.
With the oven floor sparkling clean and dry, you can now close the oven and enjoy the satisfaction of a job well done. Your oven is now ready to be used for your next cooking adventure!
By following these six steps, you can effectively clean a burnt oven floor and restore its cleanliness and functionality. Remember to practice regular maintenance and clean up any spills or stains promptly to prevent future build-up.
We hope this guide has been helpful, and may you have many successful cooking experiences in your fresh and clean oven!
Conclusion
Cleaning a burnt oven floor may seem like a daunting task, but with the right supplies and a step-by-step process, you can restore your oven to its former glory. By following the tips and techniques outlined in this article, you can effectively remove stubborn stains, grease, and burnt-on residue, giving you a clean and fresh oven floor to cook on.
Remember to always prioritize safety by wearing gloves and a face mask when handling cleaning solutions. Take your time and be patient throughout the cleaning process, as some stains may require a bit more effort to remove.
Creating a homemade cleaning solution using white vinegar and baking soda provides a natural and effective way to break down grime and eliminate odors. Scrubbing and soaking the oven floor, along with targeted stain removal techniques, will ensure that even the most stubborn stains are lifted.
Once your oven floor is clean, take the time to wipe it down and ensure it is completely dry to prevent any residual moisture from causing odors or bacteria growth.
Maintaining a clean oven floor is essential for optimal cooking performance and hygiene. Regular cleaning and prompt attention to spills and stains will help prevent future build-up and make your cleaning tasks easier.
Now that you’re equipped with the knowledge and techniques to clean a burnt oven floor, it’s time to put it into action. So roll up your sleeves, gather your supplies, and get ready to transform your oven into a clean and inviting cooking space.
With a little effort and dedication, your oven will be ready to help you create delicious meals for yourself, your family, and your friends. Enjoy the satisfaction of a clean oven and happy cooking!
Frequently Asked Questions about How To Clean Burnt Oven Floor
Was this page helpful?
At Storables.com, we guarantee accurate and reliable information. Our content, validated by Expert Board Contributors, is crafted following stringent Editorial Policies. We're committed to providing you with well-researched, expert-backed insights for all your informational needs.

0 thoughts on “How To Clean Burnt Oven Floor”