Home>Furniture & Design>Interior Design Trends>How To Clean Creality Glass Bed
Interior Design Trends
How To Clean Creality Glass Bed
Modified: March 24, 2024
Learn the best techniques for cleaning your Creality glass bed to maintain its quality and extend its lifespan. Discover the latest interior design trends for a stylish and modern home.
(Many of the links in this article redirect to a specific reviewed product. Your purchase of these products through affiliate links helps to generate commission for Storables.com, at no extra cost. Learn more)
Introduction
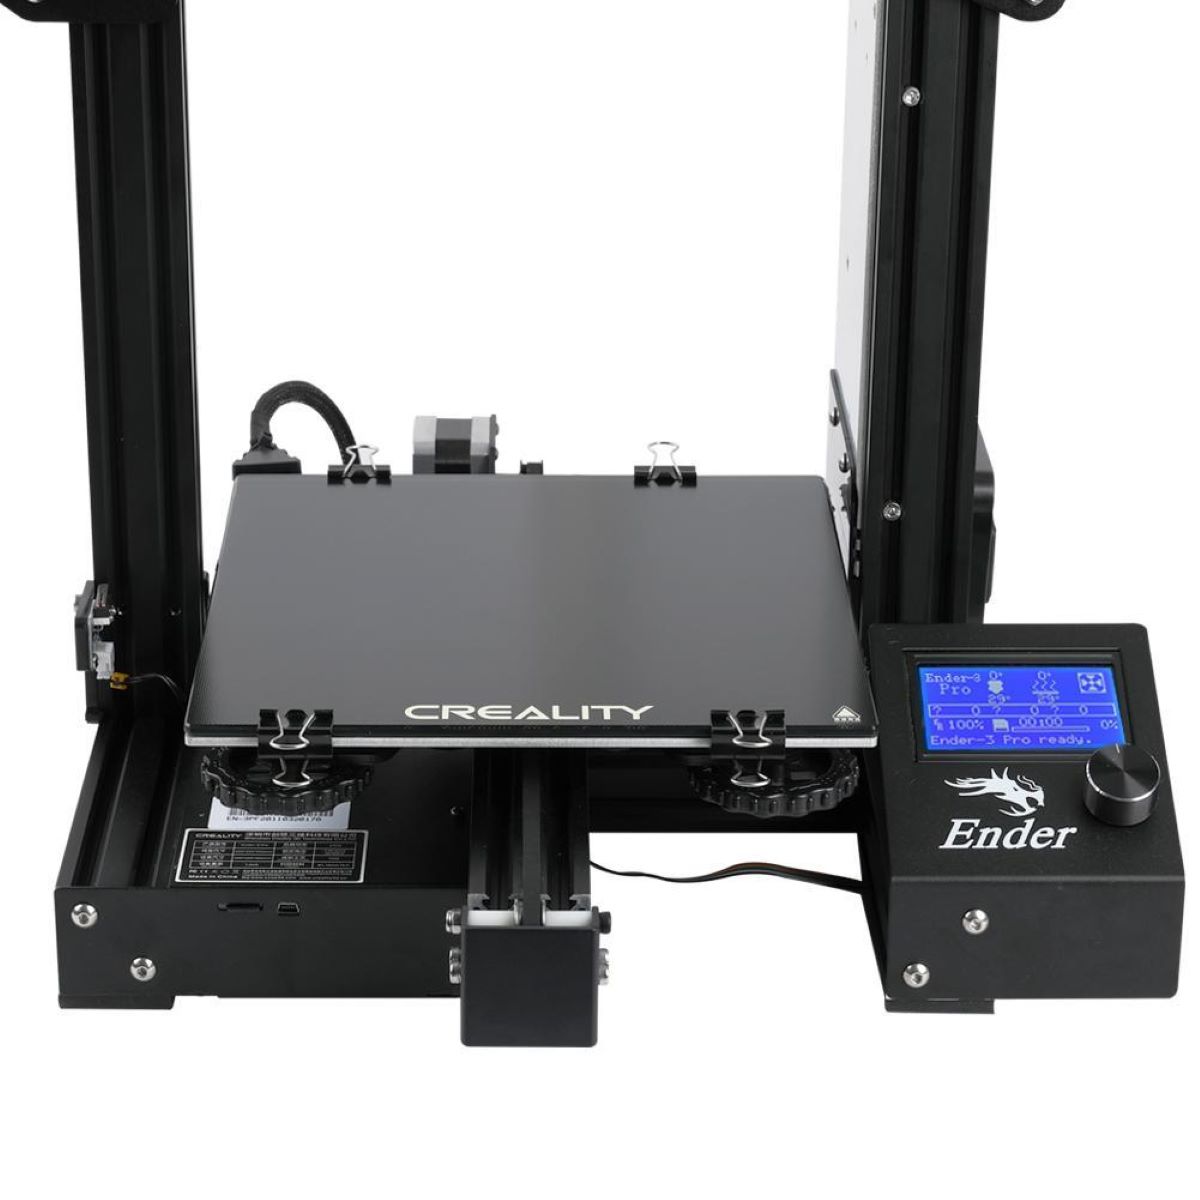
Cleaning the glass bed of your Creality 3D printer is an essential maintenance task that ensures optimal print quality and longevity of the printing surface. Over time, residue from filament, adhesives, and oils can accumulate on the glass bed, affecting adhesion and print accuracy. By following a few simple steps, you can effectively clean the glass bed and restore its functionality.
Regular maintenance of the glass bed not only enhances the printing experience but also prolongs the lifespan of the bed itself. Whether you are a seasoned 3D printing enthusiast or a beginner, understanding the proper cleaning process is crucial for achieving consistent and high-quality prints. In the following steps, we will guide you through the process of cleaning your Creality glass bed, allowing you to maintain an optimal printing surface for your 3D printing projects.
Let's dive into the step-by-step process of cleaning your Creality glass bed to ensure that your 3D prints adhere properly and maintain their precision.
Key Takeaways:
- Regularly cleaning your Creality glass bed with warm soapy water removes residue, ensuring optimal print quality and longevity. Safe removal and reinstallation are crucial for successful 3D printing experiences.
- Maintaining a clean glass bed is essential for consistent and high-quality 3D prints. Follow the step-by-step cleaning process to ensure successful adhesion and precise printing for your projects.
Read more: How To Clean Glass 3D Printer Bed
Step 1: Remove the Glass Bed
To begin the cleaning process, the first step is to carefully remove the glass bed from your Creality 3D printer. This step is crucial to ensure thorough cleaning and to prevent any damage to the printer or the glass bed itself.
-
Turn Off the Printer: Start by turning off the 3D printer and allowing it to cool down if it has been in use. This is important for safety and to prevent any accidental burns during the removal process.
-
Heat the Bed (Optional): If the glass bed is cold and there is adhesive residue from previous prints, it can be helpful to gently heat the bed. This can soften the adhesive, making it easier to remove the glass bed without damaging the print surface.
-
Unscrew the Retaining Clips or Fasteners: Most Creality 3D printers use clips or fasteners to secure the glass bed in place. Carefully unscrew or unclip these fasteners, ensuring that you keep track of all the components to facilitate easy reinstallation later.
-
Lift the Glass Bed: Once the fasteners are removed, gently lift the glass bed from the printer, taking care to support it evenly to prevent any flexing or bending that could lead to breakage.
-
Place the Glass Bed on a Clean Surface: After removing the glass bed, place it on a clean and flat surface, ensuring that it is protected from any potential damage or contamination during the cleaning process.
By following these steps to remove the glass bed from your Creality 3D printer, you can proceed to the next phase of the cleaning process with confidence, knowing that the glass bed has been safely and effectively detached for thorough cleaning.
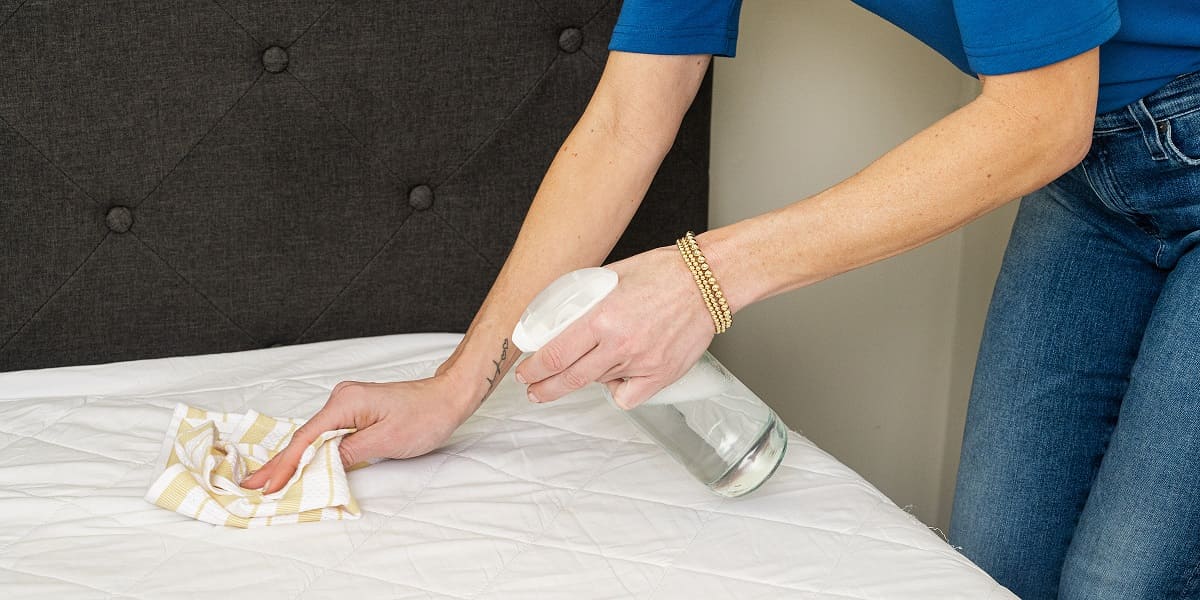
Step 2: Clean with Warm Soapy Water
Once the glass bed is safely removed from the 3D printer, the next step is to clean it with warm soapy water to remove any residue and ensure a pristine printing surface. This simple yet effective cleaning method can help restore the bed to its optimal condition for successful 3D printing.
To clean the glass bed with warm soapy water, follow these steps:
-
Prepare the Cleaning Solution: Fill a basin or container with warm water, ensuring that it is not too hot to avoid thermal shock to the glass. Add a small amount of mild dish soap to the water and mix it gently to create a soapy solution.
-
Soak the Glass Bed: Carefully place the glass bed into the soapy water solution, ensuring that the entire surface is submerged. Allowing the glass bed to soak in the warm soapy water helps to loosen and dissolve any filament residue, adhesives, or oils that may have accumulated on the surface.
-
Gently Scrub the Surface: After soaking for a few minutes, use a soft sponge or cloth to gently scrub the surface of the glass bed. Focus on areas with stubborn residue, applying light pressure to lift and remove any buildup without scratching or damaging the glass surface. Take care to cover the entire bed, including the edges and corners, to ensure thorough cleaning.
-
Rinse Thoroughly: Once the glass bed has been scrubbed, remove it from the soapy water and rinse it thoroughly under running water. Ensure that all traces of soap and residue are completely washed away, leaving the glass bed clean and free from any cleaning solution.
-
Dry the Glass Bed: Using a lint-free cloth or paper towels, carefully dry the glass bed to remove any excess water. Ensure that the surface is completely dry before proceeding to the next step.
By cleaning the glass bed with warm soapy water, you can effectively remove accumulated residue and contaminants, restoring the surface to an optimal condition for 3D printing. This simple yet essential cleaning process sets the stage for successful prints and ensures that the glass bed remains in top condition for future projects.
Use a mixture of water and isopropyl alcohol to clean the Creality glass bed. Gently wipe the surface with a microfiber cloth to remove any residue or fingerprints. Avoid using harsh chemicals or abrasive materials.
Step 3: Dry the Glass Bed
Drying the glass bed is a critical step in the cleaning process, as it ensures that the surface is free from moisture and ready for reinstallation onto the 3D printer. Proper drying also prevents water spots or streaks from forming on the glass, which could affect print adhesion and quality. Here's a detailed guide on how to effectively dry the glass bed after cleaning:
-
Air Drying: After rinsing the glass bed, the initial step in the drying process is to allow it to air dry naturally. Place the glass bed on a clean, lint-free surface in a well-ventilated area. Allowing the glass bed to air dry ensures that any remaining water evaporates without leaving behind residue or streaks.
-
Use of Compressed Air: For a quicker drying method, compressed air can be used to blow away any water droplets that may be lingering on the surface or in hard-to-reach areas such as the edges and corners of the glass bed. When using compressed air, ensure that it is clean and free from any contaminants that could potentially affect the glass surface.
-
Lint-Free Cloth or Paper Towels: Gently patting the glass bed with a lint-free cloth or paper towels can help absorb any remaining moisture. It's important to use a soft and clean cloth to avoid leaving behind lint or fibers that could adhere to the glass surface. Pat the entire surface of the glass bed, ensuring that it is completely dry before proceeding.
-
Avoiding Heat Sources: While it may be tempting to expedite the drying process with heat, it's crucial to avoid exposing the glass bed to direct heat sources such as hairdryers or heat guns. Rapid temperature changes can lead to thermal stress and potential damage to the glass. Opting for natural drying methods is the safest approach to preserve the integrity of the glass bed.
-
Final Inspection: Once the glass bed has been dried using the aforementioned methods, it's essential to perform a final visual inspection to ensure that no moisture or residue remains. Check for any water spots or streaks, and if necessary, repeat the drying process to achieve a completely dry and pristine surface.
By meticulously drying the glass bed, you can safeguard its integrity and prepare it for reinstallation onto your Creality 3D printer. This step sets the stage for successful 3D printing by ensuring that the glass bed is clean, dry, and free from any contaminants that could compromise print quality.
Step 4: Reinstall the Glass Bed
Reinstalling the glass bed onto your Creality 3D printer is the final step in the cleaning process, marking the culmination of efforts to restore the printing surface to its optimal condition. Proper reinstallation ensures that the glass bed is securely positioned, level, and ready to facilitate successful 3D printing. Here's a detailed guide on how to effectively reinstall the glass bed:
-
Inspect the Printer Surface: Before reinstalling the glass bed, take a moment to inspect the printer's build surface. Ensure that it is clean, free from debris, and any adhesive residue from previous prints has been removed. This step is essential to guarantee that the glass bed adheres properly and maintains a level position during printing.
-
Align the Glass Bed: Carefully position the glass bed over the build surface of the 3D printer, ensuring that it aligns with the designated mounting points or clips. Take note of any alignment markers or indicators that facilitate the correct placement of the glass bed. Proper alignment is crucial for ensuring that the print surface is level and that prints adhere uniformly across the entire bed.
-
Secure the Glass Bed: Once the glass bed is aligned, use the retaining clips or fasteners to secure it in place. Ensure that the bed is held firmly but without excessive pressure that could lead to warping or damage. Tighten the clips or fasteners evenly to maintain a balanced and secure attachment of the glass bed to the printer.
-
Leveling the Bed (if necessary): Depending on your 3D printer model, it may be necessary to level the glass bed to ensure optimal print quality. Utilize the printer's leveling features to adjust the bed as needed, following the manufacturer's guidelines for achieving a level printing surface. Proper bed leveling is essential for consistent adhesion and precise prints.
-
Perform a Test Print: After reinstalling and leveling the glass bed, perform a test print to verify that the bed is securely positioned and that prints adhere uniformly across the surface. Monitor the initial layers of the print to ensure that they adhere properly and maintain consistent thickness, indicating that the glass bed is functioning optimally.
By meticulously following these steps to reinstall the glass bed, you can ensure that the printing surface is clean, level, and ready to facilitate successful 3D printing. This final phase of the cleaning process sets the stage for seamless printing experiences and high-quality output, allowing you to embark on your 3D printing projects with confidence.
Read more: How To Clean A Dog Bed
Conclusion
In conclusion, maintaining a clean and pristine glass bed is paramount for achieving consistent and high-quality 3D prints on your Creality 3D printer. By following the step-by-step cleaning process outlined above, you can ensure that your glass bed remains in optimal condition, promoting successful adhesion and precise printing.
Regularly cleaning the glass bed with warm soapy water not only removes accumulated residue and contaminants but also prepares the surface for future printing projects. This simple yet essential maintenance task can significantly impact the overall print quality and the longevity of the glass bed.
Furthermore, the careful removal and reinstallation of the glass bed are crucial steps in the cleaning process. Safely detaching the bed from the printer allows for thorough cleaning, while proper reinstallation ensures that the bed is securely positioned and level, setting the stage for successful 3D printing experiences.
By maintaining a clean glass bed, you can mitigate potential adhesion issues, warping, or print defects, ultimately enhancing the overall printing process. Whether you are creating prototypes, functional parts, or artistic designs, a well-maintained glass bed is fundamental to the success of your 3D printing endeavors.
Incorporating the recommended cleaning practices into your regular maintenance routine can contribute to the longevity of your Creality 3D printer's glass bed, ultimately optimizing its performance and print quality over time.
In essence, the process of cleaning and maintaining the glass bed of your Creality 3D printer is not only a practical necessity but also a foundational element in ensuring the success and longevity of your 3D printing projects. By adhering to the outlined cleaning steps and incorporating them into your regular maintenance regimen, you can uphold the integrity of the glass bed and elevate the overall 3D printing experience.
Frequently Asked Questions about How To Clean Creality Glass Bed
Was this page helpful?
At Storables.com, we guarantee accurate and reliable information. Our content, validated by Expert Board Contributors, is crafted following stringent Editorial Policies. We're committed to providing you with well-researched, expert-backed insights for all your informational needs.


0 thoughts on “How To Clean Creality Glass Bed”