Home>Furniture & Design>Interior Design Trends>How To Clean Glass Tiles
Interior Design Trends
How To Clean Glass Tiles
Published: February 6, 2024
Learn the best techniques for cleaning glass tiles to maintain their shine and enhance your interior design. Discover the latest interior design trends for glass tiles.
(Many of the links in this article redirect to a specific reviewed product. Your purchase of these products through affiliate links helps to generate commission for Storables.com, at no extra cost. Learn more)
Introduction
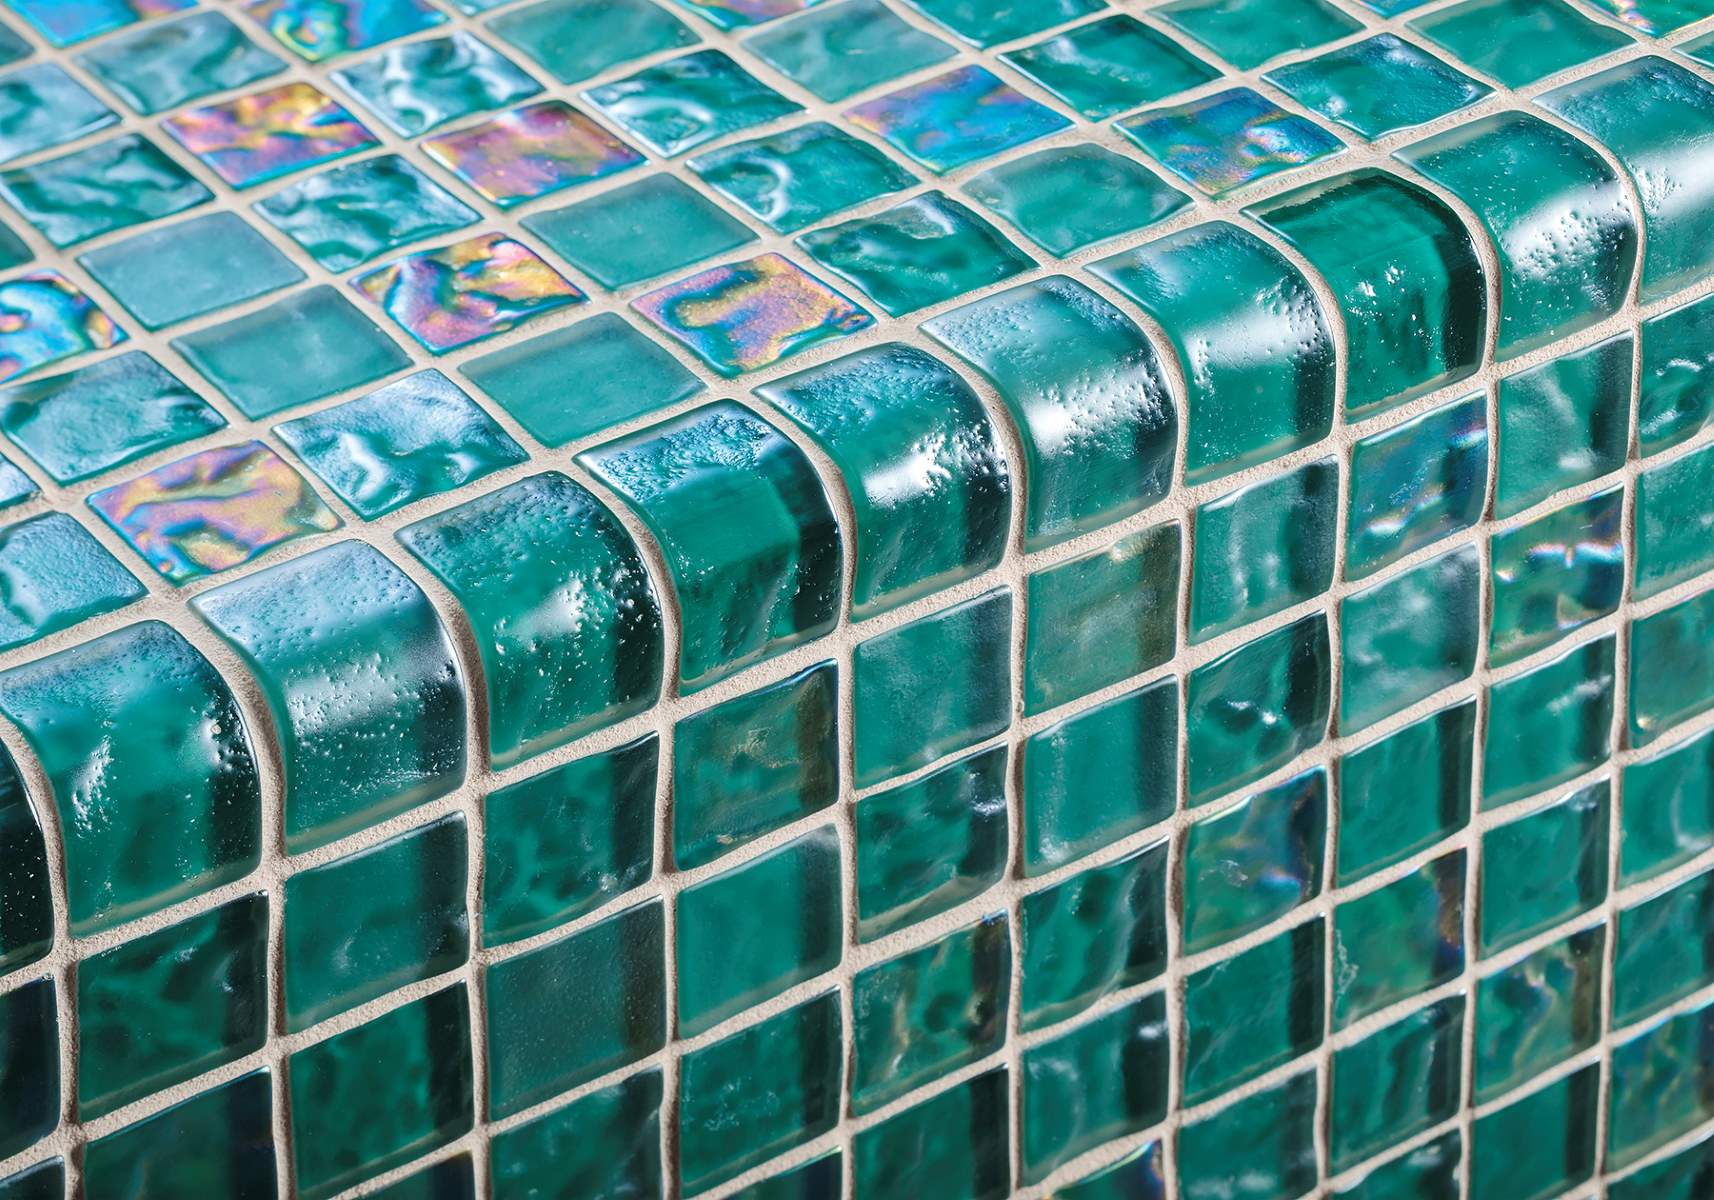
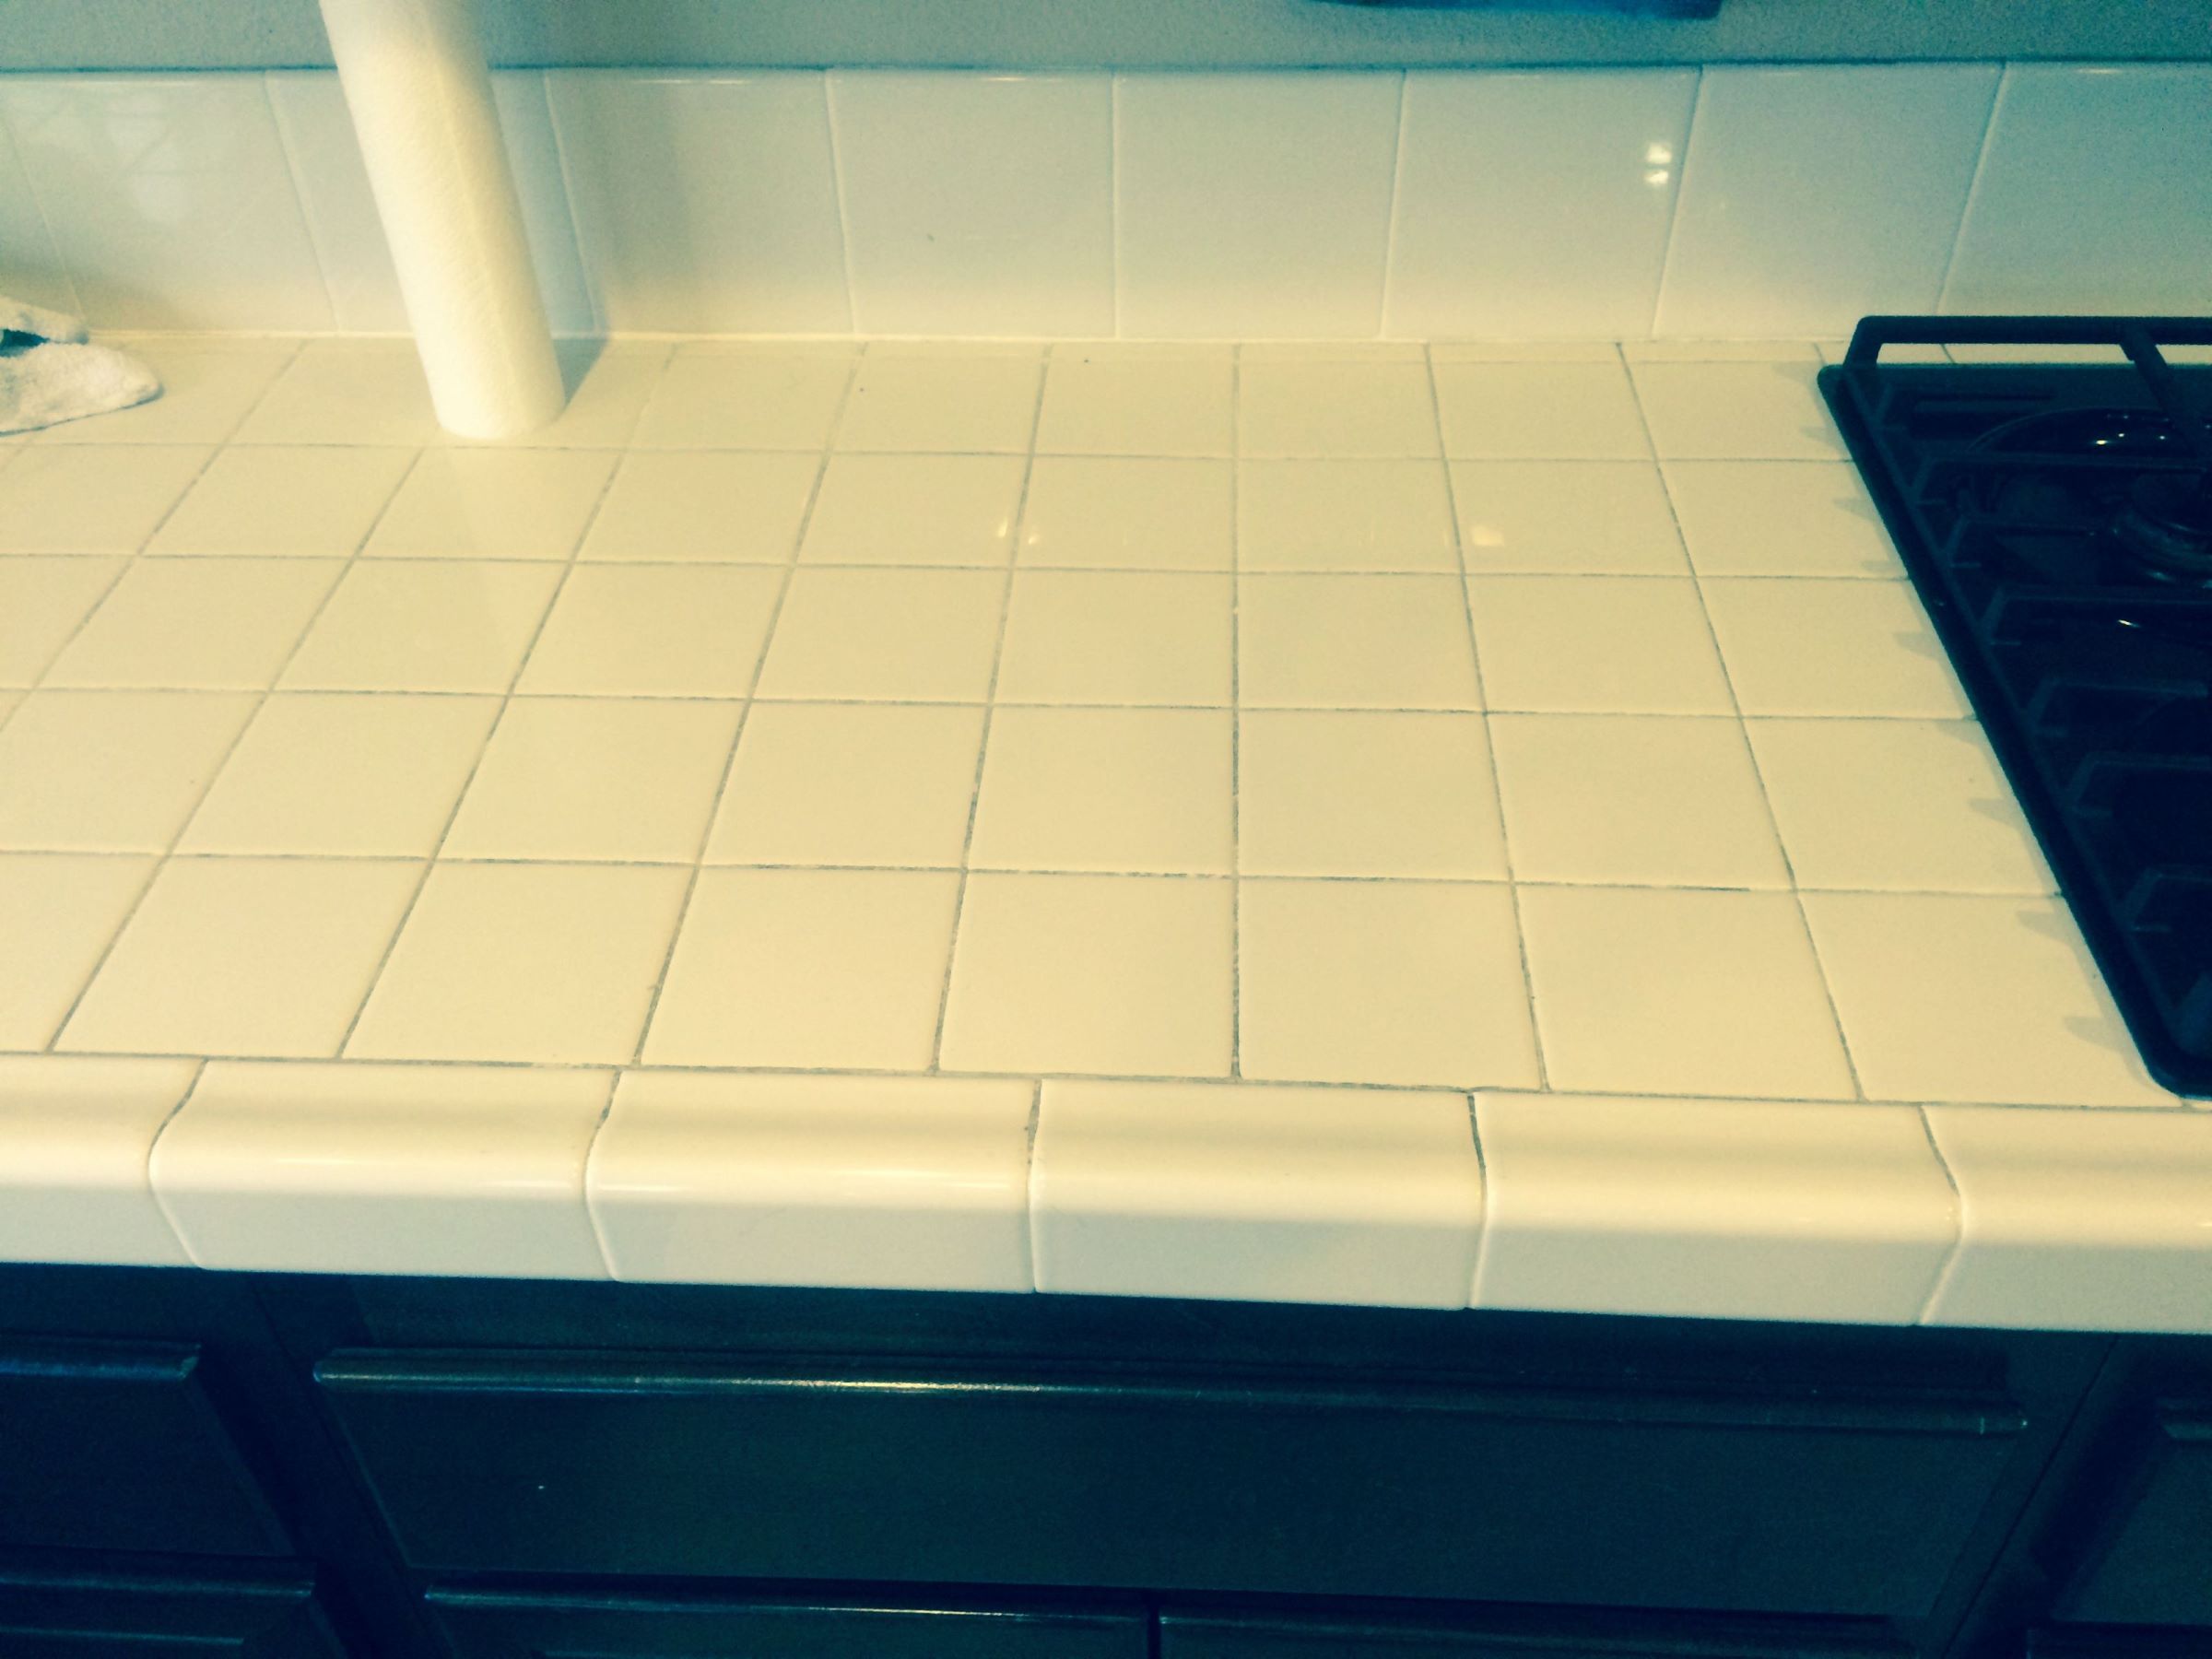
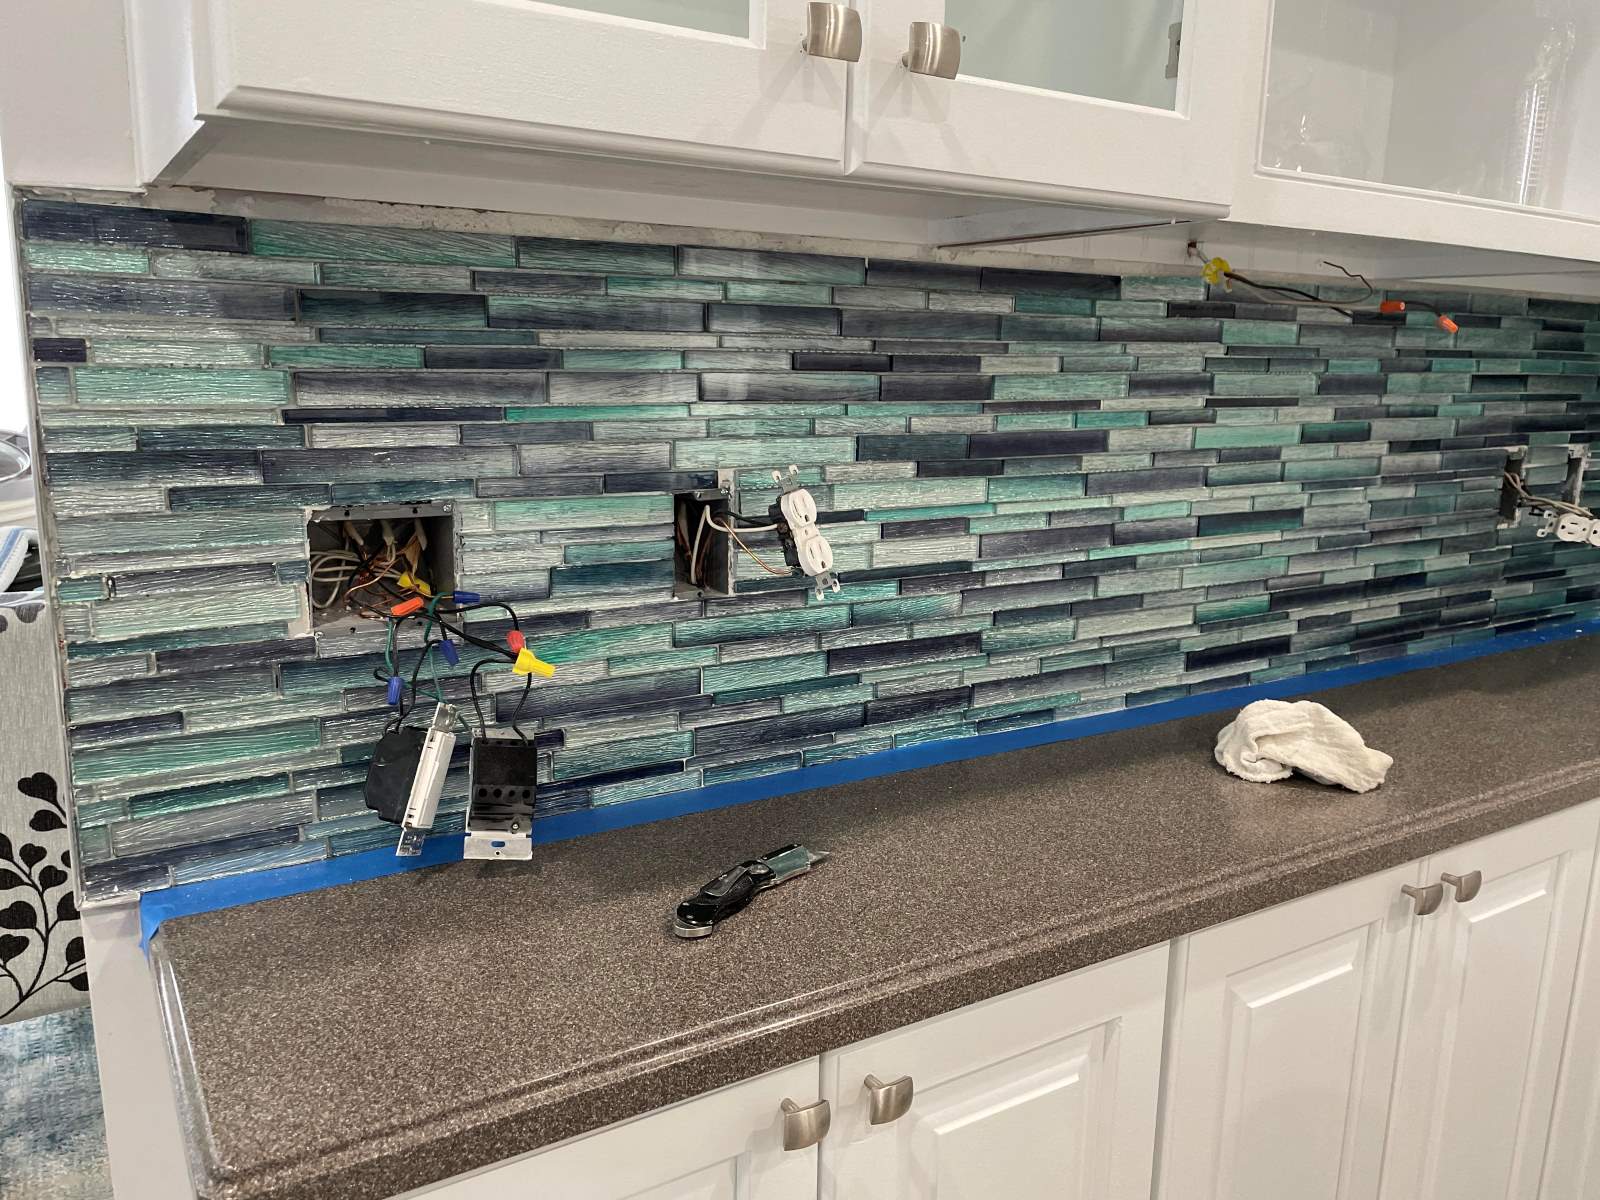
Glass tiles are a stunning addition to any home, bringing a touch of elegance and modernity to kitchens, bathrooms, and other living spaces. Their sleek and reflective surfaces can instantly elevate the aesthetic appeal of a room, creating a sense of spaciousness and luminosity. However, to maintain their luster and transparency, it's essential to keep glass tiles clean and free from smudges, water spots, and grime.
Cleaning glass tiles may seem like a daunting task, but with the right techniques and materials, it can be a straightforward and rewarding endeavor. Whether you're a seasoned homeowner or a first-time DIY enthusiast, mastering the art of cleaning glass tiles will not only preserve their beauty but also contribute to a hygienic and inviting living environment.
In this comprehensive guide, we will walk you through the step-by-step process of cleaning glass tiles effectively. From preparing the surface to choosing the right cleaning solution and applying it with precision, each stage is crucial in achieving sparkling, streak-free results. By following these expert tips and techniques, you'll be able to maintain the pristine allure of your glass tiles, ensuring that they remain a captivating focal point in your home for years to come.
So, roll up your sleeves, gather your cleaning supplies, and let's dive into the art of cleaning glass tiles with confidence and finesse. Whether you're tackling a small backsplash or an expansive tiled wall, this guide will equip you with the knowledge and skills needed to achieve a glistening, mirror-like finish that will leave your guests in awe. Let's embark on this journey to unveil the secrets of pristine glass tile maintenance and elevate the allure of your living spaces.
Key Takeaways:
- Cleaning glass tiles is a rewarding and straightforward process that preserves their beauty and contributes to a hygienic home. By following the steps in this guide, you can achieve sparkling, streak-free results and maintain a captivating living space.
- With the right materials and techniques, you can revitalize your glass tiles to their pristine state. From preparing the surface to choosing the optimal cleaning solution, each step plays a crucial role in unveiling the natural brilliance of your tiles.
Read more: How To Clean Glass Backsplash Tiles
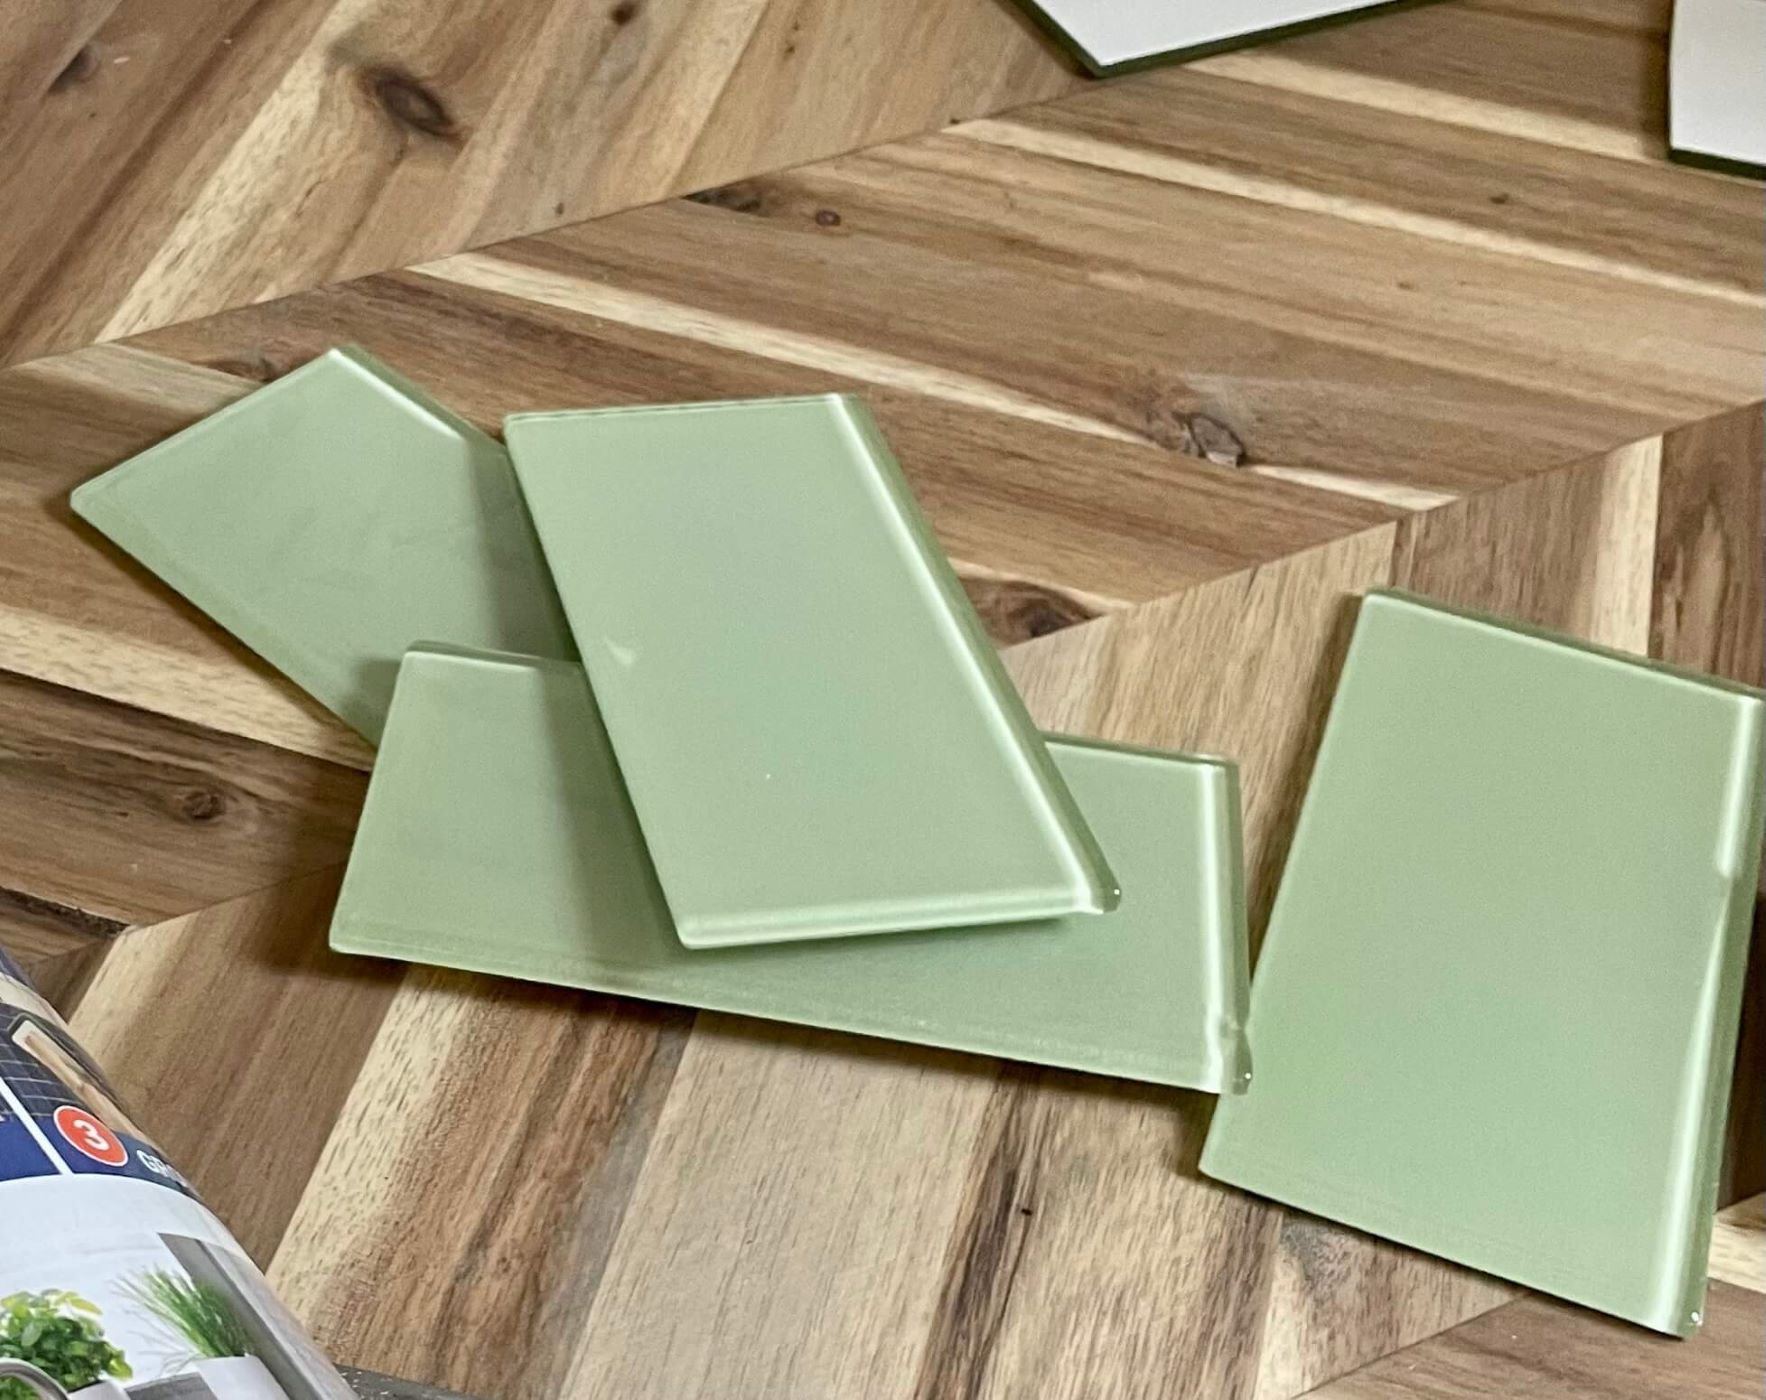
Materials Needed
To embark on the journey of cleaning your glass tiles to perfection, it's essential to gather the right materials that will facilitate a seamless and effective cleaning process. Here's a comprehensive list of the essential items you'll need to achieve sparkling, streak-free glass tiles:
-
Mild Dish Soap: Opt for a gentle, non-abrasive dish soap that is free from harsh chemicals and additives. This will serve as the foundation for your cleaning solution, effectively breaking down grease and grime without compromising the integrity of the glass tiles.
-
White Vinegar: A versatile and eco-friendly cleaning agent, white vinegar is renowned for its ability to dissolve mineral deposits, water spots, and soap scum on glass surfaces. It's an indispensable component of an effective glass tile cleaning solution.
-
Spray Bottle: A clean, empty spray bottle will allow you to mix and apply the cleaning solution evenly across the glass tiles, ensuring thorough coverage and optimal cleaning results.
-
Microfiber Cloth or Soft Sponge: Opt for a non-abrasive microfiber cloth or a soft sponge to gently scrub the glass tiles without causing scratches or damage. These tools will aid in removing stubborn stains and residues while preserving the pristine condition of the tiles.
-
Rubbing Alcohol: This multipurpose cleaning agent is highly effective in dissolving tough stains and residues on glass surfaces. It's particularly useful for tackling adhesive residues or stubborn grime that may have accumulated on the tiles.
-
Water: Clean, lukewarm water will be used to rinse the glass tiles after the cleaning solution has been applied, ensuring that all traces of the solution and loosened dirt are thoroughly removed.
-
Gloves: While not essential, wearing gloves can protect your hands from prolonged exposure to cleaning agents and prevent skin irritation, especially if you have sensitive skin.
-
Lint-Free Towel: A lint-free towel is ideal for drying the glass tiles after they have been thoroughly rinsed, leaving behind a streak-free and immaculate surface.
By assembling these essential materials, you'll be well-equipped to embark on the journey of revitalizing your glass tiles, restoring their brilliance, and maintaining their captivating allure. With these tools at your disposal, you'll be ready to proceed to the next step of preparing the surface for the cleaning process.
Step 1: Prepare the Surface
Before diving into the actual cleaning process, it's crucial to prepare the surface of the glass tiles to ensure that the cleaning solution can effectively penetrate and remove any accumulated grime, residue, or smudges. Proper surface preparation sets the stage for a thorough and successful cleaning session, allowing you to achieve impeccable results that showcase the natural brilliance of the glass tiles.
To begin, clear the immediate area surrounding the glass tiles to create a spacious and unobstructed workspace. Remove any decorative items, kitchen utensils, or bathroom accessories that may hinder access to the tiles, ensuring that you have ample room to maneuver and apply the cleaning solution evenly.
Next, dust the surface of the glass tiles using a soft, dry cloth or a gentle duster. This preliminary step helps eliminate loose particles, dirt, and debris that may have settled on the tiles, preventing them from being inadvertently spread or trapped during the cleaning process. By gently dusting the tiles, you'll create a clean canvas for the subsequent cleaning steps, allowing the solution to target embedded stains and blemishes effectively.
Once the surface has been dusted, inspect the glass tiles for any visible spots, smudges, or stubborn residues. Take note of areas that require special attention, such as dried water spots, soap scum, or adhesive remnants. Identifying these trouble spots will enable you to tailor your cleaning approach, ensuring that no blemish goes unnoticed or untreated.
If you encounter particularly stubborn stains or residues, consider using a gentle adhesive remover or rubbing alcohol to target these specific areas. Apply a small amount of the adhesive remover to a clean cloth and gently dab the affected areas, allowing the solution to penetrate and loosen the stubborn residue. Exercise caution and avoid using abrasive tools or harsh chemicals that may damage the glass tiles.
By meticulously preparing the surface of the glass tiles, you'll lay the groundwork for a successful and rewarding cleaning experience. This proactive approach sets the stage for the subsequent steps, allowing the cleaning solution to work its magic and restore the pristine allure of the glass tiles. With the surface prepared and any stubborn residues addressed, you're now ready to proceed to the next step of choosing the right cleaning solution to revitalize your glass tiles.
Step 2: Choose the Right Cleaning Solution
Selecting the appropriate cleaning solution is a pivotal step in the process of rejuvenating glass tiles. The ideal solution should effectively dissolve grime, mineral deposits, and soap scum while being gentle enough to preserve the pristine condition of the tiles. When it comes to formulating the perfect cleaning solution, a blend of mild dish soap, white vinegar, and water emerges as a winning combination.
To create this potent cleaning elixir, begin by filling a clean, empty spray bottle with equal parts of water and white vinegar. White vinegar, renowned for its acidic properties, serves as a powerful solvent that can effectively dissolve mineral deposits and soap scum without leaving behind streaks or residue. Its natural antibacterial properties also make it an ideal choice for sanitizing glass surfaces, ensuring a hygienic and sparkling finish.
Next, add a small amount of mild dish soap to the mixture. Opt for a gentle, non-abrasive dish soap that is free from harsh chemicals and additives. The dish soap acts as a surfactant, breaking down grease and grime on the glass tiles without compromising their transparency or luster. When combined with white vinegar and water, it forms a synergistic cleaning solution that targets tough stains while being safe for the environment and the tiles themselves.
Once the ingredients are combined in the spray bottle, gently swirl the bottle to mix the solution thoroughly. Avoid shaking the bottle vigorously to prevent excessive foaming, which may lead to wastage and uneven application. The resulting solution should have a balanced pH level, harnessing the cleaning prowess of white vinegar and the degreasing properties of the dish soap to deliver a comprehensive cleaning experience.
By choosing this carefully crafted cleaning solution, you'll harness the combined power of white vinegar and mild dish soap to tackle grime, water spots, and soap scum on your glass tiles. This bespoke solution strikes the perfect balance between effectiveness and gentleness, ensuring that your glass tiles emerge immaculate and radiant after the cleaning process.
With the optimal cleaning solution in hand, you're now poised to embark on the next step of applying the solution to the glass tiles with precision and finesse, setting the stage for a transformative cleaning experience that will unveil the natural brilliance of your tiles.
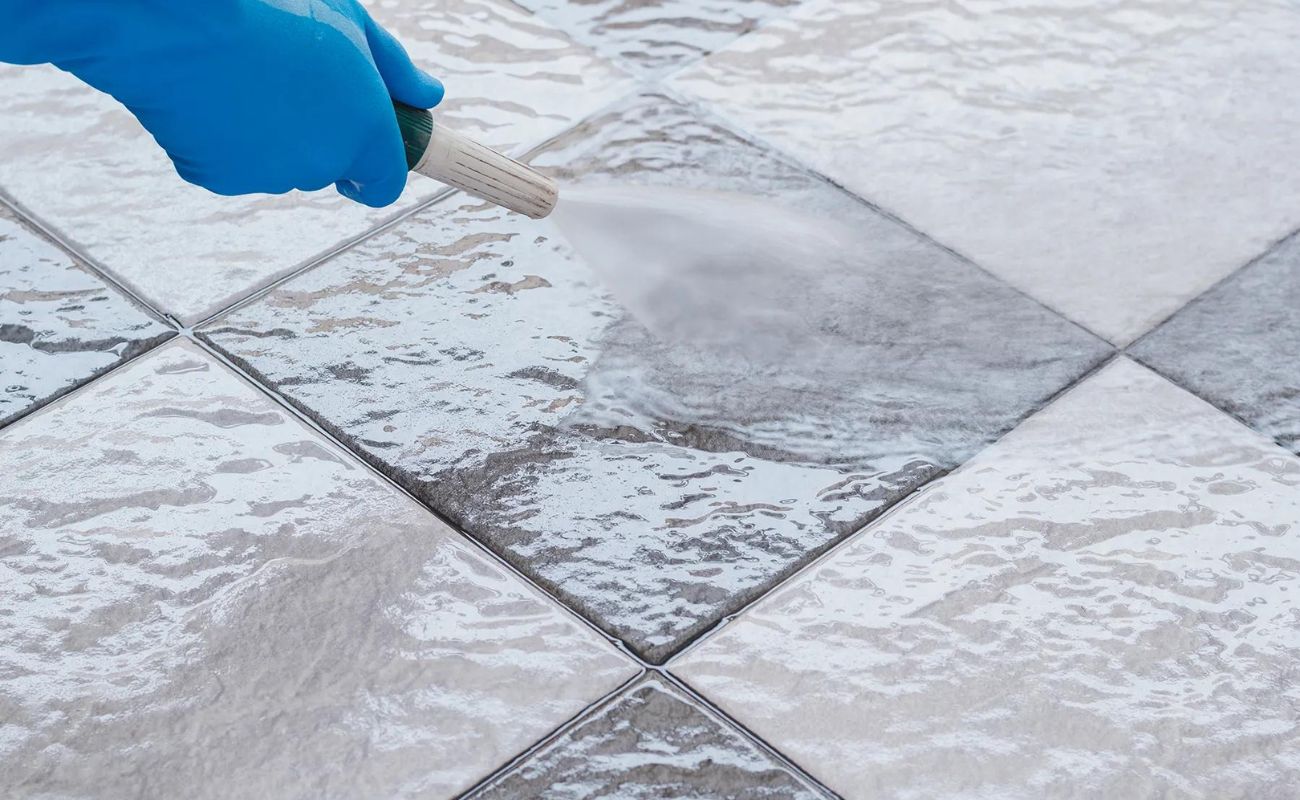
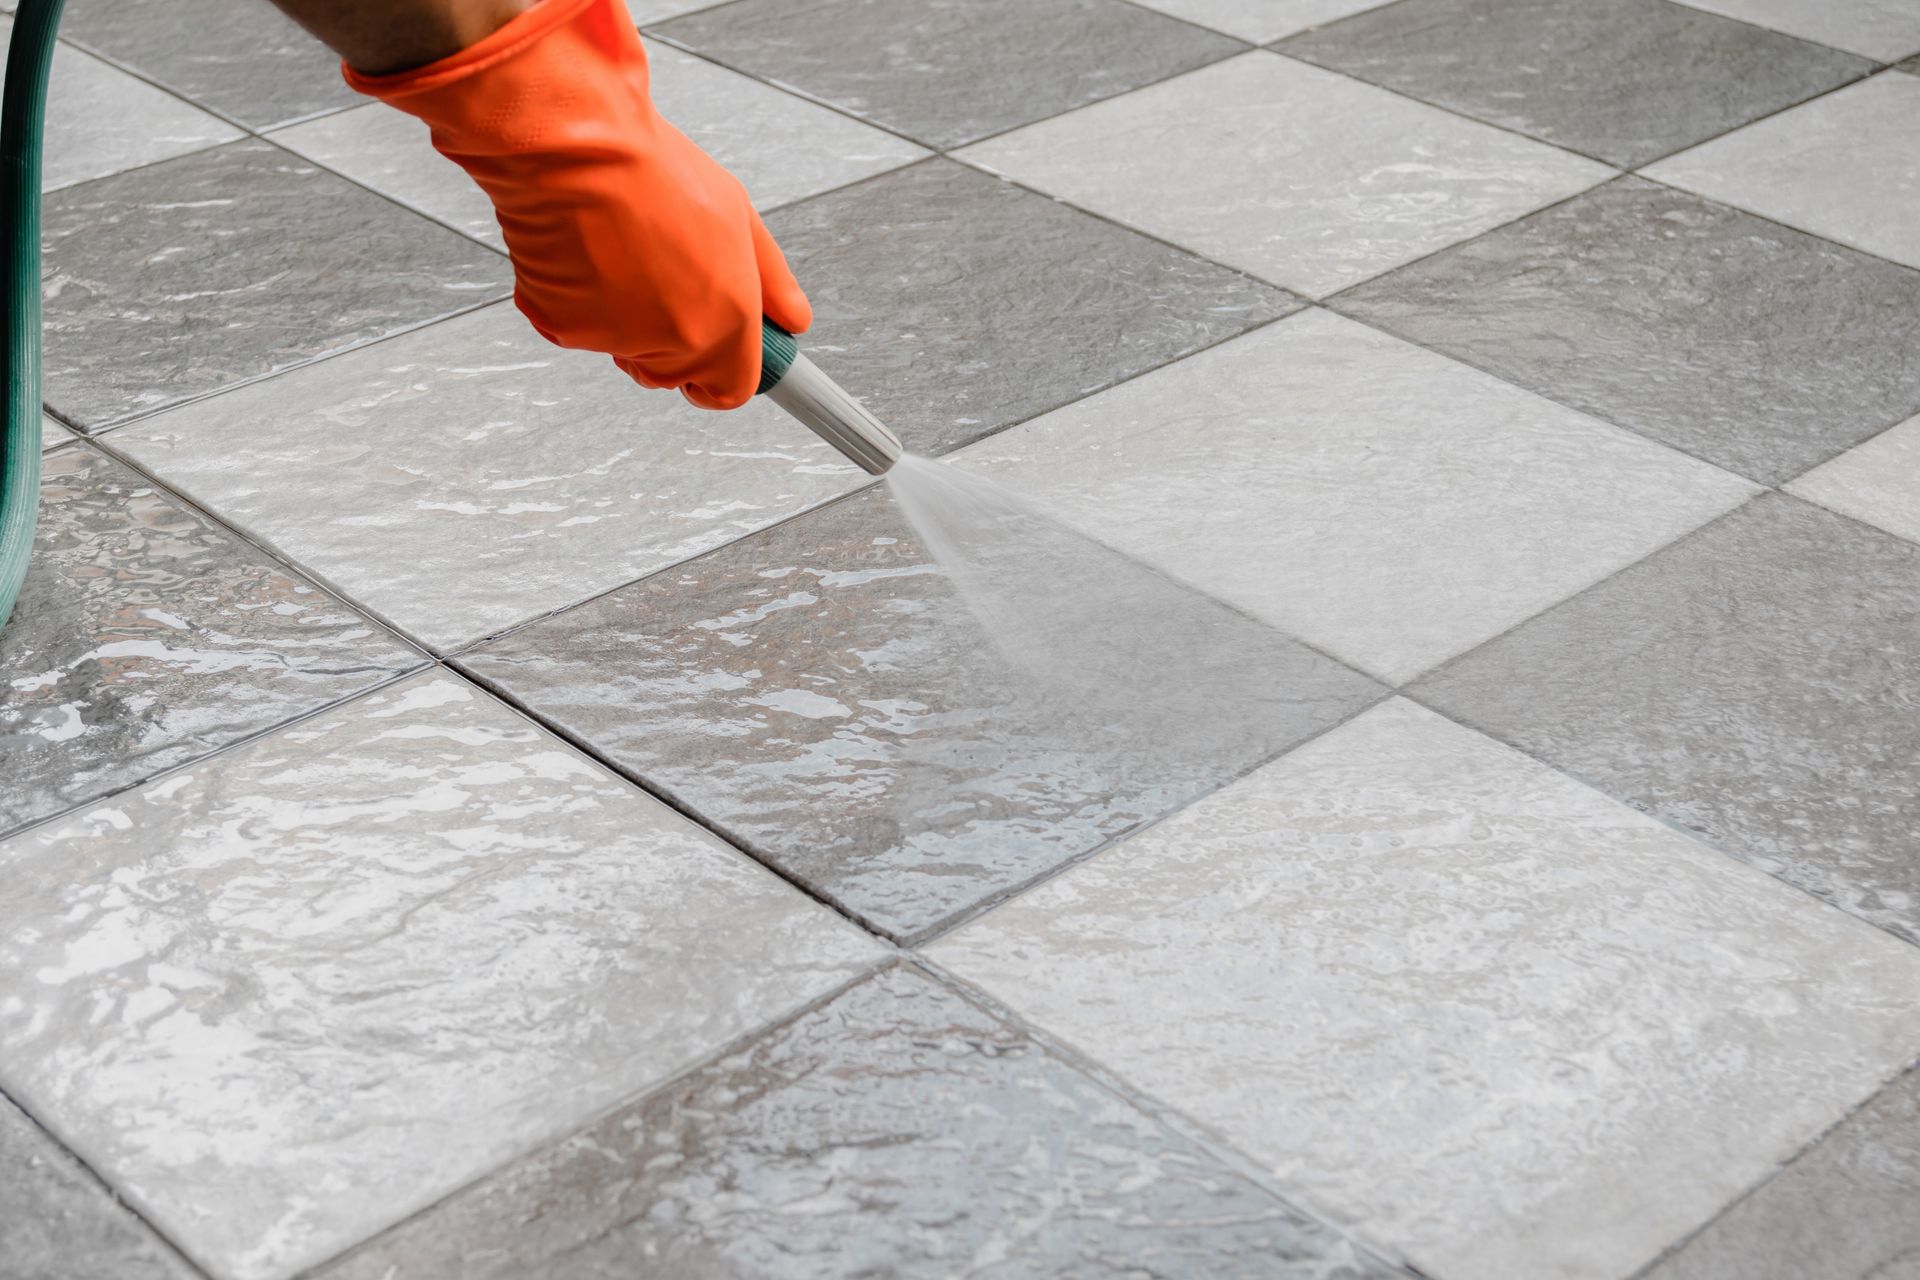
Use a mixture of water and vinegar to clean glass tiles. Spray the solution onto the tiles and wipe with a soft cloth to remove dirt and grime without leaving streaks.
Step 3: Apply the Cleaning Solution
With the meticulously crafted cleaning solution at your disposal, it's time to apply it to the glass tiles with precision and finesse, setting the stage for a transformative cleaning experience that will unveil the natural brilliance of your tiles.
Begin by ensuring that the spray bottle containing the cleaning solution is securely sealed to prevent leaks or spills. Shake the bottle gently to mix the solution, ensuring that the components are evenly distributed. Position yourself in front of the glass tiles, maintaining a comfortable distance to facilitate even coverage without oversaturating the surface.
Hold the spray bottle at a slight angle and apply a generous mist of the cleaning solution onto the glass tiles. Start from the top of the tiled surface and work your way down, ensuring that each section receives a uniform coating of the solution. The mist should be fine and even, allowing the solution to adhere to the tiles without excessive runoff.
As the solution settles on the tiles, allow it to dwell for a few minutes to penetrate and loosen the accumulated grime, water spots, and soap scum. This dwell time is crucial for maximizing the cleaning efficacy of the solution, enabling it to dissolve stubborn residues and prepare them for effortless removal.
While the solution is dwelling, avoid direct exposure to sunlight or high temperatures, as this can lead to premature drying and hinder the cleaning process. Additionally, refrain from allowing the solution to dry on the tiles, as this may result in streaks or residue formation.
After the appropriate dwell time has elapsed, prepare to gently agitate the tiles using a non-abrasive microfiber cloth or a soft sponge. With deliberate yet gentle motions, work the cleaning solution into the tiles, focusing on areas with visible stains or residues. The goal is to dislodge and lift the loosened grime, allowing it to be effortlessly rinsed away in the subsequent step.
Exercise patience and attention to detail as you navigate the tiled surface, ensuring that every inch receives the necessary attention to achieve a thorough and uniform clean. Pay special consideration to any trouble spots or stubborn residues, applying slightly more pressure to effectively address these areas without causing damage to the tiles.
By methodically applying the cleaning solution and allowing it to work its magic on the glass tiles, you're laying the foundation for a comprehensive and effective cleaning process that will restore the tiles to their pristine state. With the tiles now infused with the potent cleaning solution, you're ready to proceed to the next step of scrubbing the tiles to dislodge stubborn grime and unveil their inherent brilliance.
Read more: How To Drill Glass Tile
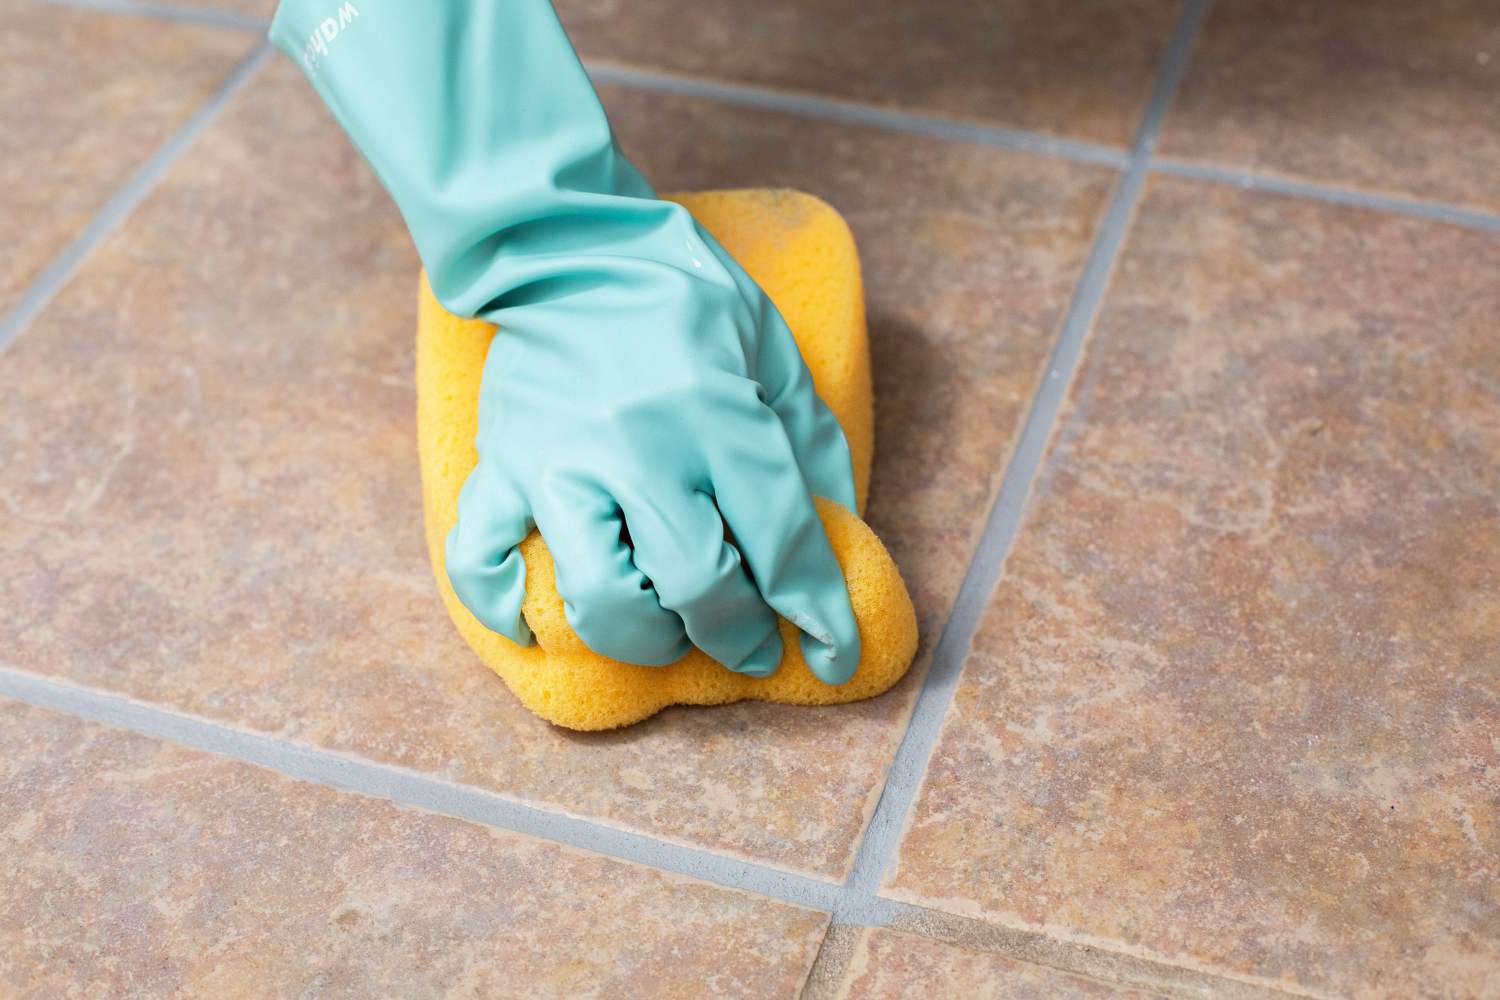
Step 4: Scrub the Tiles
After allowing the cleaning solution to dwell and work its magic on the glass tiles, it's time to embark on the pivotal step of scrubbing the tiles to dislodge stubborn grime and unveil their inherent brilliance. This stage requires a delicate yet purposeful approach, ensuring that the tiles are thoroughly cleansed without being subjected to abrasive or damaging techniques.
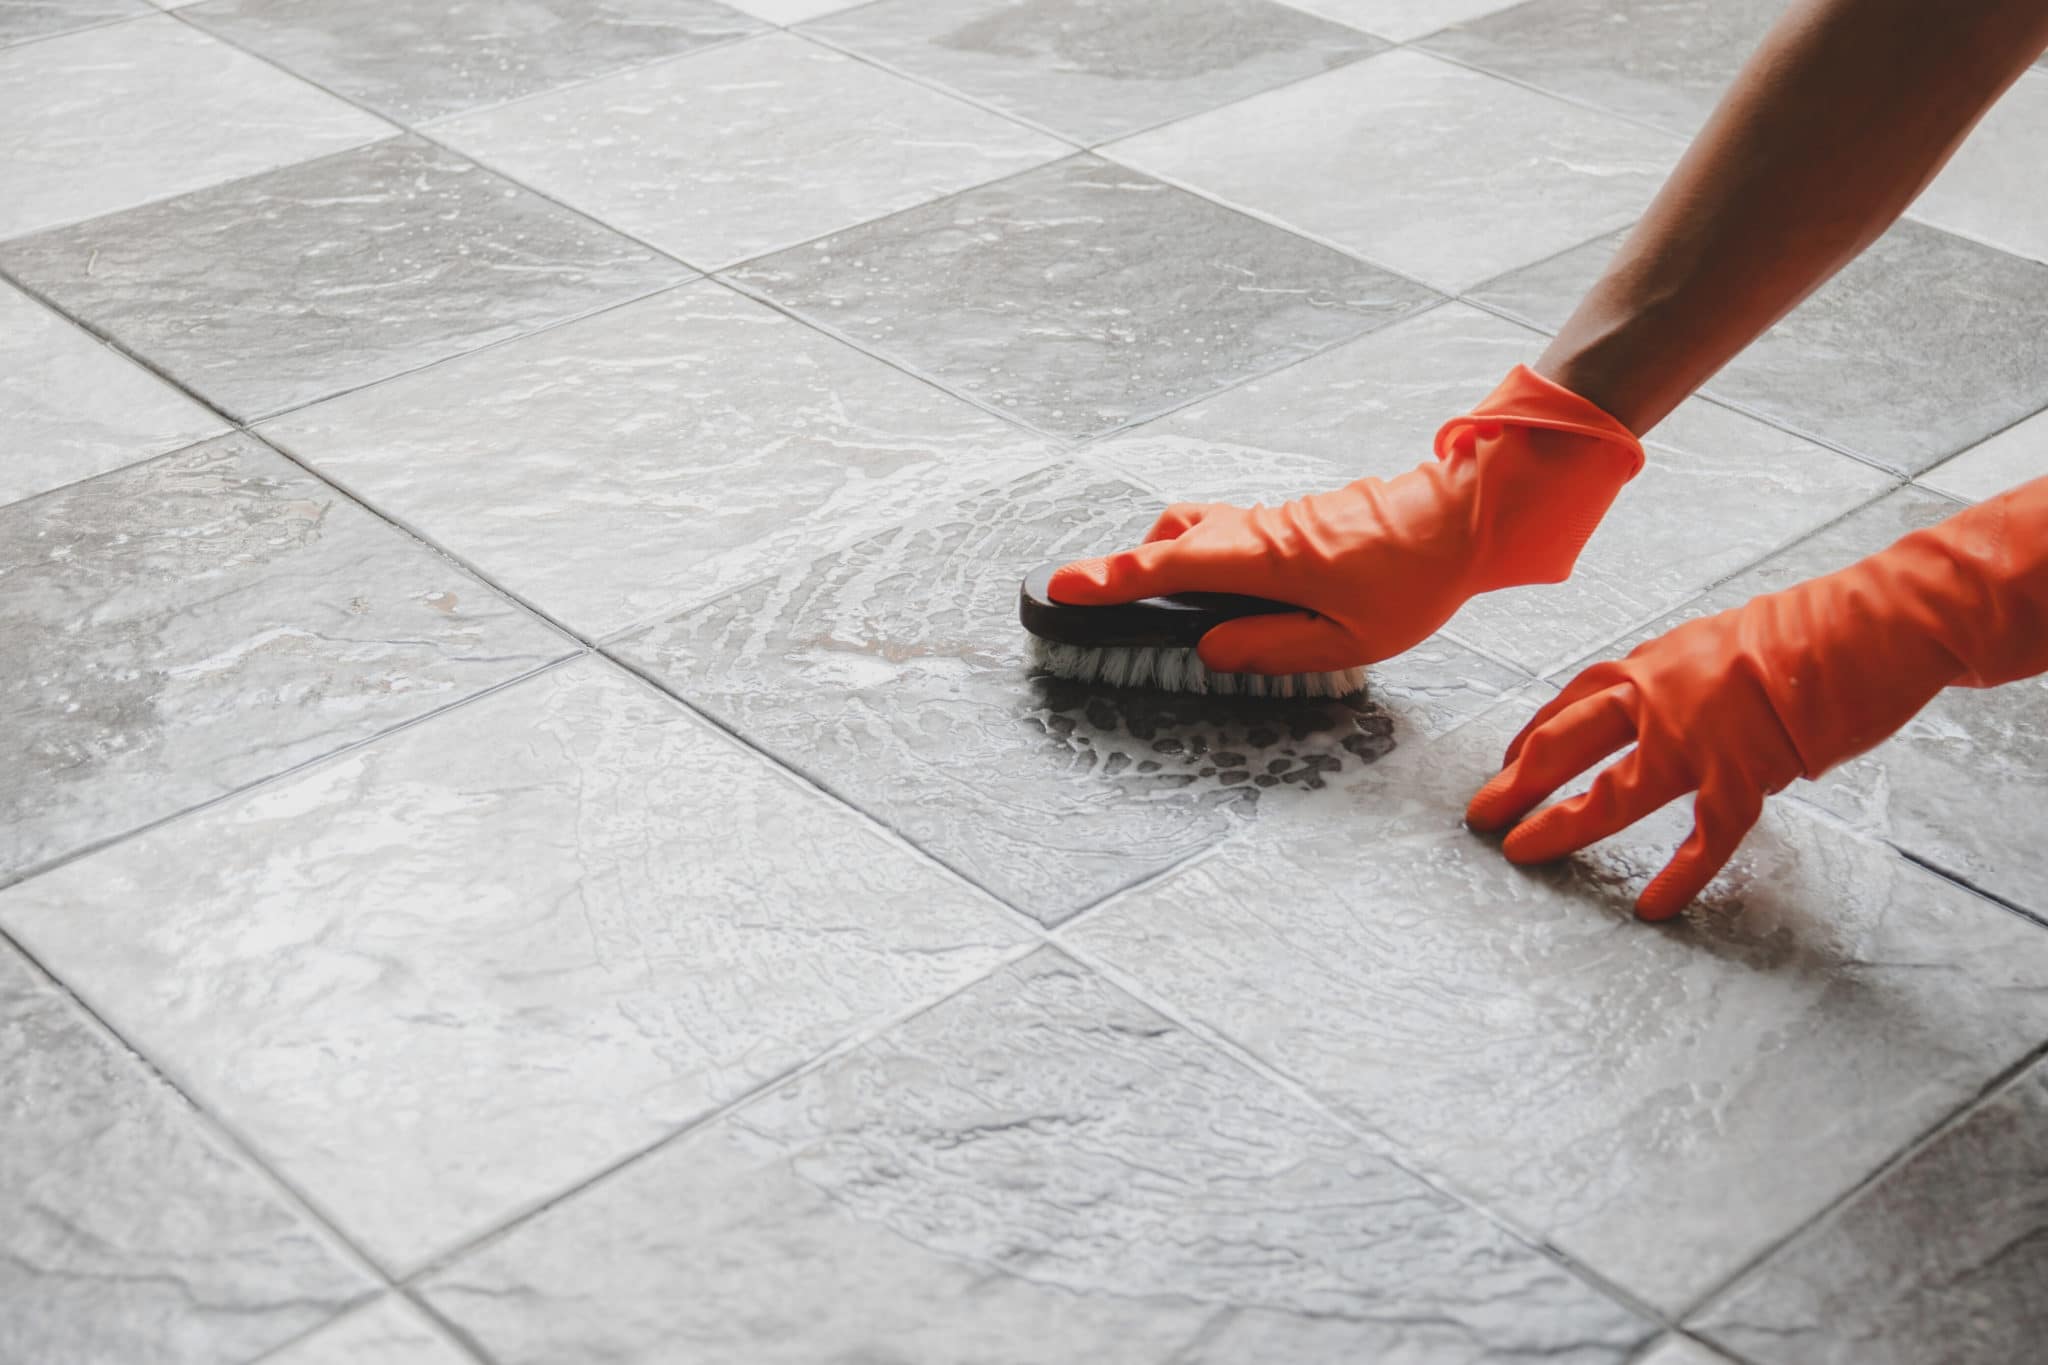
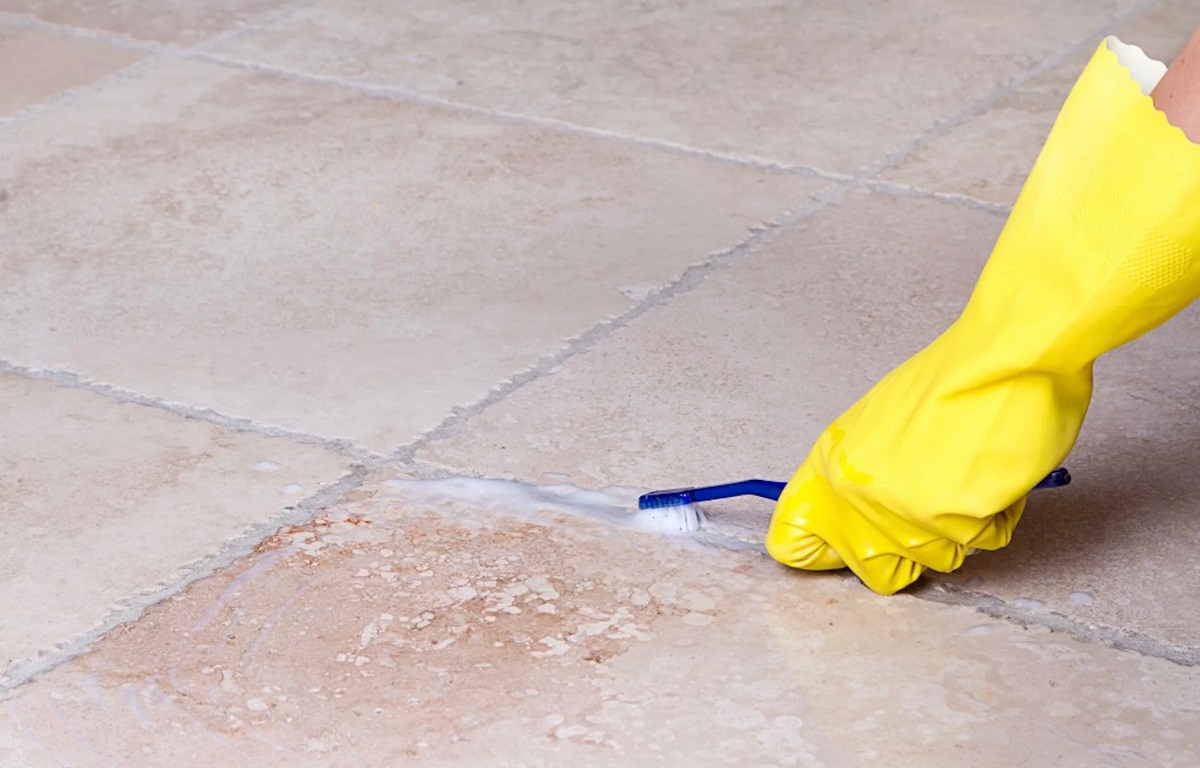
Armed with a non-abrasive microfiber cloth or a soft sponge, begin by focusing on a small section of the tiled surface. With gentle yet deliberate motions, systematically scrub the tiles, paying particular attention to areas with visible stains or residues. The goal is to dislodge the loosened grime, allowing it to be effortlessly rinsed away in the subsequent step.
Exercise patience and attention to detail as you navigate the tiled surface, ensuring that every inch receives the necessary attention to achieve a thorough and uniform clean. Avoid applying excessive pressure, as this may lead to scratches or damage to the tiles. Instead, let the gentle yet persistent scrubbing action coax the embedded grime and residues from the tiles, revealing their pristine transparency and luster.
As you progress through the scrubbing process, periodically inspect the tiles to gauge the effectiveness of the cleaning efforts. Target any remaining trouble spots or stubborn residues with focused attention, employing slightly more pressure if necessary. By methodically scrubbing the tiles, you're actively contributing to the restoration of their natural brilliance, ensuring that they emerge immaculate and radiant.
Throughout this stage, maintain a keen eye for detail, addressing any overlooked areas or persistent blemishes with precision. The thoroughness of the scrubbing process will directly impact the final outcome, determining the extent to which the glass tiles are revitalized and restored to their original splendor.
By approaching the task of scrubbing the tiles with care and dedication, you're actively contributing to the transformative cleaning experience, setting the stage for a glistening, mirror-like finish that will showcase the timeless allure of your glass tiles. With the tiles now meticulously scrubbed and primed for the final steps of rinsing and drying, you're poised to witness the culmination of your efforts in the form of impeccably clean and radiant glass tiles.
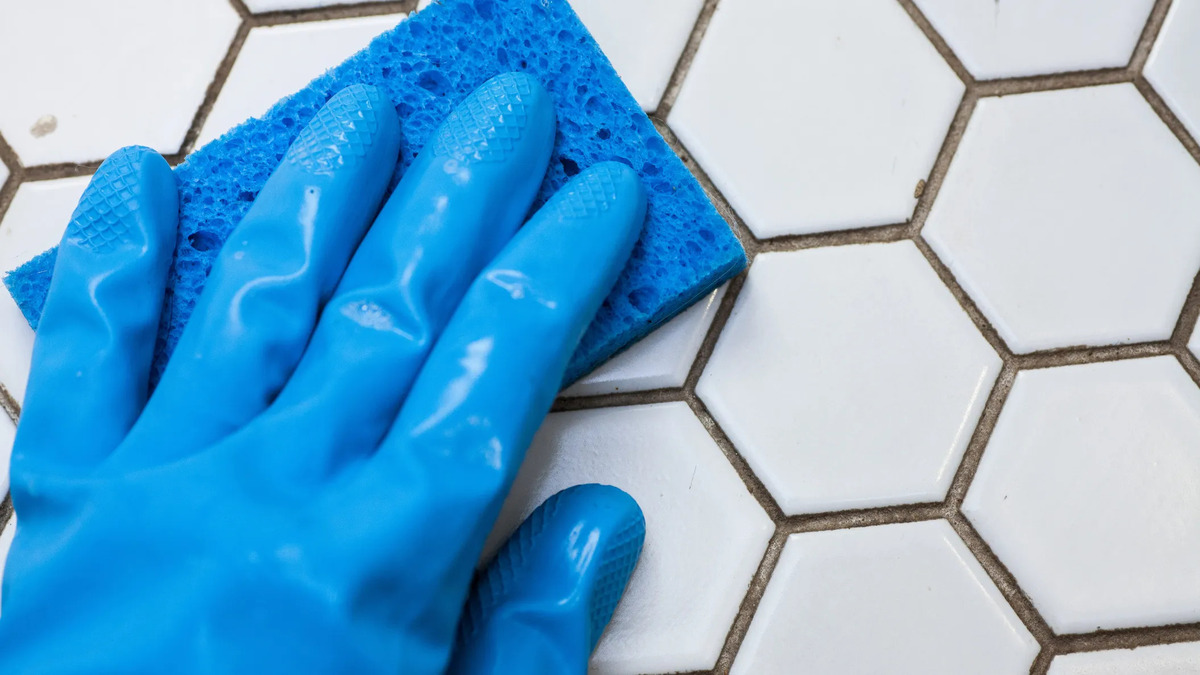
Step 5: Rinse and Dry
After the meticulous scrubbing process, the final steps of rinsing and drying are essential to complete the glass tile cleaning process. These crucial actions ensure that any residual cleaning solution and loosened grime are thoroughly removed, leaving behind a streak-free and immaculate surface that showcases the natural brilliance of the tiles.
To commence the rinsing phase, prepare a clean container or fill the spray bottle with lukewarm water. Ensure that the water is at a comfortable temperature, as excessively hot or cold water may compromise the cleaning results. With the water ready, hold the container or spray bottle at a slight angle and apply a gentle stream of water to the glass tiles. Start from the top of the tiled surface and work your way down, allowing the water to cascade over the tiles and effectively rinse away the cleaning solution and dislodged grime.
As the water flows over the tiles, observe the gradual removal of the cleaning solution and residue, ensuring that no traces are left behind. Pay special attention to areas that received concentrated cleaning efforts, ensuring that all remnants of the solution and grime are thoroughly eliminated. This meticulous rinsing process sets the stage for a pristine and streak-free finish, allowing the inherent transparency and luster of the glass tiles to shine through.
Following the thorough rinsing, it's time to dry the glass tiles to achieve a flawless and gleaming surface. To accomplish this, gently pat the tiles with a lint-free towel, absorbing the residual water and leaving behind a streak-free finish. Avoid using abrasive or rough towels that may scratch the tiles, opting instead for a soft and absorbent option that will delicately dry the surface without leaving lint or marks.
As you proceed to dry the tiles, take note of any lingering water spots or streaks, addressing them promptly to ensure a uniform and radiant finish. Exercise patience and attention to detail, maneuvering the towel across the tiles with precision to eliminate any remaining moisture and achieve a glistening, mirror-like surface.
By meticulously rinsing and drying the glass tiles, you're completing the transformative cleaning process, unveiling the pristine allure of the tiles in all their radiant glory. The culmination of these final steps ensures that your glass tiles emerge immaculate and captivating, ready to adorn your living spaces with timeless elegance and luminosity.
Conclusion
In conclusion, the art of cleaning glass tiles is a rewarding endeavor that not only preserves the stunning allure of these surfaces but also contributes to a hygienic and inviting living environment. By following the comprehensive steps outlined in this guide, you have gained valuable insights into the meticulous process of revitalizing glass tiles, ensuring that they remain a captivating focal point in your home for years to come.
From the initial stage of preparing the surface to the careful selection and application of the cleaning solution, each step plays a pivotal role in achieving sparkling, streak-free results. By embracing a proactive approach to surface preparation and choosing the optimal cleaning solution, you have set the stage for a transformative cleaning experience that unveils the natural brilliance of your glass tiles.
The meticulous scrubbing process, coupled with the thorough rinsing and drying, has culminated in the restoration of your glass tiles to their pristine state. The dedication and attention to detail invested in each step have yielded a glistening, mirror-like finish that showcases the timeless allure of these surfaces.
As you stand back and admire the immaculate and radiant glass tiles adorning your living spaces, take pride in the knowledge that your efforts have not only preserved their beauty but have also contributed to a welcoming and aesthetically pleasing home environment. The transparency and luminosity of the glass tiles now serve as a testament to your dedication to maintaining a space that exudes elegance and sophistication.
Armed with the knowledge and skills acquired from this guide, you are well-equipped to embark on future glass tile cleaning endeavors with confidence and finesse. Whether it's a small backsplash or an expansive tiled wall, the principles and techniques outlined here will continue to serve as your trusted companions in the ongoing quest to uphold the pristine allure of your glass tiles.
So, as you revel in the captivating radiance of your revitalized glass tiles, take pride in the transformative journey you've undertaken. Your commitment to preserving the timeless allure of these surfaces has not only elevated the aesthetic appeal of your home but has also established a standard of excellence in glass tile maintenance that will endure for years to come.
Frequently Asked Questions about How To Clean Glass Tiles
Was this page helpful?
At Storables.com, we guarantee accurate and reliable information. Our content, validated by Expert Board Contributors, is crafted following stringent Editorial Policies. We're committed to providing you with well-researched, expert-backed insights for all your informational needs.

0 thoughts on “How To Clean Glass Tiles”