Home>Furniture & Design>Interior Design Trends>How To Clean Glass 3D Printer Bed
Interior Design Trends
How To Clean Glass 3D Printer Bed
Modified: February 18, 2024
Learn how to effectively clean your glass 3D printer bed to ensure optimal printing results. Stay updated with the latest interior design trends.
(Many of the links in this article redirect to a specific reviewed product. Your purchase of these products through affiliate links helps to generate commission for Storables.com, at no extra cost. Learn more)
Introduction
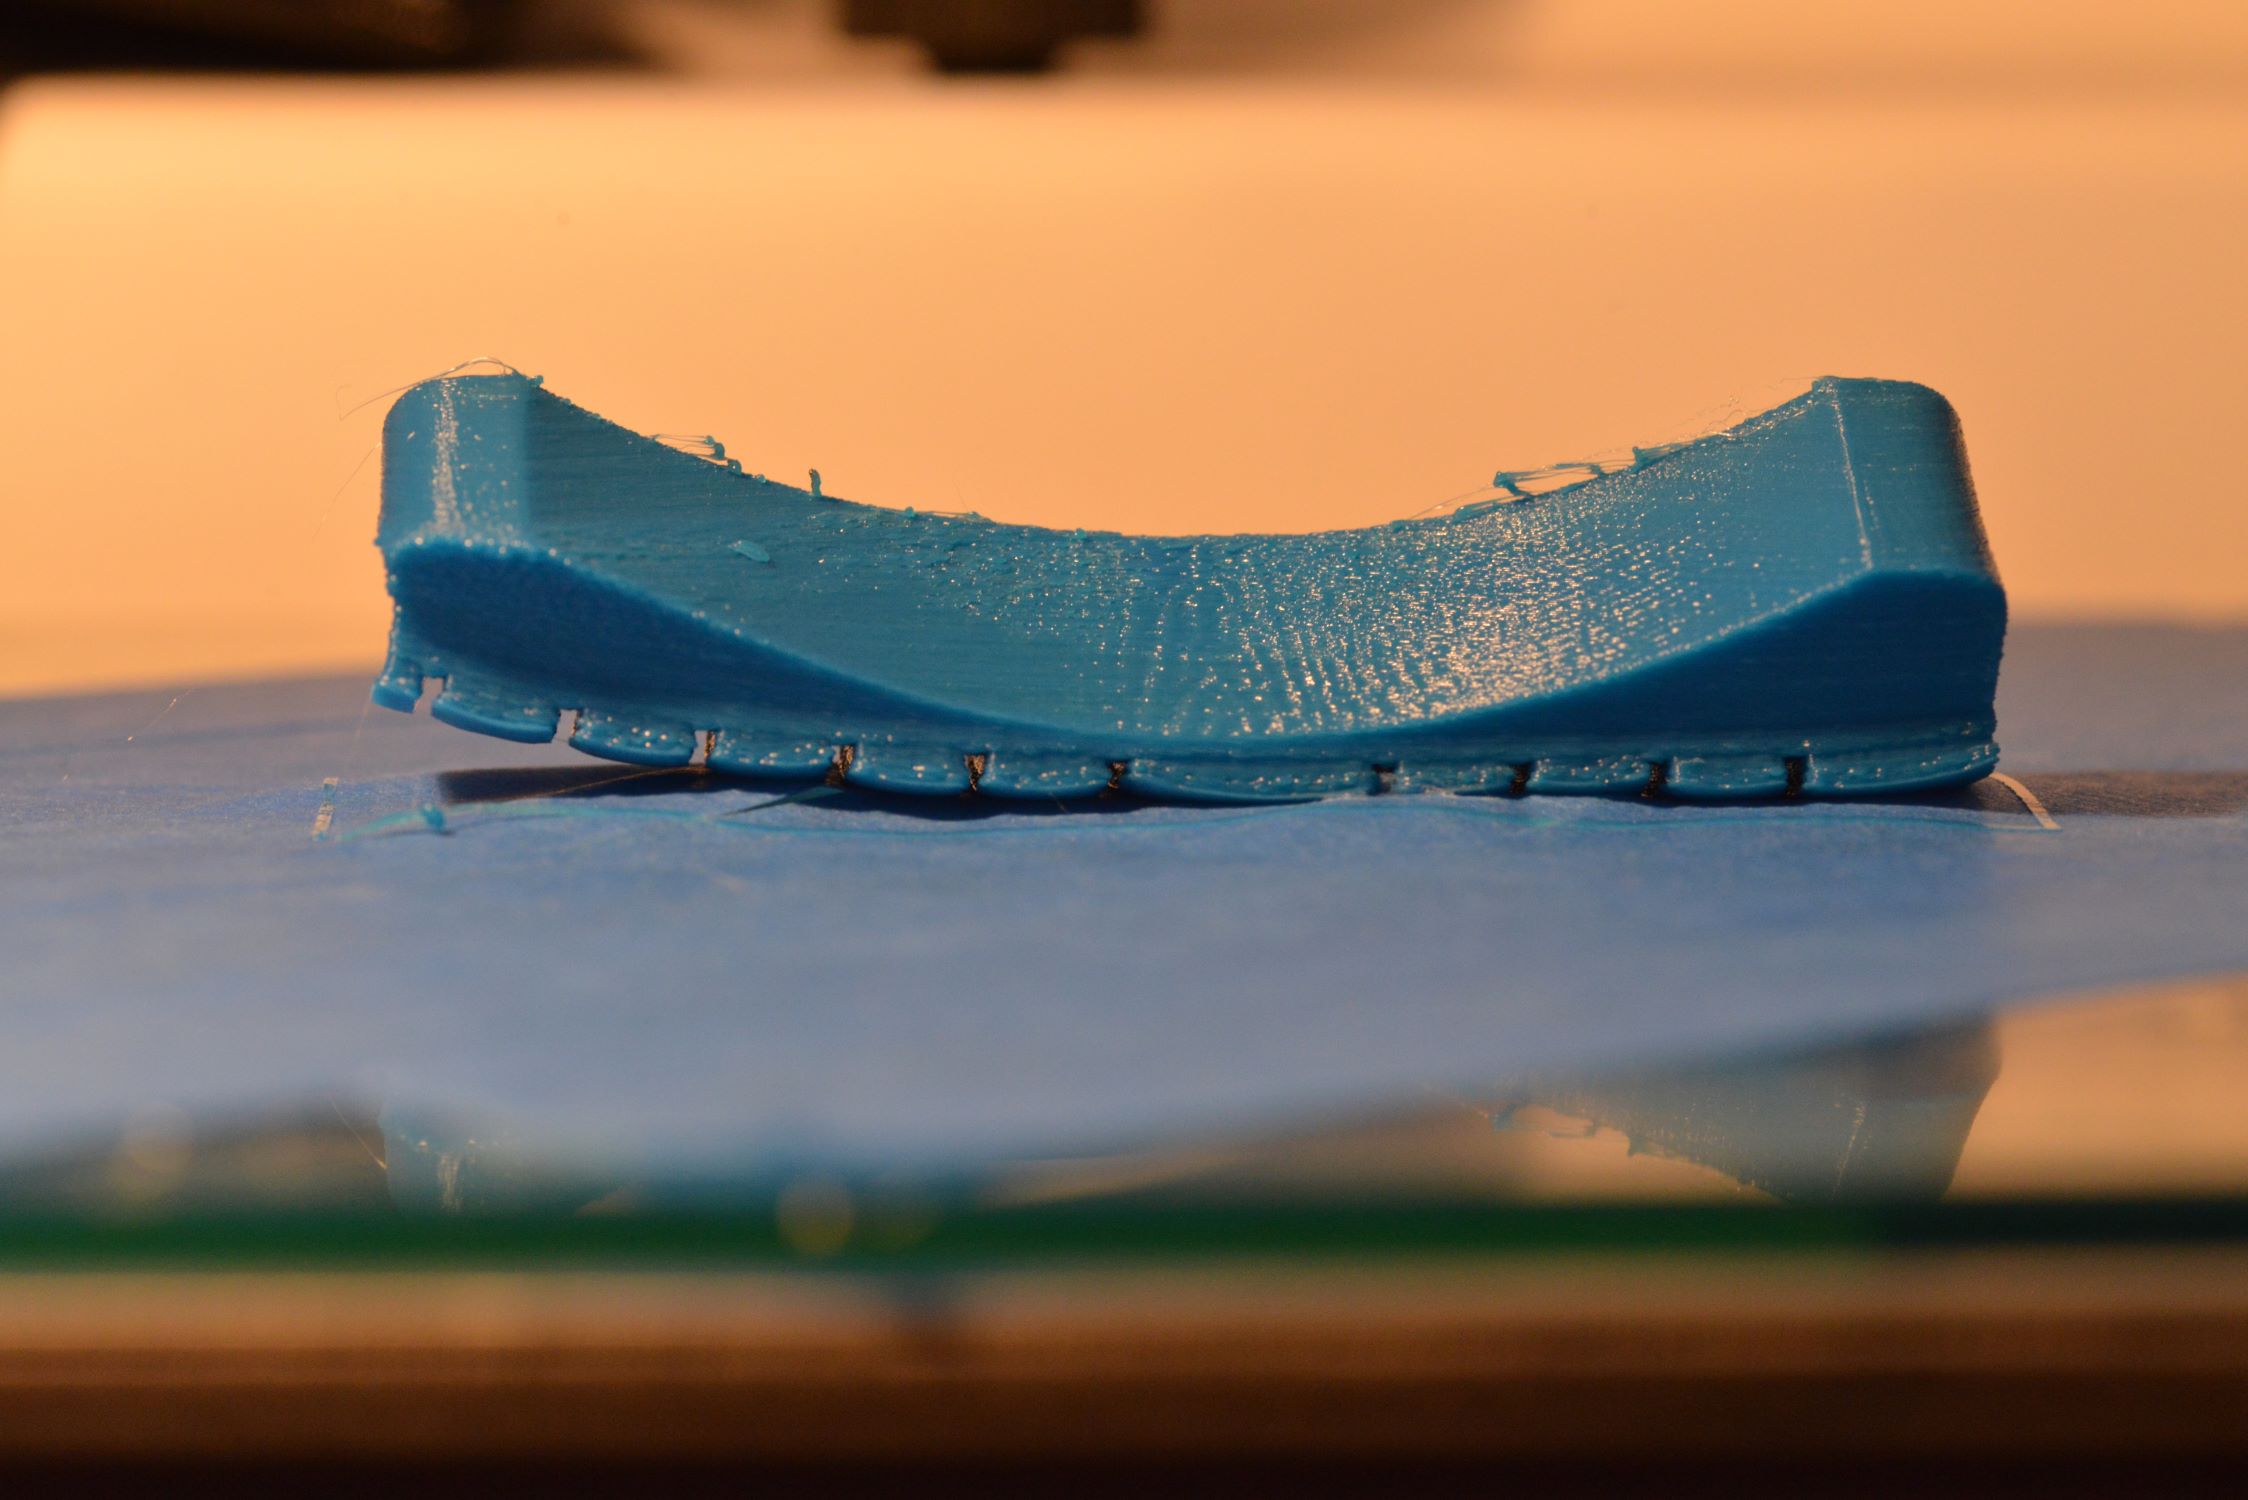
Cleaning the glass bed of a 3D printer is a crucial maintenance task that ensures optimal print quality and adhesion. Over time, residue from filament, adhesives, and oils can accumulate on the glass surface, leading to poor print adhesion and imperfections in the final prints. Therefore, regular cleaning of the glass bed is essential to maintain the efficiency and precision of your 3D printer.
In this comprehensive guide, we will walk you through the step-by-step process of cleaning your 3D printer's glass bed. By following these instructions, you can effectively remove any debris or contaminants, resulting in a clean and pristine printing surface. Whether you are a seasoned 3D printing enthusiast or a beginner, mastering the art of glass bed maintenance is fundamental to achieving consistent and high-quality prints.
So, let's dive into the cleaning process and equip ourselves with the knowledge and techniques required to keep our 3D printer's glass bed in top condition. By the end of this guide, you will be well-versed in the best practices for maintaining a clean and reliable printing surface, ensuring that your 3D printing endeavors yield exceptional results every time.
Key Takeaways:
- Regularly cleaning the glass bed of your 3D printer with soap, water, and isopropyl alcohol ensures optimal print quality and adhesion, leading to consistent and high-quality prints.
- Properly reinstalling the clean and dry glass bed within the 3D printer is crucial for seamless printing operations, reflecting a commitment to achieving exceptional print quality and upholding the performance of the printer.
Read more: What To Clean 3D Printer Bed With
Step 1: Remove the Glass Bed
Before embarking on the cleaning process, it is essential to remove the glass bed from your 3D printer to ensure thorough and convenient cleaning. Follow these steps to safely detach the glass bed:
-
Power Off and Cool Down: Start by turning off your 3D printer and allowing the glass bed to cool down. This is crucial to prevent any accidental burns or damage during the removal process.
-
Locate Retaining Clips or Screws: Depending on the model of your 3D printer, the glass bed may be secured in place by retaining clips or screws. Carefully identify and locate these fasteners to prepare for the removal.
-
Release Retaining Mechanisms: If your 3D printer utilizes retaining clips, gently release them by disengaging the clasps or levers. For printers with screws, use the appropriate tools to carefully loosen and remove them, ensuring that the glass bed is adequately supported during this process.
-
Lift and Remove the Glass Bed: With the retaining mechanisms disengaged, carefully lift the glass bed from the printer's build platform. Exercise caution to avoid any sudden movements or tilting that may cause the bed to slip or collide with other components.
-
Place the Glass Bed on a Secure Surface: Once the glass bed is removed, place it on a clean and stable surface, ensuring that it is protected from any potential damage or contamination.
By following these steps, you can safely remove the glass bed from your 3D printer, setting the stage for the subsequent cleaning procedures. Properly detaching the glass bed allows for thorough access and meticulous cleaning, ultimately contributing to the overall performance and longevity of your 3D printer's printing surface.
Step 2: Clean with Soap and Water
Cleaning the glass bed of your 3D printer with soap and water is a fundamental step in maintaining its printing surface. This method effectively removes accumulated dust, oils, and residues, ensuring that the glass bed is pristine and ready for optimal print adhesion.
To begin, gather the necessary materials for this cleaning process. You will need mild dish soap, a soft sponge or cloth, and access to a water source. It is important to use a gentle, non-abrasive soap to avoid damaging the glass surface.
Start by dampening the sponge or cloth with water and applying a small amount of the mild dish soap. Gently lather the soap on the surface of the sponge, ensuring that it is evenly distributed. With the soapy sponge in hand, proceed to clean the entire surface of the glass bed in a systematic manner.
Using gentle circular motions, work the soapy sponge across the glass surface, paying close attention to areas where residues or adhesives may be present. This method effectively lifts and loosens contaminants from the glass, preparing it for thorough rinsing.
Once the glass bed has been meticulously cleaned with the soapy solution, rinse it thoroughly with clean water. Ensure that all traces of soap are completely removed, as any residue left behind may interfere with print adhesion and quality.
After rinsing, use a clean, dry cloth to carefully pat the glass bed and remove excess water. It is important to avoid using abrasive materials or harsh cloths that may scratch or damage the glass surface.
By cleaning the glass bed with soap and water, you effectively eliminate accumulated debris and contaminants, restoring the surface to an optimal condition for 3D printing. This method provides a simple yet effective approach to maintaining the cleanliness and functionality of your 3D printer's glass bed.
Following this cleaning process, the glass bed will be primed for the subsequent step of using isopropyl alcohol to further enhance its cleanliness and print readiness. With the glass bed now free from residues and contaminants, you are one step closer to achieving exceptional print quality and consistency in your 3D printing endeavors.
Step 3: Use Isopropyl Alcohol
After cleaning the glass bed with soap and water, the next crucial step involves the use of isopropyl alcohol to further enhance its cleanliness and print readiness. Isopropyl alcohol, also known as rubbing alcohol, is highly effective in removing stubborn residues, oils, and contaminants that may persist on the glass surface.
To begin this process, ensure that you have a bottle of high-purity isopropyl alcohol and a clean, lint-free cloth or paper towels at your disposal. It is important to use a concentration of at least 90% isopropyl alcohol for optimal cleaning results.
Start by moistening the cloth or paper towels with a small amount of isopropyl alcohol. Avoid saturating the cloth excessively, as a moderate amount is sufficient for the cleaning task. With the moistened cloth in hand, gently wipe the entire surface of the glass bed, ensuring thorough coverage and attention to areas that may harbor residual contaminants.
The isopropyl alcohol works effectively to dissolve and lift any remaining oils, adhesives, or stubborn residues from the glass surface. Its fast evaporation rate also contributes to the swift removal of moisture, leaving the glass bed clean and dry in a timely manner.
As you wipe the glass bed with the isopropyl alcohol-moistened cloth, you may notice the swift disappearance of any remaining residues, indicating the effectiveness of this cleaning agent. Ensure that you cover the entire surface of the glass bed, including the edges and corners, to achieve comprehensive cleanliness.
Once the glass bed has been thoroughly wiped with isopropyl alcohol, allow it to air dry for a brief period. The rapid evaporation of the alcohol ensures that the glass bed is left free of moisture, setting the stage for the final step of the cleaning process.
By incorporating isopropyl alcohol into the cleaning regimen, you elevate the cleanliness and print readiness of the glass bed, paving the way for optimal adhesion and impeccable print quality. This meticulous approach to glass bed maintenance ensures that your 3D printer is equipped with a pristine printing surface, setting the stage for successful and consistent printing endeavors.
With the glass bed now cleansed and prepared for reinstallation, you are poised to complete the final step of the cleaning process and restore the glass bed to its position within the 3D printer. This comprehensive cleaning regimen ensures that your 3D printer's glass bed remains in top condition, ready to facilitate precise and high-quality prints with every use.
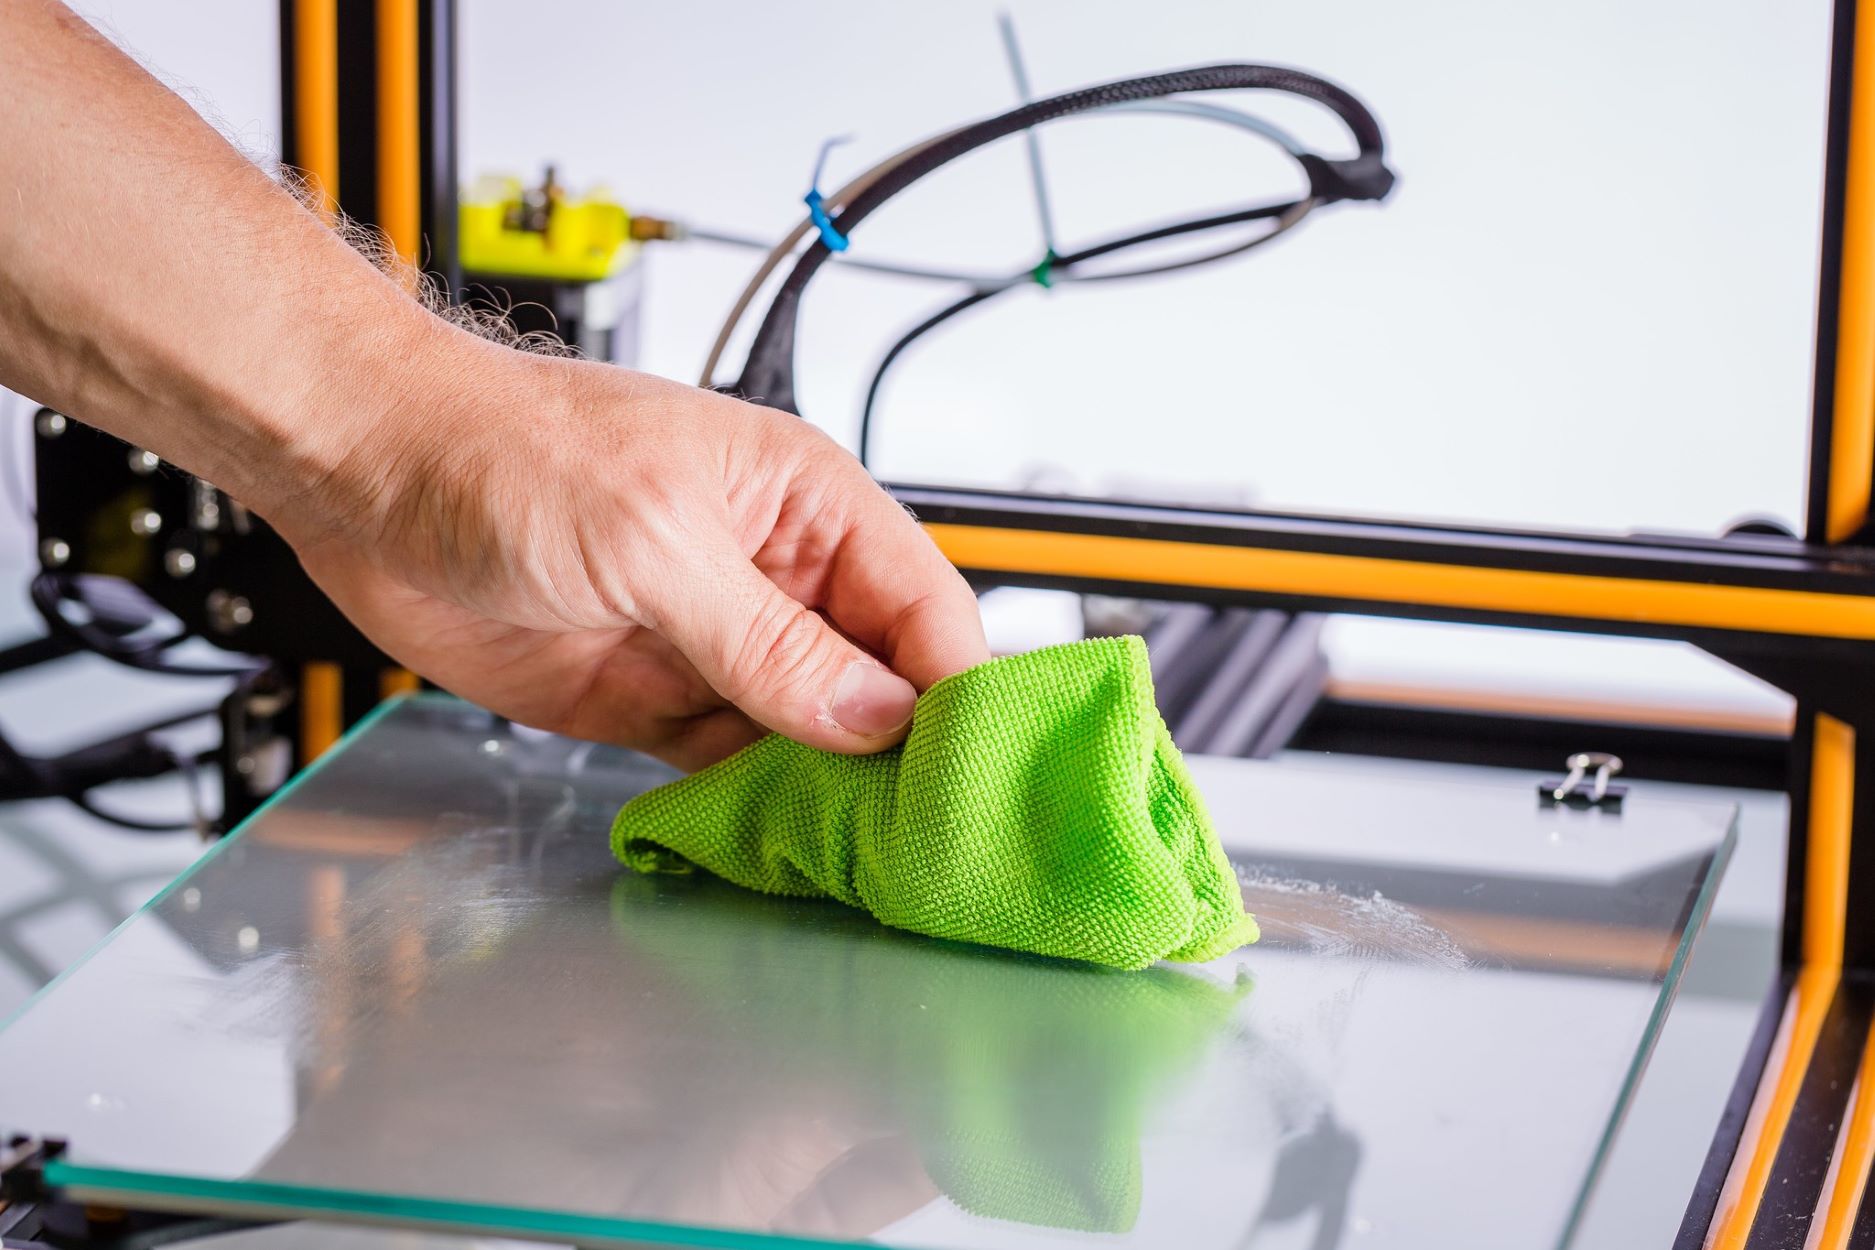
To clean a glass 3D printer bed, use isopropyl alcohol and a microfiber cloth to remove any residue. Avoid using harsh chemicals or abrasive materials that could damage the glass surface.
Step 4: Dry the Glass Bed
After the thorough cleaning process involving soap, water, and isopropyl alcohol, it is essential to ensure that the glass bed is meticulously dried before reinstallation. Proper drying not only prevents water spots and streaks but also prepares the glass surface for seamless print adhesion and optimal performance.
To initiate the drying process, use a clean, lint-free cloth or paper towels to gently pat the entire surface of the glass bed. It is crucial to avoid rubbing the glass vigorously, as this may lead to the accumulation of lint or potential scratches on the surface. Instead, employ a gentle patting motion to absorb any residual moisture and facilitate the evaporation of water and alcohol.
As you pat the glass bed, pay particular attention to the edges and corners, ensuring that all areas are thoroughly dried. The goal is to achieve a completely dry and pristine surface that is free from any moisture or cleaning agents. This meticulous approach sets the stage for optimal print adhesion and ensures that the glass bed is in an ideal state for 3D printing.
In addition to using a cloth or paper towels, you can also employ a gentle stream of compressed air to remove any lingering moisture from the glass bed. This method is particularly effective in reaching intricate or hard-to-access areas, facilitating comprehensive drying without direct contact with the glass surface.
Once the glass bed has been meticulously dried, visually inspect the surface to confirm that it is free from any moisture or residue. Any remaining streaks or spots should be addressed promptly using a clean, dry cloth to achieve a pristine finish.
By prioritizing the thorough drying of the glass bed, you ensure that it is impeccably prepared for reinstallation and subsequent 3D printing tasks. This final step in the cleaning process contributes to the overall maintenance and performance of your 3D printer, setting the stage for consistent and exceptional print quality.
With the glass bed now cleaned, dried, and ready for reinstallation, you have successfully completed the comprehensive cleaning regimen, equipping your 3D printer with a pristine printing surface. This meticulous approach to glass bed maintenance ensures that your 3D printer is poised to deliver precise and high-quality prints with every use.
Read more: Where To Put A 3D Printer
Step 5: Reinstall the Glass Bed
Reinstalling the glass bed is the final step in the comprehensive cleaning process, marking the culmination of meticulous maintenance efforts to ensure the optimal performance of your 3D printer. Proper reinstallation is crucial to guaranteeing that the glass bed is securely positioned and aligned within the printer, setting the stage for seamless printing operations.
To begin the reinstallation process, carefully lift the clean and dry glass bed, ensuring a firm grip to prevent accidental slippage or damage. Align the glass bed with the designated placement area on the 3D printer's build platform, taking care to position it accurately and securely.
If your 3D printer utilizes retaining clips, gently engage them to secure the glass bed in place. Ensure that the clips are firmly fastened without exerting excessive pressure on the glass surface. For printers with screw-based retention mechanisms, carefully align the screw holes on the glass bed with the corresponding threads on the build platform, gradually tightening the screws to secure the bed in position.
Throughout the reinstallation process, maintain a steady and deliberate approach, ensuring that the glass bed is seated evenly and securely within the printer. Avoid abrupt movements or excessive force that may compromise the integrity of the glass surface or the printer's components.
Once the glass bed is securely reinstalled, perform a visual inspection to confirm that it is positioned level and flush with the build platform. This verification ensures that the bed is ready to facilitate precise and consistent print adhesion, setting the stage for successful 3D printing endeavors.
With the glass bed successfully reinstalled, your 3D printer is now equipped with a pristine and meticulously maintained printing surface. This final step in the cleaning process signifies the culmination of your dedication to ensuring the optimal performance and print quality of your 3D printer.
By following these detailed steps, you have effectively completed the comprehensive cleaning and reinstallation process for the glass bed of your 3D printer. This meticulous approach to maintenance ensures that your printer is primed to deliver exceptional prints, reflecting the dedication to precision and quality in your 3D printing endeavors.
Conclusion
In conclusion, the meticulous cleaning and maintenance of the glass bed in a 3D printer are essential practices that significantly impact the quality, precision, and consistency of 3D prints. By following the comprehensive cleaning regimen outlined in this guide, 3D printing enthusiasts and professionals alike can ensure that their printers are equipped with a pristine and reliable printing surface, setting the stage for successful and exceptional printing endeavors.
The process begins with the careful removal of the glass bed from the 3D printer, allowing for thorough access and cleaning. The use of mild dish soap and water serves as an effective initial step in eliminating accumulated debris, oils, and residues from the glass surface. This gentle yet impactful cleaning method prepares the glass bed for the subsequent use of isopropyl alcohol, which further enhances its cleanliness and print readiness.
The incorporation of isopropyl alcohol facilitates the swift removal of stubborn residues and contaminants, ensuring that the glass bed is impeccably cleansed and primed for optimal print adhesion. Following the cleaning steps, meticulous drying of the glass bed is crucial to eliminate any remaining moisture and prepare the surface for seamless printing operations.
The final step of reinstallation signifies the culmination of the cleaning process, as the glass bed is securely positioned within the 3D printer, ready to facilitate precise and consistent print adhesion. This meticulous approach to glass bed maintenance reflects a commitment to achieving exceptional print quality and upholding the performance of the 3D printer.
By adhering to these cleaning practices, 3D printing enthusiasts can maintain the integrity and functionality of their printers, ensuring that each print reflects the precision and attention to detail that are hallmarks of the 3D printing craft. With a clean and reliable glass bed, 3D printing endeavors are elevated to new heights, yielding consistent and high-quality prints with every use.
In essence, the cleaning and maintenance of the glass bed in a 3D printer are not merely routine tasks but integral components of the 3D printing process. By embracing these practices, enthusiasts and professionals alike can embark on their 3D printing journeys with confidence, knowing that their printers are equipped with pristine and meticulously maintained printing surfaces, ready to bring their creative visions to life with unparalleled precision and quality.
Frequently Asked Questions about How To Clean Glass 3D Printer Bed
Was this page helpful?
At Storables.com, we guarantee accurate and reliable information. Our content, validated by Expert Board Contributors, is crafted following stringent Editorial Policies. We're committed to providing you with well-researched, expert-backed insights for all your informational needs.


0 thoughts on “How To Clean Glass 3D Printer Bed”