Articles
How To Melt Candles In Glass Jars
Modified: October 20, 2024
Learn how to melt candles in glass jars with these helpful articles. Find step-by-step instructions and tips for creating beautiful candles at home.
(Many of the links in this article redirect to a specific reviewed product. Your purchase of these products through affiliate links helps to generate commission for Storables.com, at no extra cost. Learn more)
Introduction
There’s something enchanting about the warm glow of a candle, especially when it’s nestled inside a beautiful glass jar. But what if you have some old candles lying around that no longer fit your aesthetic? Don’t worry, you can repurpose those candles and create new ones in your favorite glass jars! This simple DIY project allows you to melt candles in glass jars and give them a fresh new look.
In this article, we’ll guide you through the step-by-step process of melting candles in glass jars, so you can unleash your creativity and create custom candles that reflect your personal style. Whether you want to make scented candles as gifts or simply enjoy the therapeutic process of candle-making, this article has got you covered.
Before we dive into the process, let’s gather all the materials you’ll need for this project.
Key Takeaways:
- Repurpose old candles and create custom, scented candles in glass jars with this DIY guide. Unleash your creativity and enjoy the therapeutic process of candle-making.
- Transform old candles into personalized creations. Follow the step-by-step process to melt candles in glass jars and create unique, visually appealing candles.
Read more: How To Dispose Of Candles In Glass Jars
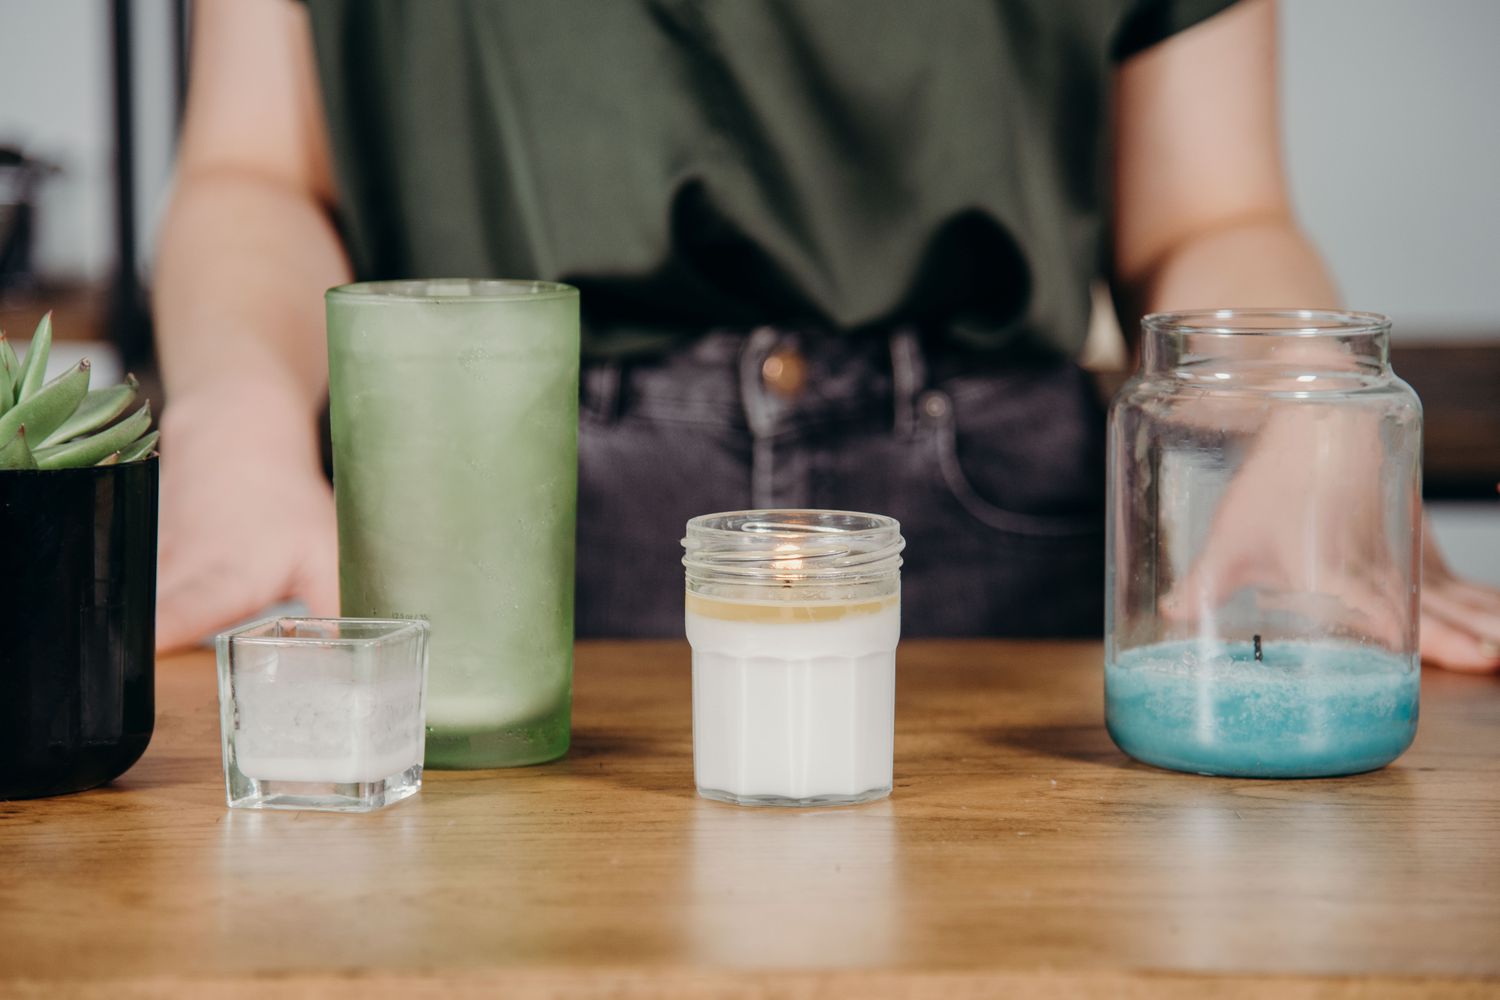
Materials Needed
Before you begin melting candles in glass jars, it’s important to gather all the necessary materials. Here’s a list of what you’ll need:
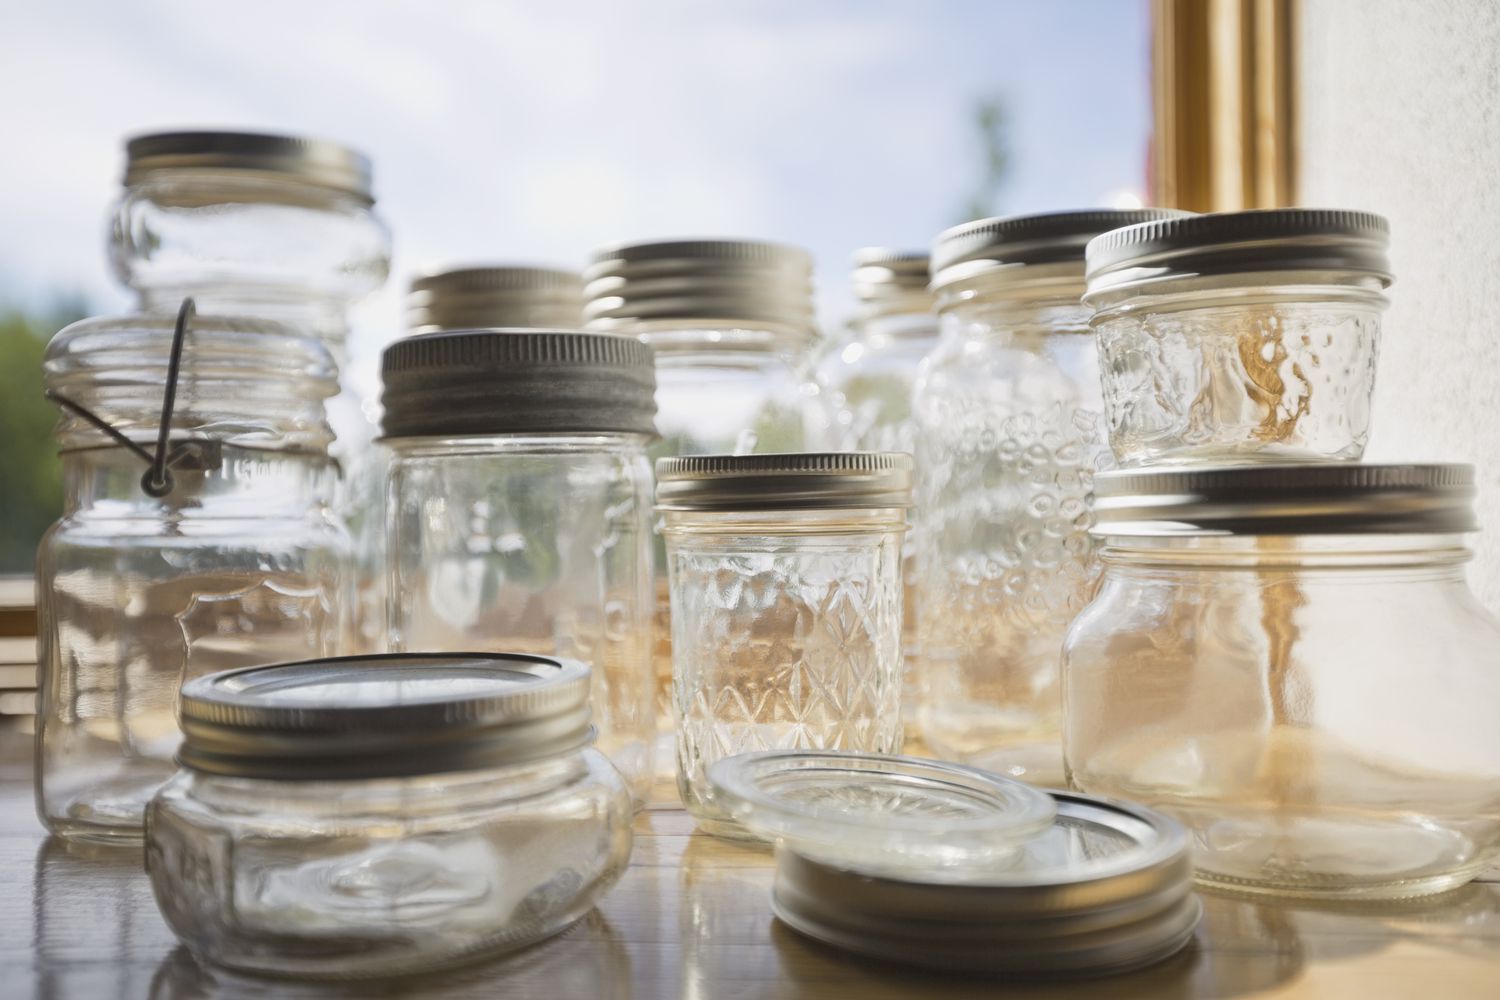
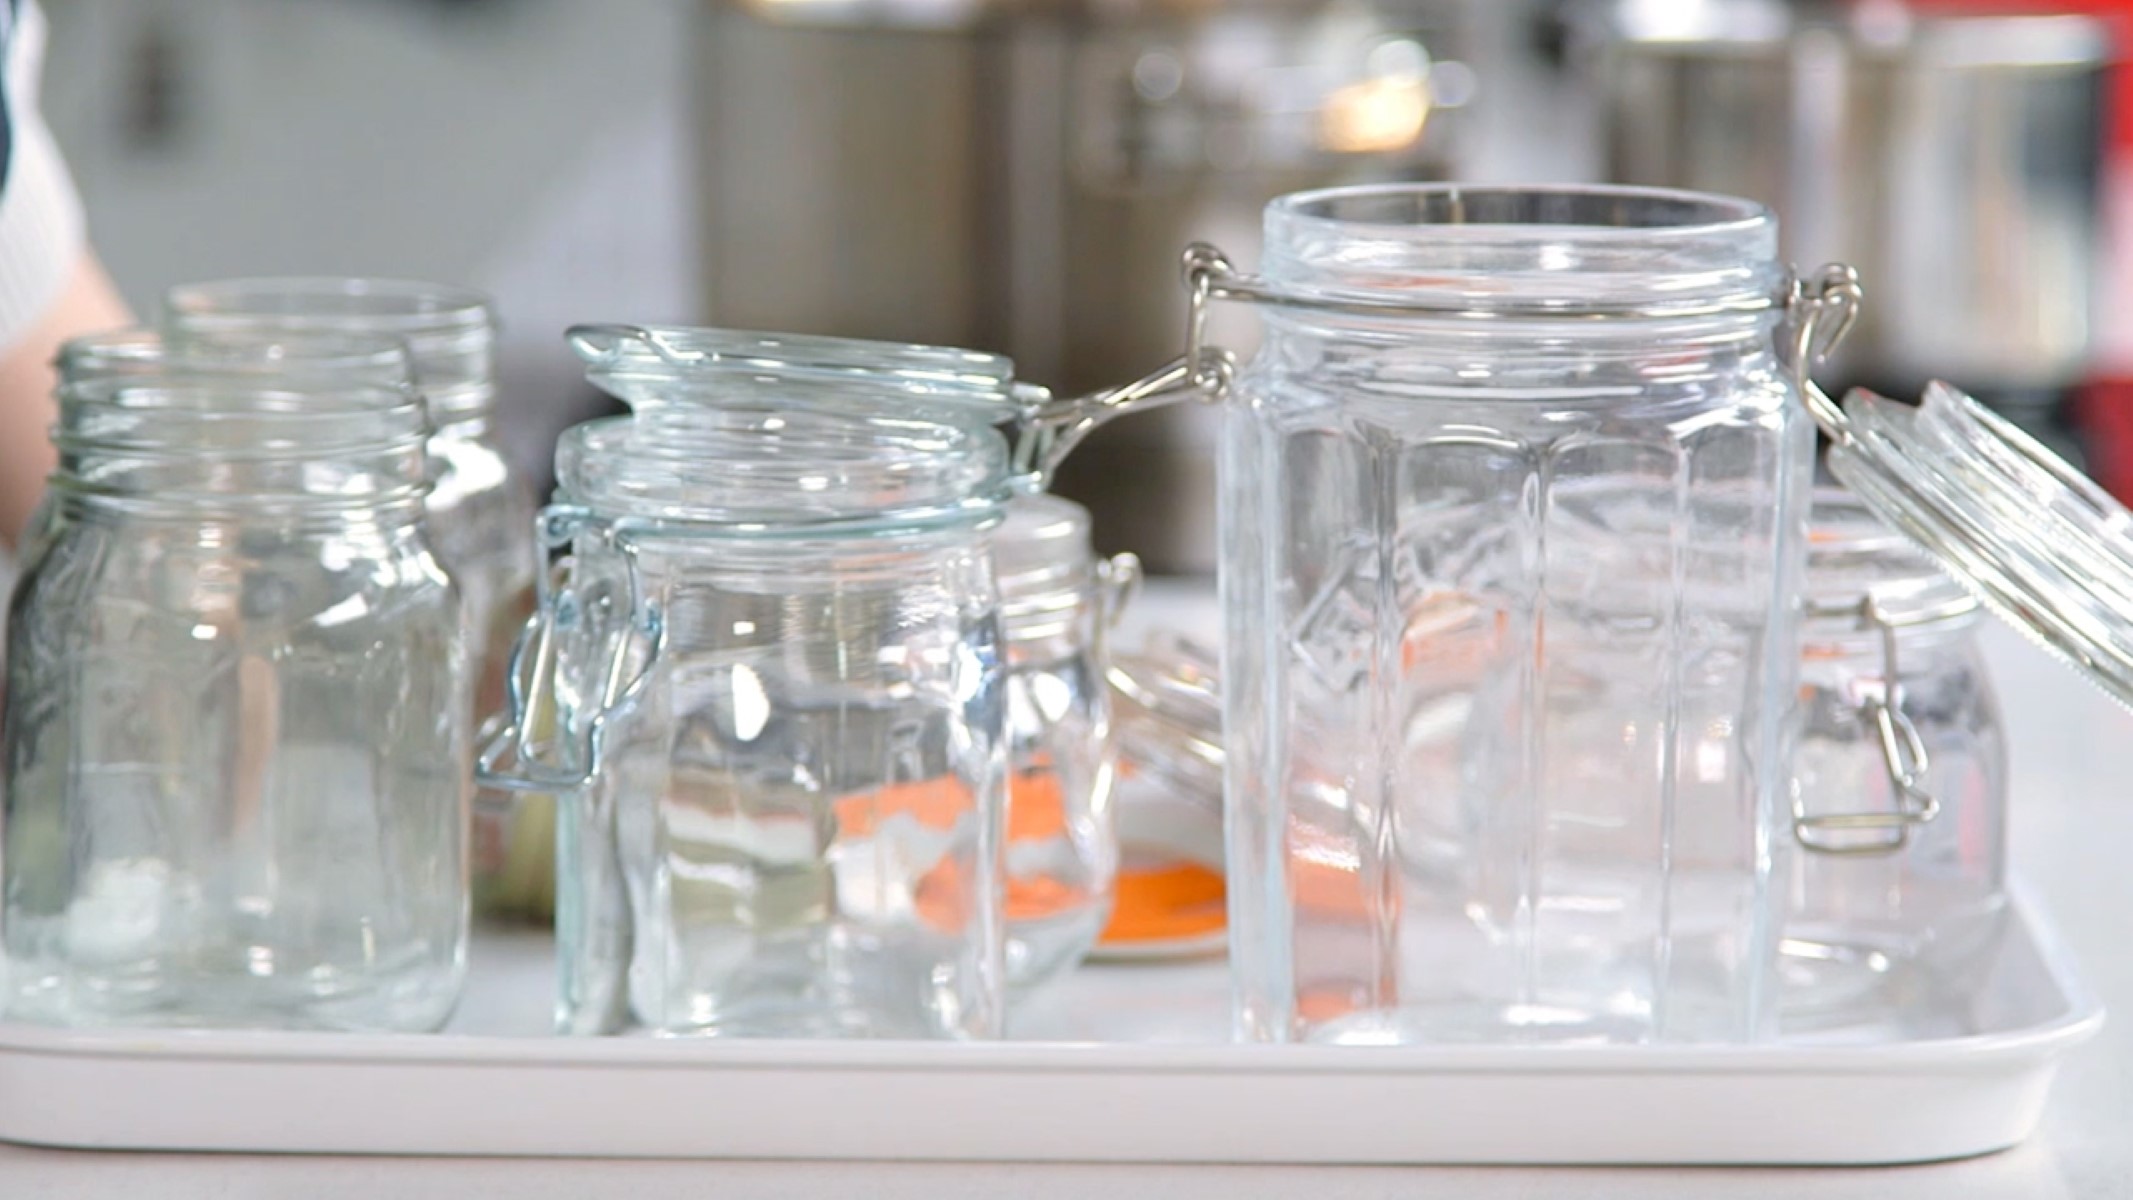
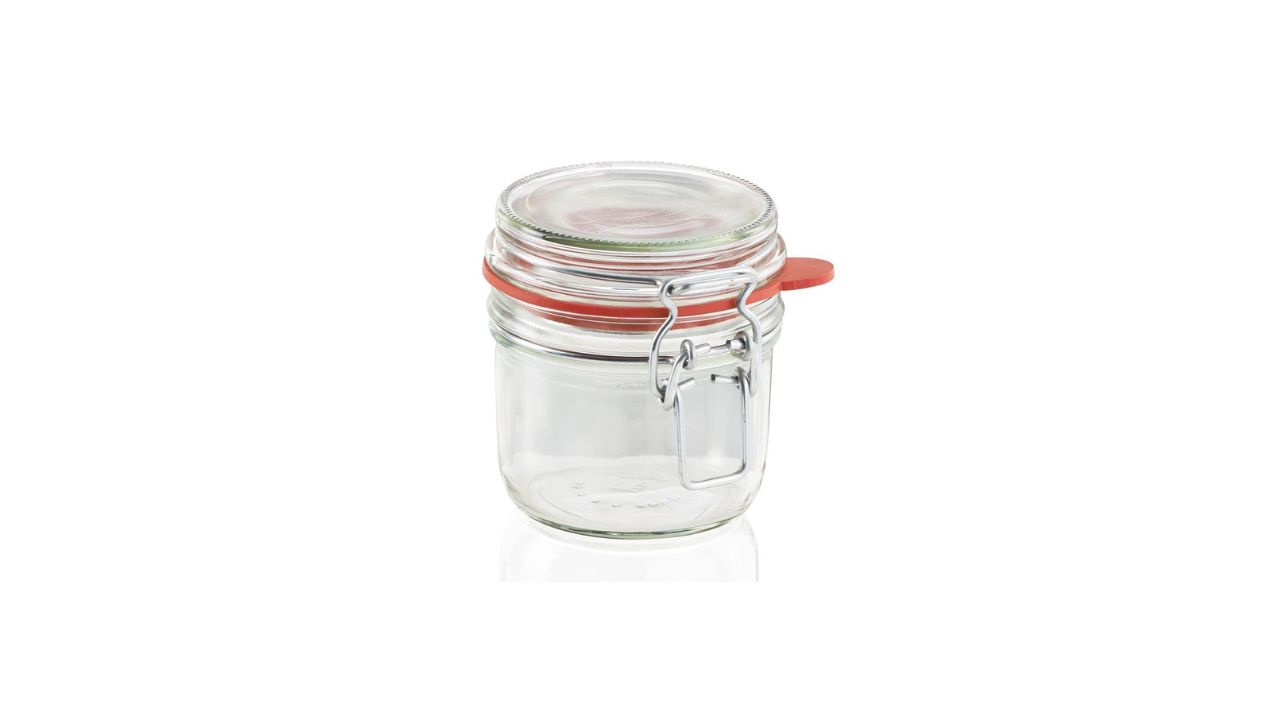
- Glass jars – Choose jars with a heat-resistant glass, such as mason jars or old candle jars.
- Old candles – Use any old candles you have lying around or purchase wax melts or wax pellets specifically made for candle-making.
- Candle wicks – You can find pre-tabbed wicks at craft stores or online.
- Candle wick stickers – These adhesive tabs will help secure the wicks to the bottom of the glass jars.
- Candle wick centering device – This tool helps keep the wick centered while the wax is melting and setting.
- Double boiler or makeshift double boiler – A double boiler consists of a smaller pot or heatproof glass bowl that fits inside a larger pot filled with water.
- Thermometer – A thermometer is essential for monitoring the temperature of the wax.
- Fragrance oils or essential oils (optional) – Choose scents that align with your preferences and pair well with the chosen glass jars.
- Candle dye or color blocks (optional) – If you want to add color to your candles, pick up candle dye or color blocks specifically made for candle-making.
- Stirring utensil – Use a dedicated utensil, such as a wooden spoon or popsicle stick, for stirring the wax and incorporating fragrance or color.
- Wax paper or newspaper – To protect your workspace from any potential spills or drips.
- A well-ventilated space – Ensure you have proper ventilation while working with melted wax and fragrance oils.
Now that you have all the necessary materials gathered, let’s move on to the step-by-step process of melting candles in glass jars.
Step 1: Preparing the Glass Jars
Before you can melt candles in glass jars, you need to prepare the jars for the process. Here’s how:
- First, ensure that the glass jars you’ve chosen are clean and free of any debris or residue from previous candles. Wash them with warm soapy water and dry them thoroughly before starting.
- If there are any stickers or labels on the jars, remove them. Soak the jars in warm water to help loosen the adhesive, and then gently scrape off the stickers using a plastic scraper or your fingernail. If there is any stubborn residue left, use a bit of rubbing alcohol or adhesive remover to clean it off.
- Next, prepare the wick for each jar. Cut the wick to a length that’s a few inches longer than the height of the jar. Attach a wick sticker to the metal tab at the bottom of the wick. Press the sticker firmly onto the bottom center of the jar, ensuring that it sticks securely.
- If you’re using a candle wick centering device, place it on top of the jar and thread the wick through the hole in the center. This will help keep the wick centered as the wax melts and sets.
- Now that your glass jars are prepped and the wicks are in place, it’s time to move on to the next step: melting the candle wax.
By preparing the glass jars beforehand, you’ll ensure a smooth and efficient candle-making process. Now that everything is set up, let’s proceed to the next step.
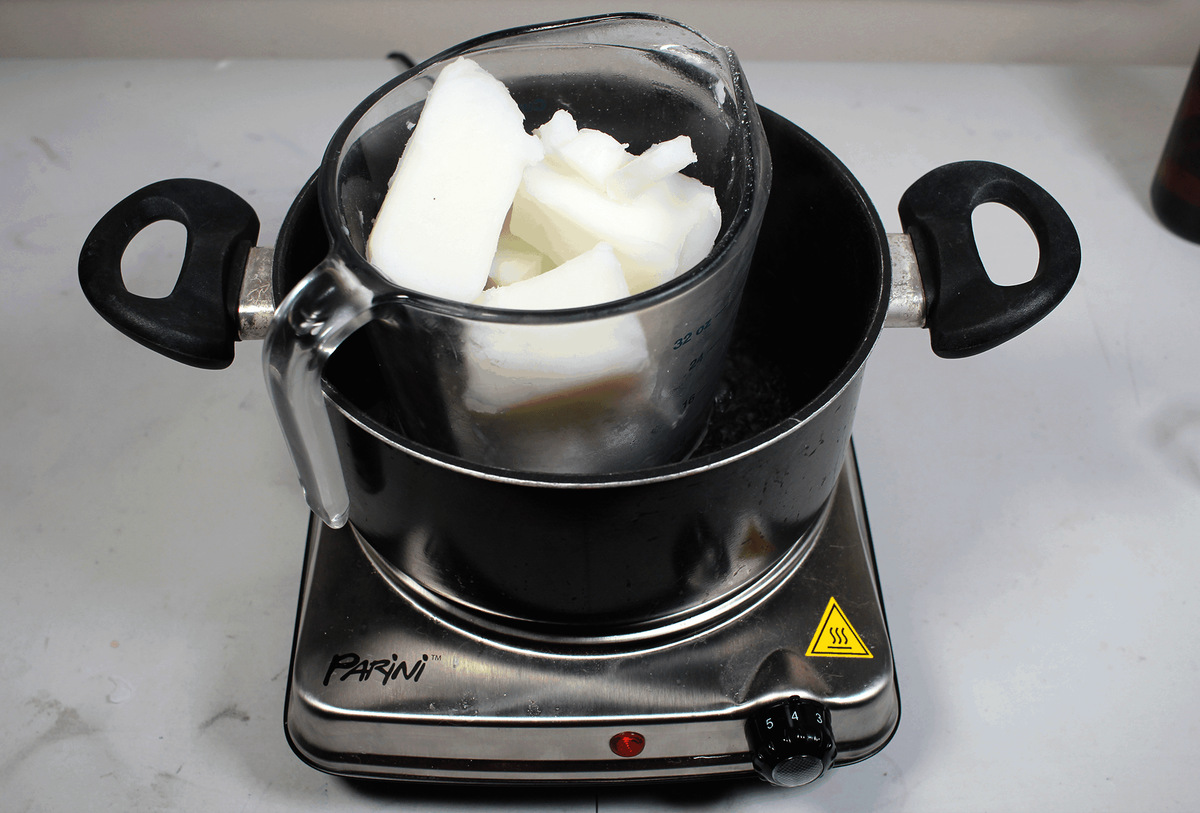
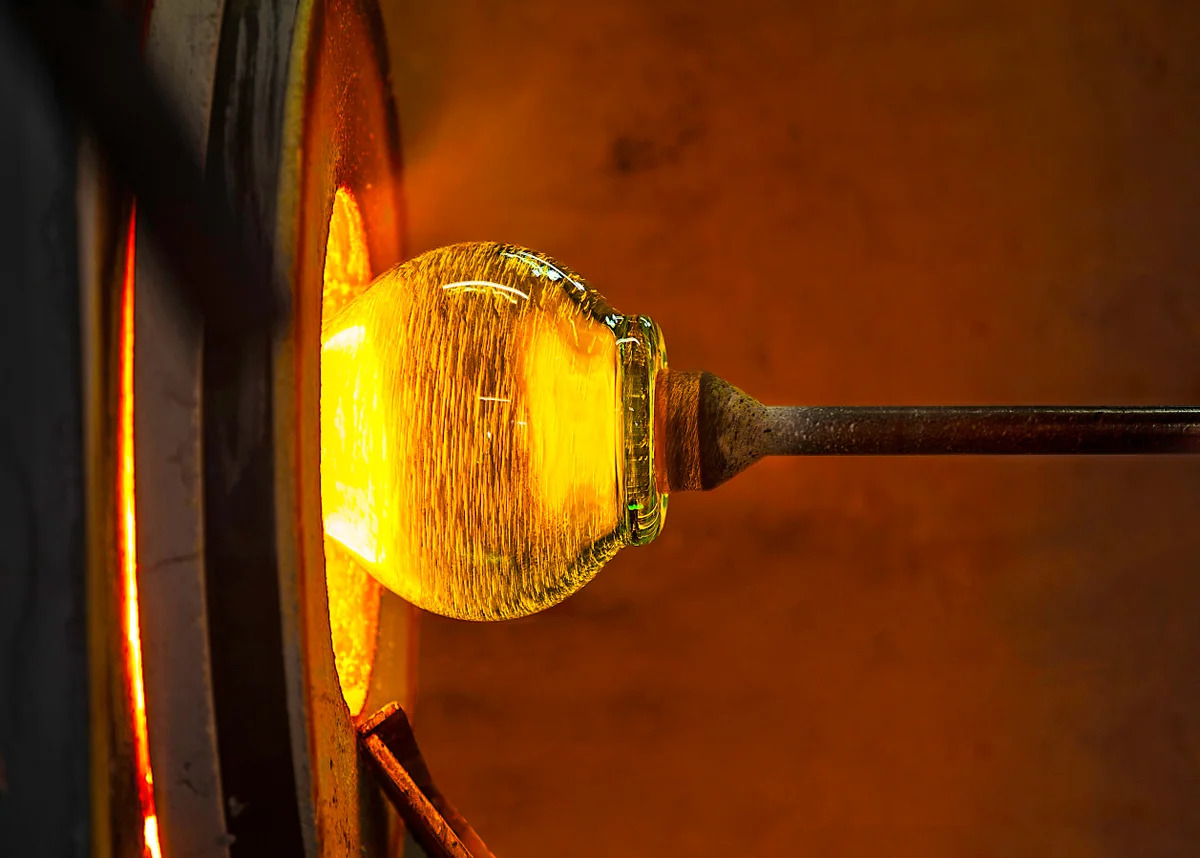
Step 2: Melting the Candle Wax
Now that your glass jars are prepped and ready, it’s time to start melting the candle wax. Follow these steps:
- Set up a double boiler or a makeshift double boiler. Fill the larger pot with water and place it on the stove over medium heat. Place the smaller pot or heatproof glass bowl inside the larger pot, ensuring that it sits securely without touching the water.
- If you’re using old candles to melt down, break them into smaller pieces using a butter knife or cut them with scissors. This will help the wax melt more evenly and quickly.
- Place the broken candle pieces or wax melts into the smaller pot or glass bowl. Stir occasionally with a dedicated stirring utensil as the wax melts to ensure it melts evenly.
- Monitor the temperature of the wax using a thermometer. The ideal melting temperature for most candle wax is between 160°F and 180°F (71°C and 82°C). Be careful not to exceed the recommended temperature, as it can cause the wax to discolor or lose its fragrance.
- Once the wax has melted completely and reached the desired temperature, you’re ready to move on to the next step — adding fragrance or color, if desired.
Melting the candle wax is an important step in creating your custom candles. By using a double boiler or makeshift double boiler, you’ll ensure that the wax melts safely and evenly. Once the wax is melted, it’s time to add some fragrance or color to enhance your candle-making experience. Let’s move on to the next step.
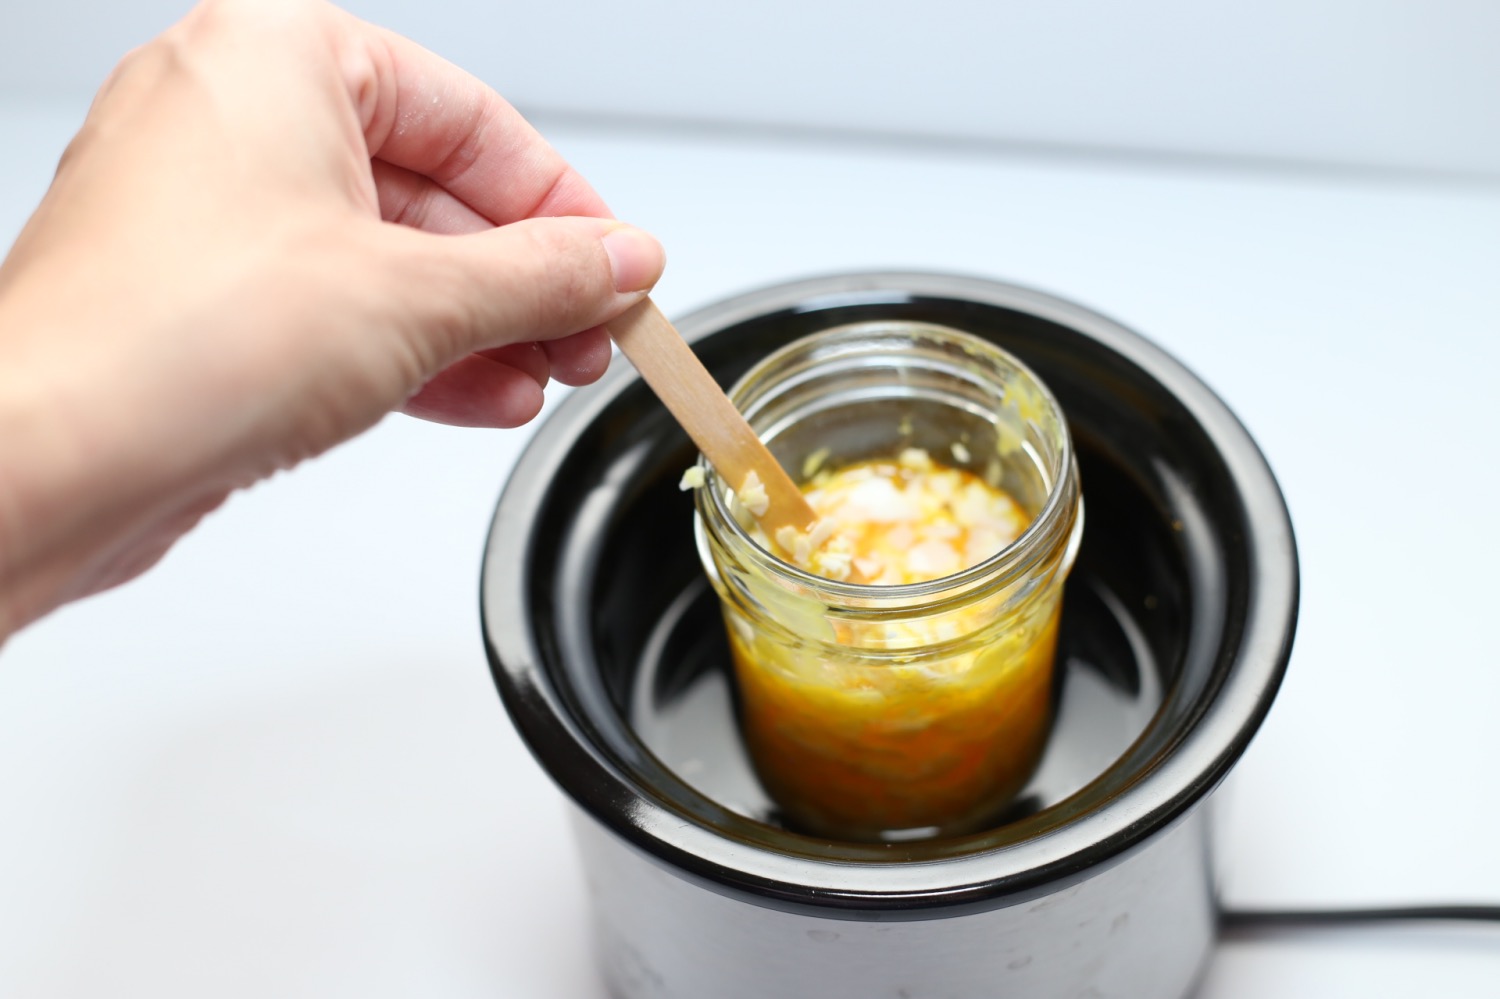
Step 3: Adding Fragrance or Color (Optional)
Now that you have melted candle wax, you have the opportunity to add fragrance or color to your candles. Follow these steps to customize your candles:
- If you want to add fragrance to your candles, choose a fragrance oil or essential oil that suits your preferences. Add a few drops of the oil to the melted wax and stir gently to incorporate it evenly. Be careful not to add too much fragrance, as it may overpower the scent or affect the quality of the candle.
- If you prefer colored candles, you can add candle dye or color blocks specifically made for candle-making. Add a small amount of dye or a small piece of color block to the melted wax and stir well until the color is evenly distributed. Adjust the amount of dye or color block based on your desired shade.
- Remember, adding fragrance or color is optional. If you prefer unscented or plain candles, you can skip this step and proceed to the next step.
Adding fragrance or color to your candles allows you to personalize them and create a unique sensory experience. Once you’re satisfied with the fragrance or color, it’s time to move on to the next step — pouring the melted wax into the glass jars.
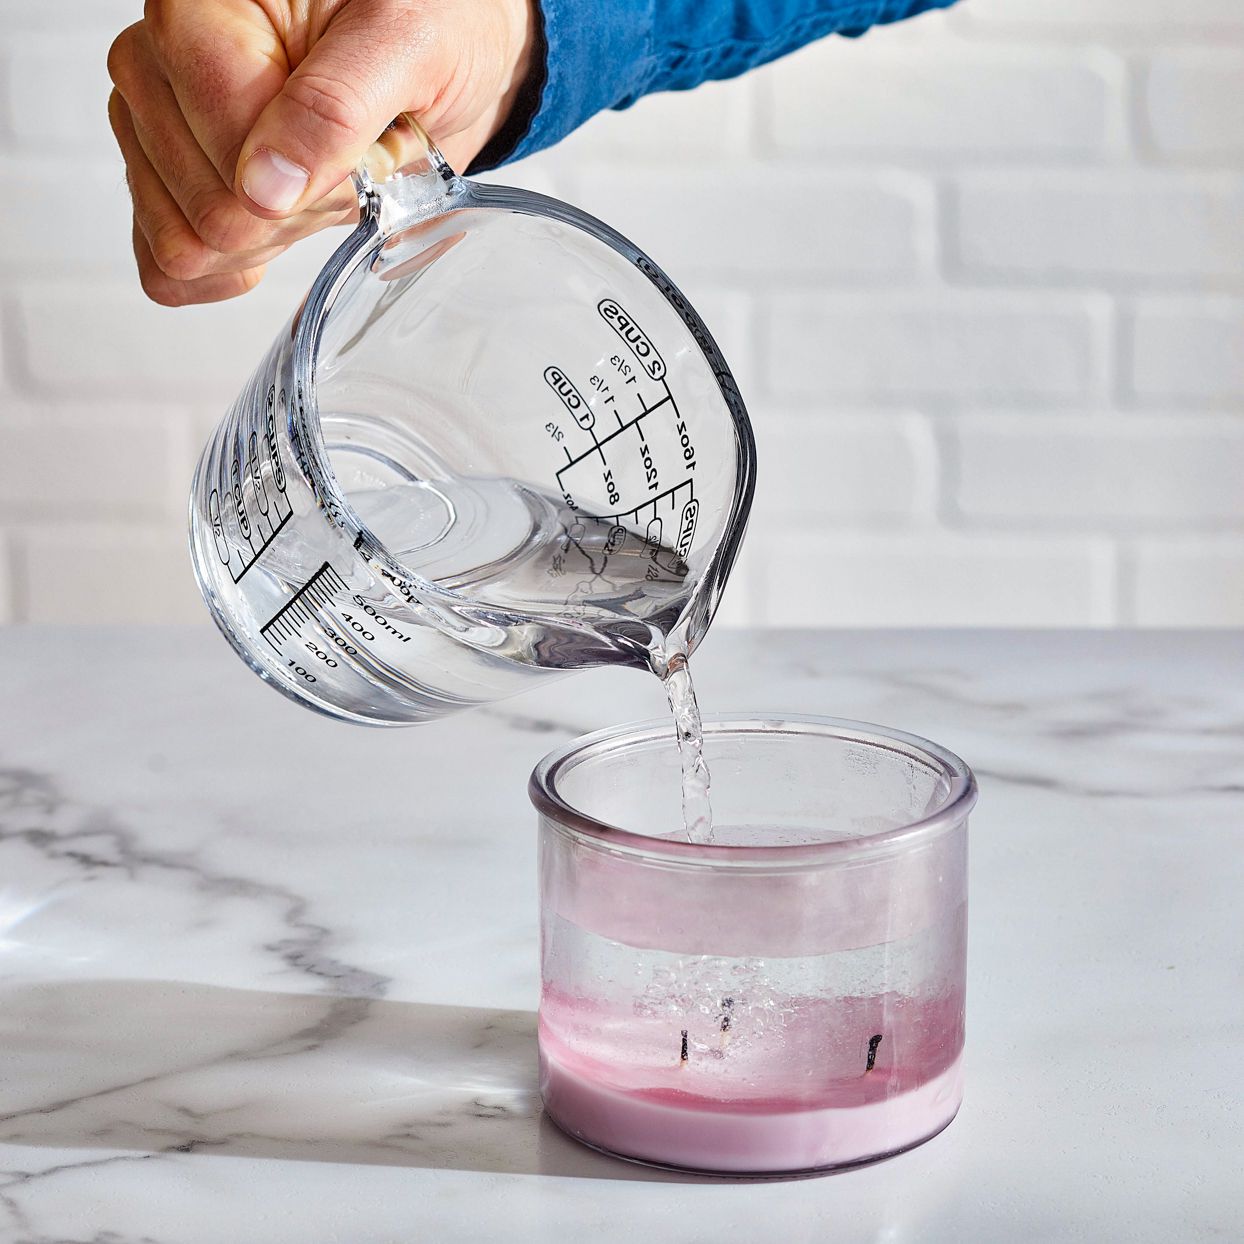
To melt candles in glass jars, place the jars in a pot of hot water on the stove. Heat the water slowly to avoid cracking the jars. Once the wax is melted, carefully pour it into the jars and let it cool.
Read more: How To Melt Candles Down
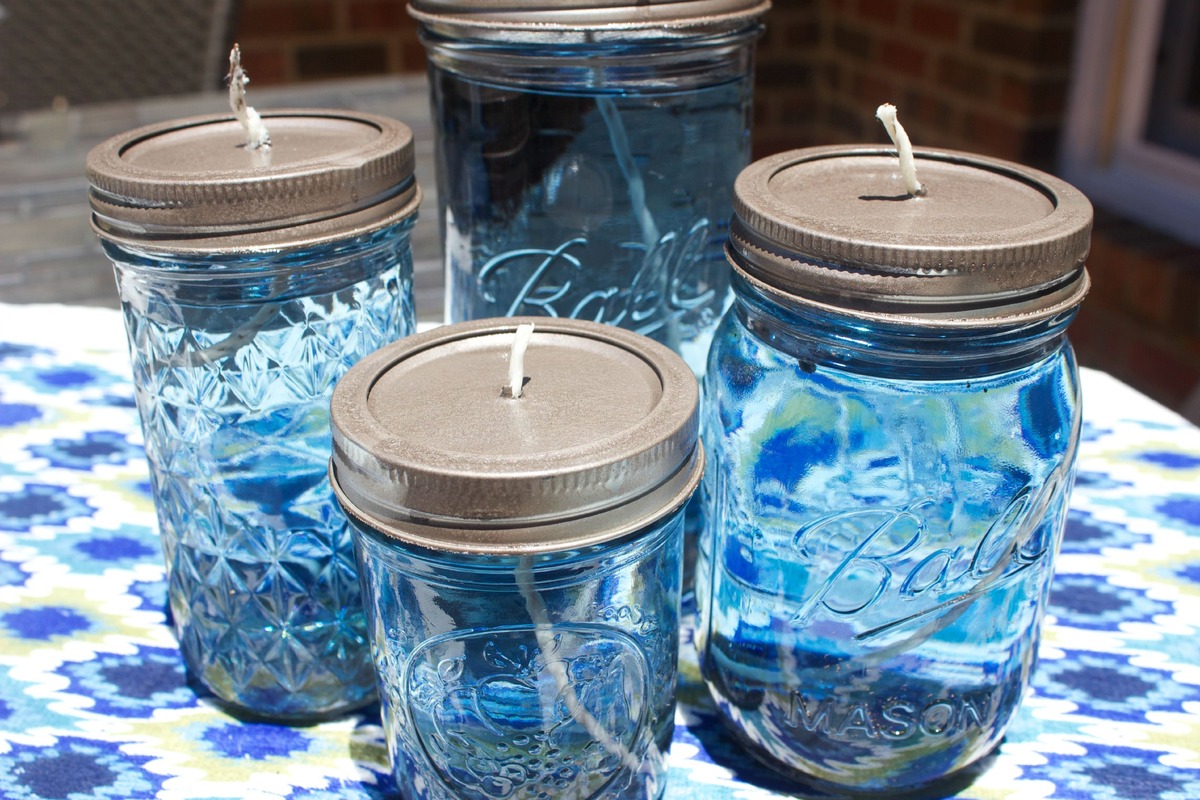
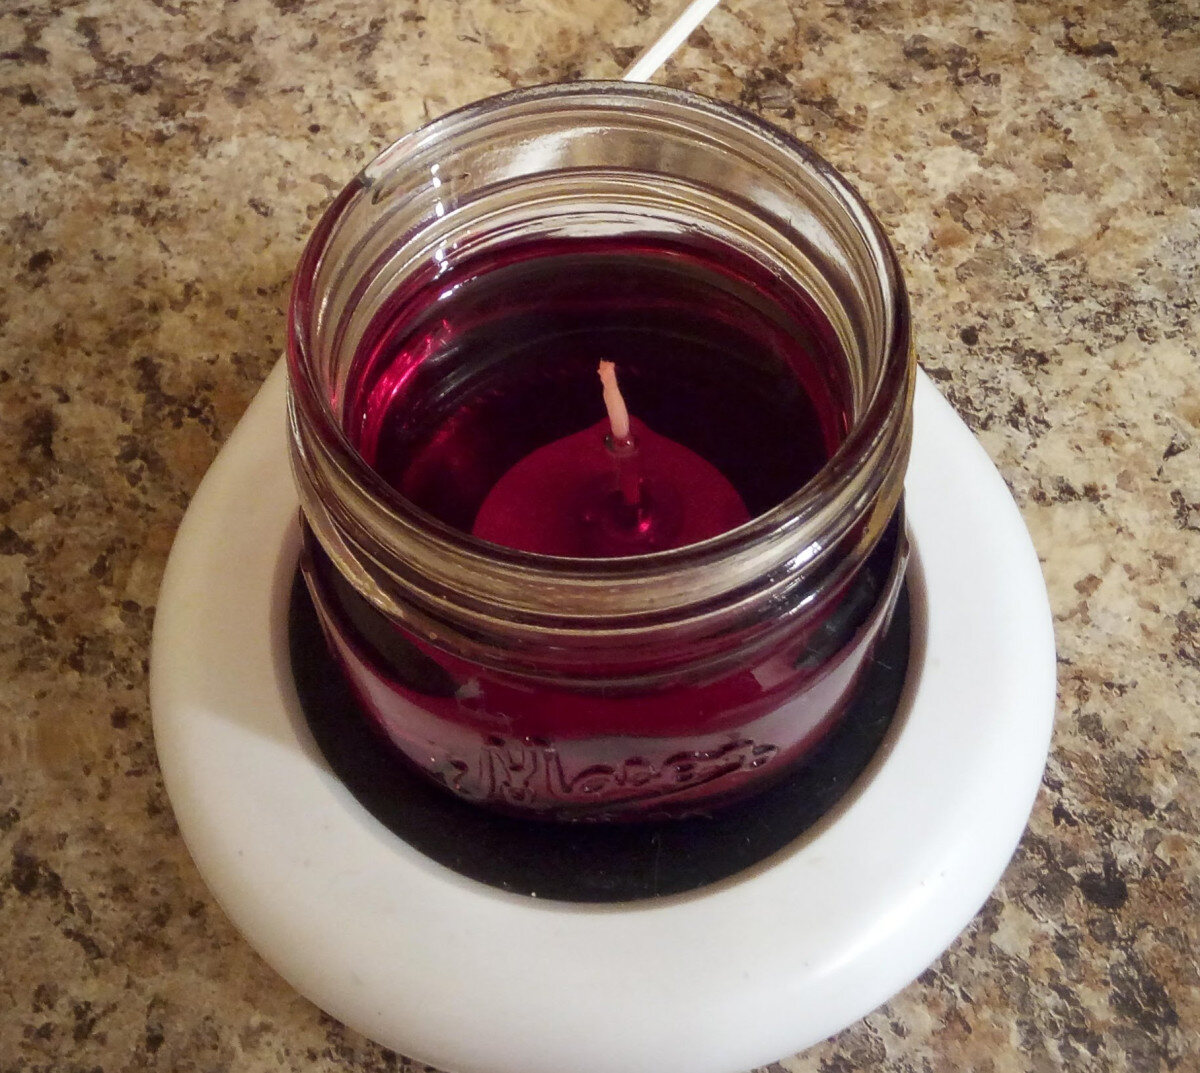
Step 4: Pouring the Wax into the Jars
With the fragrance or color added to your melted wax, it’s time to pour it into the prepared glass jars. Follow these steps to ensure a smooth pouring process:
- Before pouring the wax, ensure that the wick is centered in the jar. Adjust the wick, if necessary, using the wick centering device or gently holding it steady.
- Carefully pour the melted wax into the glass jar, avoiding any contact with the wick or the sides of the jar. Start pouring from one side and slowly move to the other side to distribute the wax evenly.
- Leave a small gap at the top of the jar, usually about half an inch, to allow for any potential expansion as the wax cools and sets.
- As you pour, make sure to maintain a steady hand and pour slowly to prevent any spills or splashes. If you accidentally spill some wax, quickly clean it up before it dries.
When pouring the wax into the jars, make sure to work in a well-ventilated area and protect your workspace with wax paper or newspaper to catch any drips. Once all the jars are filled, it’s time to move on to the next step — allowing the wax to cool and set.
Step 5: Allowing the Wax to Cool and Set
After pouring the melted wax into the glass jars, it’s important to allow the wax to cool and set properly. Follow these steps to ensure your candles solidify correctly:
- Let the candles sit undisturbed in a cool and draft-free area. It’s best to let them cool at room temperature for at least 24 hours to ensure that the wax sets properly.
- Avoid moving or touching the candles during this time, as it can cause the wax to become uneven or create air pockets. Patience is key in this step!
- As the wax cools, you might notice a slight dip in the center. This is normal and can be remedied in the next step by topping off the candles with additional melted wax, if desired.
- Once the wax has completely cooled and solidified, you can remove the wick centering device, if you used one, and trim the wick to a length of about ¼ inch.
Allowing the wax to cool and set properly is crucial for the overall quality and longevity of your homemade candles. Now that the wax has solidified, it’s time to move on to the final step — trimming the wick.
Step 6: Trimming the Wick
Once the wax has completely cooled and set in the glass jars, it’s time to trim the wick to ensure a clean and even burn. Follow these steps to trim the wick:
- Using a pair of scissors or wick trimmers, carefully trim the wick to a length of about ¼ inch.
- Trimming the wick to the proper length helps to prevent excessive smoke, soot, and uneven burning.
- Make sure to remove any trimmings or debris from the surface of the wax to maintain the cleanliness and aesthetics of your candles.
Now that your wicks are trimmed, your candles are ready to be lit! Light them up and enjoy the soothing ambiance and gentle fragrance that your homemade candles provide.
Remember to always follow proper candle safety guidelines. Never leave burning candles unattended, keep them away from flammable materials, and place them on heat-resistant surfaces.
Congratulations! You have successfully melted candles in glass jars and created beautiful custom candles. Whether you’re gifting them to loved ones or enjoying them yourself, these homemade candles are sure to bring warmth, relaxation, and a touch of personal style to any space.
Experiment with different scents, colors, and styles to create a unique collection of candles that reflect your creativity and personal taste. Enjoy the process of candle-making and the cozy ambiance that your handcrafted candles bring to your home.
Now, go light those candles and bask in their gentle glow!
Conclusion
Melting candles in glass jars allows you to repurpose old candles and create new ones that align with your personal style and preferences. With just a few simple steps, you can transform your old candles into beautiful and customized creations.
Throughout this article, we’ve outlined the step-by-step process of melting candles in glass jars. From preparing the jars and melting the wax to adding fragrance or color, pouring the wax, allowing it to cool and set, and finally, trimming the wick, each step is crucial in creating high-quality and visually appealing candles.
By following these steps and using the right materials, you can engage in a DIY candle-making project to create unique candles for yourself or as gifts for your loved ones. Let your creativity shine as you experiment with different scents, colors, and jar designs.
Remember to always prioritize safety when working with melted wax and open flames. Keep your workspace well-ventilated, use a proper double boiler or makeshift double boiler, and follow candle safety guidelines to prevent accidents.
Now, it’s time to unleash your creativity and embark on your candle-making journey. Gather your materials, repurpose old candles, or start from scratch with new wax, and enjoy the therapeutic process of creating your own beautiful candles in glass jars.
Let the warm glow and gentle fragrance of your handmade candles bring joy, relaxation, and a sense of personal touch to any space. Happy candle-making!
Now that you've mastered melting wax in glass jars, why not spice up your creations with some unique scents? Our guide on scented candles offers an array of fragrances that will transform your home's ambiance in 2024. From refreshing citrus notes to soothing lavender, each scent provides not only a delightful aroma but also enhances your mood and decor. Ready to fill your space with captivating scents? Dive into our comprehensive article on choosing the perfect scented candles for your needs and preferences.
Frequently Asked Questions about How To Melt Candles In Glass Jars
Was this page helpful?
At Storables.com, we guarantee accurate and reliable information. Our content, validated by Expert Board Contributors, is crafted following stringent Editorial Policies. We're committed to providing you with well-researched, expert-backed insights for all your informational needs.