Home>Furniture & Design>Interior Design Trends>How To Sanitize Glass Jars
Interior Design Trends
How To Sanitize Glass Jars
Published: February 6, 2024
Learn how to effectively sanitize glass jars for your interior design trends projects. Follow our step-by-step guide for a clean and safe DIY experience.
(Many of the links in this article redirect to a specific reviewed product. Your purchase of these products through affiliate links helps to generate commission for Storables.com, at no extra cost. Learn more)
Introduction
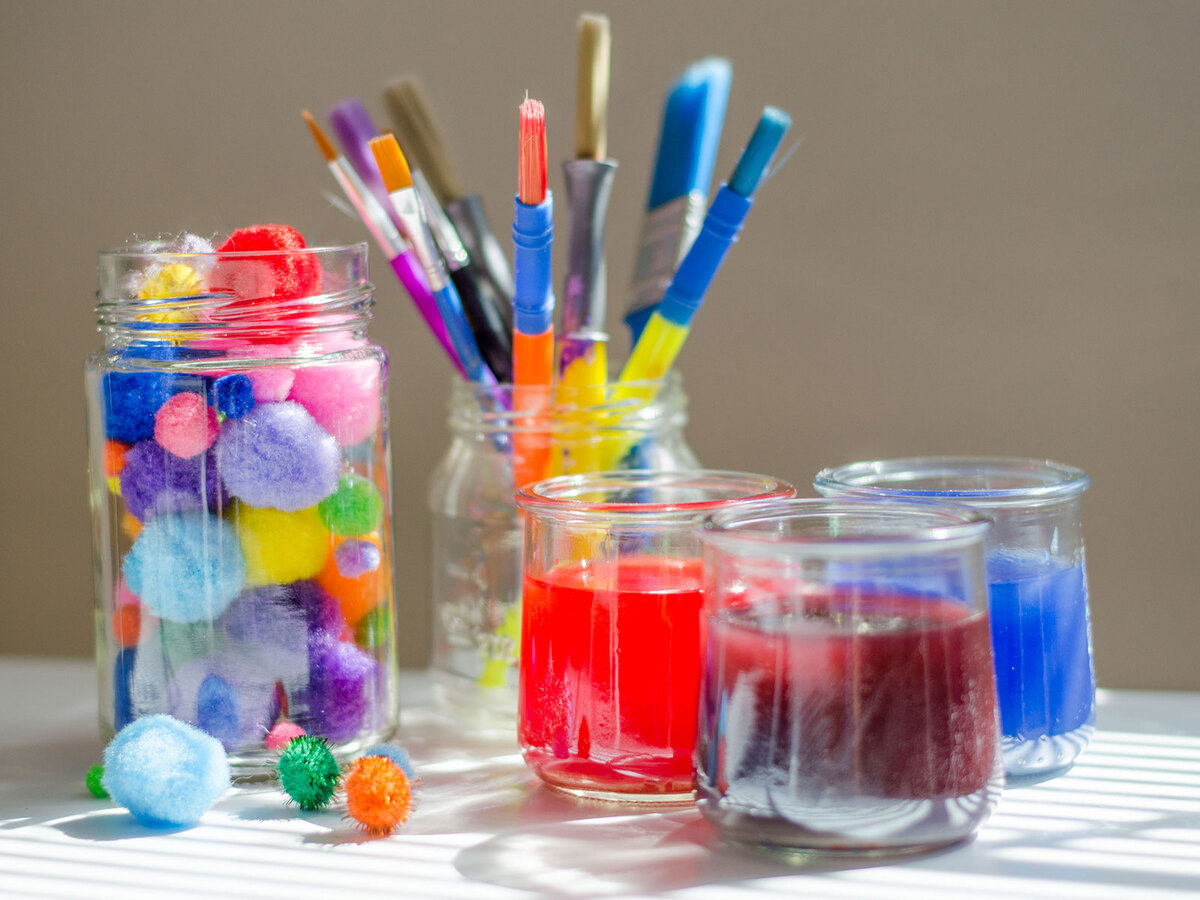
Sanitizing glass jars is a crucial step in preserving food, storing homemade goods, or repurposing containers for various uses. Whether you're an avid home cook, a dedicated DIY enthusiast, or someone looking to reduce waste by reusing glass jars, ensuring that they are properly sanitized is essential for maintaining hygiene and extending their usability.
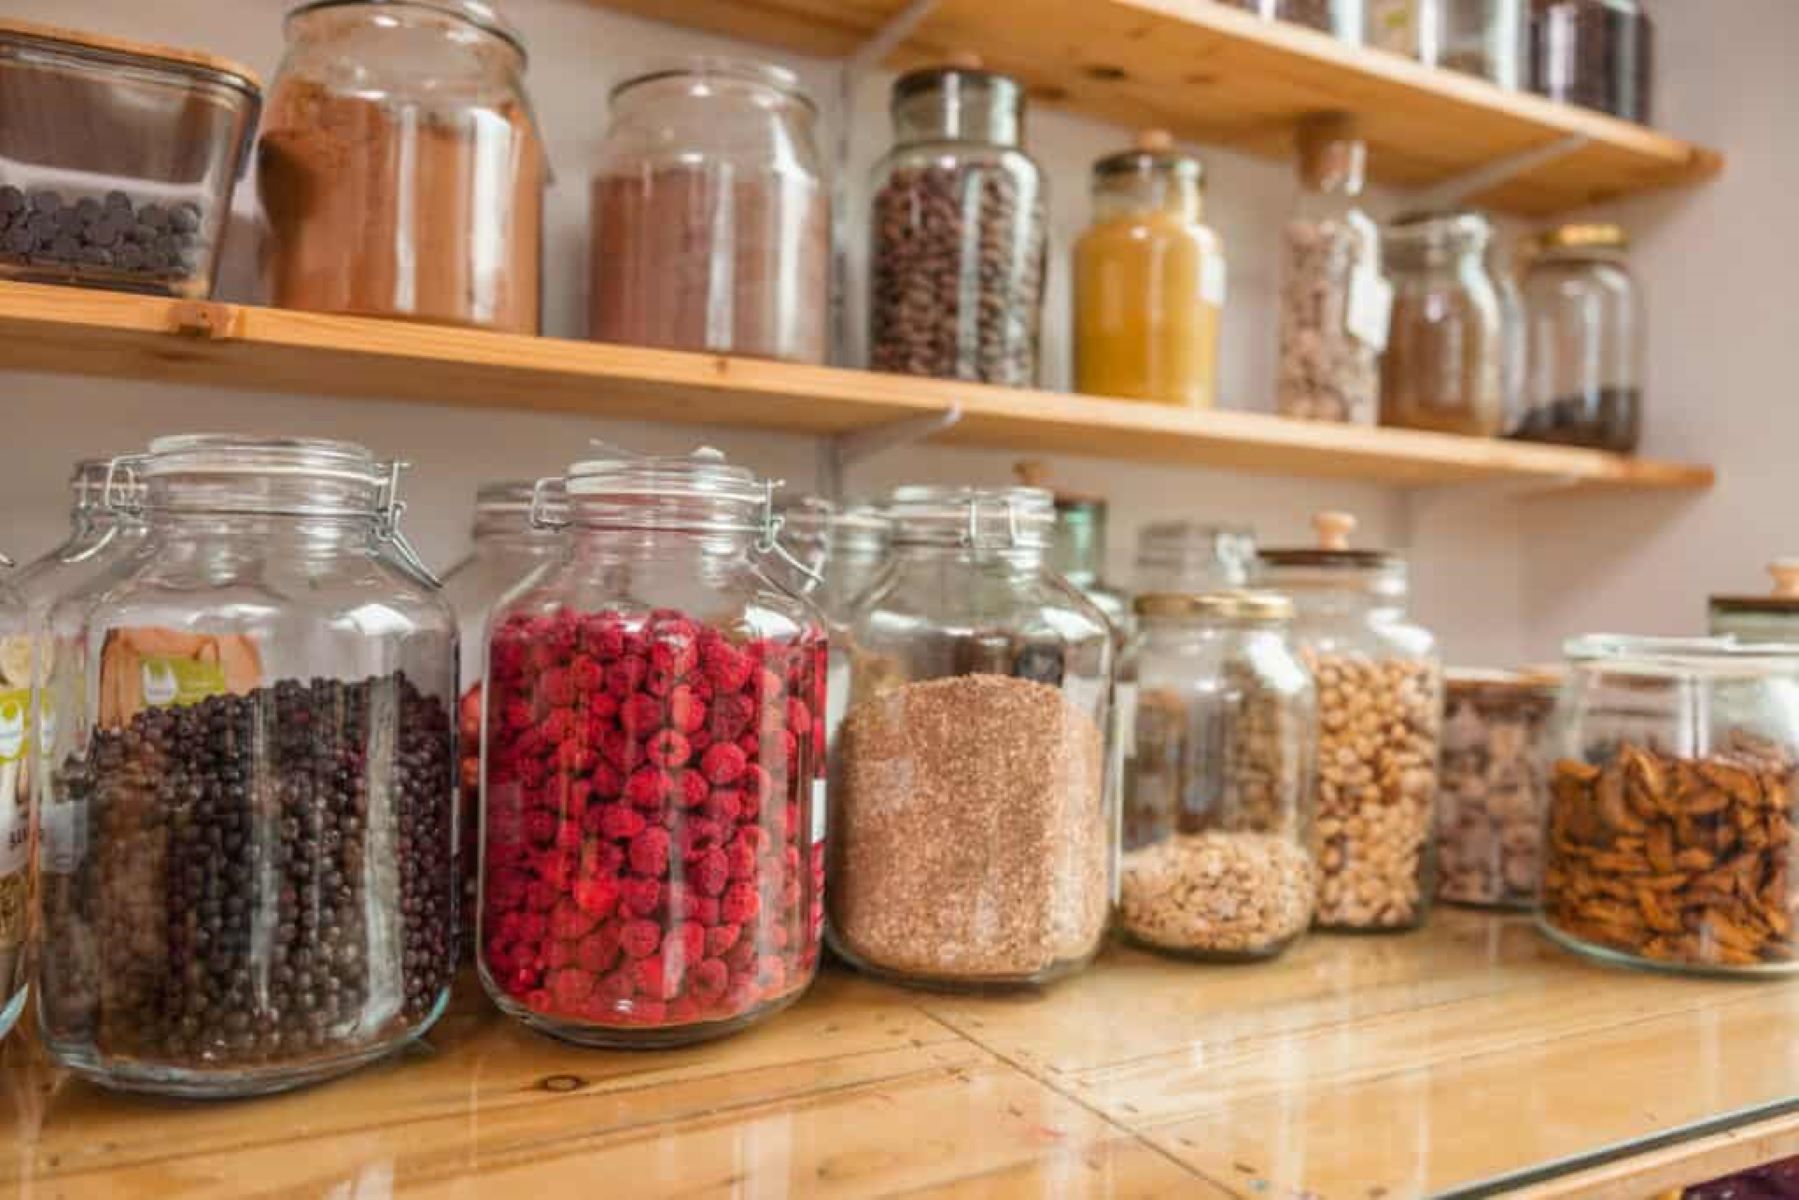
Properly sanitized glass jars provide a clean canvas for storing a variety of items, from jams and pickles to spices and dry goods. By following the correct sanitization process, you can eliminate any lingering bacteria or impurities, ensuring that the jars are safe for use and that the contents remain fresh for longer periods.
In this comprehensive guide, we will walk you through the step-by-step process of sanitizing glass jars, covering everything from gathering the necessary supplies to the final drying stage. Whether you're a seasoned pro or a beginner in the world of food preservation and DIY projects, this guide will equip you with the knowledge and confidence to sanitize glass jars effectively.
By the end of this guide, you'll be well-versed in the best practices for sanitizing glass jars, empowering you to embark on various culinary and creative endeavors with the assurance that your glass containers are clean, safe, and ready for use. So, let's dive into the process and discover how simple and rewarding it can be to ensure the cleanliness and usability of your glass jars.
Key Takeaways:
- Keep glass jars clean and safe by washing with dish soap, scrubbing, and air drying before sanitizing with boiling water. This ensures they’re free from bacteria and ready for storing food or creative projects.
- By following the steps to sanitize and dry glass jars, you can ensure they’re sterile, moisture-free, and ready for use. This process promotes cleanliness, safety, and sustainability in your culinary and creative endeavors.
Read more: How To Sanitize Glass Bottles
Step 1: Gather Your Supplies
Before embarking on the process of sanitizing glass jars, it's essential to gather all the necessary supplies. Having the right tools and materials at hand will streamline the sanitization process and ensure that you can proceed seamlessly from one step to the next. Here's a comprehensive list of supplies you'll need:
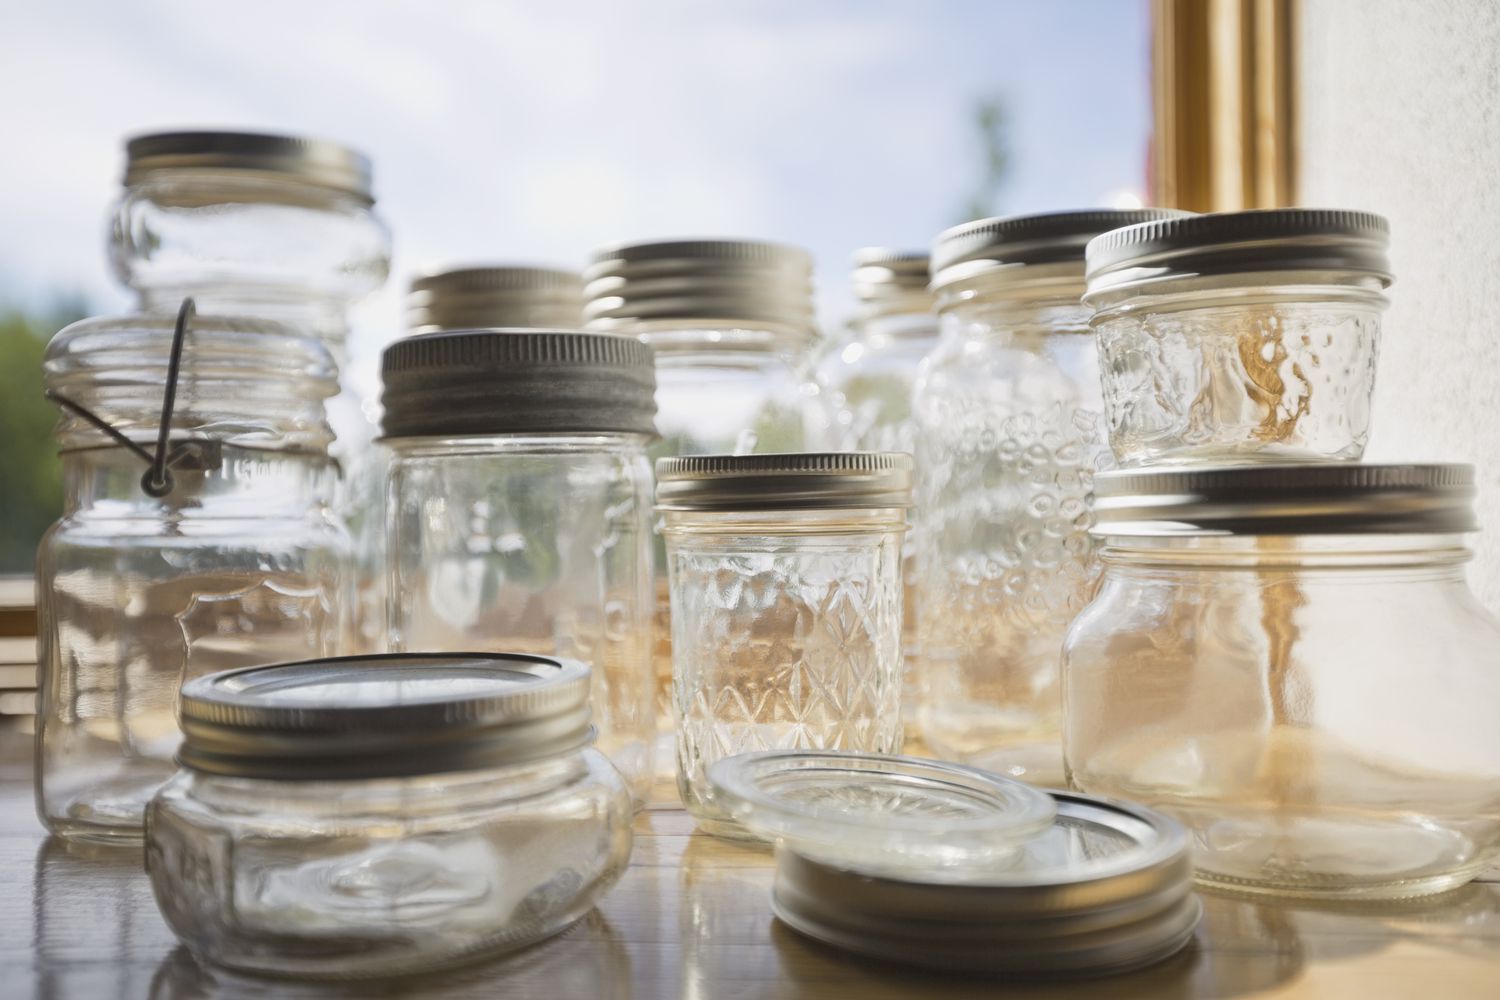
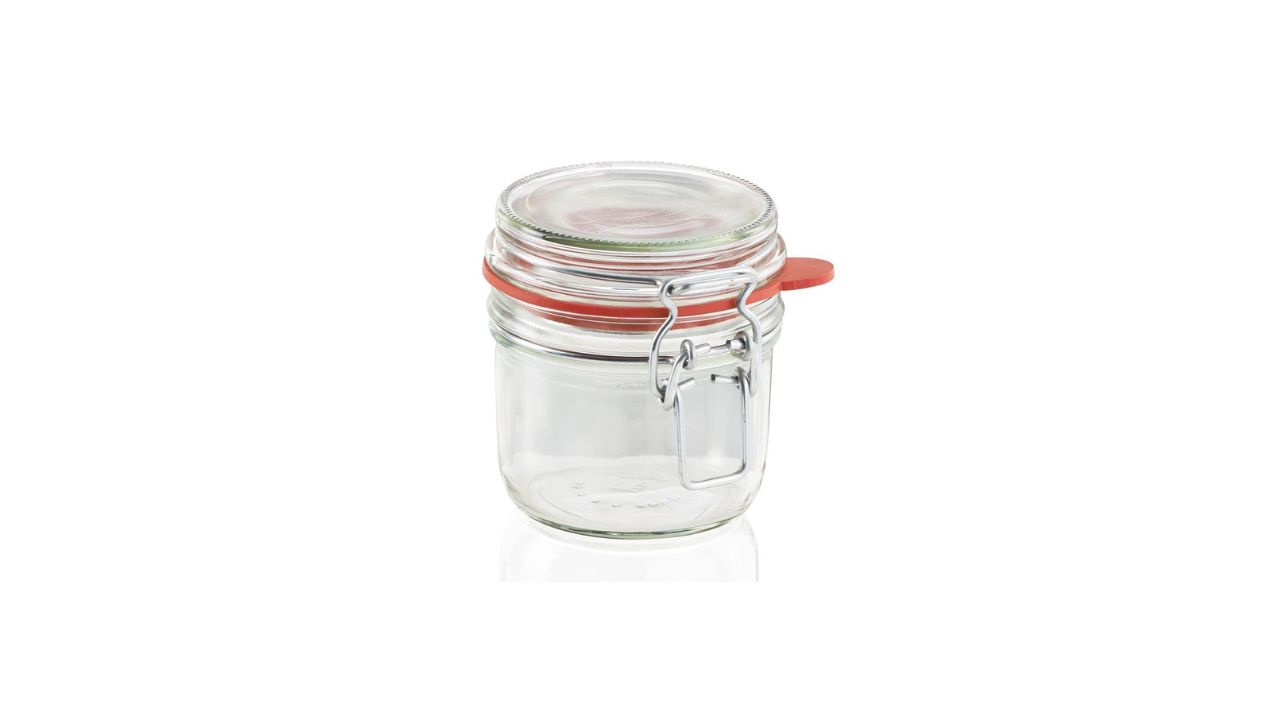
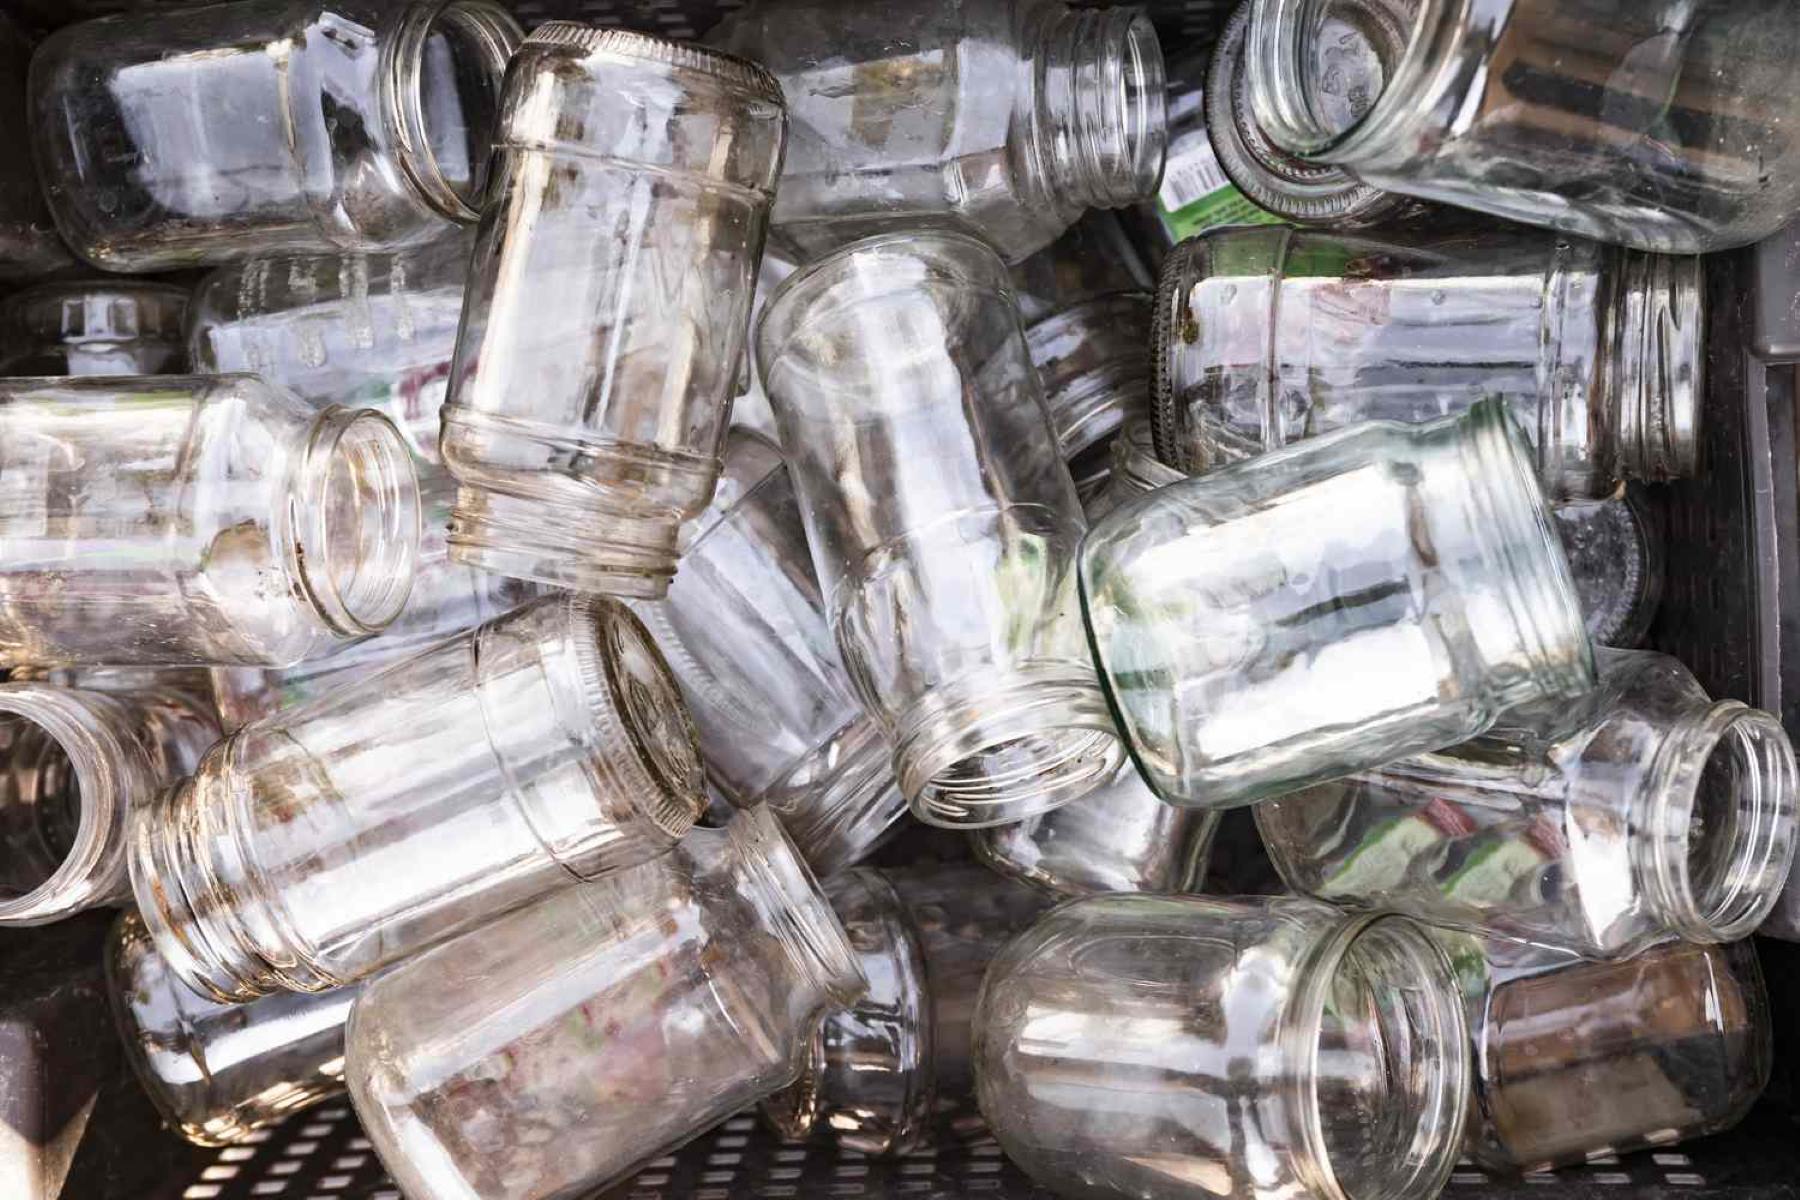
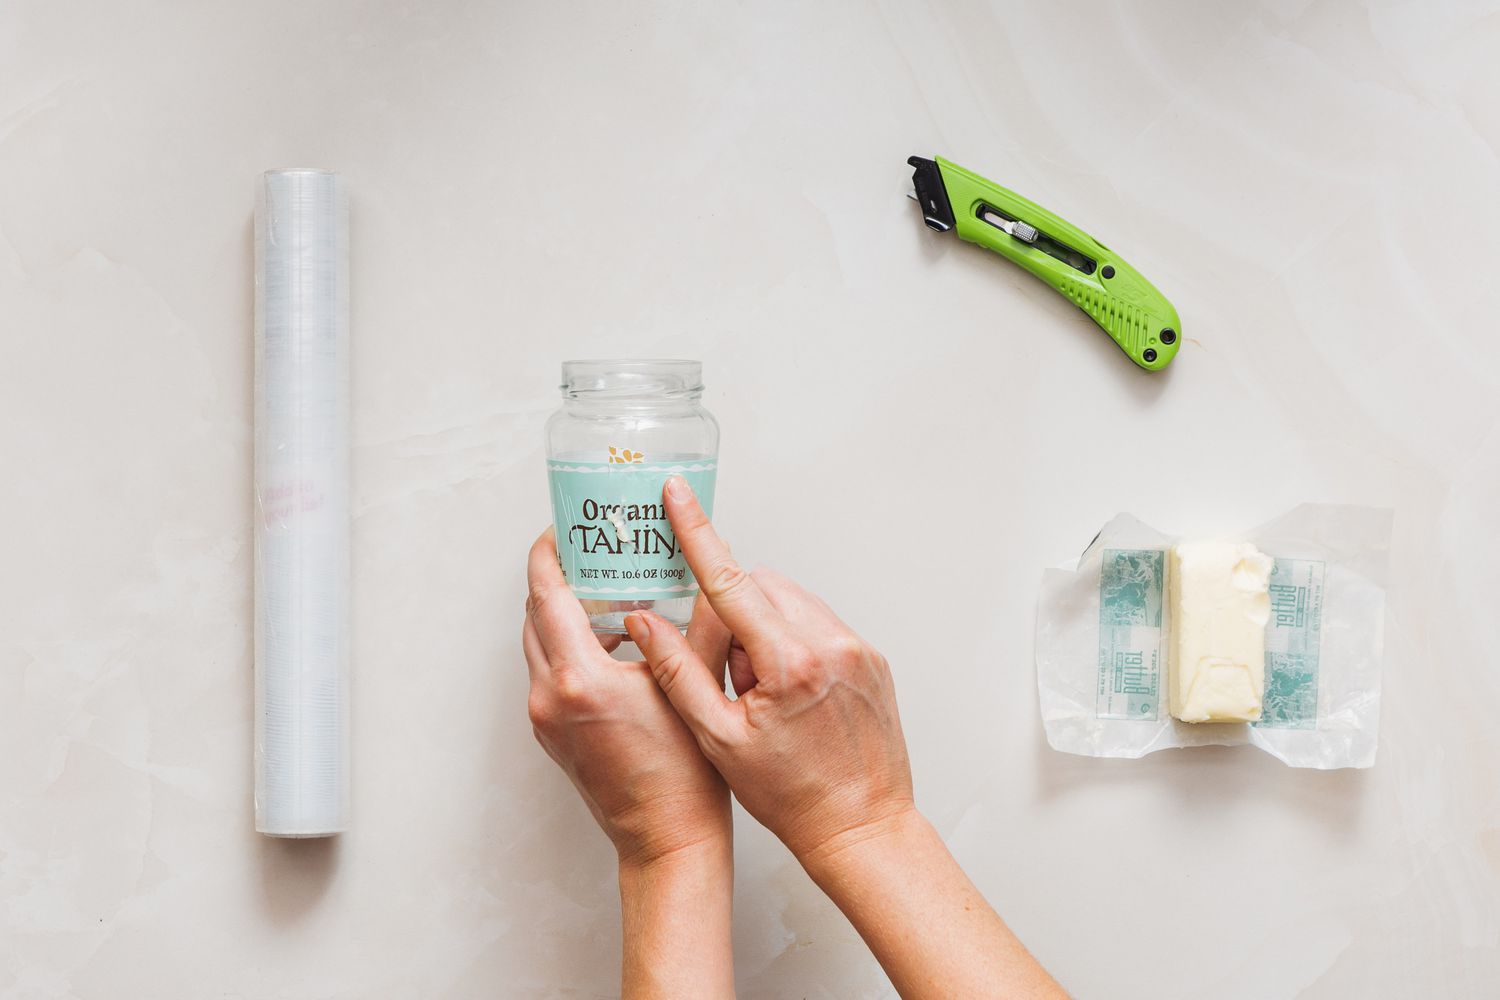
1. Glass Jars
Select the glass jars you intend to sanitize. Whether they are previously used jars or new ones, ensure that they are free from cracks or chips, as these imperfections can compromise the effectiveness of the sanitization process.
2. Dish Soap
Choose a gentle, yet effective dish soap that will help remove any dirt, residue, or lingering food particles from the jars. Opt for a fragrance-free soap to avoid leaving any unwanted scents or residues behind.
3. Clean Sponge or Cloth
A soft sponge or cloth will be used to scrub the jars with the dish soap, ensuring that all surfaces are thoroughly cleaned before proceeding to the sanitization step.
Read more: How To Store Glass Jars
4. Boiling Water
Boiling water is a key component in the sanitization process. It effectively kills bacteria and sterilizes the jars, preparing them for future use. Ensure that you have access to a sufficient amount of boiling water to fill the jars.
5. Pot or Kettle
You'll need a pot or kettle to heat the water to boiling point. Choose a pot that is large enough to accommodate the jars and allow them to be fully submerged in the boiling water.
6. Tongs or Jar Lifter
To handle the hot glass jars safely, tongs or a specialized jar lifter are essential. These tools will enable you to remove the jars from the boiling water without risking burns or accidents.
7. Clean Towels
Prepare clean towels to place the sanitized jars on after the drying process. The towels will absorb excess water and provide a clean surface for the jars to air dry effectively.
By ensuring that you have all these supplies ready and within reach, you'll be well-prepared to initiate the glass jar sanitization process with confidence and efficiency. With the supplies in place, you can proceed to the next step of washing the jars to prepare them for the crucial sanitization stage.
Read more: How To Repurpose Glass Jars
Step 2: Wash the Jars
Properly washing the glass jars is a fundamental preparatory step before initiating the sanitization process. This crucial step ensures that any lingering residues, odors, or impurities are effectively removed, setting the stage for thorough sanitization. Follow these detailed steps to wash the jars effectively:
-
Inspect the Jars: Before washing, carefully inspect each jar for any visible signs of dirt, food residue, or lingering odors. Check the interior and exterior surfaces, as well as the lids, to ensure that they are free from any contaminants.
-
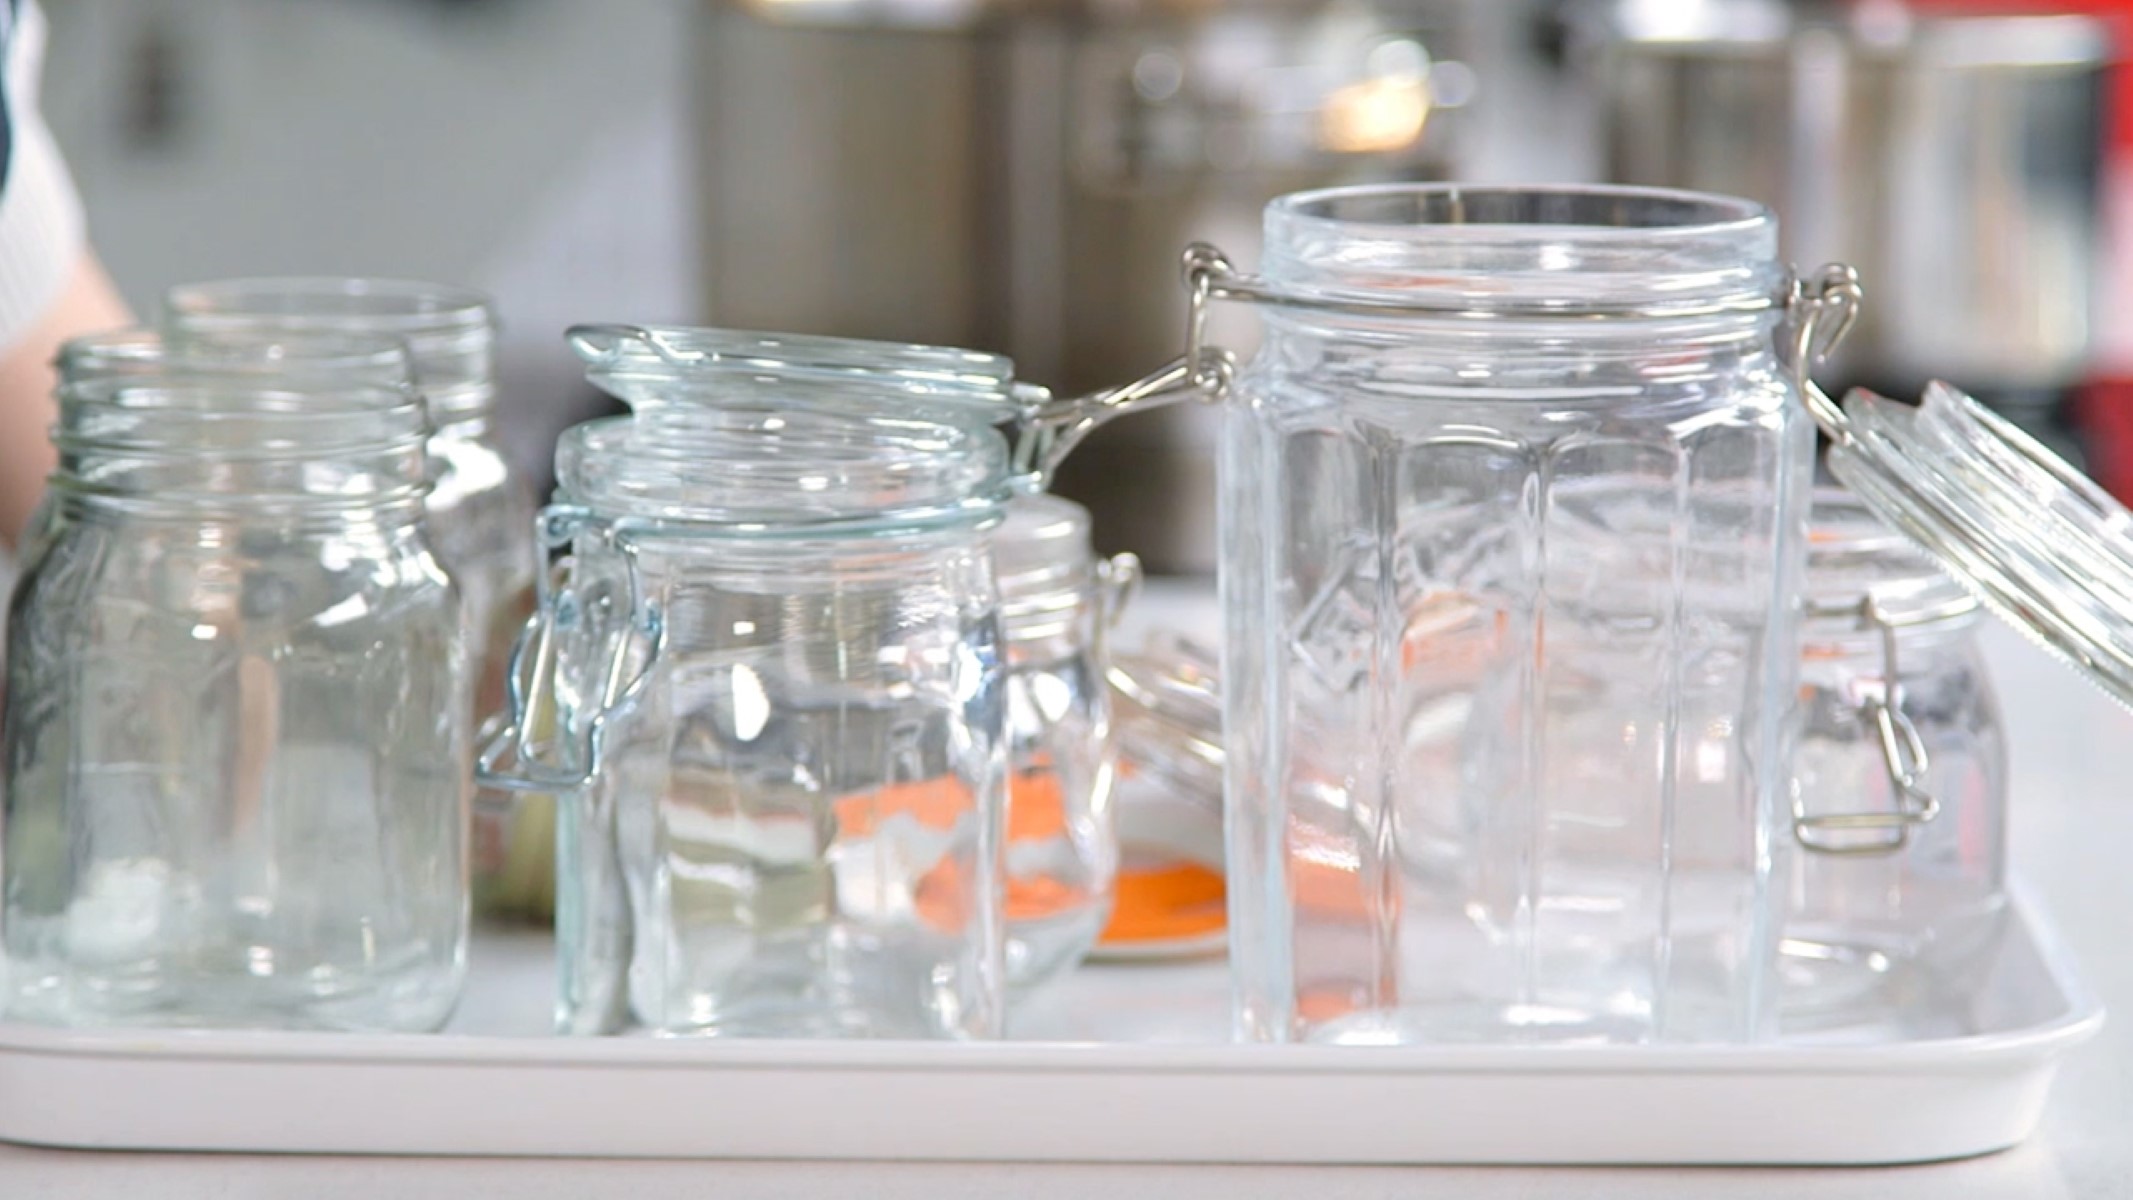
Remove Lids and Bands: If the jars have metal lids and bands, remove them before washing. This allows for thorough cleaning of both the jars and the accompanying components, ensuring that no areas are overlooked.
-
Pre-Rinse the Jars: Rinse the jars under running water to remove any loose particles or surface debris. This initial rinse helps to loosen any stubborn residues and prepares the jars for the next cleaning stage.
-
Prepare the Soapy Water: Fill a clean sink or basin with warm water and add a small amount of gentle dish soap. Swirl the water to create a soapy solution that will effectively clean the jars without leaving behind any harsh residues or fragrances.
-
Scrub the Jars: Using a soft sponge or cloth, gently scrub the jars with the soapy water, paying close attention to the interior and exterior surfaces. Ensure that all areas, including the neck and bottom of the jars, are thoroughly cleaned to remove any stubborn residues or greasy spots.
-
Clean the Lids and Bands: If the lids and bands are reusable, wash them separately in the soapy water, ensuring that any crevices or grooves are thoroughly cleaned to eliminate any trapped debris.
-
Rinse Thoroughly: After scrubbing, rinse the jars, lids, and bands under running water to remove the soapy residue. Ensure that all traces of soap are completely washed away, leaving the jars and accompanying components clean and free from any cleaning agents.
-
Air Dry or Towel Dry: Once thoroughly rinsed, allow the jars, lids, and bands to air dry on a clean towel or use a dry, lint-free cloth to pat them dry. Ensure that all components are completely dry before proceeding to the next step of sanitizing the jars.
By meticulously washing the glass jars and accompanying components, you set the stage for effective sanitization, ensuring that the jars are free from any visible residues or contaminants. With the jars now clean and prepared, you can confidently move on to the crucial step of sanitizing the glass jars to ensure their safety and usability for various purposes.
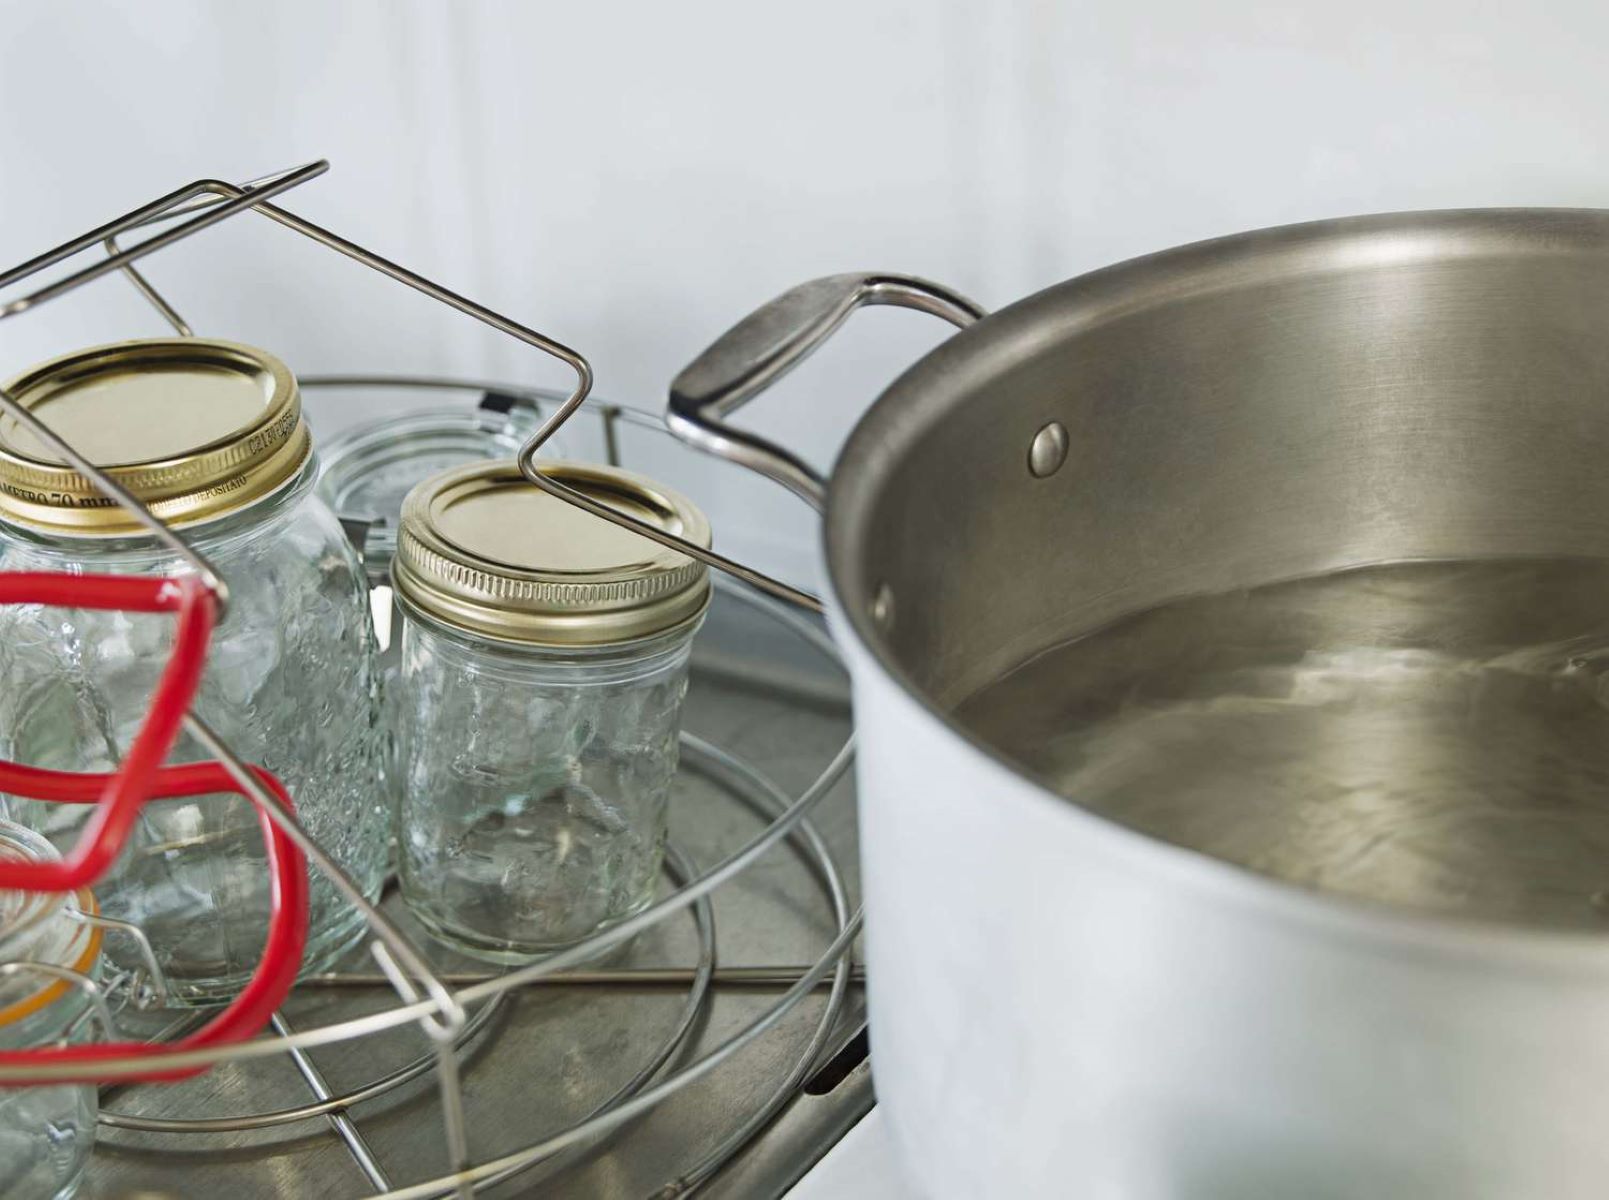
Step 3: Sanitize the Jars
Sanitizing the glass jars is a critical step that ensures the elimination of any remaining bacteria or impurities, thereby preparing the jars for safe and hygienic use. The sanitization process involves subjecting the jars to high temperatures, effectively sterilizing them and creating an environment that is inhospitable to harmful microorganisms. Follow these detailed steps to sanitize the jars effectively:
-
Boil Water: Fill a large pot or kettle with enough water to fully submerge the jars. Place it on the stove and bring the water to a rolling boil. The high temperature of boiling water is instrumental in killing bacteria and sterilizing the jars, making it a crucial component of the sanitization process.
-
Submerge the Jars: Carefully lower the washed and dried glass jars into the boiling water using tongs or a jar lifter. Ensure that the jars are fully submerged and that there is sufficient space between them to allow the water to circulate freely around each jar.
-
Maintain Boiling: Once the jars are submerged, allow them to boil in the water for a minimum of 10 minutes. This duration ensures that the jars are thoroughly sanitized, with the high temperature effectively eliminating any remaining bacteria or contaminants.
-
Sanitize Lids and Bands: If the jars have accompanying lids and bands, these should also be sanitized. Submerge them in the boiling water for the same duration as the jars to ensure comprehensive sterilization.
-
Remove and Cool: After the sanitization period, carefully remove the jars, lids, and bands from the boiling water using tongs or a jar lifter. Place them on a clean towel or heat-resistant surface to cool gradually. Avoid placing hot glass jars directly on cold surfaces to prevent thermal shock.
-
Air Dry: Allow the sanitized jars, lids, and bands to air dry completely. This step ensures that any remaining moisture evaporates, leaving the jars ready for use or storage.
By following these steps, you can effectively sanitize glass jars, creating a clean and sterile environment that is ideal for preserving food, storing homemade goods, or repurposing the jars for various creative endeavors. The thorough sanitization process ensures that the jars are safe for use and that the contents remain fresh and uncontaminated for extended periods. With the jars now sanitized and ready for use, you can proceed with confidence, knowing that they have undergone a meticulous sterilization process.
Step 4: Dry the Jars
Properly drying the sanitized glass jars is a crucial final step in the overall process of preparing them for future use or storage. Effective drying ensures that any remaining moisture is eliminated, preventing the risk of mold growth, water stains, or contamination of the contents once the jars are filled. Follow these detailed steps to ensure that the jars are thoroughly dried and ready for their intended purpose:
-
Air Drying: After the jars, lids, and bands have been sanitized and removed from the boiling water, place them on a clean towel or drying rack in a well-ventilated area. Allowing the jars to air dry naturally facilitates the evaporation of any residual moisture, ensuring that they are completely dry before use.
-
Inverted Position: To promote thorough drying, consider placing the jars upside down after the initial air drying. This allows any remaining water droplets to drain out completely, especially from the rims and crevices, ensuring that the entire interior and exterior surfaces are free from moisture.
-
Patience: It's essential to exercise patience during the drying process, allowing the jars, lids, and bands ample time to air dry completely. Depending on the ambient humidity and air circulation, this may take several hours to ensure that the jars are entirely free from moisture.
-
Visual Inspection: Before proceeding to use or store the dried jars, perform a visual inspection to ensure that they are free from any signs of moisture or water droplets. Check the interior and exterior surfaces, as well as the lids and bands, to confirm that they are dry and ready for the next steps.
-
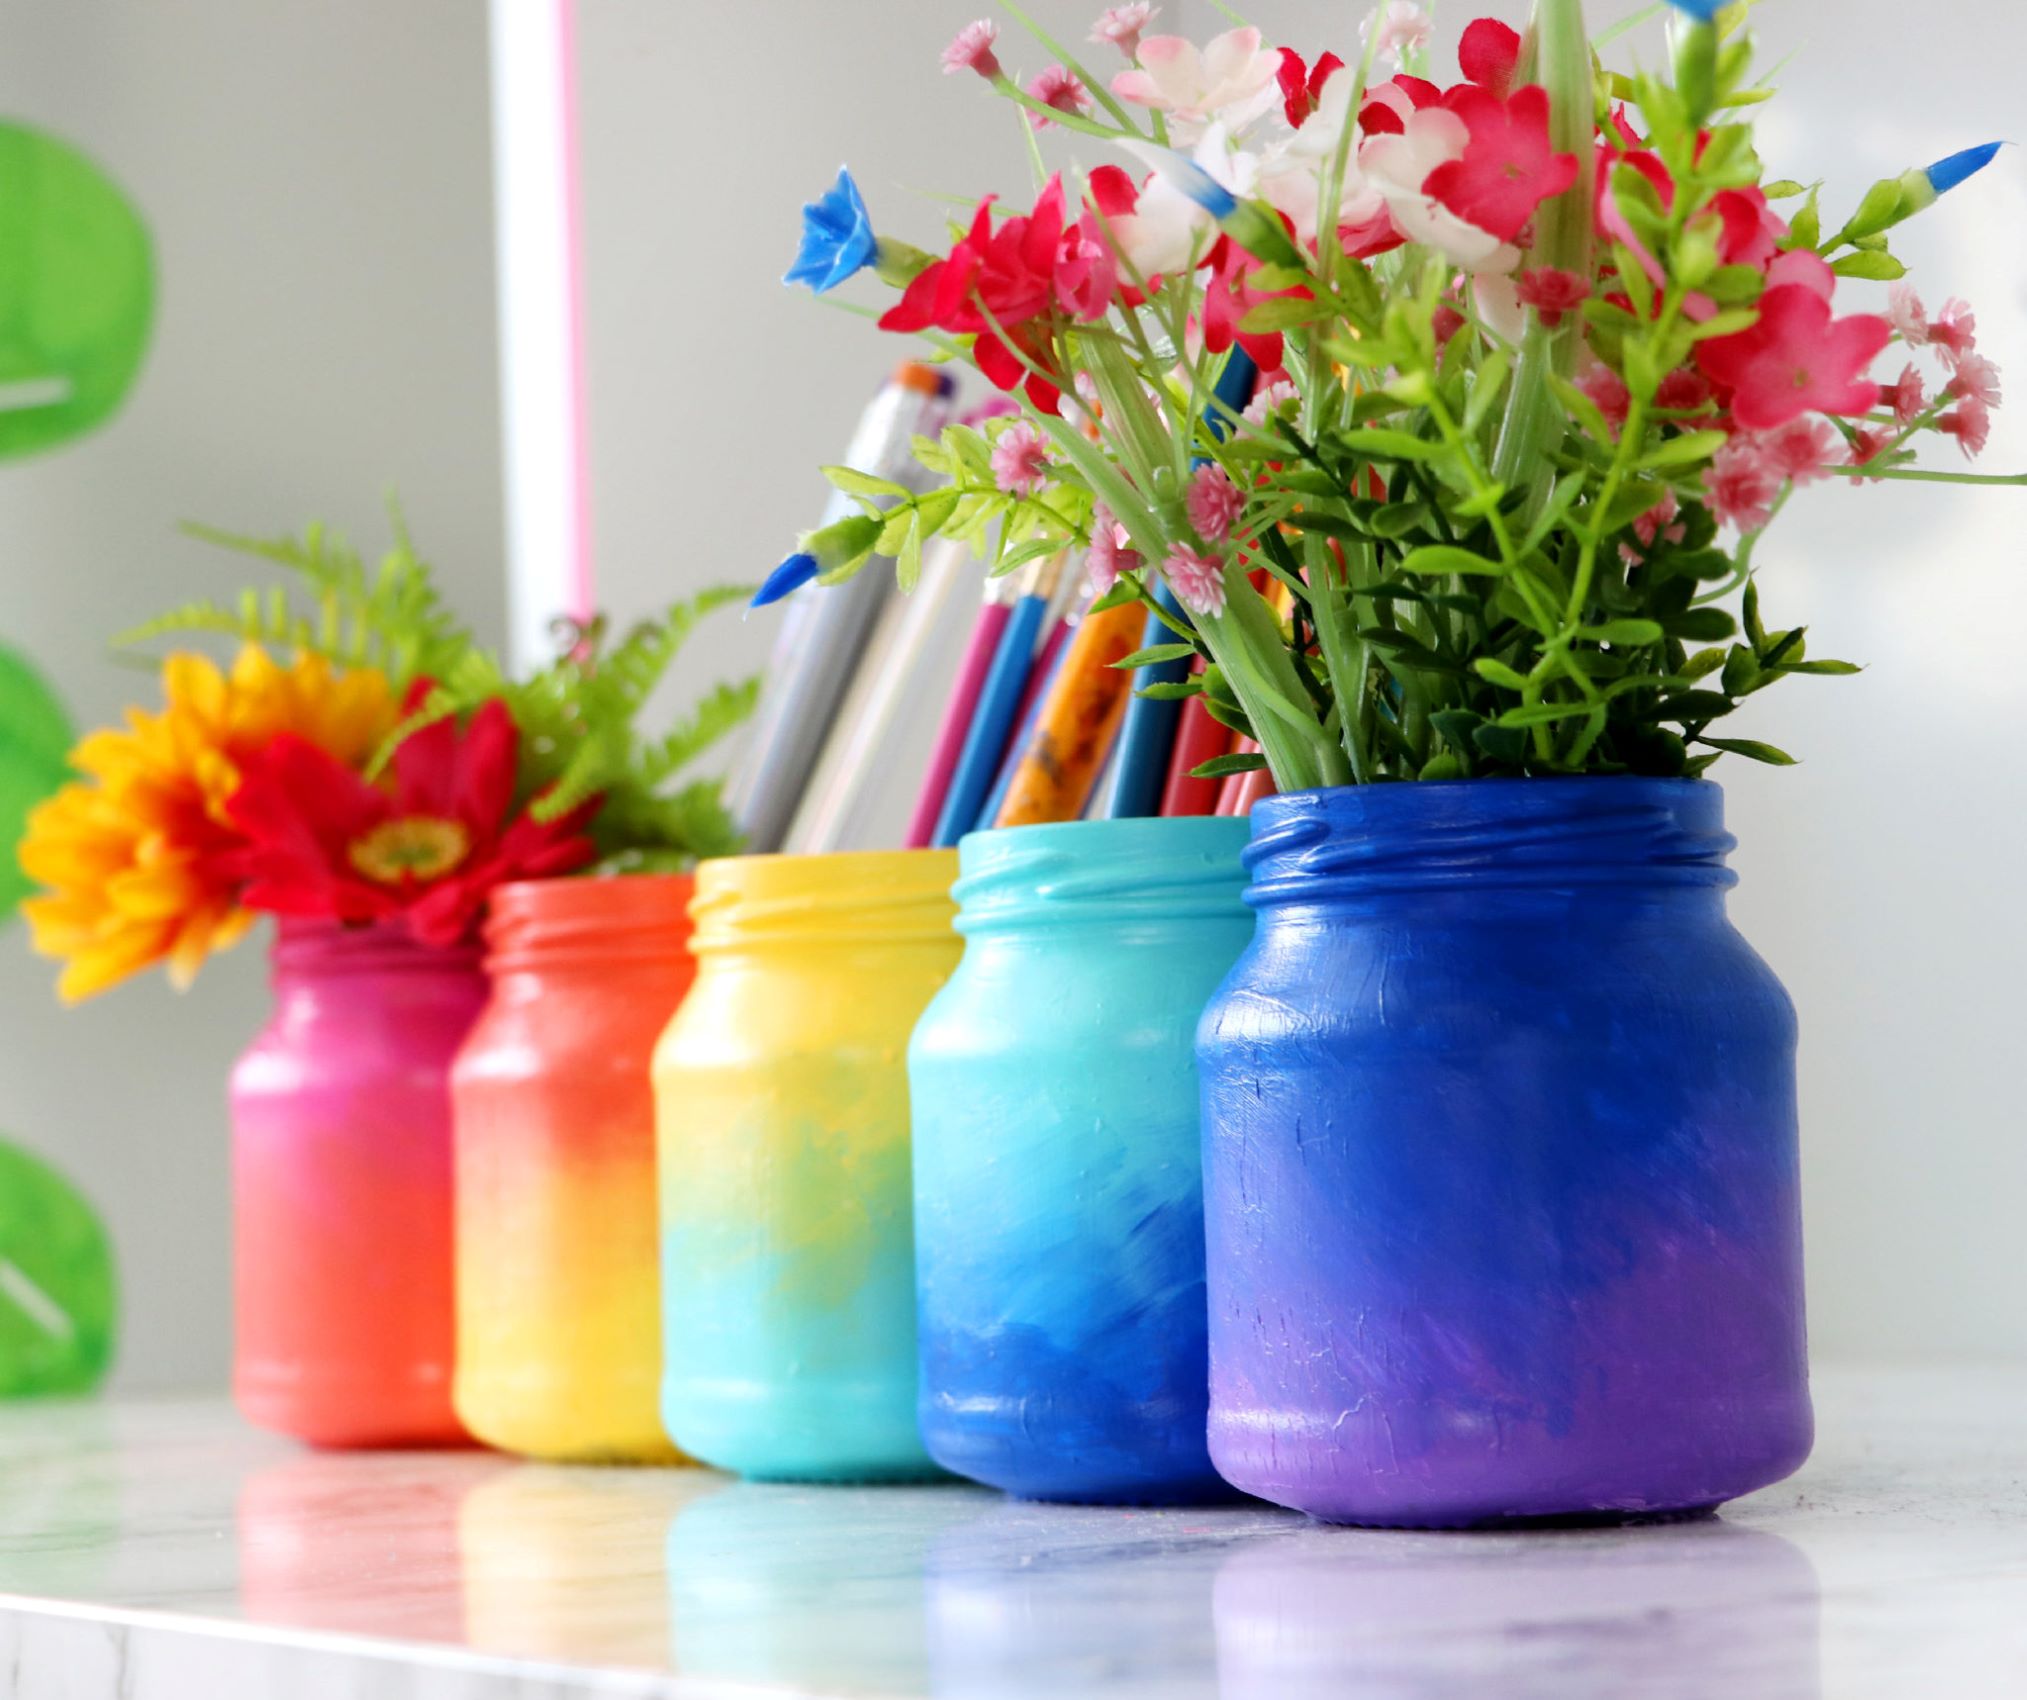
Storage Preparation: Once the jars are thoroughly dried, consider storing them in a clean and dust-free environment. This ensures that they remain clean and ready for use when needed, whether for preserving homemade goods, storing dry ingredients, or embarking on creative projects.
By meticulously following the steps to dry the sanitized glass jars, you can ensure that they are free from moisture and contaminants, ready to fulfill their intended purposes effectively. The thorough drying process complements the earlier stages of washing and sanitization, culminating in jars that are clean, sterile, and prepared for a variety of culinary, storage, or creative applications. With the jars now dried and ready for use, you can confidently incorporate them into your culinary endeavors, DIY projects, or organizational solutions, knowing that they have undergone a comprehensive process to ensure their cleanliness and usability.
Conclusion
In conclusion, the process of sanitizing glass jars is a fundamental practice that ensures cleanliness, safety, and extended usability. By meticulously following the steps outlined in this guide, you have equipped yourself with the knowledge and confidence to prepare glass jars for a myriad of purposes, including food preservation, storage, and creative projects.
Through the initial step of gathering the necessary supplies, you set the stage for a seamless sanitization process, ensuring that you have all the essential tools and materials at hand. The meticulous washing of the jars, accompanied by the removal of any residues and odors, laid the foundation for effective sanitization, guaranteeing that the jars were free from visible contaminants.
The subsequent step of sanitizing the jars with boiling water elevated the cleanliness and safety of the glass containers, effectively sterilizing them and creating an environment that is inhospitable to harmful microorganisms. This critical stage ensures that the jars are safe for storing homemade goods, preserving food, or embarking on creative endeavors, providing peace of mind regarding the hygiene and integrity of the containers.
The final step of thoroughly drying the sanitized jars complements the earlier stages, ensuring that any remaining moisture is eliminated, and the jars are ready for immediate use or storage. This comprehensive process culminates in glass jars that are clean, sterile, and prepared to fulfill a variety of purposes, from housing homemade jams and pickles to serving as stylish storage containers for dry goods and crafting materials.
By embracing the practice of sanitizing glass jars, you are not only prioritizing cleanliness and safety but also contributing to sustainable living by repurposing and extending the usability of these versatile containers. Whether you are an avid home cook, a dedicated DIY enthusiast, or someone seeking practical and eco-friendly storage solutions, the knowledge and skills gained from this guide empower you to make the most of glass jars with confidence and peace of mind.
Incorporating sanitized glass jars into your culinary and creative pursuits adds a touch of hygiene and organization to your endeavors, ensuring that your homemade goods and stored items remain fresh, uncontaminated, and visually appealing. With the insights gained from this guide, you are well-prepared to embark on various projects and activities, knowing that your glass jars have undergone a meticulous process to ensure their cleanliness and usability.
In essence, the practice of sanitizing glass jars transcends mere hygiene; it embodies a commitment to quality, sustainability, and the seamless integration of these versatile containers into your lifestyle. By embracing the art of glass jar sanitization, you are poised to elevate your culinary creations, organizational efforts, and creative projects, all while upholding the principles of cleanliness, safety, and resourcefulness.
Frequently Asked Questions about How To Sanitize Glass Jars
Was this page helpful?
At Storables.com, we guarantee accurate and reliable information. Our content, validated by Expert Board Contributors, is crafted following stringent Editorial Policies. We're committed to providing you with well-researched, expert-backed insights for all your informational needs.

0 thoughts on “How To Sanitize Glass Jars”