Home>Furniture & Design>Interior Design Trends>How To Remove A Label From A Glass Jar
Interior Design Trends
How To Remove A Label From A Glass Jar
Published: February 3, 2024
Learn how to easily remove labels from glass jars and stay updated on the latest interior design trends. Discover new ways to enhance your home decor with our expert tips.
(Many of the links in this article redirect to a specific reviewed product. Your purchase of these products through affiliate links helps to generate commission for Storables.com, at no extra cost. Learn more)
Introduction
Removing labels from glass jars can be a frustrating task, especially when you want to repurpose the jar for a new use. Whether you're an avid crafter, a DIY enthusiast, or simply looking to recycle glass containers, knowing how to effectively remove labels without leaving behind sticky residue is a valuable skill. With the right materials and techniques, you can transform those stubborn, adhesive-laden jars into clean, pristine vessels ready for a new purpose.
In this guide, we'll walk you through the step-by-step process of removing labels from glass jars with ease. You'll discover simple yet effective methods to tackle even the most stubborn labels, allowing you to repurpose your jars for storage, crafting, or gifting. By following these techniques, you'll be able to reclaim the beauty and functionality of your glass jars, giving them a new lease on life.
So, gather your supplies and get ready to bid farewell to those pesky labels. With a little patience and the right approach, you'll soon have a collection of label-free glass jars at your disposal, ready to be transformed into whatever your heart desires. Let's dive into the materials you'll need to get started on this label-removal journey.
Key Takeaways:
- Say goodbye to stubborn labels on glass jars by soaking them in hot water, then peel off the softened labels. Use dish soap, baking soda paste, or rubbing alcohol to remove any remaining sticky residue for a clean, label-free jar ready for repurposing.
- Transform glass jars into clean, pristine vessels by following simple steps. Soak in hot water, peel off labels, and remove any sticky residue with household items. Embrace creativity and repurpose jars for storage, crafting, or gifting.
Read more: How To Remove A Stuck Lid From A Glass Jar
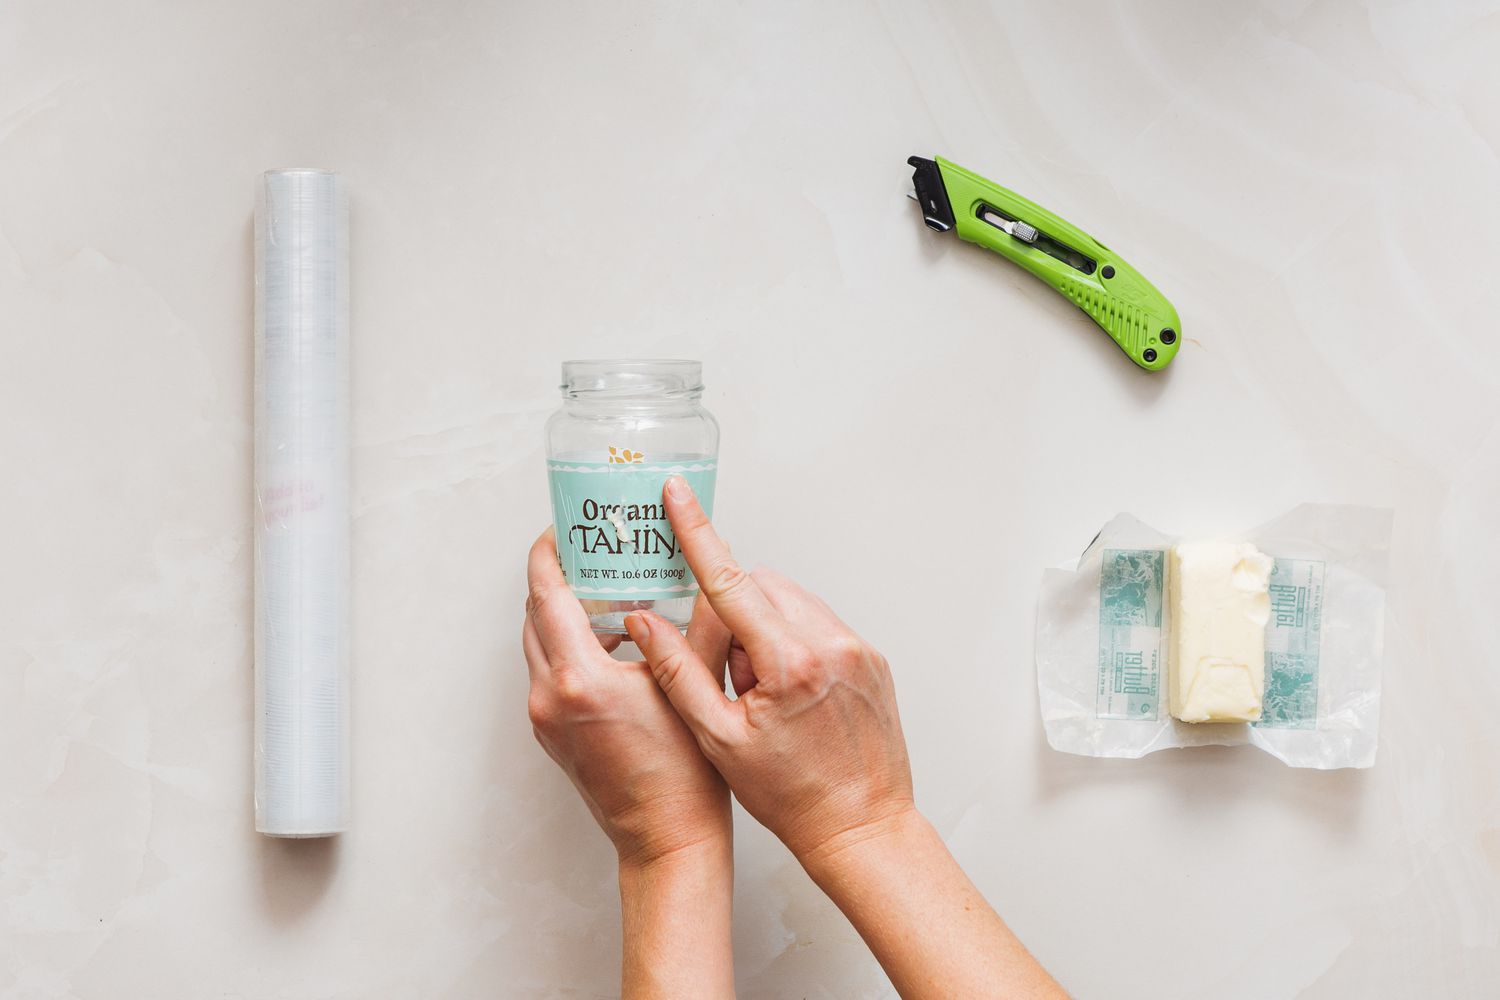
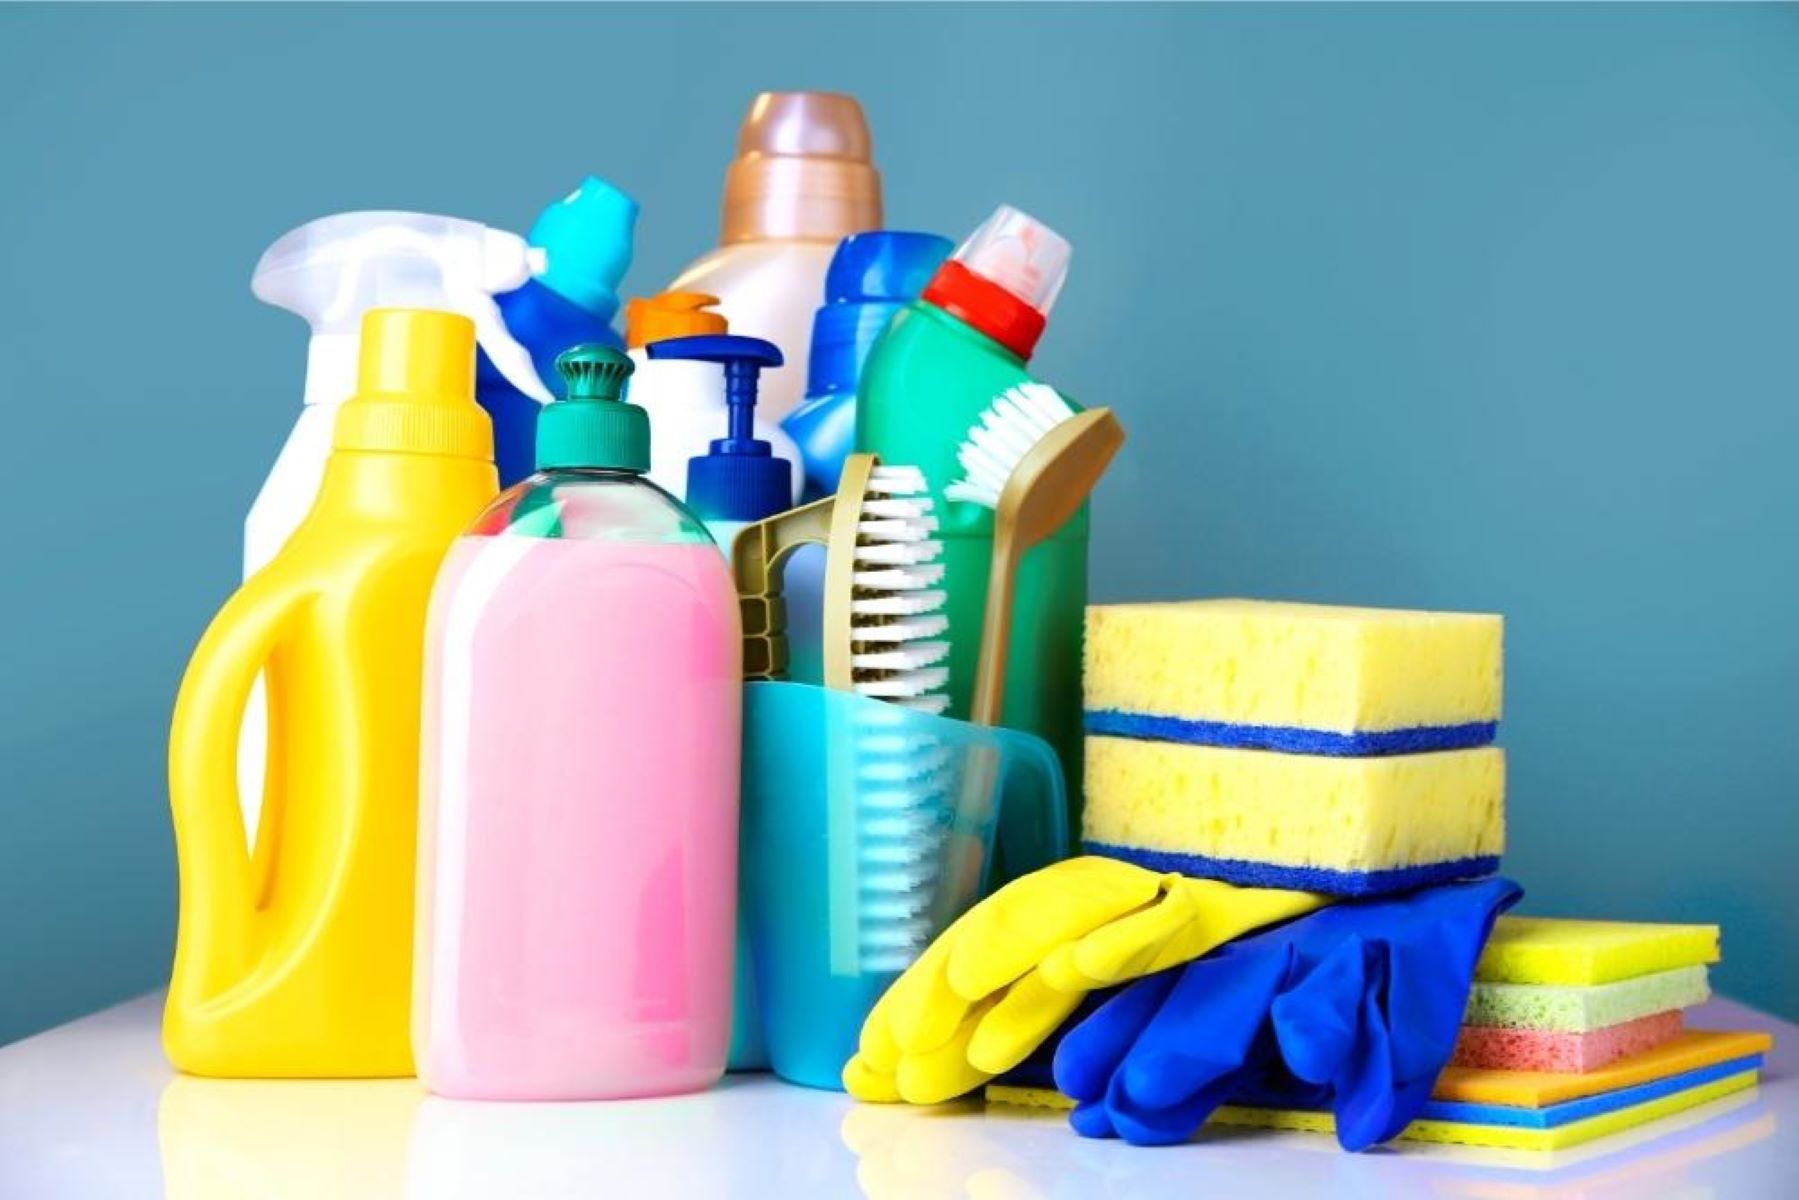
Materials Needed
To effectively remove labels from glass jars, you'll need a few essential materials to streamline the process and ensure successful label removal. Here's what you'll need:
-
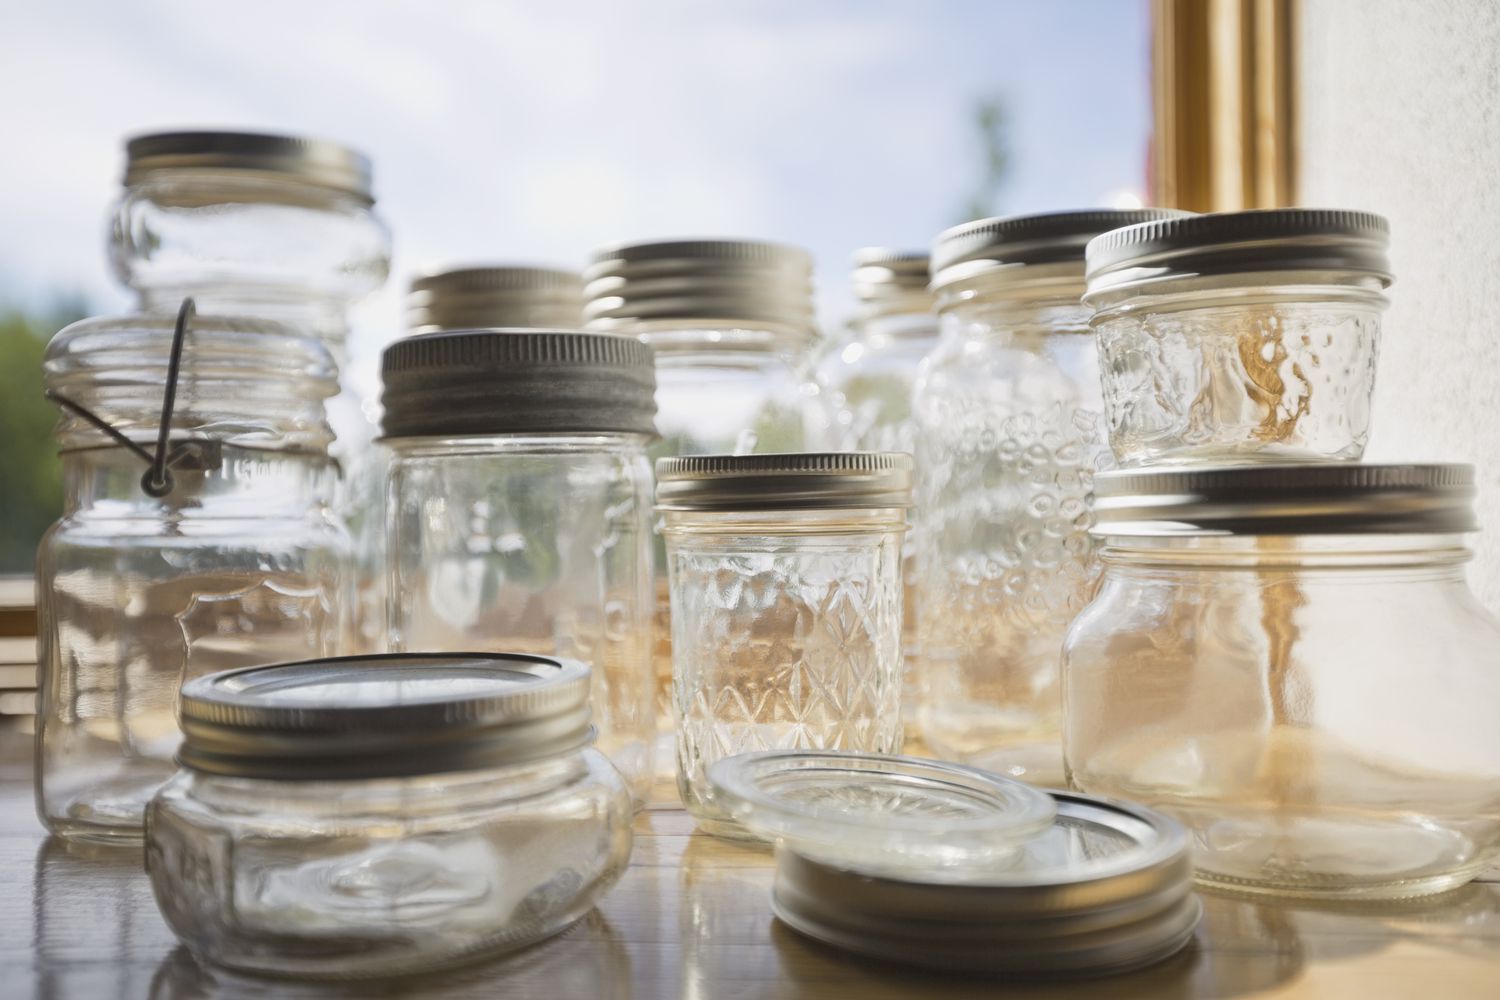
Glass Jars: Gather the glass jars from which you want to remove the labels. Whether they previously held pasta sauce, jam, or pickles, make sure the jars are empty and have been rinsed to remove any food residue.
-
Hot Water: Boiling water is a key ingredient in loosening the adhesive bond of the label. It helps to soften the glue, making it easier to peel off the label later. Ensure you have access to a source of hot water, such as a kettle or a pot on the stove.
-
Dish Soap: Having a gentle dish soap on hand is essential for removing any remaining adhesive residue after peeling off the label. The soap will help break down the sticky remnants, leaving the glass clean and ready for its new purpose.
-
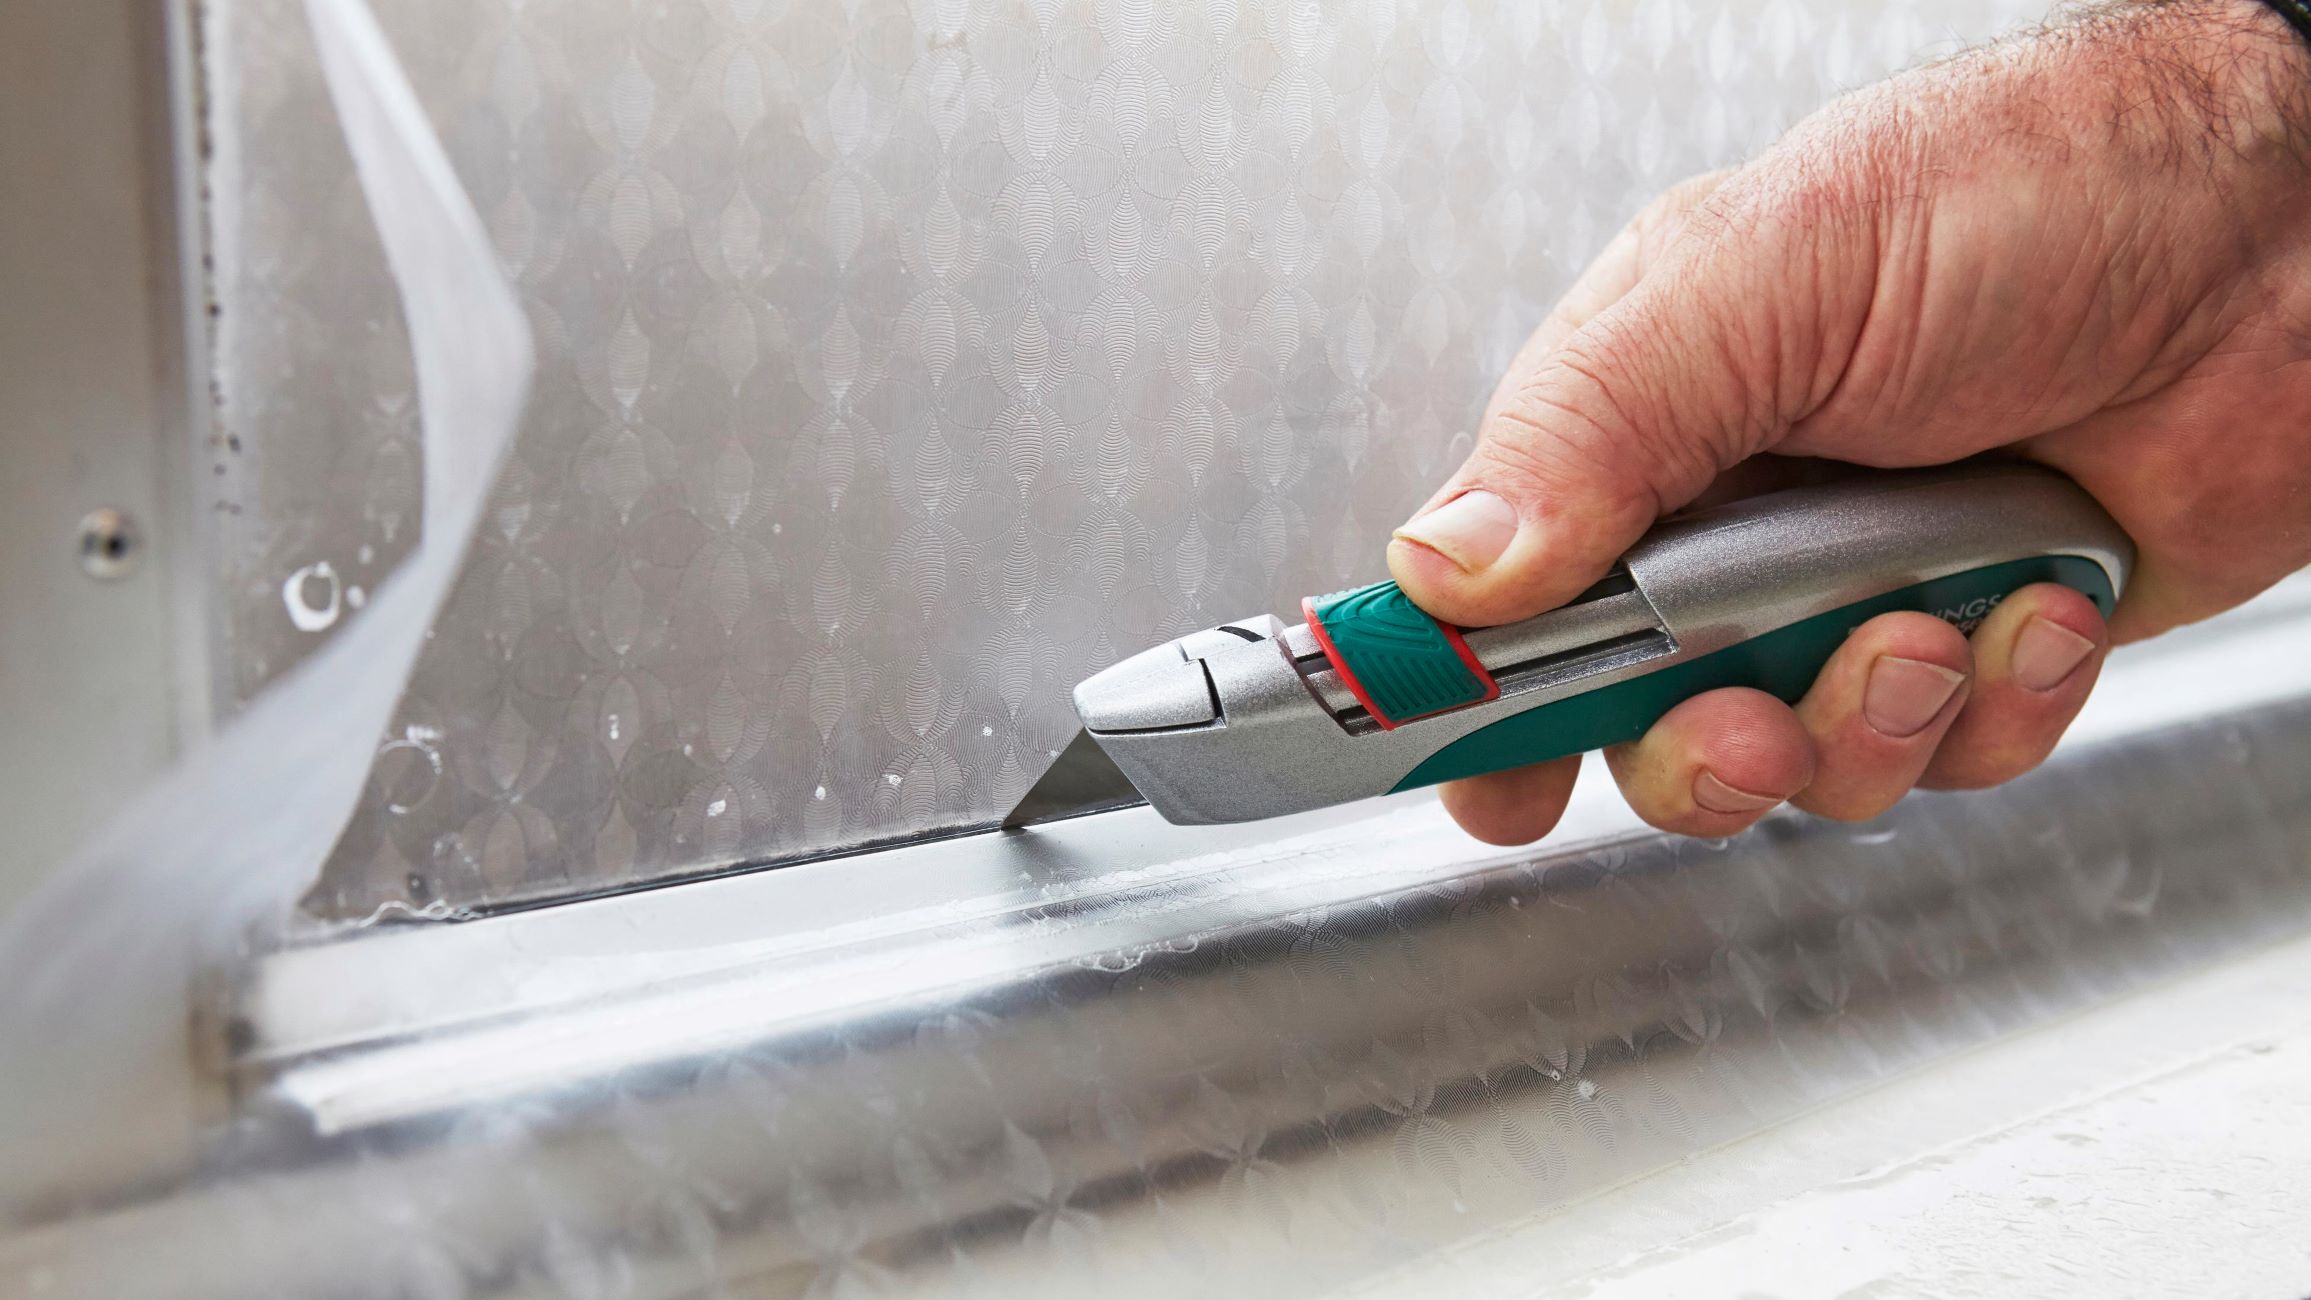
Scraper or Spatula: A non-abrasive scraper or spatula will aid in lifting the edges of the label, making it easier to peel off. Opt for a tool with a flat edge to avoid scratching the glass surface.
-
Baking Soda or Oil: Baking soda and oil are both effective in removing stubborn label residue. Baking soda acts as a gentle abrasive, while oil helps dissolve and loosen the adhesive. Choose one of these options based on your preference and availability.
-
Microfiber Cloth or Sponge: A soft, non-abrasive cloth or sponge is ideal for applying the cleaning solution and wiping away any remaining residue. Microfiber cloths are particularly effective for achieving a streak-free finish on the glass.
-
Rubbing Alcohol: This versatile solution can help dissolve and remove any lingering adhesive residue. It's an effective final step in ensuring the glass surface is clean and free from sticky remnants.
By gathering these materials, you'll be well-equipped to tackle the task of removing labels from glass jars with ease. With the right tools at your disposal, you can proceed to the next steps with confidence, knowing that you have everything you need to achieve label-free, pristine glass jars.
Step 1: Soaking the Jar
The first step in the label removal process involves soaking the glass jar to loosen the adhesive and make the label easier to peel off. This method is particularly effective for labels that have been firmly adhered to the glass surface, as the soaking process helps to break down the bond between the label and the jar.
Begin by filling a sink or a large bowl with hot water. The water should be hot enough to create steam when it comes into contact with the glass jar. Carefully submerge the glass jar in the hot water, ensuring that the entire label is immersed. If you're dealing with multiple jars, make sure there's enough space between them to allow the hot water to reach all the labels effectively.
Allow the glass jars to soak in the hot water for approximately 10 to 15 minutes. During this time, the heat from the water will work to soften the adhesive underneath the label, making it more pliable and easier to remove. The steam generated by the hot water will also help to penetrate the label, further weakening its grip on the glass surface.
As the jars soak, you may notice the labels starting to loosen or curl at the edges. This is a positive sign that the adhesive is beginning to dissolve, indicating that the soaking process is effectively weakening the bond between the label and the glass. If the labels are particularly stubborn, you can extend the soaking time to ensure optimal results.
Once the soaking time is complete, carefully remove the glass jars from the hot water, taking care to avoid burns or scalds. Use tongs or a heat-resistant glove to handle the hot jars safely. As you lift the jars from the water, you may notice that the labels appear visibly softened and more pliable, indicating that the adhesive has been successfully loosened.
With the jars now soaked and the labels softened, you're ready to proceed to the next step: peeling off the labels. This pivotal stage in the label removal process will capitalize on the softened adhesive, making it easier to lift the labels from the glass surface without leaving behind stubborn residue.
Step 2: Peeling off the Label
With the glass jars effectively soaked and the labels softened, it's time to embark on the crucial step of peeling off the labels. This stage capitalizes on the softened adhesive, making it easier to lift the labels from the glass surface without leaving behind stubborn residue. Follow these steps to ensure a smooth and efficient label removal process:
-
Start at the Edge: Begin by identifying a corner or edge of the label that appears to be the most lifted or softened. Using your fingertips or a non-abrasive scraper, gently lift the edge of the label away from the glass surface. Take care to avoid using excessive force, as the softened label should come off relatively easily.
-
Peel Slowly and Evenly: Once you've successfully lifted the edge of the label, proceed to peel it off slowly and evenly across the glass surface. If you encounter resistance or areas where the label seems to be sticking, return to those spots and apply a bit more pressure to gradually lift the label without tearing it.
-
Remove Adhesive Residue: As you peel off the label, you may notice residual adhesive clinging to the glass surface. Use a gentle dish soap solution and a soft sponge or cloth to gently rub away any remaining adhesive. For stubborn residue, consider using a paste made from baking soda and water or applying a small amount of oil to dissolve the adhesive.
-
Repeat if Necessary: In some cases, labels may leave behind stubborn remnants or tear during the peeling process. If this occurs, simply return the glass jar to the hot water for a brief soak, then attempt to peel off the remaining label or adhesive. Patience and persistence are key in achieving a clean, label-free glass surface.
By following these steps, you can effectively peel off the labels from your glass jars, leaving behind a clean and smooth surface ready for the next phase of the label removal process. With the labels successfully removed, you're now ready to tackle the final step: removing any lingering adhesive residue to ensure the glass jars are pristine and ready for their new purpose.
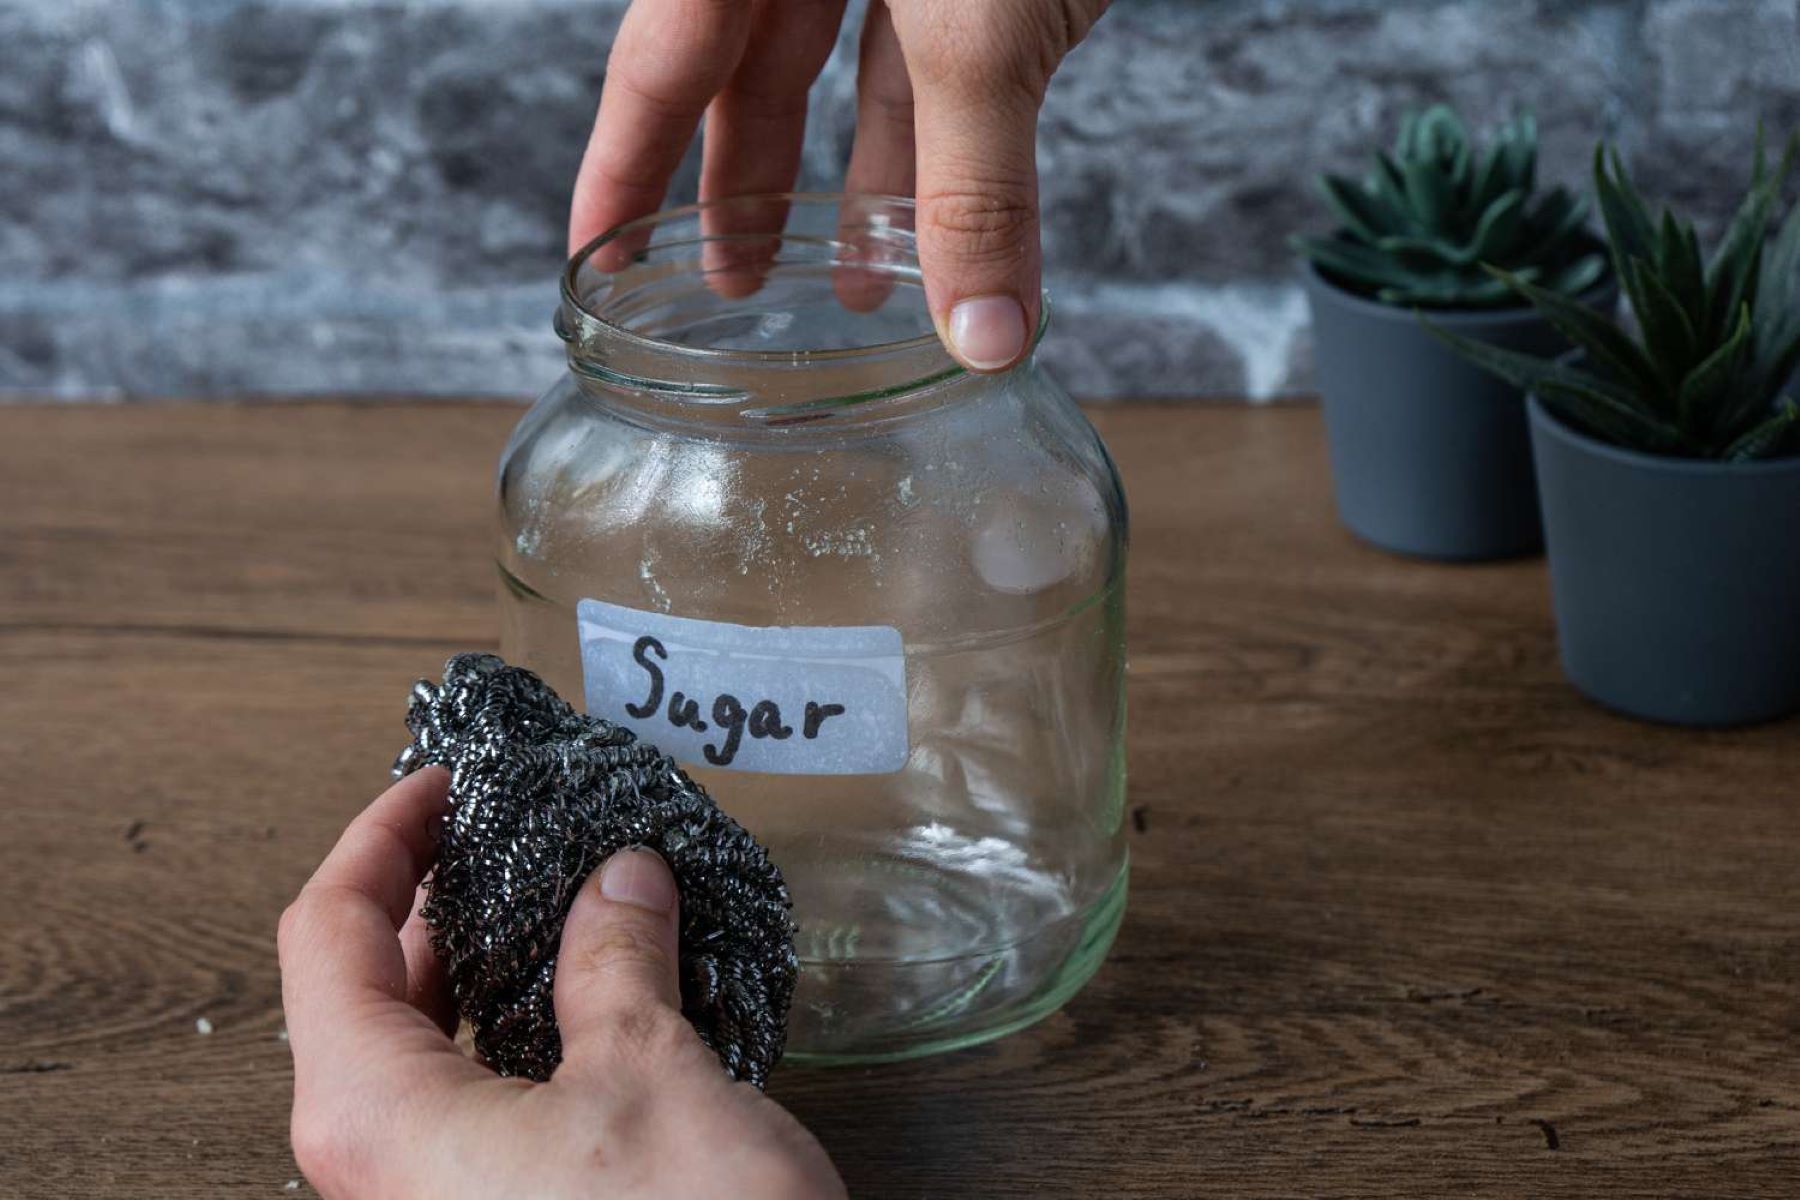
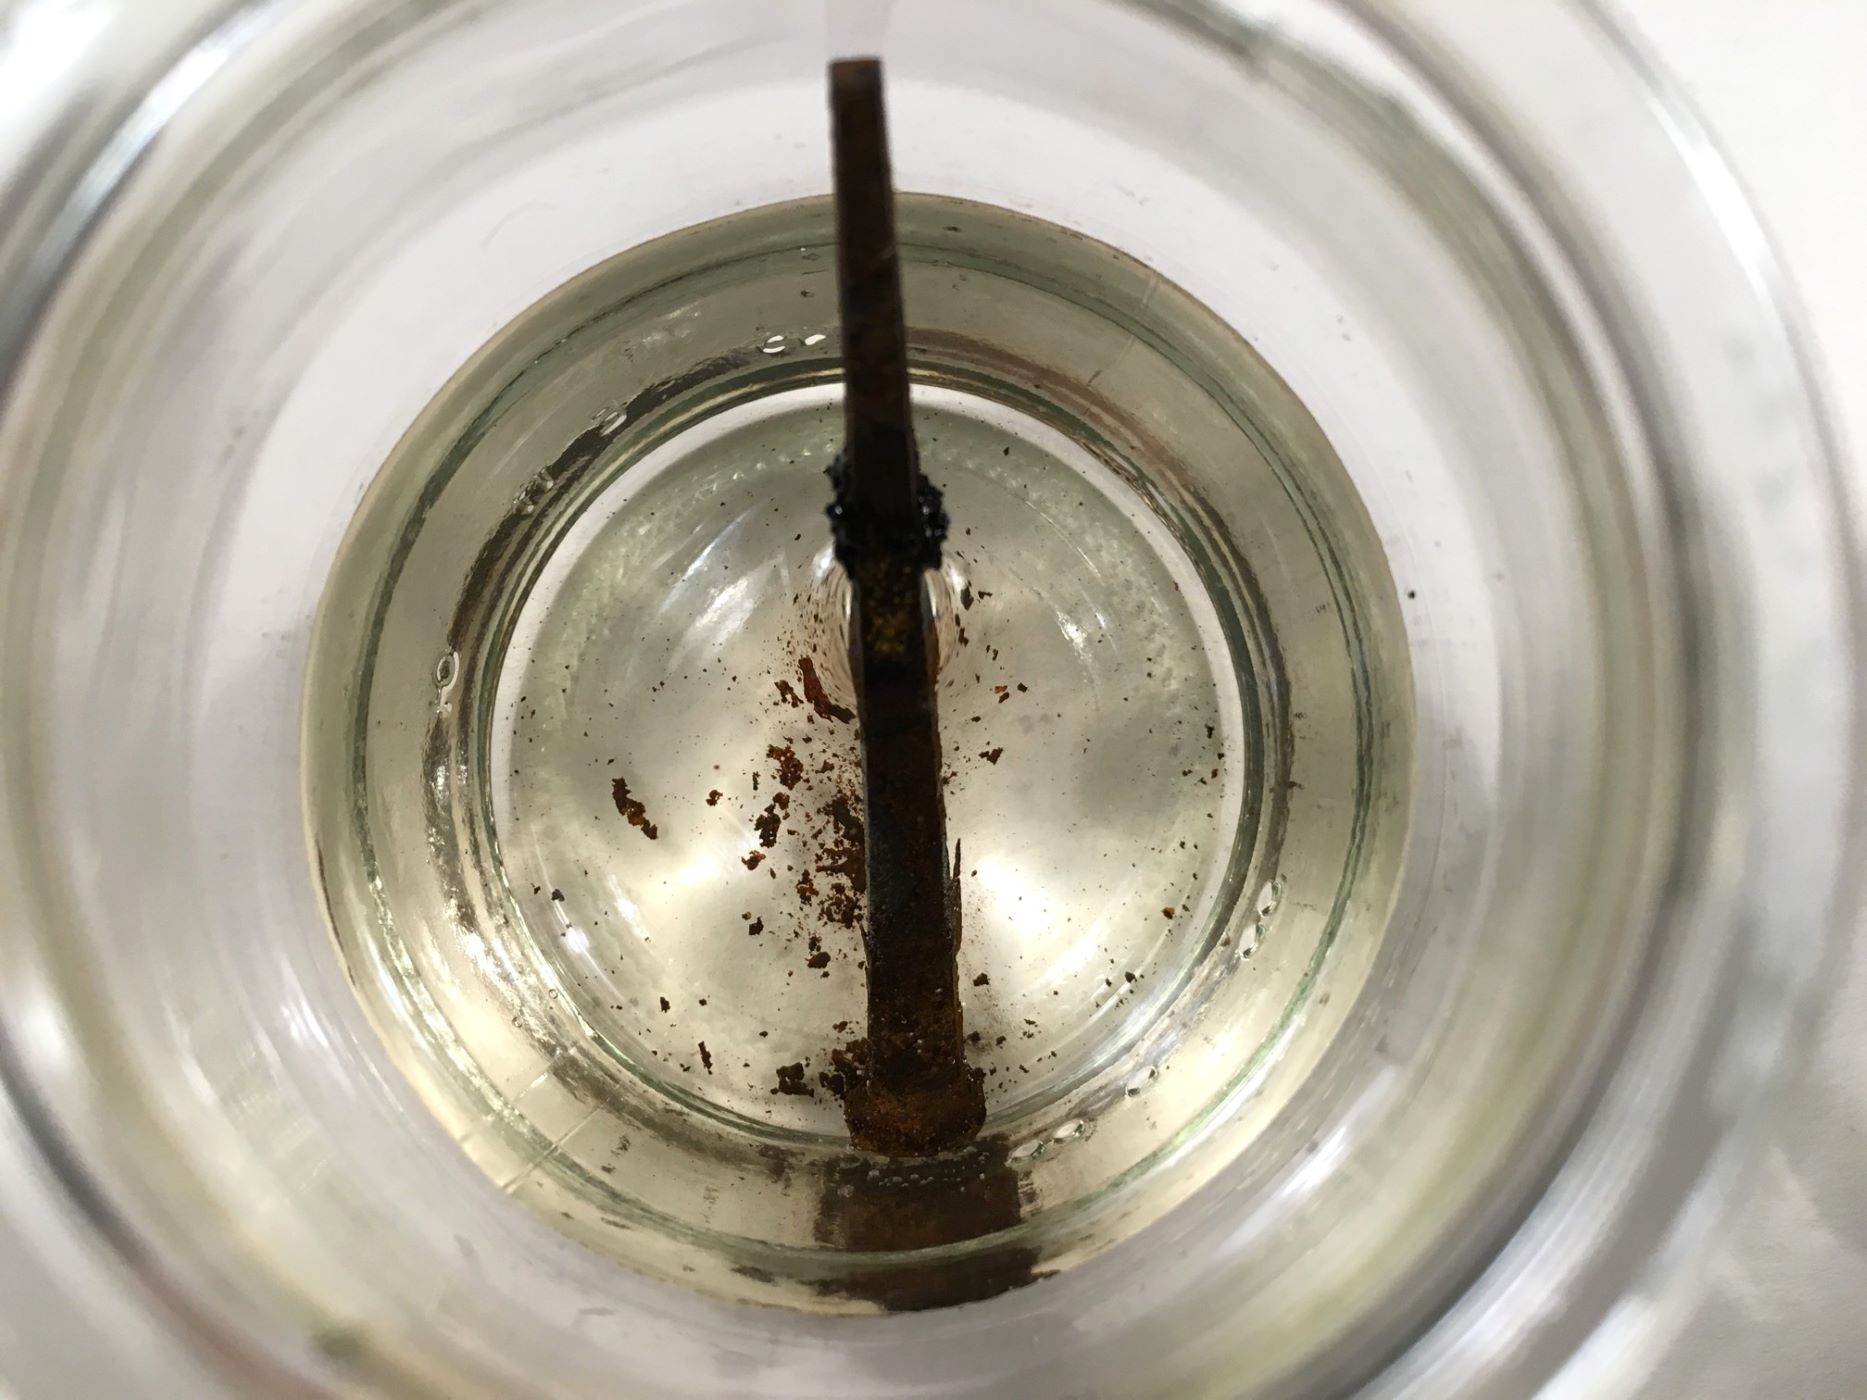
Step 3: Removing Residue
After successfully peeling off the labels from your glass jars, the next crucial step is to address any lingering adhesive residue that may remain on the glass surface. While the labels themselves have been removed, it's not uncommon for stubborn adhesive remnants to persist, detracting from the pristine appearance of the jars. By following these effective techniques, you can ensure that your glass jars are free from any sticky residue, leaving them clean and ready for their new purpose.
Read more: How To Store Glass Jars
Dish Soap and Warm Water
One of the simplest and most effective methods for removing adhesive residue is to create a solution of warm water and gentle dish soap. Fill a basin or sink with warm water and add a small amount of dish soap, creating a sudsy solution. Submerge the glass jars in the soapy water, allowing them to soak for a few minutes. The warm water and soap will work together to loosen and dissolve the adhesive residue, making it easier to remove.
Using a soft sponge or microfiber cloth, gently scrub the glass surface to lift away the adhesive residue. Focus on areas where the residue is most concentrated, applying gentle pressure to ensure thorough removal. Rinse the jars with clean water to wash away any remaining soap and residue, then dry them with a clean, lint-free cloth.
Baking Soda Paste
For more stubborn adhesive residue, creating a paste using baking soda and water can provide an effective solution. Mix a small amount of baking soda with water to form a thick, spreadable paste. Apply the paste to the areas where adhesive residue is present, ensuring a generous coating. Allow the paste to sit on the glass surface for several minutes, giving it time to penetrate and break down the sticky remnants.
Using a soft-bristled brush or sponge, gently scrub the paste into the glass, focusing on the areas with adhesive residue. The mild abrasive nature of the baking soda will help lift the residue from the glass surface without causing damage. Once the residue has been effectively lifted, rinse the jars with water and dry them thoroughly to reveal a clean, residue-free surface.
Rubbing Alcohol
Rubbing alcohol is a versatile solution for dissolving and removing stubborn adhesive residue. Moisten a cotton ball or soft cloth with rubbing alcohol and gently dab it onto the areas with adhesive residue. Allow the alcohol to sit for a few minutes, giving it time to break down the sticky remnants. Then, using a clean cloth, gently wipe away the dissolved adhesive, ensuring that the glass surface is left clean and residue-free.
By employing these effective methods, you can successfully remove any lingering adhesive residue from your glass jars, restoring them to a pristine and label-free state. With the labels and residue effectively removed, your glass jars are now ready to be repurposed for storage, crafting, or gifting, allowing you to fully maximize their potential in a clean and aesthetically pleasing manner.
Soak the glass jar in warm, soapy water for 30 minutes to loosen the label. Then, use a scraper or a sponge to gently peel off the label. If any residue remains, use rubbing alcohol or vinegar to remove it.
Conclusion
In conclusion, the process of removing labels from glass jars is a rewarding endeavor that allows you to repurpose and revitalize these versatile containers. By following the step-by-step techniques outlined in this guide, you can effectively reclaim the beauty and functionality of your glass jars, transforming them into clean, label-free vessels ready for a new lease on life.
The journey begins with the simple act of soaking the glass jars in hot water, a method that effectively softens the adhesive bond of the labels, making them easier to peel off. This initial step sets the stage for a seamless label removal process, allowing you to tackle even the most stubborn labels with confidence.
Peeling off the labels is a pivotal stage that capitalizes on the softened adhesive, enabling you to lift the labels from the glass surface without leaving behind stubborn residue. With patience and persistence, you can achieve a smooth and efficient label removal process, ensuring that the glass jars emerge pristine and ready for their next purpose.
Addressing any lingering adhesive residue is the final step in this label removal journey. By employing gentle yet effective techniques such as dish soap and warm water, baking soda paste, and rubbing alcohol, you can ensure that your glass jars are free from any sticky remnants, leaving them clean and ready for their new role.
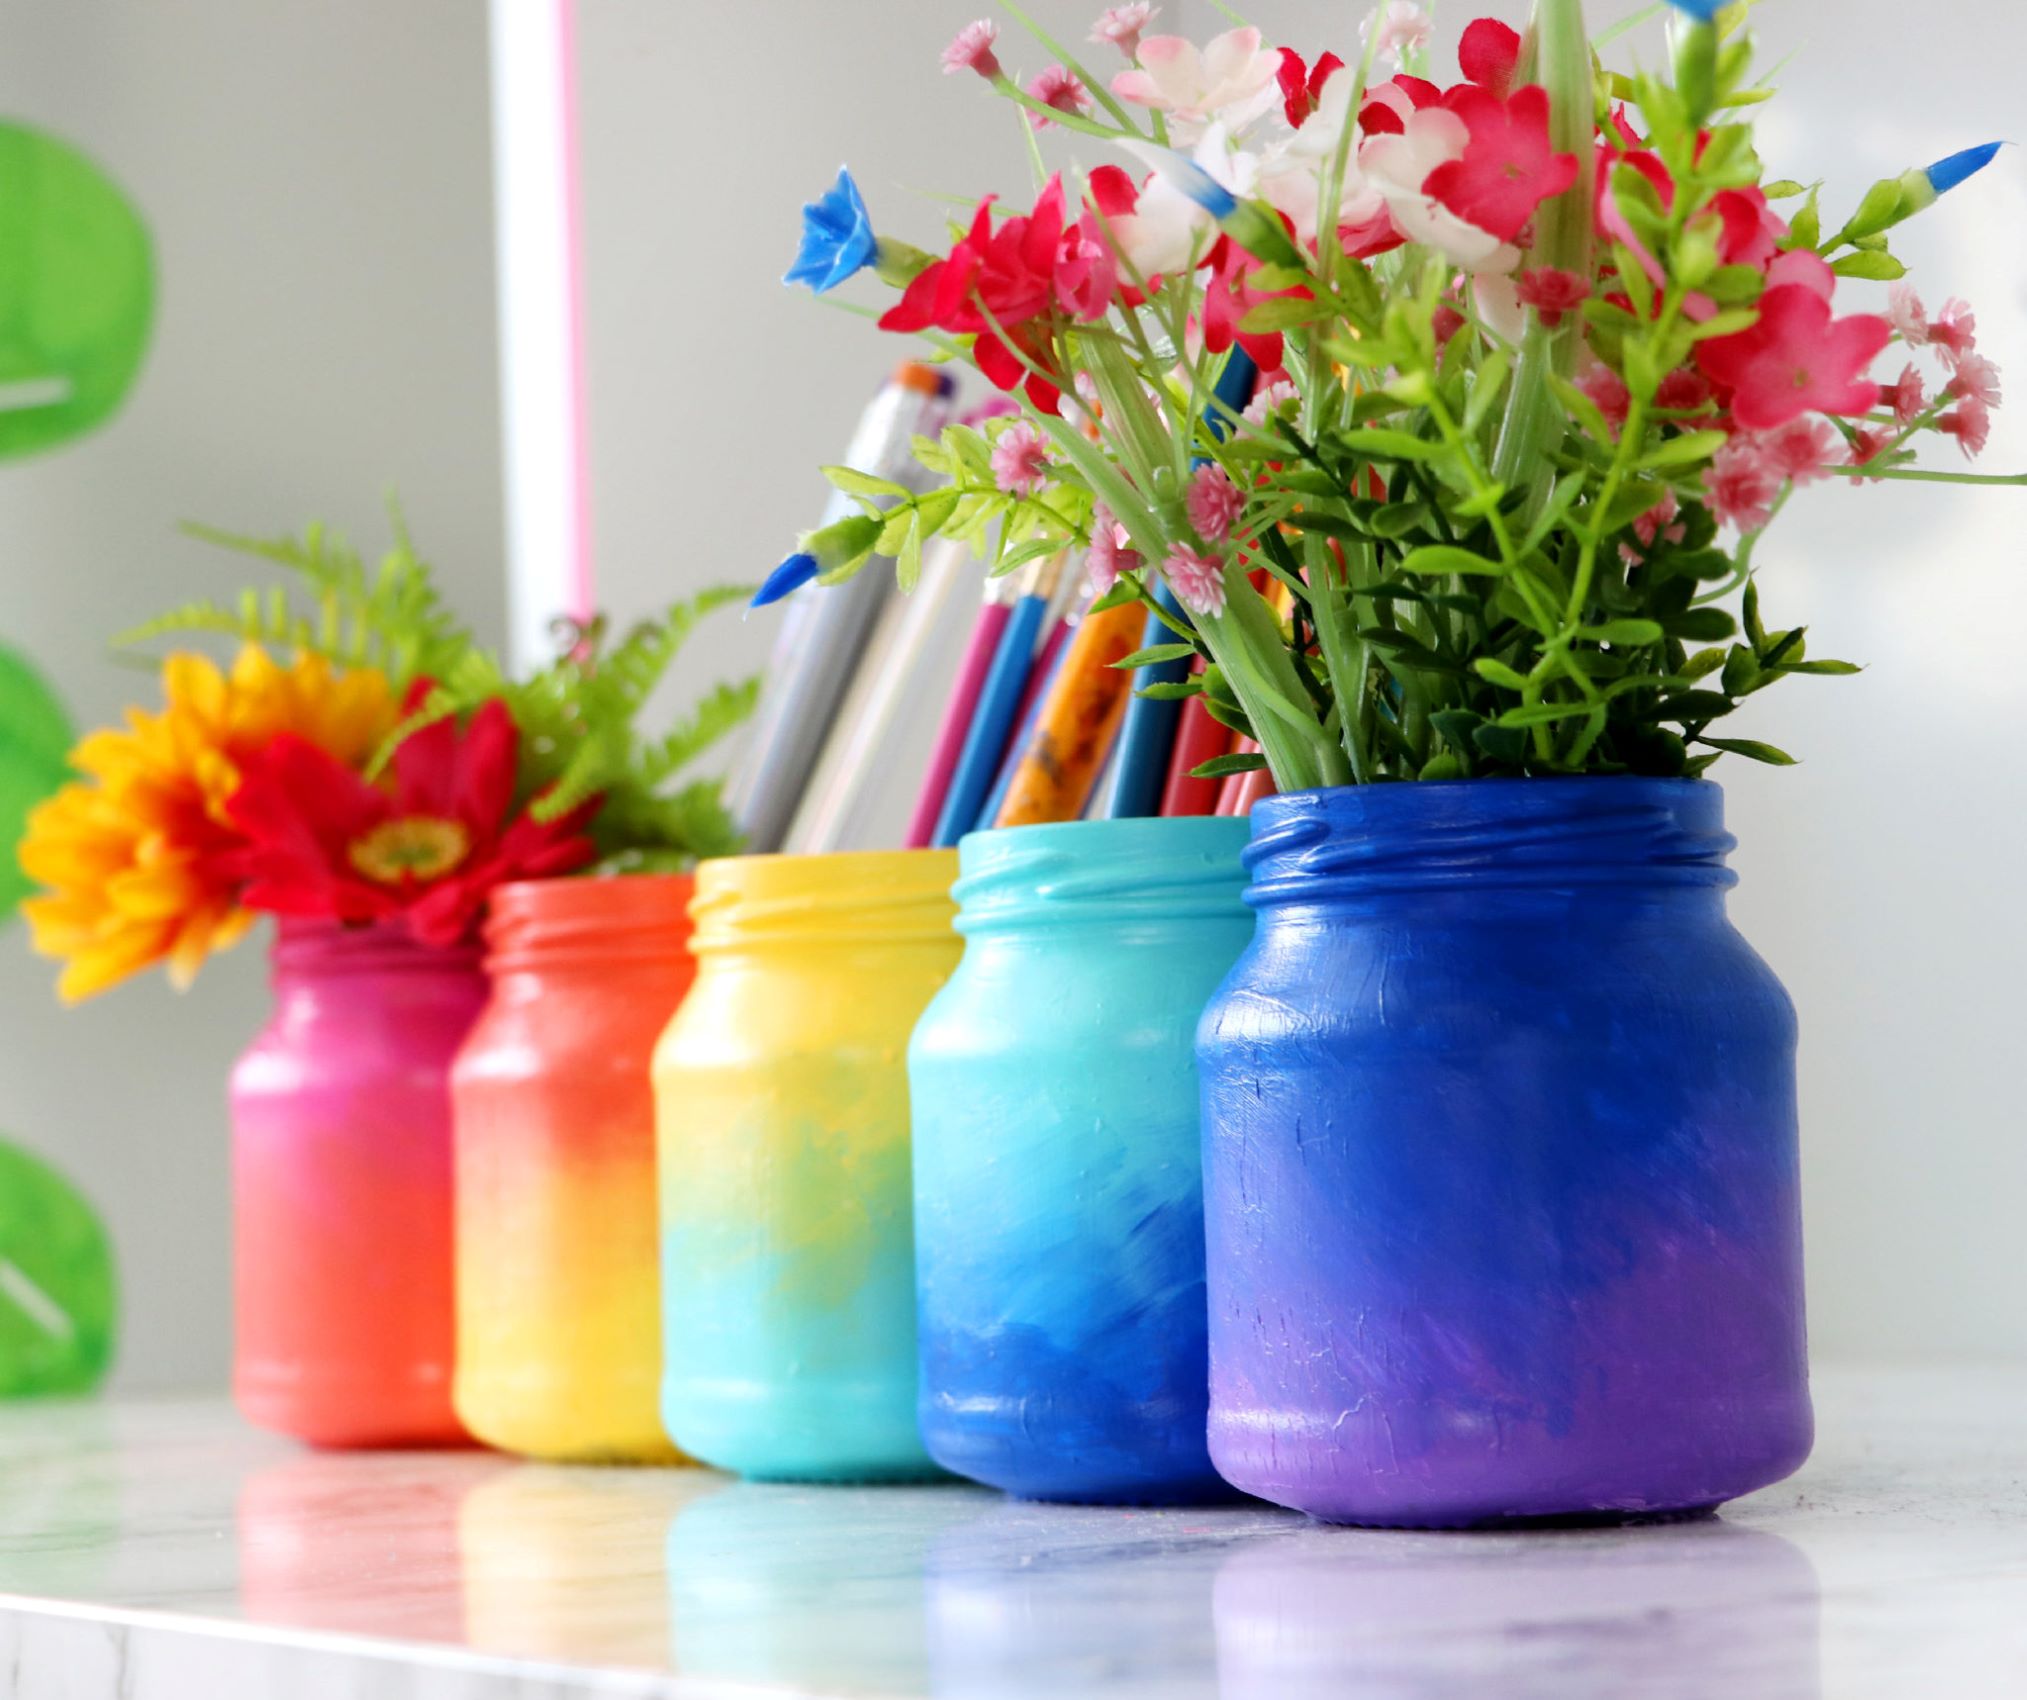
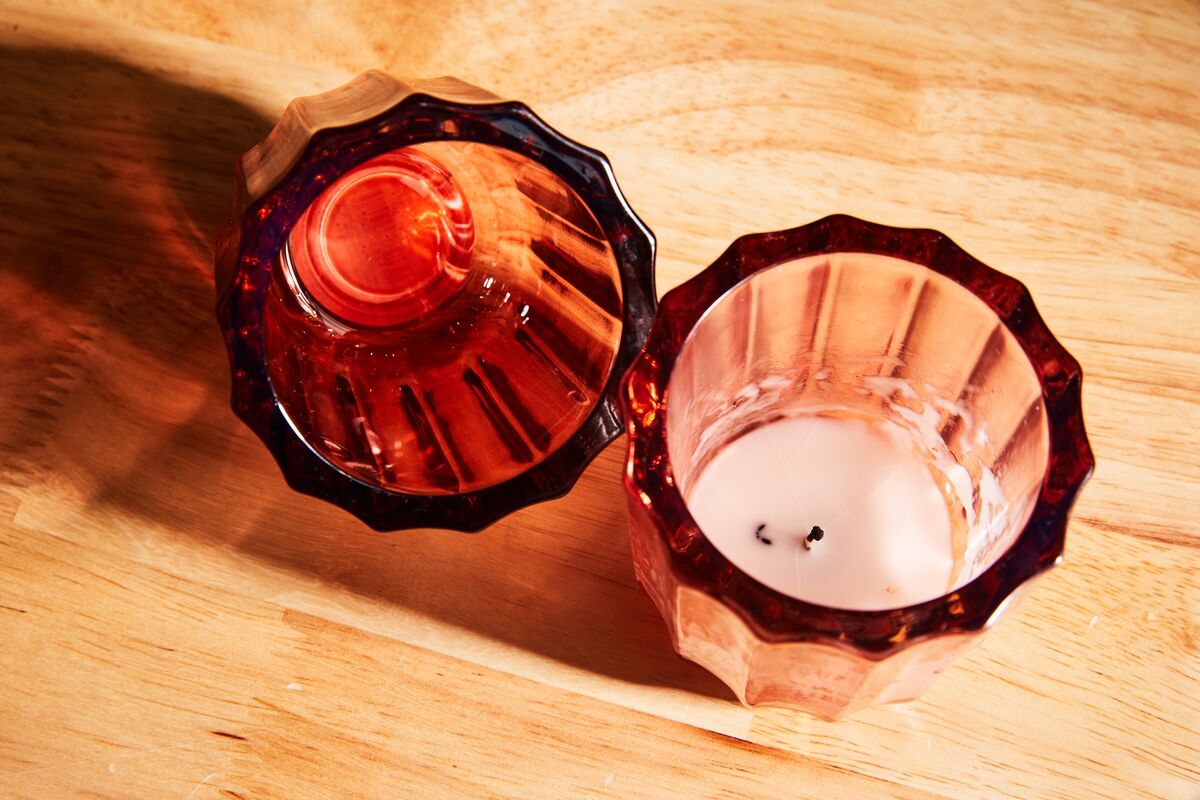
Ultimately, the ability to remove labels from glass jars opens up a world of possibilities, allowing you to repurpose the jars for storage, crafting, or gifting. Whether you envision them as stylish storage containers, charming candle holders, or personalized gifts filled with homemade treats, the label-free glass jars are now primed for their new purpose.
As you embark on your label removal journey, remember that each jar tells a story of transformation and creativity. With the right materials and techniques at your disposal, you can breathe new life into these glass vessels, unlocking their potential in a clean and aesthetically pleasing manner.
So, gather your supplies, embrace the label removal process, and let your creativity flow as you envision the myriad possibilities for your newly transformed glass jars. With a little patience and the right approach, you'll soon have a collection of pristine, label-free jars ready to enhance your living space and inspire your next crafting adventure.
Frequently Asked Questions about How To Remove A Label From A Glass Jar
Was this page helpful?
At Storables.com, we guarantee accurate and reliable information. Our content, validated by Expert Board Contributors, is crafted following stringent Editorial Policies. We're committed to providing you with well-researched, expert-backed insights for all your informational needs.


0 thoughts on “How To Remove A Label From A Glass Jar”