Home>Furniture & Design>Interior Design Trends>How To Clean Glass Out Of Garbage Disposal

Interior Design Trends
How To Clean Glass Out Of Garbage Disposal
Modified: February 17, 2024
Learn how to safely clean glass out of your garbage disposal with our expert tips. Keep your kitchen safe and functional with the latest interior design trends.
(Many of the links in this article redirect to a specific reviewed product. Your purchase of these products through affiliate links helps to generate commission for Storables.com, at no extra cost. Learn more)
Introduction
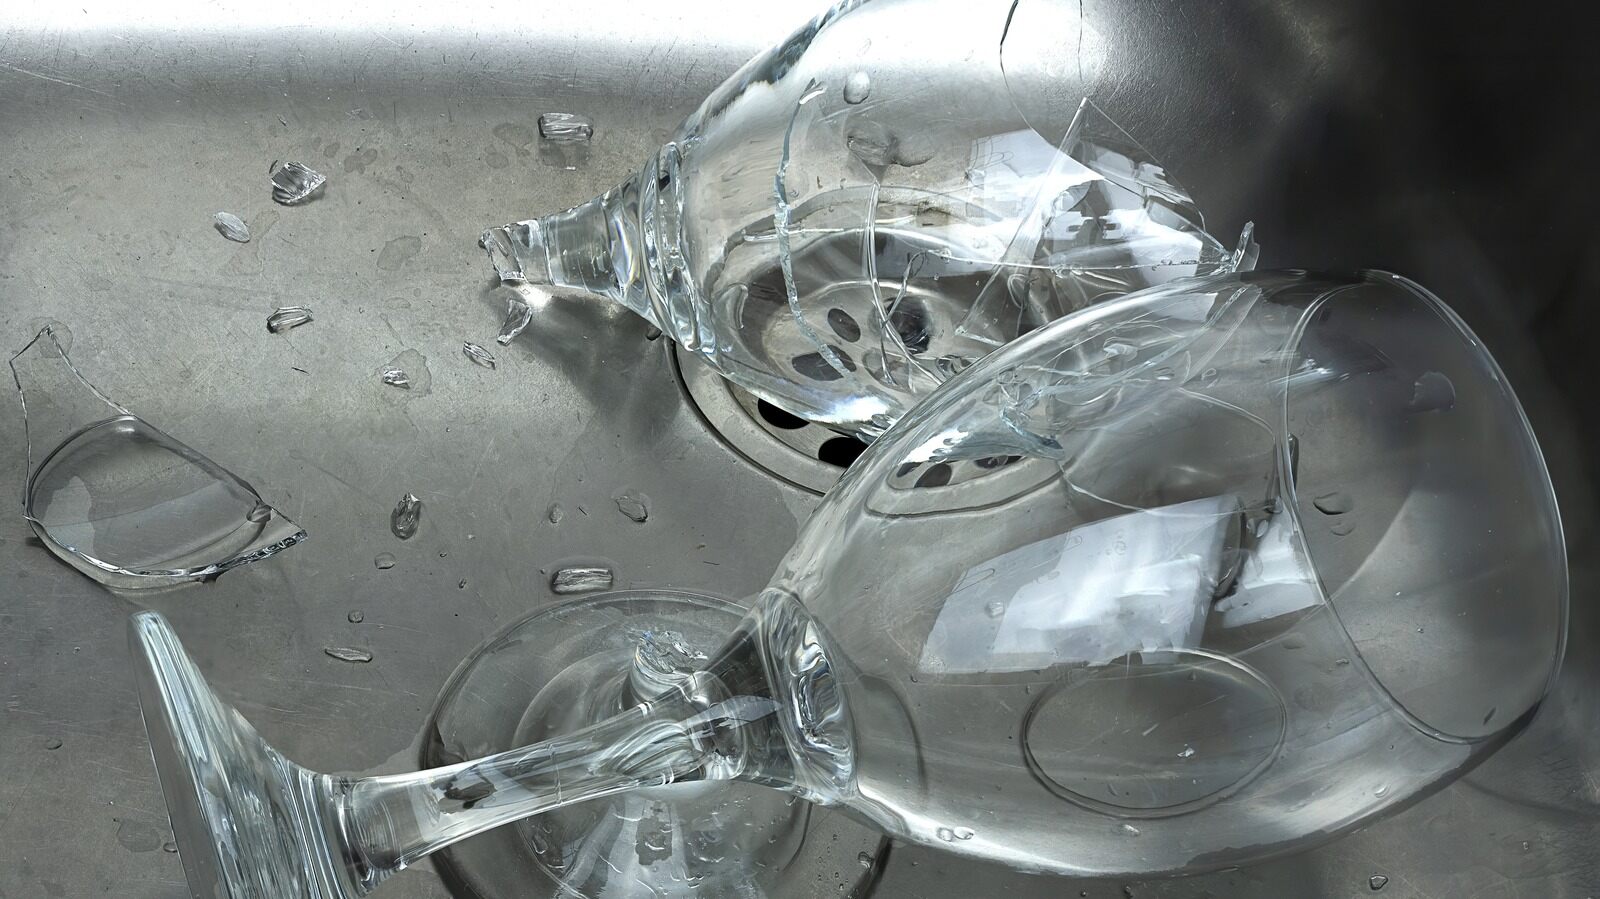
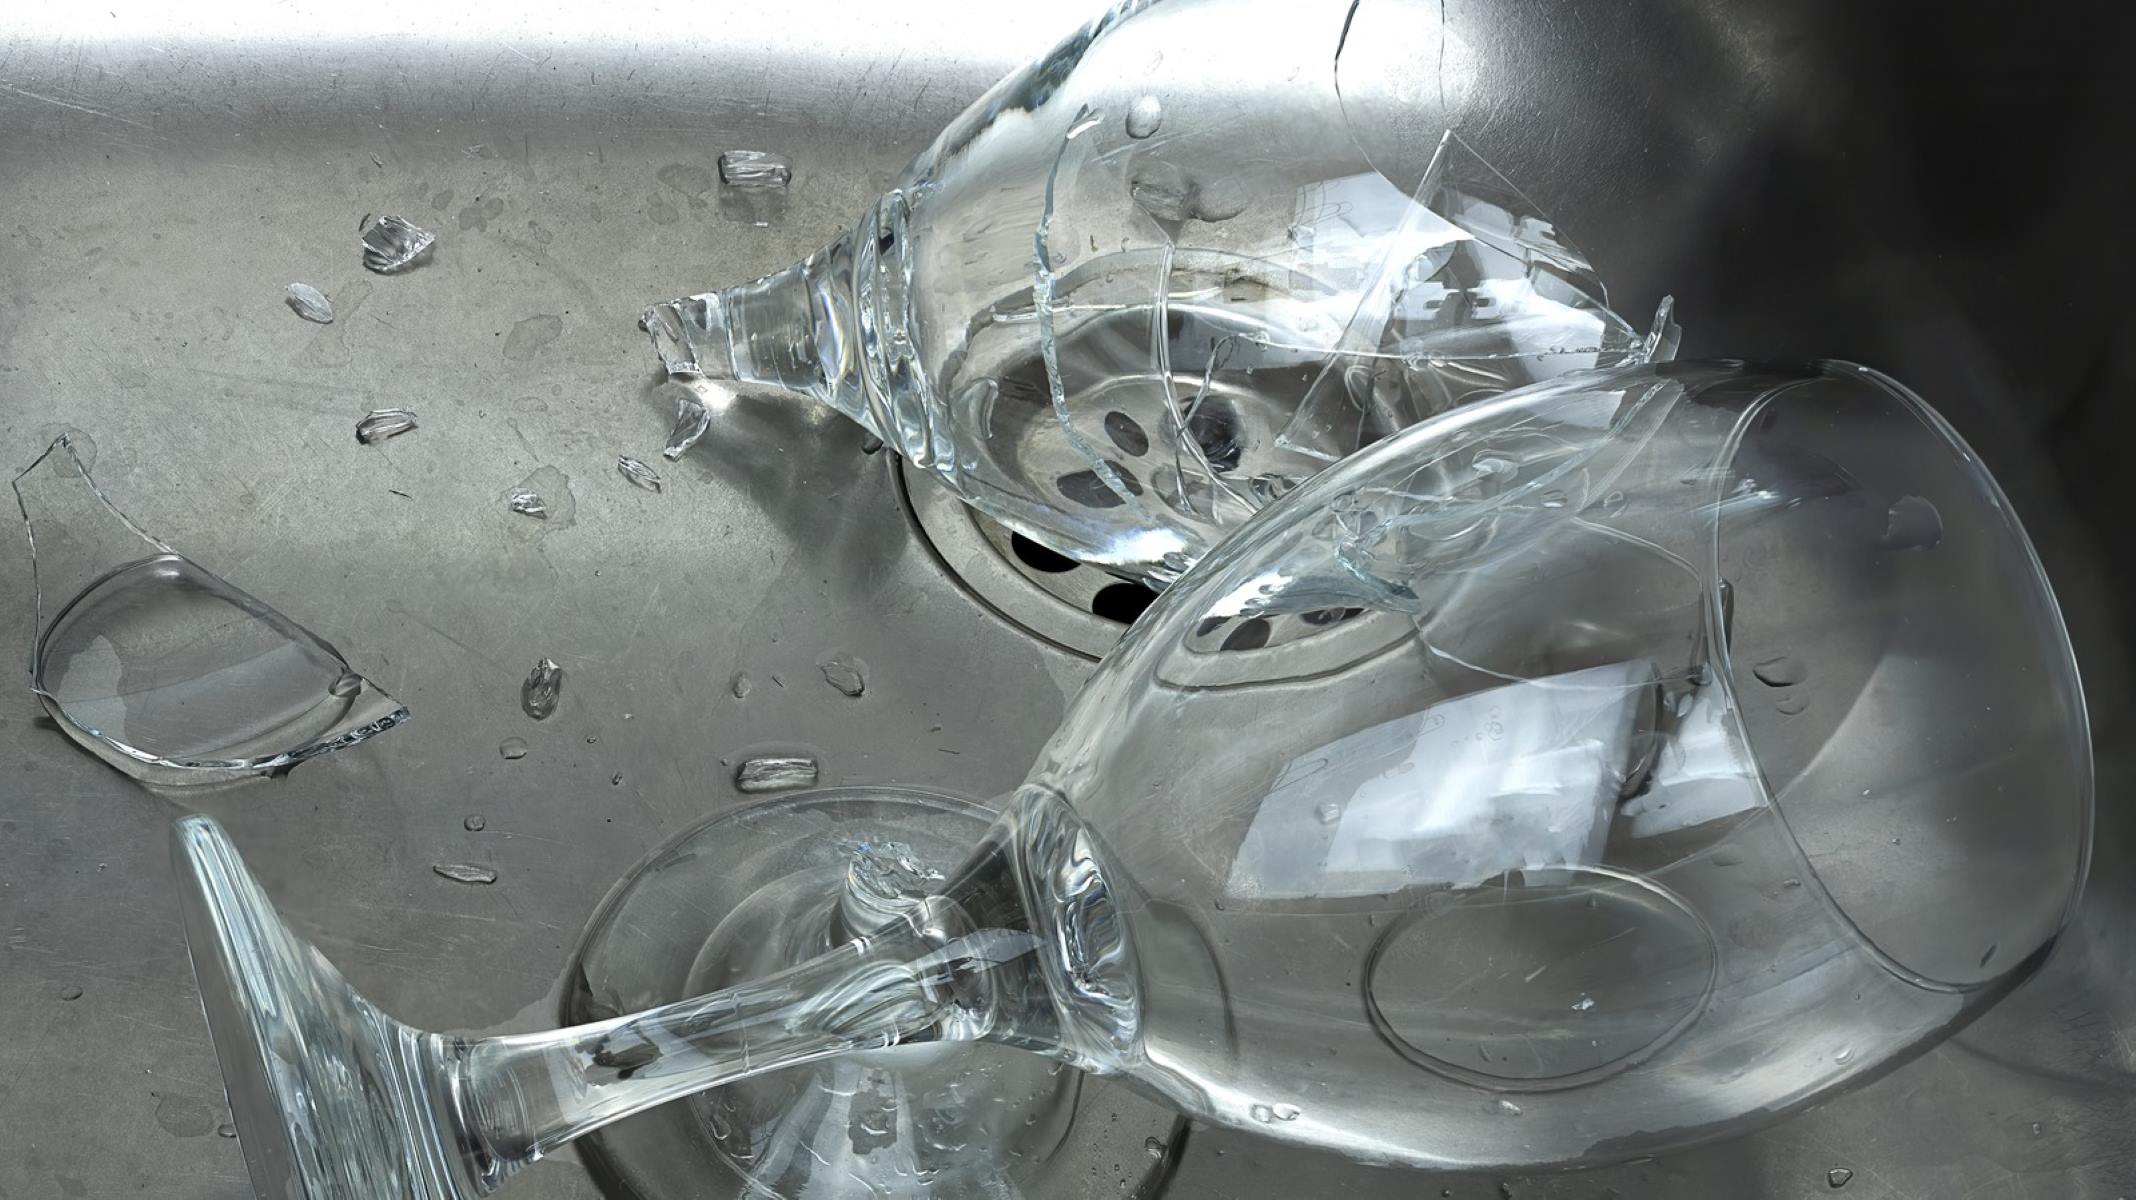
Dealing with a broken glass in the garbage disposal can be a daunting and potentially hazardous task. Accidents happen, and when glass finds its way into the disposal, it's crucial to address the situation promptly and effectively. The presence of glass shards in the disposal unit poses a risk of damage to the blades, potential clogging, and even the possibility of injury during the cleaning process. Therefore, it's essential to approach this task with caution and a clear plan of action.
In this comprehensive guide, we will walk you through the step-by-step process of safely and efficiently cleaning glass out of a garbage disposal. By following these instructions, you can mitigate the risk of damage to your disposal unit and ensure a thorough removal of glass debris. From safety precautions to the final maintenance steps, we've got you covered with expert advice and practical tips to tackle this challenging situation.
So, if you've found yourself in the unfortunate predicament of having glass in your garbage disposal, fear not. With the right approach and careful execution, you can restore your disposal unit to its optimal condition and minimize the potential for any long-term damage. Let's dive into the essential steps to address this issue and get your disposal back to its fully functional state.
Key Takeaways:
- Safety first! Turn off power, use protective gear, and avoid direct contact when cleaning glass from garbage disposal. Take your time and be cautious.
- After removing glass, flush with water, use ice and rock salt, and run the disposal to ensure thorough cleaning. Regular maintenance keeps it efficient.
Read more: How To Clean A Garbage Disposal
Safety Precautions
When dealing with a broken glass in the garbage disposal, prioritizing safety is paramount. Before initiating the cleaning process, it's crucial to adhere to a set of safety precautions to minimize the risk of injury and ensure a secure environment for the task at hand.
-
Turn Off the Power: Before attempting to clean the garbage disposal, it's imperative to cut off the power supply to the unit. This can be achieved by locating the circuit breaker or the specific switch connected to the disposal and turning it off. Verifying that the power is completely disconnected is essential to prevent any accidental activation of the disposal during the cleaning process.
-
Use Protective Gear: Handling broken glass requires adequate protection to prevent cuts and injuries. Wear heavy-duty gloves to shield your hands from sharp glass fragments. Additionally, consider wearing safety goggles to safeguard your eyes from potential splinters or debris dislodged during the cleaning process.
-
Illuminate the Area: Proper lighting is essential for visibility during the glass removal process. Ensure that the area around the disposal is well-lit to accurately identify and extract glass particles. This step is crucial for a thorough cleaning and to minimize the risk of missing any glass remnants.
-
Avoid Direct Contact: Refrain from directly reaching into the disposal unit to remove glass pieces. Instead, utilize tools such as tongs, pliers, or a sturdy pair of tweezers to extract the glass safely. This approach minimizes the risk of accidental cuts or injuries to your hands.
-
Exercise Caution: Throughout the cleaning process, maintain a cautious and deliberate approach. Avoid rushing or making abrupt movements, as this can increase the likelihood of accidental injury. Take your time to carefully inspect and remove glass fragments from the disposal unit.
By adhering to these safety precautions, you can create a secure environment for cleaning the glass out of your garbage disposal. Prioritizing safety not only minimizes the risk of injury but also ensures a methodical and effective cleaning process. With these precautions in place, you can proceed with confidence and address the glass debris in your disposal unit with the utmost care and diligence.
Removing Large Pieces of Glass
The initial step in addressing a broken glass situation within the garbage disposal involves the careful removal of large pieces of glass. This process demands precision and attentiveness to ensure the thorough extraction of visible glass fragments. Here's a detailed guide on effectively removing large pieces of glass from the disposal unit:
-
Assess the Situation: Begin by visually inspecting the interior of the disposal unit. Use a flashlight to illuminate the area and identify any sizable glass shards. Take note of the location and distribution of the glass fragments to strategize the removal process effectively.
-
Use Protective Gear: Prior to handling the glass, don heavy-duty gloves to shield your hands from potential cuts. Additionally, consider wearing safety goggles to protect your eyes from any dislodged glass particles during the extraction process.
-
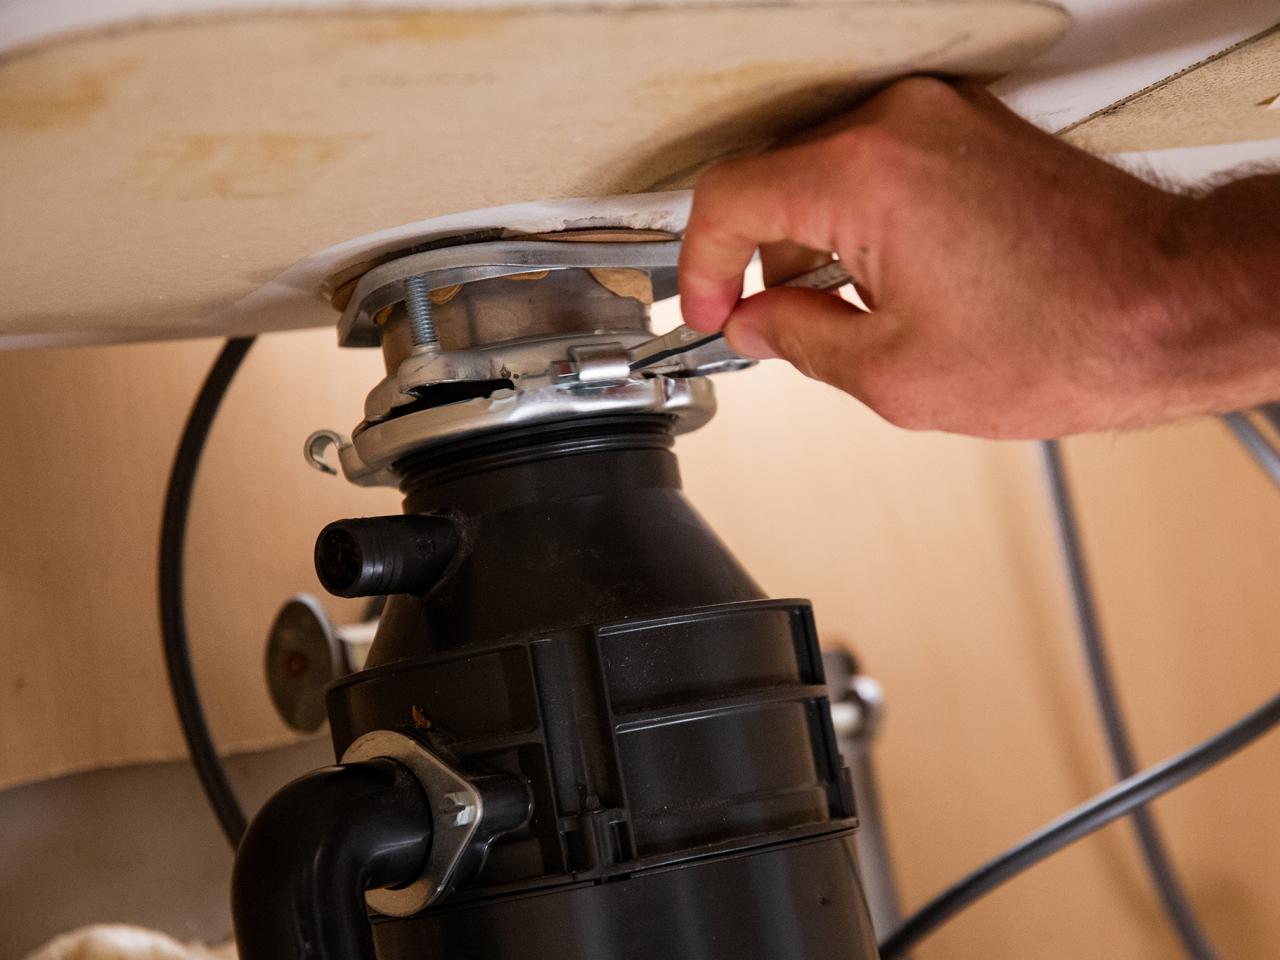
Utilize Long-Handled Tongs or Pliers: Avoid reaching directly into the disposal unit with your hands. Instead, use long-handled tongs or sturdy pliers to carefully grasp and extract the larger pieces of glass. Exercise caution and a steady hand to avoid further fragmenting the glass during removal.
-
Extract Methodically: Approach the extraction process methodically, focusing on one piece of glass at a time. Gently maneuver the tongs or pliers to secure a firm grip on each glass fragment before lifting it out of the disposal unit. Take your time to ensure thorough extraction without leaving any remnants behind.
-
Inspect for Residual Glass: After removing the larger pieces, conduct a meticulous inspection of the disposal unit to identify any remaining glass fragments. Use the flashlight to illuminate the interior and carefully scan for any overlooked shards that may require additional extraction.
By meticulously following these steps, you can effectively remove large pieces of glass from the garbage disposal, laying the groundwork for the subsequent cleaning procedures. Prioritizing a systematic and cautious approach during this phase sets the stage for a comprehensive glass removal process, minimizing the risk of damage to the disposal unit and ensuring a thorough extraction of visible glass debris.
Flushing with Water
After the careful extraction of visible glass fragments from the garbage disposal, the next crucial step involves flushing the unit with water to dislodge any remaining glass particles and cleanse the interior thoroughly. This process is instrumental in ensuring that the disposal is free from residual glass debris and is primed for safe and efficient operation. Here's a detailed guide on effectively flushing the disposal with water:
-
Prepare the Water Source: Before initiating the flushing process, ensure that you have a ready supply of cold water. Position a sturdy container, such as a large measuring cup or a small bucket, beneath the disposal unit to capture the flushed water and any dislodged glass particles. This containment measure prevents potential splashing and facilitates easy disposal of the collected water and debris.
-
Run Cold Water: With the container in place, turn on the cold water tap and allow a steady stream of water to flow into the disposal unit. The continuous flow of cold water serves multiple purposes: it aids in dislodging any remaining glass fragments, helps flush out smaller debris, and assists in carrying the dislodged particles into the containment vessel below.
-
Activate the Disposal: While the cold water is running, switch on the garbage disposal to facilitate the flushing process. The combined action of the flowing water and the activated disposal unit creates a dynamic environment within the disposal chamber, effectively dislodging and carrying away any residual glass particles that may be lodged in the unit.
-
Observe and Monitor: As the disposal runs and the water flows, carefully observe the process to ensure that the water effectively flushes the disposal chamber. Pay close attention to any signs of dislodged glass particles being carried away by the water flow. Additionally, listen for any unusual sounds that may indicate the presence of remaining glass debris within the disposal unit.
-
Allow Adequate Flushing Time: It's essential to allow sufficient time for the flushing process to thoroughly cleanse the disposal unit. Depending on the extent of glass debris and the size of the disposal, the duration of the flushing process may vary. Exercise patience and ensure that the water effectively clears the disposal chamber of any remaining glass particles.
By meticulously following these steps, you can effectively flush the garbage disposal with water, expelling any residual glass debris and preparing the unit for the subsequent cleaning procedures. This methodical approach ensures a comprehensive cleansing of the disposal unit, minimizing the risk of potential damage and promoting its optimal functionality.
Using Ice and Rock Salt
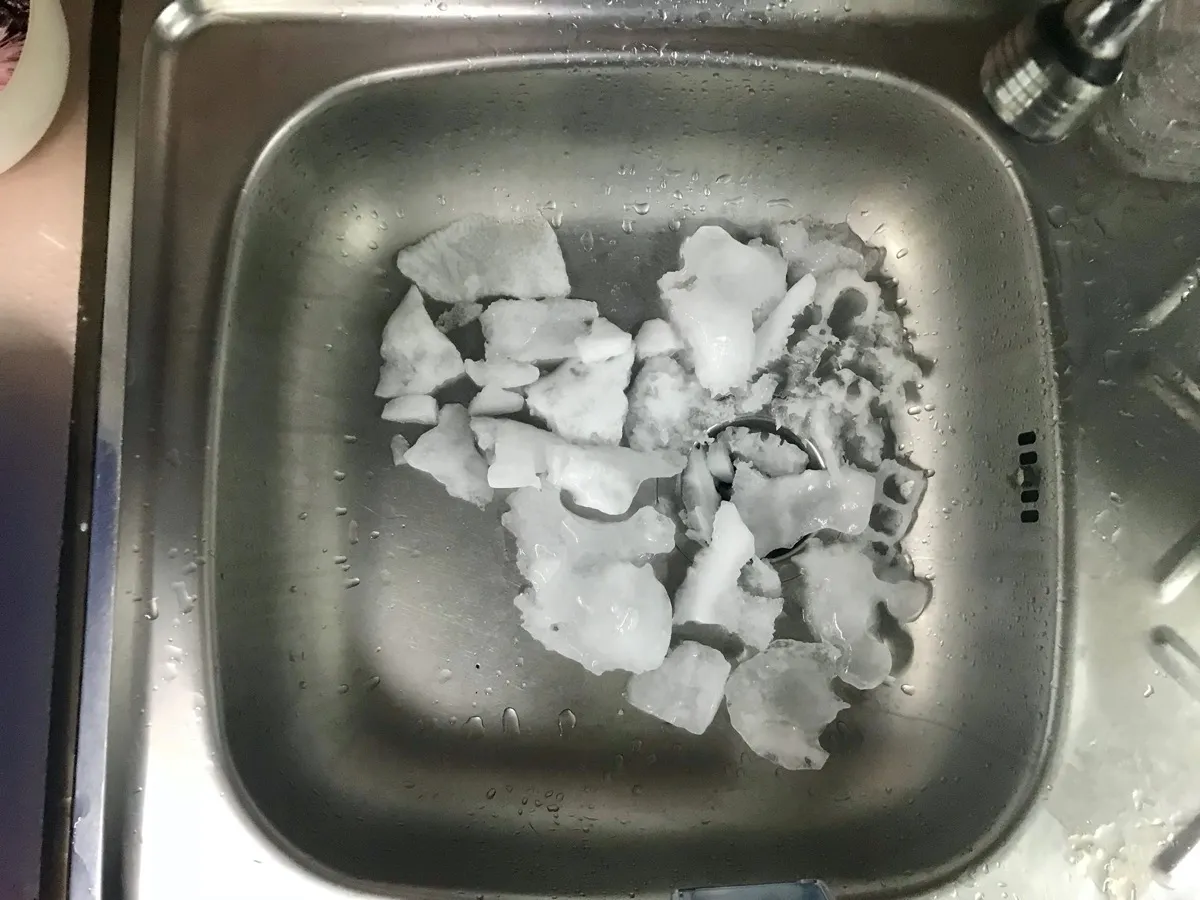
An effective and widely recommended method for cleaning a garbage disposal unit involves the use of ice and rock salt. This approach leverages the abrasive nature of ice and rock salt to dislodge stubborn debris, including potential glass remnants, while simultaneously deodorizing the disposal unit. The combination of these two elements creates a dynamic cleaning environment within the disposal chamber, promoting the removal of residual particles and enhancing the overall cleanliness of the unit.
To initiate the process, begin by filling an ice cube tray with a sufficient quantity of ice cubes. The ice serves as a natural abrasive agent, capable of dislodging adhered debris and facilitating the cleansing of the disposal unit. Once the ice tray is filled, proceed to the next step by preparing the rock salt. Rock salt, renowned for its coarse texture, further enhances the abrasive action within the disposal chamber, effectively complementing the ice in dislodging stubborn debris.
With the ice cubes and rock salt at the ready, carefully transfer the ice cubes into the disposal unit. Follow this by adding a measured amount of rock salt to the disposal chamber. It is essential to exercise caution and avoid overfilling the unit, ensuring that the ice and rock salt are adequately distributed within the disposal chamber.
Once the ice and rock salt are in place, activate the garbage disposal to commence the cleaning process. As the disposal unit runs, the combined action of the ice and rock salt creates a dynamic abrasive environment within the chamber, effectively dislodging any residual debris, including potential glass fragments. The abrasive nature of the ice and rock salt serves to scrub the interior surfaces of the disposal, promoting the removal of adhered particles and enhancing the overall cleanliness of the unit.
During the cleaning process, it is advisable to allow the disposal to run for a sufficient duration, ensuring that the ice and rock salt effectively cleanse the unit. The abrasive action of these elements, coupled with the rotational movement of the disposal blades, contributes to a thorough cleaning process, promoting the expulsion of dislodged debris and enhancing the overall functionality of the unit.
By incorporating the use of ice and rock salt, you can effectively cleanse and deodorize your garbage disposal, while simultaneously promoting the removal of potential glass remnants and stubborn debris. This methodical approach not only enhances the cleanliness of the disposal unit but also contributes to its optimal performance, ensuring a well-maintained and functional kitchen essential.
Run cold water and turn on the garbage disposal. Pour a cup of ice and a cup of rock salt into the disposal, then run it for a few seconds. This will help to dislodge any remaining glass particles.
Read more: How To Clean A Sink Garbage Disposal
Running the Disposal
Once the initial cleaning steps, including the removal of visible glass fragments and flushing the disposal with water, have been completed, the next crucial phase involves running the disposal to further expel any dislodged debris and ensure its optimal functionality. Running the disposal unit serves to facilitate the expulsion of residual particles, including potential glass remnants, while promoting the overall cleanliness and efficiency of the unit.
To initiate the running of the disposal, it is essential to ensure that the water supply is activated. Running cold water into the disposal unit creates a conducive environment for the expulsion of dislodged debris, allowing the flowing water to carry away any remaining particles. The continuous flow of water aids in the thorough cleansing of the disposal chamber, promoting the removal of residual debris and enhancing the unit's operational effectiveness.
With the water running, proceed to activate the garbage disposal. Depending on the specific model of the disposal unit, this may involve flipping the switch or pressing the designated button to initiate the disposal's operation. As the disposal runs, the combined action of the flowing water and the rotational movement of the disposal blades creates a dynamic environment within the disposal chamber, effectively expelling any remaining debris, including potential glass remnants.
During the running of the disposal, it is crucial to observe and monitor the process closely. Listen for any unusual sounds that may indicate the presence of residual debris within the disposal unit. Additionally, pay attention to the flow of water, ensuring that it effectively carries away any dislodged particles, further contributing to the comprehensive cleansing of the disposal chamber.
It is advisable to allow the disposal to run for an adequate duration, ensuring that the expulsion process effectively clears the unit of any remaining debris. Depending on the extent of the cleaning and the specific disposal model, the duration of the running process may vary. Exercise patience and attentiveness, allowing the disposal to thoroughly expel any dislodged particles and promote its optimal functionality.
By running the disposal in conjunction with the continuous flow of water, you can effectively expel any remaining debris, including potential glass remnants, while enhancing the overall cleanliness and operational efficiency of the unit. This methodical approach ensures a thorough expulsion of dislodged particles, contributing to the restoration of the disposal's functionality and promoting its long-term maintenance.
Final Steps and Maintenance
After completing the essential cleaning procedures and ensuring the thorough removal of glass debris from the garbage disposal, it is imperative to address the final steps and implement ongoing maintenance practices to uphold the unit's optimal functionality. The following detailed guide encompasses the crucial final steps and maintenance measures to promote the long-term efficiency and longevity of the disposal unit.
Inspect and Clean the Disposal Components
Begin by conducting a comprehensive inspection of the disposal unit to verify the absence of any residual glass fragments or debris. Utilize a flashlight to illuminate the interior and meticulously examine the disposal chamber, ensuring that it is free from any overlooked particles. If any remnants are identified, employ long-handled tongs or pliers to extract them with precision.
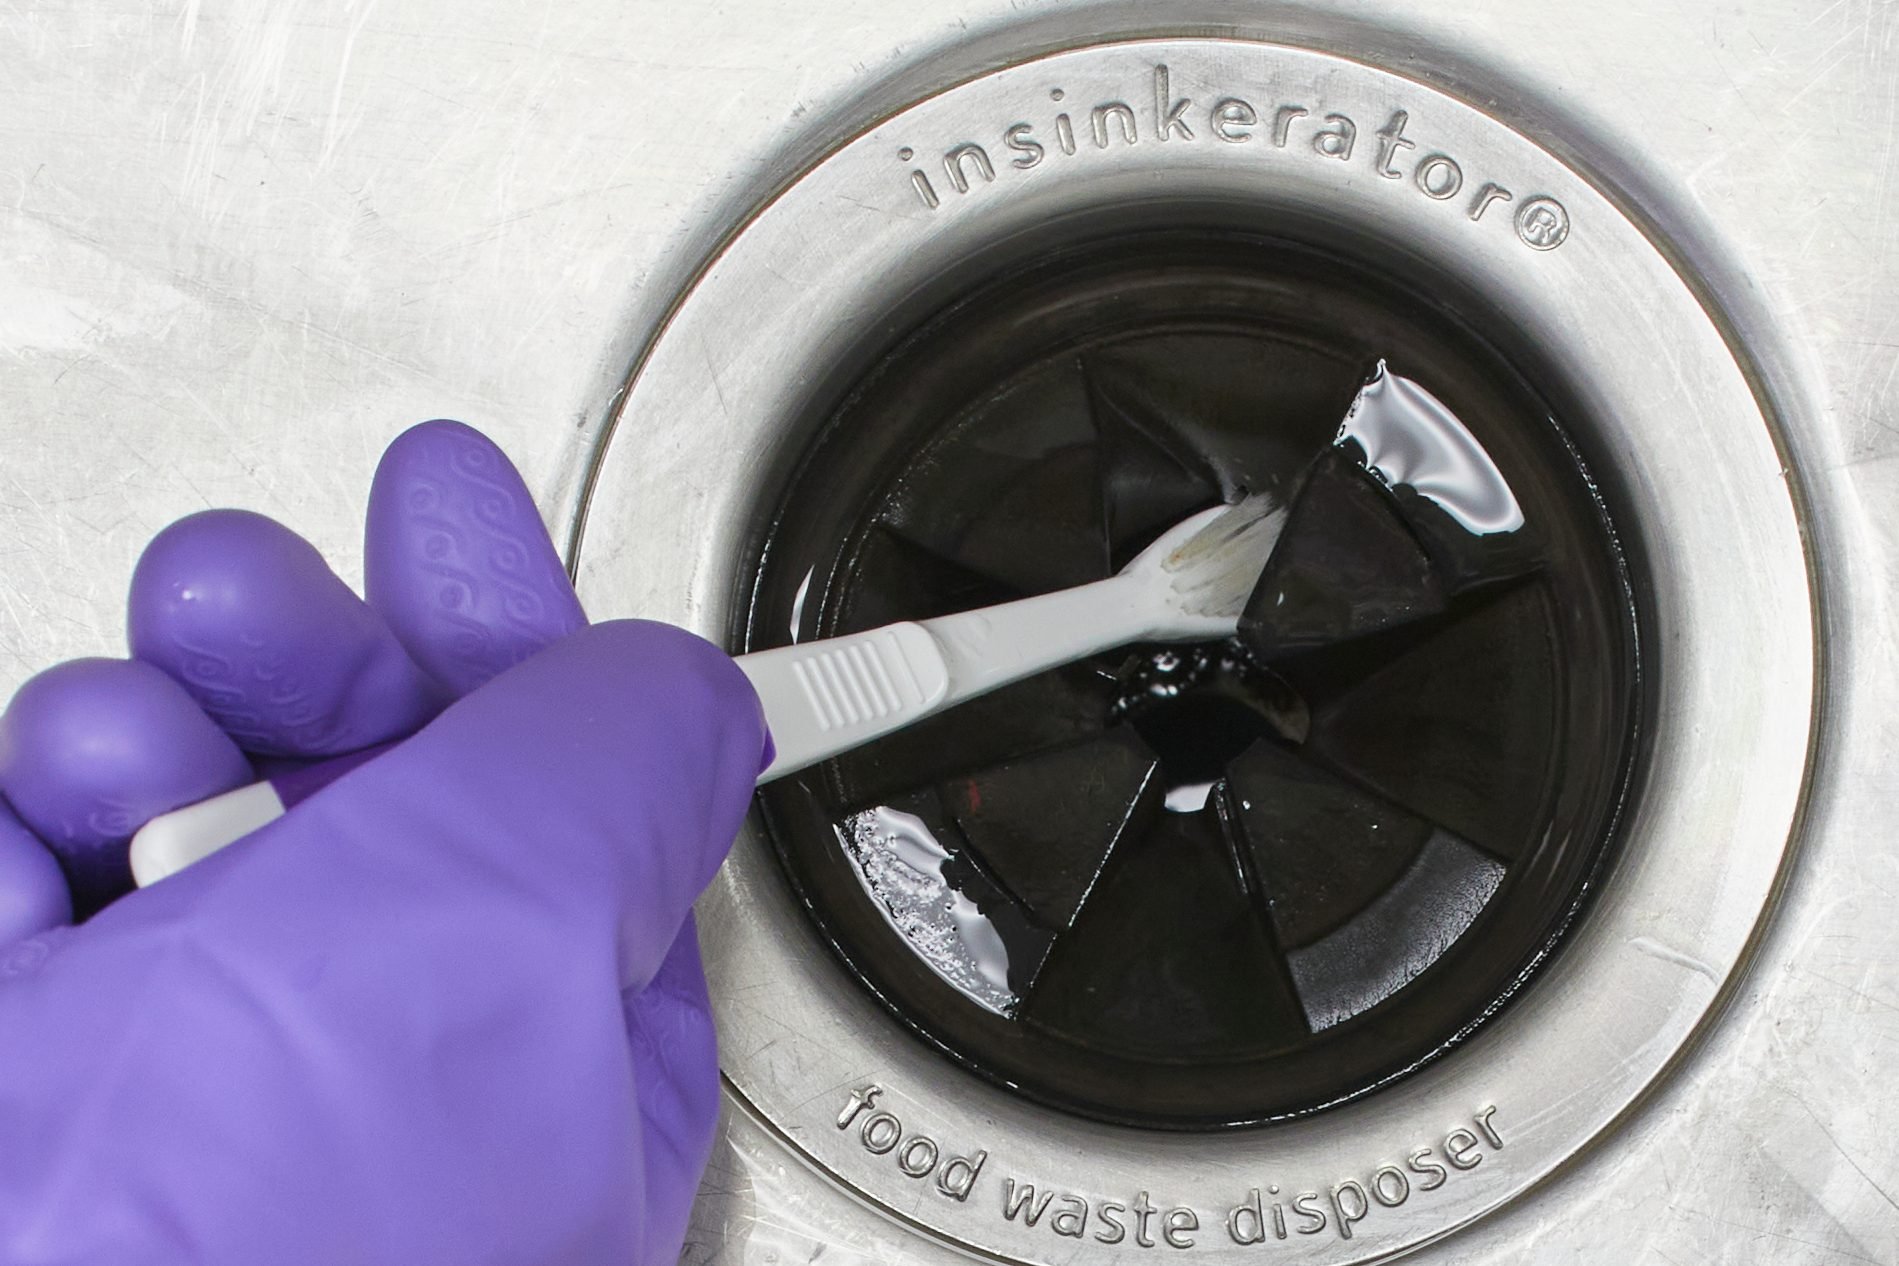
Following the inspection, proceed to clean the disposal components thoroughly. Prepare a solution of mild dish soap and warm water, and utilize a cleaning brush or scrubbing pad to cleanse the interior surfaces of the disposal chamber. Pay particular attention to the rubber gasket and the area surrounding the disposal's opening, ensuring the removal of any accumulated grime or residue.
Deodorize and Freshen the Disposal
To eliminate any lingering odors and maintain a fresh-smelling disposal unit, consider incorporating natural deodorizing agents. One effective method involves grinding citrus peels, such as lemon or orange rinds, in the disposal. The natural oils and citrus fragrance serve to deodorize the unit while imparting a refreshing scent.
Alternatively, a mixture of white vinegar and baking soda can be utilized to neutralize odors and cleanse the disposal. Pour a cup of white vinegar into the disposal, followed by a sprinkling of baking soda. Allow the solution to fizz and react within the disposal chamber before rinsing it away with cold water. This process effectively neutralizes odors and promotes a clean, fresh-smelling disposal.
Read more: How To Remove Glass From Garbage Disposal
Implement Regular Maintenance Practices
Maintaining the optimal functionality of the garbage disposal necessitates the incorporation of regular maintenance practices. To prevent potential clogs and maintain the unit's efficiency, it is advisable to run cold water while operating the disposal and for a brief duration afterward. This aids in flushing away any remaining debris and promotes the unobstructed flow of waste through the disposal system.
Additionally, consider incorporating ice and rock salt cleaning on a monthly basis to uphold the disposal's cleanliness and prevent the accumulation of debris. The abrasive action of ice and rock salt effectively dislodges adhered particles and promotes the overall cleanliness and functionality of the unit.
By adhering to these final steps and implementing ongoing maintenance practices, you can ensure the long-term efficiency and functionality of your garbage disposal. Prioritizing thorough cleaning, deodorizing, and regular maintenance contributes to the preservation of the disposal unit, promoting its optimal performance and longevity.
Frequently Asked Questions about How To Clean Glass Out Of Garbage Disposal
Was this page helpful?
At Storables.com, we guarantee accurate and reliable information. Our content, validated by Expert Board Contributors, is crafted following stringent Editorial Policies. We're committed to providing you with well-researched, expert-backed insights for all your informational needs.





0 thoughts on “How To Clean Glass Out Of Garbage Disposal”