Home>Furniture & Design>Interior Design Trends>What To Do If Glass Breaks In Garbage Disposal
Interior Design Trends
What To Do If Glass Breaks In Garbage Disposal
Modified: August 17, 2024
Learn how to safely clean up broken glass in your garbage disposal and prevent damage with these interior design trends. Keep your kitchen safe and stylish!
(Many of the links in this article redirect to a specific reviewed product. Your purchase of these products through affiliate links helps to generate commission for Storables.com, at no extra cost. Learn more)
Introduction
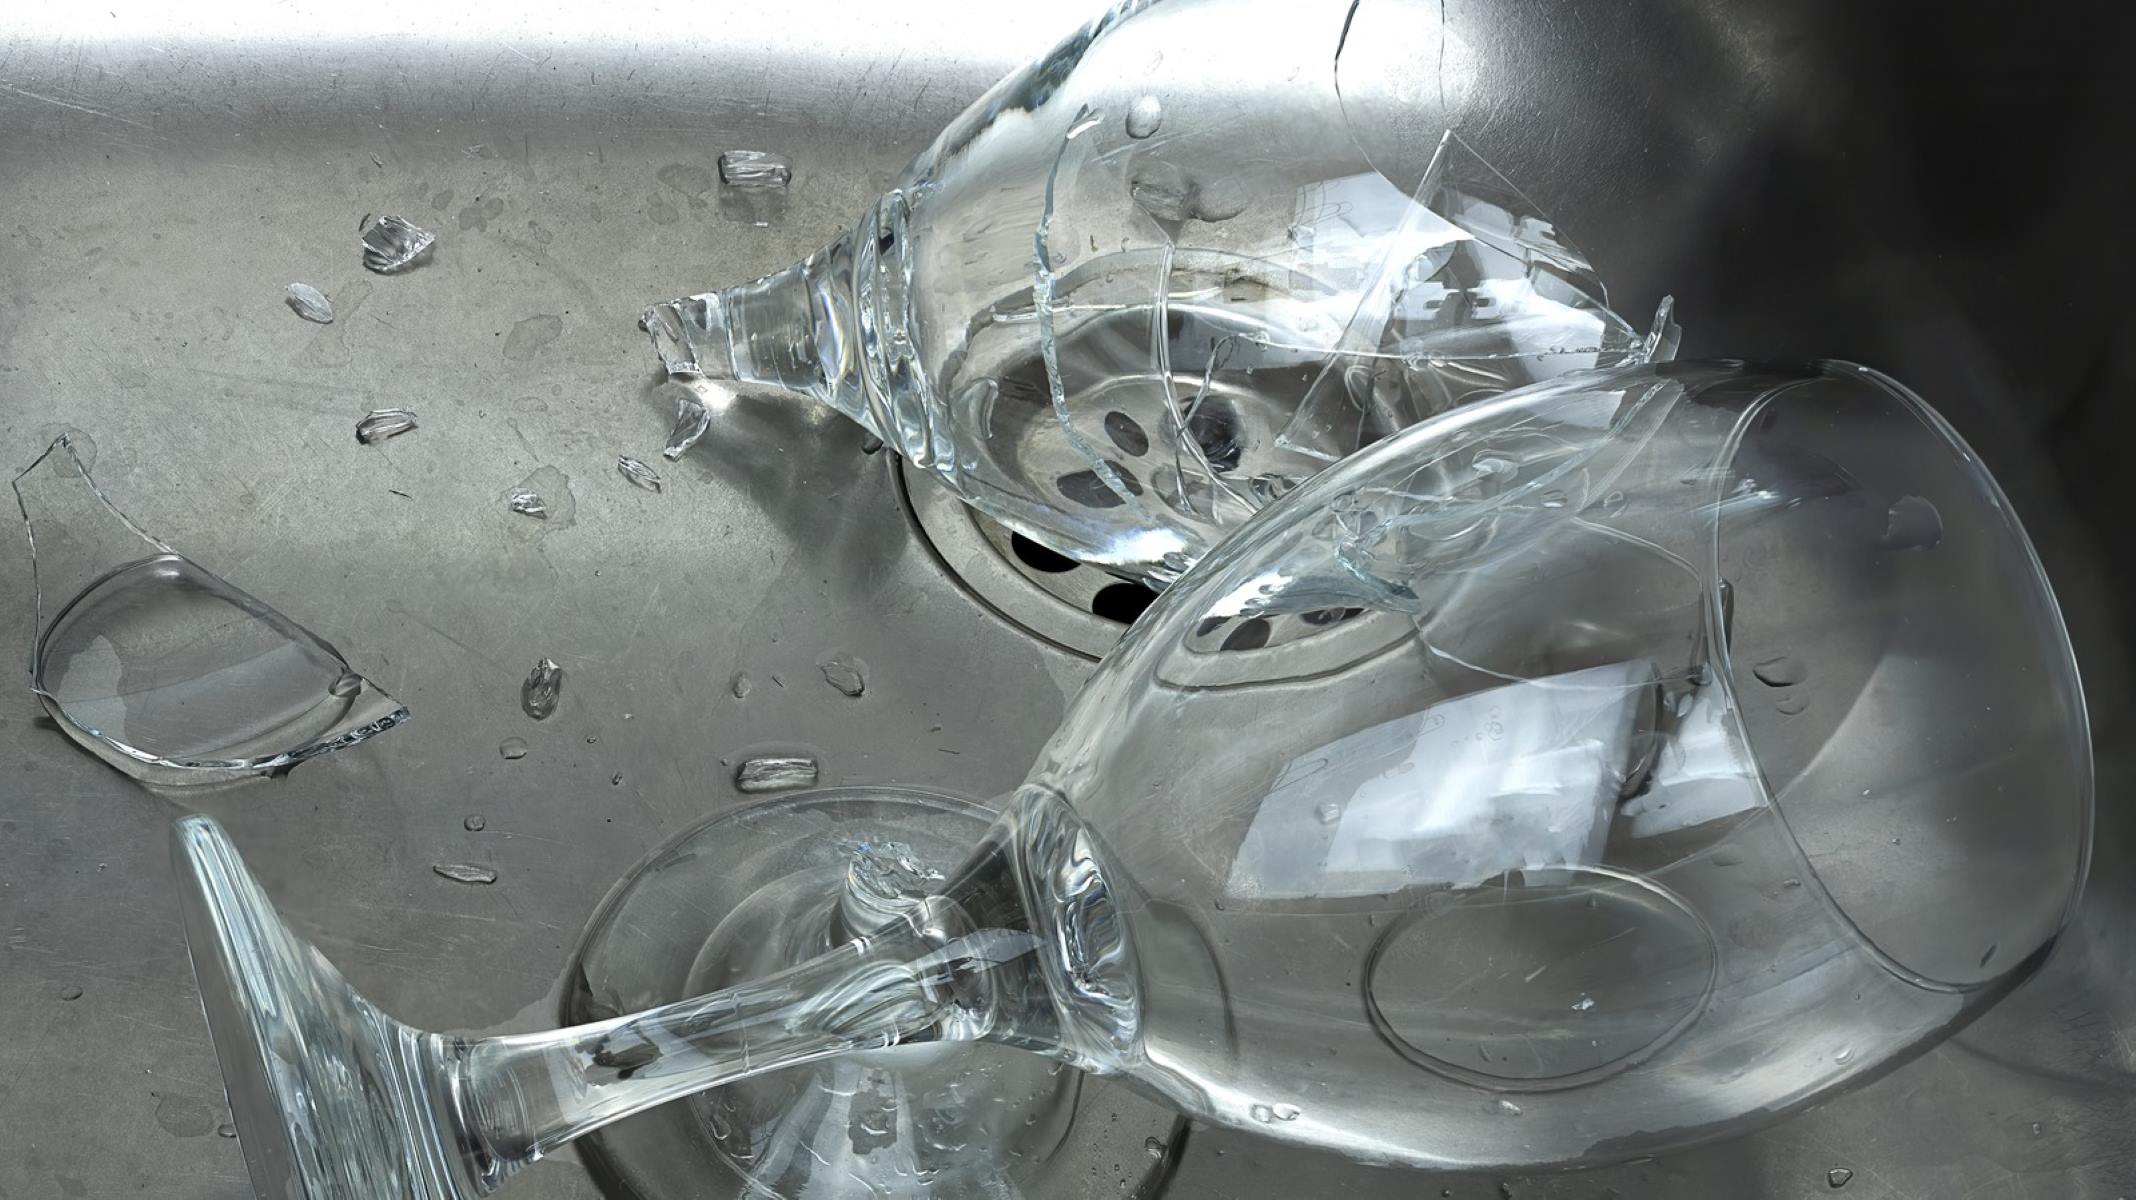
Dealing with a broken glass in a garbage disposal can be a daunting and potentially hazardous situation. The fragility and sharp edges of broken glass pose a risk of injury, while the potential damage to the garbage disposal unit adds another layer of concern. However, with the right approach and precautions, handling this scenario can be managed effectively and safely.
In this article, we will explore the necessary safety measures and step-by-step actions to take when glass breaks in a garbage disposal. From addressing immediate safety concerns to cleaning the unit and preventing future incidents, we will provide comprehensive guidance to help you navigate this challenging situation with confidence.
Navigating a broken glass scenario in a garbage disposal requires a combination of caution, precision, and knowledge. By following the recommended procedures and understanding the potential risks involved, you can effectively address the issue while minimizing the likelihood of injury or further damage. Let's delve into the essential safety precautions and steps to take when glass breaks in a garbage disposal, ensuring a secure and efficient resolution to this common household mishap.
Key Takeaways:
- Handle broken glass in garbage disposal with caution. Turn off power, use protective gear, and clean thoroughly to prevent injury and damage. Safety first!
- Prevent future incidents by avoiding glass in disposal, regular maintenance, educating household members, using drain strainers, and professional servicing. Keep your kitchen safe!
Read more: What To Do If Glass Breaks In Dishwasher
Safety Precautions
When dealing with a broken glass in a garbage disposal, prioritizing safety is paramount. The sharp edges of glass fragments and the potential for electrical hazards within the disposal unit necessitate a cautious approach. Here are the essential safety precautions to observe when addressing this situation:
-
Turn Off the Power: Before attempting to address the broken glass, ensure that the garbage disposal unit is completely powered off. This can be achieved by locating the circuit breaker or switch that controls the disposal and turning it off. Verifying that the power is disconnected is crucial for preventing accidental activation of the disposal during the cleanup process.
-
Use Protective Gear: Handling broken glass requires protective gear to minimize the risk of injury. Wear heavy-duty gloves to shield your hands from sharp edges and potential contaminants. Additionally, consider wearing safety goggles to protect your eyes from glass splinters and debris.
-
Exercise Caution: Approach the broken glass with extreme care, avoiding sudden movements that could cause further breakage or injury. Slow, deliberate movements can help minimize the dispersal of glass shards and reduce the risk of accidental cuts.
-
Inspect the Disposal Area: Before initiating the cleanup, carefully inspect the area surrounding the garbage disposal. Ensure that there are no loose glass shards on the floor or countertop. If any glass fragments have scattered beyond the immediate vicinity of the disposal, take the necessary precautions to secure and clean those areas as well.
-
Keep Others at a Distance: If there are other individuals in the vicinity, particularly children or pets, ensure that they are kept at a safe distance from the broken glass and the cleanup area. Restricting access to the affected area can prevent accidental injuries and minimize the risk of spreading glass debris.
By adhering to these safety precautions, you can create a secure environment for addressing the broken glass in the garbage disposal. Prioritizing safety at every stage of the cleanup process is essential for mitigating potential risks and ensuring a safe and effective resolution to this challenging situation.
Steps to Take When Glass Breaks in Garbage Disposal
Dealing with a broken glass in a garbage disposal requires a systematic approach to ensure thorough cleanup and prevent potential damage to the unit. Here are the essential steps to take when glass breaks in a garbage disposal:
-
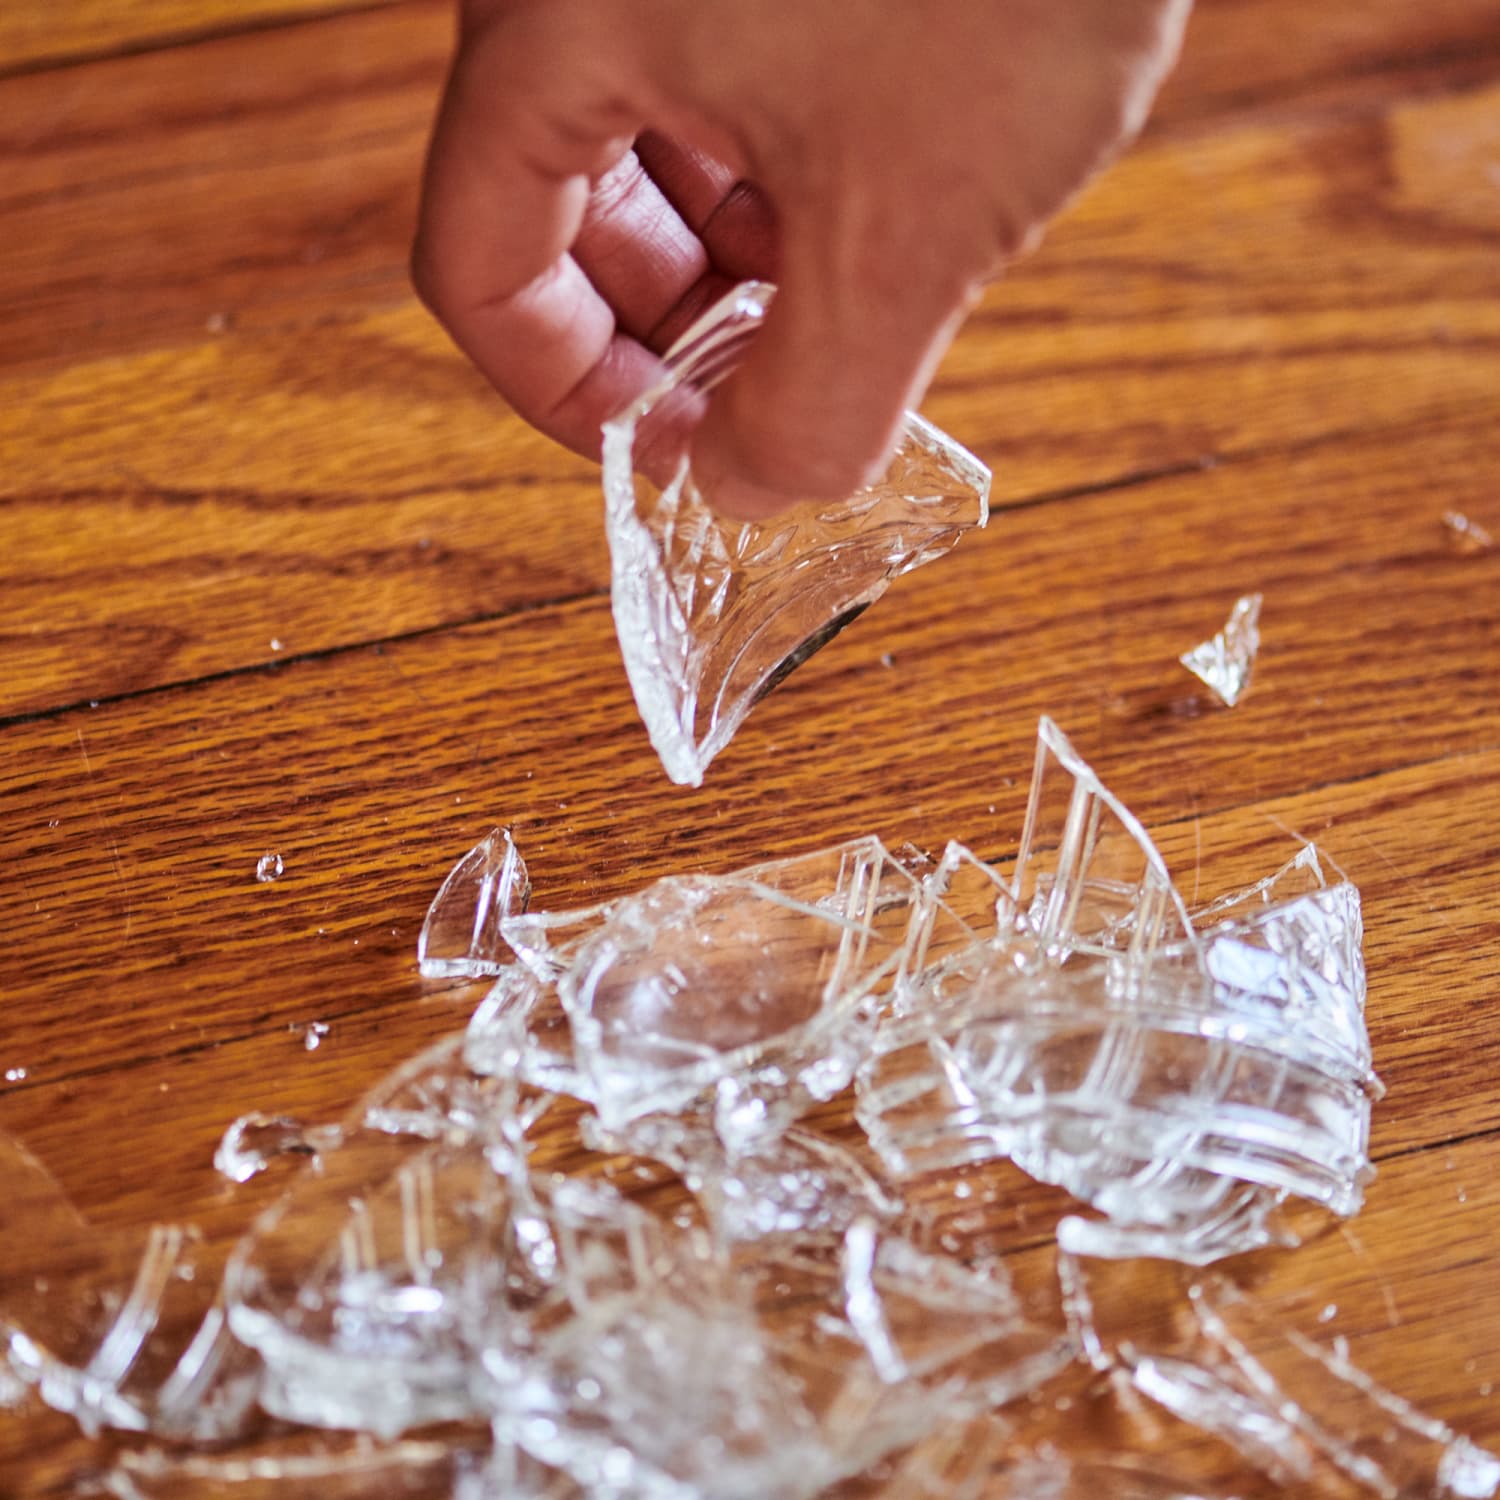
Assess the Situation: After ensuring that the power to the garbage disposal is turned off, carefully examine the extent of the glass breakage. Identify any large glass fragments that may be lodged in the disposal unit or visible within the drain. Take note of any glass pieces that may have scattered onto the surrounding surfaces.
-
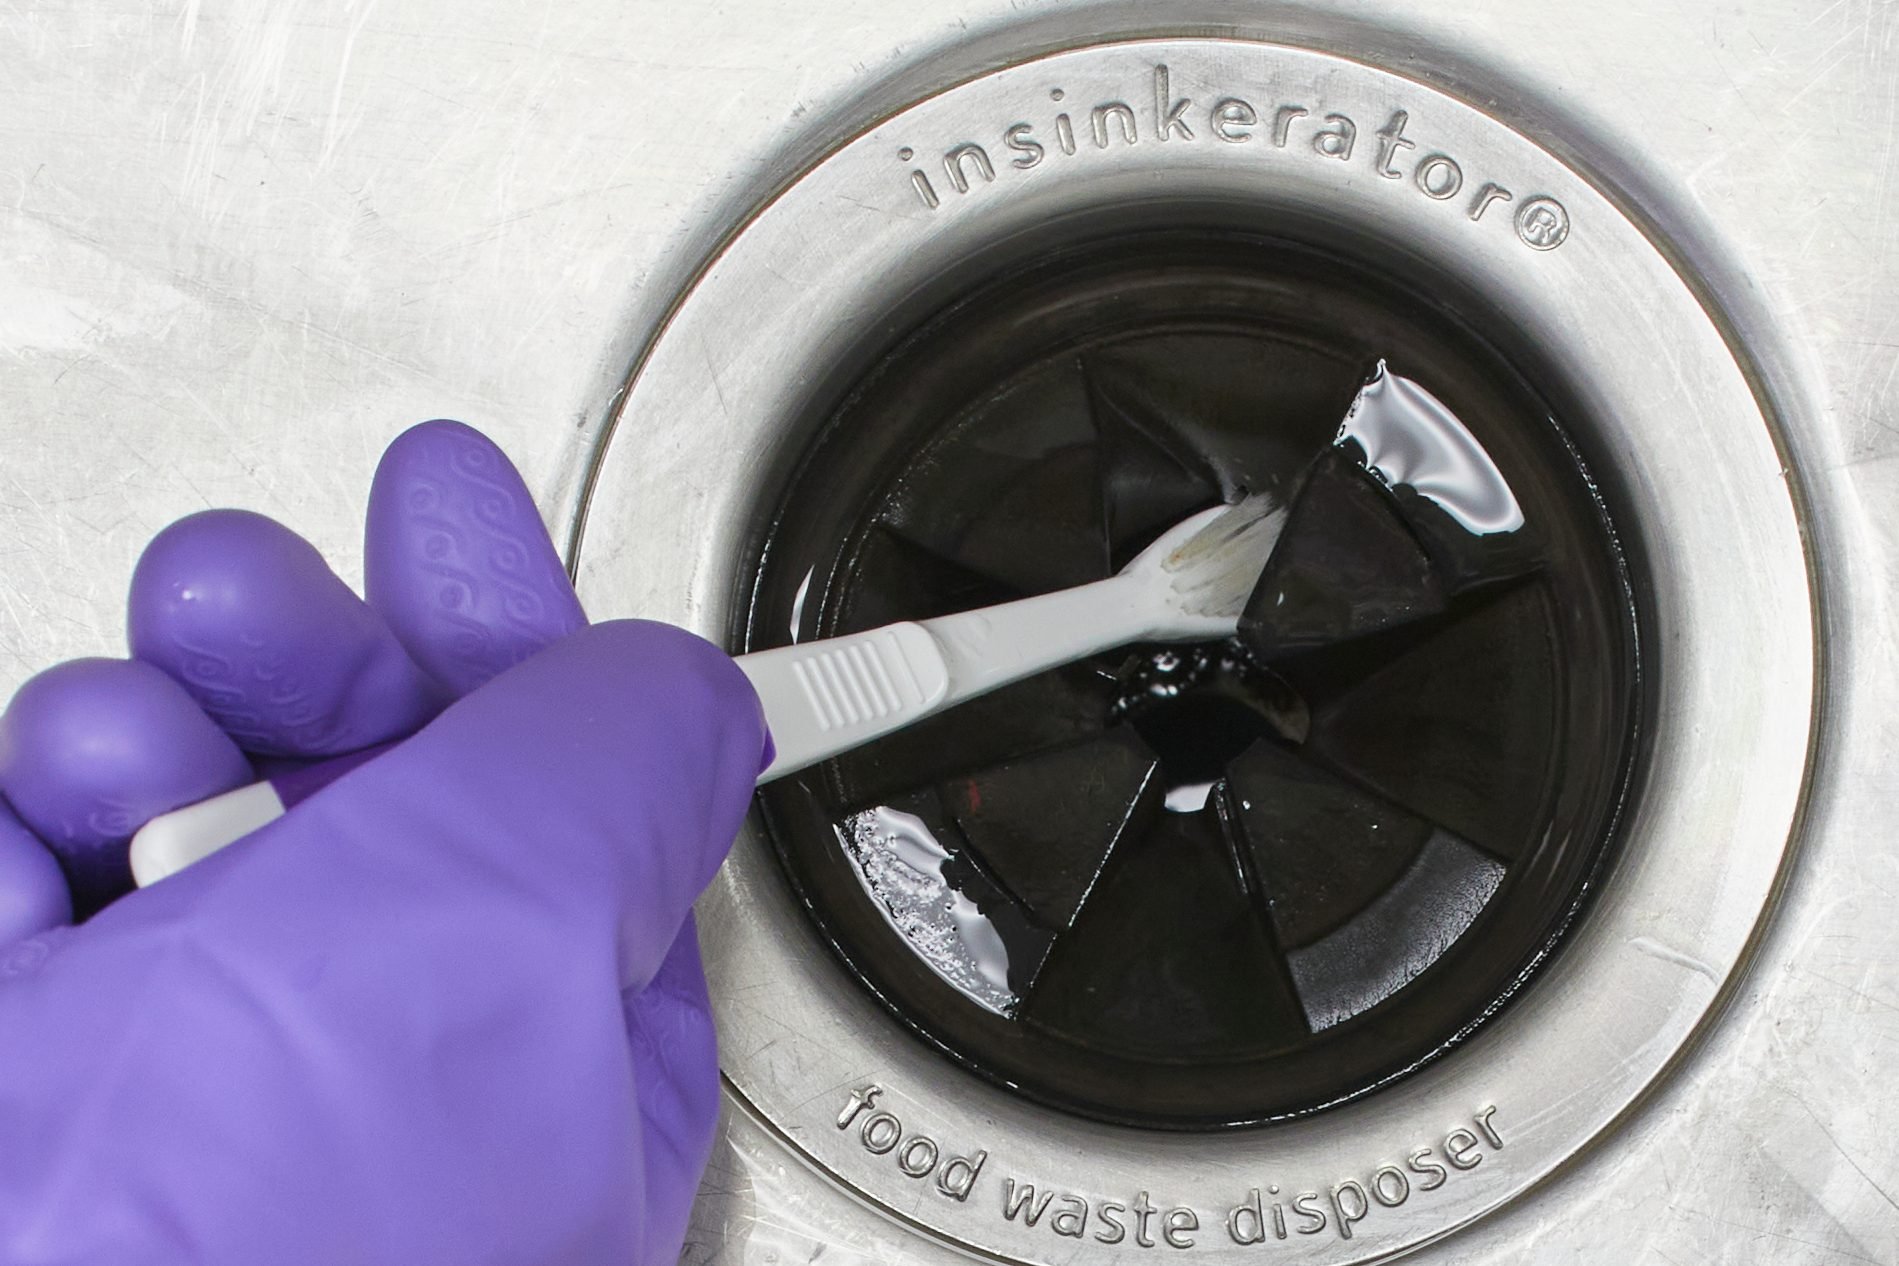
Remove Visible Glass: Using long-handled tongs or pliers, carefully extract any visible glass fragments from the disposal unit and the surrounding area. Exercise caution to avoid direct contact with the glass, and ensure that the extracted fragments are placed in a secure container to prevent accidental injuries during disposal.
-
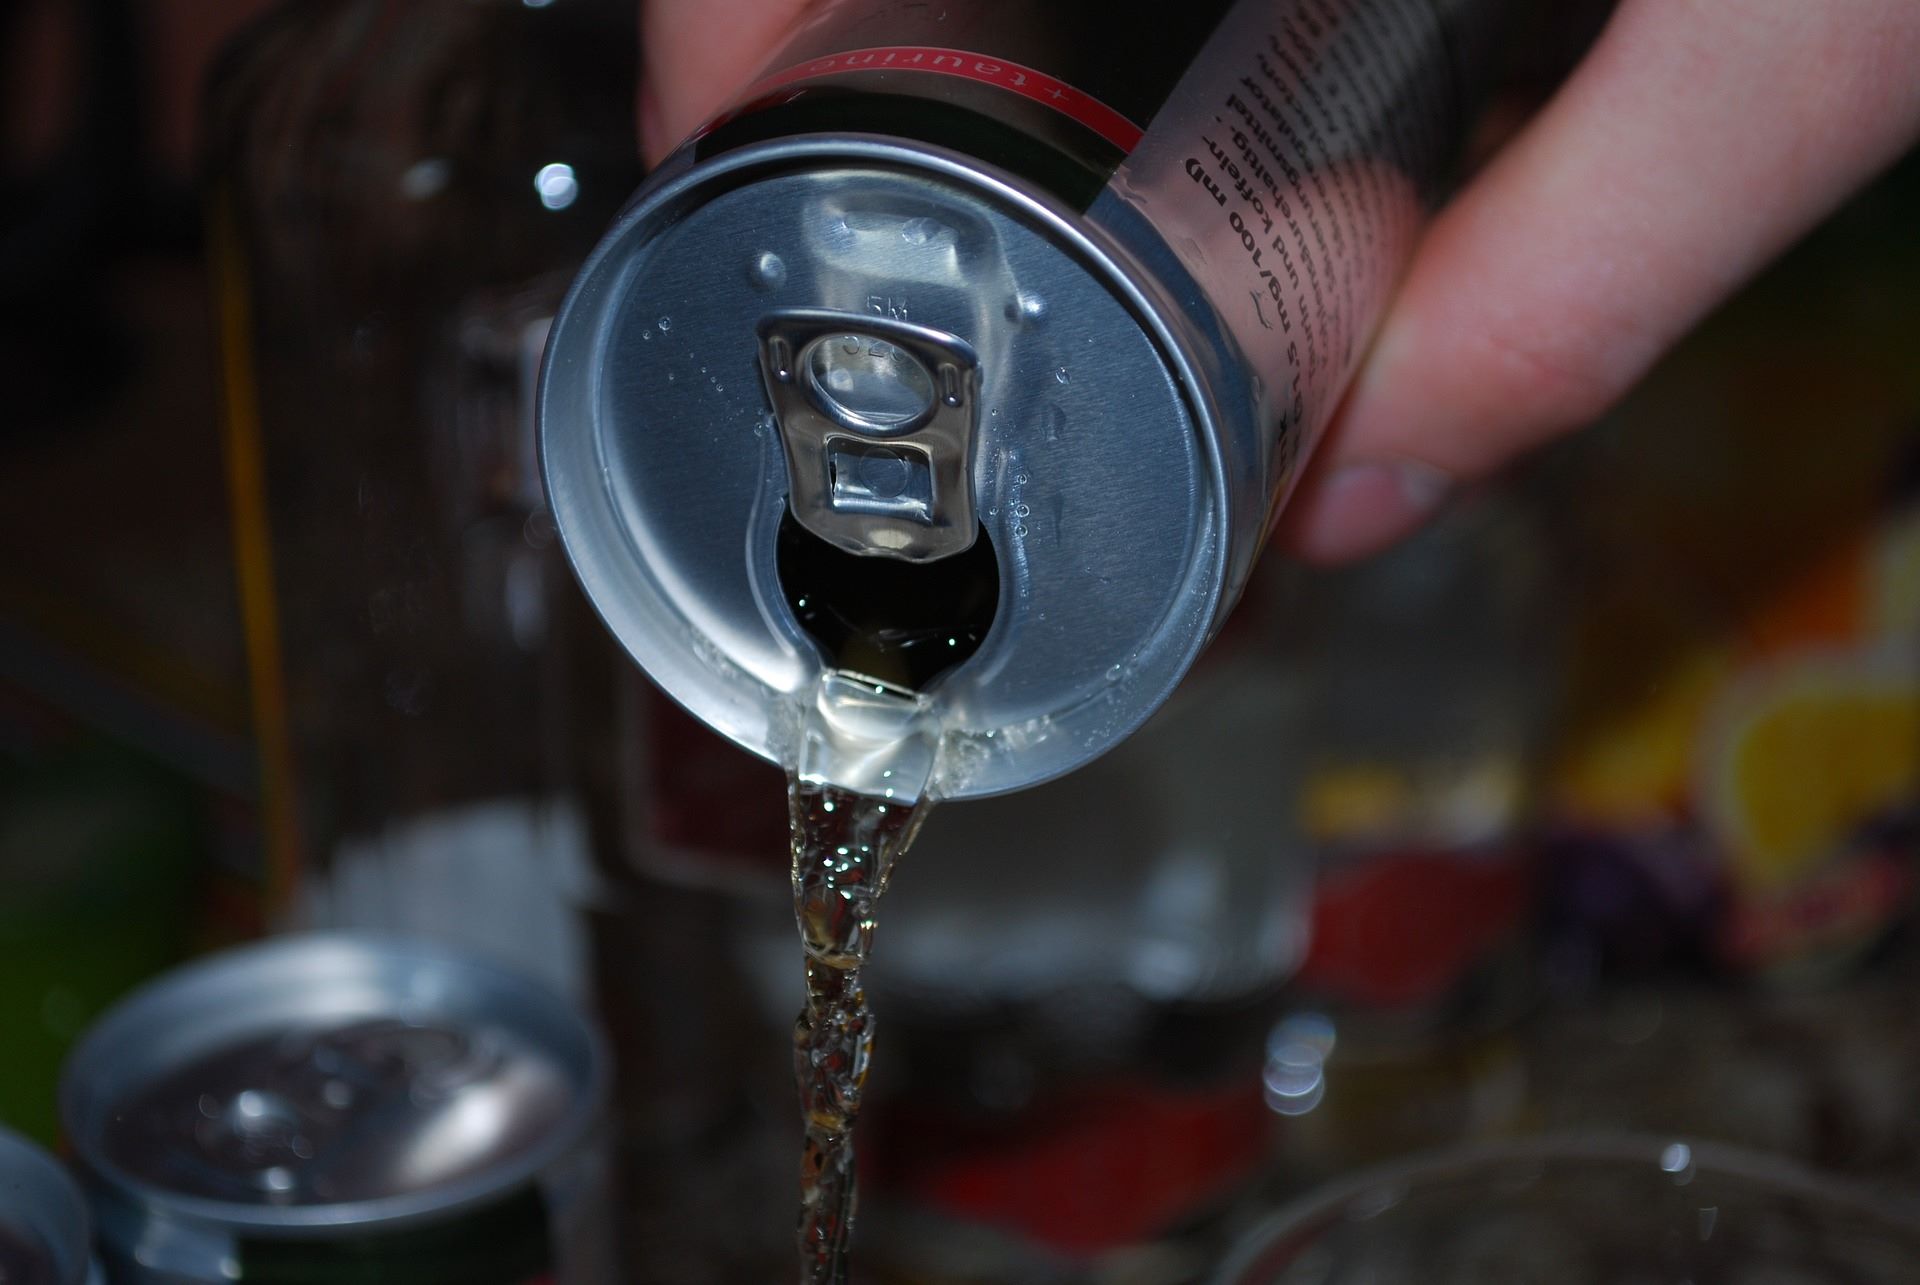
Flush the Disposal: Once the visible glass has been removed, flush the garbage disposal with cold water to dislodge any remaining glass particles and clear the drain. Running the water for a few minutes can help ensure that the disposal and drain are free from smaller glass shards that may be difficult to detect.
-
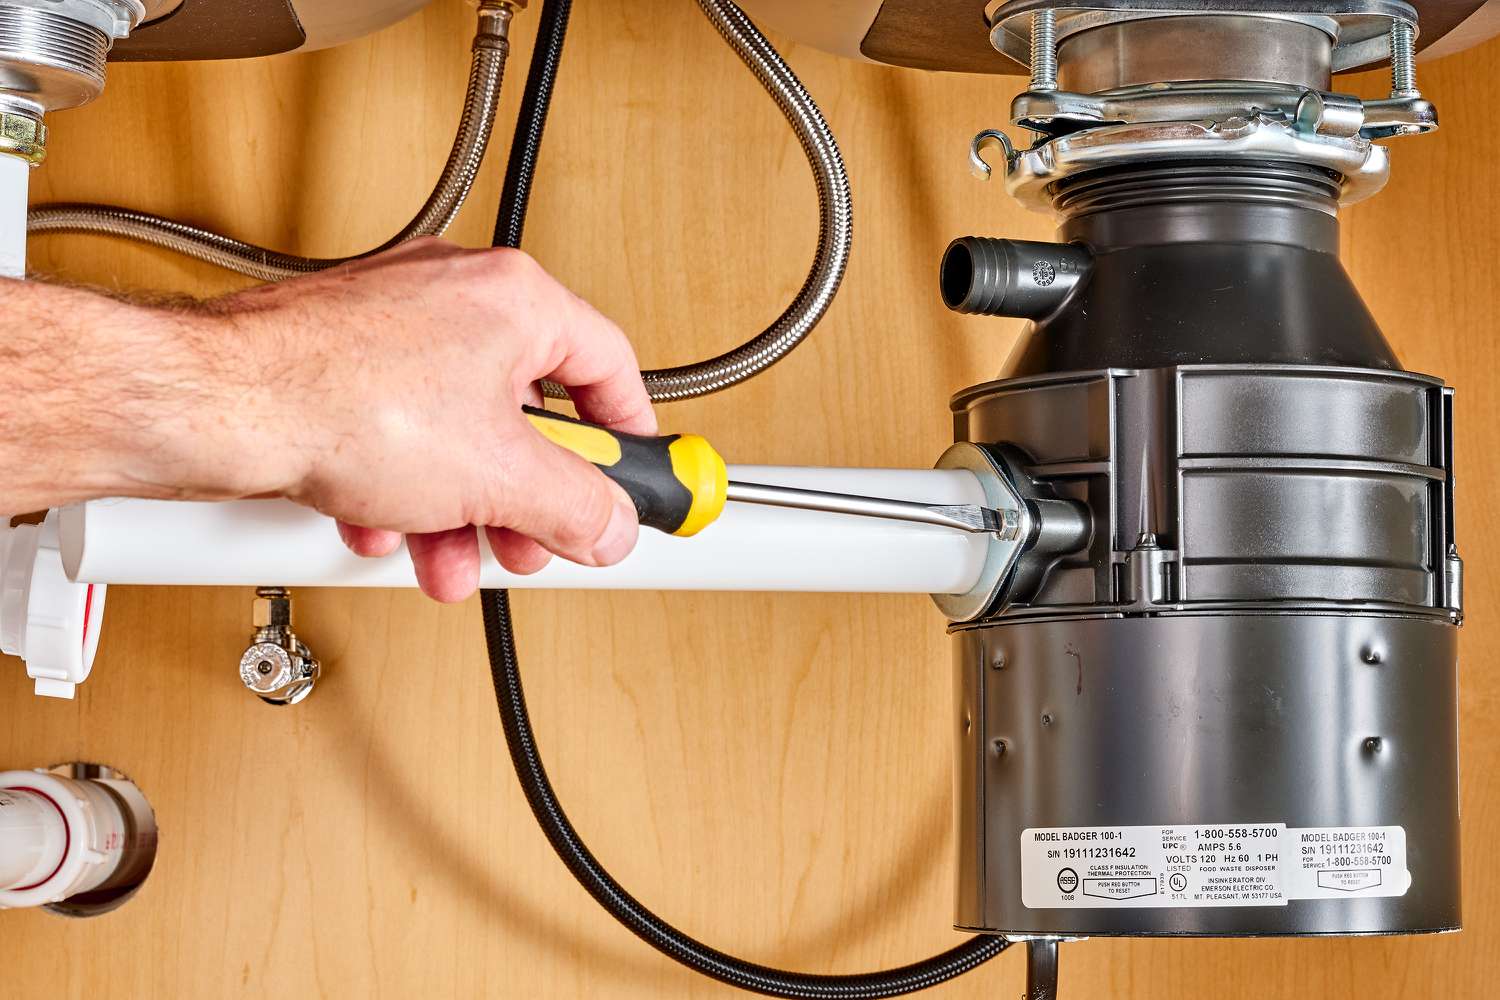
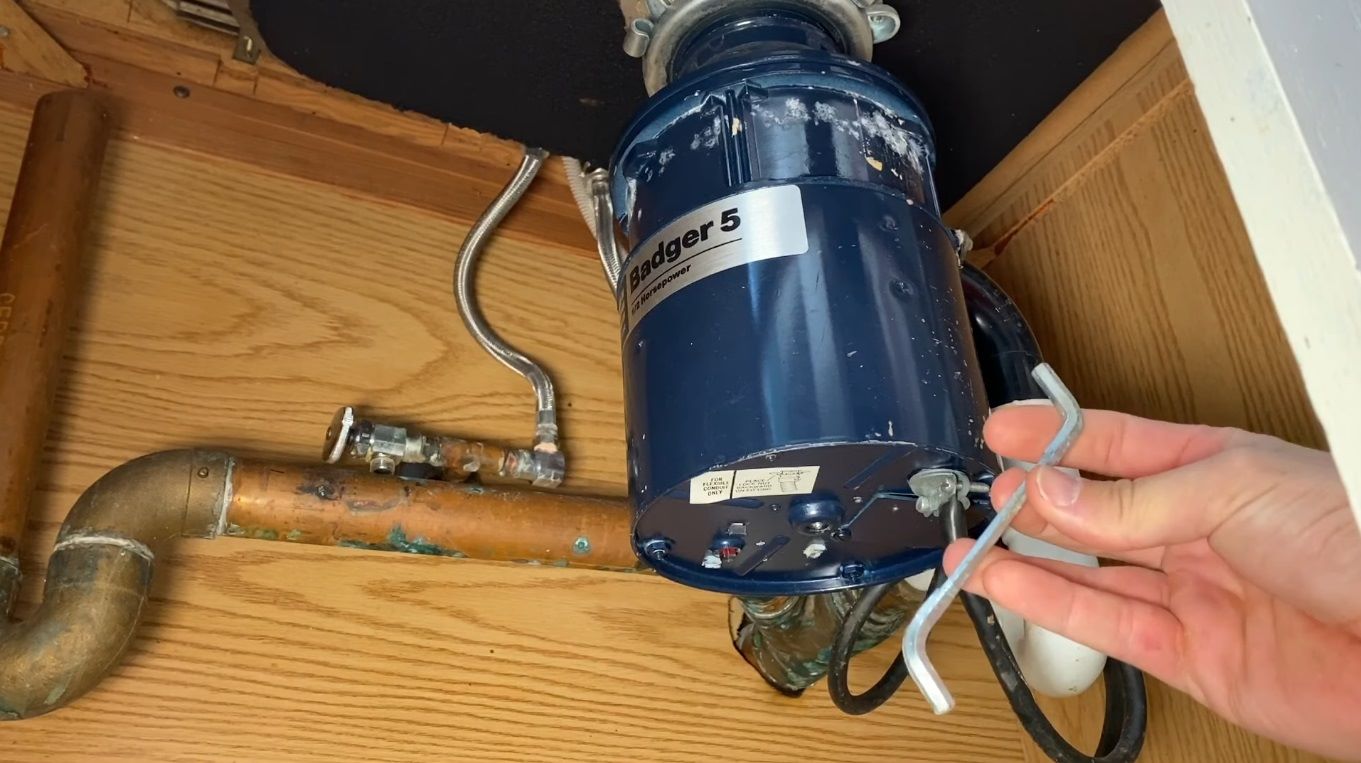
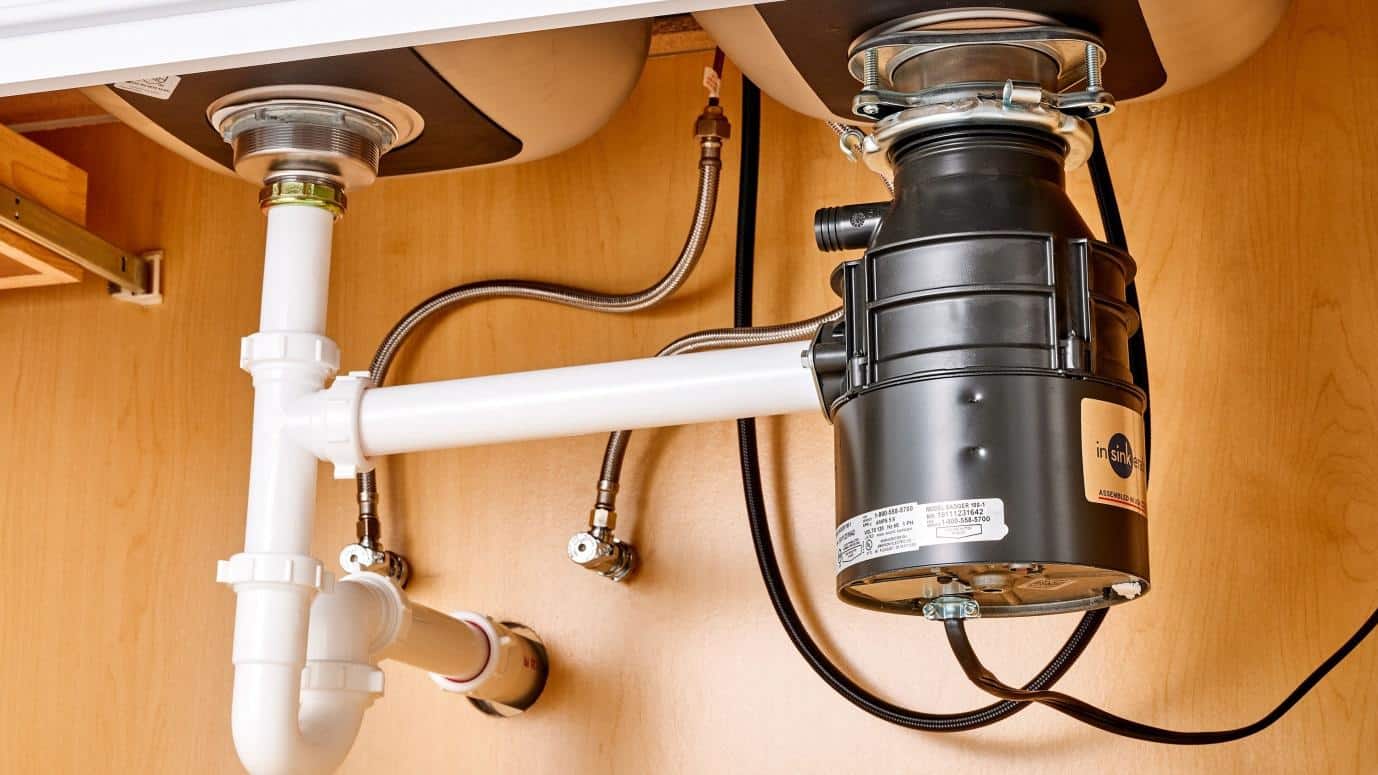
Inspect the Disposal Interior: With the assistance of a flashlight, visually inspect the interior of the garbage disposal to identify any residual glass fragments that may be embedded or obstructing the grinding mechanism. Carefully remove any remaining glass using long-handled tools, taking care to avoid direct contact with the disposal components.
-
Run the Disposal: After ensuring that all visible glass has been removed and the disposal interior has been thoroughly inspected, run the disposal with cold water for a brief period. This action can help dislodge any remaining glass particles and verify that the disposal is functioning properly without unusual sounds or obstructions.
-
Check for Leaks or Damage: Following the glass cleanup and disposal operation, inspect the unit for any signs of leaks, unusual noises, or visible damage. Addressing any potential issues promptly can help prevent long-term damage to the disposal and ensure its continued functionality.
By following these systematic steps, you can effectively address the presence of broken glass in a garbage disposal, minimizing the risk of injury and potential damage to the unit. Prioritizing thoroughness and caution throughout the cleanup process is essential for achieving a safe and successful resolution to this challenging household incident.
Turn off the garbage disposal immediately. Use tongs to carefully remove any large pieces of glass. Then, use a flashlight to inspect for smaller shards and carefully remove them with pliers. Always wear gloves to protect your hands.
Cleaning the Garbage Disposal
Cleaning the garbage disposal after a glass breakage incident is crucial to ensure the complete removal of glass fragments and potential debris that may have accumulated within the unit. A thorough cleaning process can help restore the disposal's functionality and mitigate the risk of lingering glass particles causing damage or obstruction. Here's a detailed guide on cleaning the garbage disposal after a glass breakage:
-
Prepare a Cleaning Solution: Begin by creating a cleaning solution using a mixture of mild dish soap and cold water. Avoid using harsh chemicals or abrasive cleaners, as these can potentially damage the disposal components and pose safety hazards.
-
Scrub the Disposal Interior: With the cleaning solution prepared, use a long-handled brush or scrubbing tool to gently clean the interior surfaces of the garbage disposal. Pay particular attention to the areas around the grinding mechanism and the drain, ensuring that any residual glass fragments and debris are effectively dislodged and washed away.
-
Flush with Cold Water: Following the scrubbing process, flush the disposal with a generous amount of cold water to rinse away the cleaning solution and dislodged debris. Running the water for several minutes can help ensure that the disposal is thoroughly cleansed and free from any remaining contaminants.
-
Use Ice and Citrus Peels: For added cleaning and deodorizing benefits, consider placing a few ice cubes and citrus peels, such as lemon or orange, into the disposal. Running the disposal with these items can help dislodge any remaining debris, eliminate odors, and leave the unit smelling fresh and clean.
-
Inspect for Residual Debris: After the cleaning process, visually inspect the disposal interior to verify that all glass fragments and debris have been effectively removed. Use a flashlight to illuminate the interior and ensure that no residual particles are present.
-
Run the Disposal: Once the cleaning and inspection are complete, run the disposal with cold water for a brief period to confirm that it is functioning smoothly and free from any obstructions or unusual sounds. This step can help ensure that the disposal is in optimal working condition following the cleaning process.
By following these comprehensive cleaning steps, you can effectively restore the cleanliness and functionality of the garbage disposal after a glass breakage incident. Prioritizing thorough cleaning and inspection is essential for safeguarding the disposal unit against potential damage and maintaining a hygienic and efficient kitchen environment.
Preventing Future Incidents
Preventing future incidents involving broken glass in a garbage disposal is essential for maintaining a safe and efficient kitchen environment. By implementing proactive measures and best practices, you can minimize the risk of similar mishaps and ensure the long-term functionality of your disposal unit.
Here are some effective strategies to prevent future incidents:
-
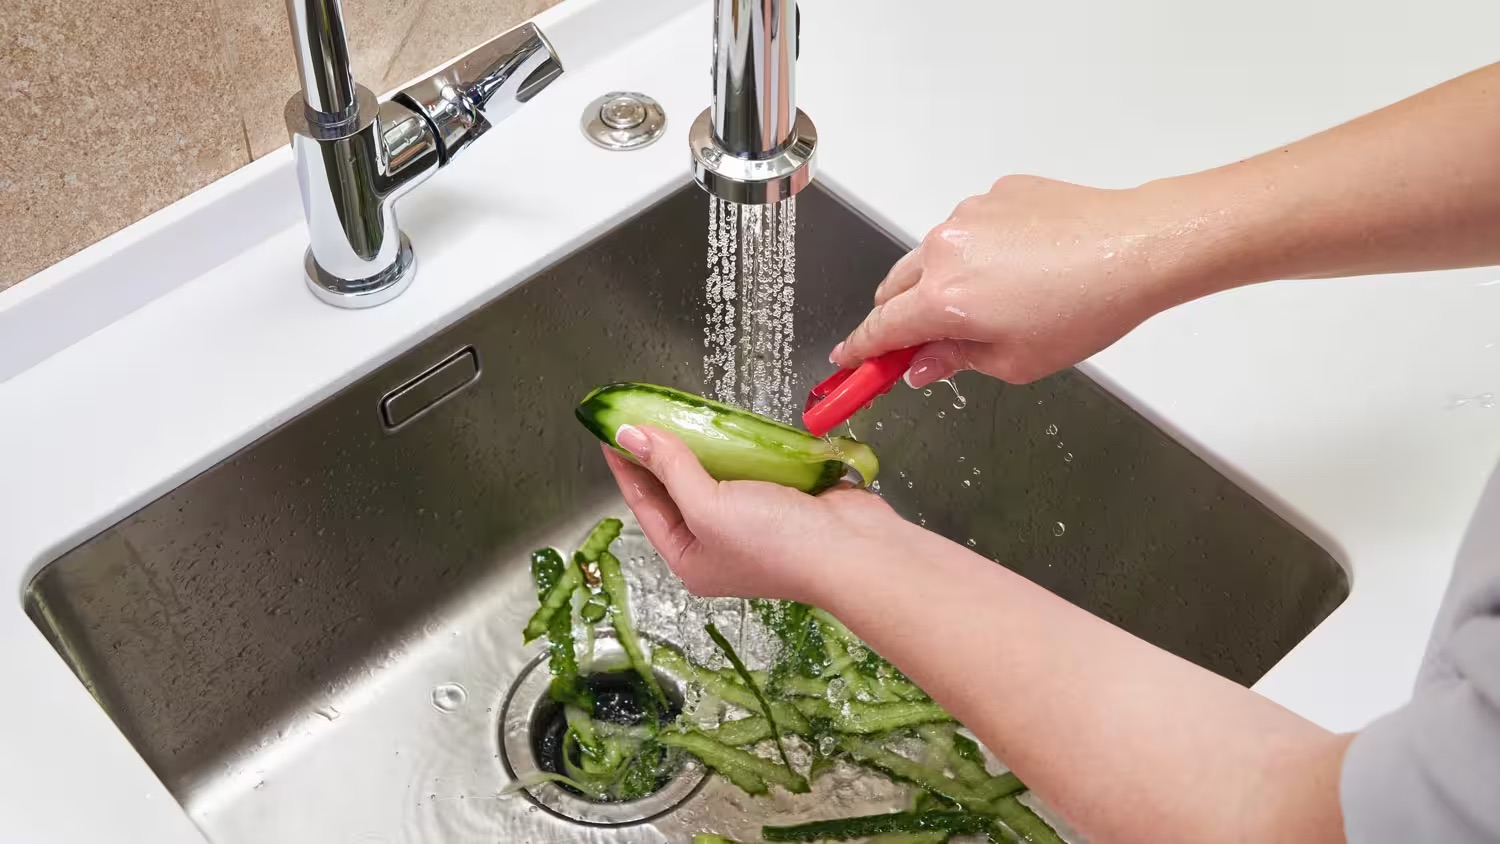
Mindful Disposal of Glass Items: Avoid placing glass items, such as drinking glasses, dishes, or utensils, directly into the garbage disposal. Instead, opt for alternative methods of disposal, such as recycling or placing glass items in designated waste containers. By exercising caution when handling glassware in the kitchen, you can reduce the likelihood of accidental breakage and subsequent disposal-related incidents.
-
Regular Maintenance and Inspection: Schedule routine maintenance checks for your garbage disposal to identify any signs of wear, damage, or potential issues that may compromise its functionality. Additionally, inspect the disposal area for any stray glass particles or debris, ensuring that the unit and its surroundings remain free from potential hazards.
-
Educate Household Members: Communicate the importance of proper disposal practices to all household members, emphasizing the need to handle glass items with care and avoid placing them in the garbage disposal. By raising awareness and promoting responsible disposal habits, you can collectively contribute to a safer and more sustainable kitchen environment.
-
Utilize Drain Strainers: Install drain strainers or guards in the sink to capture small glass fragments, food particles, and other debris before they enter the garbage disposal. These simple yet effective devices can help prevent glass-related incidents by acting as a barrier and minimizing the likelihood of glass entering the disposal unit.
-
Professional Servicing: Engage the services of a qualified plumber or technician for periodic servicing and inspection of your garbage disposal. Professional expertise can help identify potential issues, ensure proper functionality, and address any concerns related to the disposal unit, contributing to a safer and more reliable kitchen environment.
By incorporating these preventive measures into your kitchen maintenance routine, you can significantly reduce the risk of future incidents involving broken glass in the garbage disposal. Proactive measures, combined with ongoing vigilance and responsible disposal practices, are key to fostering a secure and efficient kitchen environment for you and your household.
Frequently Asked Questions about What To Do If Glass Breaks In Garbage Disposal
Was this page helpful?
At Storables.com, we guarantee accurate and reliable information. Our content, validated by Expert Board Contributors, is crafted following stringent Editorial Policies. We're committed to providing you with well-researched, expert-backed insights for all your informational needs.


0 thoughts on “What To Do If Glass Breaks In Garbage Disposal”