Home>Articles>How To Install Kitchen Sink Plumbing With Garbage Disposal
Articles
How To Install Kitchen Sink Plumbing With Garbage Disposal
Modified: October 20, 2024
Learn how to install kitchen sink plumbing with a garbage disposal in this helpful articles. Step-by-step instructions for a smooth installation process.
(Many of the links in this article redirect to a specific reviewed product. Your purchase of these products through affiliate links helps to generate commission for Storables.com, at no extra cost. Learn more)
Introduction
Welcome to the world of DIY plumbing! If you’re looking to install a new kitchen sink with a garbage disposal, you’ve come to the right place. In this comprehensive guide, we will walk you through the step-by-step process of installing kitchen sink plumbing with a garbage disposal. With a little bit of basic plumbing knowledge and some handy tools, you’ll be able to tackle this project with ease.
Having a garbage disposal in your kitchen sink is a convenient and efficient way to dispose of food waste. It helps to minimize clogs and reduces the need for frequent trash disposal. By properly installing the plumbing for the garbage disposal, you can ensure that it functions effectively and seamlessly integrates with the rest of your kitchen sink.
Before we dive into the installation process, it’s important to gather the necessary tools and materials. Having everything you need on hand will make the installation smoother and more efficient. Here’s a list of the tools and materials you will need:
Key Takeaways:
- DIY plumbing for kitchen sink with garbage disposal is manageable with the right tools and materials. Follow the step-by-step guide to ensure proper installation and enjoy the convenience it offers.
- Proper maintenance and care of the plumbing system and garbage disposal unit are essential for longevity. Regular cleaning and prompt issue resolution will keep your kitchen environment efficient and sustainable.
Read more: DIY Guide: Installing A Garbage Disposal
Tools and Materials Needed
- Wrench
- Screwdriver
- Plumber’s putty
- PVC pipe cutter
- Drain assembly kit
- Garbage disposal unit
Now that you have everything you need, let’s get started with the installation process!
Key Takeaways:
- DIY plumbing for kitchen sink with garbage disposal is manageable with the right tools and materials. Follow the step-by-step guide to ensure proper installation and enjoy the convenience it offers.
- Proper maintenance and care of the plumbing system and garbage disposal unit are essential for longevity. Regular cleaning and prompt issue resolution will keep your kitchen environment efficient and sustainable.
Read more: DIY Guide: Installing A Garbage Disposal
Tools and Materials Needed
Before you begin installing your kitchen sink plumbing with a garbage disposal, it’s important to gather all the necessary tools and materials. Having everything you need at hand will make the installation process much smoother and more efficient. Here’s a look at the essential tools and materials you’ll need:
- Wrench: A wrench will be needed to tighten and secure various components of the plumbing installation. Make sure you have an adjustable wrench that can fit different sizes of nuts and bolts.
- Screwdriver: A screwdriver will come in handy for removing or installing screws during the installation process. It’s important to have both a flathead and a Phillips head screwdriver, as different components may require different types of screws.
- Plumber’s Putty: Plumber’s putty is a waterproof, moldable substance that is used to create a watertight seal around the sink strainer and drain assembly. It helps prevent leaks and ensures a tight connection.
- PVC pipe cutter: A PVC pipe cutter is essential for cutting and resizing the PVC pipes used in the plumbing installation. It allows for clean and precise cuts, making it easier to fit the pipes together.
- Drain assembly kit: A drain assembly kit typically includes the necessary components for creating a proper drain system, such as the strainer, tailpiece, and other fittings. It’s important to choose a kit that is compatible with your specific sink and garbage disposal.
- Garbage disposal unit: Of course, you’ll need a garbage disposal unit itself for the installation process. Make sure you choose a unit that fits your sink and meets your specific needs. Read the manufacturer’s instructions carefully before proceeding with the installation.
Having these tools and materials ready before you start will save you time and prevent unnecessary interruption during the installation process. Once you have everything prepared, you’re ready to move on to the next steps of installing your kitchen sink plumbing with a garbage disposal.
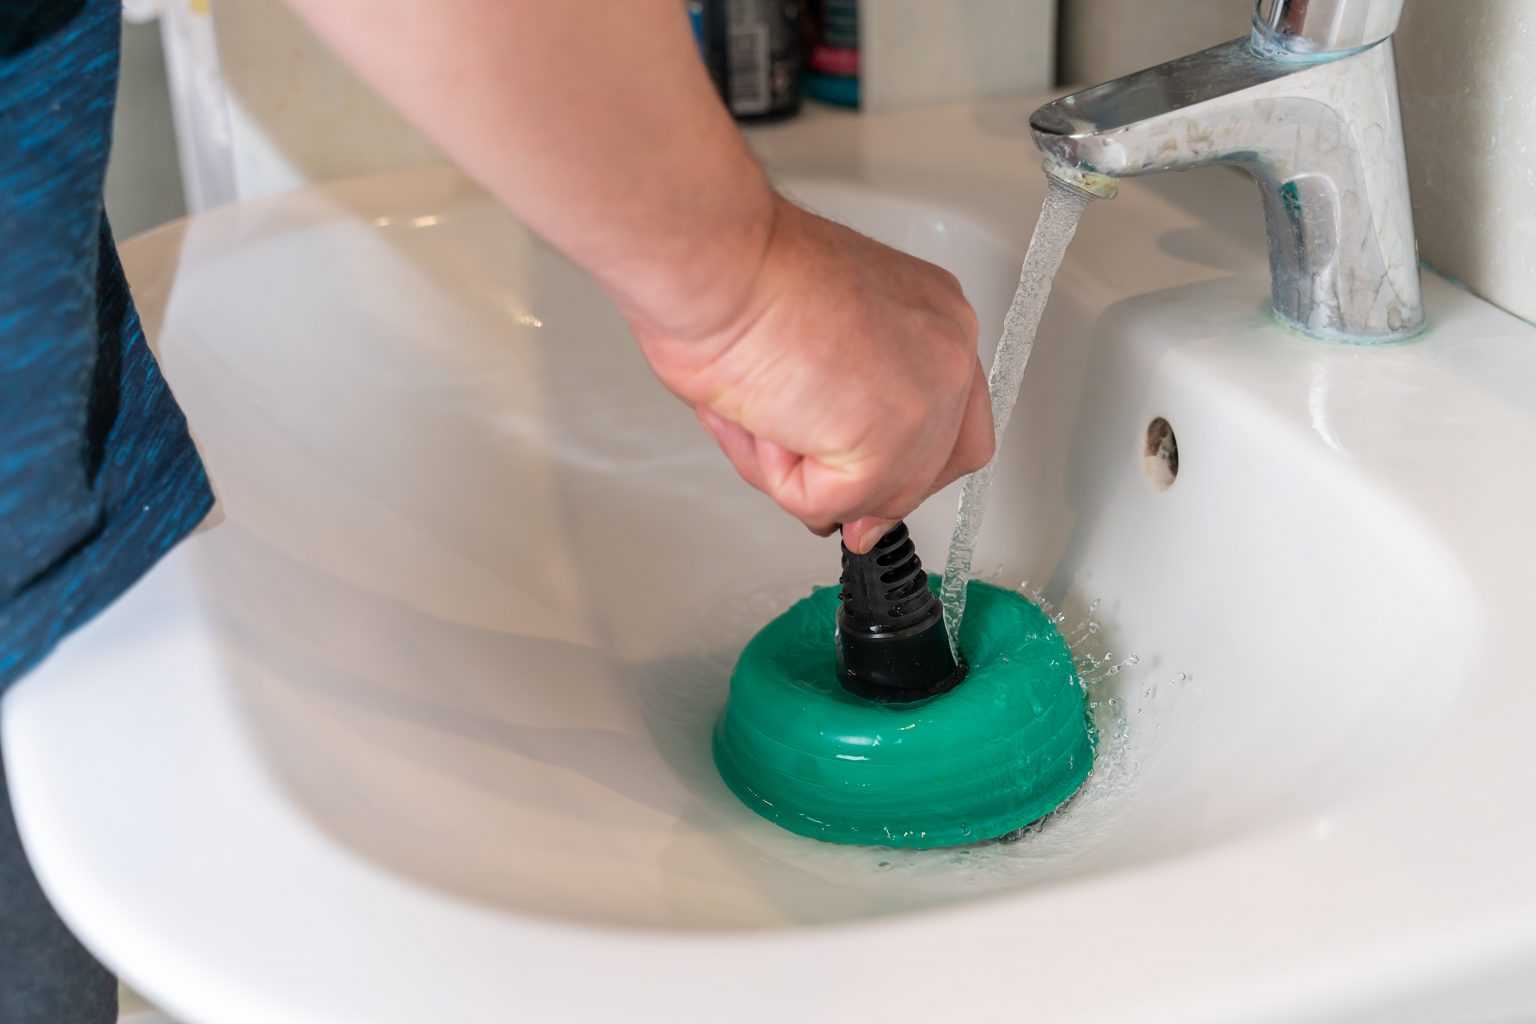
Step 1: Prepare the Sink
Before you begin the installation of your kitchen sink plumbing with a garbage disposal, it’s important to properly prepare the sink area. This will ensure a smooth and efficient installation process. Follow these steps to prepare the sink:
- Remove any objects from the sink: Start by removing any dishes, utensils, or other objects from the sink. Clearing the area will provide you with enough space to work without any obstructions.
- Place a bucket under the sink to catch any water: To prevent any water or debris from making a mess, place a bucket or a container under the sink. This will catch any water that may come out during the installation process.
By taking these steps, you are creating a clean and safe workspace for the installation. This will help you navigate through the process with ease, without any unnecessary distractions or hindrances. Once the sink is prepared, you can move on to the next steps of the installation.
Step 2: Install the Strainer and Drain Assembly
Now that you have prepared the sink, it’s time to install the strainer and drain assembly. This crucial step ensures proper functioning of your kitchen sink plumbing. Follow these steps to install the strainer and drain assembly:
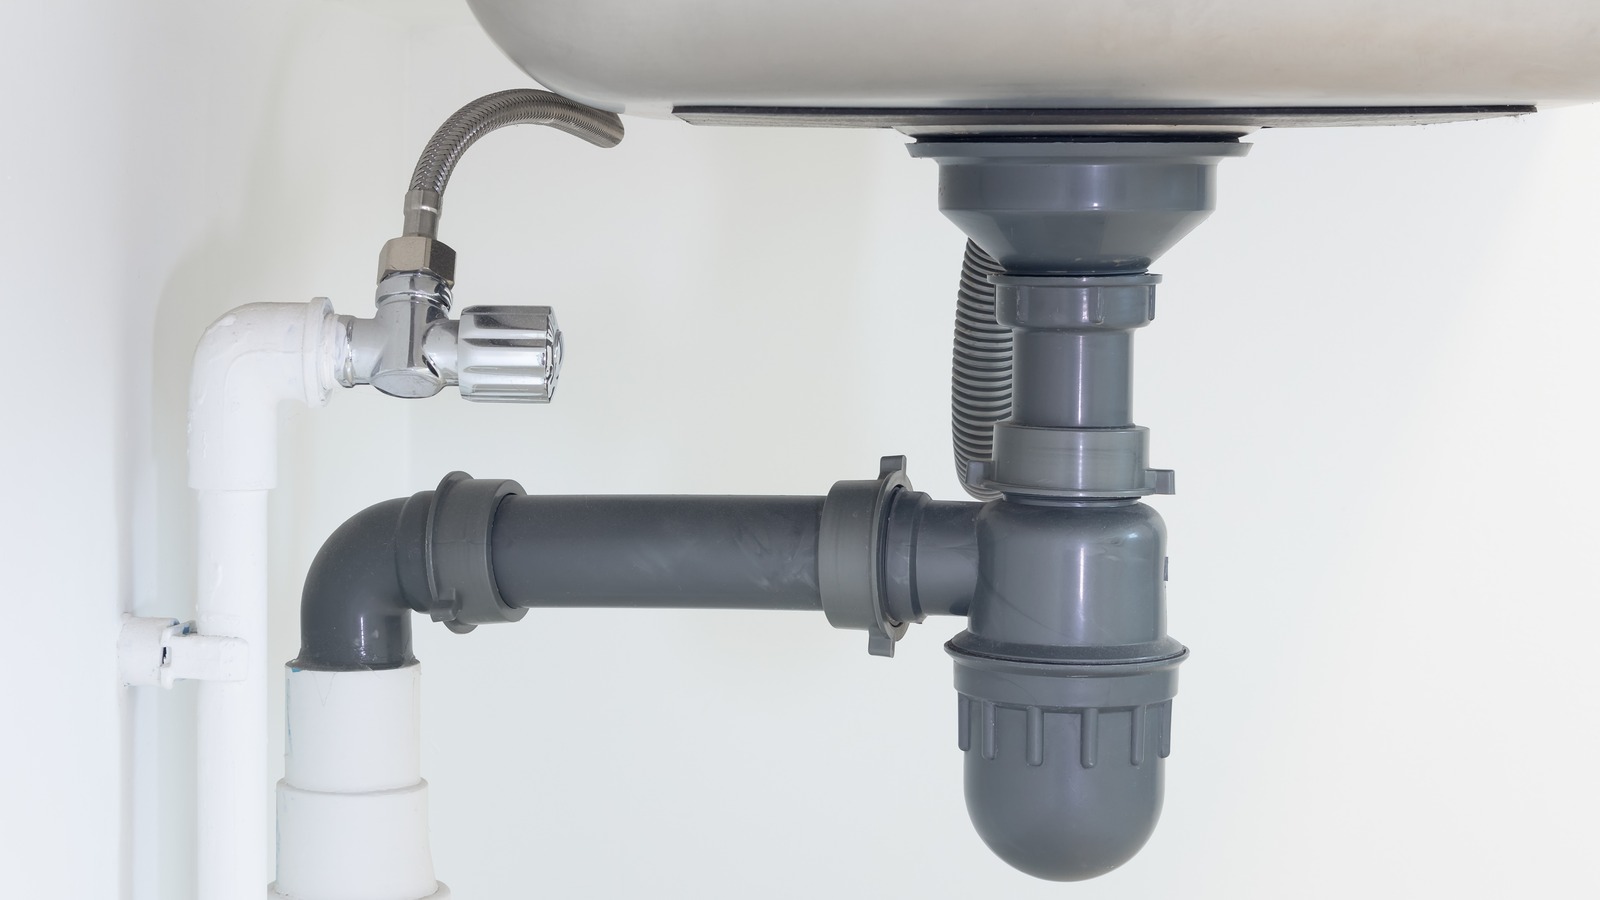
- Apply plumber’s putty to the underside of the strainer: Take a small amount of plumber’s putty and apply it to the underside of the strainer. This putty will create a watertight seal between the strainer and the sink, preventing leaks.
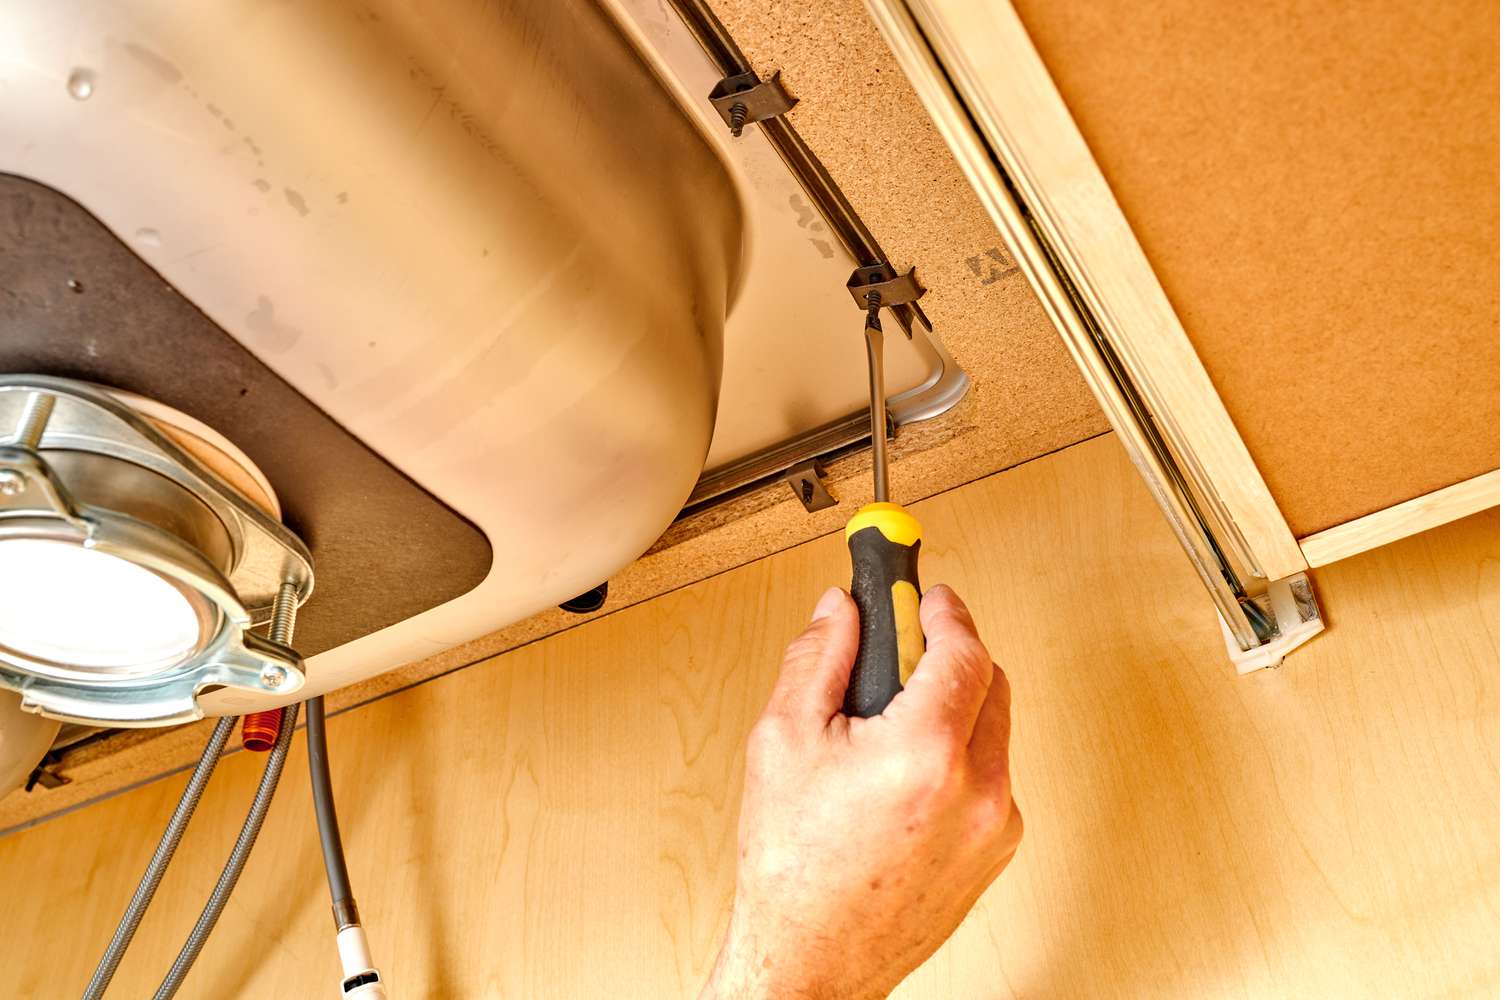
- Insert the strainer into the sink hole and tighten it with a wrench: Carefully place the strainer into the sink hole. Ensure that it is properly aligned and centered. From underneath the sink, use a wrench to tighten the locking nut on the strainer. This will secure it in place.
- Connect the drain assembly to the strainer and tighten the nuts: With the strainer in place, it’s time to connect the drain assembly. Place the drain assembly onto the bottom of the strainer and secure it with the provided nuts. Make sure the nuts are tight enough to prevent any leaks, but be careful not to over-tighten and risk damaging the components.
By following these steps, you will have successfully installed the strainer and drain assembly. This is an essential part of the overall plumbing system, as it ensures proper drainage and prevents any debris from clogging the pipes. Once the strainer and drain assembly are securely in place, you can move on to the next steps of the installation process.
When installing kitchen sink plumbing with a garbage disposal, make sure to properly connect the disposal to the drain line and secure all connections to prevent leaks. Always follow the manufacturer’s instructions for installation.
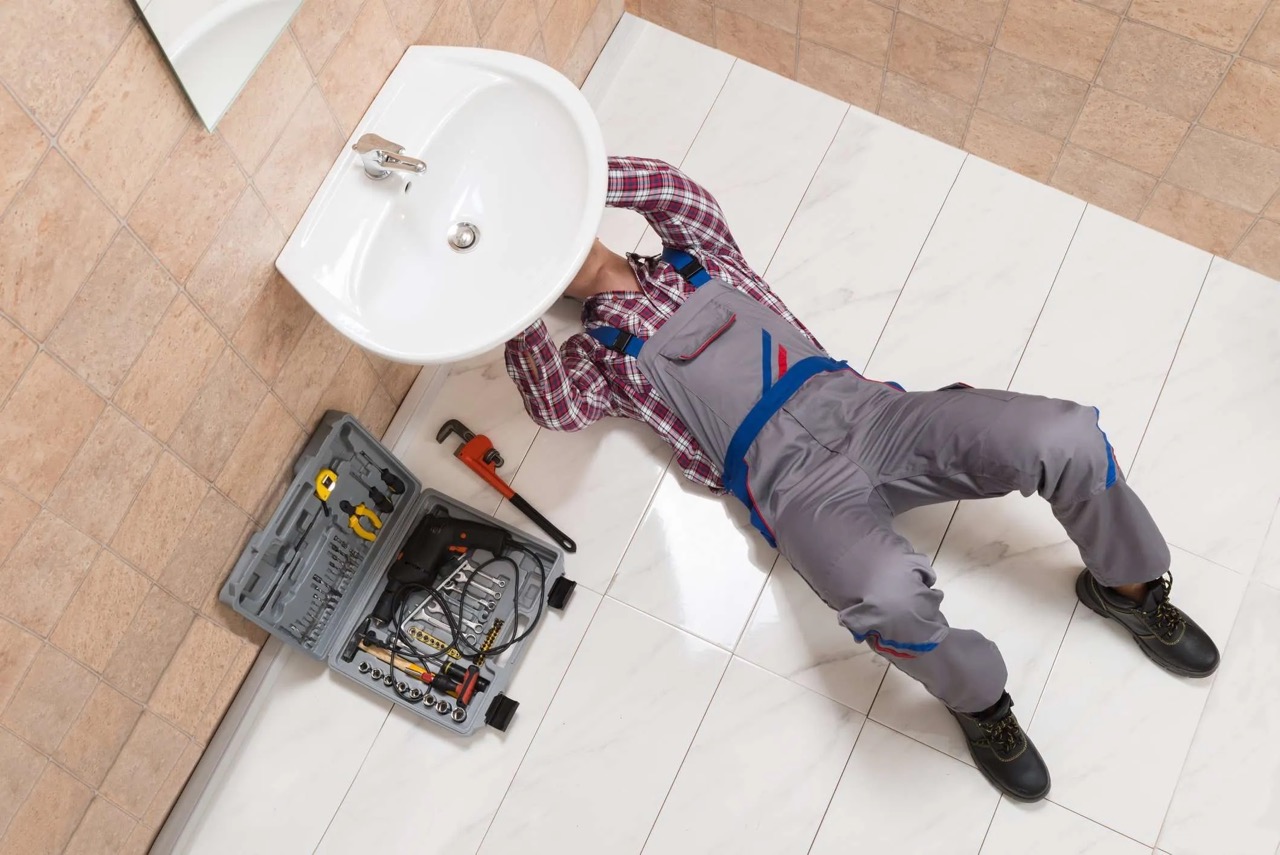
Step 3: Install the Garbage Disposal Unit
Now that you have installed the strainer and drain assembly, it’s time to focus on the installation of the garbage disposal unit. This step is crucial for the proper functioning of your kitchen sink plumbing. Follow these steps to install the garbage disposal unit:
- Read the manufacturer’s instructions for installation: Before you begin the installation process, it’s important to familiarize yourself with the specific instructions provided by the manufacturer of your garbage disposal unit. Different models may have slight variations in installation requirements, so it’s best to follow the guidelines provided.
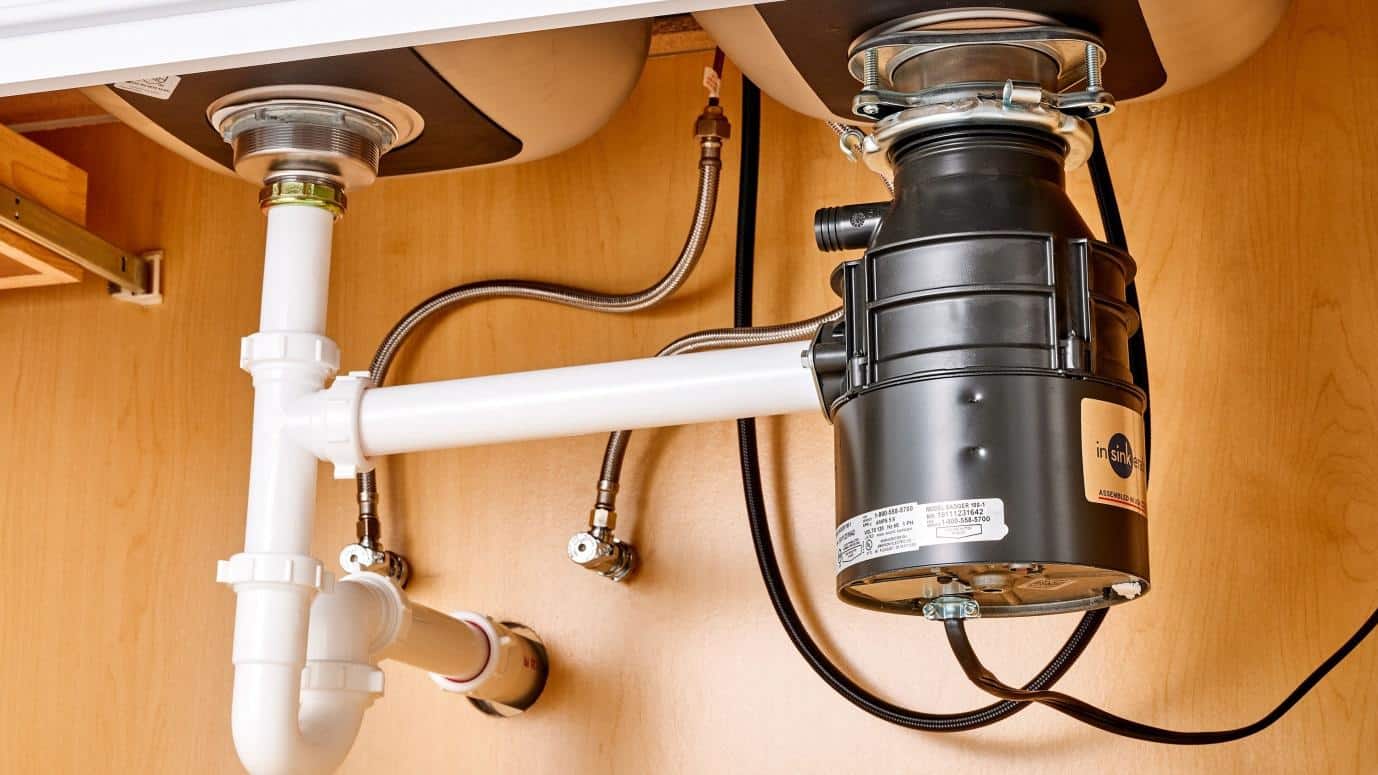
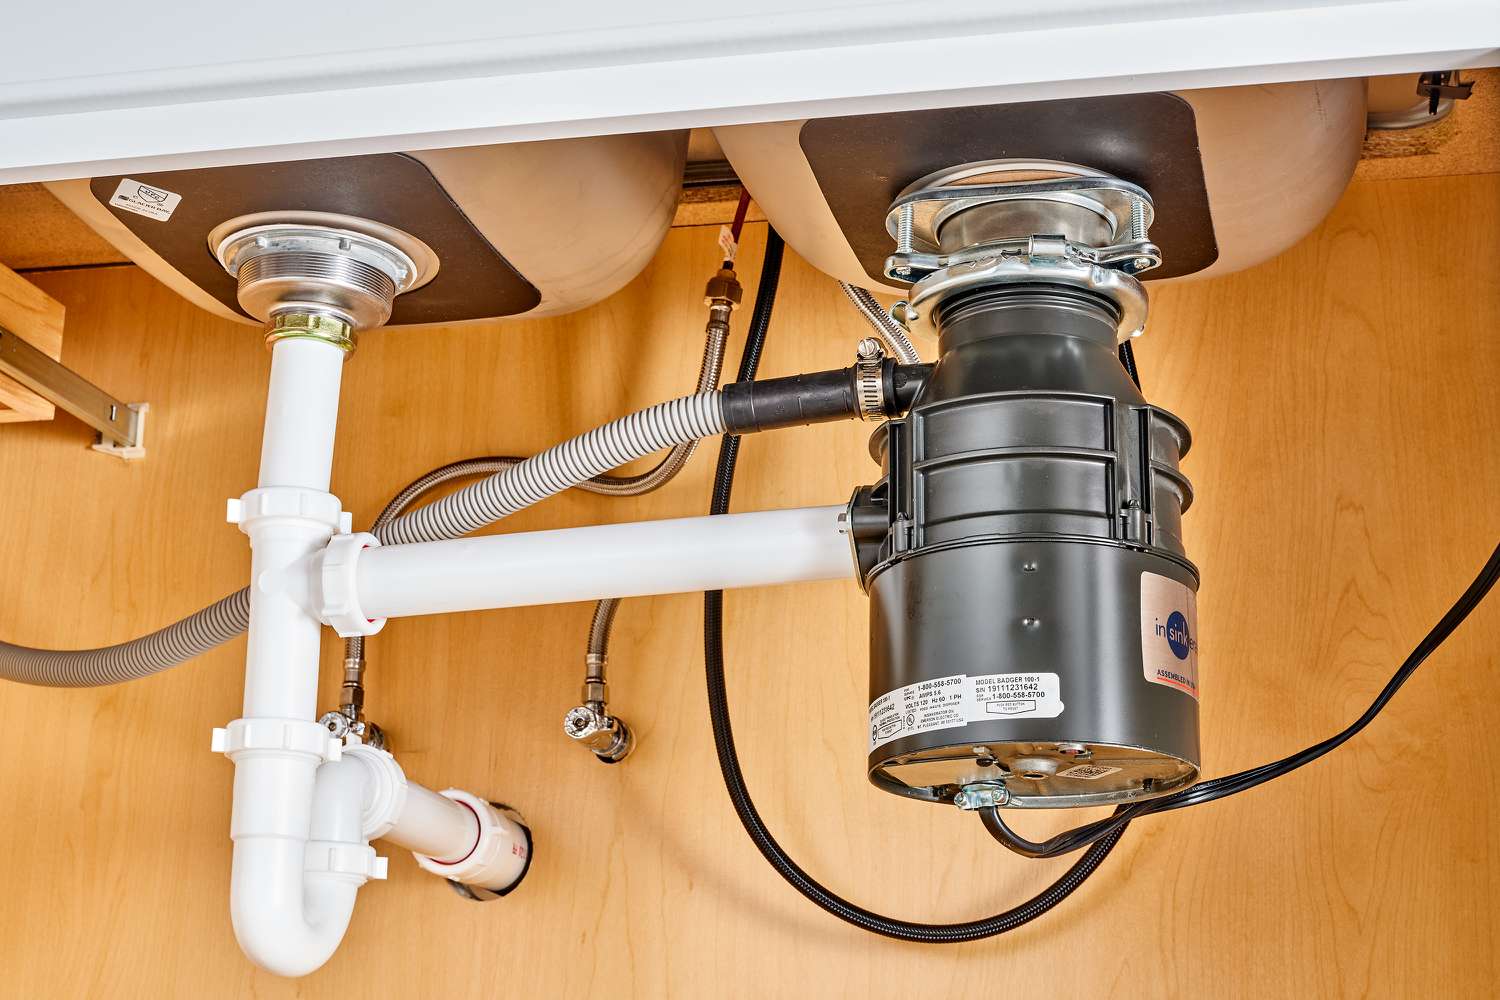
- Mount the garbage disposal unit under the sink cabinet: Locate a suitable spot under the sink cabinet to mount the garbage disposal unit. Follow the manufacturer’s instructions for the specific mounting process. Typically, this involves attaching the unit to the underside of the sink cabinet using mounting brackets.
- Connect the drain pipe from the disposal unit to the drain assembly: Once the garbage disposal unit is securely mounted, it’s time to connect the drain pipe. Check the manufacturer’s instructions for the specific method of connection. In most cases, this involves connecting the drain pipe from the disposal unit to the drain assembly using provided fittings.
It’s important to follow the manufacturer’s instructions carefully during the installation process. This ensures that the garbage disposal unit is installed correctly and functions properly. Once you have successfully installed the unit and connected the drain pipe, you can proceed to the next steps of the installation process.
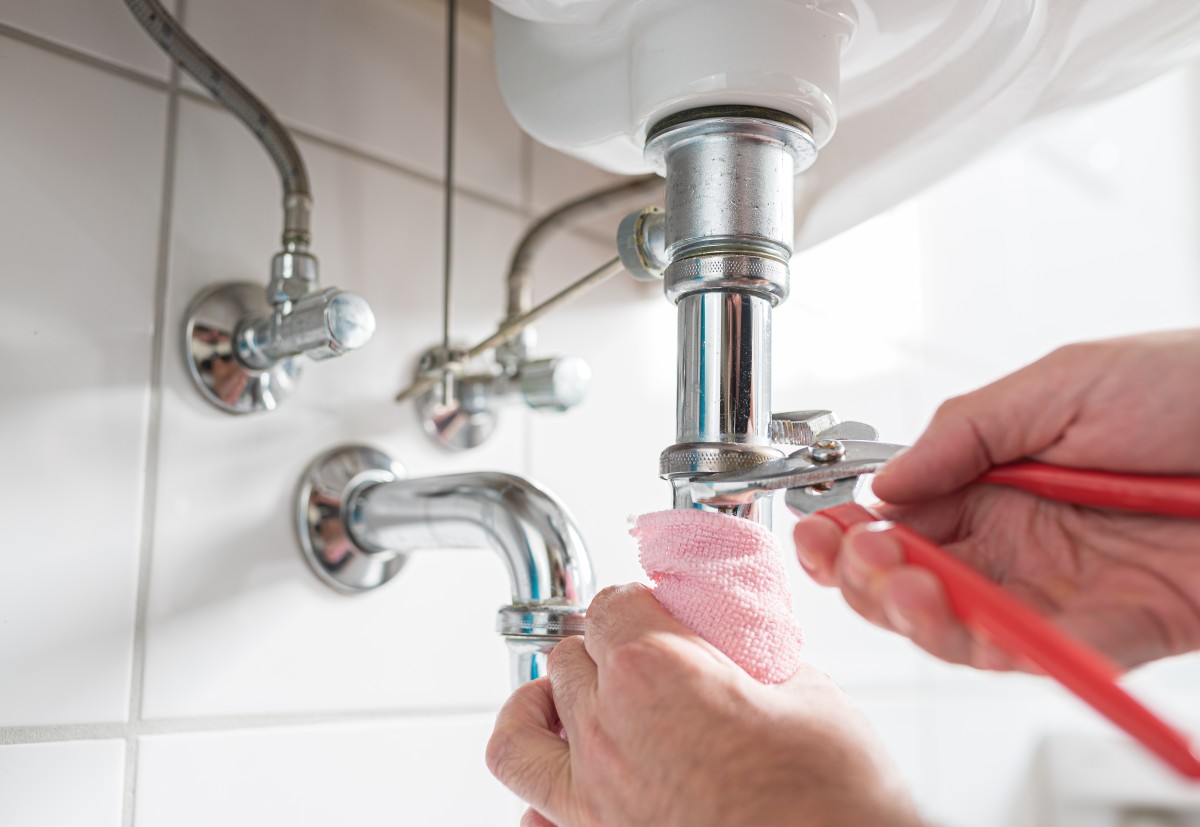
Step 4: Connect the Other Pipes
With the garbage disposal unit installed, it’s time to connect the other pipes in your kitchen sink plumbing system. This step involves measuring, cutting, and connecting the PVC pipes to complete the overall plumbing setup. Follow these steps to connect the other pipes:
- Measure and cut PVC pipe as required: Depending on the layout of your plumbing system, you may need to cut and resize the PVC pipes to fit the configuration. Use a PVC pipe cutter to make precise cuts and ensure a proper fit.
- Connect the pipes using slip nuts and washers: Once the PVC pipes are cut to the required length, use slip nuts and washers to connect them together. Apply plumber’s tape to the threaded ends of the pipes for a secure and leak-free connection.
- Make sure all connections are tight and secure: After connecting the pipes, use a wrench to tighten all the slip nuts and fittings. This will ensure that the connections are tight and secure, preventing any leaks or water damage.
It’s important to take your time during this step to ensure that all pipes are properly connected. Double-check each connection to ensure a tight fit and make adjustments as necessary. Properly connecting the pipes will ensure the smooth flow of water and prevent any potential leaks.
Remember to follow any additional instructions provided by the manufacturer of your garbage disposal unit. They may have specific guidelines for connecting the pipes to ensure optimal performance.
Once you have connected all the necessary pipes and confirmed that all connections are tight and secure, you’re ready to move on to the final step of the installation process.
Step 5: Test the Plumbing
Congratulations on reaching the final step of installing your kitchen sink plumbing with a garbage disposal! Now it’s time to test the system to ensure everything is working smoothly. Follow these steps to test the plumbing:
- Turn on the water and check for leaks: Start by turning on the water and checking for any leaks. Examine each connection point, including the strainer, drain assembly, and any other pipe connections. Look for any signs of water drips or pooling. If you notice any leaks, tighten the respective fittings or connections as needed.
- Run the garbage disposal to ensure proper functioning: After confirming that there are no leaks, it’s time to test the garbage disposal. Run water through the sink and switch on the garbage disposal unit. Listen for any unusual noises or vibrations. Ensure that the disposal unit is grinding food waste effectively and that the water is draining properly.
During the testing phase, pay close attention to the overall performance of the plumbing system. Keep an eye out for any signs of leaks, clogs, or suboptimal functioning. If you encounter any issues, troubleshoot them accordingly. Refer to the manufacturer’s instructions or seek professional assistance if necessary.
Once you have successfully tested the plumbing system and confirmed that everything is in good working order, congratulations! You have completed the installation of your kitchen sink plumbing with a garbage disposal. Now, you can enjoy the convenience and efficiency of your new setup for years to come.
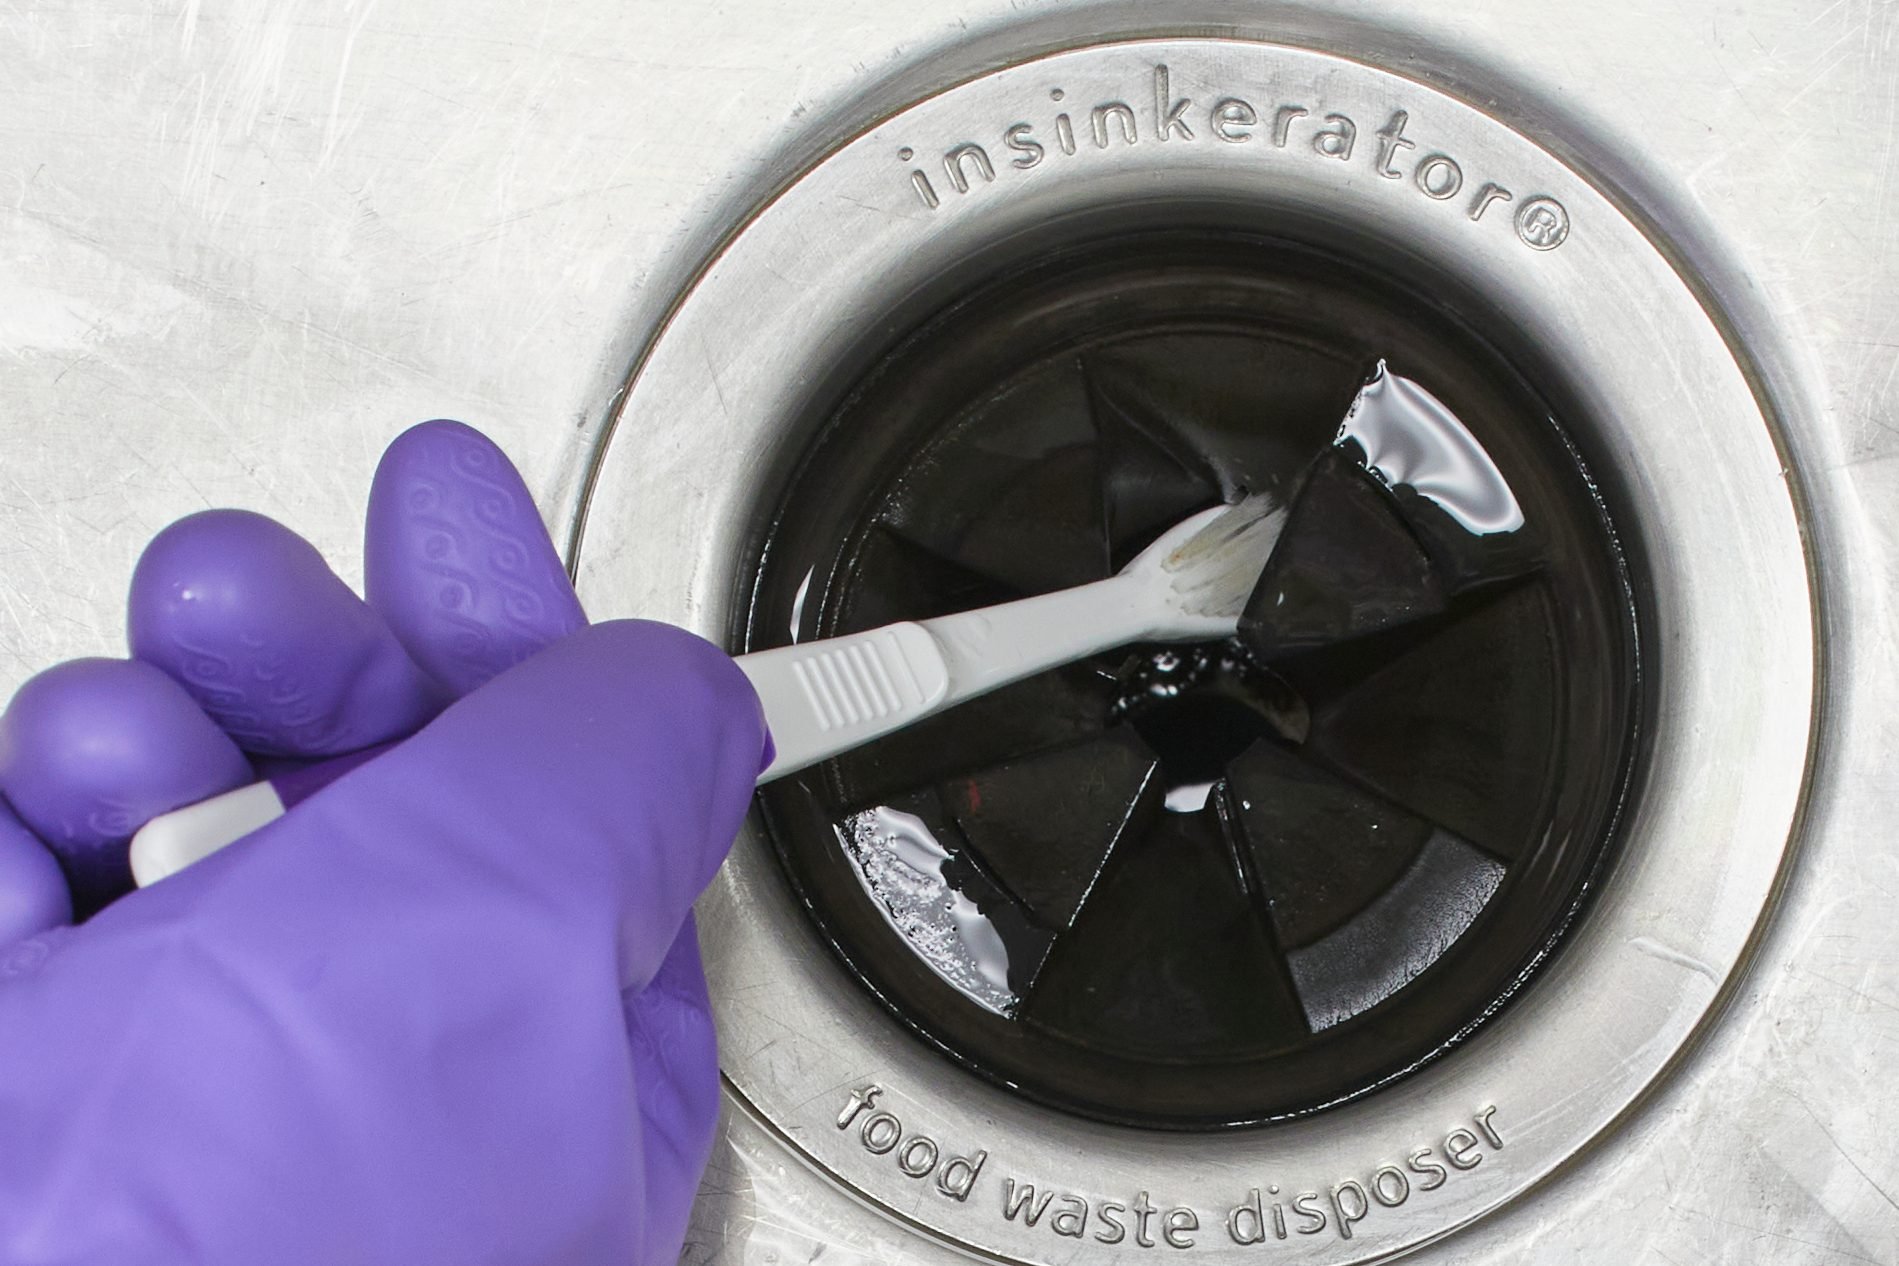
Remember, proper and regular maintenance is key to keeping your kitchen sink plumbing and garbage disposal unit in top condition. Regularly clean the disposal unit, avoid putting non-food items down the drain, and promptly address any issues that arise. With proper care, your plumbing system will serve you well for a long time.
Thank you for following this guide, and we hope it has been helpful in your plumbing installation journey. Cheers to a successful project!
Conclusion
Installing kitchen sink plumbing with a garbage disposal may seem like a daunting task, but with the right tools, materials, and guidance, it can be a manageable DIY project. By following the step-by-step installation process outlined in this guide, you can successfully set up your kitchen sink plumbing with a garbage disposal and enjoy the benefits it offers.
Throughout this guide, we’ve covered the essential steps to prepare the sink, install the strainer and drain assembly, mount the garbage disposal unit, connect the other pipes, and test the plumbing. Each step is crucial for ensuring the proper functioning and efficiency of your kitchen sink plumbing system.
Remember to read and follow the manufacturer’s instructions for your specific garbage disposal unit, as each model may have slightly different installation requirements. Take your time and double-check each connection to ensure a tight and secure fit, and be sure to test the system for leaks and proper functioning before considering the installation complete.
Proper maintenance and care of your kitchen sink plumbing and garbage disposal unit are essential for preserving their longevity. Regularly clean the disposal unit, avoid disposing of non-food items down the drain, and address any issues promptly to prevent further damage or inconvenience.
By installing kitchen sink plumbing with a garbage disposal, you’re not only enhancing the functionality of your kitchen but also reducing waste and promoting a more sustainable way of managing food scraps. With proper care and maintenance, your garbage disposal unit can contribute to a cleaner and more efficient kitchen environment.
We hope this guide has provided you with the knowledge and confidence to tackle the installation of your kitchen sink plumbing with a garbage disposal. Happy plumbing, and enjoy the convenience of your new setup!
Frequently Asked Questions about How To Install Kitchen Sink Plumbing With Garbage Disposal
Was this page helpful?
At Storables.com, we guarantee accurate and reliable information. Our content, validated by Expert Board Contributors, is crafted following stringent Editorial Policies. We're committed to providing you with well-researched, expert-backed insights for all your informational needs.


0 thoughts on “How To Install Kitchen Sink Plumbing With Garbage Disposal”